Home>Furniture & Design>Outdoor Furniture>How To Build An Outdoor Sink
Outdoor Furniture
How To Build An Outdoor Sink
Modified: August 28, 2024
Learn how to build an outdoor sink to complement your outdoor furniture and design. Create a functional and stylish outdoor space with our step-by-step guide.
(Many of the links in this article redirect to a specific reviewed product. Your purchase of these products through affiliate links helps to generate commission for Storables.com, at no extra cost. Learn more)
Introduction
Creating an outdoor sink can significantly enhance the functionality and convenience of your outdoor living space. Whether you enjoy gardening, hosting outdoor gatherings, or simply relishing the tranquility of your backyard, having an outdoor sink can be a game-changer. Imagine the ease of quickly rinsing off garden tools, washing freshly-picked produce, or tidying up after a barbecue without the need to traipse back and forth to the kitchen. With a well-designed outdoor sink, these tasks become effortless, allowing you to spend more time enjoying the great outdoors.
In this guide, we will walk through the process of building an outdoor sink, from selecting the ideal location to installing the plumbing and connecting it to a water source. You'll discover that with the right materials, a bit of creativity, and a willingness to roll up your sleeves, constructing an outdoor sink can be a rewarding and achievable project.
So, roll up your sleeves and get ready to transform your outdoor space into a more functional and convenient area with your very own outdoor sink. Let's dive in and explore the step-by-step process of bringing this practical and stylish addition to your outdoor oasis.
Key Takeaways:
- Building an outdoor sink can enhance your outdoor space by providing convenience for tasks like gardening and outdoor gatherings. With the right materials and careful planning, it’s a rewarding and achievable DIY project.
- Carefully selecting the location, building a sturdy frame, and connecting to a water source are crucial steps in creating a functional outdoor sink. Once completed, it adds both practicality and style to your outdoor oasis.
Read more: How To Winterize An Outdoor Sink
Materials Needed
Before embarking on the construction of your outdoor sink, it's essential to gather all the necessary materials. Here's a comprehensive list to ensure you have everything at your fingertips:
- Pressure-treated lumber or cedar for the frame
- Outdoor-rated sink basin
- Galvanized or PVC pipes for plumbing
- Sink faucet
- Waterproof sealant
- Concrete blocks or pavers (if not installing on an existing patio)
- Gravel or sand (for leveling and drainage)
- Concrete mix (if creating a concrete countertop)
- Stainless steel screws
- Plumbing fittings (such as elbows, tees, and couplings)
- Plumbing tape and sealant
- Waterproof outdoor cabinet or shelving (optional, for storage)
- Outdoor-friendly paint or stain (if finishing the wood frame)
- Work gloves, safety goggles, and a tape measure
These materials will serve as the foundation for your outdoor sink project, ensuring that you have everything you need to bring your vision to life. Keep in mind that the specific materials required may vary based on the design and location of your outdoor sink, so it's essential to adapt this list to suit your unique project requirements.
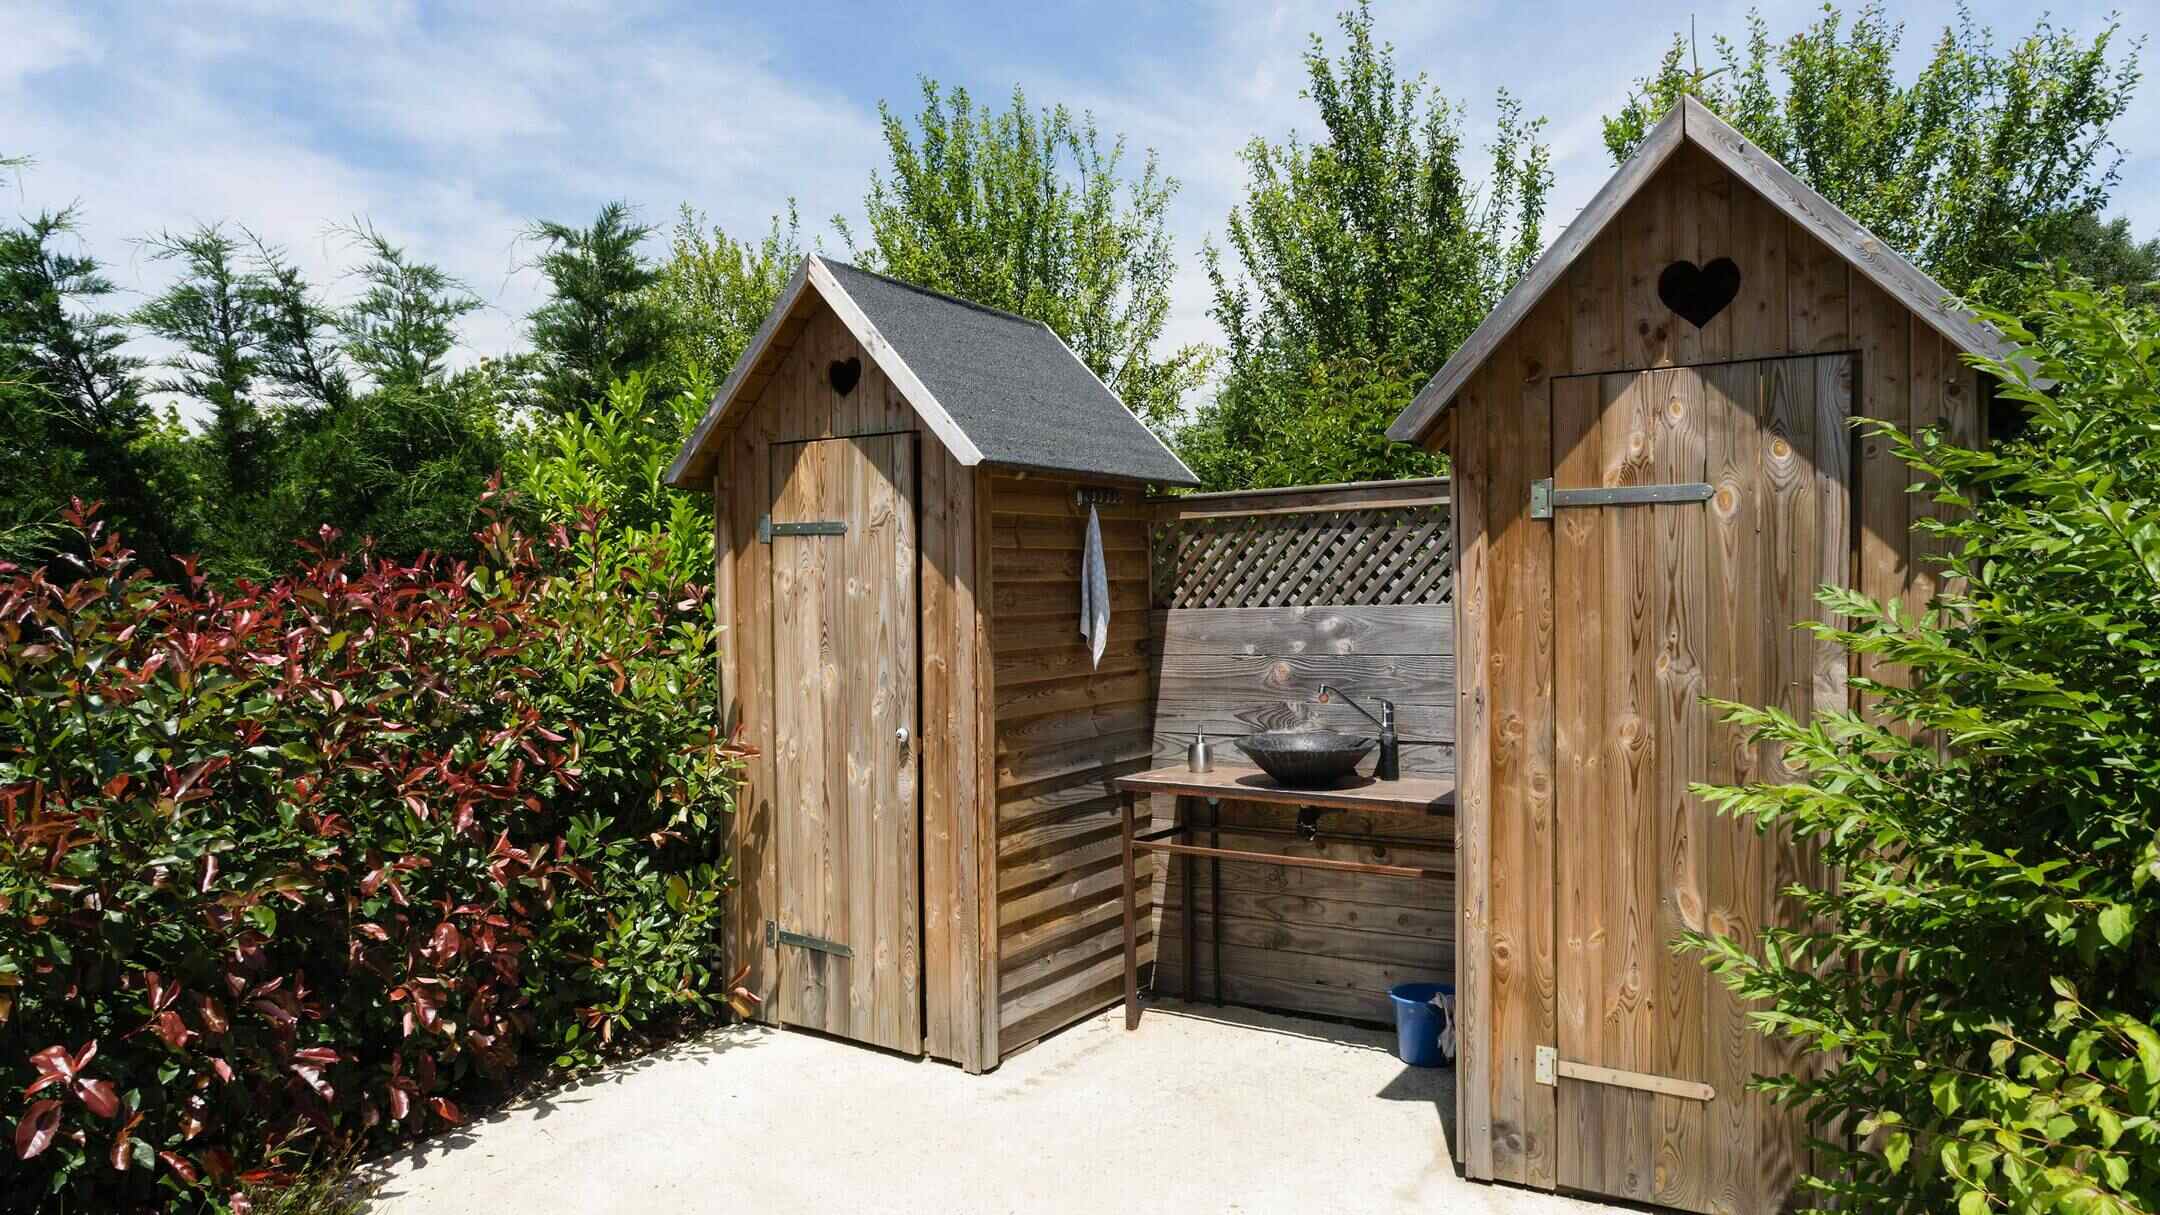
Choosing the Location
When selecting the ideal location for your outdoor sink, several factors come into play. Consider the proximity to utilities, such as water and drainage lines, as well as the convenience of access from your outdoor living areas. Additionally, think about the sink’s functionality in relation to your outdoor activities. For example, if you frequently engage in gardening, placing the sink near your garden beds can streamline tasks like washing freshly harvested produce or cleaning gardening tools.
Another crucial consideration is the stability of the ground. The location should provide a level surface to support the sink and its frame. If the chosen spot is not already outfitted with a stable base, you may need to lay concrete blocks or pavers to create a solid foundation. Additionally, ensure that the chosen area allows for proper drainage to prevent water from pooling around the sink.
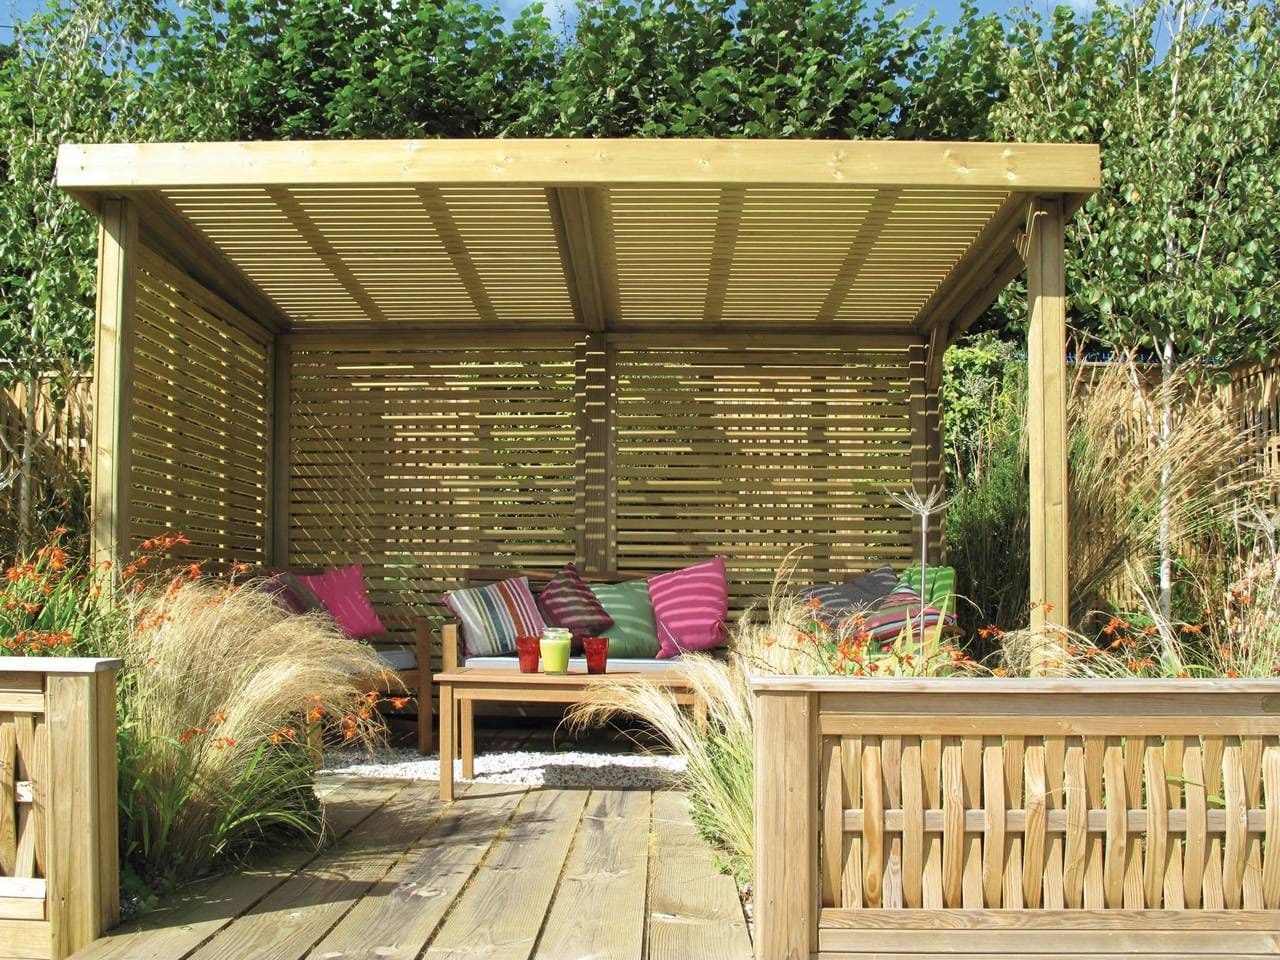
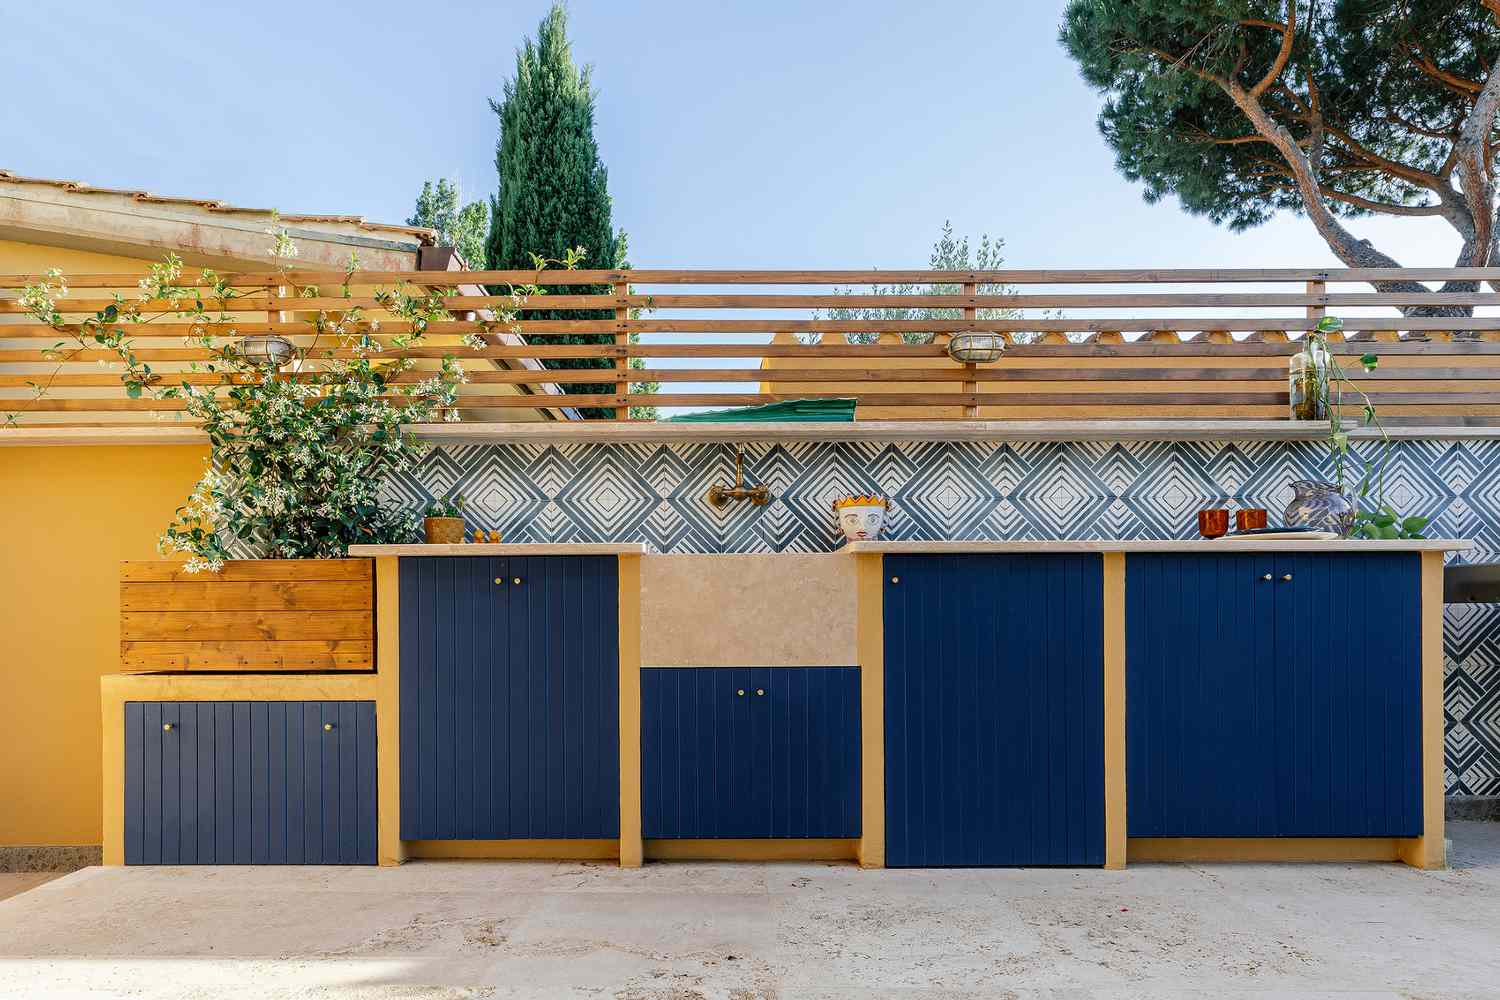
Furthermore, the aesthetics of the location should harmonize with the overall design of your outdoor space. Whether it’s nestled near a lush garden, integrated into an outdoor kitchen setup, or positioned on a patio, the sink should complement its surroundings while remaining highly functional.
By carefully considering these factors, you can choose a location that optimizes the practicality, accessibility, and visual appeal of your outdoor sink. Once you’ve identified the perfect spot, you can move on to the exciting phase of building the sink frame.
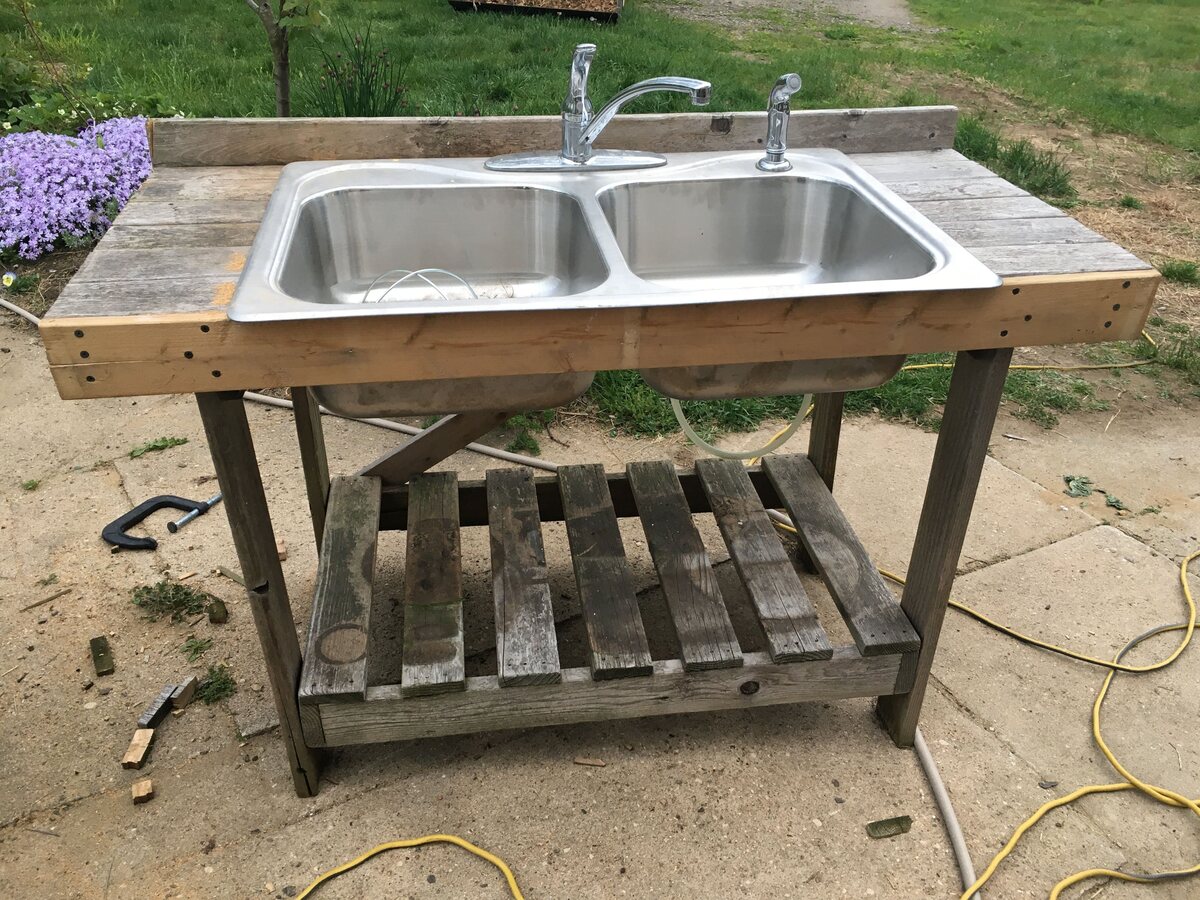
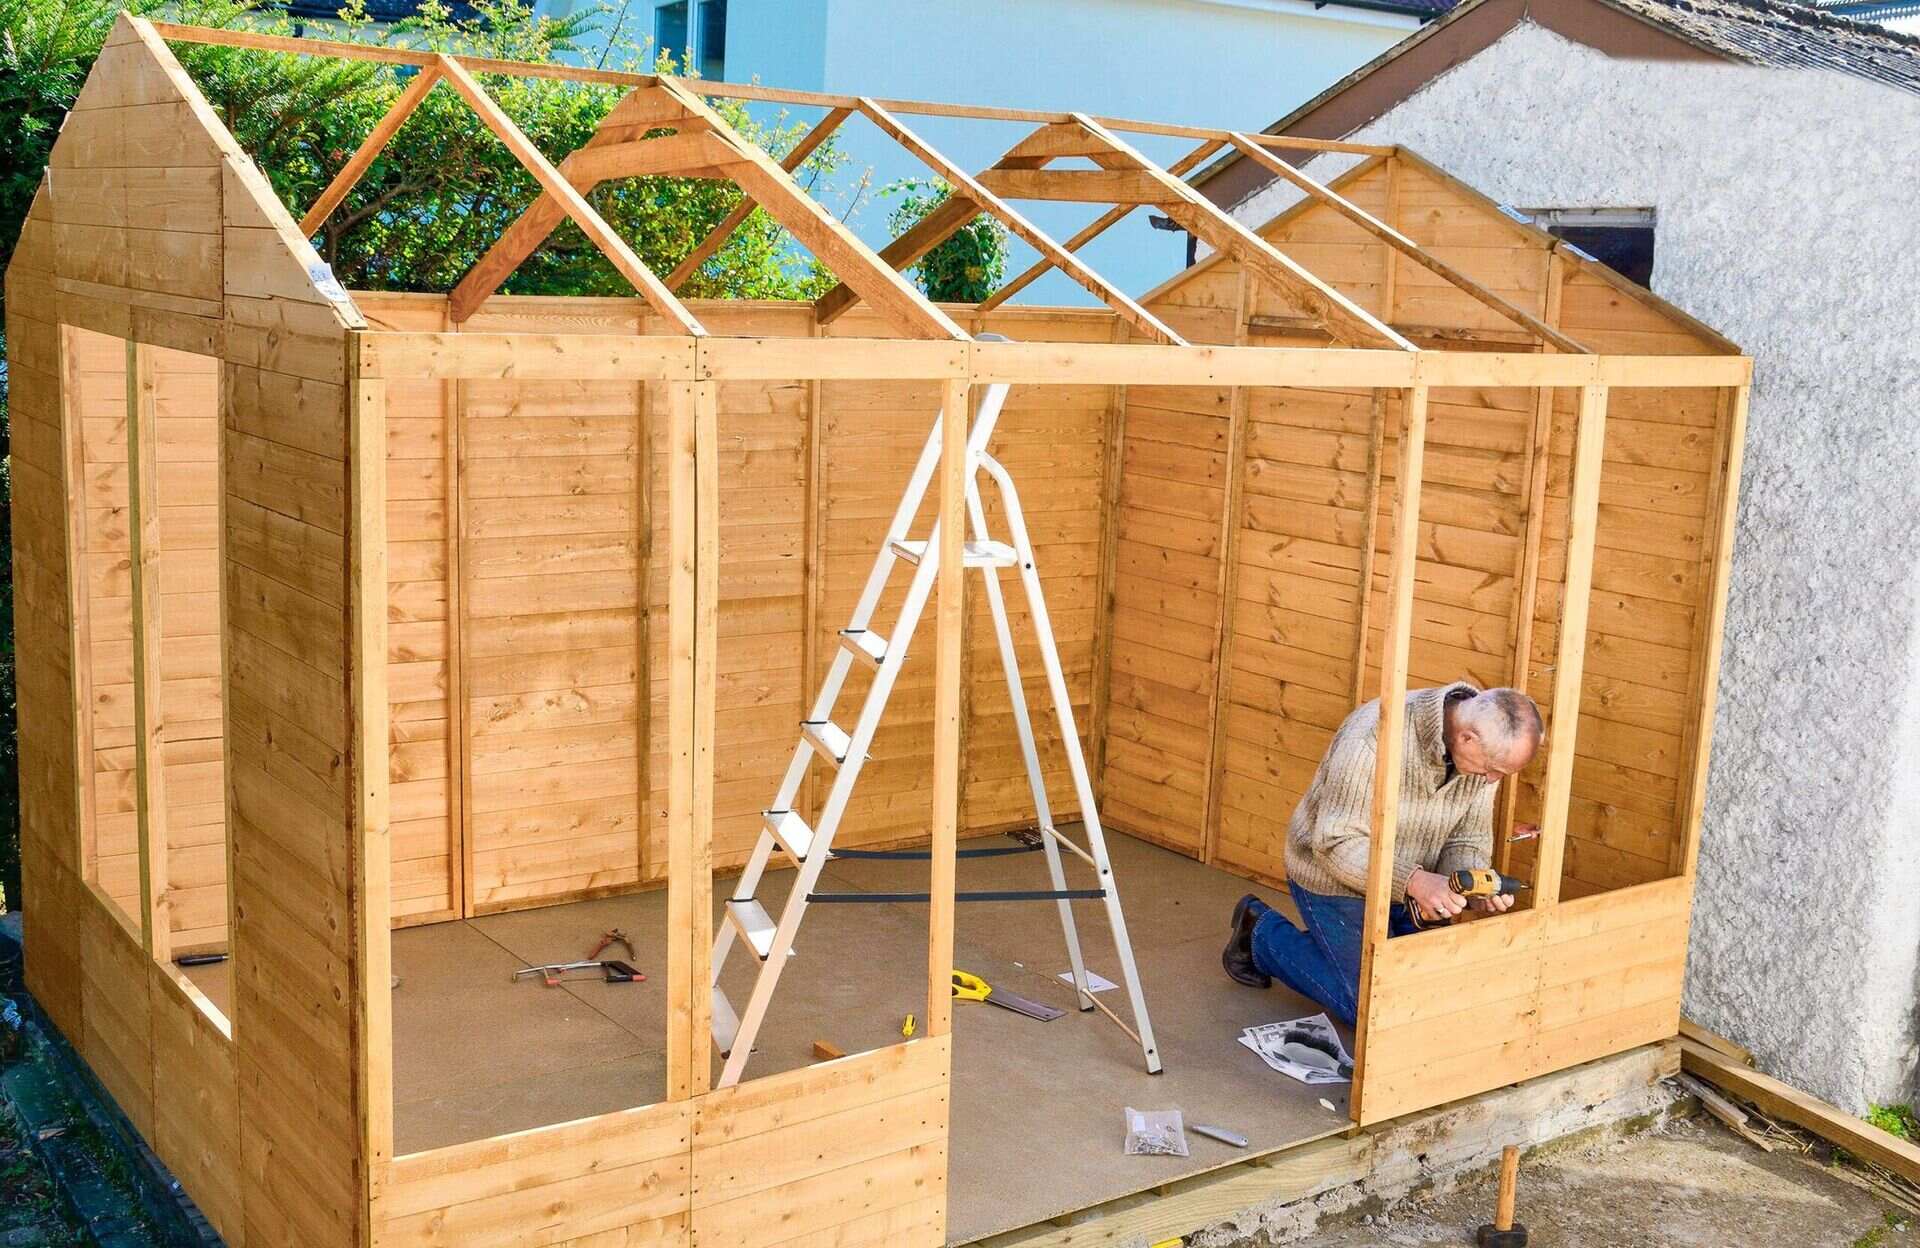
Building the Sink Frame
Constructing a sturdy and durable frame is essential for the structural integrity of your outdoor sink. The frame serves as the foundation onto which the sink basin and plumbing will be installed, so it’s crucial to build it with precision and attention to detail.
Begin by measuring and cutting the pressure-treated lumber or cedar to the appropriate dimensions, based on the size of your chosen sink basin. Assemble the pieces to form a rectangular or square frame, ensuring that the corners are square and the frame is level. Secure the frame using stainless steel screws, which are resistant to corrosion and ideal for outdoor applications.
If you plan to incorporate a countertop into your outdoor sink design, this is the stage at which you can create a form for a concrete countertop. Once the frame is in place, line it with melamine board to serve as the mold for the concrete. Then, mix and pour the concrete into the mold, ensuring a smooth and level surface. Allow the concrete to cure according to the manufacturer’s instructions before proceeding.
For added functionality and aesthetics, consider incorporating a waterproof outdoor cabinet or shelving into the frame design to provide convenient storage for gardening supplies, outdoor dining essentials, or cleaning supplies. This can further enhance the utility of your outdoor sink while keeping the surrounding area organized and tidy.
By meticulously constructing the sink frame, you lay the groundwork for a robust and functional outdoor sink that will seamlessly integrate into your outdoor living space. With the frame in place, you’re ready to move on to the next phase: installing the plumbing.
When building an outdoor sink, make sure to use durable and weather-resistant materials such as stainless steel or treated wood to ensure longevity and easy maintenance.
Installing the Plumbing
Installing the plumbing for your outdoor sink is a pivotal step in bringing functionality to the setup. Whether you’re connecting to an existing water line or setting up a standalone system, careful attention to detail is essential to ensure proper functionality and prevent potential leaks or drainage issues.
Begin by determining the most efficient route for the plumbing lines, keeping in mind the location of the water source and the drainage system. If connecting to an existing water line, ensure that the connection is made using outdoor-rated piping and fittings to withstand exposure to the elements. If a standalone system is required, consider using a water tank with a pump to provide a consistent water supply.
When setting up the drainage system, it’s important to create a slope to facilitate proper water flow. This will prevent water from pooling in the sink and ensure efficient drainage. Additionally, incorporating a P-trap into the drainage system will help prevent odors from rising up through the sink drain, contributing to a more pleasant outdoor environment.
Once the plumbing lines are in place, carefully inspect all connections for any signs of leaks. Apply plumbing tape and sealant to ensure watertight seals, and test the system by running water through the faucet and checking for any leaks or irregularities in the drainage process.
By methodically installing the plumbing, you’re one step closer to completing your outdoor sink setup. With the plumbing in place and functioning seamlessly, you can move on to the exciting phase of adding the sink basin, bringing your outdoor sink project closer to fruition.
Read more: How To Plumb Outdoor Sink
Adding the Sink Basin
Integrating the sink basin into your outdoor sink setup is a pivotal moment that brings the project one step closer to completion. The sink basin not only contributes to the functionality of the outdoor sink but also adds a touch of style and practicality to the space.
Begin by carefully placing the outdoor-rated sink basin into the designated space within the frame. Ensure that the basin sits securely and level within the frame, making any necessary adjustments to achieve a perfect fit. Once positioned correctly, secure the sink basin to the frame according to the manufacturer’s recommendations, typically using mounting brackets or screws.
Seal the area around the sink basin with waterproof sealant to prevent water from seeping into the frame and causing damage. This step is crucial for maintaining the integrity of the frame and ensuring the longevity of your outdoor sink setup.
Consider the design and functionality of the sink basin, choosing one that aligns with your specific needs and aesthetic preferences. Stainless steel and composite materials are popular choices for outdoor sink basins, offering durability, resistance to the elements, and ease of maintenance. Additionally, opt for a basin size that accommodates the tasks you envision undertaking at the outdoor sink, whether it’s washing garden produce, cleaning tools, or preparing outdoor meals.
With the sink basin securely in place, the visual and practical appeal of your outdoor sink takes shape. The next crucial step is connecting the sink to a water source, bringing the project closer to its final stages. Once the sink basin is integrated, you can anticipate the convenience and versatility it will bring to your outdoor living space.
Connecting to Water Source
Connecting your outdoor sink to a water source is a pivotal step that brings the project to its final stages, culminating in a fully functional and convenient outdoor amenity. Whether tapping into an existing water line or utilizing a standalone water supply, careful attention to detail is crucial to ensure a seamless and reliable water source for your outdoor sink.
If connecting to an existing water line, it’s essential to use outdoor-rated piping and fittings to withstand exposure to the elements. Ensure that the connection is made securely, and inspect the entire length of the water line for any signs of leaks or weaknesses. Apply plumbing tape and sealant as needed to reinforce the connections and prevent potential issues down the line.
For standalone water systems, consider using a water tank with a pump to provide a consistent water supply to the outdoor sink. This approach offers flexibility and independence, allowing you to position the sink in various locations without being constrained by the proximity of existing water lines.
Once the water source is connected, test the system by running water through the faucet and checking for any signs of leaks or irregularities. Ensure that the water flow is steady and that the drainage system effectively removes used water from the sink basin. Address any issues promptly to guarantee the reliability and functionality of the water supply.
With the outdoor sink seamlessly connected to a water source, the project nears its completion, offering a valuable addition to your outdoor living space. The convenience and versatility of having a dedicated water source outdoors will undoubtedly elevate your outdoor activities, whether it’s gardening, cooking, or simply enjoying the ease of access to water in your outdoor oasis.
Conclusion
Embarking on the journey to build an outdoor sink has not only enhanced the functionality of your outdoor living space but also provided a rewarding opportunity to craft a practical and stylish addition to your home. The process of creating an outdoor sink involves meticulous planning, thoughtful execution, and a touch of creativity, resulting in a valuable asset that elevates your outdoor activities and simplifies everyday tasks.
From carefully selecting the ideal location for your outdoor sink to meticulously installing the plumbing and integrating the sink basin, each step has contributed to the transformation of your outdoor space. The convenience of having a dedicated water source outdoors, coupled with the aesthetic appeal and functionality of the sink, adds a new dimension to your outdoor oasis.
As you stand back and admire the completed outdoor sink, envision the countless ways in which it will enhance your outdoor experience. Whether it’s washing freshly harvested produce, cleaning gardening tools, or preparing meals al fresco, the outdoor sink stands ready to streamline your tasks and elevate your outdoor lifestyle.
Moreover, the pride of having built a practical and stylish outdoor amenity with your own hands is a testament to your creativity and resourcefulness. The outdoor sink serves as a focal point of your outdoor space, seamlessly blending into the landscape while offering unparalleled utility.
With the outdoor sink project now a triumphant addition to your home, you can look forward to enjoying the convenience and versatility it brings to your outdoor activities. Whether it’s a bustling gathering with friends and family or a tranquil moment of solitude in your garden, the outdoor sink stands as a testament to your ingenuity and commitment to enhancing your outdoor living experience.
Frequently Asked Questions about How To Build An Outdoor Sink
Was this page helpful?
At Storables.com, we guarantee accurate and reliable information. Our content, validated by Expert Board Contributors, is crafted following stringent Editorial Policies. We're committed to providing you with well-researched, expert-backed insights for all your informational needs.


0 thoughts on “How To Build An Outdoor Sink”