Articles
Why Does A Faucet Drip
Modified: February 21, 2024
Find out why a faucet drips and how to fix it. Read our informative articles on common plumbing issues and DIY solutions.
(Many of the links in this article redirect to a specific reviewed product. Your purchase of these products through affiliate links helps to generate commission for Storables.com, at no extra cost. Learn more)
Introduction
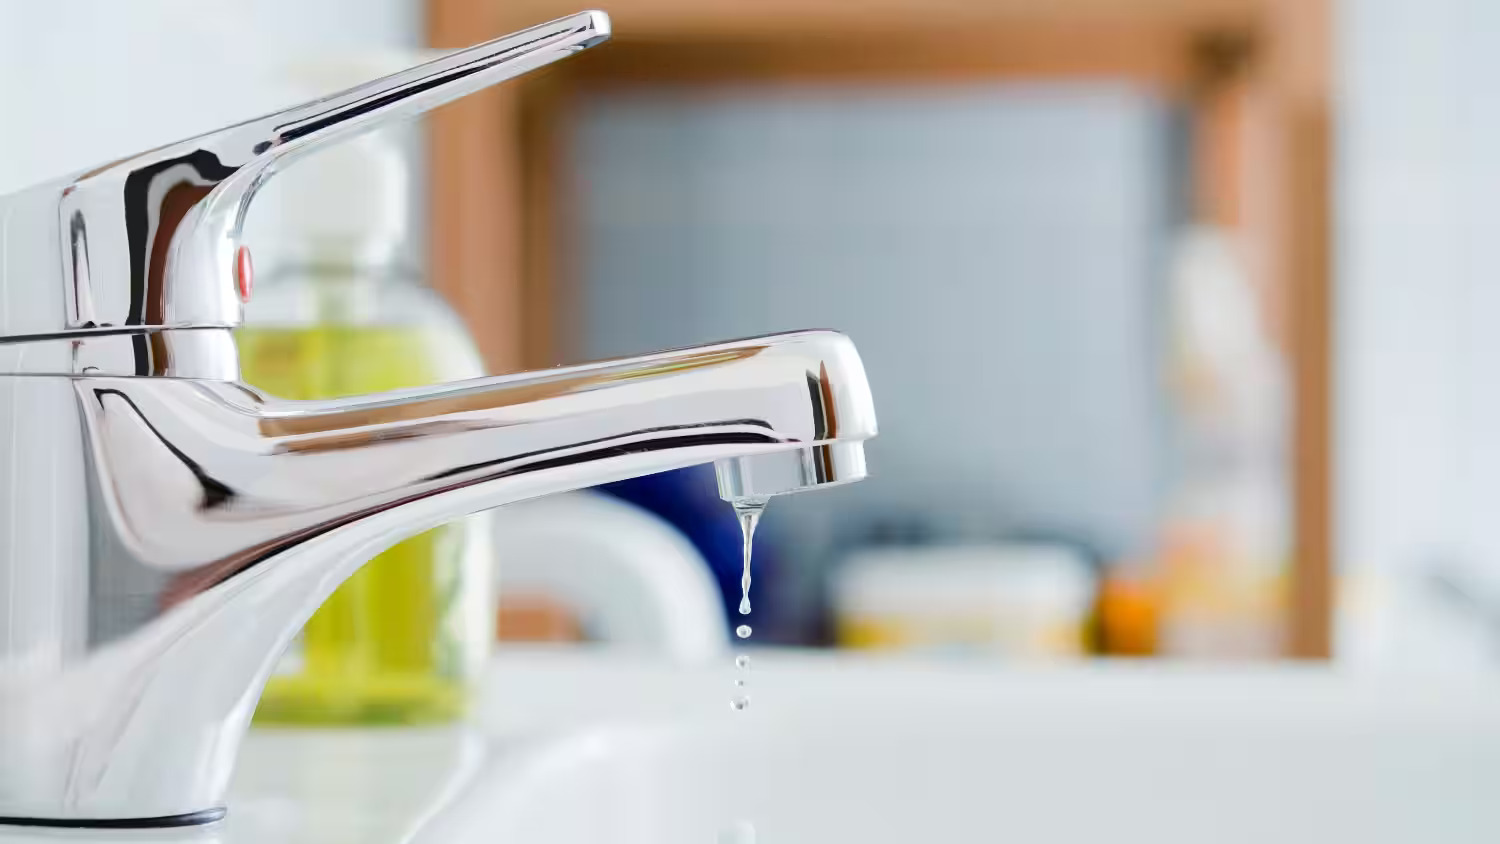
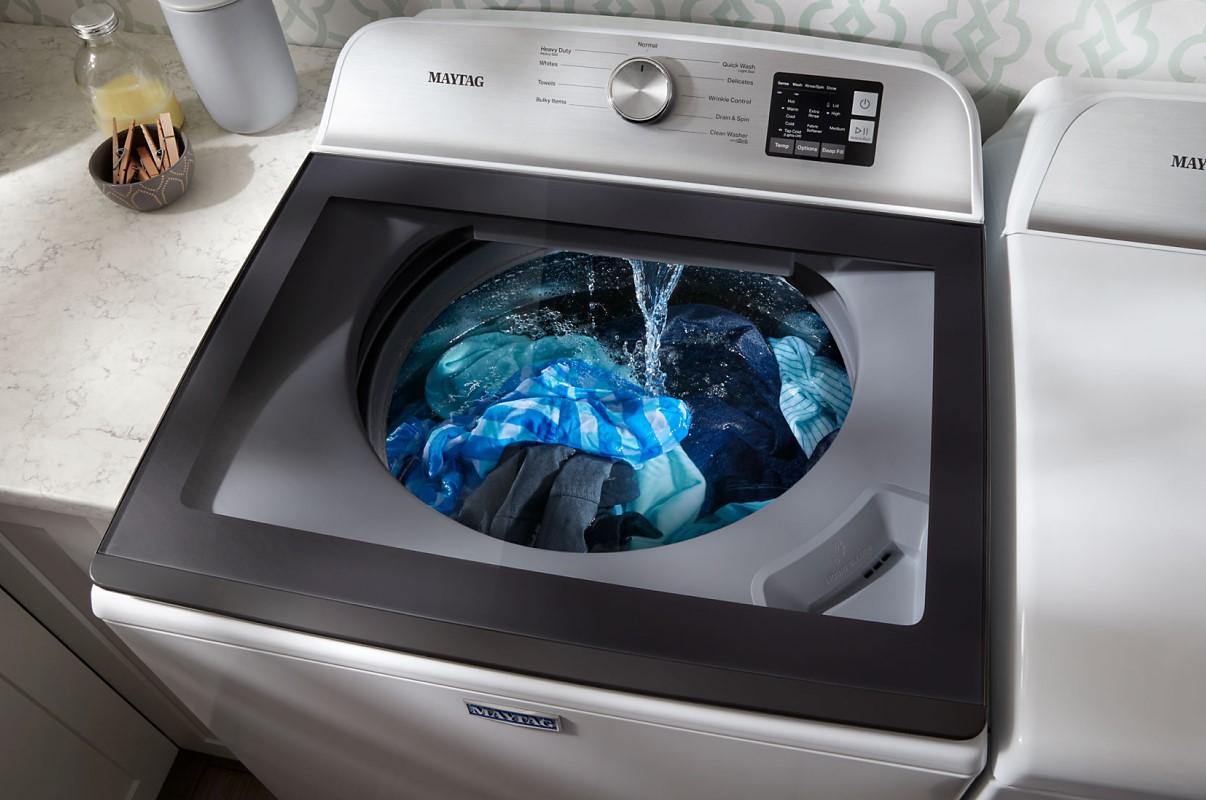
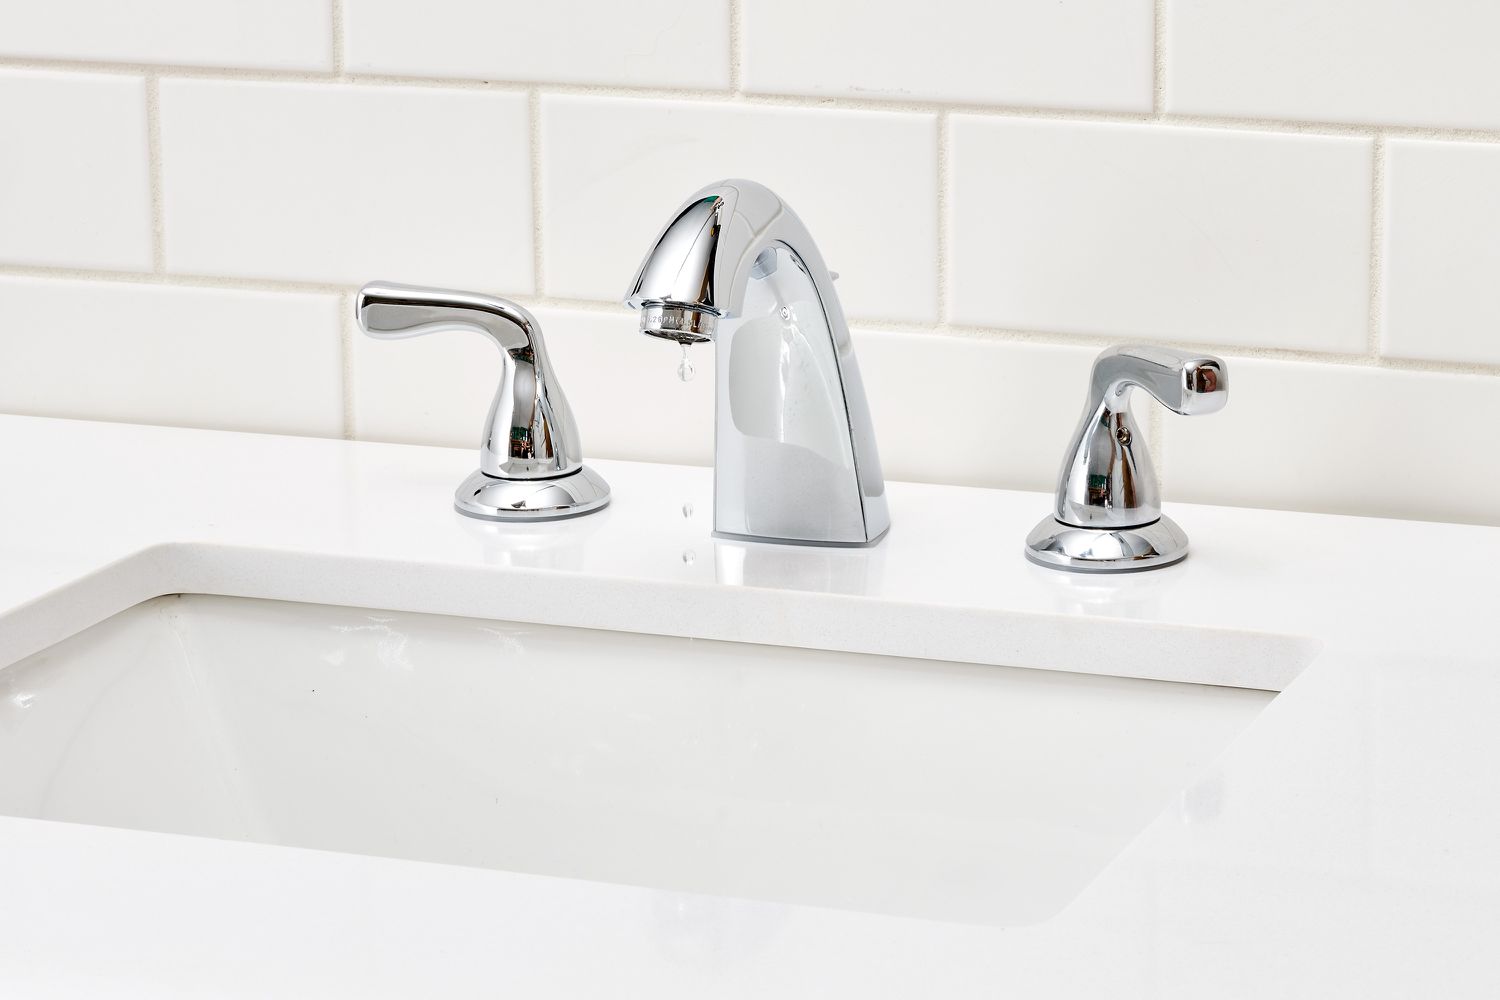
A dripping faucet is a common plumbing issue that many homeowners face. Whether it’s a slow, steady drip or a constant stream of water, a faucet drip can be both annoying and wasteful. Not only does it create a constant noise that can disrupt sleep and relaxation, but it also wastes a significant amount of water over time. Understanding the causes of a faucet drip and how to fix it is essential for maintaining a well-functioning plumbing system and reducing unnecessary water consumption.
When we talk about a faucet drip, we are referring to the slow escape of water from the faucet even when it is turned off. This can occur in various types of faucets, such as kitchen faucets, bathroom faucets, and outdoor faucets. The severity of the drip can vary, but even a small, seemingly insignificant drip can waste a substantial amount of water over time.
There are several reasons why a faucet may drip, and each requires a unique solution. Common culprits include worn-out O-rings or washers, loose or damaged valve seats, mineral or corrosion build-up within the faucet, high water pressure, and improper installation. Understanding the underlying causes of a faucet drip is crucial in identifying the appropriate course of action to fix the issue.
In this article, we will explore the various reasons why a faucet may drip, the consequences of a faucet drip, and provide solutions to help you fix and prevent this common plumbing problem.
Key Takeaways:
- Don’t underestimate the impact of a faucet drip! Addressing it promptly not only saves water and reduces bills but also prevents potential damage to fixtures and creates a peaceful living environment.
- Understanding the causes and solutions for a faucet drip empowers you to take action and restore the functionality of your faucet, contributing to water conservation and a more sustainable future.
Read more: How To Drip Faucet
Definition of a Faucet Drip
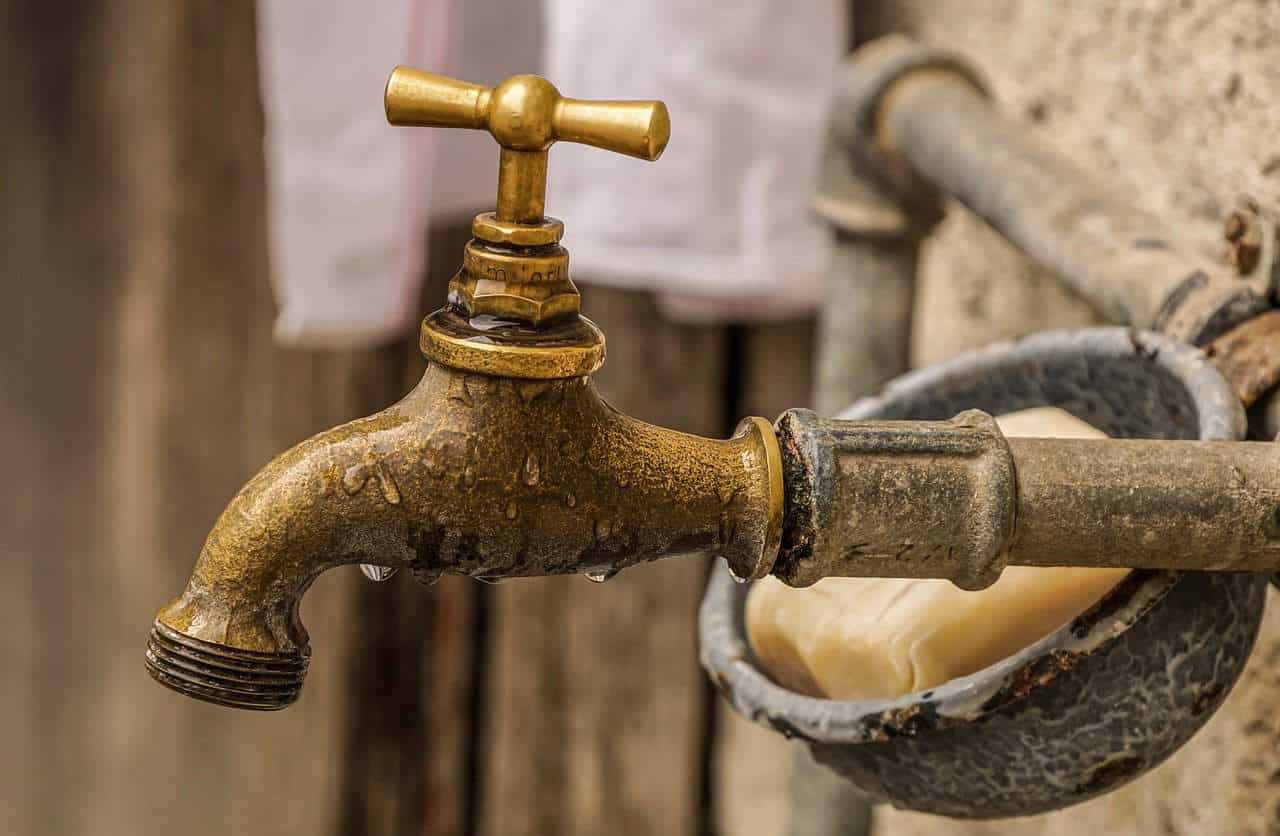
A faucet drip refers to the slow and continuous leakage of water from a faucet, even when it is turned off. It is a common plumbing issue that can occur in various types of faucets, including kitchen faucets, bathroom faucets, and outdoor faucets. While a single drip may seem inconsequential, it is important to address this issue promptly as it can lead to several problems.
A faucet is designed to control the flow of water by using valves and seals. When the faucet is turned off, the valves and seals should create a watertight seal, preventing any water from escaping. However, over time, the components of a faucet can wear out or become compromised, leading to a drip.
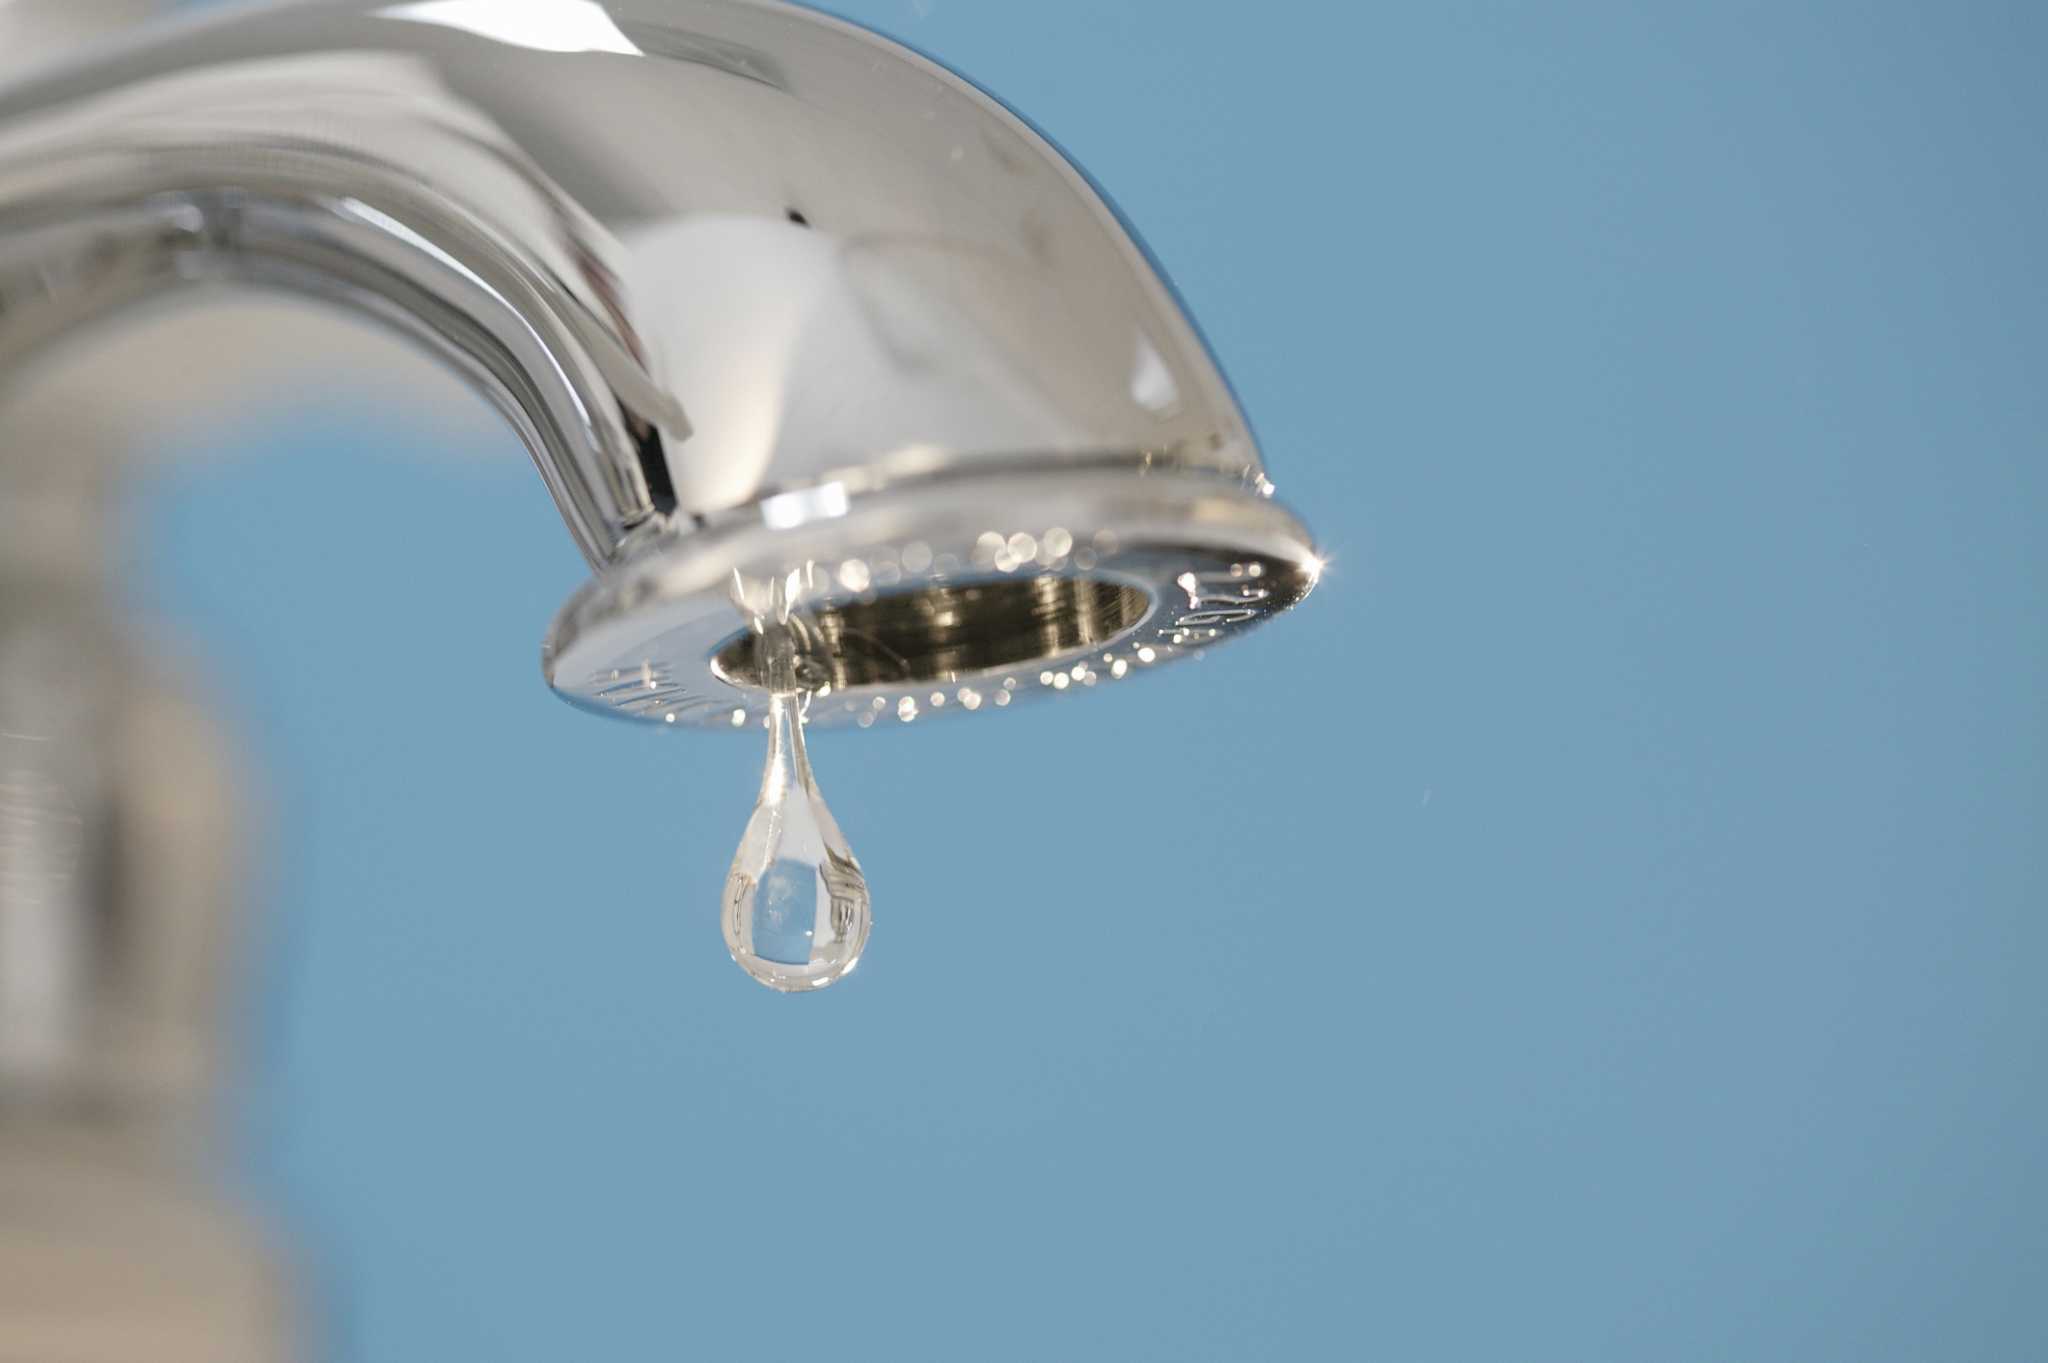
The severity of the faucet drip can vary. It can range from a slow, steady drip to a continuous stream of water. Regardless of the rate of the drip, it is important to address the issue as soon as possible to avoid wasting water and potential damage to fixtures.
Not only is a faucet drip wasteful, but it can also create other problems. The constant dripping sound can be irritating, especially in quiet environments or during nighttime. Additionally, if left unattended, a faucet drip can lead to increased water bills, damage to fixtures, and even potential water damage to surrounding areas.
In the following sections, we will explore the various reasons why a faucet may drip and provide solutions to help you fix and prevent this common plumbing issue.
Reasons for a Faucet Drip
A faucet drip can occur due to various reasons. Understanding these underlying causes is crucial in identifying the appropriate solution to fix the issue. Here are the common reasons why a faucet may drip:
- Worn-out O-ring or Washer: Inside the handle of a faucet, there is usually an O-ring or washer that helps create a tight seal when the faucet is closed. Over time, these components can wear out or become damaged, resulting in a drip.
- Loose or Damaged Valve Seat: The valve seat is a connection point between the faucet and the spout. If the valve seat becomes loose or damaged, it can cause water to leak around the base of the spout, leading to a drip.
- Corroded or Mineral Build-up in the Faucet: Over time, minerals and sediments from the water supply can build up inside the faucet. This build-up can interfere with the proper functioning of the valves and seals, causing a drip.
- High Water Pressure: Excessively high water pressure can put unnecessary strain on the faucet components, leading to leaks and drips. If the water pressure in your home is too high, it can contribute to a faucet drip.
- Improper Installation: If a faucet is not installed correctly, it can result in leaks and drips. Issues such as loose connections or improper sealing can cause water to escape, even when the faucet is turned off.
These are the primary reasons for a faucet drip, and each requires a specific solution to fix the issue. In the next sections, we will discuss the consequences of a faucet drip and provide solutions to help you resolve this common plumbing problem.
Worn-out O-ring or Washer
One of the common reasons for a faucet drip is a worn-out O-ring or washer. Inside the handle of a faucet, there is typically an O-ring or washer that helps create a watertight seal when the faucet is closed. These components are subjected to constant wear and tear due to regular usage, leading to their deterioration over time.
When the O-ring or washer becomes worn or damaged, it can no longer create a proper seal, causing water to leak from the faucet even when it is turned off. This results in an annoying and wasteful drip.
If you suspect that a worn-out O-ring or washer is causing the drip, the solution is to replace these components. Here are the steps to follow:
- Turn off the water supply to the faucet to prevent any further leakage.
- Remove the handle of the faucet using a screwdriver or an Allen wrench, depending on the type of faucet.
- Locate the O-ring or washer inside the handle assembly. It is usually a small rubber or silicone ring.
- Carefully remove the old O-ring or washer, taking note of its size and shape.
- Head to your local hardware store and purchase a replacement O-ring or washer that matches the exact specifications of the old one. Bring the old component with you for reference if needed.
- Place the new O-ring or washer in the designated spot inside the handle assembly.
- Reassemble the faucet handle, making sure all parts are securely in place.
- Turn on the water supply and check for any leaks. If there are no more drips, the issue is resolved.
Replacing a worn-out O-ring or washer is a relatively simple and inexpensive fix for a faucet drip. By ensuring a proper seal, you can eliminate the annoying drip and prevent any further water waste.
If the faucet continues to drip after replacing the O-ring or washer, it may indicate another underlying issue. In such cases, it is best to consult a professional plumber to diagnose and resolve the problem.
Loose or Damaged Valve Seat
Another possible reason for a faucet drip is a loose or damaged valve seat. The valve seat is a connection point between the faucet and the spout, ensuring a proper seal when the faucet is closed. Over time, the constant usage and exposure to water can cause the valve seat to become loose or worn out, resulting in leaks and drips.
If you suspect that a loose or damaged valve seat is causing the drip, here’s what you can do to fix the issue:
- Turn off the water supply to the faucet.
- Remove the handle and the decorative cap of the faucet.
- Using an adjustable wrench or pliers, unscrew and remove the valve stem assembly.
- Inspect the valve seat for any signs of damage, such as cracks or erosion. If the valve seat is merely loose, tighten it using a wrench. If it is damaged, it will need to be replaced.
- If the valve seat needs to be replaced, take note of the make and model of your faucet and purchase a matching replacement valve seat from a hardware store or plumbing supplier.
- Install the new valve seat, ensuring that it is tightly secured in place.
- Reassemble the faucet by attaching the valve stem assembly, handle, and decorative cap.
- Turn on the water supply and check for any leaks. If there are no more drips, the issue is resolved.
Fixing a loose or damaged valve seat may require some basic plumbing skills and the use of appropriate tools. If you are not confident in performing the repair yourself, it is recommended to seek the assistance of a professional plumber.
Addressing a loose or damaged valve seat is crucial to prevent ongoing dripping and potential water damage. By ensuring a tight seal, you can restore the proper functioning of the faucet and eliminate any leaks or drips.
Read more: Why Does My Rain Showerhead Drip
Corroded or Mineral Build-up in the Faucet
Corrosion and mineral build-up within the faucet can also contribute to a faucet drip. Over time, minerals and sediments from the water supply can accumulate inside the faucet, obstructing the flow of water and interfering with the proper functioning of valves and seals.
If you suspect that corrosion or mineral build-up is causing the drip, here are some steps you can take to address the issue:
- Turn off the water supply to the faucet.
- Dismantle the faucet by removing the handle, spout, and any other removable parts.
- Inspect the interior components of the faucet for any signs of corrosion or mineral build-up. Pay attention to areas such as the valve assembly, cartridge, and aerator.
- For minor build-up, use a soft brush or toothbrush to gently scrub away the deposits. You can also soak the components in a mixture of vinegar and water to help dissolve the mineral build-up.
- If the corrosion or build-up is severe, you may need to replace the affected components. Consult the faucet’s manufacturer or a plumbing professional for guidance on obtaining the appropriate replacement parts.
- Once you have cleaned or replaced the necessary components, reassemble the faucet.
- Turn on the water supply and check for any leaks. If there are no more drips, the issue is resolved.
Regular maintenance and cleaning of the faucet can help prevent mineral build-up and corrosion, reducing the chances of a drip. Using a water softener or installing a filtration system can also help minimize the accumulation of minerals in your plumbing system.
By addressing the issue of corrosion and mineral build-up, you can restore the proper functionality of the faucet and eliminate any drips or leaks.
High Water Pressure
High water pressure is another potential cause of a faucet drip. Excessively high water pressure can put unnecessary strain on the faucet’s components, leading to leaks and drips. If your home has high water pressure, it is important to address the issue to prevent further damage and water waste.
To determine if high water pressure is causing the faucet drip, you can use a water pressure gauge to measure the pressure. The ideal water pressure for most households is typically around 40-60 psi (pound per square inch). Anything above this range can be considered high and may contribute to faucet drips.
If you suspect high water pressure is the culprit, here are some steps you can take to resolve the issue:
- Purchase a water pressure regulator from a hardware store or plumbing supplier. This device helps regulate the water pressure coming into your home.
- Locate the main water supply valve to your home and turn off the water.
- Install the water pressure regulator on the main water supply line, following the manufacturer’s instructions.
- Turn the water supply back on and adjust the water pressure to an appropriate level using the pressure regulator.
- Monitor the faucet for any drips or leaks. If the faucet drip persists, it may indicate another underlying issue that needs further examination by a professional plumber.
Installing a water pressure regulator can help prevent excessive water pressure, protecting your plumbing system and reducing the risk of faucet drips. If you are unsure about installing a water pressure regulator or if the faucet drip persists after installation, it is advisable to consult a professional plumber for assistance.
By addressing high water pressure, you can alleviate the strain on your faucets, prolong their lifespan, and prevent unnecessary water waste.
Improper Installation
Improper installation of a faucet can also contribute to a faucet drip. If the faucet is not installed correctly, it can result in leaks and drips. Common installation mistakes include loose connections, improper sealing, or using incorrect parts.
If you suspect that improper installation is causing the drip, here are some steps you can take to address the issue:
- Turn off the water supply to the faucet.
- Inspect the faucet for any loose connections or visible signs of improper installation, such as gaps or misaligned parts.
- Tighten any loose connections using an adjustable wrench or pliers. Take care not to overtighten, as this could cause damage.
- Ensure that all sealing components, such as rubber gaskets or O-rings, are properly seated and in good condition. Replace any damaged or worn-out components as necessary.
- If you suspect that incorrect parts were used during the initial installation, consult the faucet’s manufacturer or a plumbing professional for guidance on obtaining the correct replacement parts.
- Once you have made the necessary adjustments, turn on the water supply and check for any leaks. If there are no more drips, the issue is resolved.
Correcting an improper installation may require some basic plumbing knowledge and tools. If you are uncertain about performing the necessary adjustments yourself, it is recommended to seek the assistance of a professional plumber to avoid causing further damage.
By addressing any installation errors, you can ensure a proper seal and prevent faucet drips. Proper installation is essential for the optimal performance and longevity of your faucet.
Consequences of a Faucet Drip
A faucet drip may seem like a minor annoyance, but it can have several significant consequences if left unattended. Here are the potential impacts of a faucet drip:
- Wasting water: Even a slow drip can waste a significant amount of water over time. According to the United States Environmental Protection Agency (EPA), a faucet that drips at a rate of one drip per second can waste more than 3,000 gallons of water in a year. This not only puts a strain on the environment but also increases your water bills.
- Increased water bills: A faucet that drips continuously can have a noticeable impact on your water bills. The wasted water adds up over time, and you end up paying for water that you are not using. Fixing the drip can help reduce your water consumption and lower your monthly expenses.
- Potential damage to fixtures: A constant drip can lead to damage to the fixtures and surfaces surrounding the faucet. Over time, the water can gradually wear down the finish and cause discoloration or corrosion. It can also lead to water damage to cabinets, countertops, or flooring if left unaddressed.
- Annoying noise: The sound of a faucet dripping can be irritating, especially in quiet environments or during nighttime when the background noise is minimal. The continuous dripping sound can disrupt sleep and relaxation, causing frustration for you and your household members.
Addressing a faucet drip in a timely manner can help you avoid these consequences. By fixing the issue, you not only save water and reduce your water bills but also preserve the condition of your fixtures and enjoy a peaceful, quiet environment in your home.
In the next section, we will explore the solutions to fix a faucet drip and prevent future occurrences.
Read more: Why Are My Gutters Dripping
Wasting Water
One of the most significant consequences of a faucet drip is the wastage of water. Even a slow and steady drip can add up to a significant amount of water waste over time. The impact on both the environment and your water bills cannot be underestimated.
According to the United States Environmental Protection Agency (EPA), a faucet that drips at a rate of one drip per second can waste more than 3,000 gallons of water in a year. This is equivalent to the amount of water needed to take over 180 showers. Imagine the amount of water that goes down the drain if the drip is faster or if multiple faucets in your home are dripping simultaneously.
Not only is wasting water harmful to the environment, but it also has financial implications. Every drop of water that goes to waste is money out of your pocket. The cost of water can vary depending on your location, but it is a valuable and limited resource that should not be taken for granted.
By fixing a faucet drip, you can significantly reduce water waste. This simple act of repair not only helps conserve water but also has a positive impact on your monthly water bills. The amount of water saved can be substantial, and you will notice the difference in your consumption and expenses over time.
It is important to address a faucet drip as soon as it is noticed. By taking prompt action, you can minimize the amount of water wasted and contribute to a more sustainable future. Don’t let a small drip turn into a significant water loss. Fixing the drip is not only responsible but also helps protect our precious water resources.
In the next sections, we will explore various solutions to help you fix a faucet drip and prevent future occurrences. These solutions will not only save water but also provide you with a more efficient and well-functioning plumbing system.
A common cause of a dripping faucet is a worn-out or damaged washer. Replacing the washer can often solve the problem and stop the drip.
Increased Water Bills
Another consequence of a faucet drip is the increase in water bills. Even a seemingly minor drip can have a substantial impact on your monthly expenses if left unattended. The wasted water adds up over time, and you end up paying for water that you are not actively using.
Water costs can vary based on your location and the rates set by your water provider. Regardless of the specific cost per gallon, the cumulative effect of a faucet drip can result in a significant increase in your water bills over the course of a month or year.
Additionally, a faucet drip can cause your water meter to continually register usage, even when you are not consciously using water. This can falsely inflate your water consumption, leading to higher bills that do not accurately reflect your actual usage.
By addressing the faucet drip and fixing the issue, you can prevent unnecessary water waste and control your water expenses. The amount of money saved will depend on the severity of the drip, but even a small reduction in water consumption can result in noticeable savings over time.
Taking proactive steps to monitor and maintain your plumbing system can also help prevent future incidents of faucet drips and keep your water bills in check. Regularly inspecting your faucets, addressing any leaks or drips promptly, and ensuring proper installation and maintenance can all contribute to a more efficient and cost-effective water usage.
Remember, each drop of water that goes down the drain due to a faucet drip represents wasted money. By quickly fixing the drip, not only do you save water, but you also regain control over your water bills, optimizing your household budget and reducing unnecessary expenses.
In the next sections, we will explore practical solutions to address and prevent faucet drips, helping you regain control over your water consumption and bills.
Potential Damage to Fixtures
A faucet drip can potentially cause damage to the fixtures surrounding the faucet. Over time, the constant drip of water can have various negative effects and compromise the integrity of these fixtures.
One of the main concerns is the potential damage to the finish of the fixtures. The continuous water exposure can wear down the protective coatings and finishes, leading to discoloration, etching, or even corrosion. This is particularly noticeable in fixtures made of materials such as chrome or brass.
In addition to the aesthetic damage, water dripping onto fixtures can also lead to more serious consequences. If the water finds its way into cracks or crevices, it can penetrate underlying surfaces, such as cabinets or countertops, causing water damage. This can result in warping, swelling, or even mold growth if left unaddressed.
Fixtures located near the faucet, such as towel bars, soap dispensers, or mirrors, can also be negatively affected by a constant drip. The moisture from the drip can cause these accessories to deteriorate, rust, or become loose over time.
Furthermore, a faucet drip can contribute to the degradation of the overall plumbing system. The constant presence of water can accelerate the wear and tear on other components, potentially leading to more extensive plumbing issues in the long run.
Preventing potential damage to fixtures caused by a faucet drip is essential. By promptly addressing the drip and fixing the issue, you can protect the integrity of your fixtures and prevent further deterioration. Regular maintenance and inspection of your plumbing system can also help identify and address any signs of damage or potential leaks before they become more severe.
Remember, a small drip now can lead to significant damage later. Taking action and fixing the drip not only protects your fixtures but also ensures the longevity and functionality of your plumbing system as a whole.
In the next sections, we will explore effective solutions to fix a faucet drip and prevent future damage to your fixtures and plumbing system.
Annoying Noise
One of the immediate and noticeable consequences of a faucet drip is the incessant and annoying noise it creates. The constant sound of water droplets hitting the sink or other surfaces can be quite frustrating, especially in quiet environments or during nighttime when the background noise is minimal.
The repetitive drip sound can disrupt sleep, concentration, and mental relaxation. It has the potential to cause irritation and stress, not only for you but also for other occupants of your household. The annoyance factor of a faucet drip should not be underestimated, as it can have a negative impact on your overall quality of life.
In addition to causing irritation, the constant noise can also be a sign of an underlying plumbing issue. It signals that water is not being properly contained within the faucet, which can lead to other problems if left unaddressed. Ignoring the noise and allowing the drip to persist can result in further damage to the faucet or surrounding fixtures, exacerbating the issue and increasing the annoyance level.
The solution to eliminate the annoying noise is to fix the faucet drip. By addressing the underlying cause and repairing any faulty components, you can restore the quiet and peaceful environment in your home.
Fixing a faucet drip not only eliminates the annoying noise but also provides a sense of relief and satisfaction. The silence that follows the repair can be a welcome change and improve the overall ambiance of your living space.
In the next sections, we will explore effective solutions to fix a faucet drip and provide you with step-by-step guidance to restore the tranquility in your home.
Read more: How To Fix Dripping Bathroom Faucet
Solutions to Fix a Faucet Drip
Addressing a faucet drip as soon as it is noticed is crucial to prevent unnecessary water waste, increased bills, potential damage to fixtures, and the annoyance of a constant drip sound. Here are some effective solutions to fix a faucet drip:
- Replace the O-ring or Washer: If the drip is caused by a worn-out or damaged O-ring or washer, the solution is to replace these components. Turn off the water supply, remove the faucet handle, and replace the old O-ring or washer with a new one that matches the specifications.
- Tighten or Replace the Valve Seat: If the drip is caused by a loose or damaged valve seat, tighten it using a wrench. If the valve seat is severely damaged, it may need to be replaced using a matching replacement part.
- Clean or Replace Faucet Parts: Corrosion and mineral build-up inside the faucet can cause drips. Clean the affected parts using a brush or vinegar solution. If the build-up is severe, consider replacing the affected components or seek professional assistance.
- Install a Pressure Regulator: High water pressure can contribute to faucet drips. Install a water pressure regulator to regulate the water pressure coming into your home and protect your faucets from excessive strain.
- Properly Install the Faucet: Ensure that the faucet is installed correctly with tight connections and proper sealing. If the faucet was improperly installed, consult a professional plumber to reinstall it correctly.
It is important to note that each faucet may have unique components and specifications, so it’s important to refer to the manufacturer’s instructions or consult a professional if you’re unsure about the specific steps for your faucet type.
By following these solutions and addressing the underlying causes of the faucet drip, you can effectively fix the issue and prevent future occurrences. Not only will this conserve water and reduce your water bills, but it will also protect your fixtures, maintain a peaceful environment, and ensure the optimal functionality of your plumbing system.
Regular maintenance, inspection, and prompt repair of any faucet drips will help you maintain a well-functioning plumbing system and contribute to water conservation efforts.
Replace the O-ring or Washer
One of the most common causes of a faucet drip is a worn-out or damaged O-ring or washer. These small components are located inside the faucet handle and are designed to create a watertight seal when the faucet is closed. Over time, they can deteriorate due to regular usage, resulting in a faulty seal and a persistent drip.
The solution to this issue is to replace the O-ring or washer. Here’s a step-by-step guide on how to replace these components:
- Turn off the water supply to the faucet. Look for the shut-off valves under the sink and turn them clockwise to stop the flow of water.
- Remove the faucet handle. This can usually be done by unscrewing the set screw located under a decorative cap or cover. Use a screwdriver or an Allen wrench, depending on the type of handle.
- Once the handle is removed, locate the O-ring or washer inside the handle. The specific location and design may vary depending on the faucet model.
- Inspect the O-ring or washer for any signs of wear or damage. Look for cracks, tears, or distortions.
- Remove the old O-ring or washer using a pair of pliers. Take note of their size and shape as you will need this information to acquire the correct replacement.
- Head to your local hardware store or plumbing supply store and purchase a new O-ring or washer that matches the size and shape of the old one.
- Install the new O-ring or washer into the designated spot inside the faucet handle. Ensure that it is properly seated and in position.
- Reassemble the faucet handle by following the reverse order of the disassembly. Secure the handle, tighten the set screw, and ensure it is firmly in place.
- Turn on the water supply and test the faucet. Check for any leaks or drips. If there are no more drips, the issue has been successfully resolved.
Replacing the worn-out O-ring or washer is a relatively simple fix that can be done by most homeowners. However, if you are uncomfortable with performing this repair yourself or if the problem persists after replacement, it is recommended to seek the assistance of a professional plumber.
By replacing the O-ring or washer, you restore the proper seal and eliminate the drip, saving water, and preventing unnecessary water bills. Regular inspection and replacement of these components can help maintain a drip-free faucet and prolong the lifespan of the fixture.
Tighten or Replace the Valve Seat
If you have tried replacing the O-ring or washer and the faucet still drips, the issue may be a loose or damaged valve seat. The valve seat is the connection point between the faucet and the spout, which helps create a proper seal when the faucet is closed. Over time, the valve seat can become loose or worn out, resulting in water leakage and a persistent drip.
If you suspect a loose valve seat, you can try tightening it to eliminate the drip. Here are the steps to follow:
- Turn off the water supply to the faucet. Locate the shut-off valves under the sink and turn them clockwise to shut off the water flow.
- Remove the faucet handle by unscrewing the set screw or handle nut. Use a screwdriver or a wrench, depending on the type of handle.
- Locate the valve seat, which is usually a flat or cylindrical component connected to the base of the faucet. You may need to use pliers or a specialized valve-seat wrench to reach and access it.
- Using pliers or a wrench, gently tighten the valve seat. Be careful not to overtighten, as this can cause damage to the seat or other components. Check for any noticeable improvement in the drip.
- If tightening the valve seat does not solve the problem, it may be damaged and need to be replaced. To replace the valve seat:
- Obtain a matching replacement valve seat from a hardware store or plumbing supplier, ensuring that it is the correct size and compatible with your faucet model.
- Using pliers or a valve-seat wrench, unscrew the old valve seat in a counterclockwise direction.
- Clean the area around the seat to remove any debris or mineral buildup.
- Take the new valve seat and wrap it with plumber’s tape to ensure a tight seal.
- Screw the new valve seat into place, turning it clockwise until it is snug.
- Reassemble the faucet handle and turn on the water supply.
- Check for any drips or leaks. If there are no more drips, the issue is resolved.
If these steps do not fix the drip or if you are unsure about performing these repairs, it is recommended to consult a professional plumber. They will have the expertise and specialized tools to properly tighten or replace the valve seat.
By addressing a loose or damaged valve seat, you restore the proper seal and prevent water leakage. This resolves the faucet drip, reduces water waste, and ensures the efficient functioning of your faucet.
Clean or Replace the Faucet Parts
If you have tried replacing the O-ring or washer and tightening the valve seat without success, the faucet drip may be caused by corrosion or mineral buildup within the faucet. Over time, sediments and minerals from the water supply can accumulate inside the faucet, obstructing the flow of water and causing leaks.
To address this issue, you will need to clean or replace the affected faucet parts. Here are the steps to follow:
- Turn off the water supply to the faucet. Locate the shut-off valves under the sink and turn them clockwise to stop the water flow.
- Disassemble the faucet by removing the handle, spout, and any other removable parts. Refer to the manufacturer’s instructions or consult a professional if you are unsure how to disassemble your specific faucet model.
- Inspect the interior components of the faucet, focusing on areas such as the valve assembly, cartridge, and aerator.
- If you notice any corrosion or mineral buildup, clean the affected parts using a soft brush or toothbrush. You can also soak them in a mixture of vinegar and water to help dissolve the mineral deposits. Be sure to rinse the parts thoroughly after cleaning.
- If the corrosion or buildup is severe and cleaning does not resolve the issue, you may need to replace the affected components. Consult the faucet’s manufacturer or a plumbing professional to obtain the correct replacement parts.
- Install the new components, following the manufacturer’s instructions or seeking professional assistance if needed.
- Reassemble the faucet by putting the parts back together in the reverse order of disassembly.
- Turn on the water supply and check for any leaks or drips. If there are no more drips, the issue is resolved.
Regular cleaning or replacement of faucet parts is essential to prevent the buildup of sediments and minerals, which can lead to drips and leaks. It is recommended to incorporate routine maintenance into your plumbing care to ensure the longevity and proper functioning of your faucet.
If you are uncomfortable with performing these cleaning or replacement steps, or if the issue persists after cleaning, it is advisable to seek the assistance of a professional plumber. They can provide expert guidance and ensure that the correct components and cleaning methods are used for your specific faucet model.
By cleaning or replacing the faucet parts, you eliminate the obstructions causing the faucet drip and restore the smooth flow of water. This resolves the issue, improves water efficiency, and prevents further damage to your faucet.
Read more: How Do You Fix A Dripping Faucet
Install a Pressure Regulator
High water pressure can contribute to faucet drips and other plumbing issues. If you’ve ruled out other causes and your faucet continues to drip, it may be due to excessively high water pressure in your home. Installing a pressure regulator can help regulate and maintain a more optimal water pressure, reducing the strain on your faucet and preventing drips.
Here’s how you can install a pressure regulator:
- Turn off the main water supply to your home. Locate the shut-off valve, typically found near the water meter or where the water line enters your home, and turn it clockwise to shut off the water flow.
- Identify the location for the pressure regulator installation. Ideally, it should be installed near the main water supply line. You may need to consult a professional plumber for assistance in determining the best location.
- Prepare the area for installation. Clear any obstructions and ensure that there is sufficient space for the pressure regulator.
- Choose the appropriate pressure regulator for your home’s water pressure needs. Look for a regulator that is compatible with your residential water pressure range, typically between 40 to 60 psi (pounds per square inch).
- Follow the manufacturer’s instructions for installing the pressure regulator. Secure it to the water supply line using appropriate fittings and fasteners.
- Ensure that the pressure regulator is installed in the correct orientation, with the arrow on the regulator indicating the direction of the water flow.
- Turn on the main water supply and check for any leaks or drips. If there are no issues, the pressure regulator is successfully installed.
- Monitor the faucet for any ongoing drips. If the faucet continues to drip, there may be another underlying issue that requires further investigation by a professional plumber.
Installing a pressure regulator can help regulate the water pressure throughout your home, reducing the strain on your faucets and preventing drips. This not only addresses the immediate issue but also helps protect your entire plumbing system from the risks associated with high water pressure.
If you are unsure about installing a pressure regulator yourself or if you experience complications during the installation, it is recommended to seek the expertise of a professional plumber. They can ensure that the pressure regulator is installed correctly and properly integrated into your plumbing system.
By installing a pressure regulator, you can maintain a more optimal and consistent water pressure, mitigating the risks of faucet drips and extending the lifespan of your plumbing fixtures.
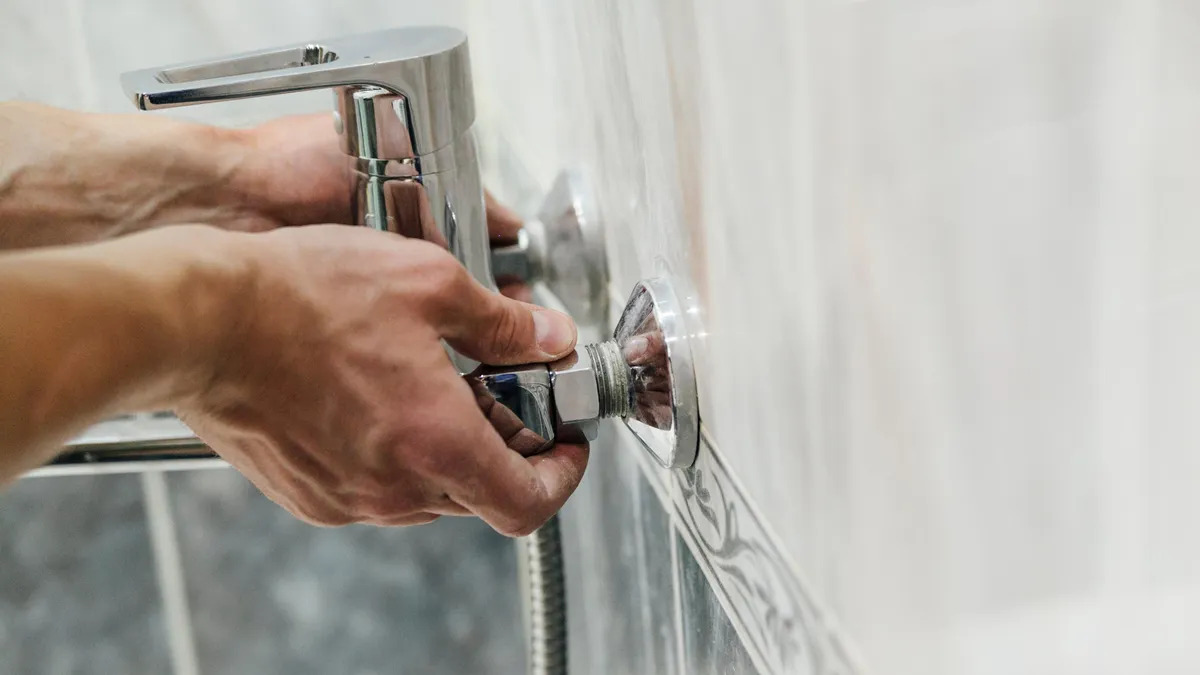
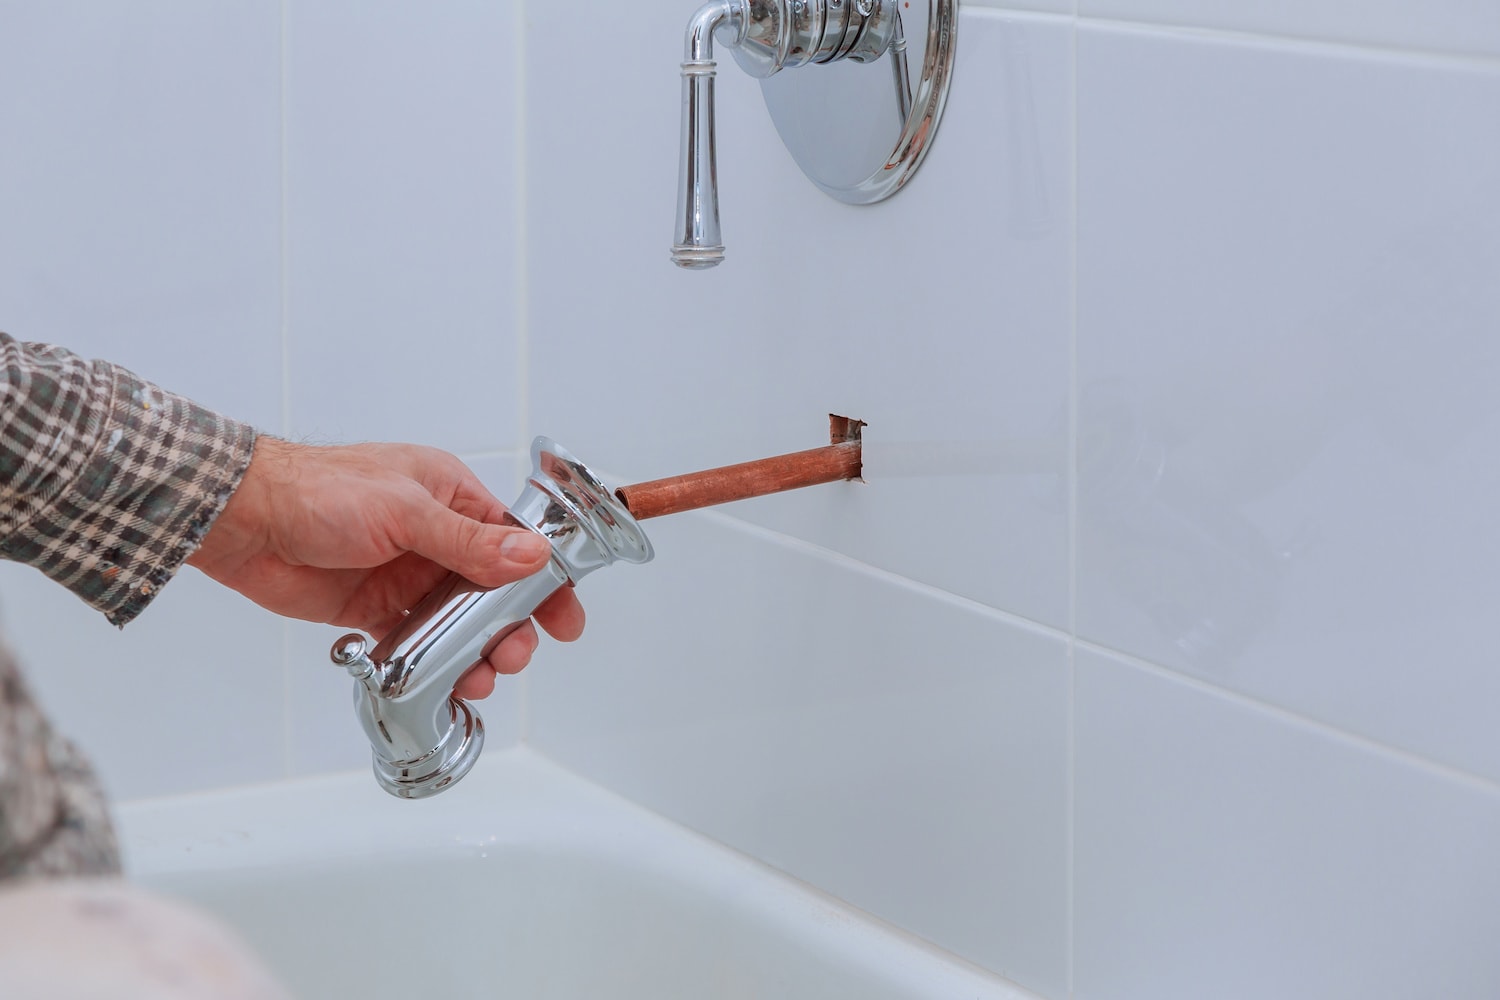
Properly Install the Faucet
If you have a newly installed faucet or have recently experienced a drip after a faucet replacement, improper installation could be the cause. Ensuring that the faucet is properly installed is essential for preventing leaks and drips. By following proper installation techniques, you can maintain a watertight seal and prevent future issues. Here are the steps for properly installing a faucet:
- Start by turning off the water supply to the faucet. Locate the shut-off valves under the sink and turn them clockwise to stop the water flow.
- Remove the old faucet, if applicable, by disconnecting the water supply lines and loosening the mounting nuts or screws securing the faucet to the sink or countertop.
- Clean the mounting surface thoroughly to remove any debris, old sealant, or mineral buildup that could affect the installation.
- Before installing the new faucet, check the manufacturer’s instructions to ensure you have all the necessary components and tools.
- Apply a thin layer of plumber’s putty or silicone sealant around the base of the faucet if recommended by the manufacturer.
- Position the faucet on the mounting surface and align it properly. If the faucet has multiple pieces, such as handles or a spout, ensure they are correctly aligned before tightening.
- Use the provided mounting nuts or screws to secure the faucet to the sink or countertop. Be careful not to overtighten, as this can cause damage.
- Connect the water supply lines to the corresponding hot and cold water inlets on the faucet. Tighten the connections with adjustable wrenches, ensuring they are snug but not overly tightened.
- Turn on the water supply valves slowly to allow water to flow into the faucet.
- Check for any leaks or drips around the connections. If leaks are detected, turn off the water supply and make necessary adjustments, such as tightening the connections or replacing faulty components.
- After confirming there are no leaks, test the faucet by turning it on and off to ensure proper operation.
If you lack plumbing experience or encounter any difficulties during the installation process, it is advisable to consult a professional plumber for assistance. They possess the knowledge and tools required to ensure the faucet is installed correctly, minimizing the risk of leaks and drips.
By properly installing the faucet, you establish a tight seal and prevent water from escaping when the faucet is closed. This not only eliminates drips but also promotes the longevity and efficient functionality of your plumbing fixtures.
Conclusion
A faucet drip may seem like a small, insignificant issue, but it can have significant consequences. From wasting water and increasing water bills to potential damage to fixtures and the annoyance of constant dripping sound, addressing a faucet drip is essential for both practical and environmental reasons.
In this article, we explored the various reasons that can cause a faucet drip, including worn-out O-rings or washers, loose or damaged valve seats, corrosion or mineral buildup, high water pressure, and improper installation. By understanding the underlying causes, you can effectively diagnose and resolve the issue.
We discussed solutions to fix a faucet drip, including replacing the O-ring or washer, tightening or replacing the valve seat, cleaning or replacing faucet parts, installing a pressure regulator, and properly installing the faucet. These solutions empower you to take action and restore the functionality of your faucet.
It is important to remember that plumbing repairs can vary based on the specific faucet model and your comfort level with performing repairs. If you are uncertain or encounter difficulties, it is wise to seek the expertise of a professional plumber who can assist you with resolving the drip effectively and efficiently.
By promptly addressing a faucet drip and implementing the appropriate solutions, you not only save water and reduce water bills but also prevent potential damage to fixtures and create a more peaceful living environment.
Maintaining a well-functioning plumbing system is not only vital for your own convenience and budget but also for the sustainability of our precious water resources. Each individual effort to prevent faucet drips contributes to water conservation and helps create a more sustainable future.
Remember, a seemingly minor drip today can lead to significant consequences in the long run. Take action, fix the drip, and enjoy the benefits of a properly functioning faucet and a more responsible use of water.
Frequently Asked Questions about Why Does A Faucet Drip
Was this page helpful?
At Storables.com, we guarantee accurate and reliable information. Our content, validated by Expert Board Contributors, is crafted following stringent Editorial Policies. We're committed to providing you with well-researched, expert-backed insights for all your informational needs.


0 thoughts on “Why Does A Faucet Drip”