Home>Furniture>Bedroom Furniture>Cheap DIY Headboard Ideas for Your Bedroom
Bedroom Furniture
Cheap DIY Headboard Ideas for Your Bedroom
Modified: December 6, 2023
Why buy an expensive headboard if you can create a stunning one for your bedroom? Check out these super easy and cheap DIY headboard ideas to get started.
(Many of the links in this article redirect to a specific reviewed product. Your purchase of these products through affiliate links helps to generate commission for Storables.com, at no extra cost. Learn more)
There are numerous commercially-available headboards today, but nothing beats a do-it-yourself (DIY) headboard for your bedroom. You’ll have complete freedom to design and decorate it however you want, whether this is your first DIY project or not. Fortunately, we have some brilliant and cheap DIY headboard ideas for you, so keep reading.
Benefits of DIY Headboards
Creating a cheap DIY headboard has many benefits that make it a strong competitor to commercial headboards. First and foremost, it is inexpensive because you can use whatever material you want. You can reuse old headboards and repurpose other materials from around your house. There’s no need to buy new, additional tools too, unless absolutely necessary.
Other than being affordable, creating DIY headboards can be likened to making a piece of art. It allows you to beautify beds of all types and sizes. In turn, you are also enhancing the appearance of your bedroom. You can go with a simple, minimalist look or one that has an intricate or elegant appearance, depending on the overall aesthetic of your home.
In addition to that, a personalized headboard comes in different levels of difficulty. Even if you have no prior experience with DIY projects, headboard ideas (such as the ones we’ll discuss later) are fairly simple to follow and comprehend. You can also begin with small projects and progress to larger ones based on your level of expertise.
Amazing and Cheap DIY Headboard Ideas for Your Bedroom
Basic Tools and Materials You’ll Need:
Whether you’re making one for a headboard-less bed or replacing an old one, our cheap DIY headboard ideas will enliven your bedroom in no time. But before you start, it’s important to gather all the materials and tools that you need.
-
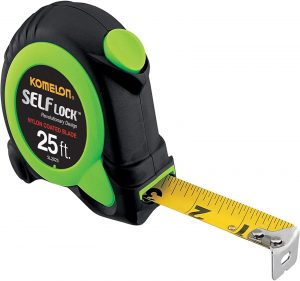
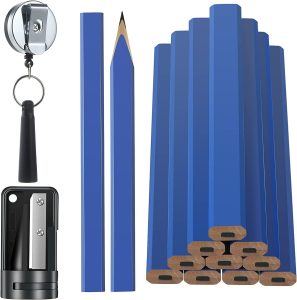
- Carpenter’s pencil and measuring tape: A pencil and a measuring tape are essential for the planning process of your project. A simple pencil is a good option, but a specialized carpentry pencil is even better since it’s more durable and is non-slip.
-
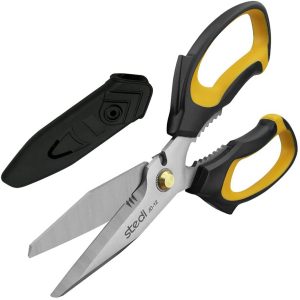
- Scissors: You’ll also be dealing with a lot of cutting and trimming, so get scissors for paper and fabric.
-
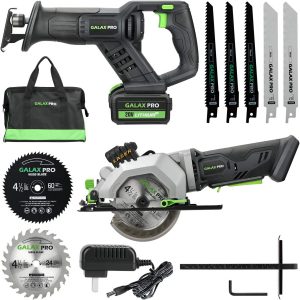
- Saw: This tool is needed for cutting wood and metal. Take note that while a traditional saw will suffice for simple wood cutting, a powerful circular saw works faster and is ideal for more tedious cutting tasks.
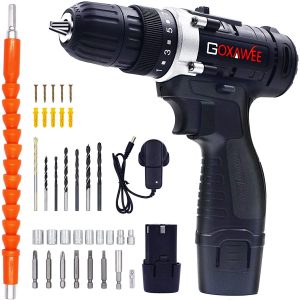
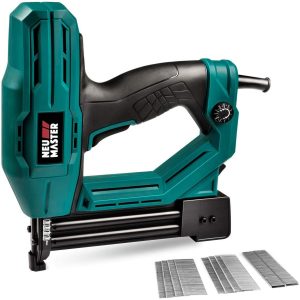
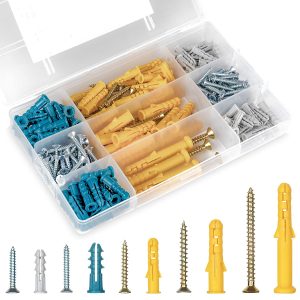
- Electric drill, drill bits, nail/stapler gun, and anchors/screws: Drilling and fastening tools, such as an electric drill (and its accompanying drill bits), nail guns, and wall screws are also important. They are often used when working with woods and metals, but you’ll also need them if you want to mount the headboard on your wall or attach it to the bed frame. Of course, if you’re using fabric and paper, you’ll only need any kind of adhesive or thread to pin things together.
We’re also listing the additional tools and items that you will need for every headboard idea, so you can prepare them all in advance.
DIY Wooden Slats Headboard
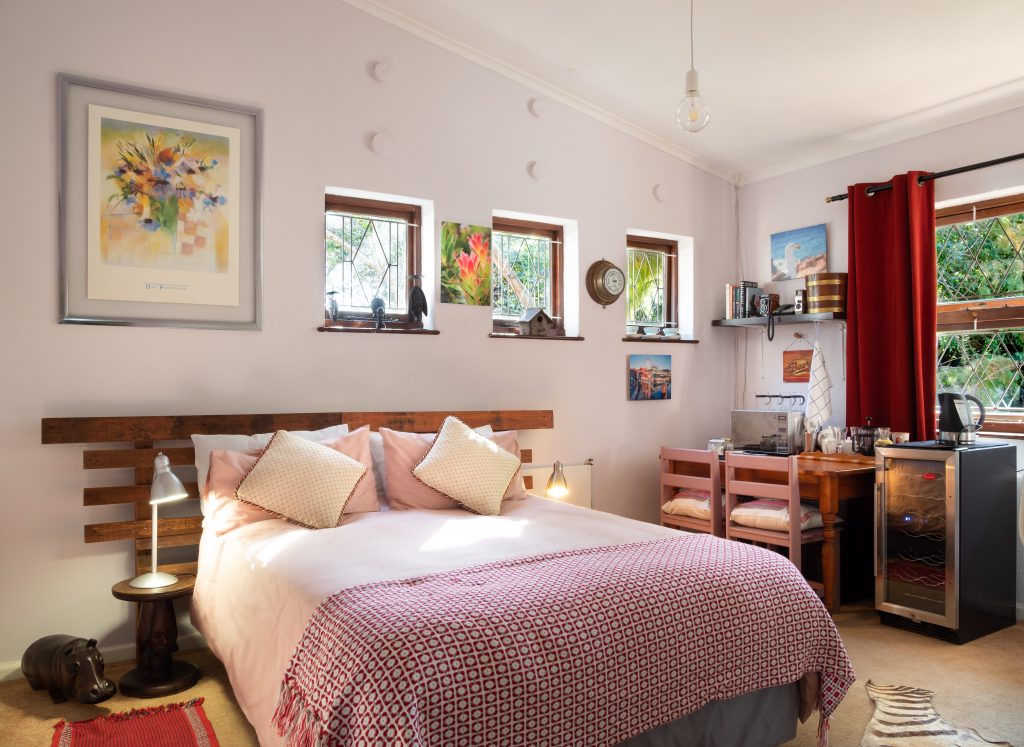
Photo from Pexels
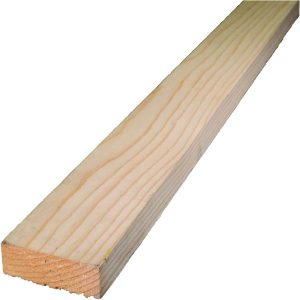
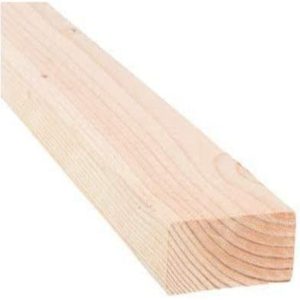
What’s not to like about wooden headboards? Aside from being chic, they’re also durable and comfortable to use. This DIY wooden headboard is a good example of this. With only furring strips or dimensional lumber as slats, it is inexpensive and easy to accomplish. Moreover, the slats can be wide or narrow or laid out in vertical or horizontal strips. Each slat also has equal space between them, creating the illusion of space and an airy atmosphere in small rooms.
What You’ll Need:
Before starting, prepare the wood for the slats and supporting braces first. The braces are where the slats are attached, serving as the base. Ideally, you would only need two braces (one on each end), but you can add one or more in the center, especially for long headboards. The number of the slats can also be based on how wide you would want each slat to be, but it’s best to have at least five.
Instructions
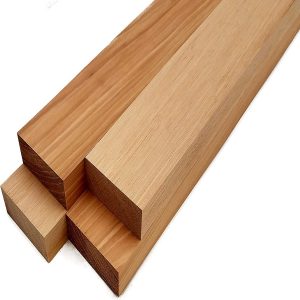
You have two options for making the slats and braces: manually cut a thick lumber board to the desired size with a saw or buy precut wood blocks or furring strips. Whatever you choose, make sure to trim them to fit the length and height of the bed you’re using. The slats should ideally be at least 2 inches wide, 2 inches thick, and at least 8 feet long. The braces, on the other hand, can be at least 6 feet long, 2 inches wide, and 2 inches thick.
After these wooden parts are ready for use, pre-drill holes on them using an electric drill. Simply line up the slats to the braces and then mark the intersecting areas with a pencil, and then proceed to drill. Using a nail gun (with nails) as an alternative to using a drill and screws is a good option too.
Once the holes are done, attach the slats to the braces using wood screws. Ensure that each slat has equal gaps between one another. Tighten the screws to the braces to avoid the headboard from squeaking, and that’s it! You can just mount or lean this DIY headboard on the wall near your bed.
DIY Wooden Rustic Plank Headboard
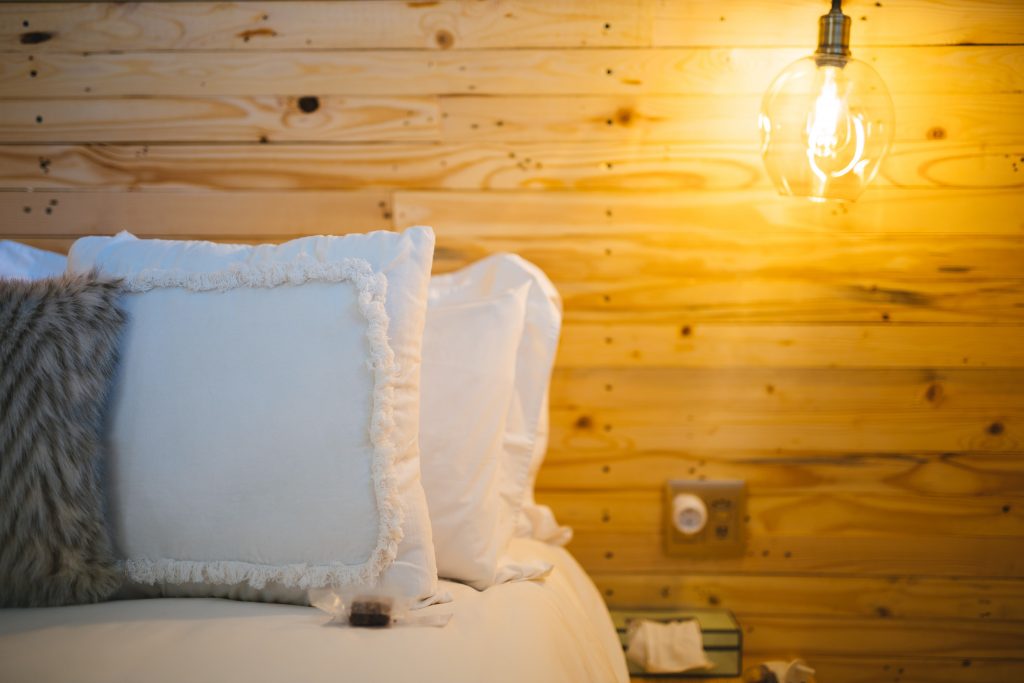
Photo from Unsplash
You don’t always have to buy expensive, ready-made wooden headboards to give your bedroom a fancy, rustic look. All you need are reclaimed wooden planks and scraps (that are probably lying in your shed or woodworking station) to make a DIY headboard.
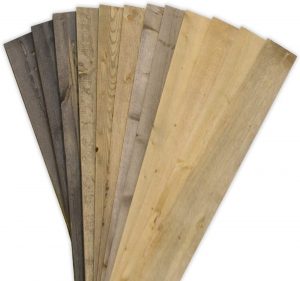
But if you don’t have any on hand or if you need more pieces to finish your cheap DIY headboard, you can buy some affordable planks. The featured planks above, for instance, come in various shades that will make your statement headboard more eye-catching and intriguing. Also, take note that the planks for this headboard are meant to have no gaps in between, unlike the previous slatted headboard idea.
What You’ll Need:
Gather all of the planks required for the size of the headboard. It can be as tall as the wall, half as tall, or just the right size for your bed. Once you’ve decided on the size, get a piece of flat plywood with the same dimensions. The plywood will serve as the base surface to which all of the planks will be nailed, so don’t forget to use a measuring tape to make sure that it has the right size.
Instructions
Start by laying out the planks on plywood depending on the pattern that you like. You can arrange them horizontally, vertically, or in a herringbone pattern. The plywood panel can also be in its usual square or rectangle shape, or you can trim it to make other shapes. Trim the planks so that they’ll fit the plywood panel as well. Then, nail the planks to the plywood using a nail gun.
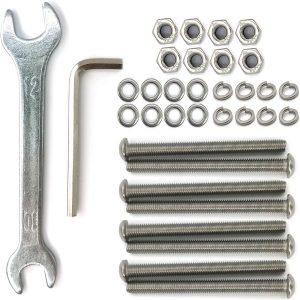
Now that the wooden board is done, you can add wood trimmings as optional borders. Next, flip the board to attach two wooden legs to the back. The legs should be sturdy enough to support the weight of the headboard, so you can use excess plywood or wooden blocks. Once done, bolt the legs of the headboard to the bed frame to permanently connect them.
Note: This cheap DIY wooden headboard can also be wall-mounted. With that, there’s no need for wooden legs and a plywood panel. Instead, use your wall as the base to attach all the planks using a drill and wall screws.
Read more: How To Assemble A Bed Frame With Headboard
DIY Diamond-Tufted Headboard
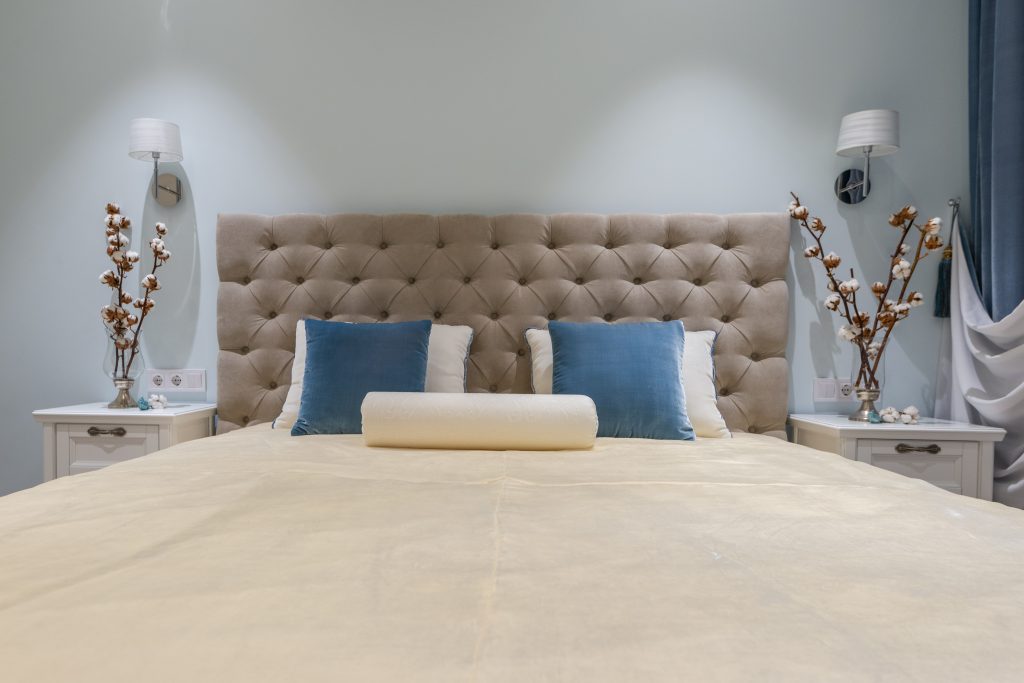
Photo from Pexels
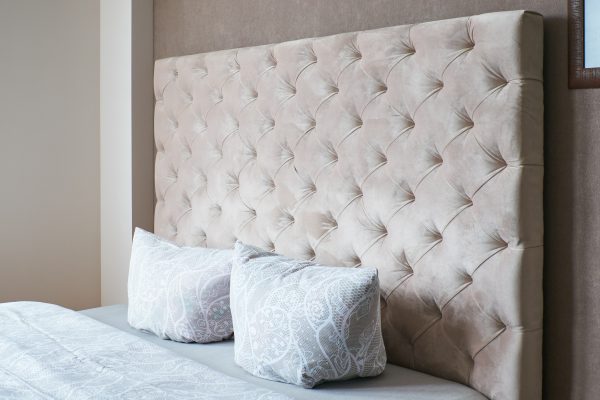
Fancy an elegant, tufted headboard but can’t afford one yet? Fret not because making its budget-friendly DIY alternative is a piece of cake. With only a few materials, many of which are already available in your home, you’ll have a comfy and stylish tufted headboard to complete the look of your bedroom.
What You’ll Need:
Instructions
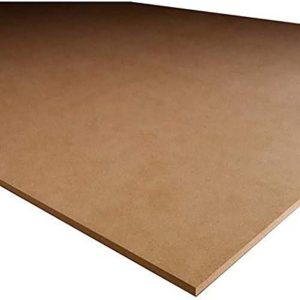
First off, you’ll need a solid base for the headboard. This can be any salvaged wood available in your home, but you can also buy a plywood sheet, an MDF board, or cardboard. Whatever you choose, make sure that it suits the size of your bed. You would want it to be a bit wider than your mattress, so measure and trim it as needed. Don’t forget to also cut it based on the shape that you want.
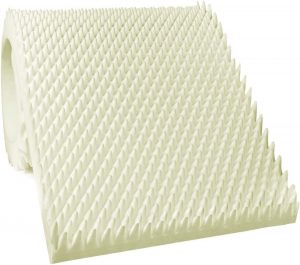
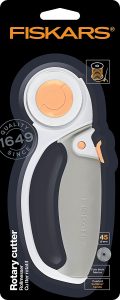
Next, cover the front of the board with a mattress topper as the cushion. You can also use an old duvet or foam, but an egg crate mattress topper is the most ideal since its uneven surface helps highlight tufts more easily. Trim the edges of the topper with scissors or a rotary cutter as well.
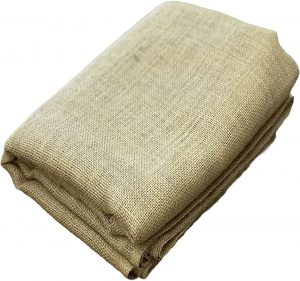
Proceed by using a marker or a pencil to mark out diamond tufts in the mattress topper. Then, drill directly through the foam and the board (on the spot where the buttons should be placed). Add the upholstery fabric on the board and then staple its edges (together with that of the mattress topper) to the backside of the board.
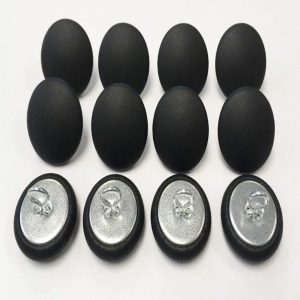
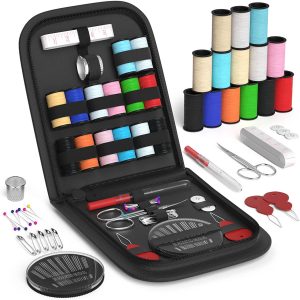
After that, insert the tufts button through the holes using threads and needles. Sew the buttons one at a time, making sure to remove the needles and tighten the threads. Once finished, you can add legs to the headboard to attach it to the bed frame, or just mount it to the wall next to your bed.
DIY Room Divider Screen Headboard
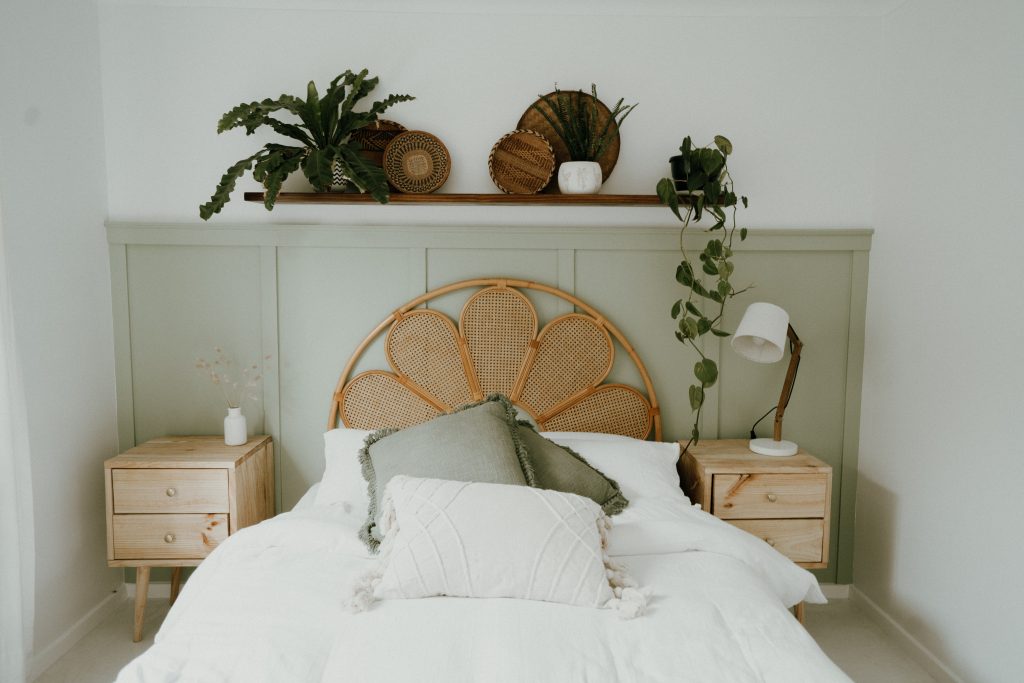
Photo from Pexels
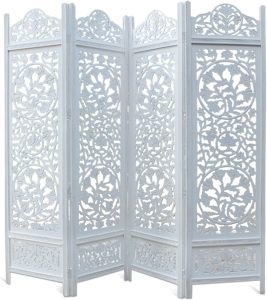
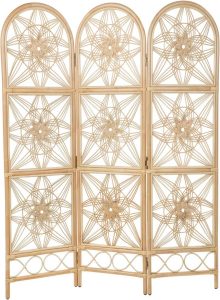
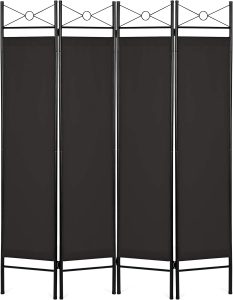
Want an affordable headboard that looks unique with its ornate wood carvings and prints? Look no further because a folding screen is all that you need! You can recycle your old ones to effortlessly highlight a vintage look in your bedroom or shop for low-cost, stunning folding screens in any style.
Wooden and rattan screens in their natural colors and textures will add warmth to the room. Meanwhile, those that have intricate carvings and dark stains bring out a Deco-inspired look. Metallic screens in either bright or dark colors also add a modern touch to your bedroom.
What You’ll Need:
Instructions
Folding privacy screens are generally freestanding, so you can just leave the one you choose by the head of the bed. That way, it is easy to move and reposition when you’re redecorating your bedroom. If you want to connect it to your bedframe or mount it on the walls though, you need to flatten it out first. Then, use a drill, screws, and bolts to secure it in place.
Furthermore, you can also cut the screens by their folding panels. Depending on how wide a screen is when its panels are stretched out, one or two panels might suffice if you have a small bed. Just remove the hinges of the excess panels to do this.
If the folding screen is also too tall for your liking, cut it in half. Use a saw for its metal and wooden parts, and scissors if it has fabric parts. Just ensure that the screen’s legs are still intact, or simply create new ones so the screen is still stable to use.
DIY Tapestry Headboard

Photo from Unsplash
A smart way to enliven your bedroom without spending too much is by making a cheap DIY headboard using tapestry and drapery. You can rummage your closet and even your attic for old tapestries or curtains stored there. Whether colorful or not, a tapestry headboard will be an exquisite focal point in your room. It’ll also make sleepovers more inviting and appealing.
What You’ll Need:
Instructions
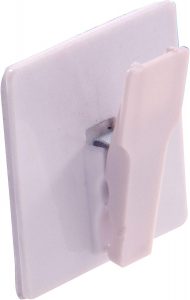
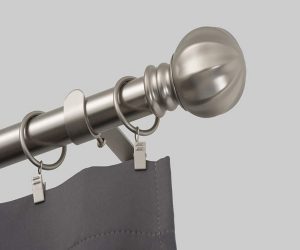
Simply choose a tapestry that is a bit wider than your bedframe. One that is almost as big as your wall is hard to miss too, making it an effective wall decoration. Regardless of the size though, hang the tapestry using a wall hook and wall clips adjacent to your bed. Choose self-adhesive ones to skip drilling your walls. If you don’t have wall hooks, a curtain rod is also a good option to hang the tapestry securely.
Aside from curtains and other eclectic tapestries, you could also make your own T-shirt quilt as a cheap DIY headboard.
DIY Storage Headboard
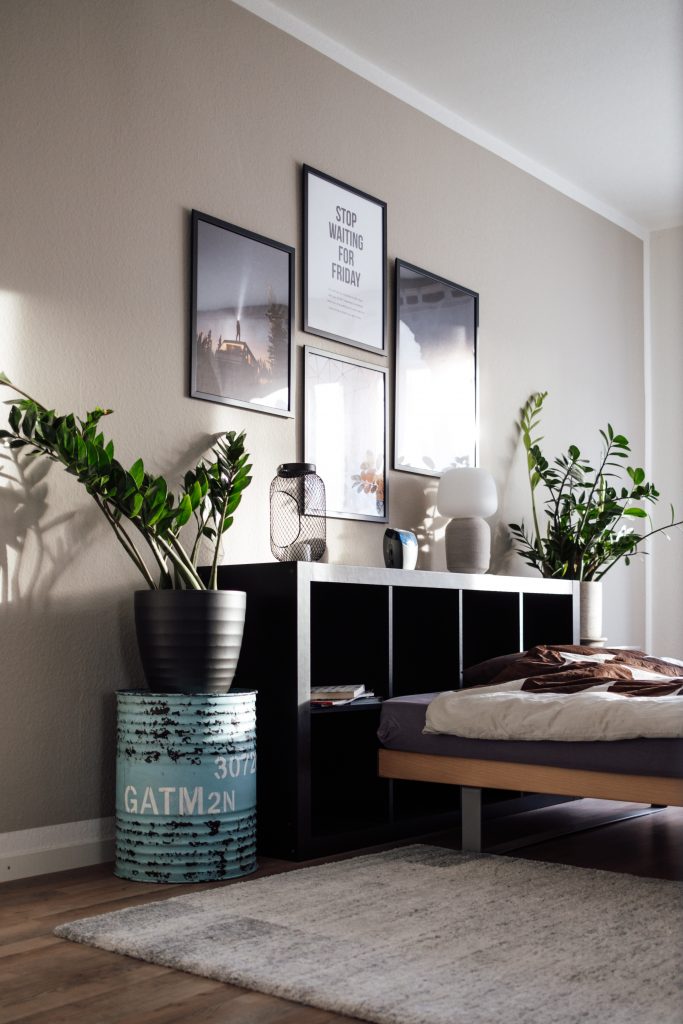
Photo from Unsplash
Want to maximize the storage space in your bedroom without breaking the bank? It is possible by repurposing old or spare shelves in your home as your cheap DIY headboard! You can also upcycle wood scraps and boards to make a new one. Easy to do for both novice and seasoned craft makers, it might be the best DIY bedroom storage solution that your kids will love as well.
What You’ll Need:
Instructions
If you want to build a storage headboard from scratch, you only need the necessary wooden boards and panels for your shelf’s backing material, tiers, and legs. Piece them all together using a drill, wood screws, or a nail gun. Then, place the finished product between the walls and the head of your bed.
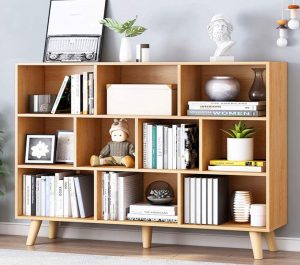
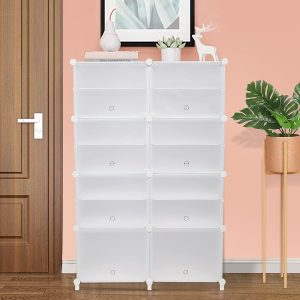
Likewise, you can just customize some already available furniture in your home. Consider stacking multiple wooden crates together using the same tools or use a bookcase or a cubby. Bookcases that come with legs, for instance, are the most convenient to use because they are freestanding and do not need to be mounted on the walls. Simply make it taller or wider than your bedframe to make it more visible and easier to access. Floating beds, for example, are the most ideal for this kind of headboard due to their low-lying construction.
Feel free to remove the bookcase’s lower tiers so that it fits your bed better, too. For modular storage cubes, stack the boxes as high and wide as you need. This storage is freestanding, too, so just put it by the head of the bed and it’s ready to go.
Read more: How To Redo Cheap Countertops
DIY Wallpaper Statement Headboard
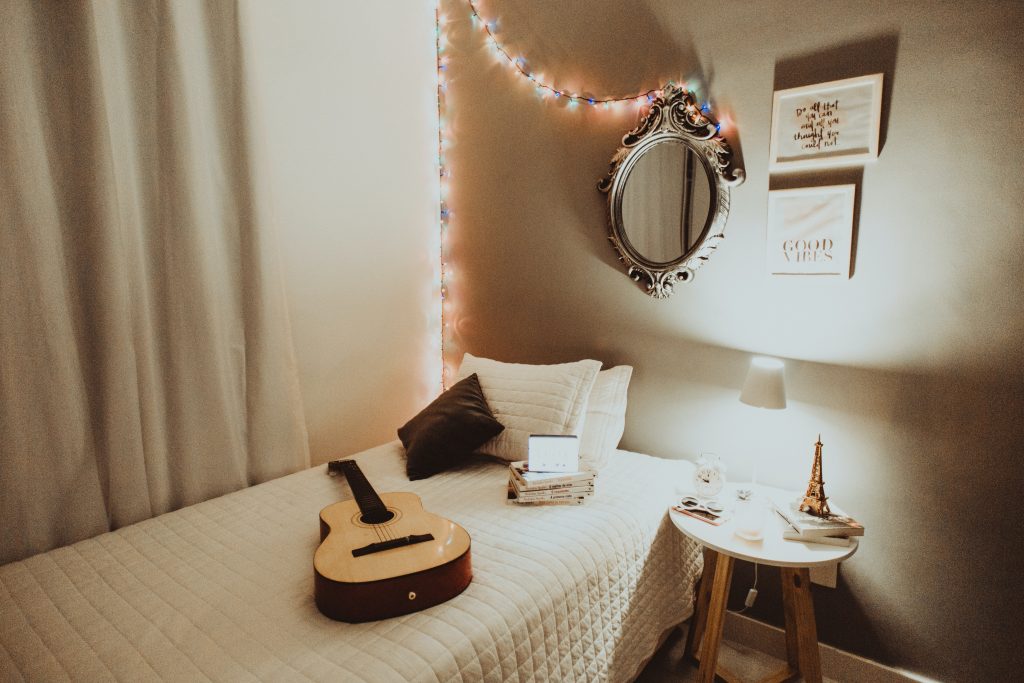
Photo from Unsplash
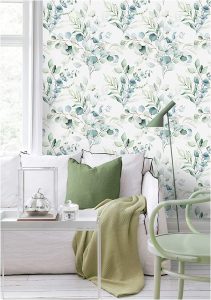
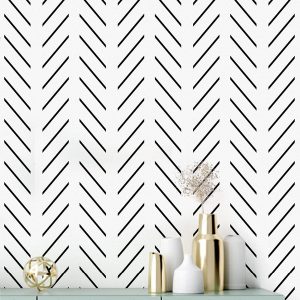
Creating the perfect backdrop for your bed does not have to cost an arm and a leg, especially with this DIY wallpaper headboard. Like the previous items, you can just use your old or unused wallpapers. Inexpensive peel-and-stick wallpapers are also available online so just pick one that matches the color scheme and interior design of your room.
What You’ll Need:
Play with prints and go for floral ones to give your room a serene atmosphere. Of course, you can also choose ones that have geometric prints for a streamlined, minimalist look. Wallpapers with only solid colors are also a good option to complement furniture and flooring tiles with elaborate prints or designs.
Instructions
Choose a wallpaper that is appropriate for the size of your bed’s headboard. It can be slightly wider than the bed frame or it can completely cover the wall at the head of your bed. Once you’ve determined the size you want, cut the wallpaper with scissors or a rotary cutter.
Following that, ensure that the area on the wall where you’re applying the wallpaper is clean and dry. Proceed by peeling the back of the wallpaper inch by inch (not all at once) to reveal its sticky part. Place the wallpaper on the wall while peeling off the backing and gently pressing it until it is completely glued to the surface. Flatten the areas where bubbles and wrinkles are likely to form, and you’re done!
Tips for A Making a Cheap DIY Headboard
Coming up with a creative and cheap DIY headboard may not always be a walk in the park, so here are additional tips to help you out.
-
- Allot time for research and planning during your cheap DIY headboard project. Decide ahead of time the kind or style that you want. Make an outline or a simple layout to visualize and improve your plan.
-
- Repurposing or upcycling materials in your home as a component/part of your DIY headboard is a great way to save money. However, if the material is no longer durable, it’s best to buy a new one to avoid sacrificing the quality of your work.
-
- Use a stain or a finish to protect wooden DIY headboards.
- Decorate your cheap DIY headboard with string lights or woven macrame to enhance the appeal of your bedroom. Furniture paints are also a creative way to transform its appearance.
Wrapping It Up
So, there you have it. Trying any of these cheap DIY headboard ideas will help rejuvenate your bedroom in no time. Many of the tools and materials that you’ll need are already available in your home so you can save up money and time. Plus, these ideas are easy to achieve for both novice and master DIYers. Get your creative juices flowing and try these amazing DIY headboard ideas now.
Need more budget-friendly DIY bedroom ideas? Be bold and try these DIY bed frame ideas as well!
Was this page helpful?
At Storables.com, we guarantee accurate and reliable information. Our content, validated by Expert Board Contributors, is crafted following stringent Editorial Policies. We're committed to providing you with well-researched, expert-backed insights for all your informational needs.





0 thoughts on “Cheap DIY Headboard Ideas for Your Bedroom”