Home>Furniture>Bedroom Furniture>How To Add Slats To A Bed Frame

Bedroom Furniture
How To Add Slats To A Bed Frame
Modified: January 3, 2024
Learn how to easily add slats to your bed frame for improved support and comfort. Find out how to upgrade your bedroom furniture today!
(Many of the links in this article redirect to a specific reviewed product. Your purchase of these products through affiliate links helps to generate commission for Storables.com, at no extra cost. Learn more)
Introduction
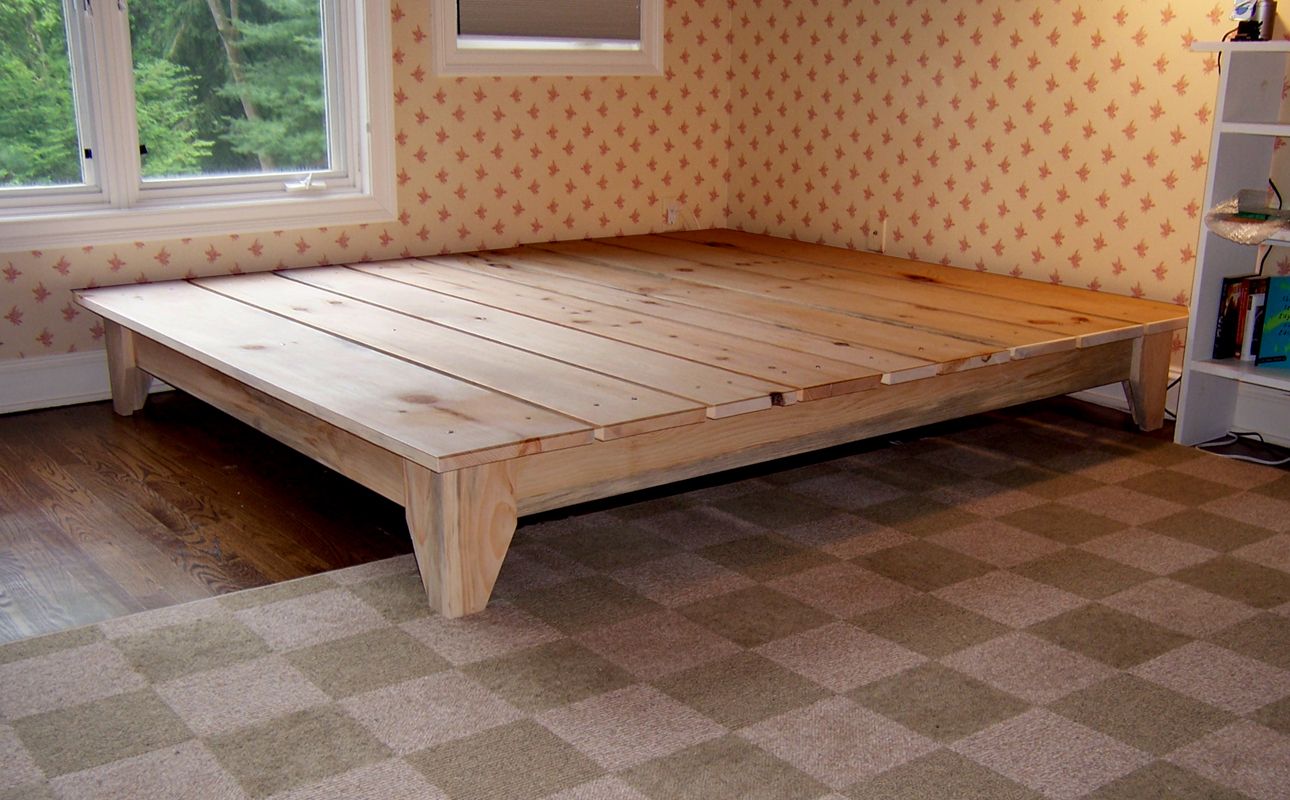
Welcome to our guide on how to add slats to a bed frame. If you’ve ever experienced the frustration of a sagging or uncomfortable mattress, then adding slats to your bed frame can be a simple and effective solution. Slats are wooden or metal supports that are placed horizontally across a bed frame to provide stability, support, and ventilation to your mattress.
By adding slats to your bed frame, you can improve the overall comfort of your bed, prevent mattress sagging, and increase the lifespan of your mattress. Whether you have an older bed frame that didn’t come with slats or you simply want to upgrade your existing slats, this guide will walk you through the step-by-step process.
Before we get started, it’s important to note that the process of adding slats may vary depending on the type of bed frame you have. However, we will provide general instructions that can be adapted to most bed frame styles and sizes.
So, let’s gather our materials and get started on adding slats to your bed frame.
Key Takeaways:
- Adding slats to your bed frame can improve comfort, prevent mattress sagging, and extend its lifespan. Follow our guide to measure, place, and secure slats for a better night’s sleep.
- Ensure proper support by measuring, placing, and testing slats on your bed frame. Use screws or nails to secure them and make adjustments for optimal comfort.
Read more: What Are Bed Frame Slats
Materials Needed
Before you begin adding slats to your bed frame, make sure you have the following materials:
- Slats: Determine the number of slats you will need based on the size of your bed frame. Generally, you will need one slat for every 2-3 inches of space between each slat.
- Measuring tape: This will help you accurately measure and cut the slats to fit your bed frame.
- Saw: Depending on the type of slats you choose, you may need a saw to cut them to the correct length.
- Sandpaper: Smooth any rough edges or splinters on the slats for added comfort.
- Screws or nails: These will be used to secure the slats to the bed frame. Choose screws or nails that are long enough to penetrate the bed frame without going through the other side.
- Screwdriver or hammer: You will need a screwdriver or hammer to attach the slats to the bed frame.
In addition to these materials, it’s always a good idea to have a clean work area and protective gear such as gloves and safety glasses. Now that we have all the necessary materials, let’s proceed to the next step.
Step 1: Measure and Cut the Slats
The first step in adding slats to your bed frame is to measure and cut the slats to the appropriate size. Start by measuring the width and length of your bed frame to determine the length of the slats you will need.
Using a measuring tape, measure the distance between the inside edges of the bed frame where the slats will be placed. This will give you the width measurement for your slats. For example, if your bed frame is 60 inches wide, you may want to cut your slats to a length of 58 inches to allow for a small gap on each side.
Next, measure the length of your bed frame from the headboard to the footboard. Again, subtract a few inches to allow for the slats to fit comfortably within the frame. If your bed frame is 80 inches long, you may want to cut your slats to a length of 78 inches.
Once you have determined the measurements, use a saw to cut the slats to the desired length. If you don’t have a saw, many hardware stores offer cutting services or you may be able to have the slats cut at the point of purchase.
After cutting the slats, use sandpaper to smooth any rough edges or splinters. This will ensure the slats are comfortable to lie on and prevent any damage to your mattress.
With the slats cut to the correct size and sanded smooth, we can move on to the next step of preparing the bed frame.
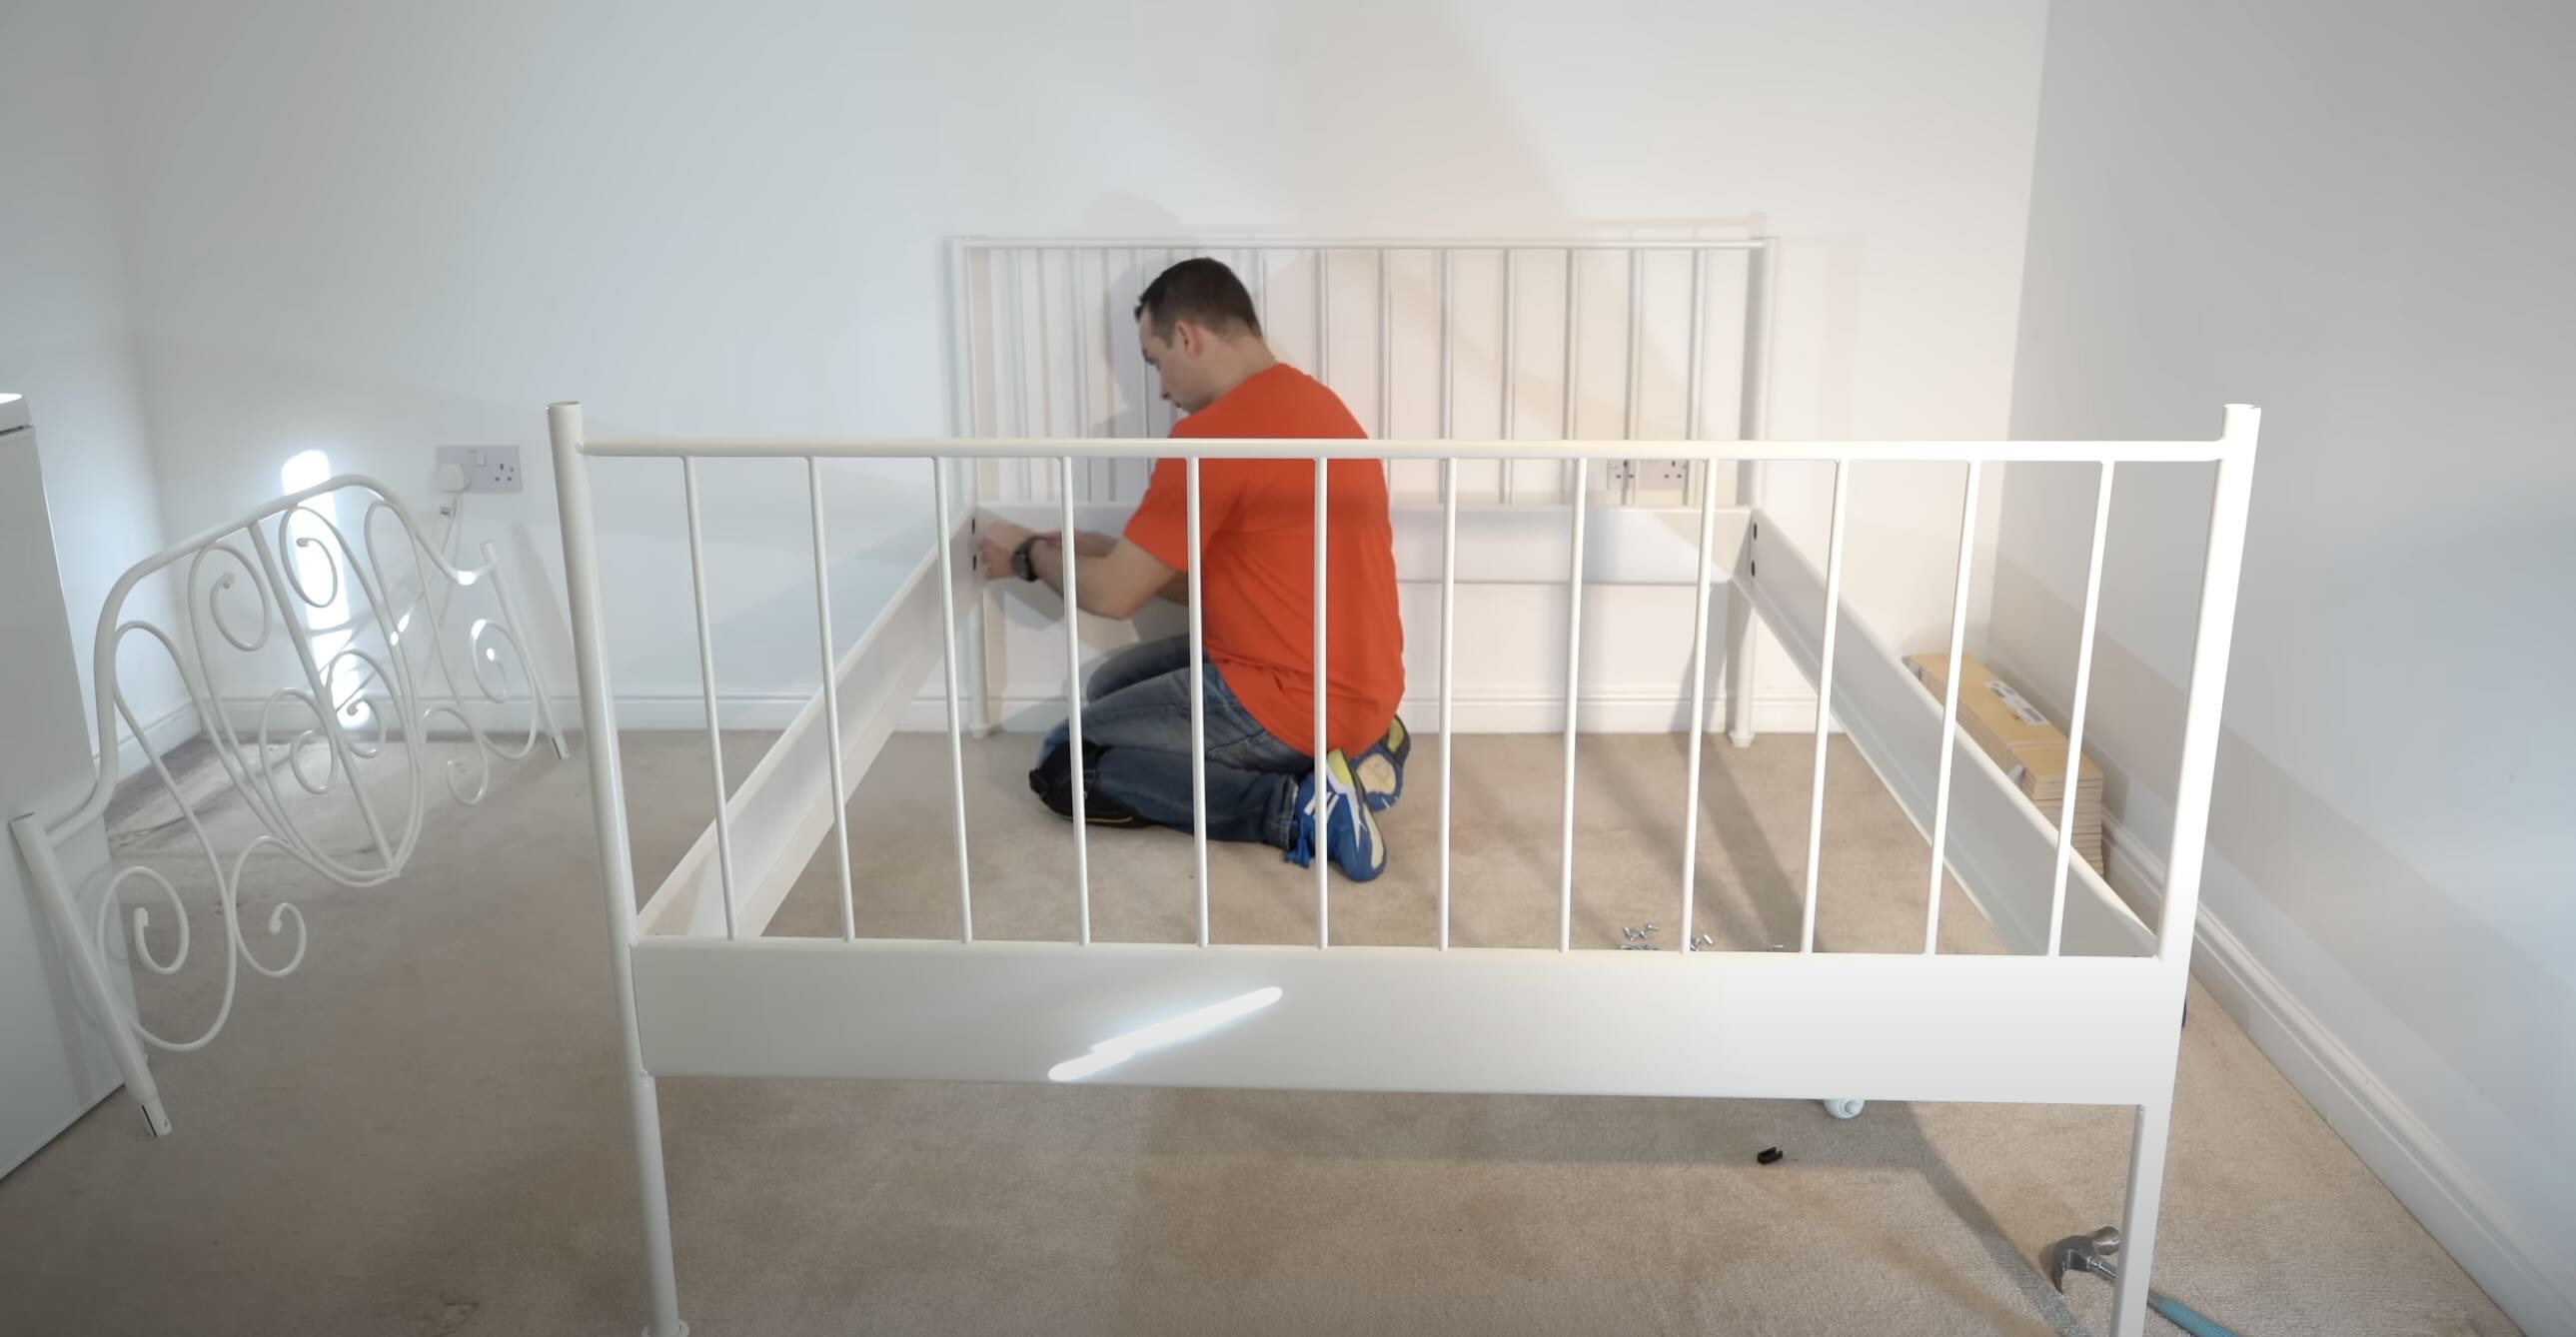
Step 2: Preparing the Bed Frame
Now that you have your slats measured and cut, it’s time to prepare your bed frame for their installation. Follow these steps to ensure the bed frame is ready to receive the slats:
- Clean the bed frame: Start by clearing any debris or items from your bed frame. Remove any existing slats or supports that may be in place.
- Inspect the bed frame: Take a close look at the bed frame to ensure there are no loose or damaged parts. Tighten any loose screws or bolts and repair any broken pieces. A sturdy bed frame is essential for proper support.
- Check for center support: If your bed frame has a center support beam, make sure it is properly installed and secure. This beam helps distribute the weight of the mattress and prevents sagging in the middle.
- Measure and mark: Use a measuring tape to determine where each slat will be placed on the bed frame. Make marks on the inside edges of the frame to indicate the position of the slats. The spacing between slats can vary, but a general guideline is to keep them 2-3 inches apart.
By taking the time to properly prepare your bed frame, you can ensure a solid foundation for the slats and prevent any future issues. Now that the bed frame is ready, we can move on to the next step of placing the slats.
When adding slats to a bed frame, make sure to measure the distance between each slat to ensure even support for the mattress. Use sturdy, high-quality slats to prevent sagging and increase the longevity of the mattress.
Step 3: Placement of Slats
With your bed frame prepared, it’s time to start placing the slats. Follow these steps for proper placement:
- Begin at the headboard: Start by placing the first slat near the headboard of the bed frame. Align it with the marked position and ensure it is centered along the width of the frame.
- Space the slats evenly: Continue placing the remaining slats, making sure to space them evenly across the width of the bed frame. Use the marks you made earlier as a guide.
- Leave a small gap: When placing the slats, it’s important to leave a small gap between each one. This allows for airflow and ventilation, which helps prevent moisture buildup and prolongs the life of your mattress.
- Check alignment: As you place each slat, double-check that they are aligned properly and parallel to one another. This will ensure consistent support for your mattress.
Remember, the number of slats needed will depend on the size of your bed frame and the desired spacing between the slats. Adjust accordingly to achieve optimal support.
Once all the slats are properly placed, we can move on to the next step of attaching them to the bed frame securely.
Read more: What Are Slats In A Bed
Step 4: Attaching the Slats to the Bed Frame
Now that the slats are in place, it’s time to secure them to the bed frame. Follow these steps to ensure the slats are attached firmly:
- Choose the right fastening method: Depending on your bed frame and personal preference, you can use screws or nails to attach the slats. Screws offer a more secure hold, while nails are quicker and easier to install.
- Position the fasteners: Decide where you want to position the screws or nails. Aim to place them in the middle of the slats, ensuring they are aligned vertically with the bed frame.
- Start attaching: Begin by placing a fastener near the headboard of the bed frame. Use a screwdriver or hammer to insert the screw/nail through the slat and into the bed frame. Repeat this process for each slat, placing a fastener at regular intervals.
- Check for stability: Once all the slats are attached, give them a gentle shake to ensure they are securely held in place. If you notice any wobbling or movement, reinforce the fasteners or add additional ones for extra stability.
It’s important to note that the number of fasteners needed will depend on the length of your slats and the level of support required. Generally, placing at least two fasteners on each slat should be sufficient.
With the slats securely attached, we can move on to the final step of testing and making any necessary adjustments.
Step 5: Testing and Adjustments
After you’ve attached the slats to your bed frame, it’s time to test the stability and make any necessary adjustments. Follow these steps to ensure a comfortable and supportive bed:
- Test for weight distribution: Lie down on the bed and distribute your weight evenly across the mattress. Pay attention to any areas that feel uneven or saggy. This will help determine if the slats are providing proper support.
- Make adjustments as needed: If you notice any sagging or discomfort, you may need to add additional slats or make changes to the placement of the existing ones. Consider adding extra support in areas that need it or adjusting the spacing between slats.
- Check for noise: As you move around on the bed, listen for any squeaking or creaking sounds. If you hear any, it may indicate that the slats are not secure or that the fasteners need tightening. Make necessary adjustments to eliminate any noise.
- Reinforce if necessary: If you find that the slats are not providing adequate support, you may need to reinforce them. Consider adding a center support beam or additional crossbars for added stability.
Remember, the goal is to create a level and supportive surface for your mattress. Take the time to test and make any necessary adjustments to ensure your comfort while sleeping.
Once you’re satisfied with the stability and support of your bed, you can now enjoy a restful night’s sleep!
Conclusion
Adding slats to your bed frame is a simple and effective way to enhance the comfort and durability of your mattress. By following the steps outlined in this guide, you can ensure proper support, prevent sagging, and prolong the life of your bed. Here’s a quick recap:
- Measure and cut the slats to fit your bed frame, leaving a small gap between each one for ventilation.
- Prepare the bed frame by cleaning it, checking for any loose or damaged parts, and ensuring the center support is in place.
- Place the slats evenly across the width of the bed frame, aligning them with the marked positions.
- Attach the slats securely using screws or nails, making sure they are centered and aligned vertically with the bed frame.
- Test the stability of the slats by distributing your weight evenly across the mattress and making adjustments as needed.
Remember, the number of slats and fasteners needed may vary depending on the size and style of your bed frame, as well as personal preference. Use this guide as a starting point and make modifications to suit your specific needs.
With the addition of slats, you can enjoy a more comfortable and supportive bed that promotes better sleep and overall well-being. So, grab your materials and get ready to transform your bed frame into a cozy haven!
Frequently Asked Questions about How To Add Slats To A Bed Frame
Was this page helpful?
At Storables.com, we guarantee accurate and reliable information. Our content, validated by Expert Board Contributors, is crafted following stringent Editorial Policies. We're committed to providing you with well-researched, expert-backed insights for all your informational needs.


0 thoughts on “How To Add Slats To A Bed Frame”