Home>Furniture>Bedroom Furniture>How To Assemble A Bed Frame
Bedroom Furniture
How To Assemble A Bed Frame
Modified: November 1, 2024
Learn how to assemble a sturdy and stylish bed frame for your bedroom furniture with our step-by-step guide. Create the perfect sanctuary for a good night's sleep.
(Many of the links in this article redirect to a specific reviewed product. Your purchase of these products through affiliate links helps to generate commission for Storables.com, at no extra cost. Learn more)
Introduction:
How to Assemble a Bed Frame
When it comes to creating the perfect bedroom setup, having a sturdy and well-assembled bed frame is essential. A properly assembled bed frame not only supports your mattress and ensures a good night’s sleep, but it also adds style and functionality to your bedroom décor. While assembling a bed frame may seem like a daunting task, with the right tools and steps, it can be a hassle-free process.
In this article, we will guide you through the step-by-step process of assembling a bed frame. Whether you are a DIY enthusiast or a beginner, our comprehensive instructions will help you successfully assemble your bed frame and have it ready for use in no time.
Key Takeaways:
- Assembling a bed frame is a straightforward process when armed with the right tools and systematic approach. From verifying parts to testing stability, each step ensures a sturdy and stylish bedroom addition.
- Proper disposal of packaging materials not only maintains a clutter-free space but also contributes to a cleaner environment. Enjoy the comfort and style of your newly assembled bed frame!
Read more: How To Assemble A Metal Bed Frame
Step 1: Gather Required Tools and Materials
Before you start assembling your bed frame, it’s important to ensure you have all the necessary tools and materials at hand. This will save you time and prevent any interruptions during the assembly process. Here is a list of the commonly required tools and materials:
- Allen wrench or hex key
- Phillips head screwdriver
- Flathead screwdriver
- Hammer
- Measuring tape
- Level
- Pliers
- Bed frame parts (headboard, footboard, side rails, etc.)
- Hardware (screws, bolts, nuts, etc.)
- Support slats or bed foundation
- Center support beam (if applicable)
- Instructions manual
Make sure to read the instructions manual provided with your bed frame to check if any additional tools or materials are needed.
Double-check that you have all the necessary tools and materials within reach. This will prevent you from having to pause the assembly process to retrieve missing items.
Once you have everything ready, you can proceed to the next step of unpacking and verifying the parts.
Step 2: Unpack and Verify Parts
After gathering all the required tools and materials, it’s time to unpack and verify the parts of your bed frame. Carefully remove the packaging and lay out all the components in an open and spacious area. This will allow you to easily identify and organize the different parts.
Take a moment to go through the instruction manual provided by the manufacturer. Familiarize yourself with the different parts and their names, as this will make the assembly process much smoother.
Inspect each part to ensure there are no visible damages or missing pieces. If you notice any issues, such as scratches or dents, contact the manufacturer immediately to arrange for a replacement or repair.
Verify that you have all the necessary components, including the headboard, footboard, side rails, support slats or bed foundation, and any additional accessories or hardware that may be included. Compare the parts with the list provided in the instruction manual to ensure nothing is missing.
It’s also a good idea to organize the different hardware, such as screws, bolts, and washers, in separate containers or bags. This will make it easier to locate and use the specific hardware required for each step of the assembly process.
Once you have successfully unpacked and verified all the parts, you’re ready to move on to the next step of attaching the headboard and footboard to the side rails.
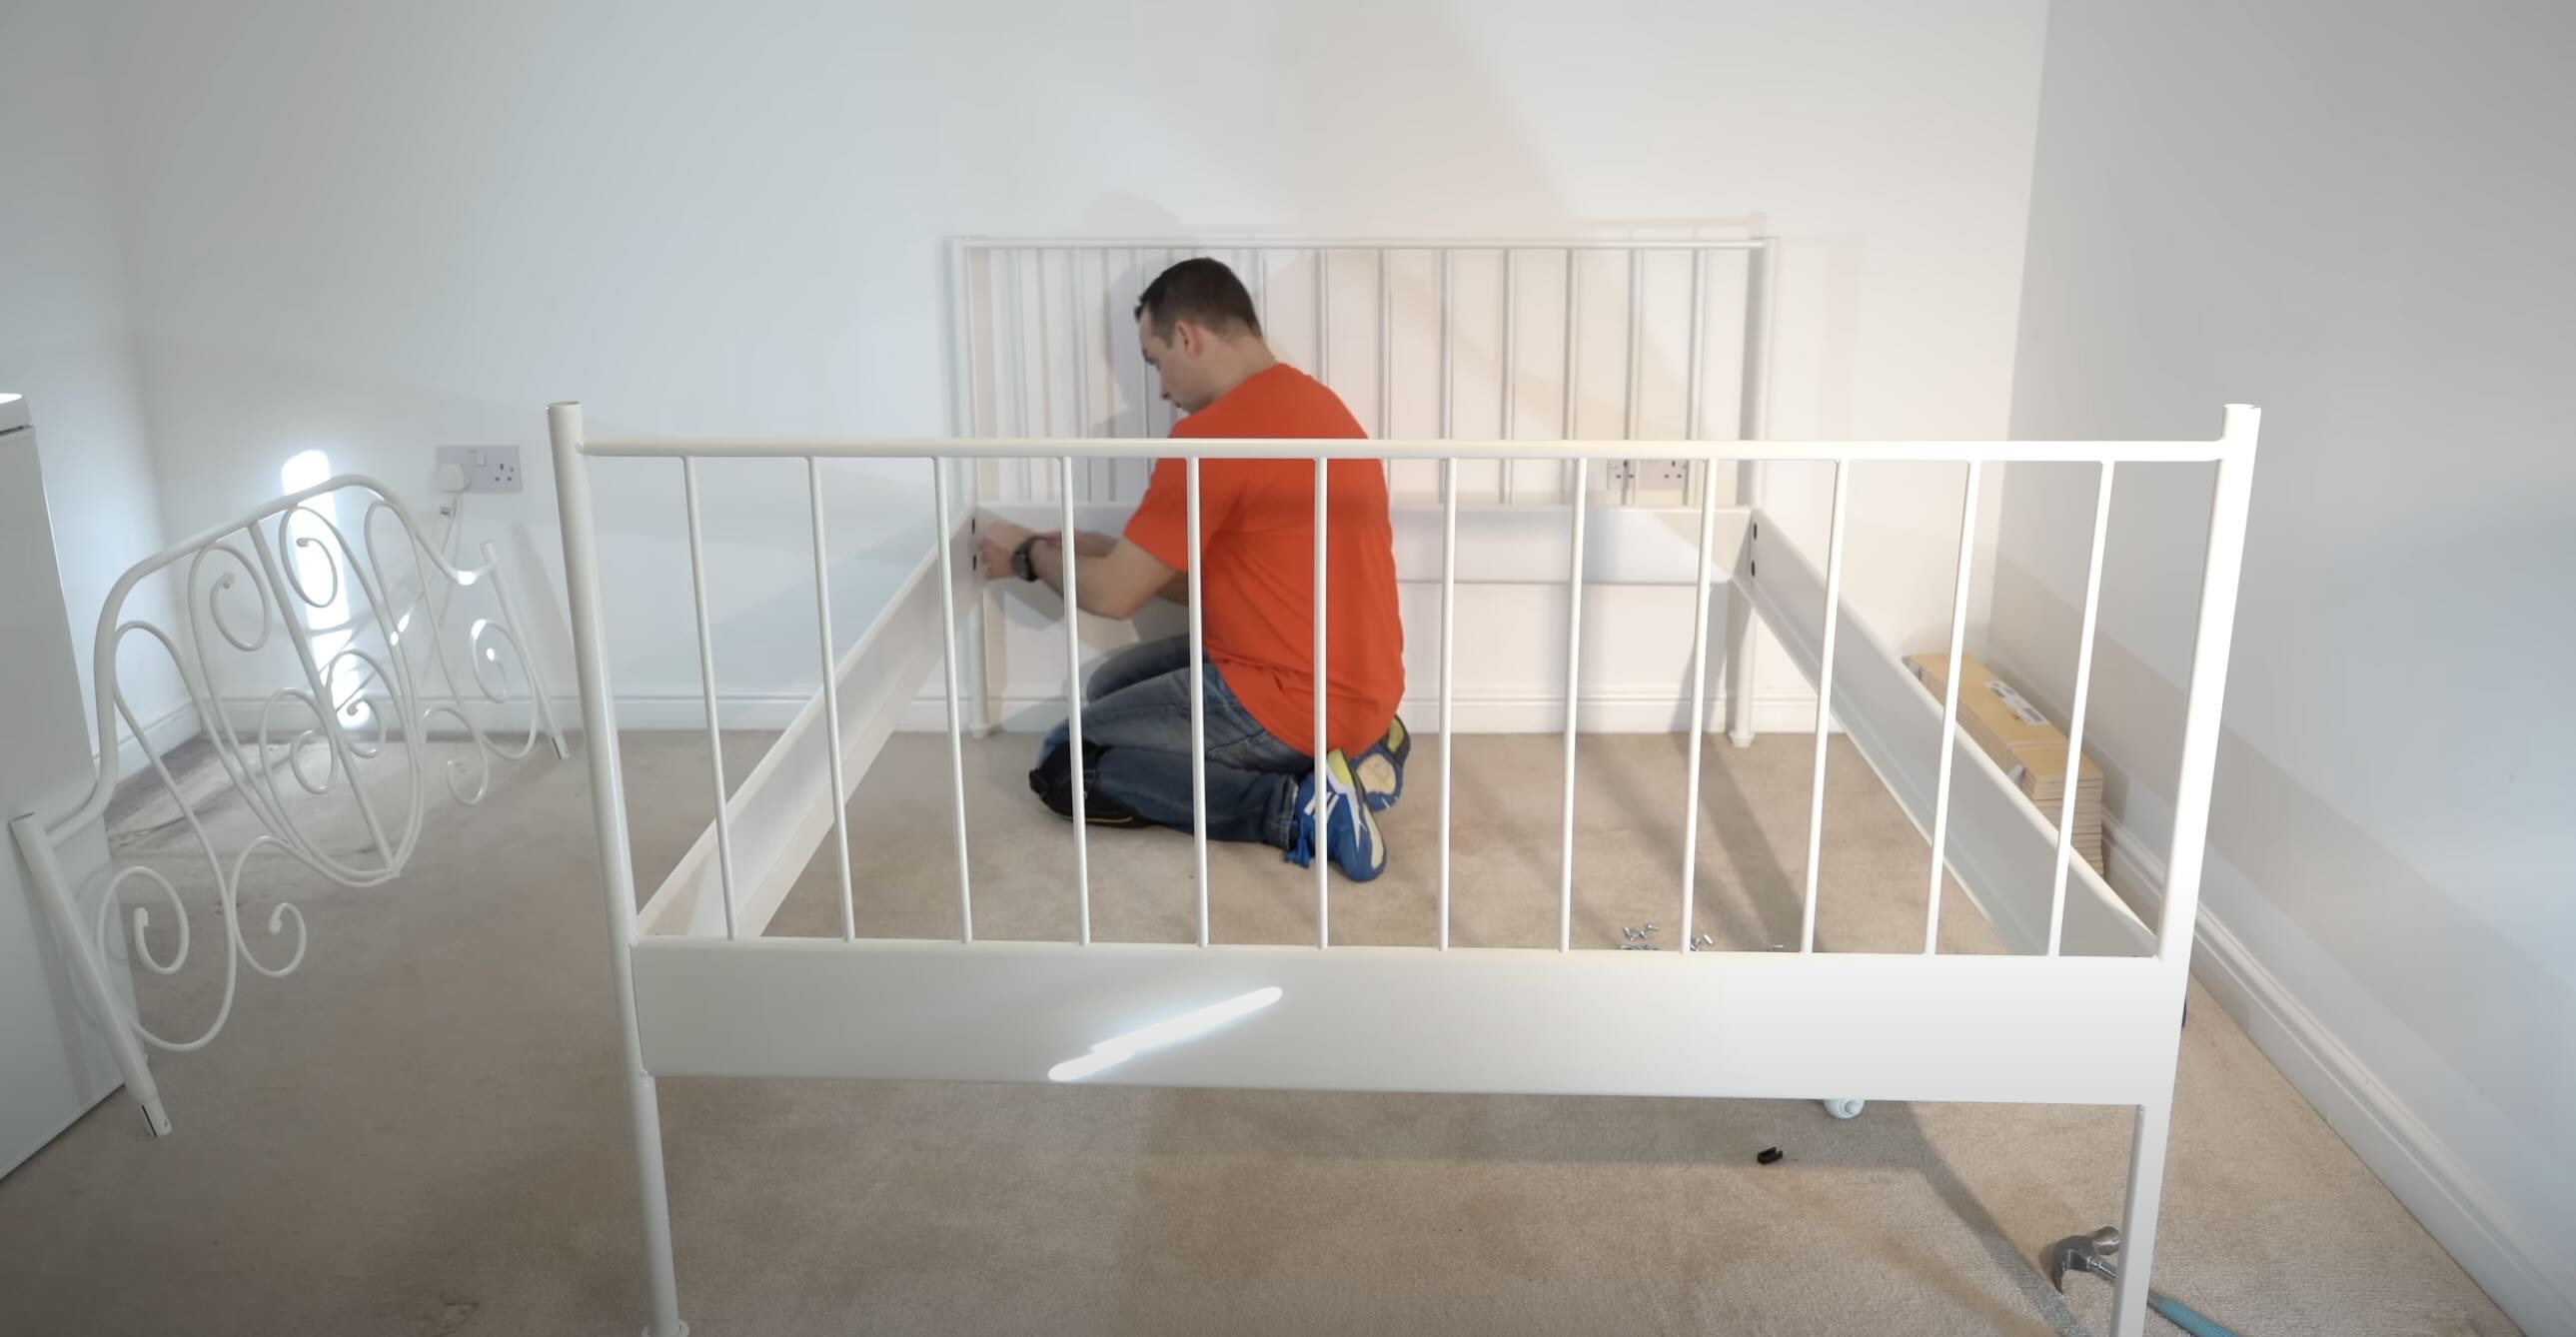
Step 3: Attach Headboard and Footboard to Side Rails
With the parts verified and organized, it’s time to move on to attaching the headboard and footboard to the side rails of your bed frame. This step is crucial for providing stability and structure to the frame.
Start by aligning one of the side rails with the pre-drilled holes on the headboard. Insert the bolts or screws provided into the holes and tighten them using the appropriate tool, such as an Allen wrench or a Phillips head screwdriver. Repeat this process on the other side of the headboard with the remaining side rail.
It’s important to ensure that the headboard and footboard are securely fastened to the side rails to prevent any wobbling or loosening. Take your time to tighten the screws or bolts properly, but be careful not to overtighten them, as it could damage the wood or strip the threads.
Once the headboard and footboard are securely attached to the side rails, give them a gentle shake or push to check for any signs of instability. If you notice any movement, double-check that all the screws or bolts are tightened correctly. If necessary, tighten them further to eliminate any wobbling.
If your bed frame includes additional reinforcement brackets or hardware for attaching the headboard or footboard, refer to the manufacturer’s instructions to ensure you install them correctly.
With the headboard, footboard, and side rails securely connected, your bed frame is starting to take shape. In the next step, we will focus on installing the support slats or bed foundation.
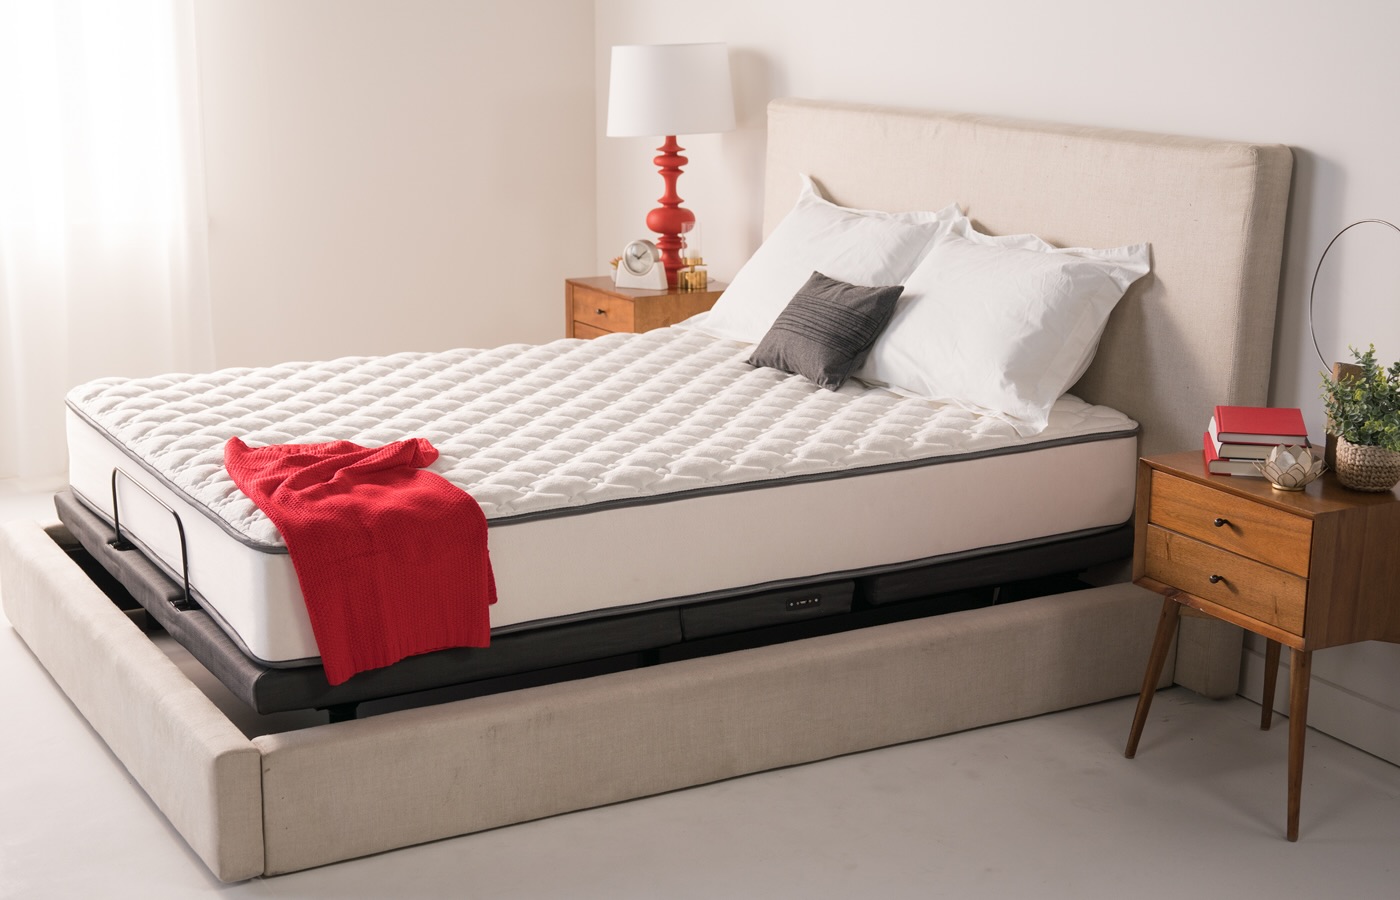
Step 4: Install Support Slats or Bed Foundation
In this step, we will focus on installing the support slats or bed foundation. The purpose of these components is to provide additional support to your mattress and distribute your body weight evenly across the bed frame.
If your bed frame comes with support slats, carefully place them across the side rails, parallel to each other. Ensure that there is an adequate gap between the slats to promote proper airflow. Depending on the design of your bed frame, the slats may either rest on small ledges or be attached using screws or clips provided by the manufacturer. Follow the instructions carefully to secure the slats in place.
If your bed frame requires a bed foundation, assemble it according to the manufacturer’s instructions. This typically involves connecting various metal or wooden support beams to form a stable base. Once the foundation is assembled, position it on top of the side rails, making sure it is centered and aligned properly.
After installing the support slats or bed foundation, it’s a good idea to test the stability by gently applying pressure to different areas of the bed frame. This will help identify any weak spots that may require adjustment or reinforcement.
It’s worth noting that certain bed frames may have specific instructions for installing the support slats or bed foundation. Check the manufacturer’s guidelines to ensure you follow the recommended steps for your specific bed frame model.
Now that the support system is in place, we will move on to the next step of attaching the center support beam (if applicable).
Read more: How To Assemble A Wooden Bed Frame
Step 5: Attach Center Support Beam (if applicable)
Not all bed frames require a center support beam, but if yours does, this step is crucial for providing additional stability and preventing sagging in the middle. The center support beam helps distribute the weight of the mattress and sleeper evenly across the frame.
Check the manufacturer’s instructions to determine whether your bed frame includes a center support beam and the specific method of installation. If a center support beam is required, locate the designated area on the side rails or bed frame where it needs to be attached.
Position the center support beam across the width of the bed frame, ensuring that it aligns with the pre-drilled holes or brackets. Secure the beam in place using the provided screws or bolts, tightening them appropriately using the necessary tool.
It’s important to tighten the screws or bolts firmly to ensure the center support beam remains securely attached. This will help maintain the overall stability and durability of the bed frame.
After attaching the center support beam, conduct a quick stability test by applying gentle pressure to different areas of the bed frame. Check for any signs of movement or instability. If necessary, tighten the connections further or make adjustments to ensure a sturdy and dependable structure.
If your bed frame does not require a center support beam, you can proceed to the next step of securing the bed frame legs.
Note: Some bed frames may have unique instructions or variations in the installation process. Always refer to the manufacturer’s guidelines for your specific bed frame model.
When assembling a bed frame, make sure to lay out all the parts and hardware before starting. Follow the instructions carefully and tighten all screws and bolts securely.
Step 6: Secure Bed Frame Legs
In this step, we will focus on securing the bed frame legs. The legs provide essential support to the entire structure and help elevate the bed to a comfortable height.
Begin by identifying the designated area on the bed frame where the legs need to be attached. Check the manufacturer’s instructions to ensure you are positioning the legs correctly.
Take one leg at a time and align it with the designated area. Depending on your bed frame, the legs may attach using screws, bolts, or a built-in locking mechanism. Secure the legs in place according to the manufacturer’s instructions, making sure they are tightly fastened.
If your bed frame has adjustable legs, adjust the height to your desired level. This is particularly helpful if you have uneven flooring or if you prefer a specific bed height.
Once all the legs are securely attached and adjusted, give the bed frame a gentle shake to test its stability. If you notice any wobbling or movement, double-check the legs to ensure they are properly fastened and adjusted.
It’s important to note that some bed frames may have wheels instead of legs. In this case, make sure the wheels are firmly attached and roll smoothly. Use the provided mechanisms, such as locks or brakes, to secure the bed frame in place and prevent unwanted movement.
With the bed frame legs securely in place, we can move on to the next step, which involves adjusting and leveling the bed frame.
Note: Always follow the manufacturer’s instructions for your specific bed frame model, as there may be variations in the installation process or additional steps required.
Step 7: Adjust and Level the Bed Frame
Ensuring that your bed frame is properly adjusted and level is crucial for both comfort and stability. A leveled bed frame prevents tilting, uneven weight distribution, and potential damage to the mattress. In this step, we will guide you through the process of adjusting and leveling your bed frame.
Start by using a measuring tape or level to check if the bed frame is even. Place the measuring tape or level horizontally across the width and length of the bed frame. If there are any noticeable discrepancies, you will need to make adjustments.
If the bed frame is too high on one side, you can lower it by adjusting the legs or feet. Similarly, if the bed frame is too low on one side, raise it by adjusting the legs or feet. Make the necessary adjustments gradually until the bed frame is level and the measuring tape or level shows no significant differences.
Take your time to ensure each leg or foot is adjusted evenly. This will prevent the bed frame from leaning or rocking, providing a stable and balanced surface for your mattress.
After making the adjustments, test the stability of the bed frame by applying gentle pressure in different areas. Check for any signs of shifting or tilting. If you detect any instability, reevaluate the adjustments and make further modifications as needed.
It’s important to note that some bed frames may have additional mechanisms or features to aid in adjusting and leveling. Consult the manufacturer’s instructions to determine if there are any specific guidelines or recommendations for your particular bed frame model.
Once you are satisfied with the levelness and stability of the bed frame, we can move on to the next step of testing its overall stability and safety.
Remember, a well-leveled bed frame not only improves your sleep experience but also enhances the longevity of your mattress.
Step 8: Test Stability and Safety
Testing the stability and safety of your bed frame is a crucial step to ensure a secure and reliable sleeping surface. By conducting proper tests, you can identify any potential issues or weaknesses that may need to be addressed. In this step, we will guide you through the process of testing the stability and safety of your bed frame.
Start by applying gentle pressure to different areas of the bed frame, including the headboard, footboard, and side rails. Pay attention to any signs of movement, wobbling, or creaking. A well-assembled bed frame should be solid and stable, with minimal to no noticeable movement.
If you notice any instability, determine the source of the issue. It could be a loose screw or bolt, a misaligned component, or an uneven adjustment. Tighten any loose hardware and make sure all connections are secure. If necessary, retrace the previous steps to ensure each part of the bed frame is properly assembled.
In addition to stability, it’s important to consider safety when testing your bed frame. Ensure that there are no sharp edges or protruding parts that could cause injury. Examine the corners and joints for any potential hazards. If you come across any sharp edges, consider using sandpaper or covers to smooth them out.
Furthermore, check for proper spacing between the slats or bed foundation. The gaps should be small enough to prevent any risk of limbs getting stuck but large enough to allow for proper ventilation and mattress support.
Once you are satisfied with the stability and safety of the bed frame, it’s time to move on to the final step of cleaning up and disposing of packaging materials.
By ensuring the stability and safety of your bed frame, you can have peace of mind knowing that you have created a comfortable and secure sleeping environment.
Read more: How To Assemble A Bed Frame With Headboard
Step 9: Clean Up and Dispose of Packaging
After successfully assembling your bed frame, it’s important to take the time to clean up and dispose of the packaging materials properly. This final step will help you maintain a tidy and organized space while ensuring the environmentally responsible disposal of waste.
Begin by collecting all the packaging materials, including cardboard boxes, plastic wrap, styrofoam, and any other protective coverings. Flatten the cardboard boxes to save space and make them easier to handle.
Separate the recyclable materials from the non-recyclable ones. Many packaging materials, such as cardboard and certain types of plastic, can be recycled. Check with your local recycling guidelines or facilities to ensure proper disposal. If possible, break down the large pieces of packaging to fit them into your recycling bins or take them to a recycling center.
For non-recyclable materials, such as styrofoam or plastic wrap, check if there are any local drop-off locations or specialized disposal services available in your area. These services are often dedicated to recycling or incinerating materials that cannot be recycled through regular curbside pickups.
Once you have sorted and separated the packaging materials, clean up any remaining debris or small pieces that may have accumulated during the assembly process. Use a broom or vacuum cleaner to remove any sawdust, screws, or other loose items from the floor or surrounding area.
Dispose of the collected waste in the appropriate bins or containers. If you have any doubts about the disposal process, contact your local waste management department for guidance on the proper disposal methods in your area.
By taking the time to clean up and dispose of the packaging materials properly, you contribute to a cleaner environment and maintain a clutter-free space in your home.
With the final step completed, your bed frame assembly process is successfully finished. You can now enjoy the comfort and style of your newly assembled bed frame!
Conclusion
Assembling a bed frame may initially seem like a daunting task, but with the right tools and a systematic approach, it can be a straightforward and rewarding process. By following the step-by-step instructions provided in this guide, you can successfully assemble a sturdy and well-structured bed frame, enhancing both the functionality and aesthetics of your bedroom.
We began by stressing the importance of gathering the necessary tools and materials before starting the assembly process. Proper preparation prevents interruptions and ensures a smooth workflow. Unpacking and verifying the parts of your bed frame is crucial to ensure that everything is in good condition and that no components are missing.
Attaching the headboard and footboard to the side rails solidifies the structure of the bed frame, providing stability and support. Installation of the support slats or bed foundation distributes the weight evenly, improving mattress longevity.
If applicable, attaching a center support beam further enhances the stability of the bed frame, preventing sagging in the middle and ensuring long-term durability.
Securing the bed frame legs or wheels is crucial for a steady and balanced surface. Proper adjustment and leveling of the bed frame ensure optimal comfort and prevent potential issues like a tilting mattress or uneven weight distribution.
Testing the stability and safety of the bed frame is a critical step to identify and address any weaknesses or hazards. By ensuring a stable and secure structure, you can enjoy a restful night’s sleep worry-free.
Finally, cleaning up and responsibly disposing of the packaging materials completes the process, leaving your space neat and organized while minimizing the impact on the environment.
Remember, it’s important to always refer to the manufacturer’s instructions for your specific bed frame model, as there may be slight variations in the assembly process.
Now that you have successfully assembled your bed frame, it’s time to sit back, relax, and enjoy the comfortable and stylish oasis you’ve created in your bedroom. Wishing you many nights of rejuvenating sleep and peaceful dreams!
Frequently Asked Questions about How To Assemble A Bed Frame
Was this page helpful?
At Storables.com, we guarantee accurate and reliable information. Our content, validated by Expert Board Contributors, is crafted following stringent Editorial Policies. We're committed to providing you with well-researched, expert-backed insights for all your informational needs.


0 thoughts on “How To Assemble A Bed Frame”