Home>Furniture>Bedroom Furniture>How To Build A Wooden Bed Frame

Bedroom Furniture
How To Build A Wooden Bed Frame
Modified: February 25, 2024
Learn how to build a sturdy and beautiful wooden bed frame for your bedroom. Explore our step-by-step guide and discover the joy of creating your own bedroom furniture.
(Many of the links in this article redirect to a specific reviewed product. Your purchase of these products through affiliate links helps to generate commission for Storables.com, at no extra cost. Learn more)
Introduction
Building your own wooden bed frame can be a rewarding and fulfilling project. Not only does it allow you to showcase your craftsmanship, but it also gives you the freedom to customize the design according to your personal taste and style. Plus, it can be a cost-effective alternative to purchasing a pre-made bed frame from a furniture store.
In this article, we will guide you through the step-by-step process of building a wooden bed frame. We will cover everything from measuring and cutting the wood to assembling the frame and adding finishing touches. So, grab your tools and let’s get started!
Key Takeaways:
- Build a customized wooden bed frame to reflect your personal style and save money. Follow step-by-step instructions for measuring, cutting, sanding, assembling, and adding optional finishing touches.
- Enjoy the satisfaction of creating a unique piece of bedroom furniture that provides comfort and style. Maintain your DIY bed frame for years of personalized, well-supported sleep.
Read more: How To Assemble A Wooden Bed Frame
Materials Needed
Before you begin building your wooden bed frame, make sure you gather all the necessary materials and tools. Here’s a list of what you’ll need:
- Wood boards: Look for sturdy and durable wood, such as pine or oak, that is suitable for furniture construction. The quantity and dimensions of the boards will depend on the size of the bed frame you are building.
- Measuring tape: An essential tool for taking accurate measurements.
- Saw: A saw will be needed to cut the wood boards to the desired lengths.
- Sandpaper: To smooth the rough edges and surfaces of the wood.
- Drill: You’ll need a drill to make pilot holes and drive screws.
- Screws: Choose screws that are appropriate in size and type for securing the wood pieces together.
- Screwdriver or screwdriver bit for the drill: Use a screwdriver or the appropriate screwdriver bit for your drill to tighten the screws.
- Wood glue: Wood glue will help reinforce the joints and add extra stability to the bed frame.
- Stain or paint (optional): If you prefer a specific color or finish, you can choose to stain or paint the bed frame.
- Brushes or rollers: Brushes or rollers will be needed to apply the stain or paint.
- Drop cloth or plastic sheet: To protect your workspace from stains and spills.
- Safety equipment: Safety goggles and gloves are recommended to protect yourself while working with tools and materials.
Once you have gathered all the required materials, you’ll be ready to move on to the next step: measuring and cutting the wood for your bed frame.
Step 1: Measure and Cut the Wood
The first step in building your wooden bed frame is to measure and cut the wood boards to the appropriate lengths. This will ensure that all the pieces fit together properly and create a sturdy frame.
Start by measuring the size of your mattress. This will determine the dimensions of your bed frame. Add a few inches to the length and width of the mattress to allow for the frame to hold it securely.
Next, mark the measurements on the wood boards using a pencil or a marker. Measure and mark the headboard, footboard, side rails, and support beams according to your desired bed size.
Use a saw to cut the wood boards along the marked lines. Take your time to ensure clean and precise cuts. If you are not confident in your sawing skills, you can always seek help from a friend or a professional.
Once you have cut all the necessary pieces, double-check their lengths to ensure accuracy. Making adjustments at this stage will save you time and effort later on.
After cutting the wood, use sandpaper to smooth any rough edges or surfaces. This will prevent splinters and create a more polished look. Sanding the wood will also provide a better surface for staining or painting, if you choose to do so.
With the wood cut and sanded, you are now ready to proceed to the next step: assembling the frame.
Step 2: Sand the Wood
After cutting the wood for your bed frame, it’s important to sand the surfaces to ensure a smooth and professional finish. Sanding helps to remove any rough edges, splinters, or imperfections, providing a comfortable and visually appealing bed frame.
Start by selecting the appropriate grit sandpaper. For initial sanding and to remove any large imperfections, use a coarse or medium grit sandpaper, such as 80 or 120. Once the surface is relatively smooth, switch to a finer grit sandpaper, like 220, for a finer finish.
Wrap the sandpaper around a sanding block or use your hand to hold it firmly. Begin sanding the wood in the direction of the grain, applying even pressure. This will help to avoid scratches and ensure a consistent finish.
Pay special attention to the edges and corners of the wood, as they tend to be rougher. Use a sanding block or folded sandpaper to sand those areas carefully.
As you sand, periodically check the wood’s surface for smoothness. Run your hand along the surface to feel for any rough spots or imperfections. Continue sanding until the wood feels smooth to the touch.
After sanding, wipe the wood with a clean cloth or tack cloth to remove any dust or debris. This will ensure a clean surface for staining or painting.
Remember to wear protective gear, such as safety goggles and a dust mask, to shield yourself from any airborne particles while sanding.
With the wood sanded and prepped, it’s time to move on to the next step: assembling the bed frame.
Step 3: Assemble the Frame
Now that you have measured, cut, and sanded the wood, it’s time to assemble the bed frame. This step will bring all the individual pieces together to create a solid foundation for your mattress.
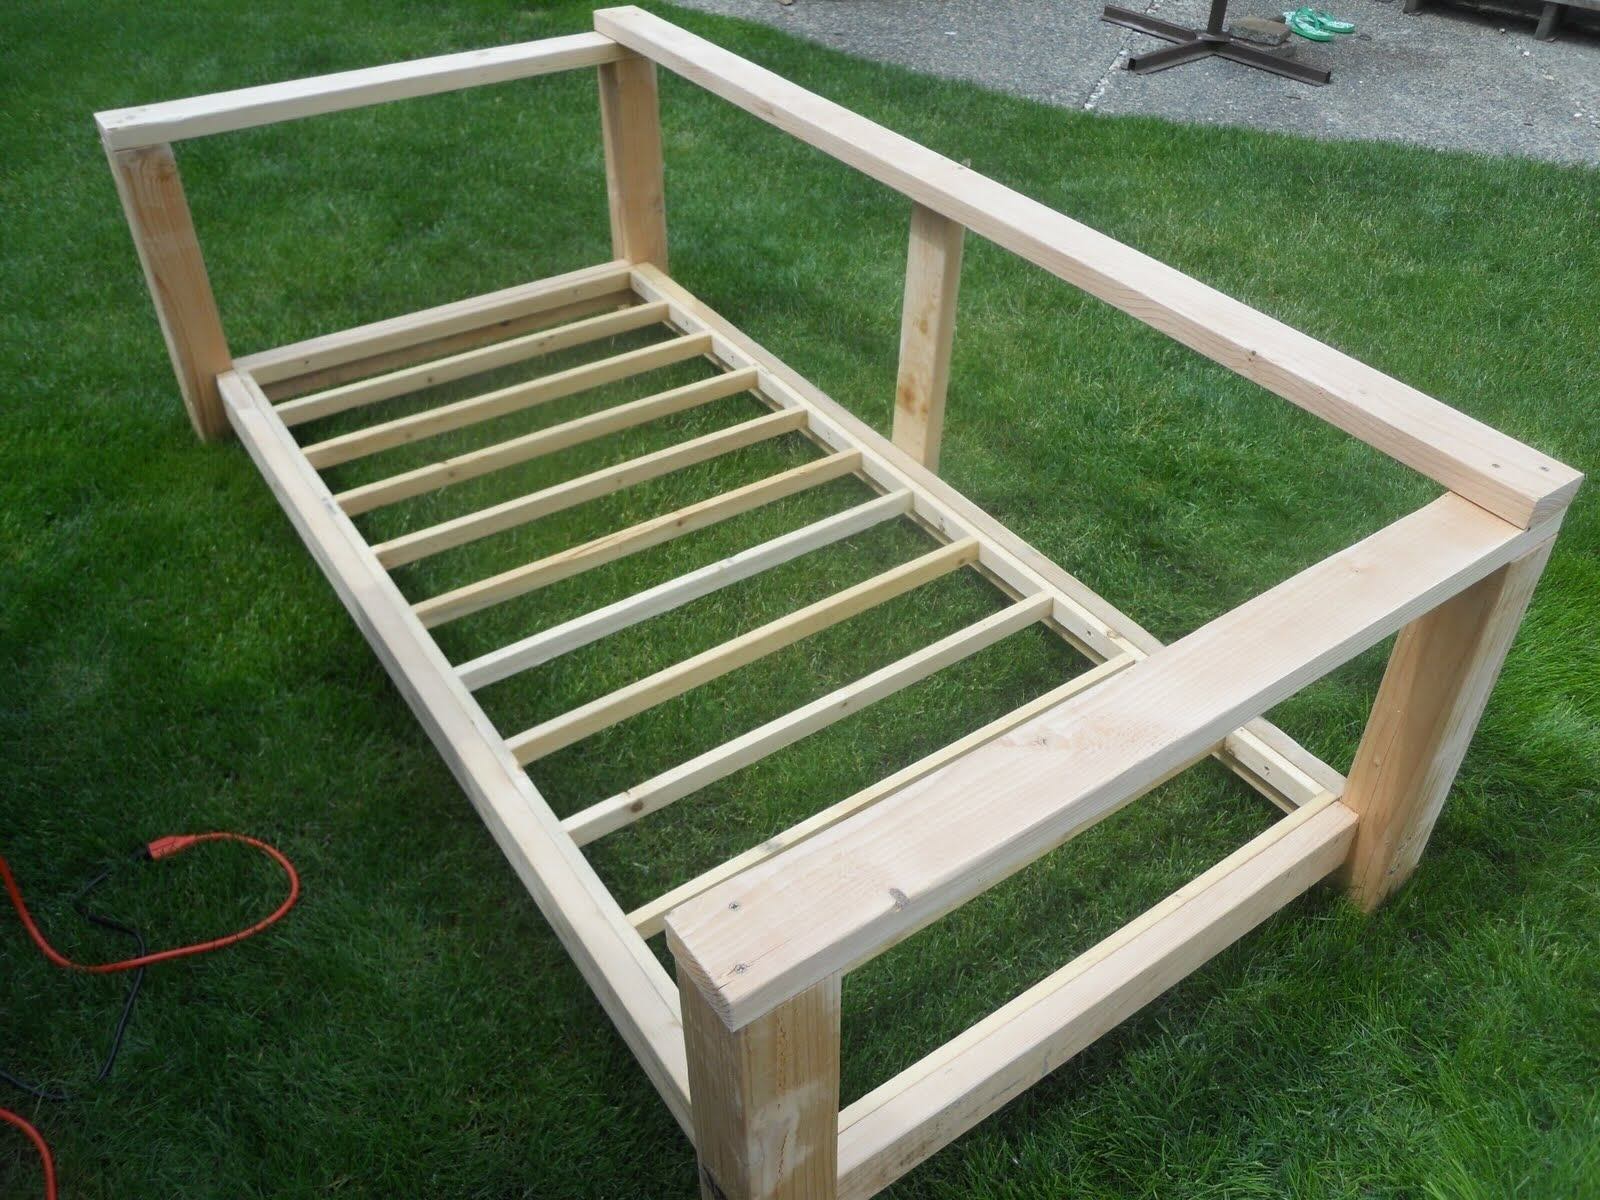
Start by organizing the wood pieces according to their designated roles: headboard, footboard, side rails, and support beams. Lay them out on your work surface, ensuring that you have enough space to maneuver.
Begin by attaching the side rails to the headboard and footboard. Position the rails along the edges of the headboard and footboard, making sure they are aligned properly. Use a drill to create pilot holes in the wood, then secure the pieces together using screws.
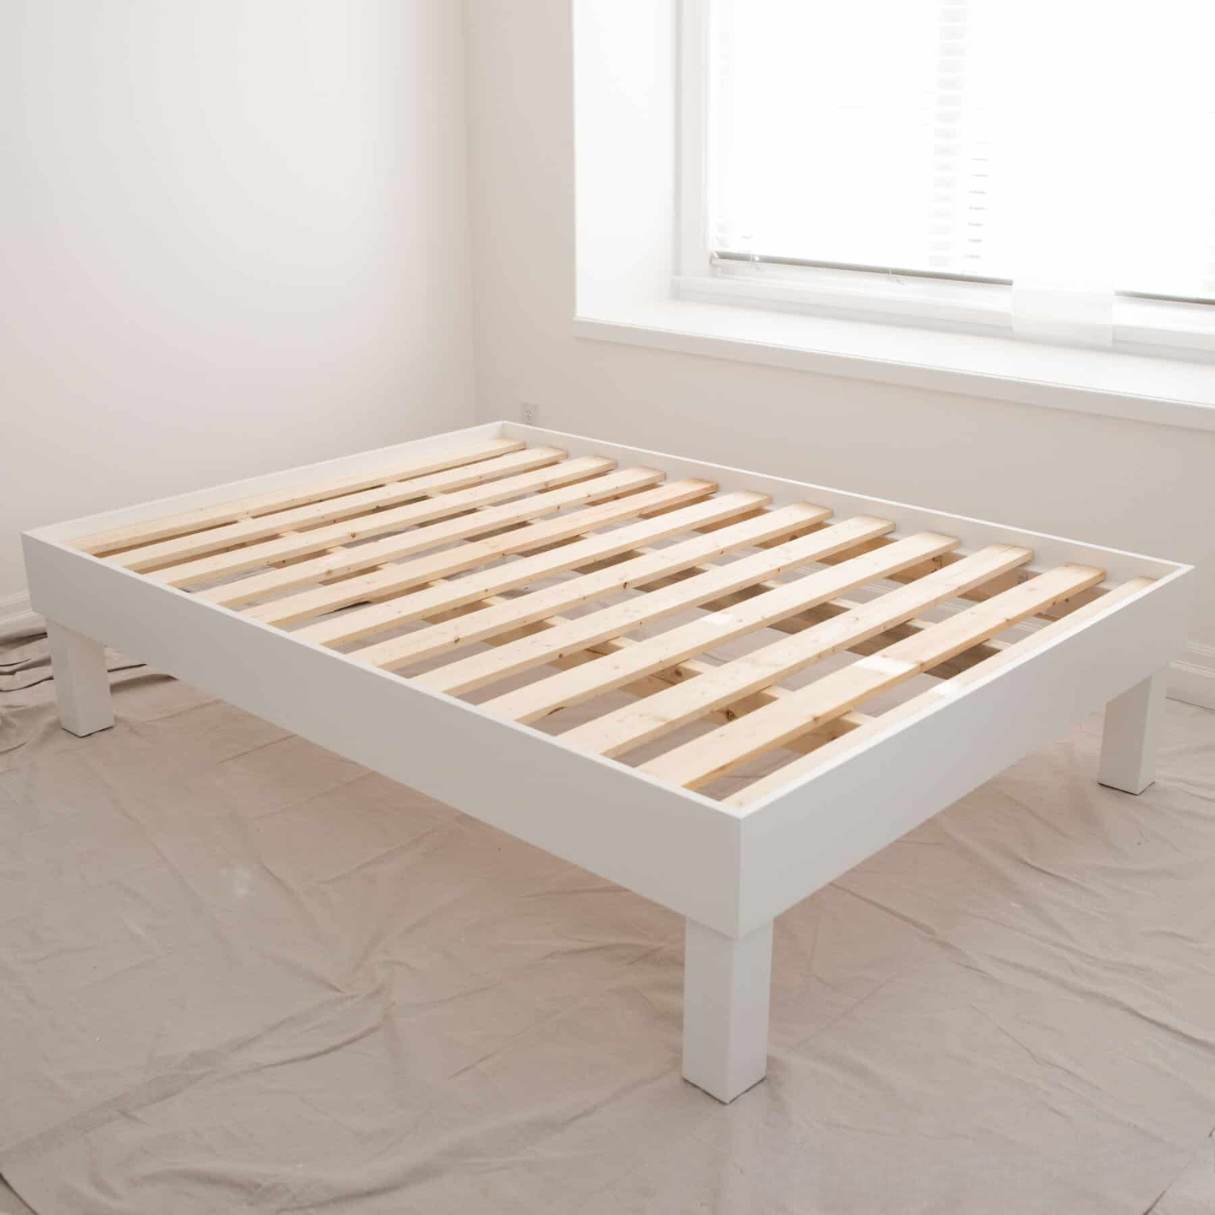
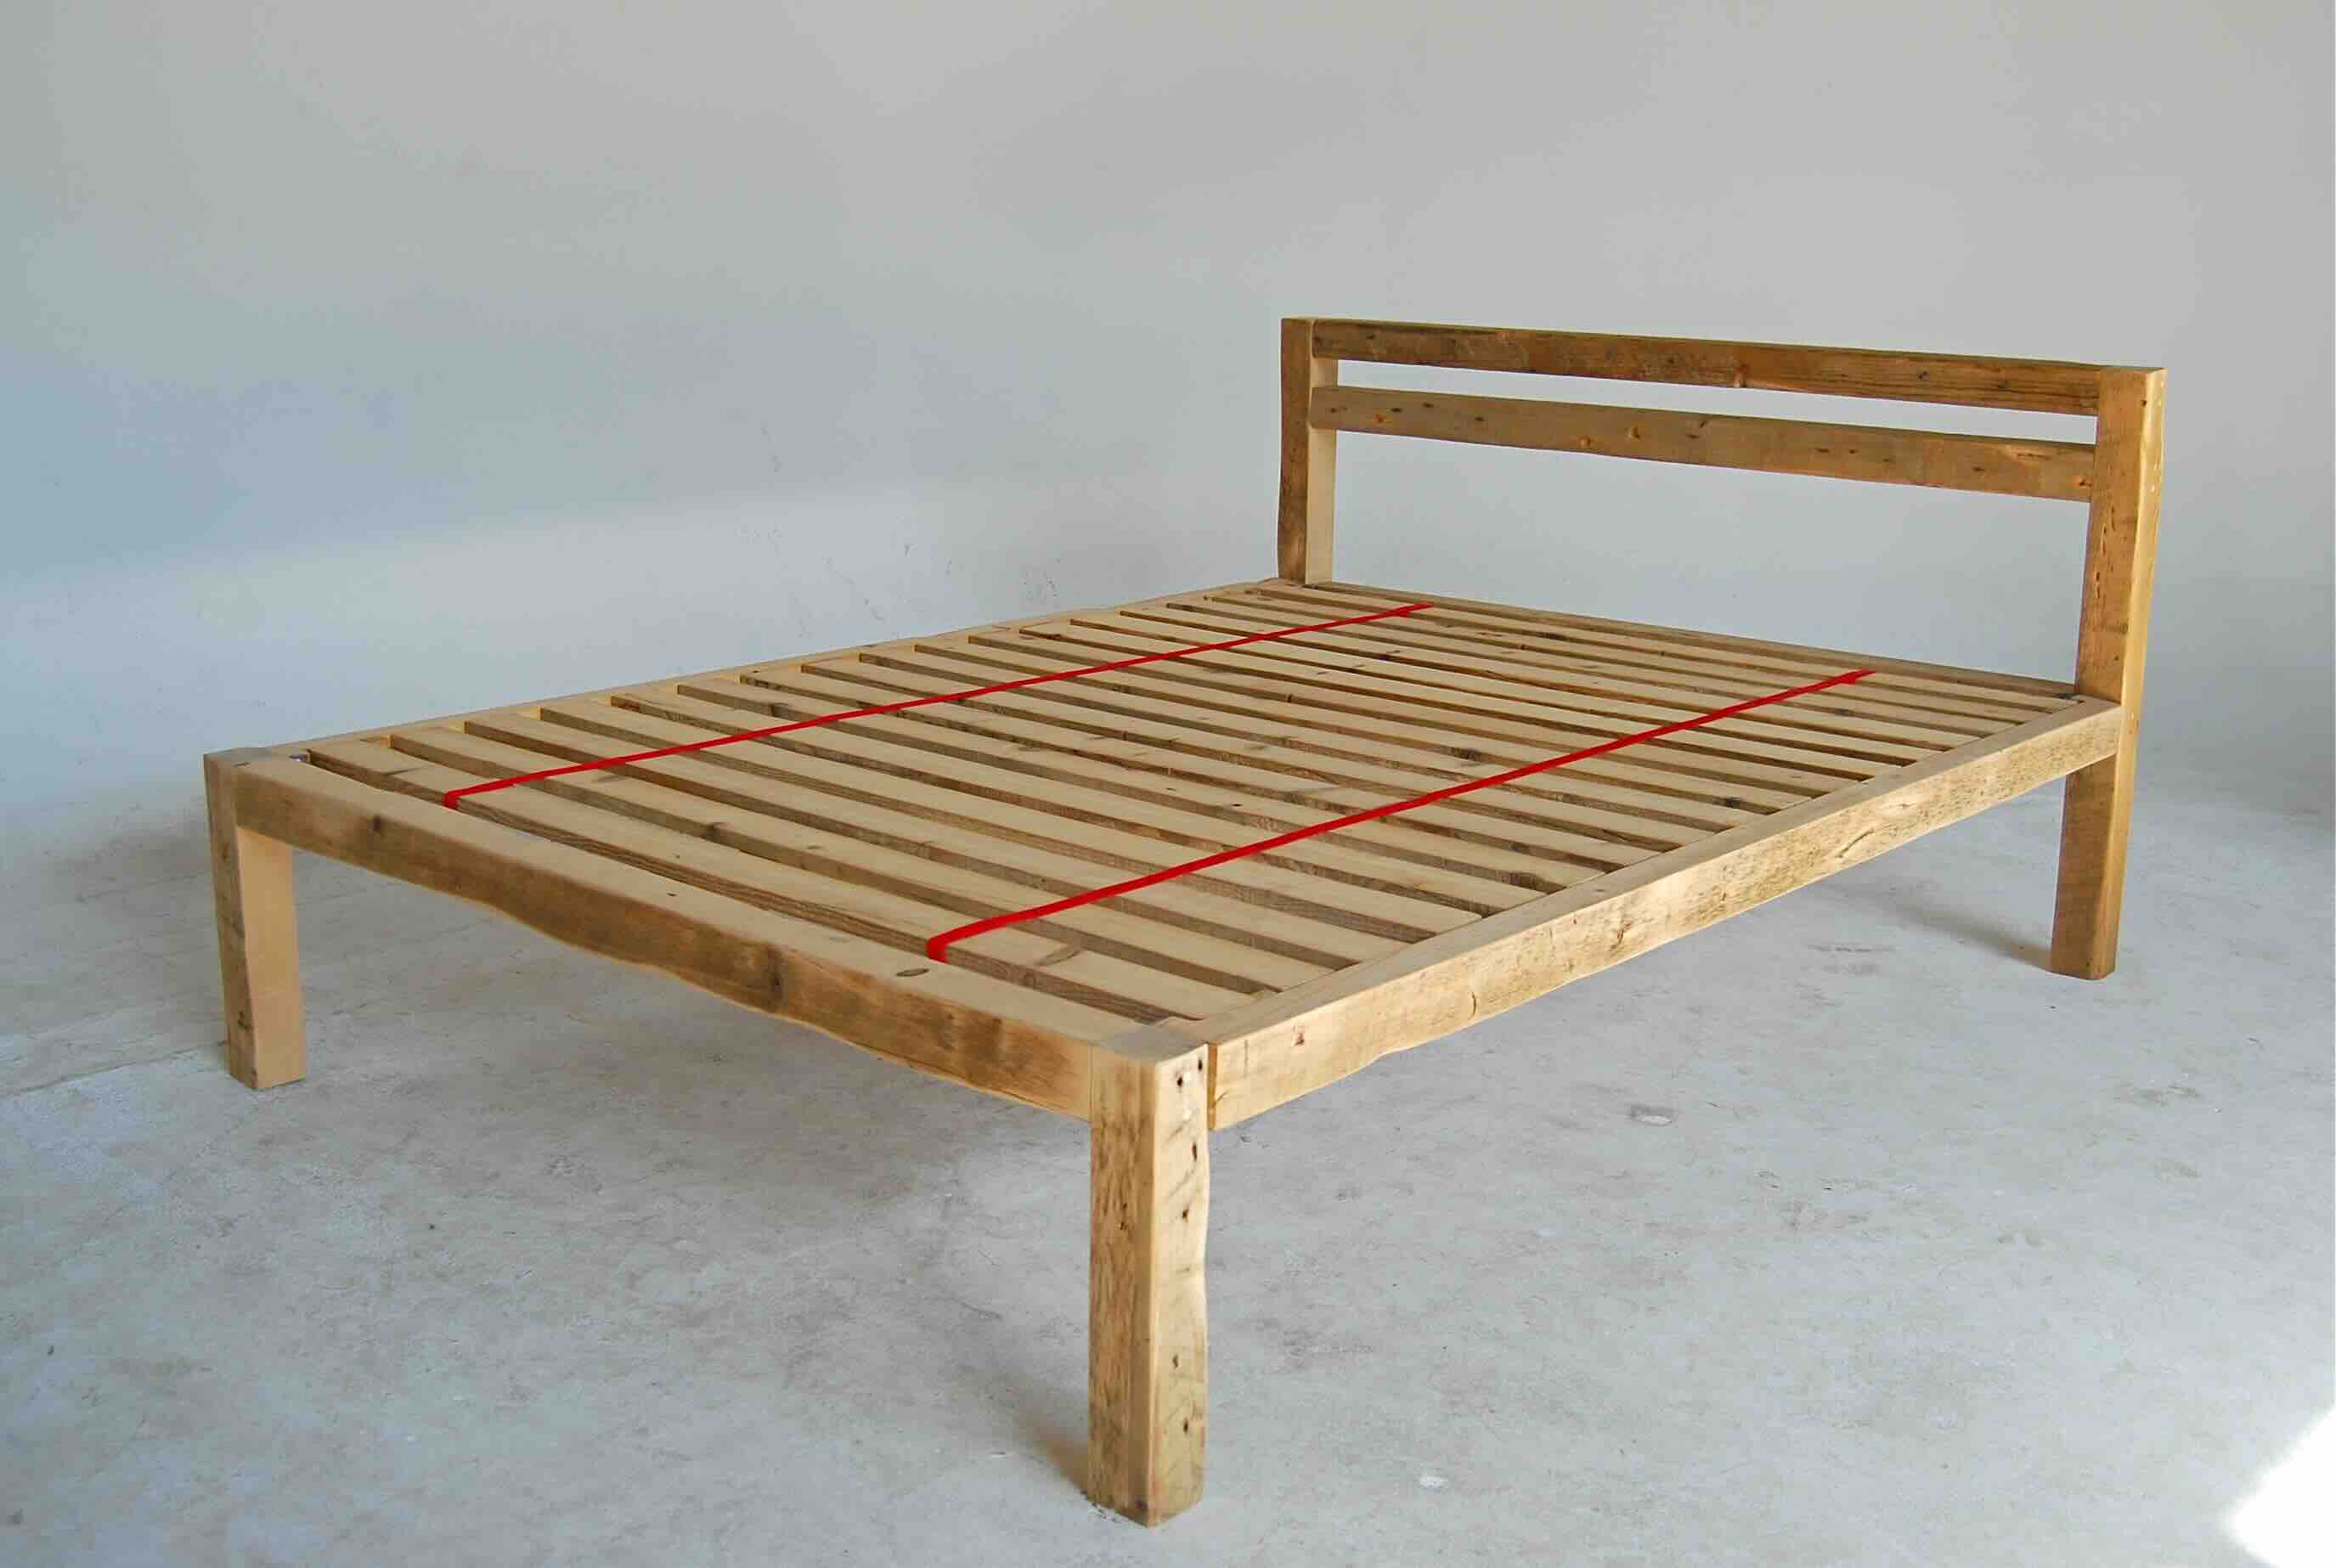
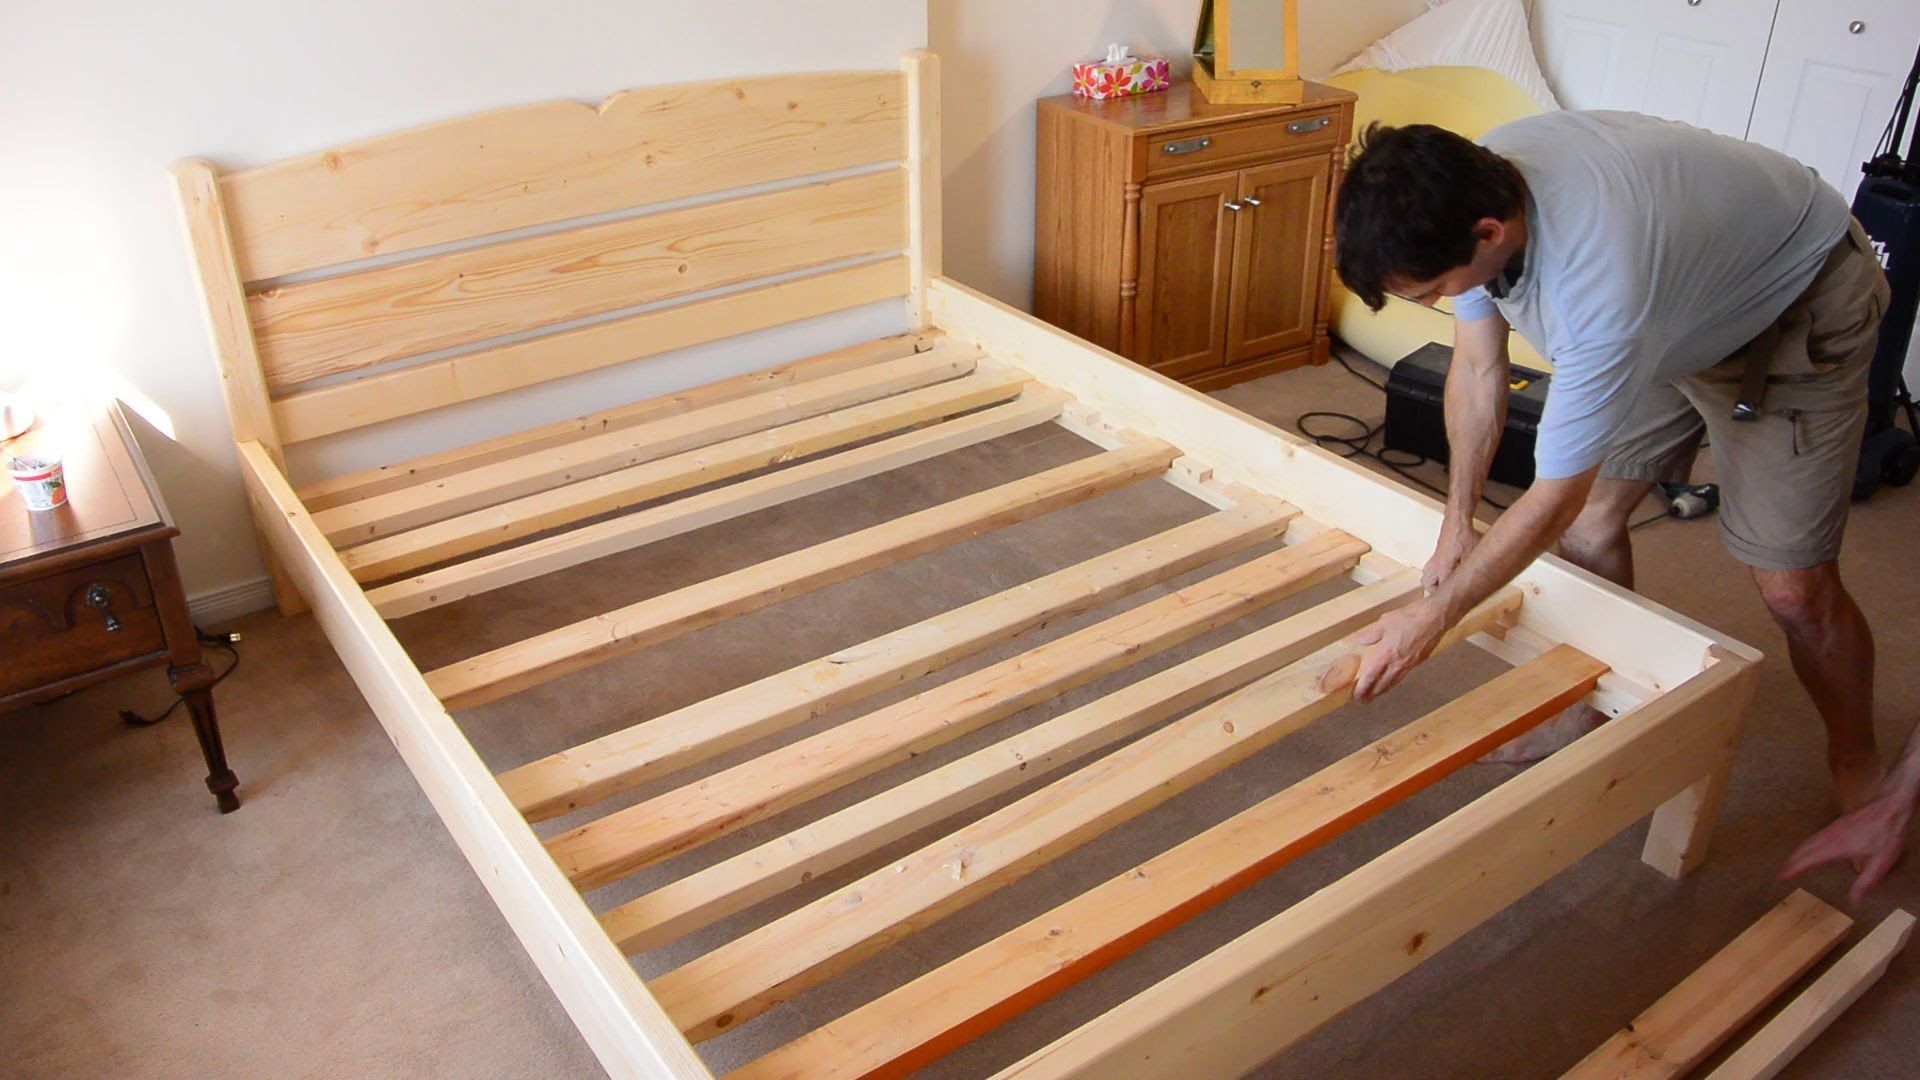
Next, attach the support beams to the side rails. These beams provide additional strength and stability to the bed frame. Place them evenly along the length of the side rails, ensuring they are flush with the top edge of the rails. Drill pilot holes and screw them into place.
Double-check that all the connections are secure and the frame is square. Adjust the pieces if necessary to ensure a perfect fit.
Once the frame is assembled, give it a gentle shake to test for stability. If it wobbles or feels unstable, go back and reinforce the connections with additional screws or wood glue.
Take a moment to step back and admire your progress. You now have a sturdy bed frame ready for the final touches. But before we move on to the next step, be sure to clean up your workspace and remove any excess sawdust or debris.
Assembling the bed frame is a major milestone, and you are one step closer to completing your DIY project. The next step will cover attaching the slats, which provide support for your mattress. So, let’s keep the momentum going!
When building a wooden bed frame, make sure to use high-quality, sturdy wood to ensure the frame can support the weight of the mattress and sleepers. Additionally, consider adding extra support beams in the middle for added stability.
Read more: How To Disassemble A Wooden Bed Frame
Step 4: Attach the Slats
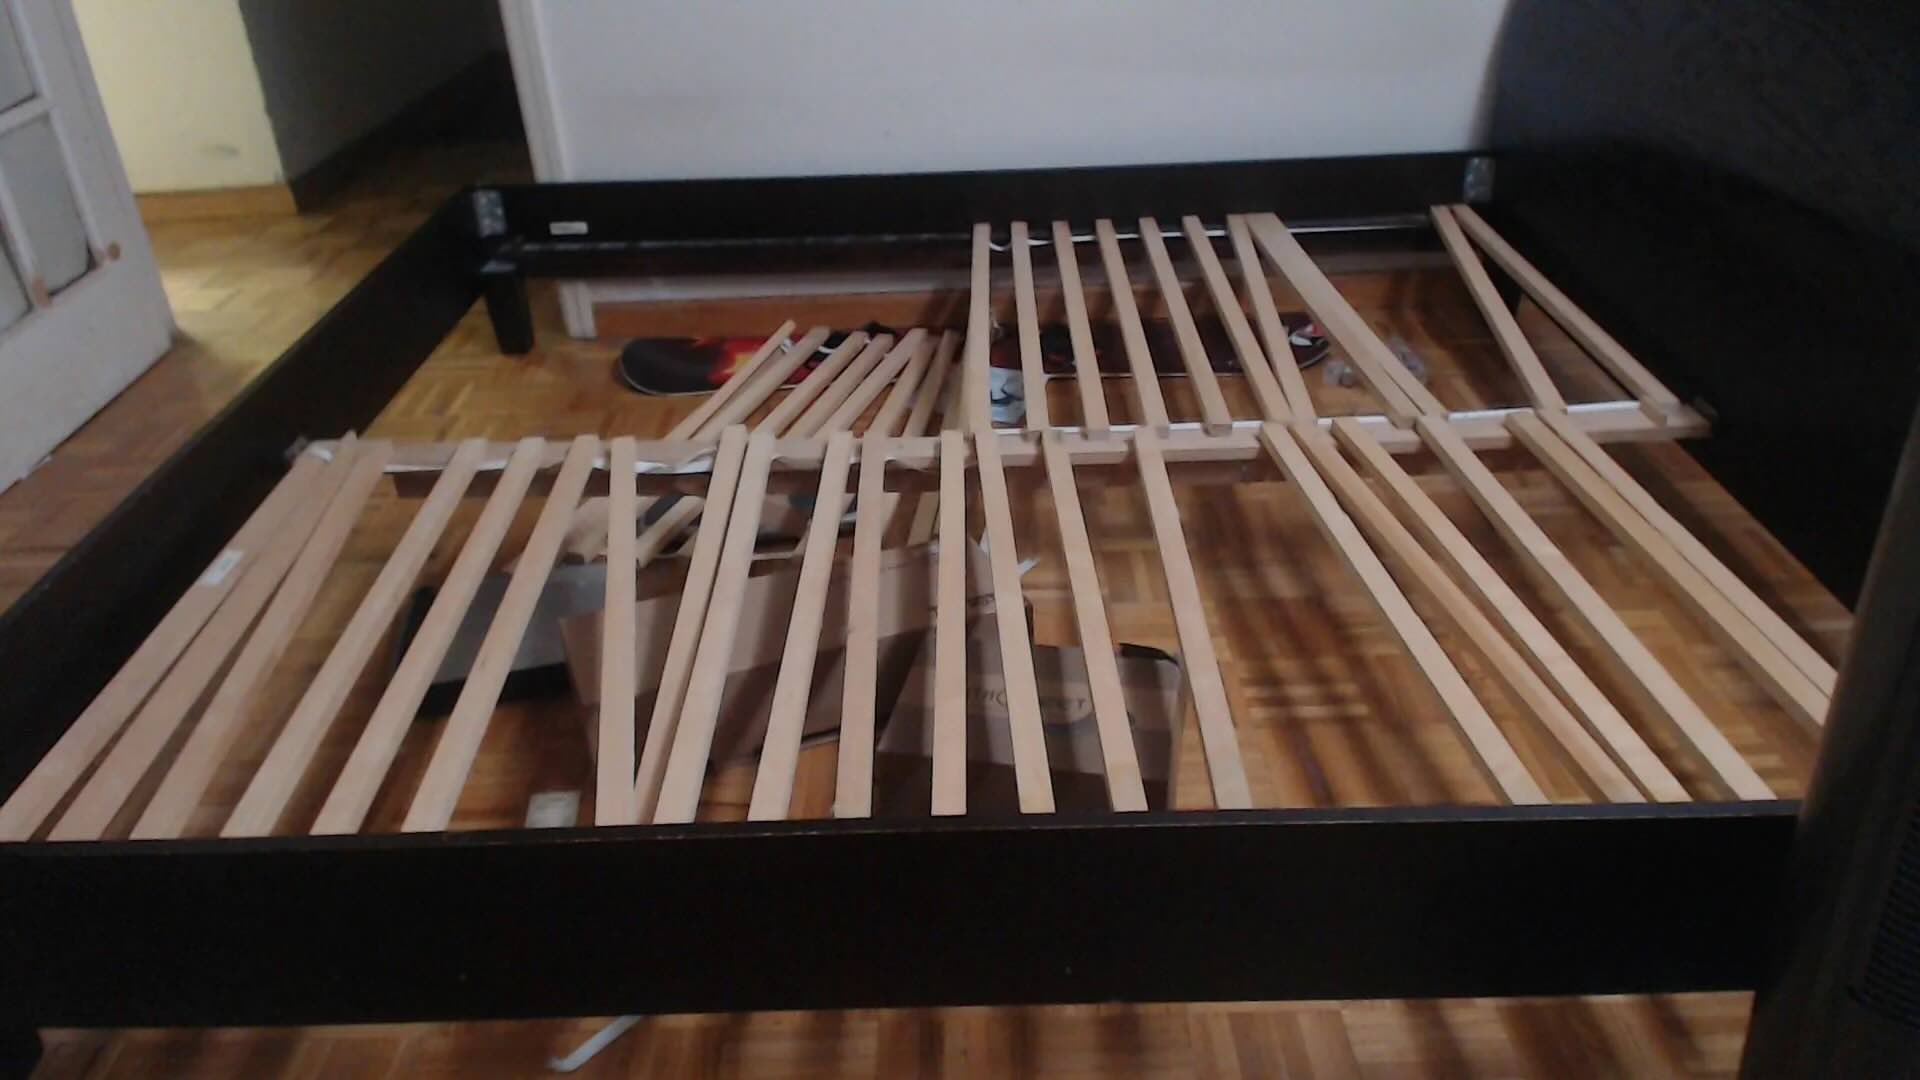
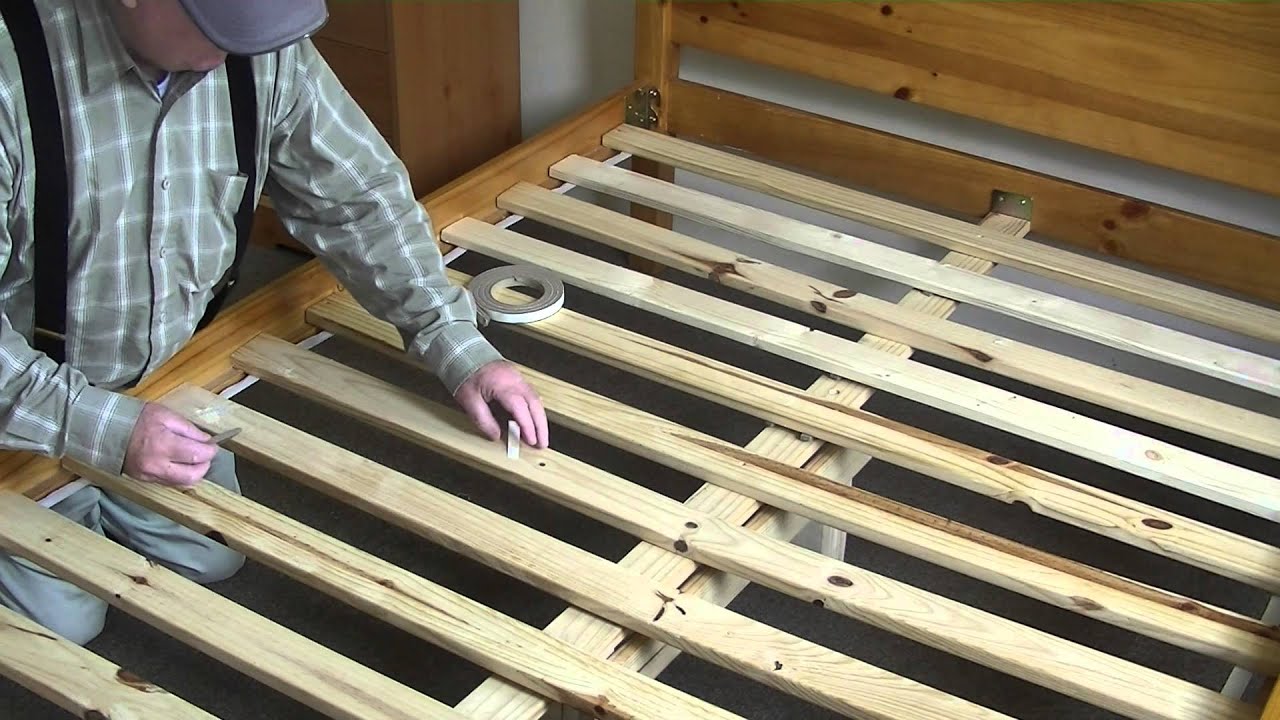
With the bed frame assembled, it’s time to add the slats that will provide support for your mattress. These slats distribute the weight evenly, promoting better mattress longevity and comfort.
Start by measuring the distance between the two side rails of the bed frame. Divide this measurement by the desired spacing between the slats. This will determine the number of slats needed.
Using the measurements you obtained, cut the slats from sturdy wooden boards. Make sure the slats are wide enough to provide adequate support for your mattress, typically around 2 to 3 inches in width.
Lay the slats across the width of the bed frame, evenly spacing them apart. For additional support, you can also attach a center support beam running horizontally beneath the slats.
Attach the slats to the side rails using screws or wood screws. Place them near the edges of the slats to provide secure anchoring.
Double-check that the slats are straight and evenly spaced. Adjust them as necessary to ensure proper support and alignment.
Once the slats are securely attached, give the bed frame a gentle shake to test its stability. The slats should stay in place and provide a solid foundation for your mattress.
Before moving on to the next step, take a moment to admire your progress. You now have a fully functional bed frame with slats ready to support your mattress. However, you may choose to add some finishing touches to enhance the aesthetic appeal of the frame. Let’s explore those options in the next step.
Step 5: Stain or Paint the Frame
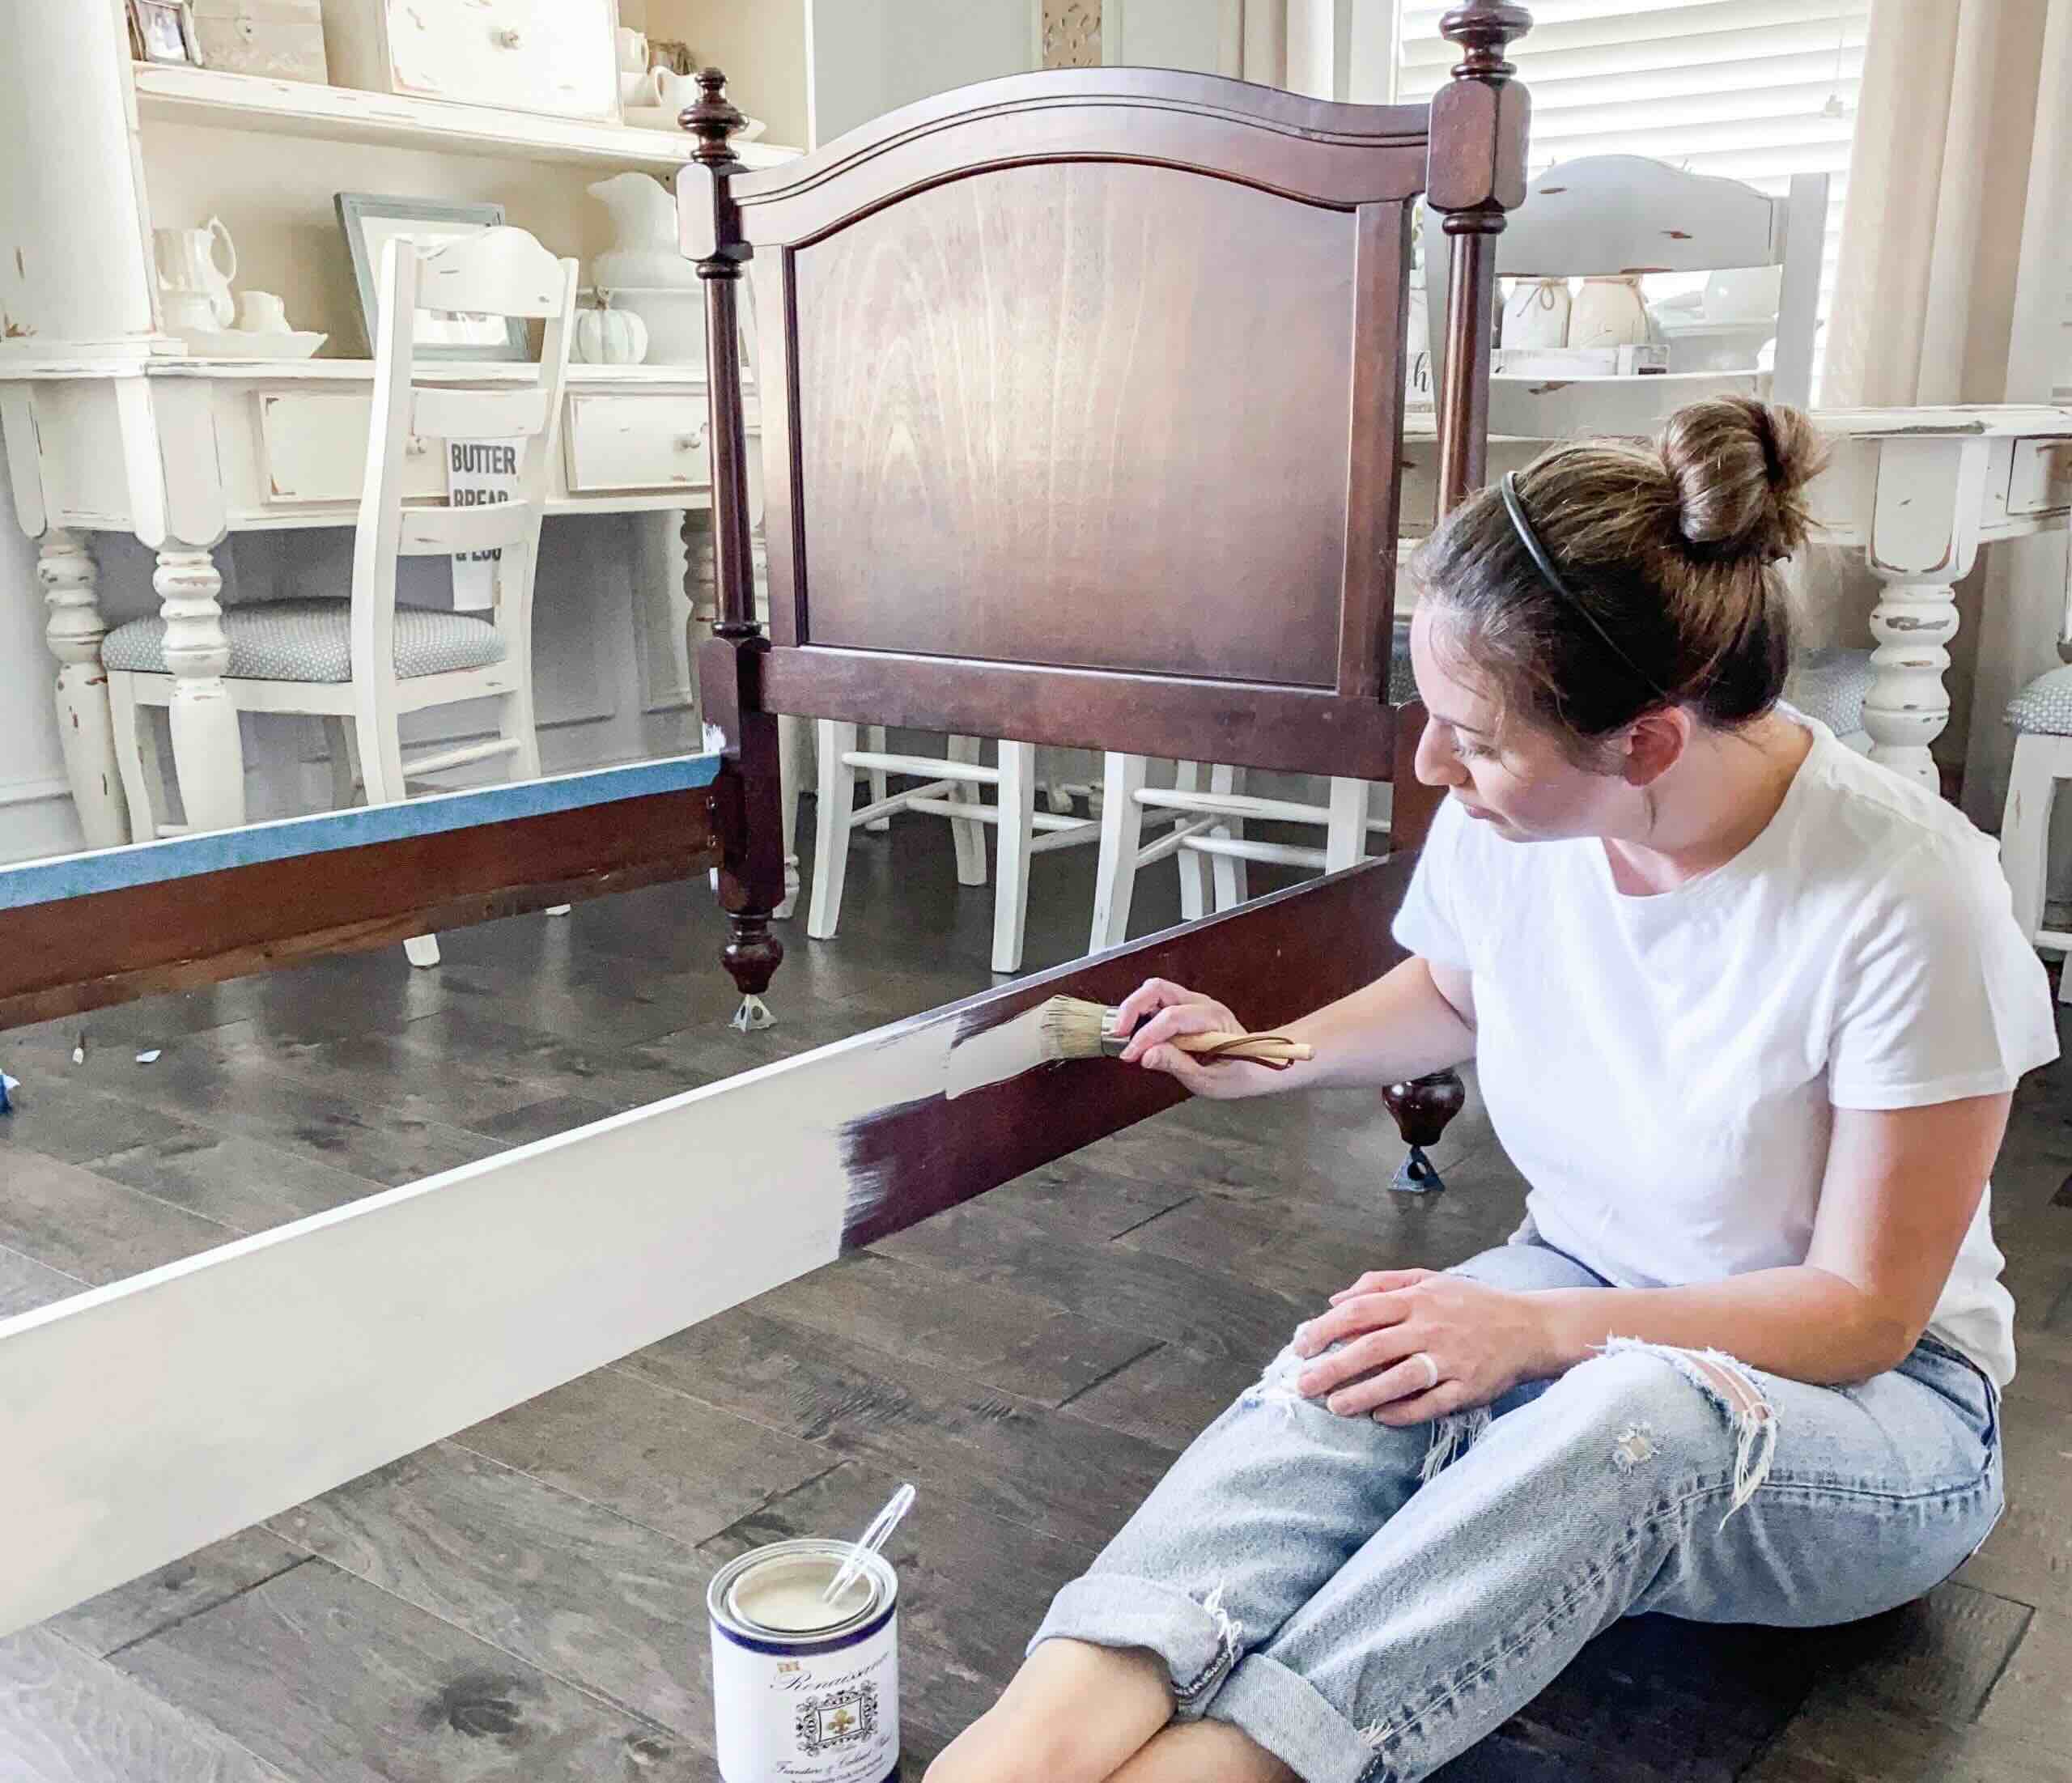
Now that you have assembled the bed frame and attached the slats, it’s time to give it a finishing touch that matches your personal style. Staining or painting the frame will not only enhance its appearance but also protect the wood from wear and tear.
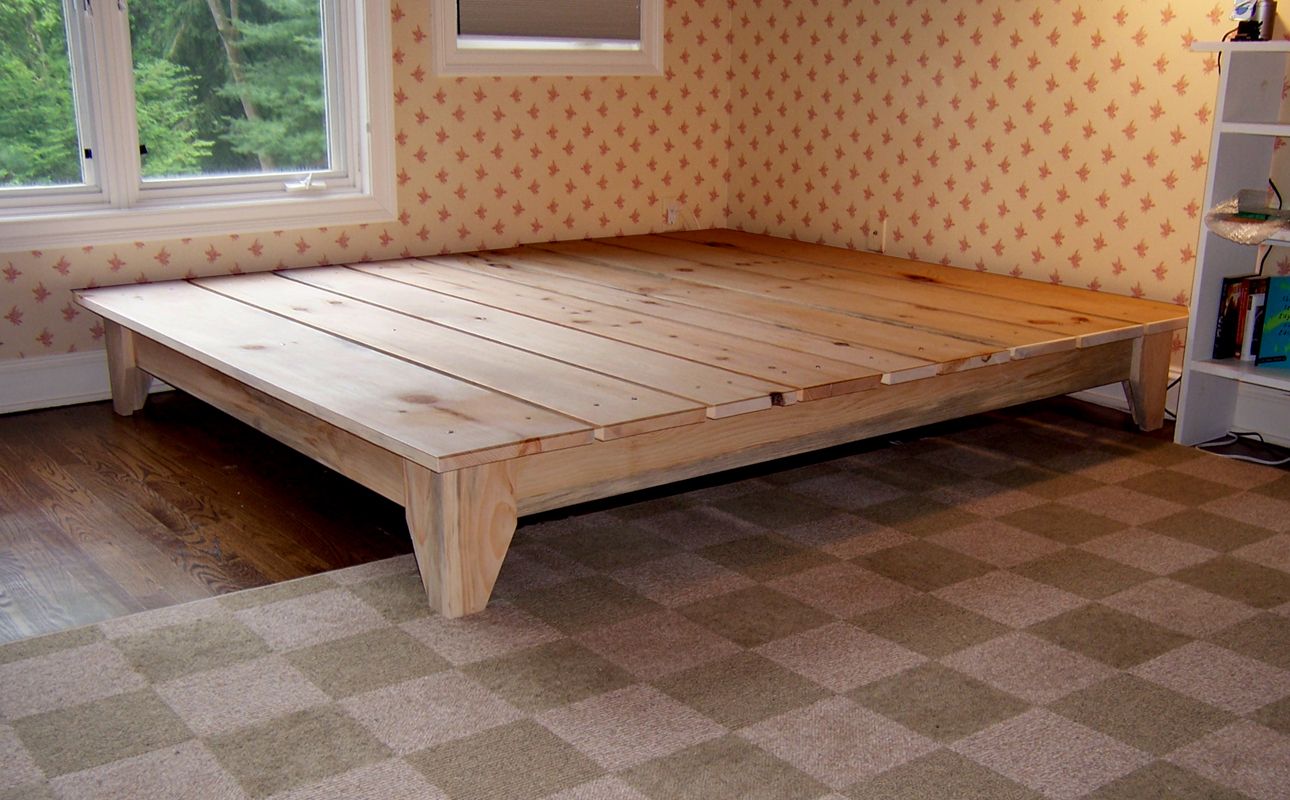
If you prefer a natural, rustic look, you can choose to stain the wood. Staining allows the natural grains and patterns of the wood to show through while providing a protective layer.
Before applying the stain, make sure the wood surface is clean and free from any dust or debris. Use a clean cloth to wipe down the entire frame.
Apply the wood stain using a brush or a cloth, following the manufacturer’s instructions. Start with a thin coat and allow it to dry completely. If you desire a darker shade, you can apply additional coats, making sure to let each coat dry before applying the next.
For a more vibrant or contemporary look, you can choose to paint the frame. Select a paint color that complements your bedroom décor and personal style.
Before painting, prime the wood surface with a primer to ensure that the paint adheres well and provides a smooth finish. Follow the directions on the primer for best results.
Once the primer is dry, apply a thin and even coat of paint, using a brush or a roller. Allow the first coat to dry completely before applying additional coats if needed.
Remember to paint all sides of the bed frame, including the inside portions that may not be visible once the mattress is in place.
After staining or painting, allow the bed frame to dry thoroughly before moving it to your desired location. This will prevent any marks or smudges on the freshly finished surface.
Step back and admire the transformation! You have successfully stained or painted your bed frame, adding a touch of personalization to your bedroom furniture. Now, let’s move on to the final step optional finishing touches.
Step 6: Optional Finishing Touches
With the bed frame assembled and the stain or paint applied, you can take this opportunity to add some optional finishing touches to further enhance the look and functionality of your DIY wooden bed frame.
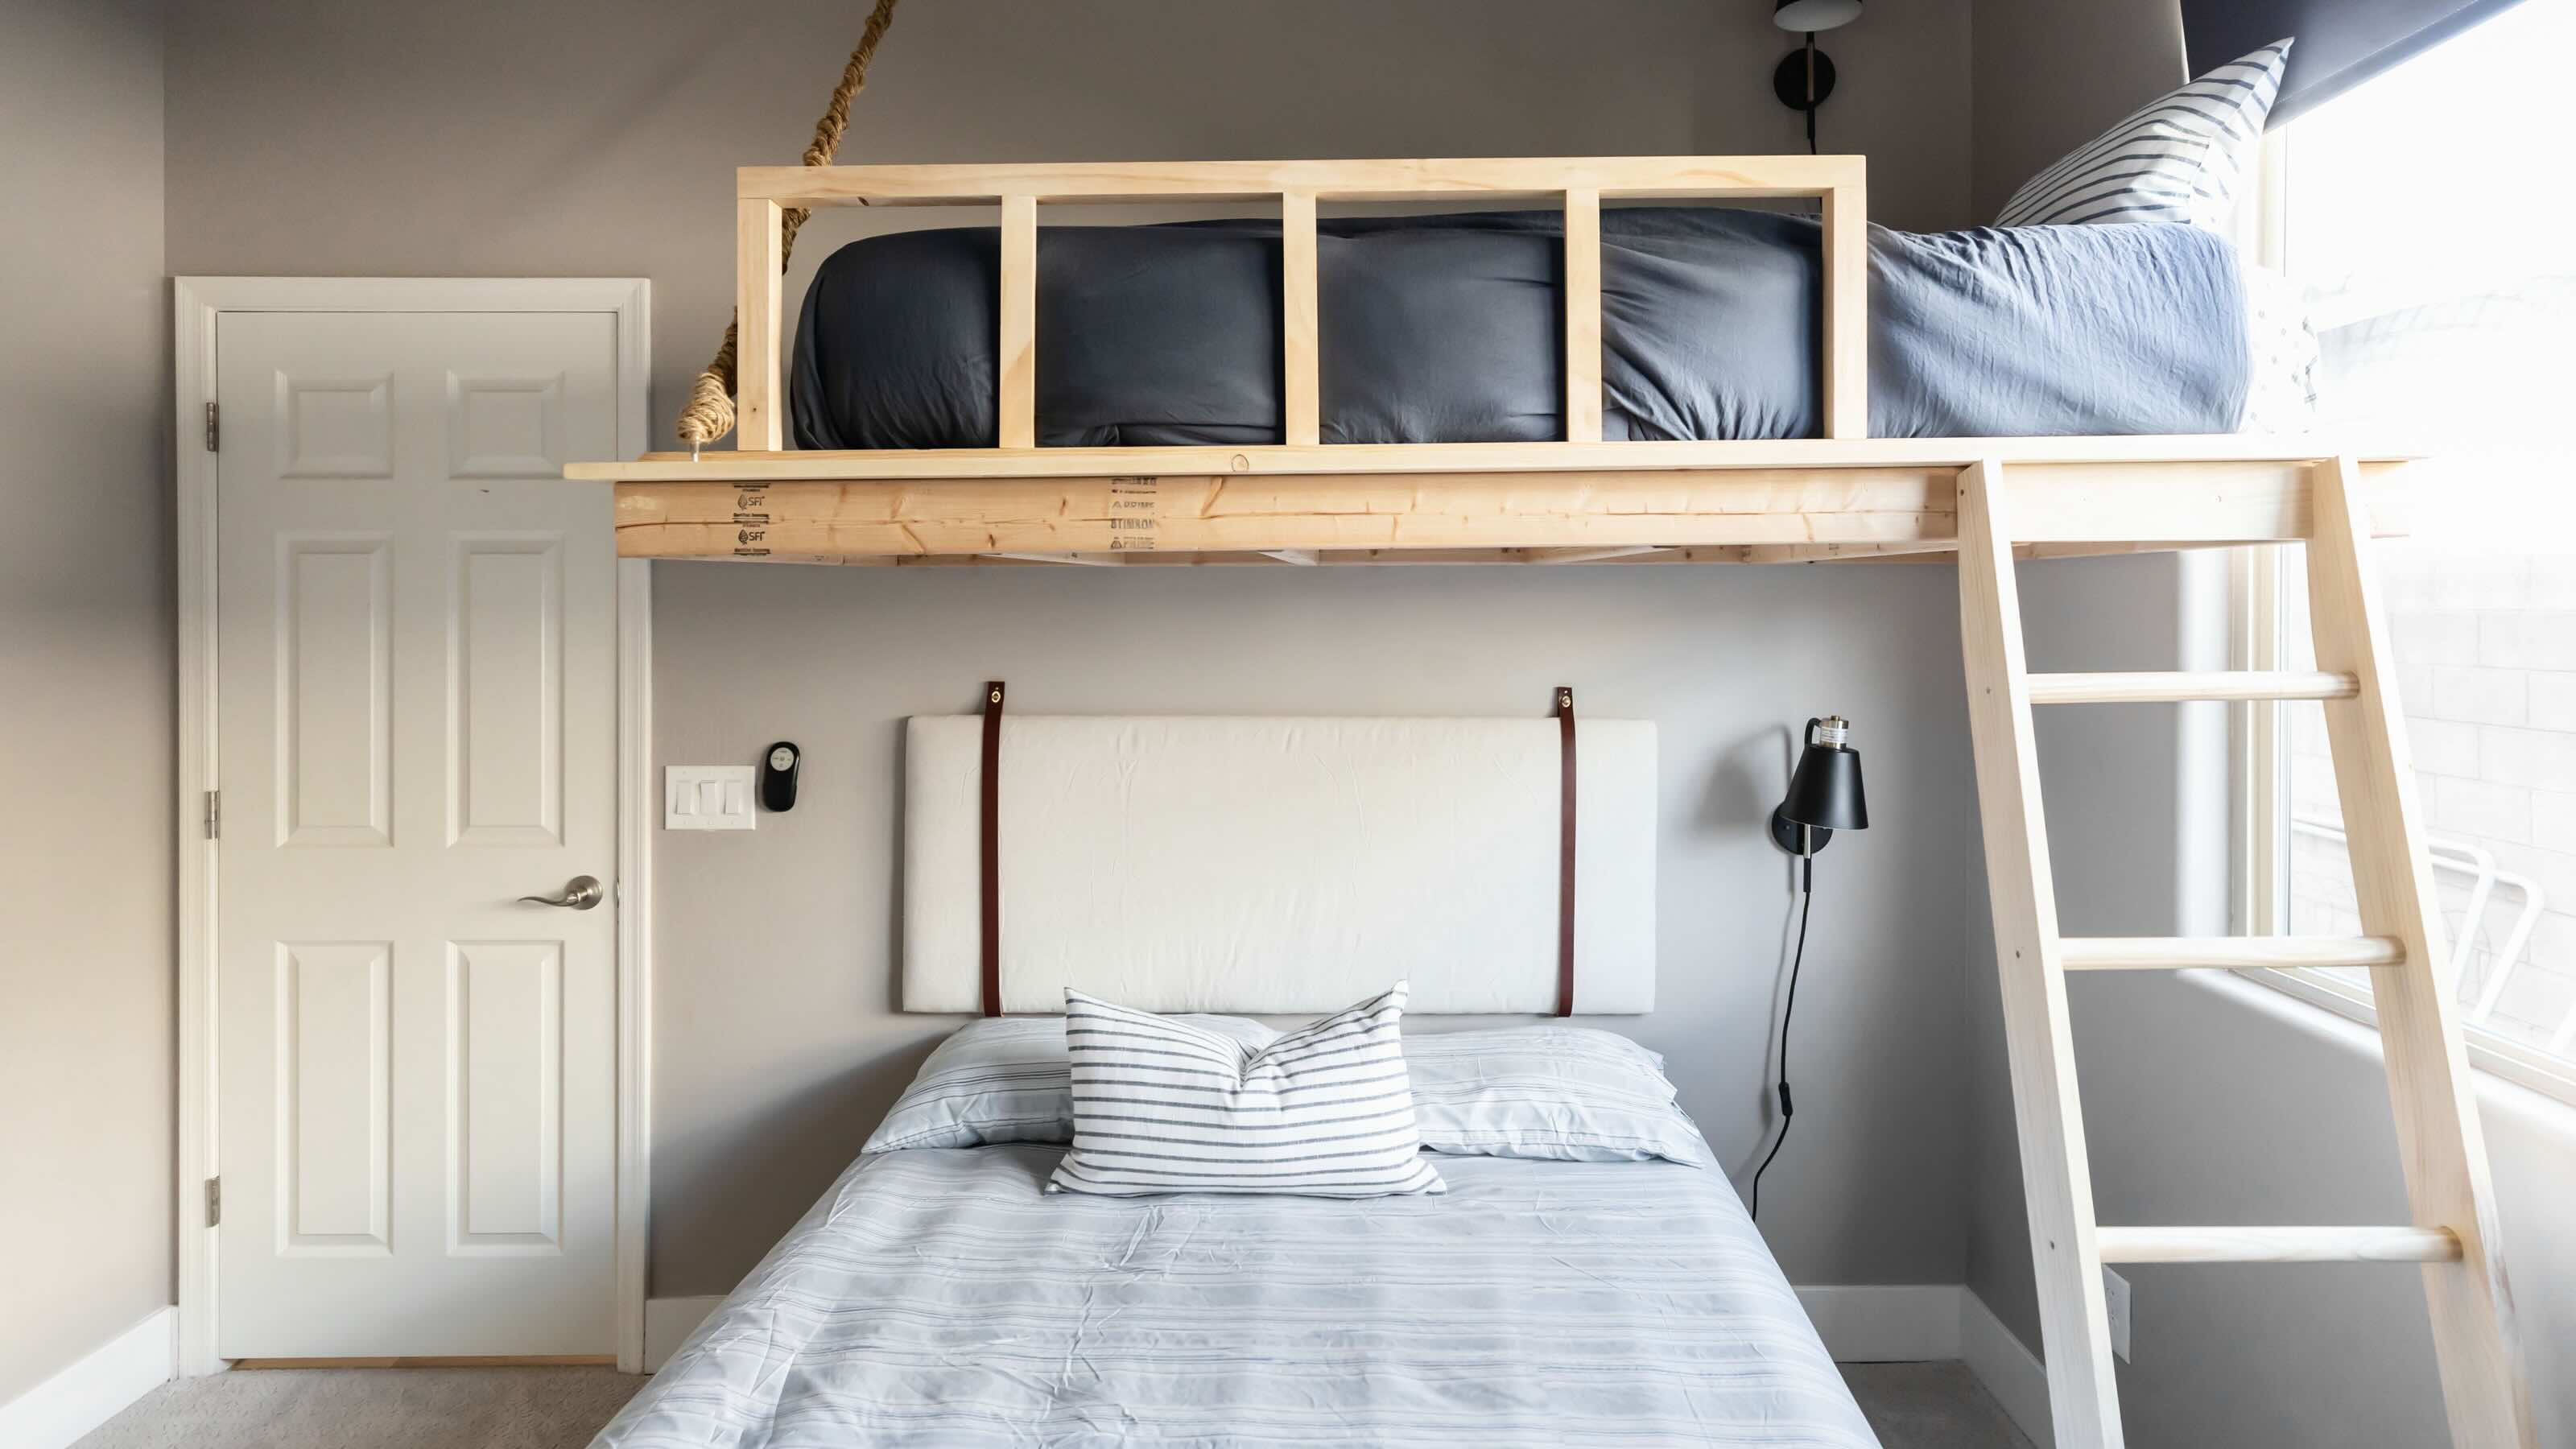
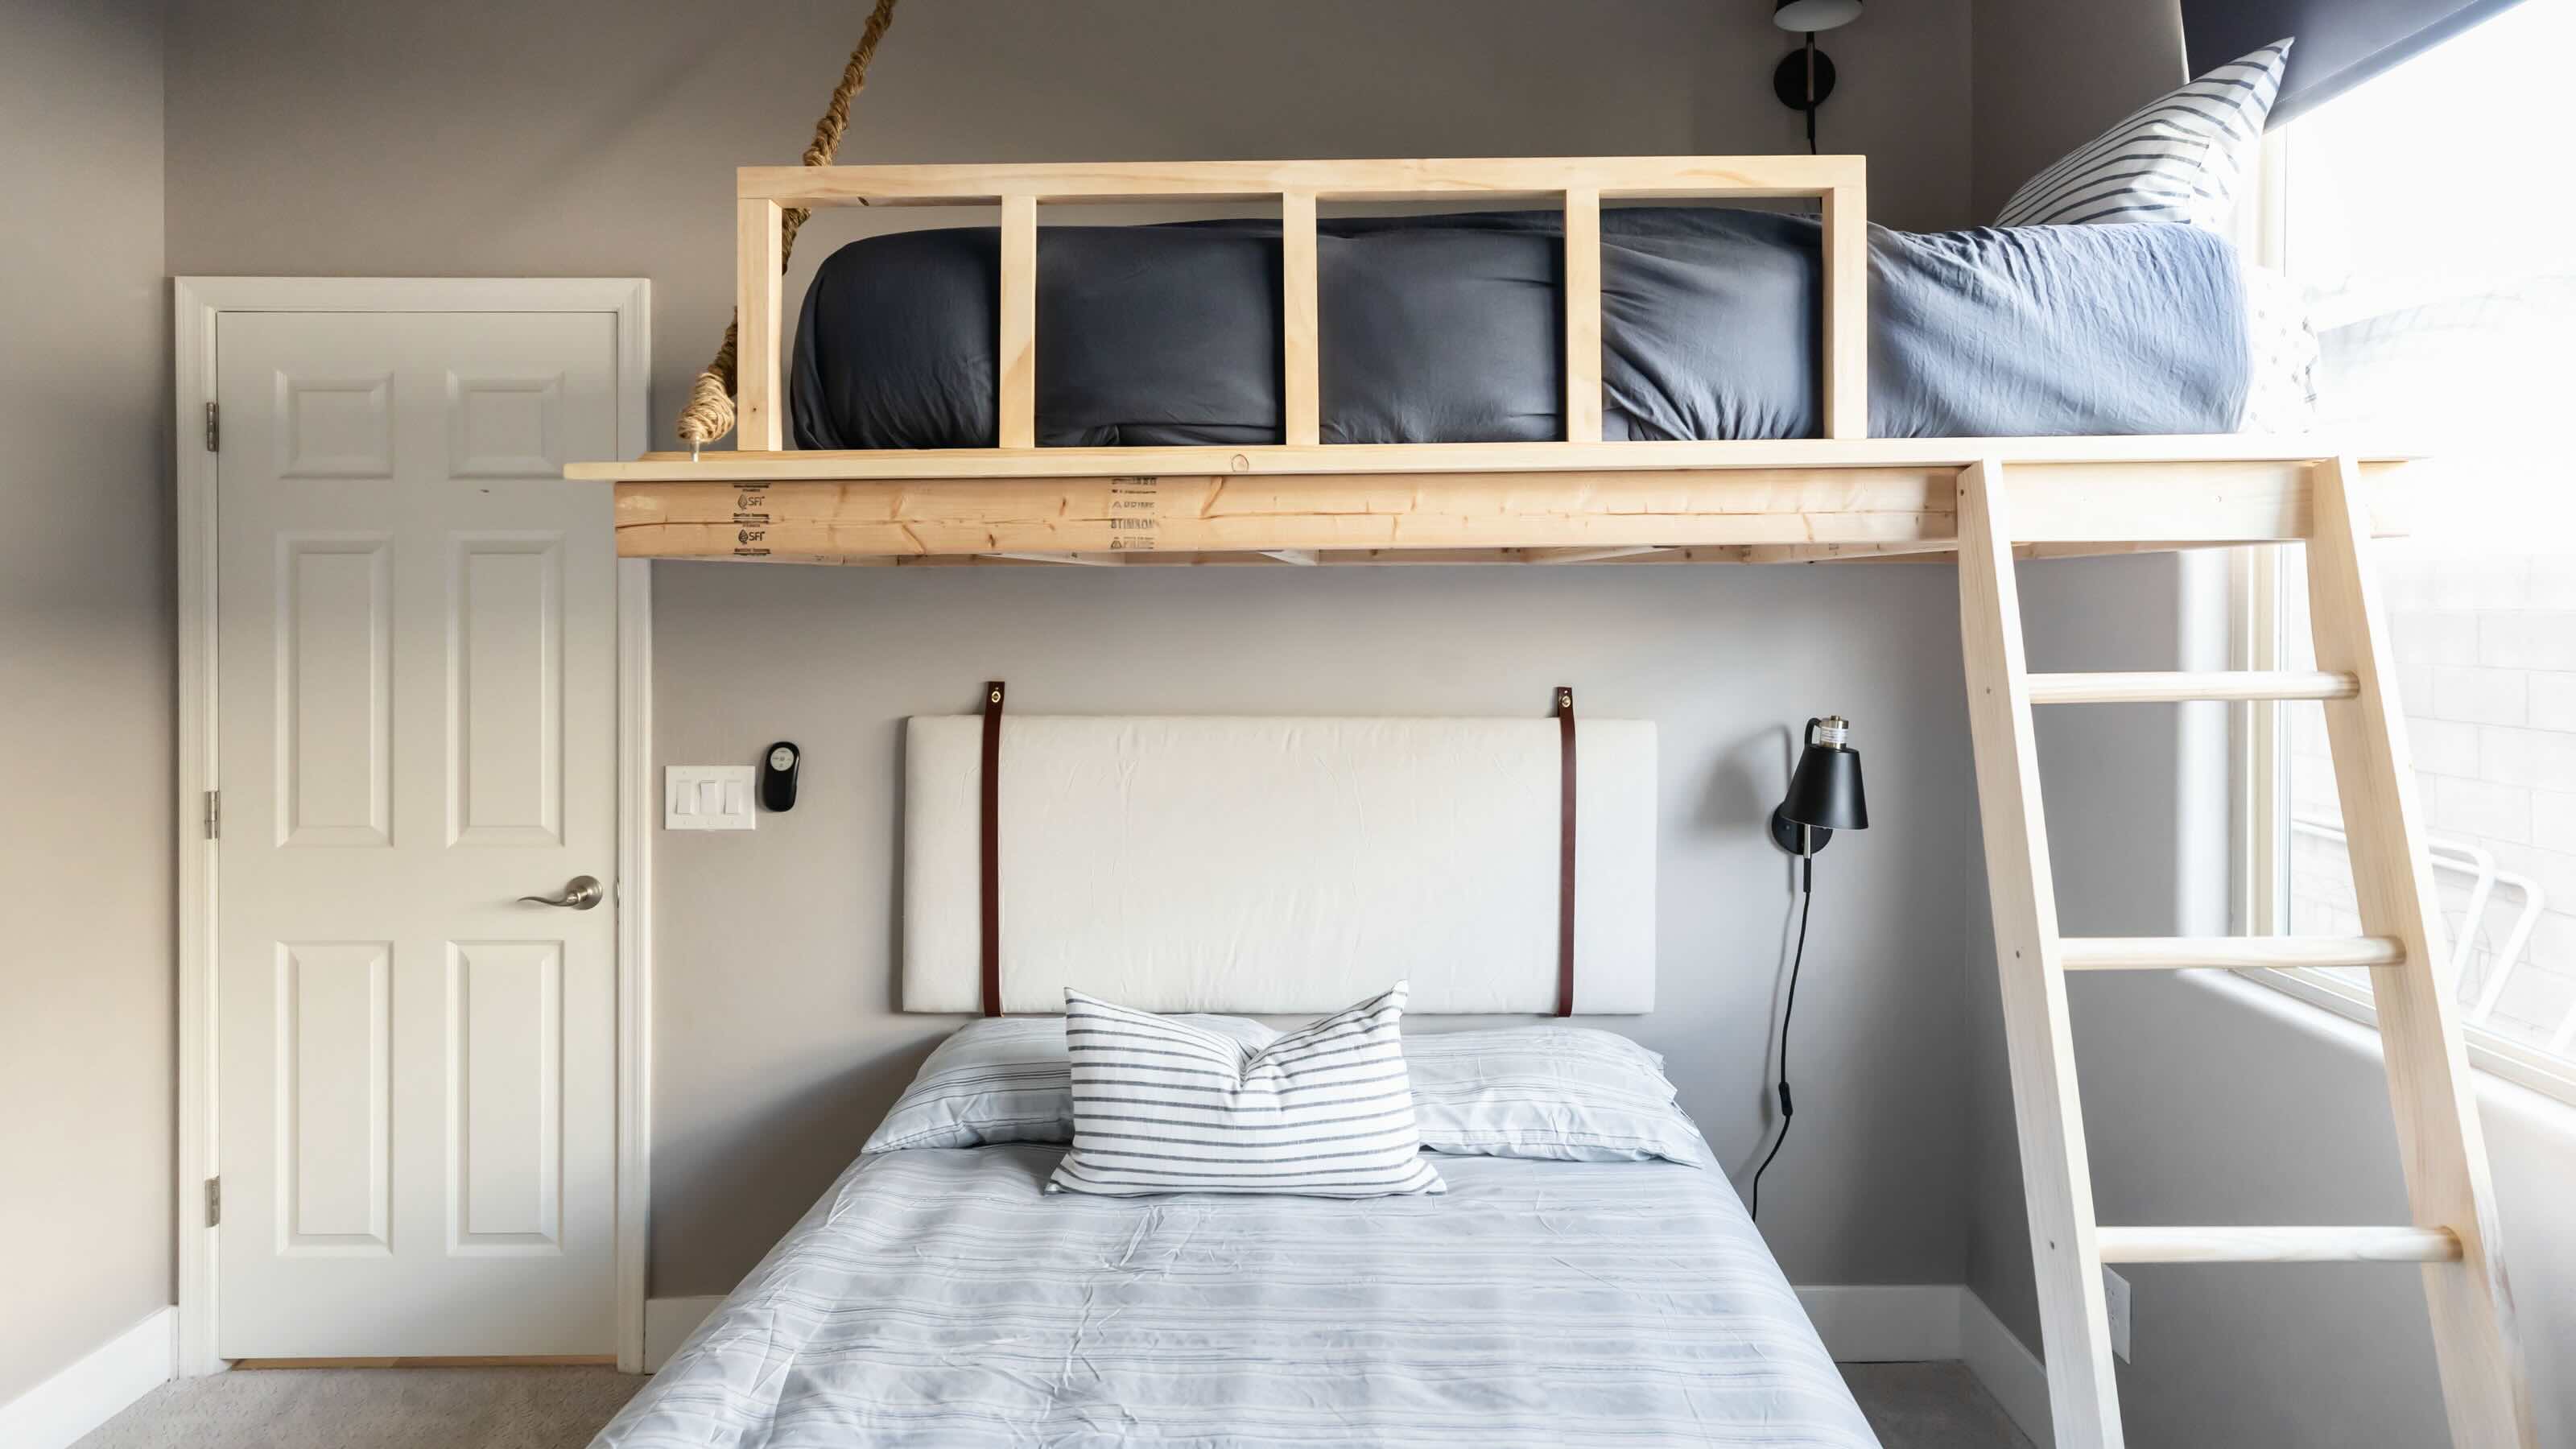
1. Headboard Design: If your bed frame doesn’t already have a built-in headboard, consider adding one. You can create a headboard by attaching a piece of decorative wood, fabric, or even repurposing an old door or a reclaimed wooden panel. Get creative with the design and make sure it complements the overall aesthetic of your bedroom.
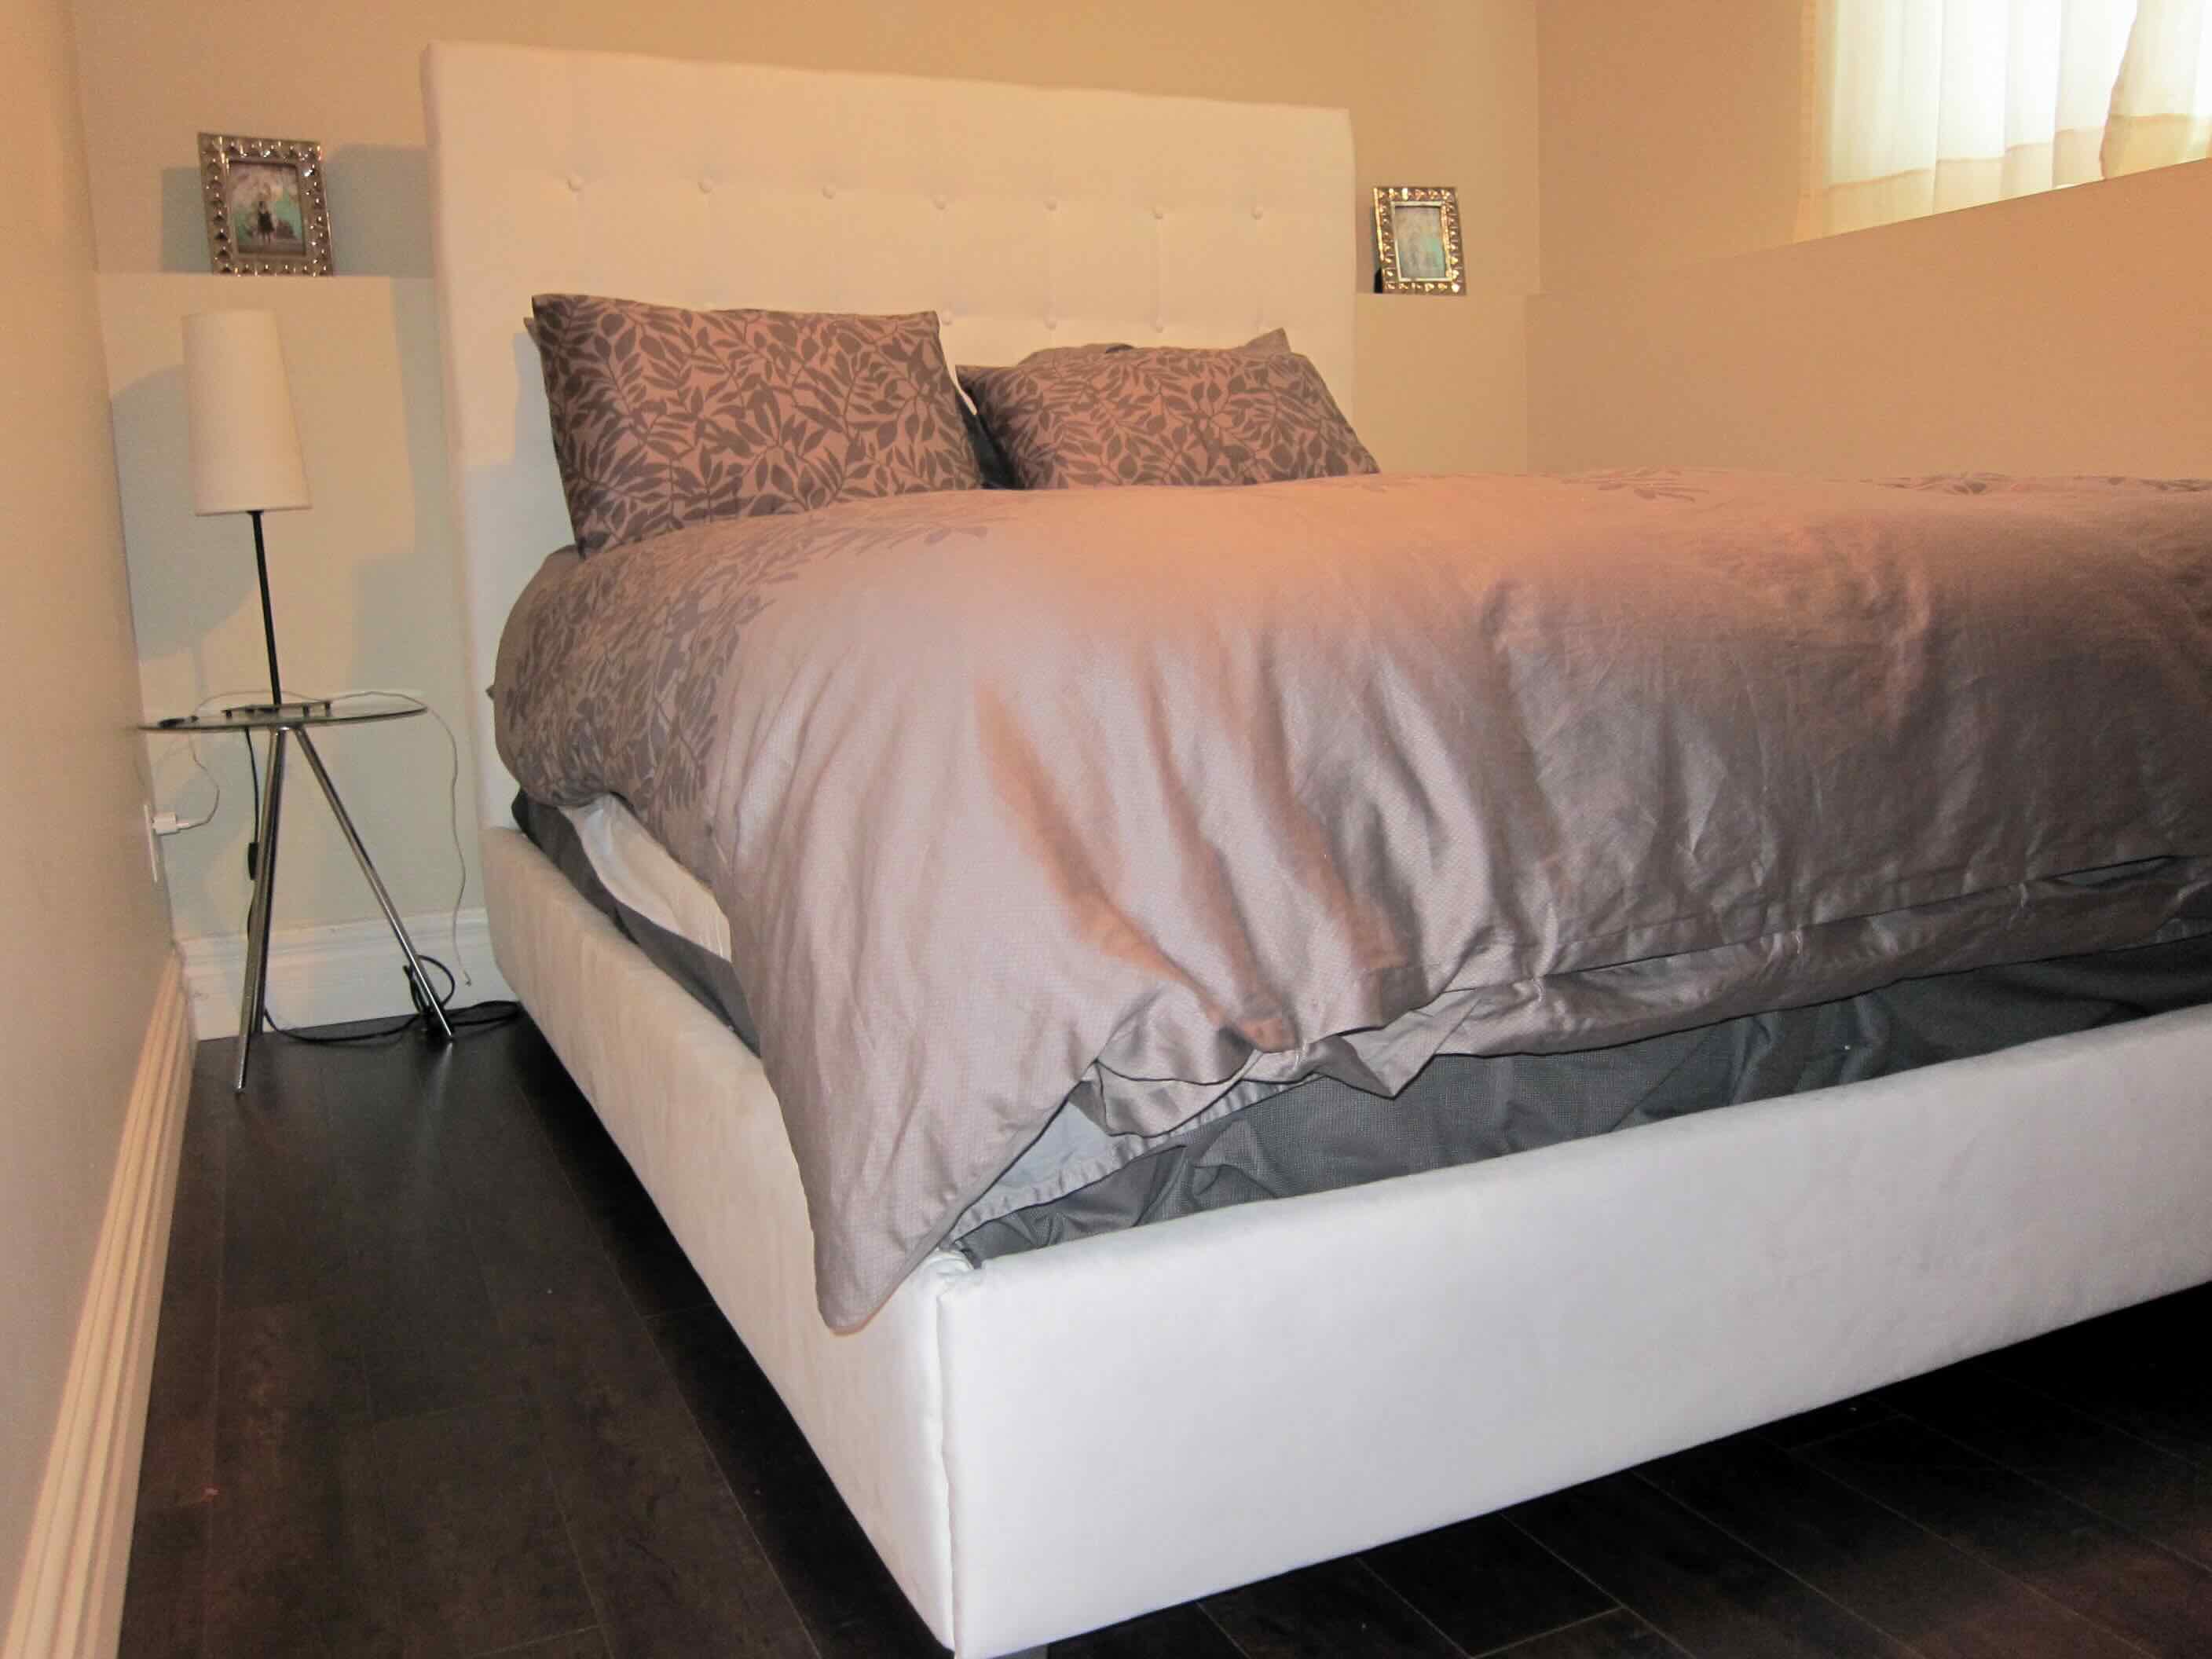
2. Decorative Accents: Add some decorative accents to your bed frame, such as metal accents, carved details, or even upholstery. These small details can create a focal point and add a touch of elegance to your bed frame.
3. Underbed Storage: If you need extra storage space, you can incorporate underbed storage options into your design. Use storage bins, drawer units, or even build custom pull-out storage compartments. This will maximize the functionality of your bed frame and keep your bedroom neat and organized.
4. Bed Frame Legs: Consider swapping out standard bed frame legs for more stylish or unique options. You can find a variety of decorative legs that can elevate the overall look of your bed frame.
5. Lighting: Install some ambient lighting underneath your bed frame to create a cozy and inviting atmosphere in your bedroom. LED light strips or recessed lighting can provide a soft glow and make your bed frame stand out.
6. Finishing Coat: Apply a clear polyurethane finish or a sealant to protect the wood and add durability to your bed frame. This will help to prevent scratches, stains, and water damage, ensuring that your wooden bed frame lasts for years to come.
Remember, these finishing touches are optional, and you can customize your bed frame to suit your personal preferences and style. Have fun with the process and let your creativity shine!
And there you have it! By following these steps, you have successfully built and customized your own wooden bed frame. Enjoy a good night’s sleep on a bed that you built with your own hands.
Remember to maintain your bed frame by periodically checking for loose screws or any signs of wear and tear. With proper care, your DIY bed frame will continue to provide you with comfort and style for years to come.
Conclusion
Congratulations on completing your DIY wooden bed frame! By following the step-by-step process outlined in this article, you have not only saved money but also created a unique piece of bedroom furniture that reflects your personal style.
Building your own bed frame allows you to customize the design, size, and finish according to your preferences. Whether you opted for a rustic stained look or a sleek painted finish, your bed frame is now a focal point in your bedroom.
Remember to consider the materials, measurements, and tools necessary for the project. Take your time during the cutting and sanding stages to ensure precise and smooth edges. Assemble the frame carefully, reinforcing connections as needed.
Adding slats to provide support for your mattress is crucial for a comfortable and well-supported night’s sleep. And don’t forget to put your own personal touches with optional finishing touches such as a headboard, decorative accents, or underbed storage.
Lastly, enjoy the fruits of your labor! Your beautifully crafted bed frame is not only functional but also a testament to your skills and creativity. Now you can rest easy, knowing that you have a custom-made bed frame that meets your needs and exudes your unique style.
Remember to maintain your bed frame by periodically checking and tightening any loose screws or addressing any signs of wear. With proper care, your DIY bed frame will continue to provide you with a comfortable and stylish sleep experience for years to come.
So go ahead, lie down, and enjoy the satisfaction of a good night’s sleep on a bed frame that you built with your own hands!
Frequently Asked Questions about How To Build A Wooden Bed Frame
Was this page helpful?
At Storables.com, we guarantee accurate and reliable information. Our content, validated by Expert Board Contributors, is crafted following stringent Editorial Policies. We're committed to providing you with well-researched, expert-backed insights for all your informational needs.




0 thoughts on “How To Build A Wooden Bed Frame”