Home>Furniture>Bedroom Furniture>How To Deep Clean A Mattress At Home

Bedroom Furniture
How To Deep Clean A Mattress At Home
Modified: August 28, 2024
Learn how to deep clean your mattress at home with our easy step-by-step guide. Transform your bedroom furniture with our effective cleaning tips.
(Many of the links in this article redirect to a specific reviewed product. Your purchase of these products through affiliate links helps to generate commission for Storables.com, at no extra cost. Learn more)
Introduction
When it comes to ensuring a good night’s sleep, a clean and well-maintained mattress is key. Your mattress is where you spend a significant amount of time each night, and over time, it can accumulate dust, dirt, allergens, and even stains. Deep cleaning your mattress not only helps to keep it fresh and hygienic but also prolongs its lifespan. In this article, we will guide you through the process of deep cleaning your mattress at home, so you can enjoy a clean and comfortable sleep environment.
Deep cleaning your mattress may seem like a daunting task, but with the right techniques and supplies, it can be a straightforward process. By following a few simple steps, you can remove dust mites, allergens, odors, and stains, leaving your mattress looking and smelling fresh.
In the following sections, we will discuss why deep cleaning your mattress is important, the supplies you will need, and the step-by-step process to achieve a thorough clean. So, let’s dive in and discover how to give your mattress the attention it deserves!
Key Takeaways:
- Regular deep cleaning of your mattress removes allergens, extends its lifespan, and promotes better sleep quality. Follow the step-by-step guide to create a clean and rejuvenating sleep environment at home.
- By using simple supplies like a vacuum cleaner and baking soda, you can effectively deep clean your mattress, eliminate odors, and prevent mold growth. Enjoy a fresh and hygienic sleep surface for years to come.
Read more: How Deep Is A Deep Pocket Mattress
Why Should You Deep Clean Your Mattress?
Deep cleaning your mattress is an essential part of maintaining a healthy sleep environment. Here are a few reasons why you should make it a regular part of your cleaning routine:
- Prolong the lifespan of your mattress: Over time, sweat, dead skin cells, and body oils can penetrate the surface of your mattress, causing it to deteriorate faster. Deep cleaning helps to remove these build-ups, which can extend the lifespan of your mattress.
- Eliminate allergens and dust mites: Mattresses are a breeding ground for dust mites, microscopic pests that feed on dead skin cells. Dust mites can trigger allergies and respiratory issues. Deep cleaning your mattress helps to eliminate these allergens, creating a healthier sleeping environment.
- Remove stains and odors: Spills, accidents, or even regular use can result in stains and unpleasant odors on your mattress. Deep cleaning techniques can help to remove these blemishes, leaving your mattress fresh and clean.
- Improve sleep quality: A clean mattress promotes better sleep. By removing allergens, dust mites, and odors, deep cleaning helps create a more hygienic and comfortable sleep surface, allowing you to sleep soundly throughout the night.
- Prevent mold and mildew: Moisture, whether from spills, sweat, or humid environments, can seep into your mattress and create the perfect conditions for mold and mildew growth. Deep cleaning helps to prevent these issues, keeping your mattress dry and mold-free.
By deep cleaning your mattress regularly, you not only improve its longevity but also enhance your overall sleeping experience. A clean and fresh mattress can make a noticeable difference in the quality of your sleep, allowing you to wake up feeling refreshed and rejuvenated each morning.
Gather Your Supplies
Before you begin the deep cleaning process, it’s important to gather all the necessary supplies. Here’s a list of items you will need:
- Vacuum cleaner: A vacuum cleaner with an upholstery attachment is essential for removing dust, debris, and allergens from your mattress.
- Mattress cleaner or upholstery cleaner: Look for a mattress cleaner specifically designed to remove stains and odors. Alternatively, you can use a mild upholstery cleaner that is safe for fabric surfaces.
- Enzyme cleaner: If you have pet stains or odors on your mattress, an enzyme cleaner can be highly effective in breaking down and eliminating these biological messes.
- Stain remover: For stubborn stains, you may need a dedicated stain remover. Look for a product suitable for the type of stain you’re dealing with, such as blood, urine, or sweat stains.
- Baking soda: Baking soda is a natural deodorizer that can help eliminate odors from your mattress. It’s a cost-effective and safe option for freshening up your sleep surface.
- Soft brush or cloth: A soft-bristled brush or a clean cloth can be used to gently scrub stains and apply cleaner to your mattress without damaging the fabric.
- Protective covers or mattress encasements: Consider investing in a mattress protector or encasement to keep your mattress clean and shield it from spills, allergens, and dust mites in the future.
Having these supplies on hand ensures that you have everything you need for a thorough and effective deep cleaning session. So gather your supplies, set aside some time, and let’s get started on transforming your mattress into a clean and rejuvenating sleep haven!
Steps to Deep Clean Your Mattress
Now that you have gathered your supplies, let’s dive into the step-by-step process to deep clean your mattress:
- Step 1: Remove all bedding: Start by stripping your mattress of all bedding, including sheets, pillowcases, and mattress protectors. This allows you to access the mattress surface and clean it thoroughly.
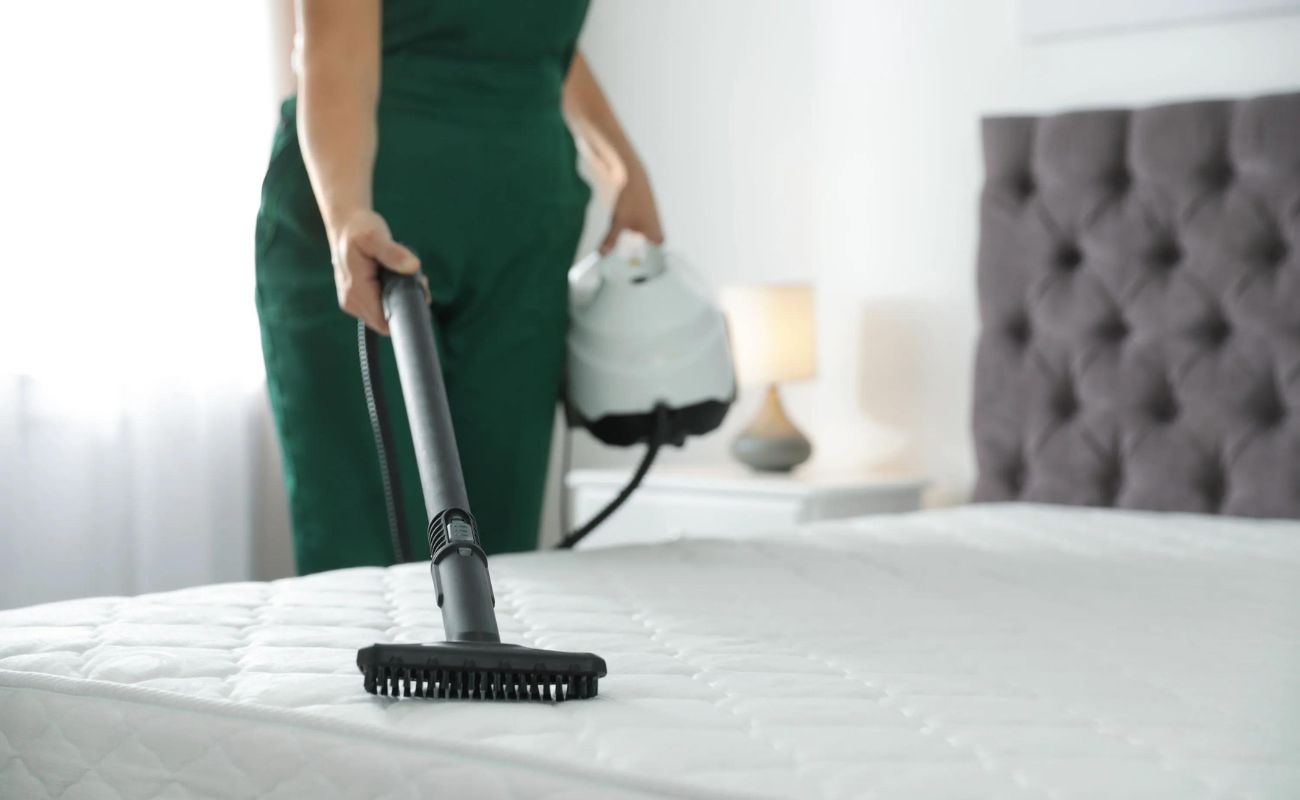
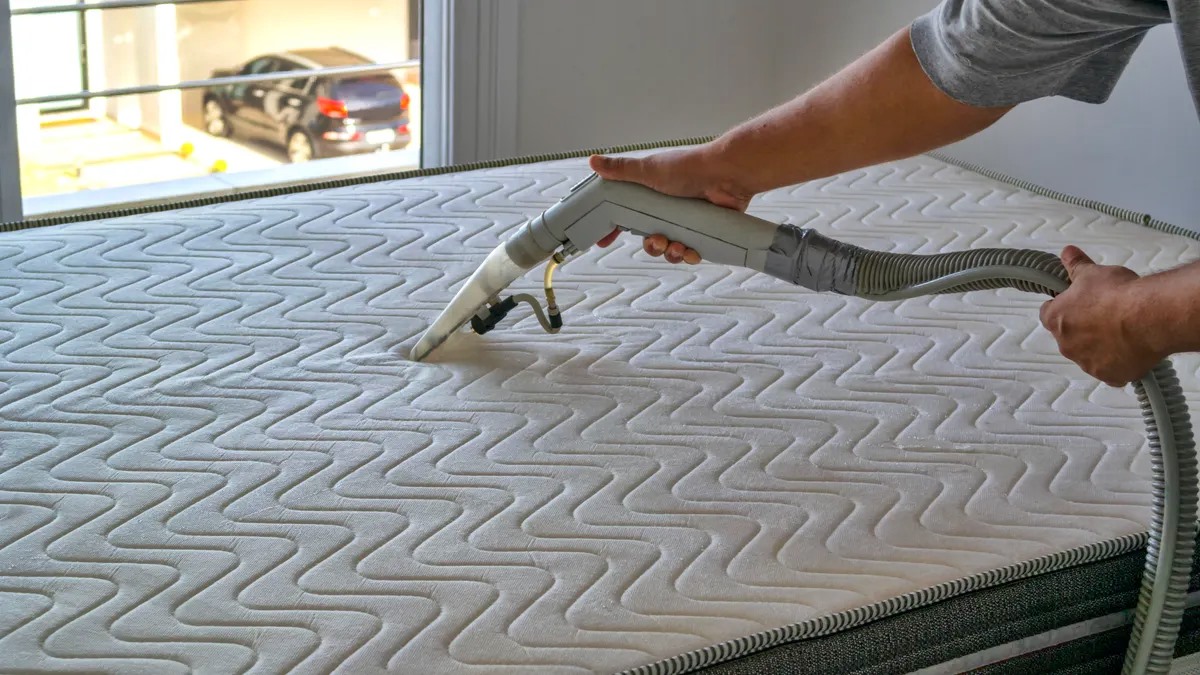
- Step 2: Vacuum the mattress: Use a vacuum cleaner with an upholstery attachment to vacuum the entire surface of the mattress. Pay special attention to seams, crevices, and edges, as these areas tend to accumulate the most dust and debris.
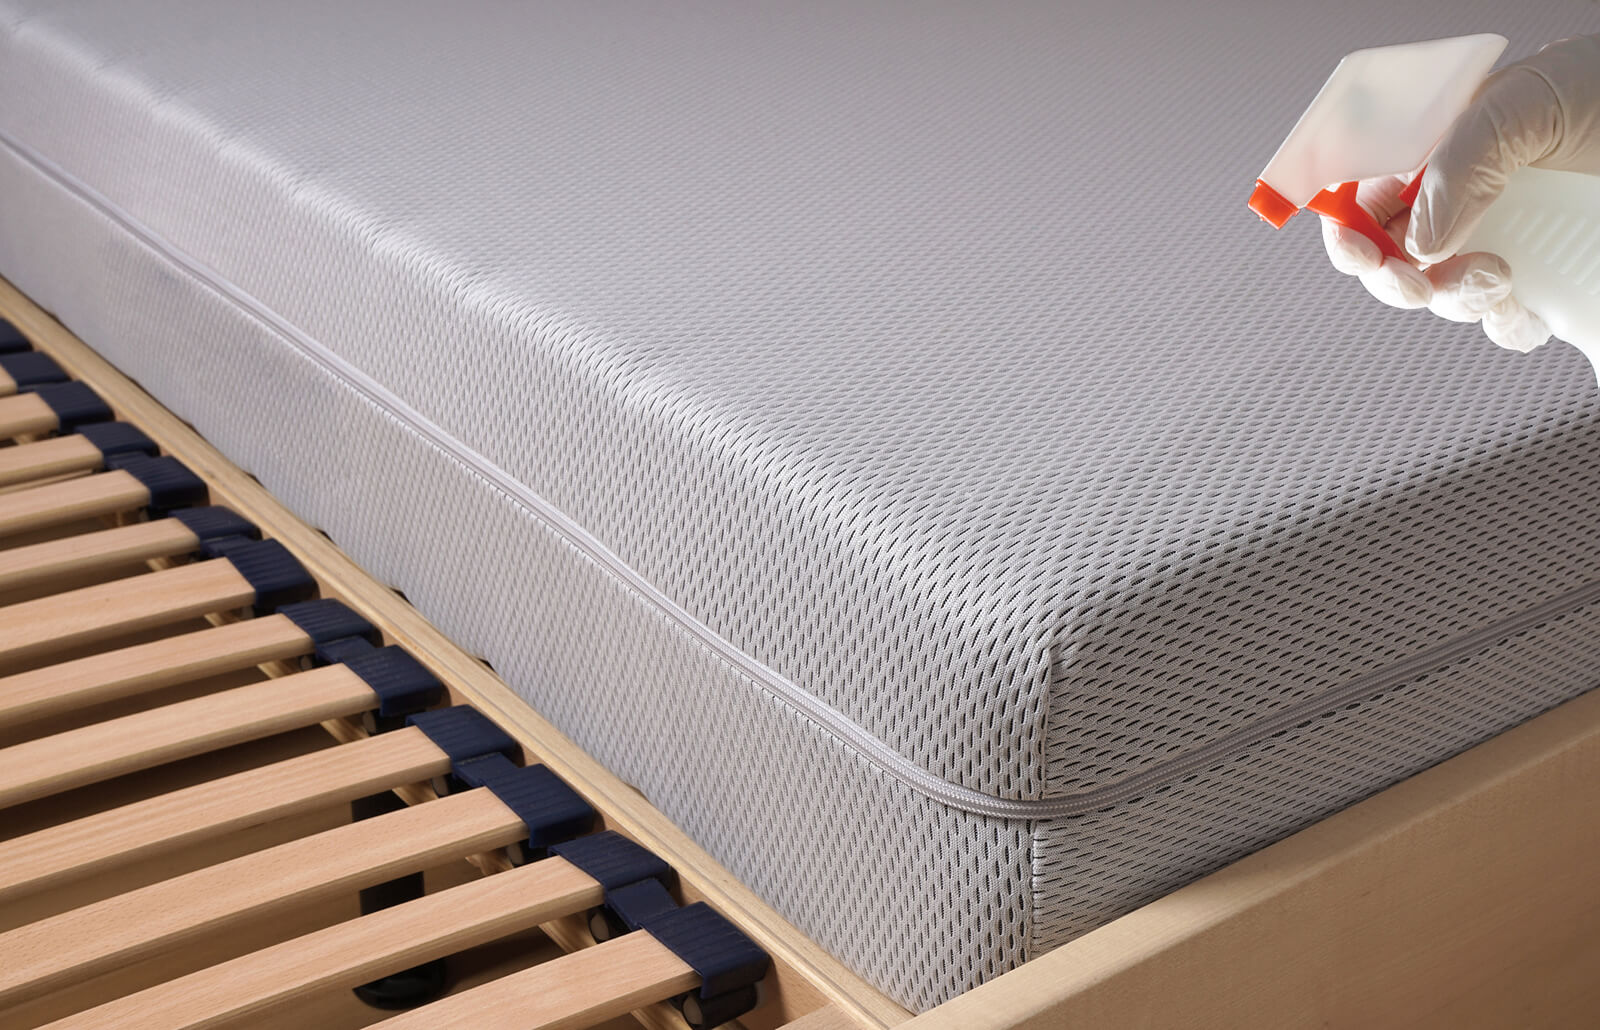
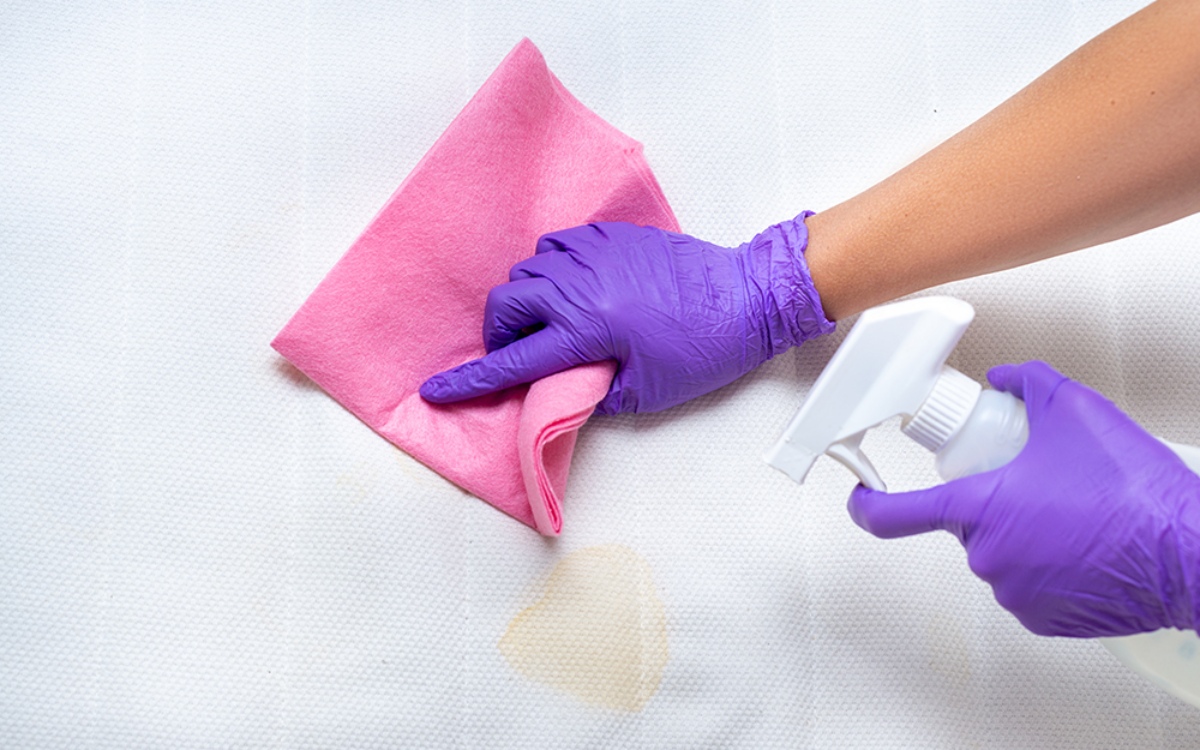
- Step 3: Spot clean stains: If you have any visible stains on your mattress, use a mattress cleaner, upholstery cleaner, or a mix of mild detergent and water to spot clean them. Apply the cleaner to a clean cloth or soft brush and gently blot or rub the stain in a circular motion. Avoid saturating the mattress, as excessive moisture can lead to mold or mildew growth.
- Step 4: Deodorize the mattress: To eliminate odors, sprinkle a generous amount of baking soda over the entire surface of the mattress. Use a clean cloth or soft brush to spread the baking soda and work it into the fabric. Let the baking soda sit for at least 30 minutes, or ideally, overnight. Baking soda helps absorb and neutralize odors, leaving your mattress smelling fresh.
- Step 5: Flip or rotate the mattress: If your mattress is flippable, flip it over to ensure even wear. If it’s not flippable, rotate it from head to toe. This step helps distribute the weight and pressure evenly, prolonging the lifespan of your mattress.
- Step 6: Let the mattress air dry: If you’ve used any liquid cleaners or spot treated stains, it’s important to let the mattress air dry completely before putting on fresh bedding. Open windows or use fans to aid in the drying process. Avoid direct heat or sunlight, as this can damage the fabrics.
- Step 7: Reassemble your bed: Once the mattress is dry, reassemble your bed by putting on fresh sheets, pillowcases, and any mattress protectors or covers you have. Make sure everything is clean and properly fitted.
By following these steps, you can effectively deep clean your mattress and create a clean and healthy sleep environment. Remember to regularly clean your mattress to maintain its cleanliness and extend its lifespan in the long run.
Step 1: Remove All Bedding
The first step in deep cleaning your mattress is to remove all bedding. This includes sheets, pillowcases, mattress protectors, and any other fabric coverings on your mattress.
Start by stripping the bed of all the bedding, carefully removing each piece. Place the sheets, pillowcases, and other linens in the laundry for washing later. Shake them out to remove any loose debris before putting them in the machine.
Removing the bedding allows you to access the entire surface of the mattress, ensuring a thorough cleaning. It also gives you the opportunity to inspect the mattress for any stains, odors, or signs of wear.
While the bedding is off, you can take a moment to inspect the mattress for any visible stains or spots that may require extra attention. If you notice any spills, urine stains, or other blemishes, make a mental note of their locations so you can spot clean them later in the deep cleaning process.
By starting with a clean slate and removing all bedding, you set the foundation for a deep and effective clean. It also allows the mattress to breathe and air out during the cleaning process, promoting freshness and hygiene.
Once you have removed all the bedding, set it aside for laundering. Make sure to follow the manufacturer’s instructions for washing and drying each item to preserve their quality and lifespan.
Now that your mattress is bare, it’s time to move on to the next step: vacuuming the mattress to remove dust, debris, and allergens.
Read more: How To Deep Clean A Sink
Step 2: Vacuum the Mattress
After removing all the bedding, it’s time to give your mattress a thorough vacuuming to remove dust, allergens, and any loose debris that may have accumulated over time.
Start by attaching the upholstery attachment to your vacuum cleaner. This attachment is designed to effectively clean fabric surfaces, making it ideal for vacuuming your mattress.
Begin vacuuming the surface of the mattress using long, overlapping strokes. Pay special attention to the seams, edges, and corners, as these areas tend to harbor the most dust and debris.
While vacuuming, apply gentle pressure to allow the vacuum cleaner to penetrate deep into the layers of the mattress. This helps remove dust mites, dead skin cells, and other allergens that may be lurking beneath the surface.
Moving in a methodical pattern, continue vacuuming the entire surface of the mattress. Take your time to ensure that you cover every area, including both sides if your mattress is flippable.
If your vacuum cleaner has a brush attachment, you can use it to agitate the surface of the mattress slightly. This can help dislodge any stubborn dust particles and lift them away.
As you vacuum, you may notice that your vacuum cleaner’s filter becomes clogged with fine dust particles. If this happens, take a moment to empty or clean the filter, ensuring optimal suction power for the remainder of the cleaning process.
By thoroughly vacuuming your mattress, you remove the majority of dust, allergens, and loose debris that may have collected over time. This step is essential for creating a clean and hygienic sleep environment.
Now that your mattress has been vacuumed, it’s time to move on to the next step: spot cleaning any visible stains or spots.
Vacuum your mattress thoroughly to remove dust, dirt, and debris. Use a fabric cleaner or a mixture of water and mild detergent to spot clean any stains. Allow the mattress to air dry completely before making the bed.
Step 3: Spot Clean Stains
Now that you have vacuumed your mattress, it’s time to tackle any visible stains or spots that may be present. Spot cleaning these areas will help remove any lingering stains and ensure a fresh and clean mattress.
Start by identifying any stains on your mattress. This could include spills, body fluids, or other types of marks. It’s important to address these stains as soon as possible to prevent them from setting in and becoming more difficult to remove.
Depending on the type of stain, you may need different cleaning solutions or techniques. Here are some common household solutions that can be effective in treating mattress stains:
- Mild detergent and water: Create a solution of mild detergent and warm water. Dip a clean cloth or sponge into the solution and gently blot the stained area. Avoid rubbing or scrubbing vigorously, as this can push the stain deeper into the mattress fibers.
- Enzyme cleaner: For biological stains such as urine, sweat, or pet accidents, an enzyme cleaner can be highly effective. Follow the instructions on the product and apply it to the stained area. Allow the enzyme cleaner to sit for the recommended time before blotting it away with a clean cloth.
- Hydrogen peroxide: Hydrogen peroxide can be used for removing blood stains. Apply a small amount of hydrogen peroxide to the stain and blot gently. Rinse with a clean cloth dampened with water to remove any residue.
- Baking soda paste: For stubborn stains, you can make a paste with baking soda and water. Apply the paste to the stain and let it sit for a few hours or overnight. Once dry, vacuum the baking soda residue away.
Remember to always test any cleaning solution on a small, inconspicuous area of the mattress first to ensure it doesn’t cause any discoloration or damage. Patience is key when treating stains, as it may take multiple attempts to fully remove them.
After spot treating the stains, use a clean, damp cloth to blot the treated area and remove any excess moisture. Avoid over-saturating the mattress, as excessive moisture can lead to mold or mildew growth.
By addressing stains promptly and using the appropriate cleaning solutions, you can effectively remove unsightly marks and ensure a cleaner and fresher mattress.
Now that you have spot cleaned any stains, it’s time to move on to the next step: deodorizing your mattress to eliminate any lingering odors.
Step 4: Deodorize the Mattress
After addressing any stains on your mattress, it’s time to eliminate any lingering odors and leave your sleep surface smelling fresh and clean. Deodorizing your mattress is an essential step in the deep cleaning process.
Baking soda is a highly effective and natural deodorizer that can help absorb and neutralize unwanted odors. Here’s how to deodorize your mattress using baking soda:
- Begin by generously sprinkling baking soda over the entire surface of the mattress. Use enough to cover the entire surface area without completely saturating it.
- Using a clean cloth or a soft brush, gently spread the baking soda evenly across the mattress. This allows the baking soda to penetrate into the fabric and absorb any odors.
- Leave the baking soda on the mattress for at least 30 minutes, but ideally, let it sit for a few hours or overnight. This gives the baking soda enough time to work its magic and absorb the odors.
- After the designated time has passed, vacuum up the baking soda using the upholstery attachment of your vacuum cleaner. Make sure to thoroughly remove all traces of baking soda from the mattress.
In addition to neutralizing odors, baking soda also helps to eliminate moisture, which can contribute to the growth of mold and mildew. It’s a safe and affordable option for keeping your mattress fresh.
If your mattress has deep-seated odors or the baking soda method doesn’t fully eliminate them, you can try other natural deodorizing techniques. These include placing an open box of baking soda or activated charcoal near the mattress or using essential oils diluted in water and lightly misting the mattress.
By deodorizing your mattress, you ensure a clean and fresh sleep environment, improving the overall comfort and ambiance of your bed.
Now that you have deodorized your mattress, it’s time for the next step: flipping or rotating the mattress.
Step 5: Flip or Rotate the Mattress
After deodorizing your mattress, it’s a good idea to flip or rotate it to ensure even wear and prolong its lifespan. This step helps distribute the weight and pressure evenly across the mattress, preventing excessive sagging and indentations in specific areas.
Not all mattresses are designed to be flipped, so it’s important to check the manufacturer’s instructions or tags to determine the flip-ability of your mattress. If your mattress is flippable, here’s what you need to do:
- Remove any bedding or mattress protectors that may still be on the mattress.
- With the help of another person, carefully flip the mattress over to the other side. Make sure to hold it securely and use proper lifting techniques to prevent any strain or injury.
- Once the mattress is flipped, ensure that it is properly aligned on the bed frame or foundation.
If your mattress is not flippable or is a one-sided mattress, you can still rotate it from head to toe. Here’s how:
- Start by removing any bedding or mattress protectors.
- With the help of another person, rotate the mattress 180 degrees so that the head of the mattress becomes the foot, and vice versa.
- Make sure the mattress is properly aligned and centered on the bed frame or foundation.
Flipping or rotating your mattress helps to evenly distribute the weight and pressure, preventing certain areas from becoming excessively worn out. By alternating the sides you sleep on, you can extend the longevity of your mattress and ensure a more comfortable sleep surface.
Remember to refer to the manufacturer’s guidelines for your specific mattress type, as some mattresses may need to be rotated or flipped more frequently than others.
After flipping or rotating your mattress, allow it to settle for a few minutes before moving on to the next step: letting the mattress air dry.
Read more: How Many Inches Is A Deep Mattress
Step 6: Let the Mattress Air Dry
After completing the previous steps in the deep cleaning process, it’s important to let your mattress air dry before putting on fresh bedding. Allowing the mattress to dry thoroughly helps prevent the growth of mold and mildew, ensuring a clean and healthy sleep surface.
To air dry your mattress, follow these steps:
- After spot cleaning, deodorizing, and flipping or rotating the mattress, leave it exposed to allow air circulation. This can be done by removing any mattress covers or protectors, and not immediately laying fresh bedding.
- Open windows and ensure there is good ventilation in the room. This will help facilitate the drying process by allowing fresh air to circulate and carry away any residual moisture.
- Avoid exposing the mattress to direct sunlight, as excessive heat can damage the fabrics and materials. If possible, place the mattress in a well-ventilated area away from direct sunlight to prevent discoloration.
- Use fans or air circulators to enhance airflow around the mattress. This can help speed up the drying process and ensure that all areas of the mattress dry thoroughly.
- Allow the mattress to air dry for at least a few hours. If possible, it’s best to leave it to dry overnight to ensure optimal results.
Keep in mind that the drying time may vary depending on several factors, including the level of moisture in the environment and the thickness of the mattress. It’s crucial to ensure that the mattress is completely dry before putting on fresh bedding to prevent any potential mold or mildew growth.
By allowing your mattress to air dry, you ensure that it is fresh, clean, and ready to provide you with a comfortable and hygienic sleep surface.
Once the mattress is fully dry, it’s time for the final step in the deep cleaning process: reassembling your bed.
Step 7: Reassemble Your Bed
After thoroughly deep cleaning your mattress and allowing it to air dry, it’s time to reassemble your bed and prepare it for a restful night’s sleep.
Follow these steps to properly reassemble your bed:
- Start by ensuring that your mattress is in the correct position on your bed frame or foundation. Align it so that it sits evenly without any overhang.
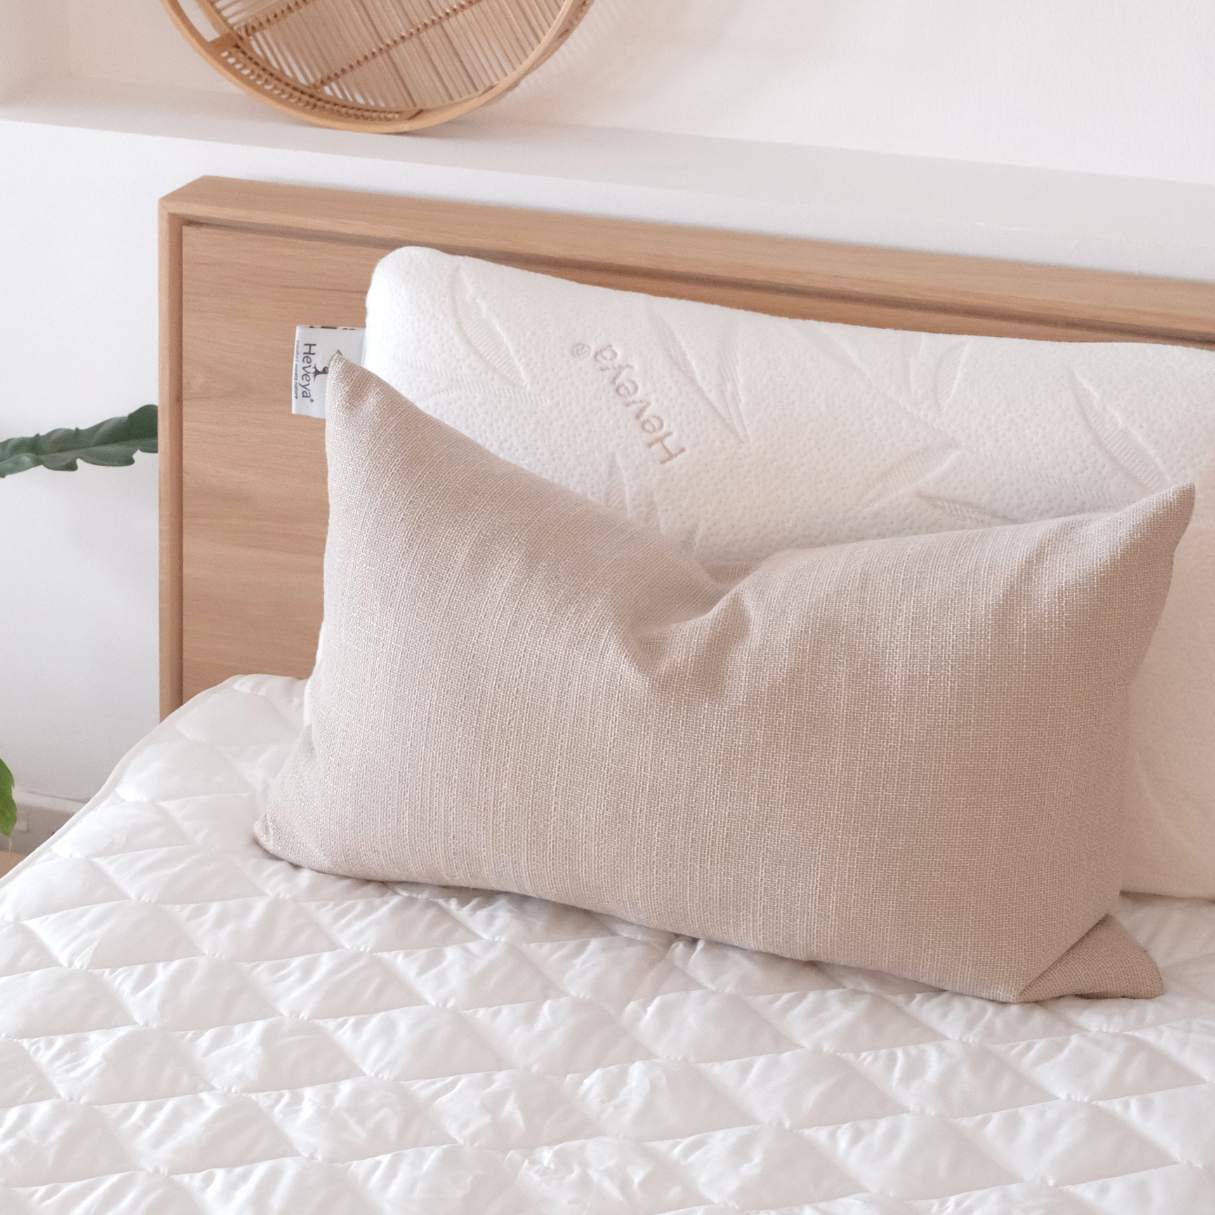
- Next, put on a fresh mattress protector. A mattress protector acts as a barrier against spills, stains, allergens, and dust mites, keeping your mattress clean and protected. Ensure that the protector fits snugly and securely around the mattress.
- Add a clean and crisp fitted sheet to the mattress. Make sure to tuck it in securely under the corners of the mattress, ensuring a smooth and snug fit.
- Add a top sheet, if desired, and tuck it in tightly. This will provide an extra layer between you and the blanket or comforter.
- Finish by adding your preferred blanket or comforter and arrange pillows and decorative pillows as desired.
As you reassemble your bed, take the opportunity to check that everything is clean and in good condition. This includes pillowcases, blankets, and any other bedding components.
If you have a pillow-top or quilted mattress, you may choose to skip using a mattress protector to preserve the plushness and feel of the mattress. In this case, ensure that your sheets are clean and replace them regularly.
With your bed now reassembled, take a moment to appreciate the fresh and clean sleep environment you’ve created. Your thoroughly deep cleaned mattress, protected by a mattress protector, will provide you with a clean and comfortable surface for a great night’s sleep.
Remember to continue practicing good mattress hygiene by regularly washing your bedding, vacuuming your mattress, and addressing any stains or odors that may arise.
By following these steps and incorporating regular deep cleaning into your mattress maintenance routine, you can ensure a healthier and more pleasant sleep experience.
Now it’s time to enjoy a clean and rejuvenating rest on your freshly cleaned and reassembled bed!
Conclusion
Cleaning your mattress is an essential part of maintaining a healthy sleep environment. Deep cleaning not only helps to remove dust, allergens, stains, and odors but also prolongs the lifespan of your mattress. By following the step-by-step process outlined in this article, you can effectively deep clean your mattress at home.
We started by emphasizing the importance of deep cleaning your mattress, discussing how it helps improve sleep quality, eliminates allergens, and prevents the growth of mold and mildew. Then, we provided a comprehensive list of supplies you will need for the deep cleaning process, including a vacuum cleaner, mattress cleaner, baking soda, and more.
We then walked through each step of the deep cleaning process, from removing all bedding and vacuuming the mattress to spot cleaning stains, deodorizing the mattress with baking soda, and flipping or rotating the mattress. We also highlighted the significance of letting the mattress air dry completely before reassembling the bed.
Remember that maintaining a regular cleaning routine for your mattress is key to preserving its cleanliness and longevity. By deep cleaning your mattress at least every six months, along with regular vacuuming and spot cleaning as needed, you can ensure a fresh and hygienic sleep surface.
A clean and well-maintained mattress not only enhances your sleep quality but also contributes to your overall well-being. Enjoy the benefits of a clean and rejuvenating sleep experience by keeping your mattress in optimal condition.
As you prioritize the cleanliness and care of your mattress, you’ll create a sleep sanctuary that promotes relaxation, rejuvenation, and a healthier lifestyle. So take the time to invest in the deep cleaning of your mattress, and enjoy the comfort and peace of mind that follows.
Here’s to many nights of restful sleep and a mattress that remains fresh and clean for years to come!
Frequently Asked Questions about How To Deep Clean A Mattress At Home
Was this page helpful?
At Storables.com, we guarantee accurate and reliable information. Our content, validated by Expert Board Contributors, is crafted following stringent Editorial Policies. We're committed to providing you with well-researched, expert-backed insights for all your informational needs.
