Home>Furniture>Bedroom Furniture>How To Refinish A Wood Bed Frame

Bedroom Furniture
How To Refinish A Wood Bed Frame
Modified: August 27, 2024
Learn how to refinish a wood bed frame and transform your bedroom furniture. Get step-by-step instructions and tips for a stunning makeover.
(Many of the links in this article redirect to a specific reviewed product. Your purchase of these products through affiliate links helps to generate commission for Storables.com, at no extra cost. Learn more)
Introduction
Bedrooms are sanctuaries of rest and relaxation, and the centerpiece of any bedroom is often the bed. A beautifully designed and well-maintained bed frame can elevate the entire aesthetic of the room. However, over time, even the sturdiest wood bed frames can start to show signs of wear and tear. Scratches, dents, and fading finishes can make your bed frame look tired and outdated.
If you’re looking to give your bedroom a fresh new look without breaking the bank, refinishing your wood bed frame can be a great solution. Not only will it restore the beauty of the frame, but it can also be a rewarding DIY project that allows you to personalize your bedroom furniture.
Refinishing a wood bed frame might seem like a daunting task, but with the right tools, materials, and techniques, you can achieve professional-looking results. In this article, we will guide you through the step-by-step process of refinishing your wood bed frame, from preparation to reassembly.
Before we dive into the details, it’s important to note that safety should always be your top priority. Make sure to wear appropriate safety gear such as goggles, a dust mask, and gloves when working with chemicals and power tools.
Key Takeaways:
- Transform your bedroom with a DIY wood bed frame refinishing project. Follow safety precautions, clean, sand, repair, and apply a protective finish for professional-looking results.
- Refinishing your wood bed frame is a rewarding and cost-effective way to revitalize your bedroom decor. Prioritize safety, choose the right finish, and enjoy a personalized and stylish piece of furniture.
Read more: How To Clean Wood Bed Frame
Safety Precautions
Refinishing a wood bed frame involves working with various tools, chemicals, and materials. To ensure your safety throughout the process, it is essential to take the following precautions:
- Work in a well-ventilated area: When using chemicals such as paint strippers, stains, or finishes, make sure you are in a well-ventilated space. Open windows and use fans to keep the air circulating.
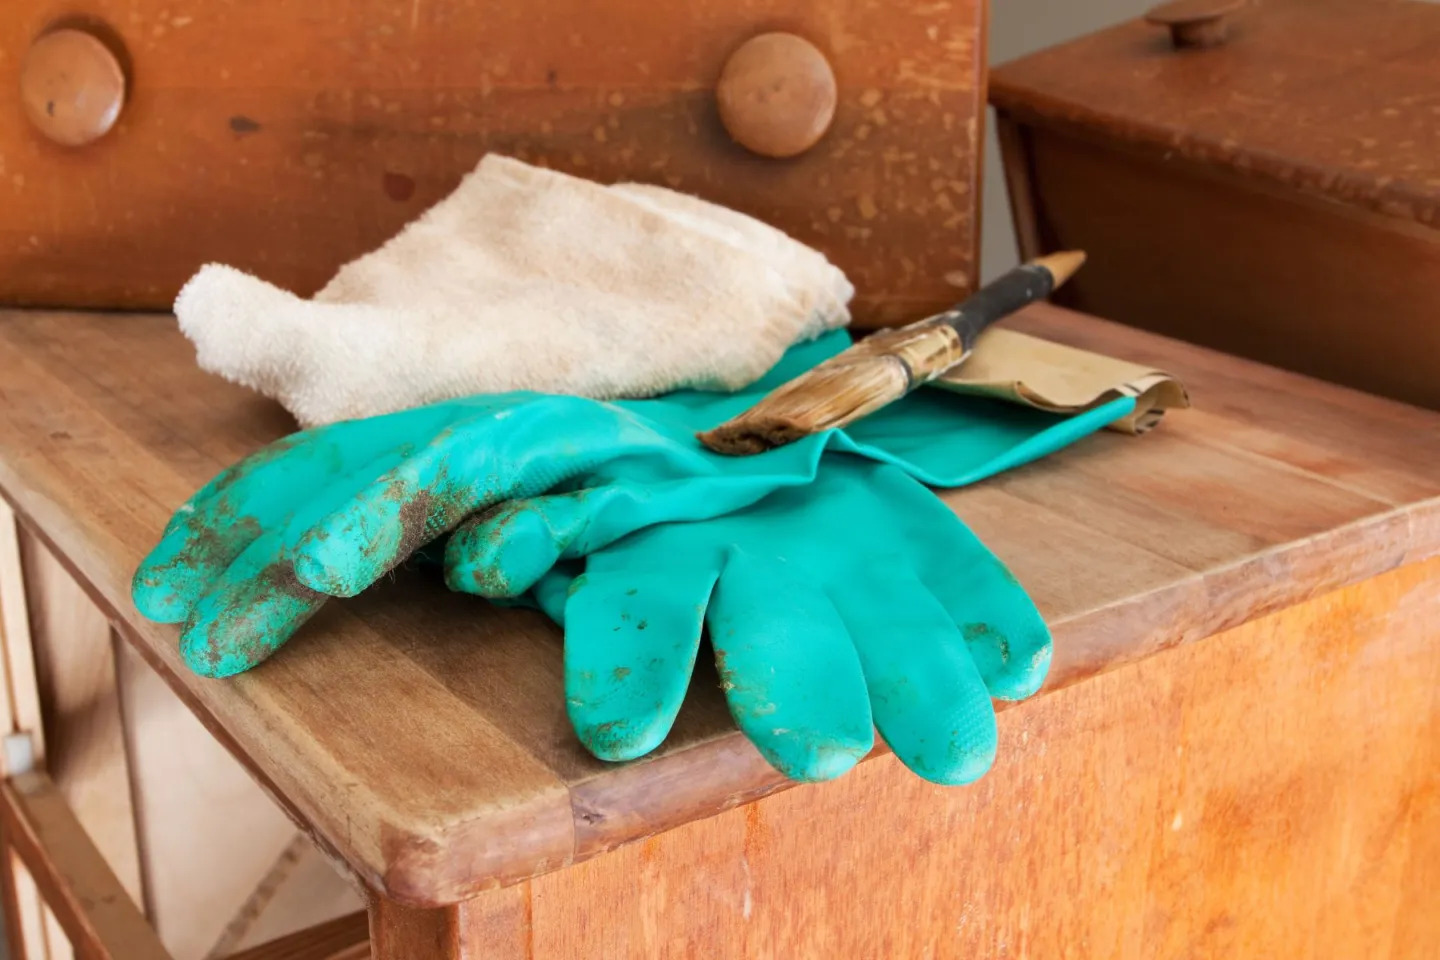
- Wear protective gear: Always wear safety goggles, a dust mask, and gloves to protect your eyes, lungs, and hands. Additionally, consider wearing long sleeves and pants to prevent any chemical splashes or skin irritation.
- Use appropriate tools: Ensure that you are using the right tools for the job. This includes sandpaper, paintbrushes, putty knives, and power tools. Follow the manufacturer’s instructions and guidelines for safe usage.
- Handle chemicals with care: When working with paint strippers or solvents, carefully read and follow the instructions on the labels. Avoid inhaling fumes and keep these substances away from open flames or sparks.
- Stay organized: Keep your work area clean and organized to reduce the risk of accidents. Tripping over clutter or misplacing tools can lead to injuries.
- Work with a buddy: If possible, have someone assist you during the refinishing process. Having an extra pair of hands can help ensure safety, especially when handling heavy or bulky bed frame components.
- Take breaks: Refinishing a bed frame can be a time-consuming process. Take regular breaks to rest and avoid overexertion. This will help prevent muscle strain and fatigue.
By following these safety precautions, you can minimize the risk of accidents or injuries during the refinishing process. Remember, it’s always better to prioritize safety first.
Tools and Materials Needed
Before getting started with refinishing your wood bed frame, gather the following tools and materials:
Tools:
- Screwdriver or Allen wrench (depending on the type of bed frame)
- Sandpaper (medium and fine grit)
- Sanding block or electric sander
- Paintbrushes
- Clean, lint-free rags
- Putty knife
- Wood stain or paint
- Protective finish (such as polyurethane or wax)
- Drop cloth or plastic sheeting
- Painter’s tape
- Disposable gloves
- Safety goggles
- Dust mask
Materials:
- Paint stripper (if removing old paint or finish)
- Wood filler putty (for repairing any damage)
- Cleaner or mild soap and water
- Wood stain or paint of your choice
- Protective finish (compatible with your chosen stain or paint)
Make sure you have all the necessary tools and materials before you begin the refinishing process. This will make the task smoother and more efficient.
Remember to follow the manufacturer’s instructions and safety guidelines when using any tools or chemicals. Taking the time to gather the right tools and materials will ensure that you achieve the best possible results and a beautifully refinished wood bed frame.
Read also: 15 Unbelievable Wood Bed Frame for 2025
Step 1: Remove Mattress and Bedding
Before you start working on refinishing your wood bed frame, it’s essential to remove the mattress and bedding. This step ensures that you have a clear and unobstructed workspace.
First, carefully remove any pillows, sheets, blankets, and comforters from the bed. Fold them neatly and set them aside in a clean area.
Next, carefully lift and remove the mattress from the bed frame. Depending on the size and weight of the mattress, you may need an extra pair of hands to assist you in lifting and carrying it to a safe location.
Once the mattress is out of the way, take the time to inspect and clean it if necessary. Vacuum any dust or debris that may have accumulated on the surface.
After removing the mattress and bedding, you will have a clear space to work on the bed frame. This will make the refinishing process easier and allow you to access every part of the frame without any obstacles.
Take this opportunity to also vacuum or sweep the surrounding area to remove any loose debris or dust that may interfere with the refinishing process.
Now that you have a clean and open workspace, you’re ready to move on to the next step: disassembling the bed frame.
Step 2: Disassemble the Bed Frame
To successfully refinish your wood bed frame, you’ll need to disassemble it. This step allows you to work on each component individually, ensuring a thorough and even refinishing process.
Begin by locating the screws or bolts that hold the bed frame together. Using a screwdriver or Allen wrench (depending on the type of bed frame), carefully remove the screws or bolts. Set aside the screws or bolts in a safe place for reassembly later.
As you remove the screws or bolts, take note of how the different pieces of the bed frame fit together. This will make it easier to reassemble the frame later on.
Start with the headboard and footboard, if applicable, and remove any crossbars or panels. If there are any decorative or detachable elements, such as finials or trim pieces, remove them as well.
Next, disassemble the side rails from the headboard and footboard. In some cases, the side rails may be attached with hooks or brackets. Take your time and carefully detach them to avoid damaging the wood.
If your bed frame has a slatted base or support system, remove the slats and set them aside. These may be held in place with screws or brackets, so be sure to remove them according to the manufacturer’s instructions.
Once all the components are disassembled, arrange them in a logical order and keep them in a safe, clean location. This will make it easier to find and reassemble the bed frame later.
Disassembling the bed frame allows you to work on each part separately, ensuring that every surface is properly refinished. Taking the time to carefully disassemble the frame sets the stage for a successful refinishing process.
Now that you have the bed frame disassembled, you’re ready to move on to the next step: cleaning the wood surface.
Step 3: Clean the Wood Surface
Once you have disassembled the bed frame, it’s time to clean the wood surface. Cleaning the wood not only removes dirt and grime but also prepares it for the refinishing process.
Start by removing any loose dirt or debris from the wood surface. Use a clean, dry cloth or a soft-bristle brush to gently brush away any particles. For hard-to-reach areas, such as intricate carvings or crevices, consider using a soft toothbrush to gently loosen and remove dirt.
Next, prepare a mild cleaning solution by mixing a small amount of mild soap with warm water. Avoid using harsh chemicals or abrasive cleaners, as they can damage the wood. Dip a clean cloth into the soapy water and wring out any excess moisture. Gently wipe the wood surface, working in small sections.
Pay close attention to any stains or spots on the wood. If you encounter stubborn stains, you may need to use a stronger cleaning solution, such as a non-abrasive wood cleaner. Follow the manufacturer’s instructions and test the cleaner on a small, inconspicuous area first to ensure it does not cause any discoloration or damage.
After cleaning the entire wood surface, rinse the cloth thoroughly with clean water and wring out any excess moisture. Wipe down the wood again to remove any soap residue.
Allow the wood surface to dry completely before proceeding to the next step. This might take a few hours or even overnight, depending on the level of humidity in your environment.
By thoroughly cleaning the wood surface, you remove any dirt, oils, or contaminants that could interfere with the refinishing process. This step ensures that the wood is ready to receive the new finish, allowing it to adhere properly and result in a smooth and professional-looking final product.
Now that the wood surface is clean and dry, you’re prepared to move on to the next step: sanding the wood bed frame.
Step 4: Sand the Wood Bed Frame
Once the wood surface is clean and dry, it’s time to sand the bed frame. Sanding is a crucial step in the refinishing process as it helps to smooth out imperfections, remove old finishes, and promote adhesion of the new stain or paint.
Start by selecting the appropriate sandpaper grit for the job. A medium-grit sandpaper, such as 80 or 120, is ideal for removing the old finish and smoothing out any rough patches. If the wood is already relatively smooth, you can start with a finer grit sandpaper, such as 220, for a lighter surface sanding.
Wrap the sandpaper around a sanding block or use an electric sander to make the sanding process more efficient and consistent. Using long, even strokes, sand the wood surface in the direction of the wood grain. This helps to prevent any visible scratch marks and ensures a more uniform finish.
Pay extra attention to any areas that have visible scratches, dents, or blemishes. Sand these areas with care, using circular motions to blend them into the surrounding wood. The goal is to achieve a smooth and even surface.
As you sand, periodically check the wood surface with your hand to ensure it feels smooth and free from any rough patches. Continue sanding until the entire bed frame has been sanded and feels uniformly smooth.
Once you have completed sanding with the medium-grit sandpaper, switch to a finer grit, such as 220. This helps to refine the wood surface and further smooth out any remaining roughness or imperfections. Sand in the direction of the wood grain until the entire bed frame feels silky smooth to the touch.
After sanding, use a clean, dry cloth or a tack cloth to remove any sanding dust from the wood surface. This is important to ensure a clean foundation for the next step of the refinishing process.
Sanding the wood bed frame not only prepares the surface for a new finish but also helps to rejuvenate the wood and bring out its natural beauty. The effort put into sanding will be evident in the final result, creating a smooth and professional-looking bed frame.
Now that the bed frame is sanded, you’re ready to move on to the next step: repairing any damage or scratches.
Read more: What Is The Best Wood To Use For A Bed Frame
Step 5: Repair any Damage or Scratches
After sanding the wood bed frame, it’s time to assess and repair any damage or scratches that may be present. This step ensures that the bed frame looks its best once it’s refinished.
Begin by closely inspecting the wood surface for any visible damage, such as deep scratches, dents, or chips. Use a putty knife to carefully apply wood filler putty to these areas. Smooth out the putty with the knife, ensuring it is level with the surrounding wood surface. Allow the putty to dry according to the manufacturer’s instructions.
Once the putty is dry, use fine-grit sandpaper to gently sand the repaired areas until they blend seamlessly with the rest of the wood surface. This will create an even and smooth finish.
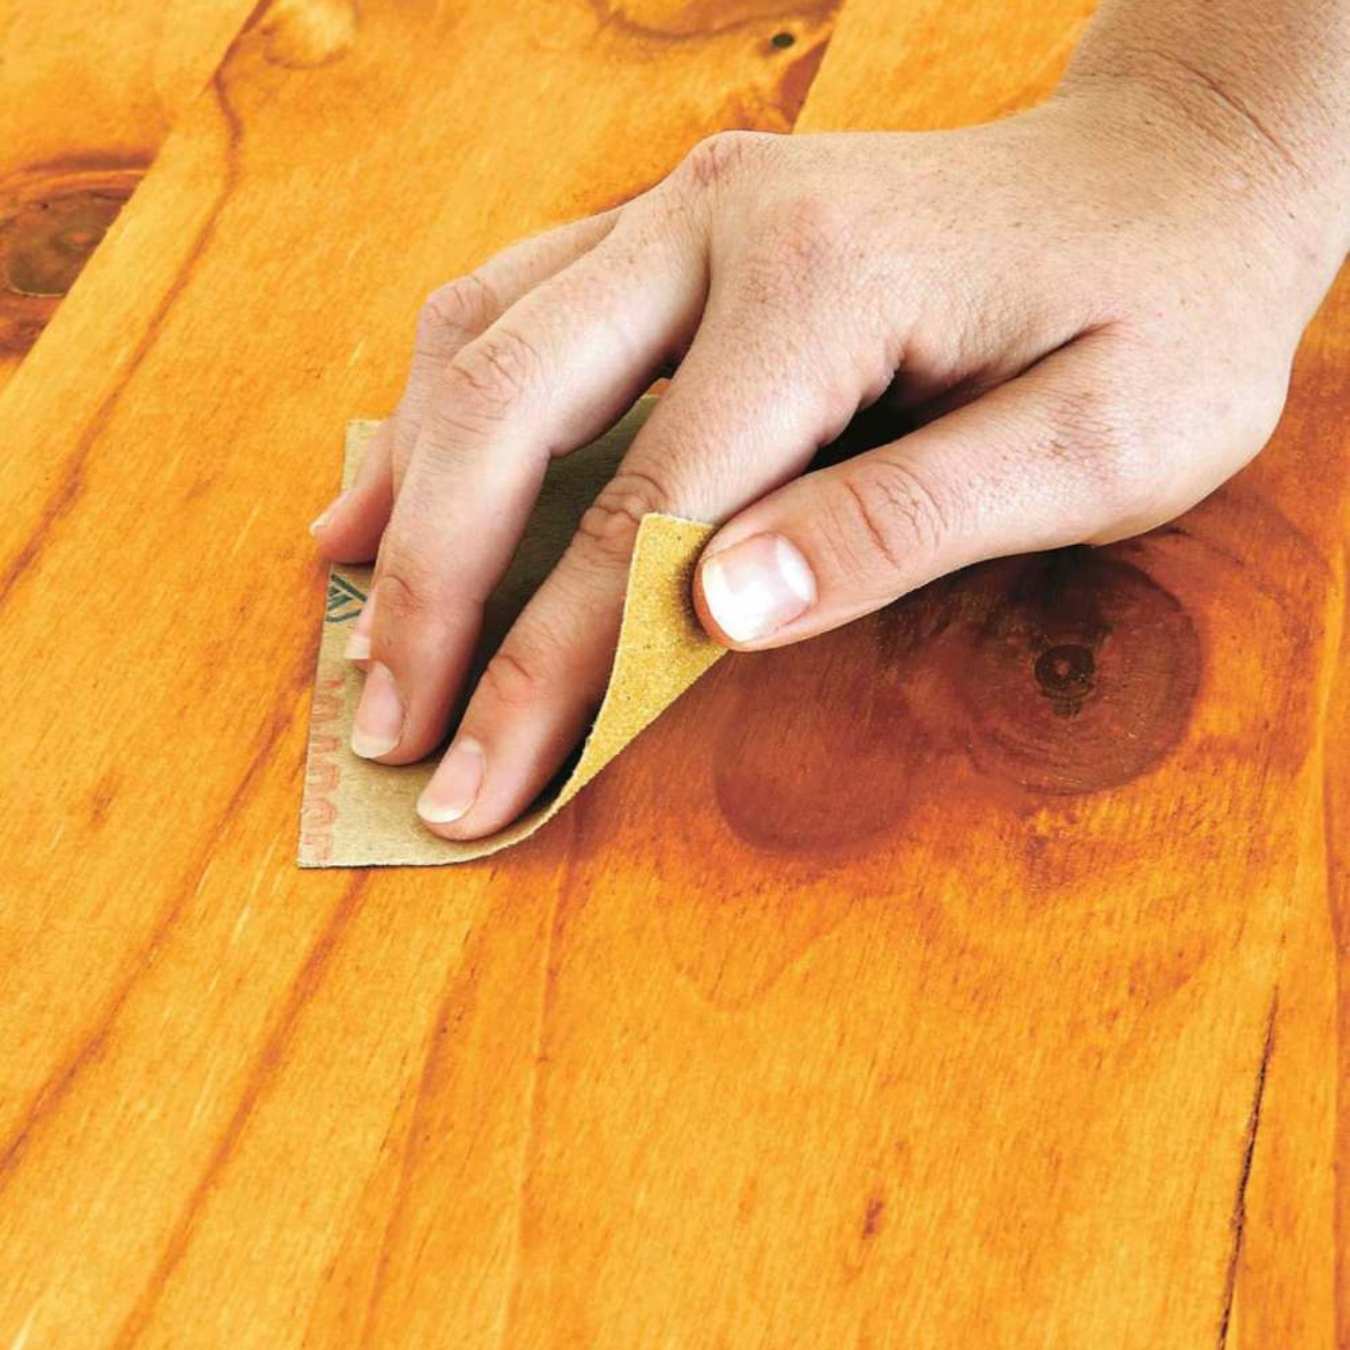
If there are minor scratches or scuffs on the wood surface, you can often minimize their appearance by simply sanding them lightly. Start with a finer grit sandpaper, such as 220, and gently sand the affected area until the scratch is less visible. Be careful not to sand too aggressively, as this can remove too much wood and create an uneven surface.
After repairing any damage or scratches, use a clean, dry cloth to wipe away any remaining dust or debris from the wood surface. This will ensure a clean and smooth canvas for applying the new finish.
Repairing any damage or scratches is a crucial step in preparing the bed frame for refinishing. By addressing these imperfections, you’re ensuring a more polished and professional end result.
Now that any damage or scratches have been repaired, you’re ready to move on to the next step: applying wood stain or paint to the bed frame.
Before refinishing a wood bed frame, make sure to thoroughly sand the surface to remove any existing finish or imperfections. This will ensure a smooth and even application of the new finish.
Step 6: Apply Wood Stain or Paint
With the bed frame properly prepped, it’s time to apply the desired finish: wood stain or paint. This step will give your bed frame a fresh new look and protect the wood surface.
If using wood stain:
- Choose a wood stain color that complements your bedroom decor and desired aesthetic.
- Stir the stain thoroughly to ensure an even color distribution.
- Using a paintbrush, apply the stain to the wood surface in long, smooth strokes, following the direction of the wood grain.
- Work in small sections, applying an even coat of stain. Avoid applying too much stain at once, as it may result in drips or uneven coloring.
- Allow the stain to penetrate the wood for the recommended amount of time specified by the manufacturer. This typically ranges from a few minutes to several hours.
- After the allotted time, wipe away any excess stain using a clean, lint-free cloth. This will help achieve a more uniform finish and prevent the stain from becoming tacky or sticky.
- Let the first coat of stain dry completely before deciding if additional coats are needed. If a darker or more intense color is desired, repeat the staining process, applying subsequent coats after the previous one has dried.
- Once you’re satisfied with the color and coverage, allow the final coat of stain to dry thoroughly according to the manufacturer’s instructions.
If using paint:
- Choose a high-quality paint suitable for wood surfaces, taking into consideration the finish and level of durability desired.
- Stir the paint thoroughly to ensure an even consistency.
- Using a paintbrush or a paint sprayer, apply an even coat of paint to the wood surface, working in the direction of the wood grain.
- Take care to avoid drips or streaks by applying the paint in thin, even layers.
- Allow the first coat of paint to dry completely. Depending on the type of paint used, this may take several hours or overnight.
- If necessary, apply additional coats of paint, allowing sufficient drying time between each coat.
- Once the final coat of paint is applied, allow the bed frame to dry thoroughly according to the manufacturer’s instructions.
Whether you choose wood stain or paint, selecting the right finish and applying it properly will enhance the appearance of your bed frame and provide long-lasting protection for the wood.
After applying the wood stain or paint, you’re ready to move on to the next step: applying a protective finish.
Step 7: Apply a Protective Finish
Once the wood stain or paint has dried, it’s important to apply a protective finish to the bed frame. This step adds an extra layer of durability and helps to preserve the newly finished surface.
There are several options for a protective finish, such as polyurethane, varnish, or wax. Choose a finish that suits your desired level of protection and the look you want to achieve.
If using polyurethane or varnish:
- Read and follow the manufacturer’s instructions for your chosen protective finish.
- Using a clean paintbrush or a foam brush, apply a thin, even coat of the polyurethane or varnish to the entire bed frame. Work in small sections and make sure to cover all exposed wood surfaces.
- Avoid overbrushing or applying too much finish at once to prevent drips or uneven coverage.
- Allow the first coat to dry completely according to the manufacturer’s instructions. This may take several hours.
- Sand the dried surface lightly with fine-grit sandpaper to smooth out any imperfections. Remove the sanding dust with a clean cloth.
- Apply subsequent coats of polyurethane or varnish, allowing each coat to dry and sanding between coats for optimal adhesion and a smooth finish.
- After the final coat has dried, allow the bed frame to cure for the recommended time before reassembling or placing any bedding on it.
If using wax:
- Choose a high-quality furniture wax suitable for your bed frame.
- Using a clean cloth or a wax brush, apply a thin and even layer of wax to the entire bed frame.
- Work the wax into the wood using circular motions.
- Allow the wax to dry for the recommended time specified by the manufacturer.
- Buff the waxed surface gently with a clean cloth to achieve a smooth and lustrous finish.
- Repeat the waxing process if desired, allowing sufficient drying time between each application.
- Once the wax has fully dried and cured, the bed frame is ready to be reassembled and have the mattress and bedding placed back on it.
A protective finish not only enhances the appearance of the bed frame but also guards against scratches, moisture, and everyday wear and tear. It provides a layer of protection that helps to preserve the beauty of the wood for years to come.
After applying the protective finish, allow sufficient drying and curing time before moving on to the next step: reassembling the bed frame.
Step 8: Reassemble the Bed Frame
With the wood bed frame fully refinished and the protective finish dried and cured, it’s time to reassemble the bed frame. Follow these steps to ensure a successful reassembly:
- Refer to any notes or photographs taken during the disassembly process to help guide you in putting the bed frame back together. This will ensure that each component is correctly aligned.
- Start by reattaching the side rails to the headboard and footboard. Use the appropriate screws or bolts and tighten them securely, but be careful not to overtighten as it may damage the wood.
- If there are any support slats, reattach them to the side rails according to the manufacturer’s instructions. Make sure they are evenly spaced and properly secured.
- If there were any decorative elements or trim pieces, reattach them to the bed frame as necessary.
- Double-check that all screws or bolts are tightened and secure. Give the frame a gentle shake to ensure it feels sturdy and stable.
Take the time to ensure that the bed frame is reassembled correctly and that all components fit together snugly. This will provide a solid foundation for your mattress and ensure a safe sleeping environment.
Once the bed frame is reassembled, take a step back and admire your handiwork. The freshly refinished bed frame is now ready to take its place as the centerpiece of your bedroom.
Now that the bed frame is reassembled, it’s time for the final step: placing the mattress and bedding back on the bed frame.
Read more: How To Refinish Wood Dining Chairs
Step 9: Place Mattress and Bedding back on the Bed Frame
With the refinished bed frame fully assembled, it’s time to complete the process by placing the mattress and bedding back on the bed frame.
- Position the mattress carefully on the bed frame, aligning it with the headboard and footboard.
- Ensure that the mattress is centered and sits securely on the frame.
- Smooth out any wrinkles or creases in the fitted sheet and tuck it securely under the mattress.
- Add any additional layers of bedding, such as a mattress protector or a mattress topper, as desired.
- Dress the bed with a flat sheet, blankets, and a comforter or duvet, arranging them neatly and fluffing any pillows.
- Take a step back and admire your newly refinished bed frame, now transformed into a beautiful focal point in your bedroom.
Placing the mattress and bedding back on the bed frame completes the refinishing process, giving you a refreshed and inviting space to rest and unwind.
Now, take a moment to enjoy the fruits of your labor. Relax and admire the beauty of your refinished wood bed frame, knowing that you’ve created a personalized and stylish piece of furniture.
Remember, regular maintenance and care will help preserve the look and longevity of your refinished bed frame. Follow manufacturer recommendations for cleaning and maintenance, and enjoy many nights of peaceful sleep on your beautifully restored bed.
Thank you for following this step-by-step guide on refinishing your wood bed frame. We hope it has been helpful, and we wish you success in your DIY project!
Conclusion
Refinishing a wood bed frame can be a rewarding and cost-effective way to breathe new life into your bedroom decor. By following the step-by-step process outlined in this guide, you can achieve professional-looking results and transform your bed frame into a beautiful centerpiece.
From safety precautions to disassembly, cleaning, sanding, repairing, and applying the finish, each step plays a crucial role in the refinishing process. Taking the time and care to properly prepare and refinish your bed frame will ensure a stunning and long-lasting result.
Throughout the process, it’s important to prioritize safety by wearing appropriate protective gear and working in a well-ventilated area. By doing so, you can protect yourself and ensure a safe refinishing experience.
Remember to choose a wood stain or paint color that matches your personal style and complements your bedroom decor. The finish you choose will not only refresh the appearance of your bed frame but also provide protection against daily wear and tear.
Once the refinishing is complete, reassembling the bed frame and placing the mattress and bedding back on it will allow you to fully appreciate the beauty and functionality of your newly refinished bed.
Regular maintenance and care are important to keep your refinished wood bed frame looking its best. Follow the manufacturer’s instructions for cleaning and proper care to ensure its longevity.
Now that you have the knowledge and skills to refinish your wood bed frame, it’s time to unleash your creativity and transform your bedroom. Enjoy the process and the satisfaction of creating a personalized and inviting space to relax and recharge.
Thank you for joining us on this refinishing journey. Wishing you success and many restful nights on your beautifully refinished bed frame!
Frequently Asked Questions about How To Refinish A Wood Bed Frame
Was this page helpful?
At Storables.com, we guarantee accurate and reliable information. Our content, validated by Expert Board Contributors, is crafted following stringent Editorial Policies. We're committed to providing you with well-researched, expert-backed insights for all your informational needs.


0 thoughts on “How To Refinish A Wood Bed Frame”