Home>Furniture & Design>Kitchen Furniture>How To Refinish Wood Dining Chairs
Kitchen Furniture
How To Refinish Wood Dining Chairs
Modified: February 17, 2024
Learn how to refinish wood dining chairs to give your kitchen furniture a fresh new look. Our expert tips and techniques will help you achieve professional results. Discover the best methods for refinishing kitchen furniture and design.
(Many of the links in this article redirect to a specific reviewed product. Your purchase of these products through affiliate links helps to generate commission for Storables.com, at no extra cost. Learn more)
Introduction
Welcome to the world of DIY furniture restoration! Refinishing wood dining chairs can breathe new life into your beloved furniture, allowing you to showcase your personal style and creativity. Whether you want to revamp a thrift store find or refresh your existing chairs, this guide will walk you through the step-by-step process of transforming worn-out dining chairs into stunning pieces that will be the envy of your dinner guests.
Refinishing wood dining chairs is a gratifying project that offers a sense of accomplishment and the opportunity to unleash your inner craftsman. With the right materials, tools, and techniques, you can achieve professional-quality results while adding a personal touch to your dining space. So, roll up your sleeves, gather your supplies, and let’s embark on this rewarding journey to revitalize your wooden dining chairs!
Key Takeaways:
- Revitalize your dining chairs by stripping, sanding, staining, and sealing them. Unleash your creativity and showcase your personal style while achieving professional-quality results.
- Embrace the art of refinishing to breathe new life into your cherished furniture, infusing your dining space with enduring elegance and timeless allure.
Read more: How To Clean Wood Dining Chairs
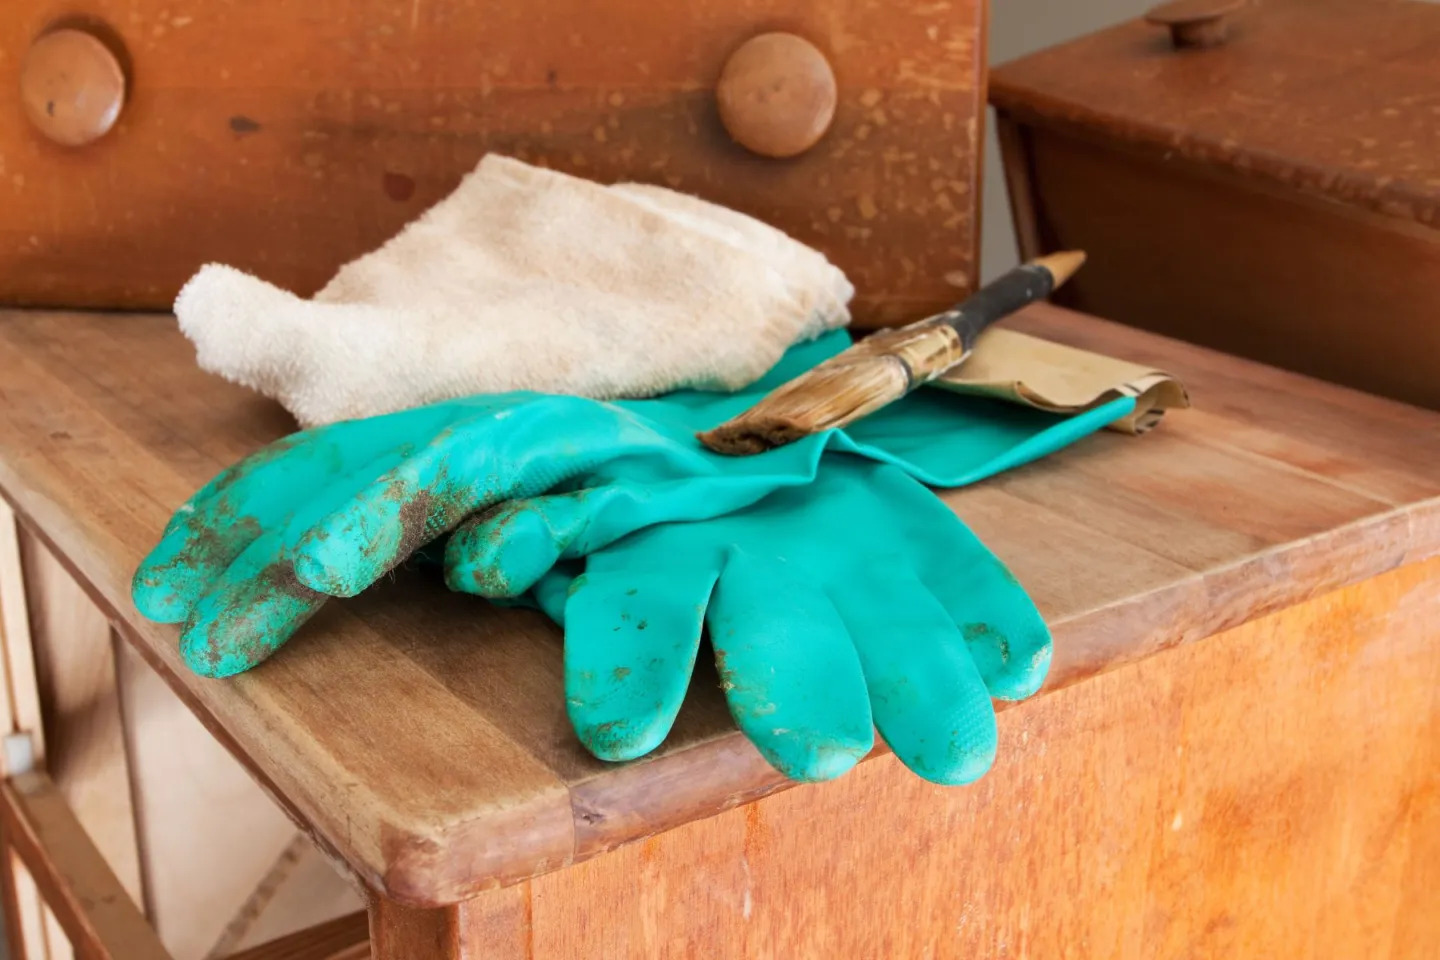
Materials and Tools
Before diving into the refinishing process, it’s essential to gather the necessary materials and tools. Here’s a comprehensive list of what you’ll need:
Materials:
- Wood stripper or stripping gel
- Stain (oil-based or water-based, depending on your preference)
- Sealer or clear varnish
- Lint-free cloths
- Wood filler
- Sandpaper (coarse, medium, and fine grit)
- Paintbrushes or foam brushes
- Protective gloves
- Protective eyewear
- Dust mask
- Drop cloths or old sheets
- Disposable containers for mixing stain and sealer
- Painter's tape
- Steel wool or synthetic abrasive pads
- Wood conditioner (recommended for certain wood types)
- Wood glue (if reassembling loose joints)
- Optional: Tack cloth for removing dust and debris
Tools:
- Putty knife or paint scraper
- Power sander or sanding block
- Detail sander or sanding sponge for intricate areas
- Shop vacuum or soft-bristled brush for dust removal
- Disposable gloves
- Safety goggles
- Respirator mask for chemical fumes
- Hammer and screwdriver (for reassembly)
- Workbench or sturdy workspace
- Well-ventilated area or respirator mask for chemical fumes
Having these materials and tools at your disposal will ensure a smooth and efficient refinishing process, allowing you to achieve professional-quality results while preserving the natural beauty of your wood dining chairs.
Preparation
Proper preparation is the key to a successful wood dining chair refinishing project. Before you begin, designate a well-ventilated workspace, such as a garage or outdoor area, to ensure adequate ventilation and minimize the inhalation of fumes from the refinishing products. Additionally, lay down drop cloths or old sheets to protect the surrounding surfaces from drips and spills.
Begin by carefully inspecting each dining chair for any loose joints, cracks, or dents. If you encounter any structural issues, now is the time to address them. Use wood glue to secure loose joints and fill any visible cracks or gaps with wood filler. Once the repairs are complete, allow sufficient time for the glue and filler to dry according to the manufacturer’s instructions.
Next, remove any existing hardware, such as screws and brackets, from the chairs. This will facilitate the refinishing process and prevent the hardware from being coated with stripping and finishing products. Keep the hardware in a safe place to ensure it’s readily accessible when reassembling the chairs later on.
It’s important to note that safety should always be a top priority when working with refinishing products. Wear protective gloves, eyewear, and a dust mask to shield yourself from potential hazards. If you’re using chemical stripping products, ensure that the workspace is well-ventilated, and consider wearing a respirator mask to minimize exposure to fumes.
With the chairs prepped and the necessary safety precautions in place, you’re now ready to embark on the transformative journey of refinishing your wood dining chairs. The next steps will involve stripping the existing finish, sanding, staining, and sealing, ultimately bringing out the natural beauty of the wood and breathing new life into your cherished dining furniture.
Read more: How To Refinish A Veneer Dining Table
Stripping the Existing Finish
Stripping the existing finish is a crucial step in the refinishing process, as it effectively removes old varnish, paint, or stain from the wood surface, preparing it for the subsequent refinishing stages. There are various methods for stripping wood, including chemical strippers and stripping gels, each offering distinct advantages based on the type of finish you’re removing and your personal preferences.
If you opt for a chemical stripper, carefully follow the manufacturer’s instructions for application and removal. Begin by applying the stripper to the wood surface using a paintbrush or foam brush, ensuring even coverage. Allow the stipulated dwell time for the stripper to penetrate and lift the old finish. During this process, it’s advisable to work in small sections to maintain control and prevent the stripper from drying on the wood.
Once the dwell time has elapsed, use a putty knife or paint scraper to gently remove the softened finish, working in the direction of the wood grain. Be mindful of using light pressure to avoid gouging or damaging the wood. For intricate or hard-to-reach areas, consider using steel wool or synthetic abrasive pads to effectively remove the remaining finish.
If you prefer a less toxic approach, stripping gels offer a viable alternative. Similar to chemical strippers, apply the stripping gel to the wood surface and allow it to sit for the recommended duration. As the gel penetrates the old finish, it will begin to lift, making it easier to scrape away. Always wear protective gloves and ensure adequate ventilation when working with stripping gels.
After the old finish has been successfully removed, use a clean, lint-free cloth dampened with mineral spirits to wipe down the wood surface, effectively removing any residual stripper or gel. This step is crucial for preparing the wood to receive the subsequent treatments, such as sanding and staining.
By effectively stripping the existing finish, you’re one step closer to revealing the natural beauty of the wood and setting the stage for the refinishing process. The next phase involves meticulous sanding to achieve a smooth and uniform surface, laying the foundation for the application of the chosen stain that will breathe new life into your dining chairs.
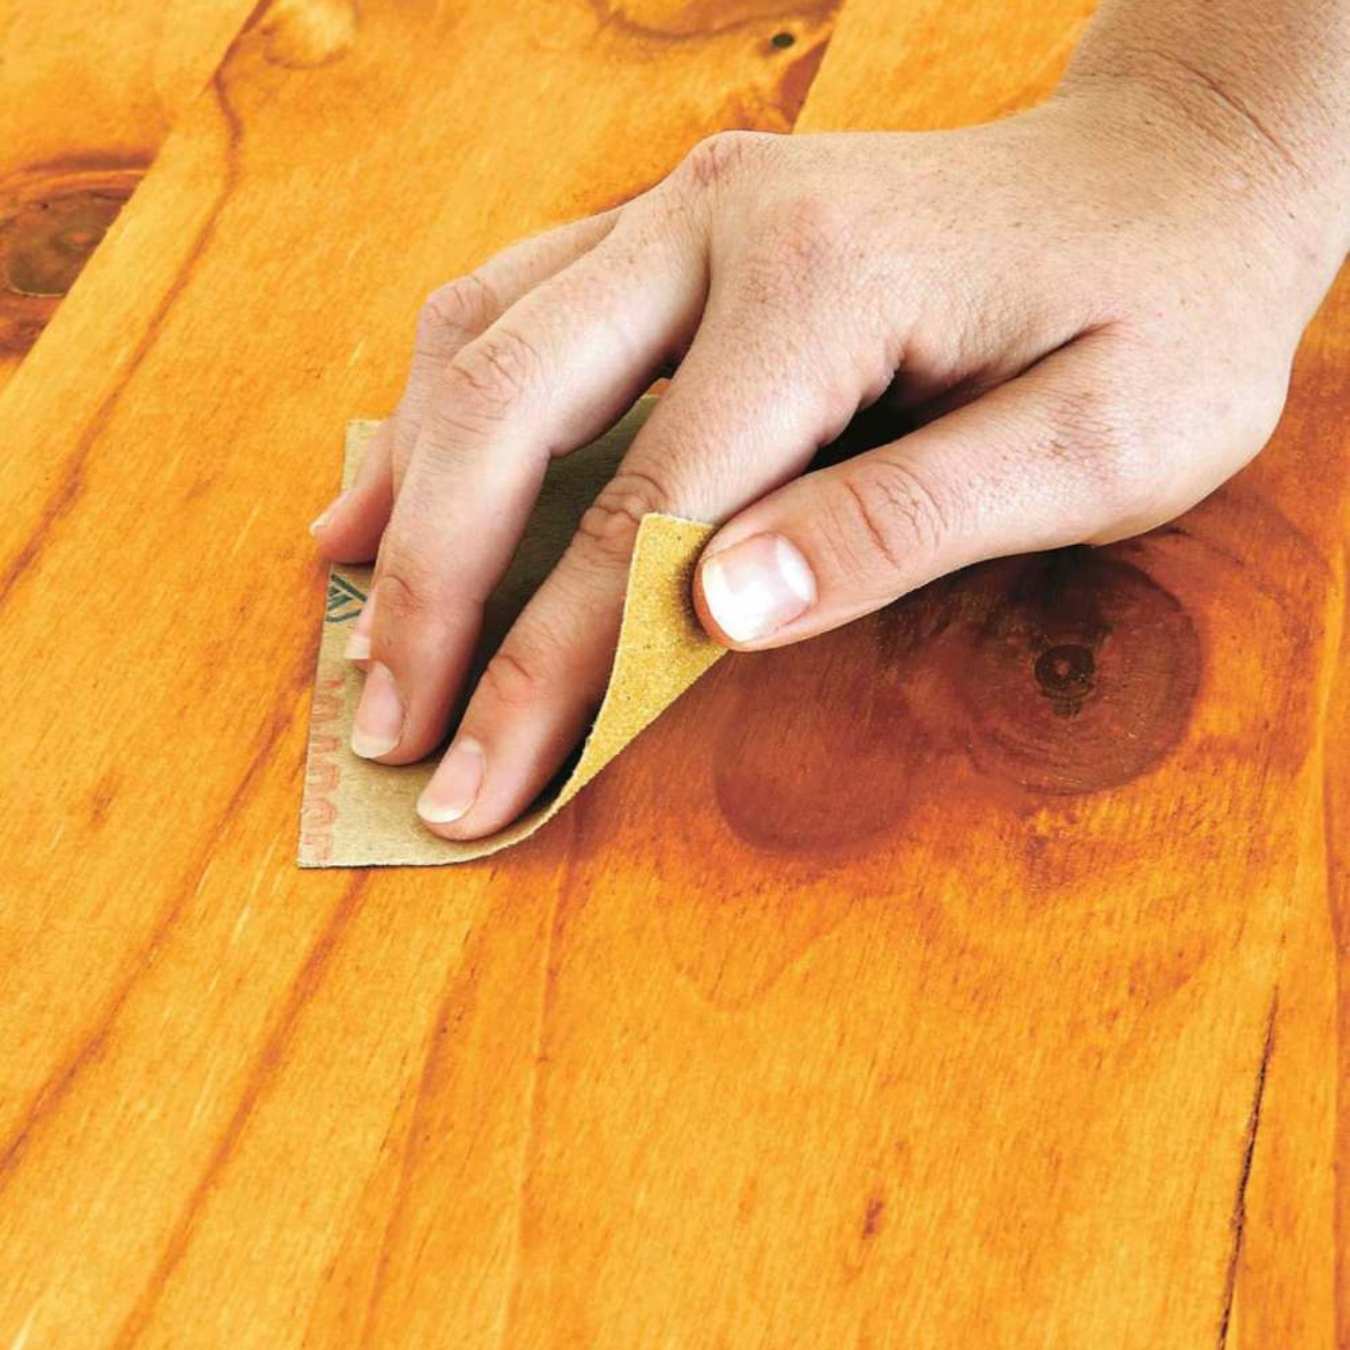
Sanding
Once the existing finish has been stripped from the wood dining chairs, the next critical step in the refinishing process is sanding. Sanding serves multiple purposes, including smoothing the wood surface, removing any residual finish, and preparing the wood to absorb the stain and sealer effectively. It’s essential to approach sanding with patience and precision to achieve professional-quality results.
Begin by using coarse-grit sandpaper or a power sander to smooth out any imperfections, scratches, or uneven areas on the wood surface. When sanding, always follow the direction of the wood grain to prevent cross-grain scratches and maintain a uniform appearance. If your dining chairs feature intricate details or curved surfaces, consider using a detail sander or sanding sponge to access hard-to-reach areas while preserving the integrity of the wood’s design.
After addressing any surface irregularities with coarse-grit sandpaper, progress to medium-grit sandpaper to further refine the wood surface and eliminate any remaining traces of the old finish. This stage of sanding is crucial for achieving a consistent and velvety-smooth texture that will enhance the visual appeal of the chairs once the refinishing process is complete.
As you transition to the final sanding phase, employ fine-grit sandpaper to achieve a satin-like finish that’s conducive to the absorption of the stain and sealer. This meticulous approach to sanding ensures that the wood surface is impeccably prepared for the subsequent treatments, allowing the natural grain and characteristics of the wood to shine through.
Throughout the sanding process, periodically inspect the wood surface to identify any remaining imperfections or blemishes that require attention. Address these areas with care, ensuring that the entire surface is uniform and free from any inconsistencies before proceeding to the staining phase.
Once the sanding process is complete, use a soft-bristled brush or a shop vacuum to meticulously remove all traces of wood dust and debris from the chairs. This step is essential for creating a clean and receptive canvas for the application of the chosen stain, which will infuse the wood with rich color and enhance its natural beauty.
By approaching sanding with precision and patience, you’re laying the groundwork for a flawless refinishing outcome that will breathe new life into your wood dining chairs, allowing their inherent elegance to take center stage in your dining space.
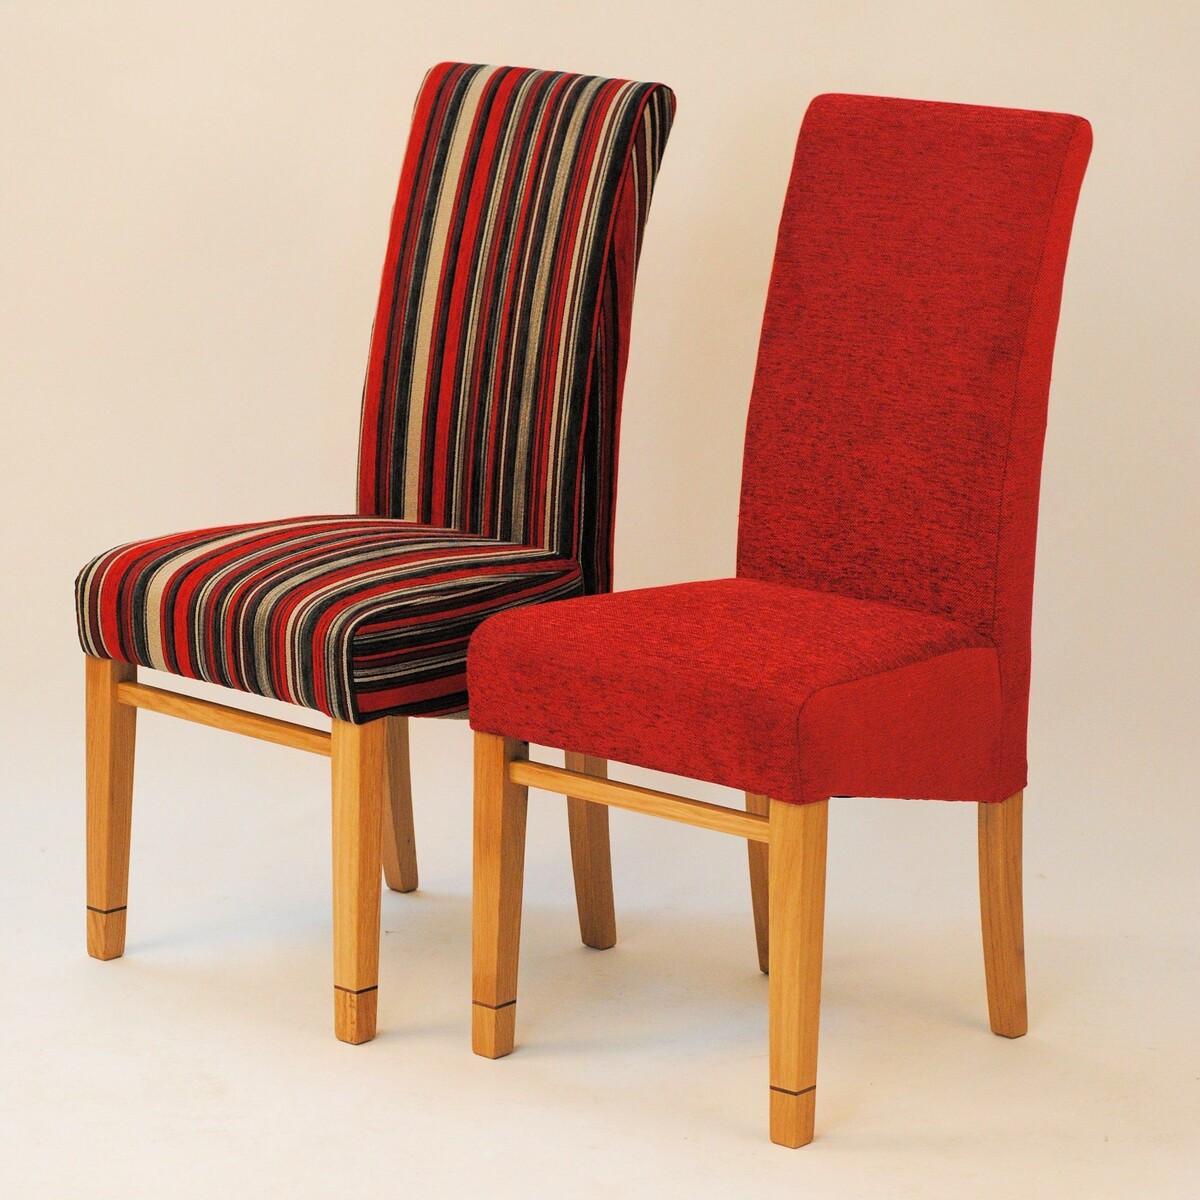
Staining
As you embark on the staining phase of the wood dining chair refinishing process, you’re poised to impart rich, lustrous color to the chairs while accentuating the natural grain and character of the wood. Choosing the right stain and application technique is pivotal in achieving the desired aesthetic and ensuring a durable, long-lasting finish that enhances the overall appeal of the chairs.
Prior to applying the stain, it’s advisable to use a wood conditioner, particularly if you’re working with porous or uneven-grained wood species such as pine or birch. The wood conditioner helps to create a more uniform surface by minimizing blotchiness and promoting even stain absorption. Apply the wood conditioner according to the manufacturer’s instructions, ensuring thorough coverage across the entire wood surface.
When selecting a stain, consider whether you prefer an oil-based or water-based formulation. Oil-based stains offer deep, rich color and excellent durability, while water-based stains are known for their quick drying time and low odor. Choose a stain color that complements your décor and personal style, whether it’s a classic walnut hue, a warm cherry tone, or a contemporary gray wash.
Using a clean, lint-free cloth or high-quality brush, apply the stain in smooth, even strokes, following the direction of the wood grain. Work methodically, ensuring consistent coverage across all surfaces of the dining chairs. For intricate or hard-to-reach areas, such as turned chair legs or carved details, use a small brush or foam applicator to achieve precise application without pooling or streaking.
After applying the initial coat of stain, allow it to penetrate the wood for the recommended duration specified by the manufacturer. This dwell time is crucial for achieving the desired depth of color and ensuring that the stain fully permeates the wood fibers. Once the stipulated time has elapsed, use a clean cloth to gently wipe away any excess stain, revealing the rich, nuanced hue that now adorns the wood surface.
If you desire a deeper or more intense color, consider applying an additional coat of stain after allowing the first coat to dry completely. Multiple coats can enhance the richness and saturation of the color, allowing you to achieve a customized finish that harmonizes with your décor and personal preferences.
Upon completing the staining process and achieving the desired depth of color, allow the stain to dry thoroughly according to the manufacturer’s instructions. The next phase will involve sealing the stained wood to protect and enhance its beauty, ensuring that your wood dining chairs exude timeless elegance and charm in your dining space.
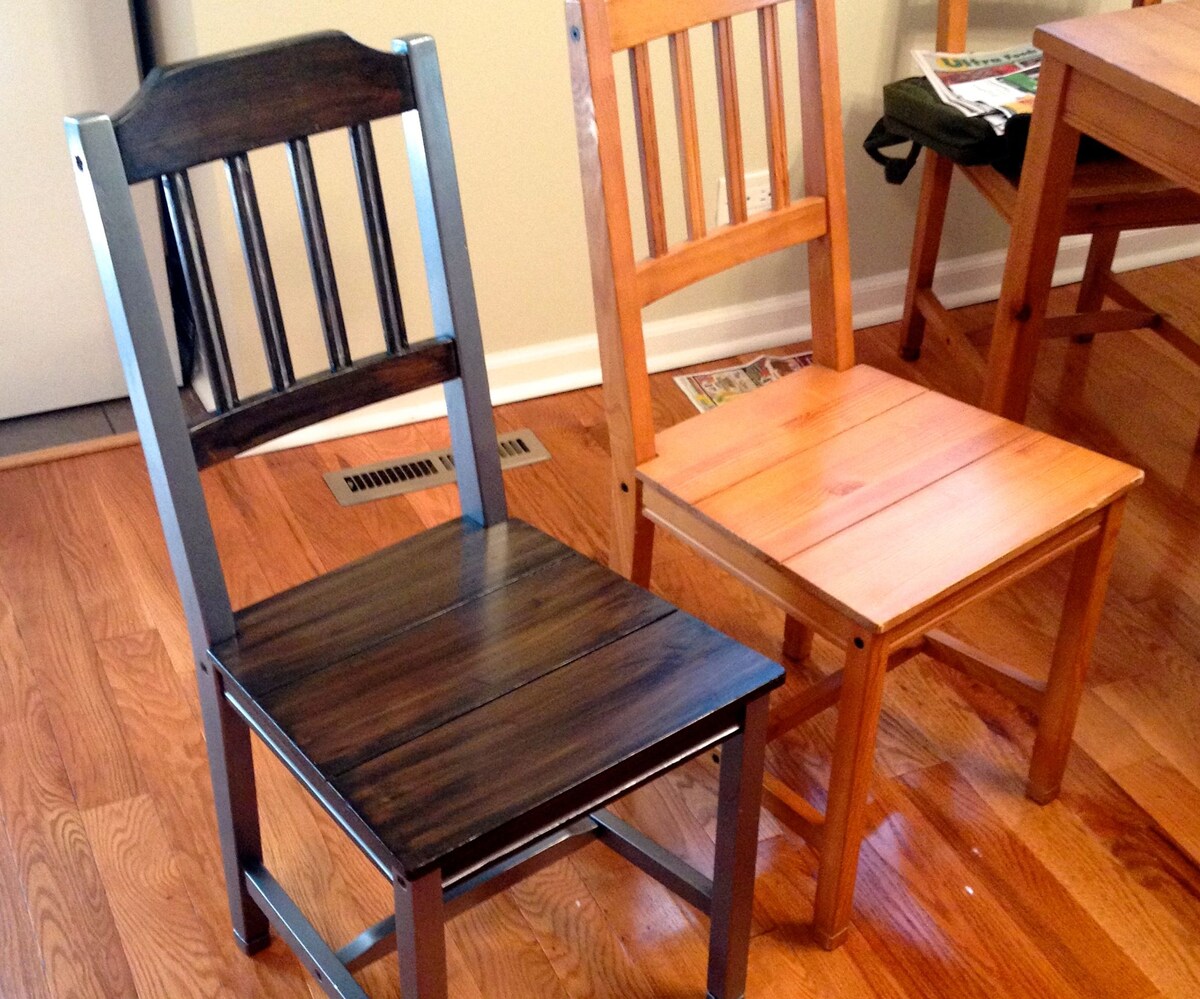
Before refinishing wood dining chairs, make sure to sand the chairs thoroughly to remove old finish and smooth out any imperfections. Use a wood stain or paint to give the chairs a fresh new look, and finish with a clear sealant for added protection.
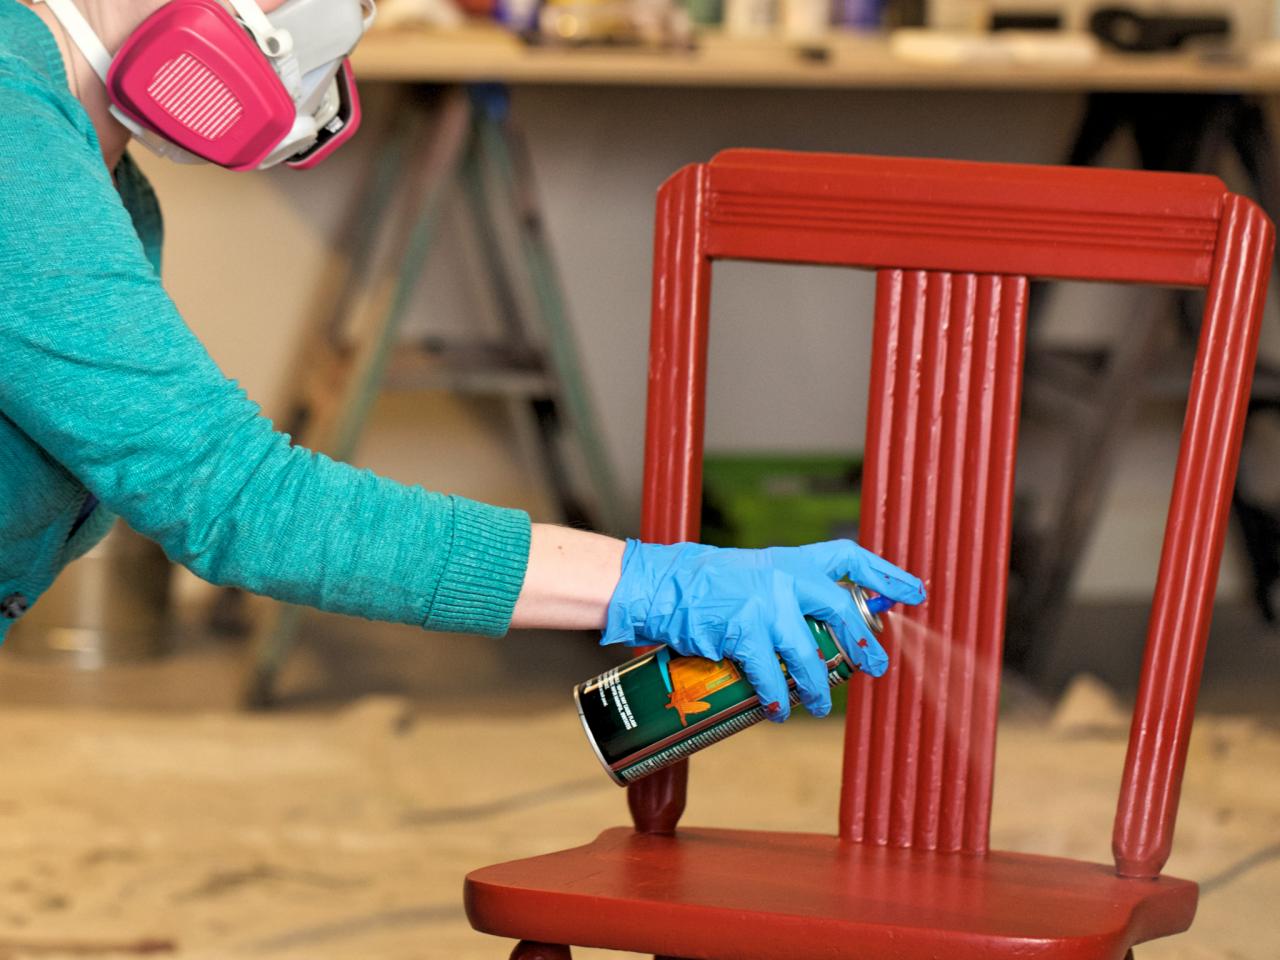
Sealing
Sealing the stained wood dining chairs is the final step in the refinishing process, serving as a protective barrier that enhances the durability, luster, and longevity of the newly infused color. The sealing stage not only safeguards the wood against everyday wear and tear but also enriches the visual appeal of the chairs, imparting a luxurious sheen that elevates their aesthetic allure.
When choosing a sealer, consider whether you prefer a clear varnish, polyurethane, lacquer, or another protective finish that aligns with your desired level of sheen and the specific demands of your dining environment. Clear varnish offers a traditional, glossy finish, while polyurethane provides robust protection and can be tailored to a satin or matte sheen. Lacquer delivers a high-gloss, contemporary finish that accentuates the wood’s natural beauty.
Prior to applying the sealer, ensure that the stained wood surface is clean, dry, and free from any dust or debris. Use a tack cloth or soft, lint-free cloth to gently remove any lingering particles that could compromise the smoothness and integrity of the finish. This meticulous preparation sets the stage for a flawless application of the sealer, ensuring a professional-quality outcome.
Using a high-quality brush or foam applicator, apply the sealer in smooth, even strokes, following the direction of the wood grain. Work methodically, ensuring consistent coverage across all surfaces of the dining chairs. Be mindful of avoiding drips, runs, or pooling, as these can detract from the overall finish and require additional remediation.
After applying the initial coat of sealer, allow it to dry completely according to the manufacturer’s instructions. Depending on the specific sealer you’ve chosen, you may opt to apply multiple coats to achieve the desired level of protection and sheen. Between coats, lightly sand the wood surface with fine-grit sandpaper to promote adhesion and achieve a velvety-smooth finish.
Once the final coat of sealer has dried, inspect the chairs to ensure that the finish is uniform and free from imperfections. The sealed wood surface should exude a lustrous sheen and a tactile smoothness that invites admiration. With the sealing process complete, your wood dining chairs are now ready for reassembly, allowing you to revel in the revitalized beauty and enduring elegance of your cherished furniture.
Read more: How To Refinish A Teak Dining Table
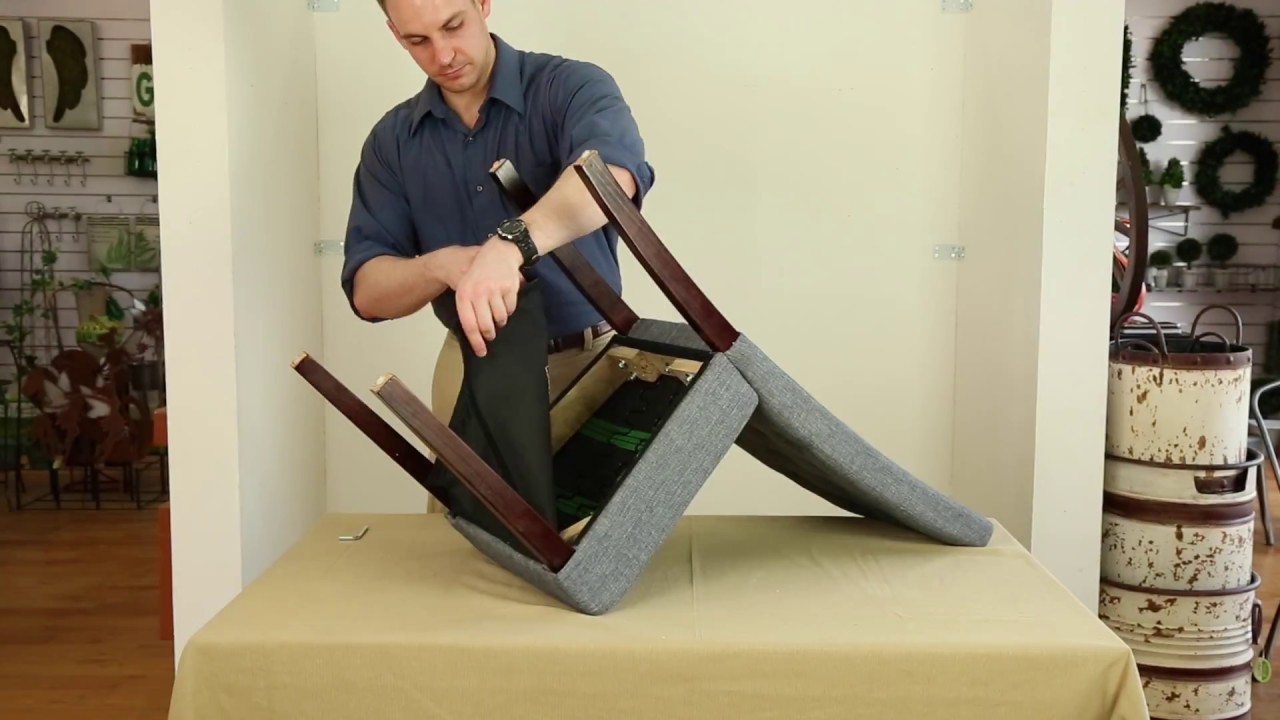
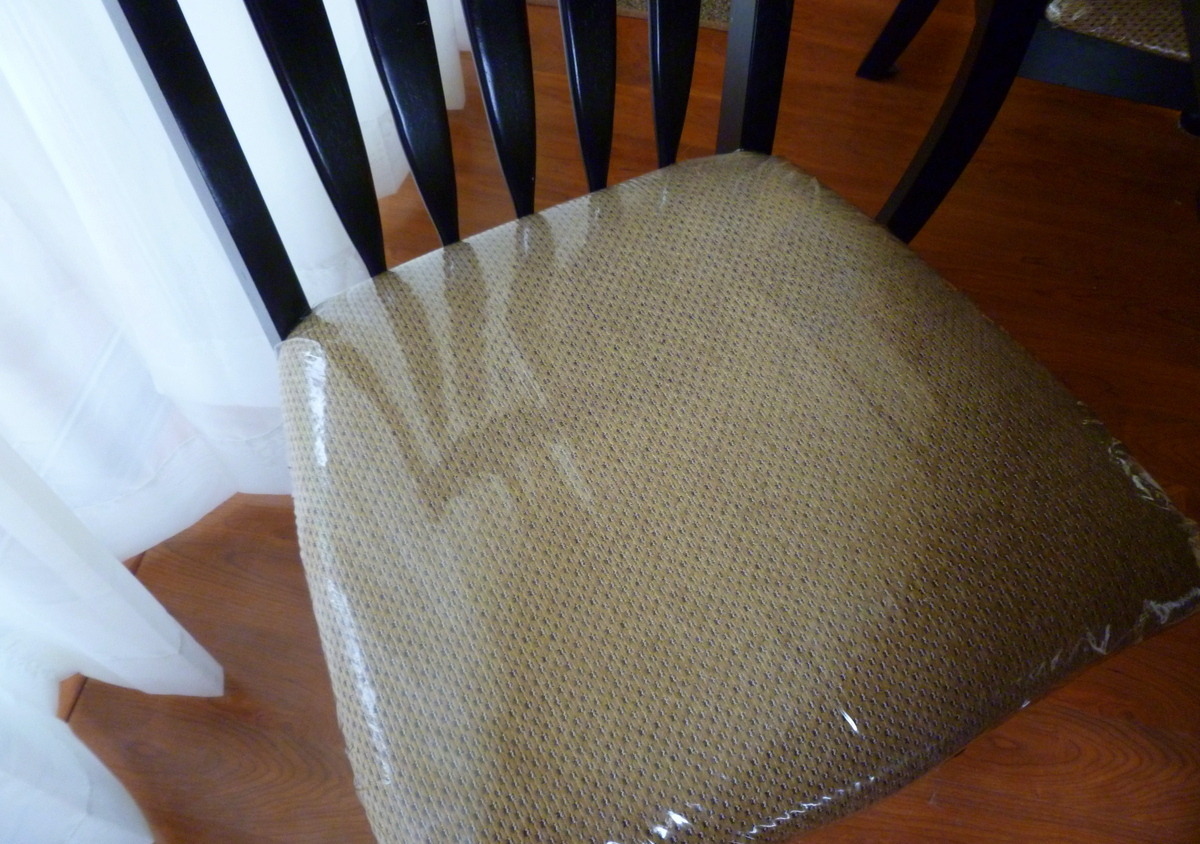
Reassembly
As the refinishing journey nears its culmination, reassembly represents the pivotal moment when the revitalized wood dining chairs are restored to their functional and aesthetic glory. This phase involves carefully reattaching any hardware, such as screws, brackets, or fasteners, and ensuring that any previously disassembled components are securely and seamlessly reconnected. By approaching the reassembly process with precision and care, you’ll celebrate the triumphant return of your cherished dining chairs to their rightful place in your home.
Begin by gathering the hardware and components necessary for reassembly, ensuring that all items are easily accessible and organized. If any structural repairs were conducted during the preparation phase, confirm that the wood glue and filler have fully cured before proceeding with reassembly. This attention to detail sets the stage for a seamless and enduring reassembly process.
When reattaching hardware, such as screws or brackets, use a screwdriver or appropriate tool to secure each component firmly to the wood without over-tightening, which can compromise the integrity of the material. Verify that all hardware is snug and aligned correctly, promoting stability and longevity in the reassembled chairs.
If loose joints were addressed during the preparation phase, apply wood glue as needed to ensure a secure and durable bond. Allow the glue to dry thoroughly according to the manufacturer’s instructions, providing ample time for the joints to solidify and fortify the structural integrity of the chairs.
As you progress through the reassembly process, periodically inspect the chairs to confirm that all components are aligned, secure, and functioning as intended. This meticulous attention to detail ensures that the revitalized dining chairs are not only visually stunning but also structurally sound, ready to grace your dining space with enduring elegance and functionality.
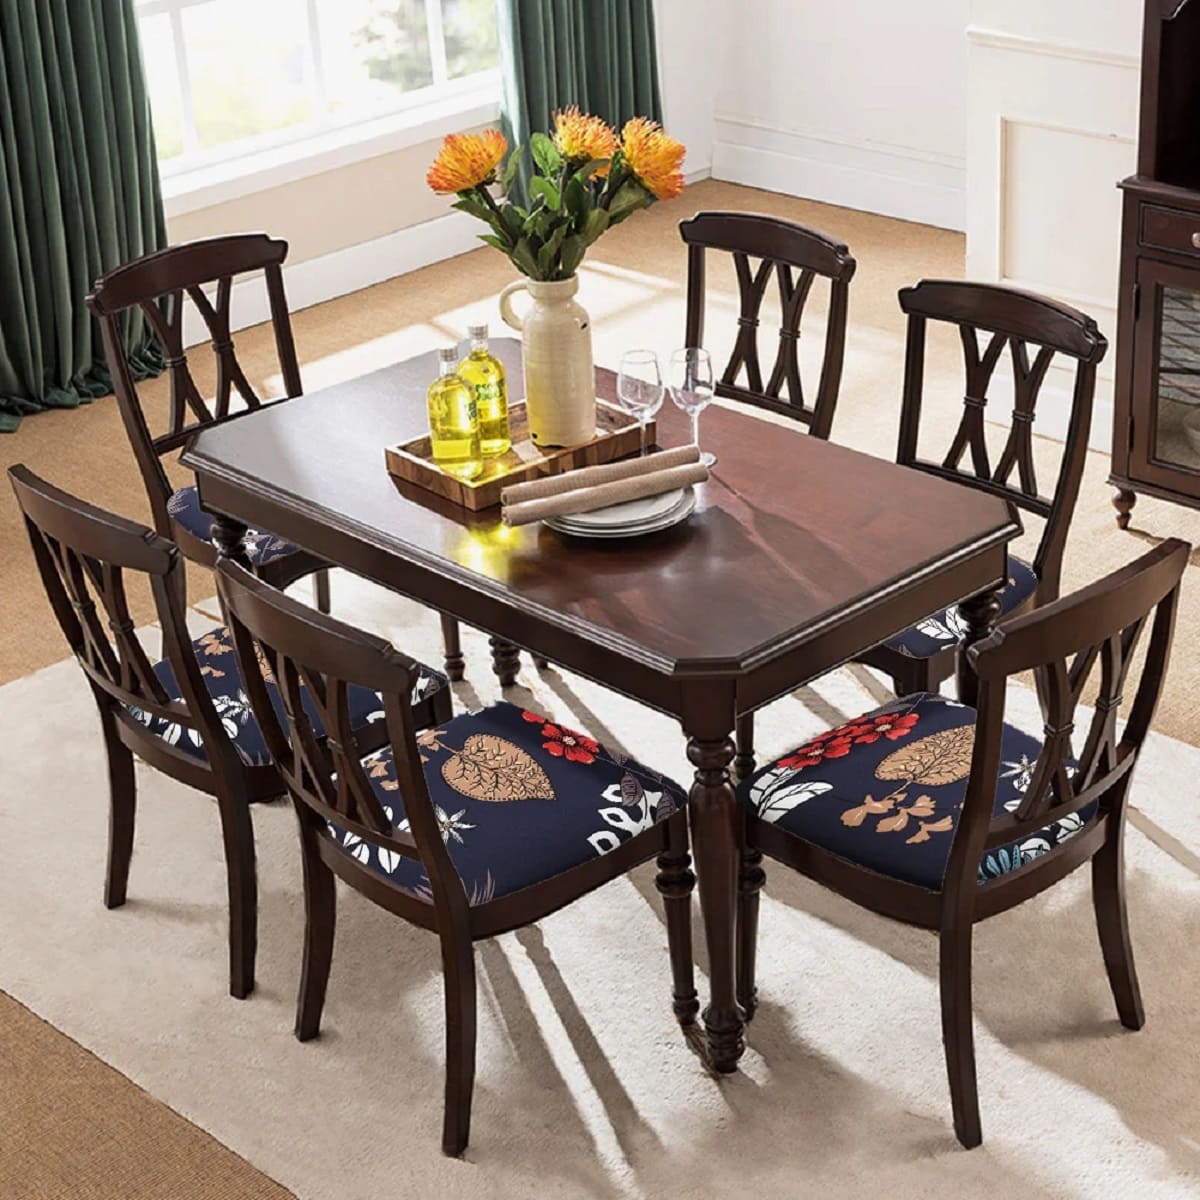
Upon completing the reassembly, take a moment to admire the stunning transformation of your wood dining chairs. Revel in the revitalized beauty and timeless allure of your cherished furniture, knowing that your dedicated efforts have breathed new life into these beloved pieces, infusing your dining space with unparalleled charm and sophistication.
Conclusion
Congratulations on successfully completing the exhilarating journey of refinishing your wood dining chairs! Through meticulous preparation, skillful execution, and unwavering dedication, you’ve revitalized your cherished furniture, infusing it with enduring elegance and timeless allure. As you reflect on this transformative experience, you’ve not only honed your craftsmanship but also imbued your dining space with a personalized touch that celebrates your unique style and creativity.
The refinishing process has empowered you to unveil the natural beauty of the wood, enhancing its grain, texture, and character to create a captivating visual impact. The rich, lustrous color of the stain and the protective sheen of the sealer have elevated the chairs to new heights of sophistication, ensuring that they will continue to be cherished focal points in your home for years to come.
By embracing the art of refinishing, you’ve not only breathed new life into your wood dining chairs but also fostered a deeper appreciation for the craftsmanship and artistry inherent in furniture restoration. Your commitment to preserving and enhancing the inherent beauty of these pieces exemplifies a profound reverence for tradition and a dedication to sustainable, enduring design.
As you reintroduce your revitalized dining chairs to your living space, take pride in the knowledge that your efforts have not only transformed the furniture but have also enriched your home with a sense of warmth, character, and individuality. These revitalized chairs will serve as a testament to your ingenuity and passion for creating a living environment that reflects your personal style and values.
As you bask in the radiant beauty of your newly refinished wood dining chairs, may this experience inspire future creative endeavors and ignite a passion for preserving and enhancing the timeless appeal of cherished furniture. Your journey of refinishing has not only rejuvenated your dining chairs but has also imbued your living space with a renewed sense of elegance and charm, creating an environment where cherished memories are made and treasured moments are celebrated.
With your revitalized wood dining chairs poised to enrich your daily life, may the art of refinishing continue to be a source of joy, creativity, and fulfillment, allowing you to craft a living space that resonates with your unique vision and resonates with enduring beauty.
Frequently Asked Questions about How To Refinish Wood Dining Chairs
Was this page helpful?
At Storables.com, we guarantee accurate and reliable information. Our content, validated by Expert Board Contributors, is crafted following stringent Editorial Policies. We're committed to providing you with well-researched, expert-backed insights for all your informational needs.


0 thoughts on “How To Refinish Wood Dining Chairs”