Home>Furniture & Design>Interior Design Trends>How To Frame Glass With Wood
Interior Design Trends
How To Frame Glass With Wood
Published: February 7, 2024
Learn how to frame glass with wood to elevate your interior design. Explore the latest interior design trends and create a stylish and modern look for your space.
(Many of the links in this article redirect to a specific reviewed product. Your purchase of these products through affiliate links helps to generate commission for Storables.com, at no extra cost. Learn more)
Introduction
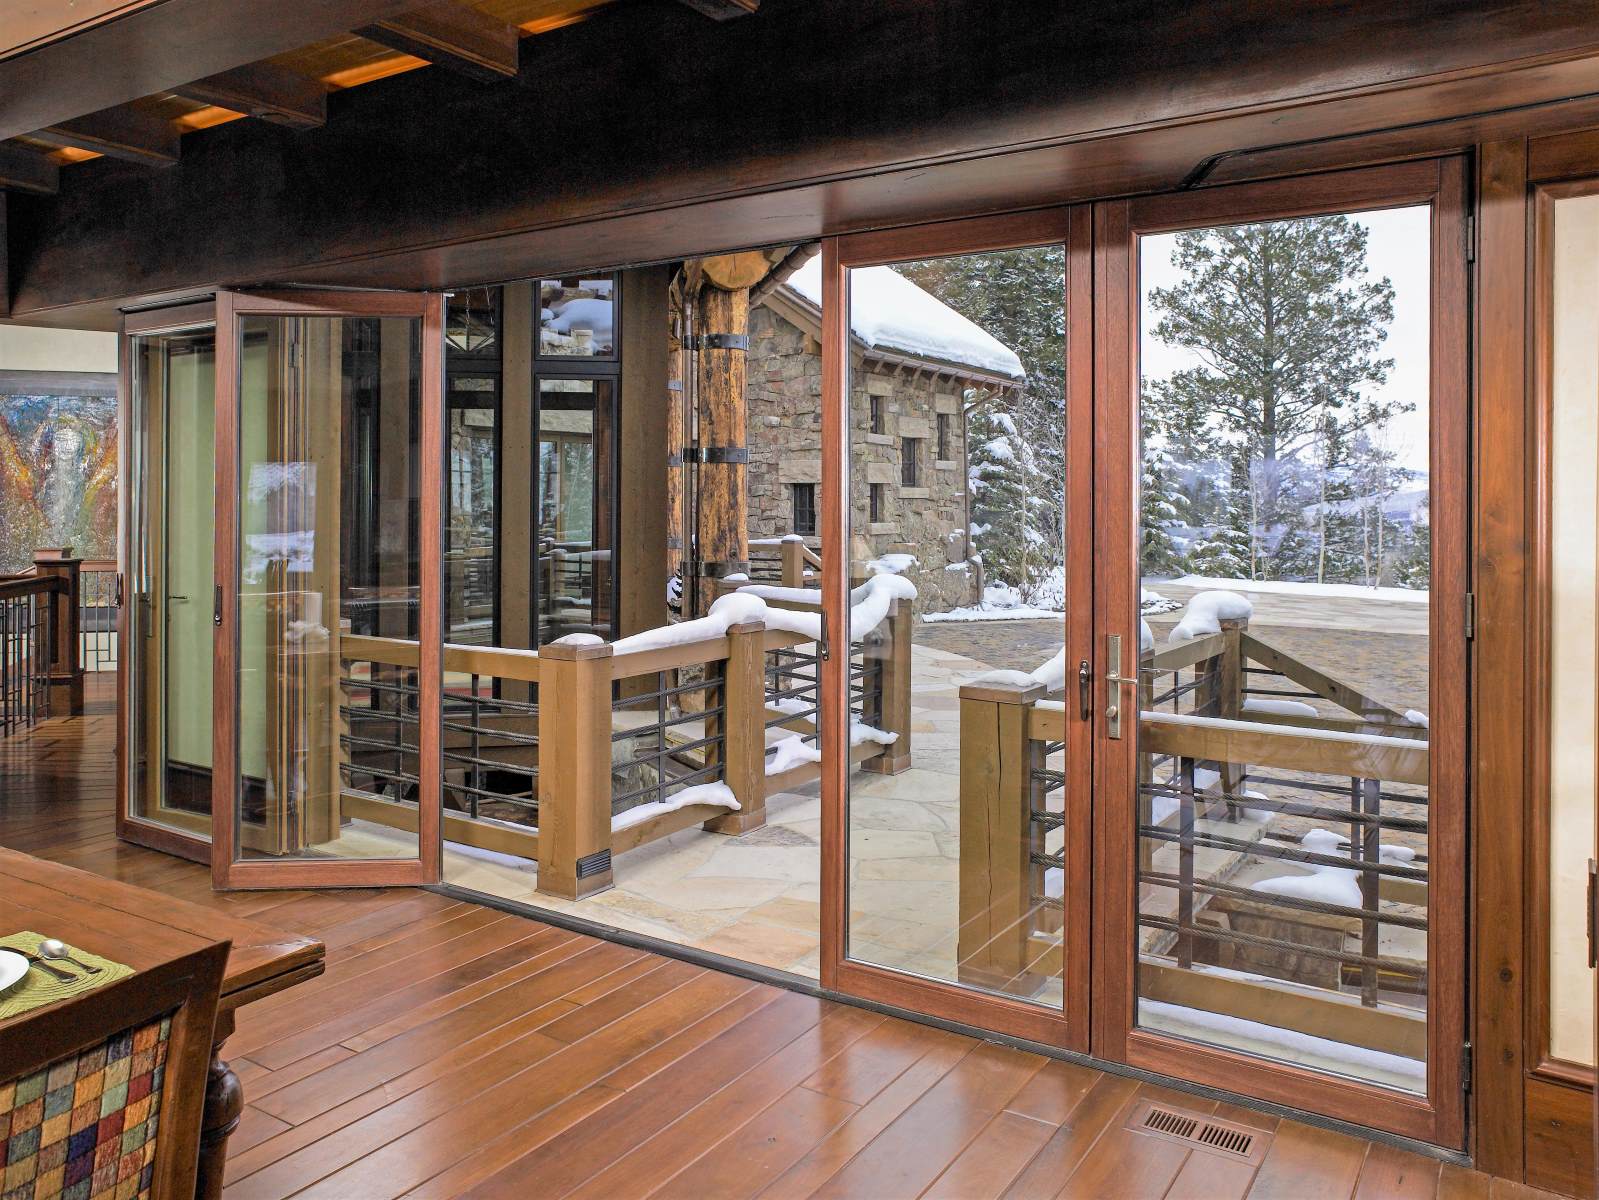
When it comes to interior design, the art of framing glass with wood is a timeless and versatile technique that adds a touch of elegance and sophistication to any space. Whether you're a seasoned DIY enthusiast or a novice looking to embark on a new project, framing glass with wood offers a creative and customizable way to showcase artwork, photographs, or even mirrors.
The process of framing glass with wood allows for endless possibilities in terms of style, size, and finish. From sleek and modern to rustic and traditional, the choice of wood, stain, and design details can completely transform the look and feel of the finished piece. Moreover, the warmth and natural beauty of wood complement the transparency of glass, creating a visually stunning combination that can elevate the aesthetic appeal of any room.
In this comprehensive guide, we will walk you through the step-by-step process of framing glass with wood, providing you with the knowledge and confidence to tackle this rewarding project. From selecting the right materials to mastering the essential techniques, you'll gain valuable insights that will empower you to create stunning framed glass pieces that reflect your personal style and enhance your living space.
So, whether you're looking to add a personal touch to your home decor, create a unique gift for a loved one, or simply explore a new creative endeavor, framing glass with wood is a captivating and fulfilling craft that offers endless opportunities for self-expression and artistic exploration. Join us as we delve into the world of woodworking and glass framing, and unlock the potential to transform ordinary glass into extraordinary works of art.
Key Takeaways:
- Framing glass with wood is a versatile and rewarding DIY project that adds elegance to any space. By carefully measuring, cutting, and assembling, you can create a visually captivating showcase for artwork or photographs.
- The fusion of wood and glass in framing creates a visually striking and functional piece of art. With attention to detail and creativity, you can transform simple materials into a professionally finished showcase that reflects craftsmanship and artistic expression.
Read more: What Is Wood Frame Construction
Materials Needed
To embark on the journey of framing glass with wood, you will need a selection of essential materials that will serve as the building blocks for your project. Each item plays a crucial role in the framing process, contributing to the structural integrity, aesthetic appeal, and overall quality of the finished piece. Here's a comprehensive list of the materials you'll need to gather before diving into this creative endeavor:
-
Wood: The foundation of any wooden frame is, of course, the wood itself. Select a high-quality wood species that aligns with your desired aesthetic and functional requirements. Common choices include oak, maple, cherry, and walnut, each offering unique grain patterns and color variations. Ensure that the wood is straight, free of knots, and has been properly dried to prevent warping over time.
-
Glass: The centerpiece of your framed creation, the glass serves as the protective barrier for the artwork or photograph it encases. Choose a glass type that suits your specific needs, whether it's standard clear glass, non-glare glass to reduce reflections, or UV-protective glass to safeguard delicate artwork from harmful rays.
-
Wood Stain or Paint: Depending on your design vision, you'll need to select a suitable wood stain or paint to enhance the natural beauty of the wood or add a pop of color to the frame. Stains come in a variety of shades, allowing you to achieve everything from a rich, dark finish to a light, natural look. If you opt for paint, consider complementary hues that harmonize with your decor scheme.
-
Sandpaper and Sanding Block: Achieving a smooth and polished wood surface is essential for a professional-looking frame. Invest in a range of sandpaper grits and a sanding block to effectively smooth out imperfections, remove rough edges, and prepare the wood for finishing.
-
Wood Glue: A reliable wood glue is indispensable for securely joining the frame's corners and ensuring long-lasting durability. Look for a high-quality wood glue that provides a strong bond and dries clear for a seamless finish.
-
Miter Saw or Miter Box and Saw: Precise and accurate cuts are essential for creating seamless corners in your frame. A miter saw or miter box and saw combo will enable you to achieve clean, angled cuts with ease, ensuring that your frame comes together seamlessly.
-
Clamps: To hold the frame pieces in place during assembly, sturdy clamps are a must-have. They provide the necessary pressure to ensure tight, secure joints while the glue sets, resulting in a sturdy and well-constructed frame.
-
Ruler, Pencil, and Square: These basic measuring and marking tools are essential for ensuring accuracy and consistency throughout the cutting and assembly process. A ruler helps you measure precise dimensions, while a pencil and square allow you to mark cut lines and ensure that corners are perfectly aligned.
By gathering these fundamental materials, you'll be well-equipped to commence your journey into the art of framing glass with wood. With a clear understanding of the essential components and their respective roles, you're ready to move on to the next steps and bring your vision to life.
Step 1: Measure and Cut the Wood
The initial step in framing glass with wood involves precise measurements and accurate cuts to create the individual components of the frame. This crucial phase sets the foundation for a well-constructed and visually appealing frame that seamlessly accommodates the glass and artwork. Here's a detailed walkthrough of the process:
1.1 Gather the Necessary Tools
Before diving into the measurement and cutting process, gather the essential tools required for this phase. You'll need a reliable ruler, a sharp pencil, a square for ensuring precise right angles, and a miter saw or a miter box and saw for making accurate angled cuts. Having these tools at hand will streamline the process and facilitate the creation of perfectly sized and aligned frame pieces.
1.2 Measure the Glass Dimensions
Begin by measuring the exact dimensions of the glass that will be housed within the frame. Take precise measurements of the length and width, ensuring that the frame will provide a snug and secure fit for the glass. It's crucial to measure accurately, as any discrepancies can result in an ill-fitting frame that compromises the overall integrity and aesthetics of the piece.
Read more: How To Refinish A Wood Bed Frame
1.3 Determine the Frame Dimensions
Once the glass dimensions are established, calculate the dimensions of the frame components. Consider the desired width of the frame borders and factor in the necessary allowances for the glass to fit comfortably within the frame. Whether you opt for a uniform border width or a varied design, meticulous planning at this stage will ensure that the frame complements the artwork and enhances its visual impact.
1.4 Mark and Cut the Wood
Using the measured dimensions as a guide, mark the wood pieces accordingly with a sharp pencil and ruler. Pay close attention to the accuracy of the markings, as they will dictate the final dimensions of the frame components. With the markings in place, proceed to make precise cuts using a miter saw or a miter box and saw, ensuring that the angles are exact and the lengths are consistent.
1.5 Double-Check the Cuts
After cutting the wood pieces, perform a thorough inspection to verify the accuracy of the cuts. Check that the angles are precise and the lengths align with the intended dimensions. This meticulous review is essential for ensuring that the frame components will seamlessly come together during the assembly phase, resulting in a professionally crafted frame that exudes quality and precision.
By meticulously measuring and cutting the wood with precision and attention to detail, you'll lay the groundwork for a well-crafted frame that harmoniously integrates with the glass, culminating in a stunning showcase for your chosen artwork or photograph. With the frame components now prepared, the next step will involve refining the wood surfaces and preparing them for assembly and finishing.
Step 2: Sand and Finish the Wood
With the frame components meticulously cut to size, the next pivotal phase in framing glass with wood involves refining the wood surfaces through sanding and applying a finish that enhances the natural beauty of the material. This transformative process not only ensures a smooth and polished appearance but also allows for personalization through the selection of stains or paints. Here's a comprehensive guide to sanding and finishing the wood for your frame:
Read more: How To Clean Wood Bed Frame
2.1 Sanding the Wood
Commence the wood refinement process by utilizing sandpaper of varying grits to achieve a smooth and flawless surface. Begin with a coarser grit to eliminate any rough edges, uneven surfaces, or imperfections resulting from the cutting phase. Gradually progress to finer grits to further refine the wood, ensuring that each pass with the sandpaper contributes to a progressively smoother finish. Pay particular attention to the frame's edges and corners, as these areas require meticulous sanding to achieve seamless joints and a professional appearance.
2.2 Using a Sanding Block
Incorporate a sanding block to maintain flat and even surfaces while sanding the frame components. The sanding block provides stability and uniform pressure, facilitating consistent sanding results across the entire wood surface. By employing a sanding block in conjunction with the appropriate grit sandpaper, you'll effectively eliminate any irregularities and achieve a level of smoothness that sets the stage for a flawless finish.
2.3 Selecting the Finish
Once the wood surfaces are impeccably sanded, it's time to consider the finish that will best complement your design vision. Whether you opt for the natural warmth of a wood stain or the vibrant allure of paint, the finish you choose will significantly influence the aesthetic impact of the frame. Stains offer a spectrum of hues, allowing you to enhance the wood's grain and color, while paints provide an opportunity to introduce bold or subtle tones that harmonize with your decor scheme.
2.4 Applying the Finish
Carefully apply the selected finish to the sanded wood surfaces, ensuring even coverage and attention to detail. Whether using a brush, cloth, or spray application, strive for a consistent and smooth finish that accentuates the wood's natural characteristics. Multiple coats may be necessary to achieve the desired depth of color and level of protection, particularly when using stains or transparent finishes that showcase the wood's grain.
Read more: How To Attach Glass To Wood
2.5 Allowing for Drying and Curing
After applying the finish, allow the frame components to thoroughly dry and cure according to the manufacturer's recommendations. This crucial step ensures that the finish properly adheres to the wood, resulting in a durable and lustrous surface. Exercise patience during this phase, as rushing the drying process can compromise the quality of the finish and impact the overall aesthetics of the frame.
By meticulously sanding and finishing the wood, you'll elevate the frame components to a level of refinement that complements the glass and enhances the visual impact of the framed artwork or photograph. The seamless integration of wood and glass, coupled with a meticulously applied finish, sets the stage for the final assembly phase, where the frame will come together as a stunning showcase of craftsmanship and creativity.
Step 3: Assemble the Frame
With the wood components meticulously measured, cut, sanded, and finished, the time has come to bring the frame to life through meticulous assembly. This pivotal phase requires precision, patience, and attention to detail to ensure that the frame seamlessly accommodates the glass and presents a flawless showcase for the chosen artwork or photograph. Here's a comprehensive guide to the assembly process:
3.1 Dry-Fit the Frame Components
Before applying any adhesive, conduct a dry-fit assembly of the frame components to verify the accuracy of the cuts and the alignment of the corners. This preliminary step allows you to confirm that the pieces fit together seamlessly and that the frame's dimensions align with the intended specifications. Pay close attention to the joints and ensure that the corners meet at perfect right angles, laying the groundwork for a well-constructed and visually appealing frame.
3.2 Apply Wood Glue to the Joints
Once the dry-fit assembly is successful, it's time to apply a thin, even layer of high-quality wood glue to the mitered joints of the frame. Exercise caution to avoid excess glue, as this can lead to unsightly squeeze-out and compromise the finish of the frame. The application of wood glue is critical for creating strong, durable bonds between the frame components, ensuring that the frame maintains its structural integrity over time.
Read more: How To Make A Glass Frame
3.3 Secure the Joints with Clamps
With the wood glue applied, carefully bring the frame components together at the corners, ensuring that the joints align perfectly. Once aligned, use sturdy clamps to secure the joints and apply gentle pressure to promote optimal adhesion. Position the clamps strategically to exert uniform pressure across the joints, minimizing the risk of misalignment and ensuring that the frame comes together seamlessly.
3.4 Verify Alignment and Squareness
After securing the joints with clamps, verify the alignment and squareness of the frame using a reliable square. This step is crucial for confirming that the frame maintains perfect right angles at each corner, resulting in a professional and visually pleasing finish. Adjust the positioning of the frame components as needed to achieve precise alignment, setting the stage for a flawlessly constructed frame.
3.5 Allow the Glue to Cure
Once the frame components are assembled and aligned, allow the wood glue to cure fully according to the manufacturer's recommendations. This curing period is essential for ensuring that the joints achieve maximum strength and stability, laying the foundation for a durable and long-lasting frame. Exercise patience during this phase, refraining from disturbing the frame until the glue has fully set.
By meticulously assembling the frame with precision and care, you'll bring the wood and glass together to create a cohesive and visually striking piece of functional art. The seamless integration of the frame components, coupled with the strength of the adhesive bonds, sets the stage for the final phase of securing the glass within the frame, culminating in a captivating showcase that reflects your craftsmanship and attention to detail.
Step 4: Insert the Glass
With the frame meticulously assembled and the wood components seamlessly integrated, the next crucial step in the process of framing glass with wood involves delicately inserting the glass into the prepared frame. This phase demands precision, caution, and attention to detail to ensure that the glass fits snugly and securely, ultimately transforming the frame into a protective and visually captivating showcase for the chosen artwork or photograph. Here's a comprehensive guide to the glass insertion process:
Read more: How To Build Stucco Wall With Wood Frame
4.1 Clean the Glass Surface
Before inserting the glass into the frame, thoroughly clean the glass surface to remove any dust, fingerprints, or debris that may have accumulated during the handling and assembly process. Utilize a gentle glass cleaner and a lint-free cloth to achieve a pristine, streak-free surface, ensuring that the glass will showcase the enclosed artwork or photograph with clarity and brilliance.
4.2 Handle the Glass with Care
When handling the glass, exercise caution to avoid smudges, fingerprints, or accidental damage. Hold the glass along the edges to minimize contact with the cleaning surface, reducing the risk of leaving marks or residue that could detract from the visual appeal of the framed piece. By treating the glass with care and attentiveness, you'll preserve its pristine condition and ensure a flawless presentation within the frame.
4.3 Position the Glass within the Frame
With the cleaned glass in hand, delicately position it within the assembled frame, ensuring that it rests evenly and securely along the inner edges. Take care to align the glass precisely within the frame, allowing for uniform borders and a visually balanced presentation of the enclosed artwork or photograph. Verify that the glass sits flush against the frame components, creating a seamless and professional appearance.
4.4 Verify the Fit and Alignment
Once the glass is positioned within the frame, verify the fit and alignment to confirm that it sits securely and harmoniously within the designated space. Check for uniform borders around the entire perimeter of the glass, ensuring that the presentation is visually consistent and aesthetically pleasing. This meticulous review is essential for guaranteeing that the glass complements the frame and enhances the overall visual impact of the finished piece.
Read more: What Wood To Use For Decking Frame
4.5 Prepare for Securing the Glass
Before proceeding to secure the glass within the frame, ensure that the surrounding surfaces are free of any dust, debris, or residual cleaning agents that could interfere with the final steps of the process. A clean and pristine environment will facilitate the secure attachment of the glass and contribute to a flawless presentation that highlights the enclosed artwork or photograph with clarity and elegance.
By delicately inserting the glass into the meticulously prepared frame, you'll bring the elements of wood and glass together to create a cohesive and visually captivating showcase for your chosen artwork or photograph. The seamless integration of the glass within the frame sets the stage for the final phase of securing the glass in place, culminating in a captivating display that reflects your craftsmanship and attention to detail.
Step 5: Secure the Glass in Place
Securing the glass within the frame is the final crucial step in the process of framing glass with wood, ensuring that the enclosed artwork or photograph is protected and elegantly showcased. This phase demands precision, care, and attention to detail to guarantee that the glass remains securely in position, ultimately culminating in a visually captivating and professionally finished piece.
5.1 Apply Glass Retention Points
To secure the glass within the frame, carefully position and apply glass retention points along the inner edges of the frame. These small, metal points are designed to hold the glass in place, preventing it from shifting or rattling within the frame. Utilize a point driver tool to gently press the retention points into the wood, ensuring that they create a secure and stable hold on the glass without causing damage or distortion.
5.2 Distribute Points Evenly
When applying the glass retention points, distribute them evenly along all sides of the frame to maintain consistent pressure and support. By spacing the retention points at regular intervals, you'll effectively safeguard the glass from movement and minimize the risk of potential damage. This meticulous approach ensures that the glass remains firmly secured while maintaining a balanced and professional presentation within the frame.
Read more: How To Glue Glass To Wood
5.3 Verify Stability and Alignment
After applying the glass retention points, carefully verify the stability and alignment of the glass within the frame. Gently press along the edges of the glass to confirm that it remains firmly in place and that the retention points provide adequate support. Additionally, visually inspect the glass from various angles to ensure that it sits uniformly within the frame, contributing to a visually cohesive and aesthetically pleasing presentation.
5.4 Clean and Inspect the Frame
Following the secure placement of the glass, thoroughly clean and inspect the frame to remove any residual dust, fingerprints, or debris that may have accumulated during the assembly process. Utilize a soft, lint-free cloth to gently wipe the frame's surfaces, ensuring that it presents a pristine and polished appearance that complements the enclosed artwork or photograph. This final touch enhances the overall visual impact of the framed piece, elevating its presentation and appeal.
5.5 Final Review and Adjustment
Conduct a final review of the framed piece, paying close attention to the glass, frame, and enclosed artwork or photograph. Verify that the glass remains securely in place, the frame components exhibit flawless alignment, and the overall presentation reflects the desired aesthetic and quality standards. If necessary, make any minor adjustments to ensure that the framed piece achieves a professional and visually captivating finish that aligns with your creative vision.
By meticulously securing the glass within the frame, you'll complete the transformative process of framing glass with wood, resulting in a visually captivating and professionally finished showcase for your chosen artwork or photograph. The seamless integration of the glass within the frame, coupled with the secure placement and meticulous attention to detail, culminates in a captivating display that reflects your craftsmanship and dedication to creating a visually stunning piece of functional art.
Conclusion
In conclusion, the art of framing glass with wood is a captivating and rewarding endeavor that offers a myriad of opportunities for creative expression and personalized home decor. Through the meticulous process of measuring, cutting, sanding, finishing, assembling, and securing, we've embarked on a journey that has transformed ordinary materials into a visually captivating and professionally finished showcase for artwork, photographs, or mirrors.
The fusion of wood and glass in the framing process represents a harmonious marriage of natural elements, resulting in a visually striking and functional piece of art that enhances the aesthetic appeal of any space. The warmth and organic beauty of wood, coupled with the transparency and protective qualities of glass, create a dynamic synergy that elevates the presentation of cherished artwork and adds a touch of sophistication to interior design.
By selecting high-quality materials, exercising precision in the construction process, and infusing personal creativity into the finishing touches, we've unlocked the potential to transform simple components into a visually captivating and professionally finished showcase. The attention to detail in each phase of the framing process has culminated in a cohesive and visually appealing piece that reflects the dedication to craftsmanship and the pursuit of artistic excellence.
As we reflect on the journey from raw materials to a completed framed piece, it's evident that the art of framing glass with wood transcends mere functionality and enters the realm of artistic expression. Each step, from the initial measurements to the final securing of the glass, has contributed to the creation of a visually captivating and professionally finished showcase that embodies the fusion of craftsmanship and creativity.
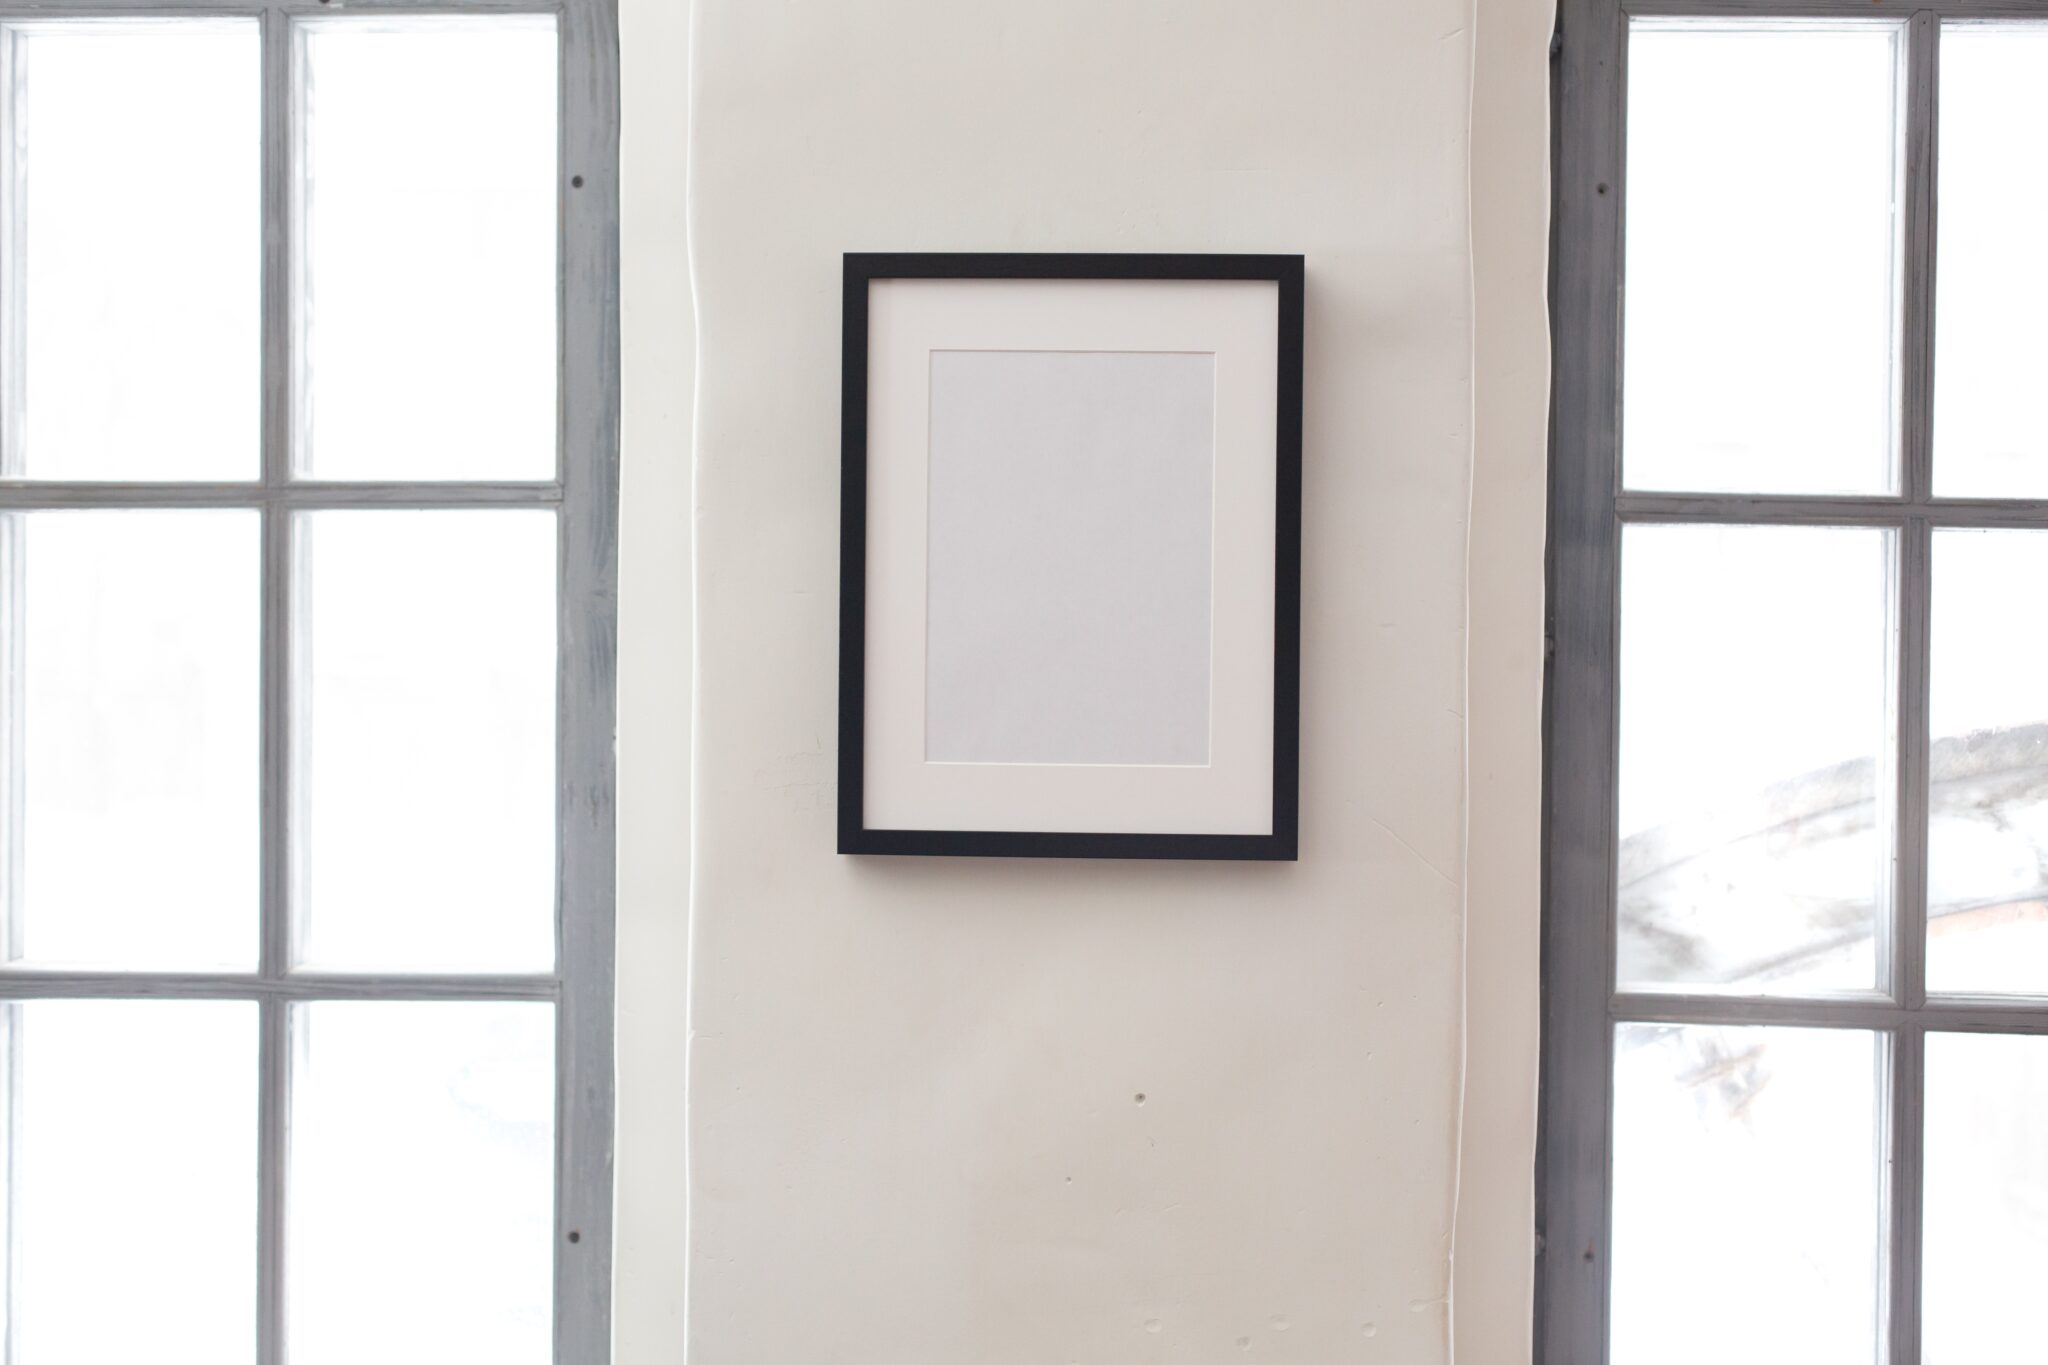
In the realm of interior design, the framed glass with wood serves as a versatile and timeless accent that can be tailored to suit a wide range of decor styles and personal preferences. Whether adorning the walls of a contemporary living space, adding character to a rustic-themed room, or serving as a thoughtful gift for a loved one, the framed glass with wood stands as a testament to the enduring allure of handcrafted artistry.
In essence, the art of framing glass with wood transcends the boundaries of mere functionality and emerges as a testament to the transformative power of creativity and craftsmanship. As we celebrate the completion of this journey, we are reminded that the fusion of wood and glass has the potential to elevate the visual landscape of our living spaces, infusing them with elegance, personality, and a touch of timeless charm.
Frequently Asked Questions about How To Frame Glass With Wood
Was this page helpful?
At Storables.com, we guarantee accurate and reliable information. Our content, validated by Expert Board Contributors, is crafted following stringent Editorial Policies. We're committed to providing you with well-researched, expert-backed insights for all your informational needs.
0 thoughts on “How To Frame Glass With Wood”