Furniture
How Does A Homemade Lava Lamp Work?
Modified: August 22, 2024
Discover the fascinating science behind homemade lava lamps and learn how to create your own mesmerizing furniture piece that doubles as a colorful light source.
(Many of the links in this article redirect to a specific reviewed product. Your purchase of these products through affiliate links helps to generate commission for Storables.com, at no extra cost. Learn more)
Introduction
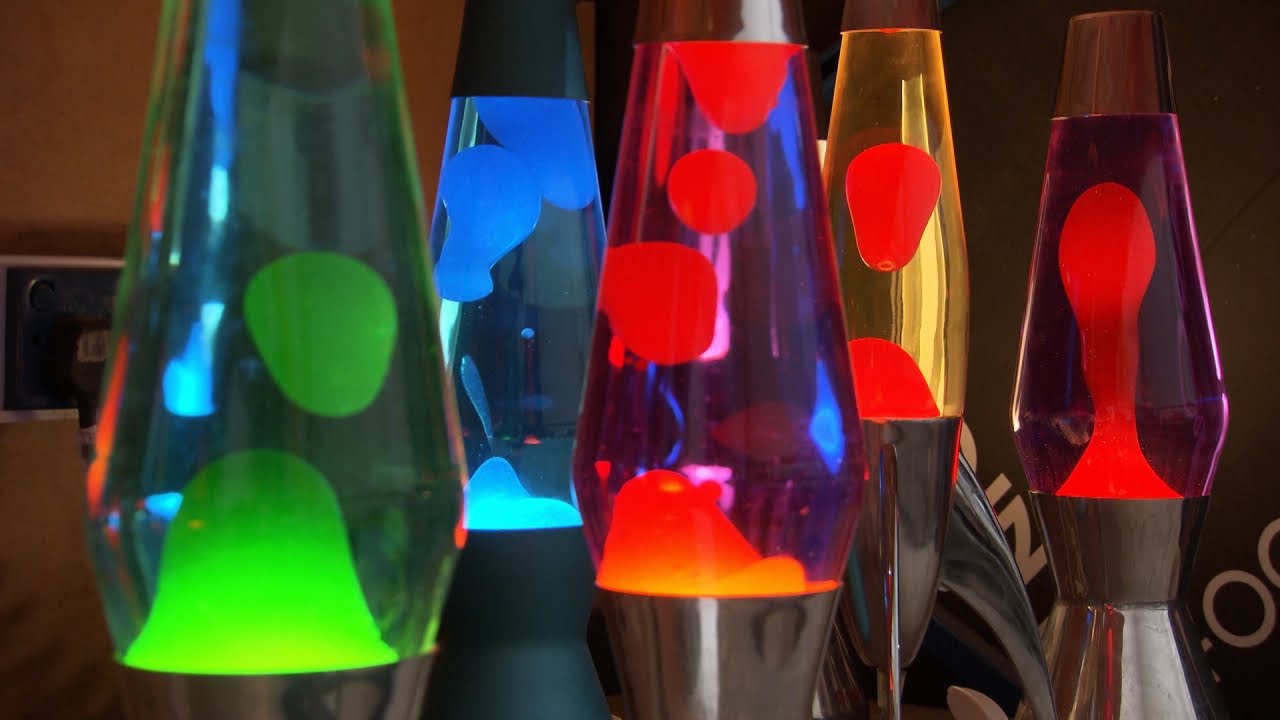
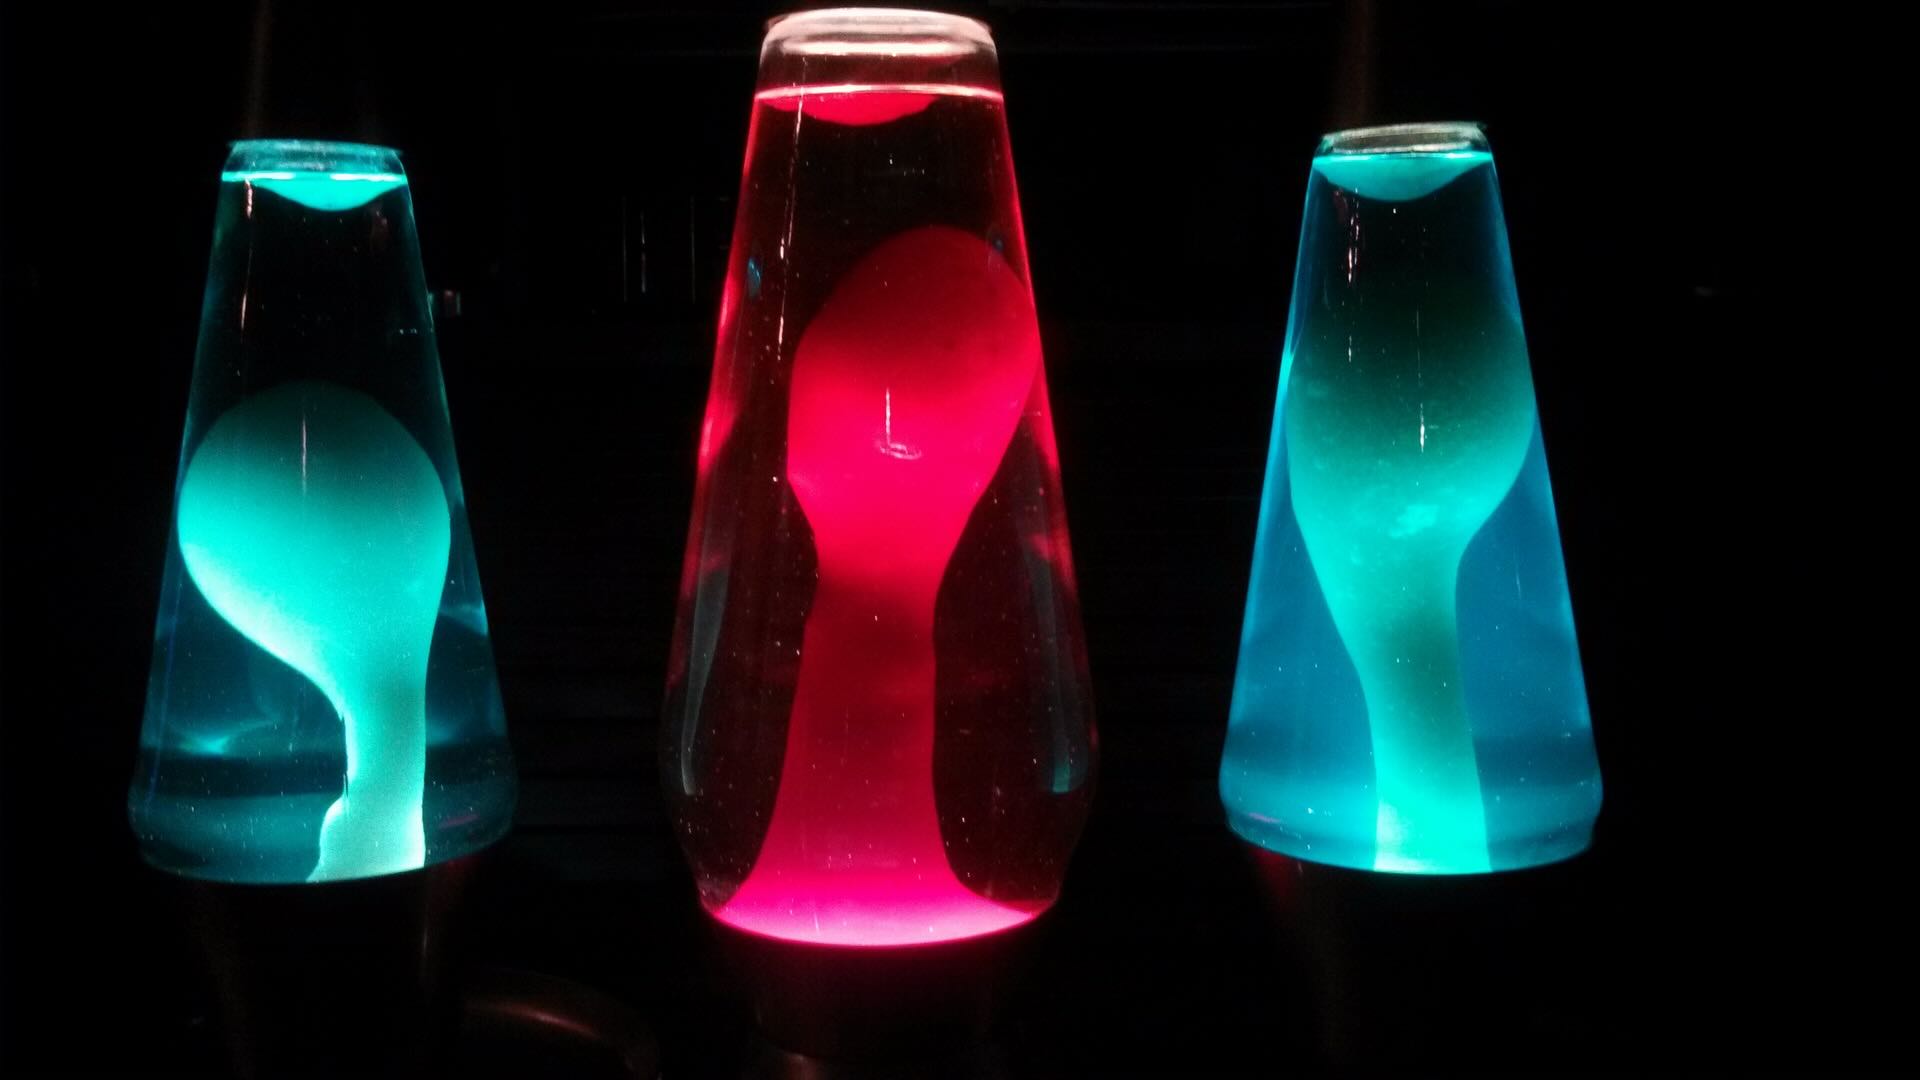
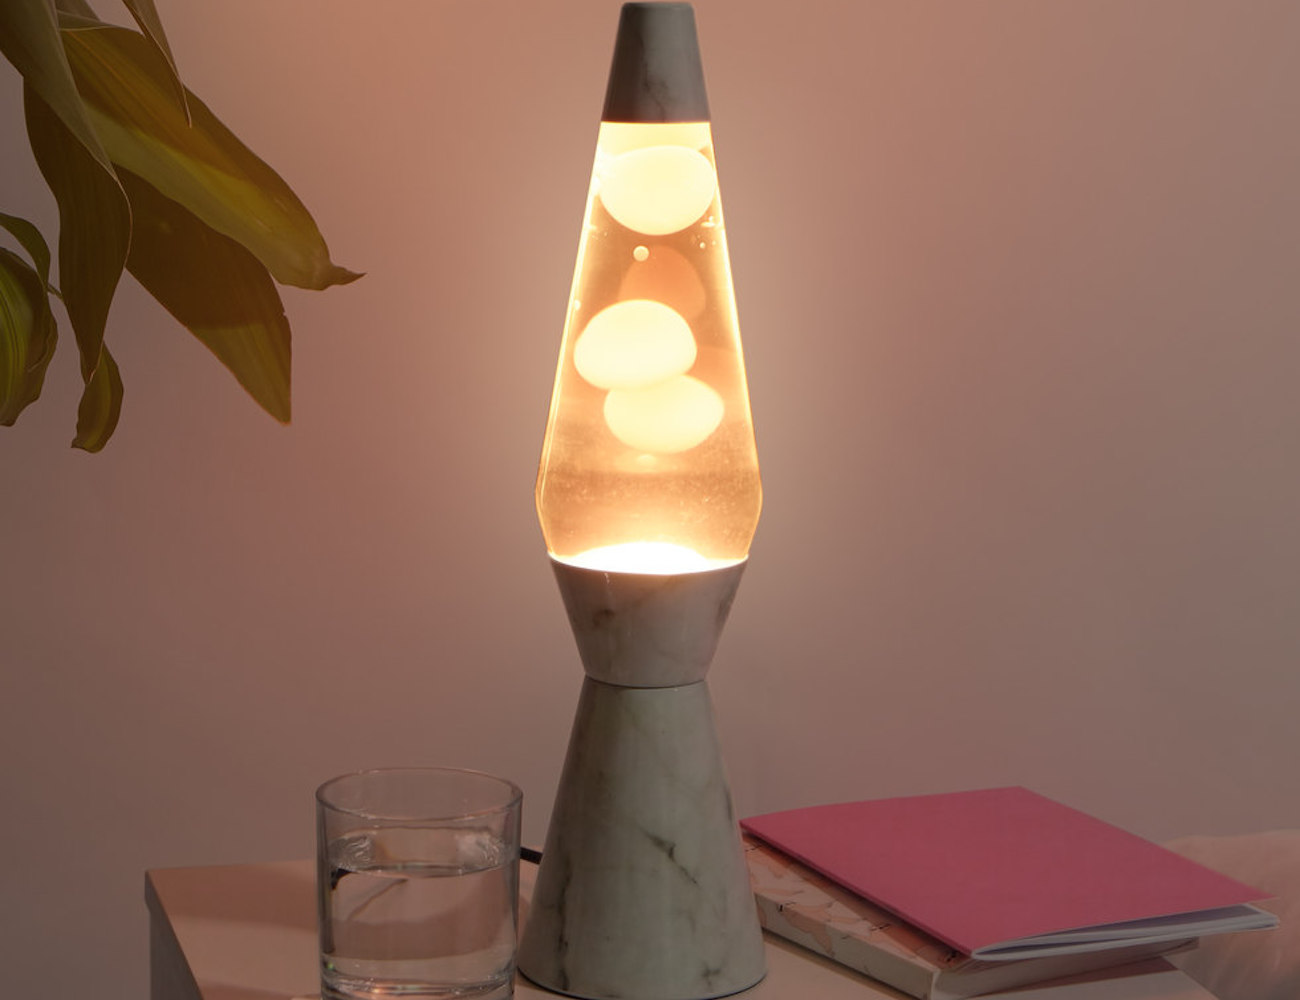
When it comes to creating unique, captivating, and mesmerizing decor pieces, nothing quite compares to a homemade lava lamp. These fascinating creations have been captivating people’s attention for decades, providing a groovy and retro ambiance to any room.
A lava lamp consists of a clear glass container filled with a colorful liquid and a blob of wax that moves around in mesmerizing patterns when heated. It’s a true testament to the beauty of science and art coming together in perfect harmony. But have you ever wondered how a homemade lava lamp actually works? In this article, we’ll explore the science behind this captivating invention and guide you through the step-by-step process of creating your very own homemade lava lamp. So, get ready to dive into the world of liquid motion and vibrant colors!
Key Takeaways:
- Dive into the mesmerizing world of homemade lava lamps, where science and art combine to create captivating decor pieces that add a groovy and retro vibe to any room.
- Unleash your creativity and experiment with different colors, wax shapes, and liquids to personalize your homemade lava lamp, bringing a unique and visually stunning decor piece to life.
Materials Needed
Before you embark on your lava lamp-making adventure, make sure you have the following materials ready:
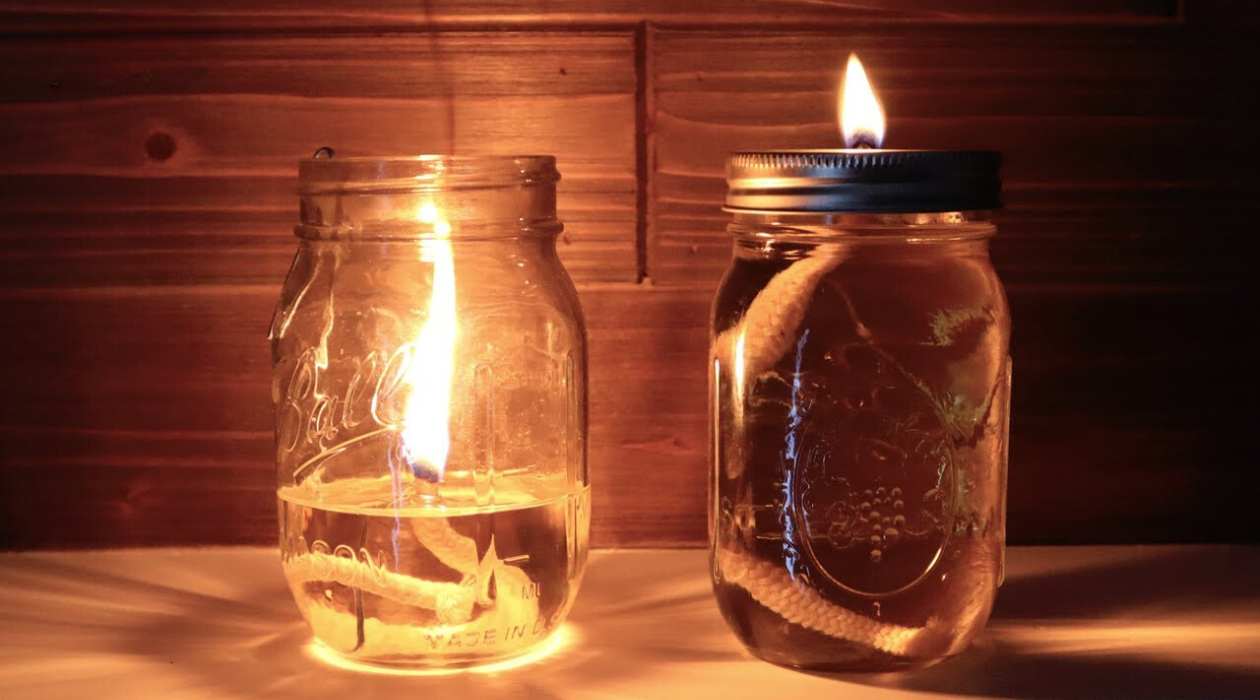
- A clear glass container: This will serve as the base of your lava lamp. Choose a container with a wide opening and enough height to allow the wax to move freely.
- Liquid: You will need a clear, viscous liquid to fill the glass container. This can be water, vegetable oil, or a special lava lamp liquid available in craft stores.
- Food coloring: To add a vibrant touch to your lava lamp, grab a few drops of your favorite food coloring. Choose colors that will stand out and mix well with the liquid you’re using.
- Alka-Seltzer tablets: These fizzy tablets will help create the mesmerizing bubbles and motion in your lava lamp.
- Wax: To mimic the lava effect, you’ll need small chunks of wax. Be creative and choose colors that complement the liquid and food coloring you’ve selected.
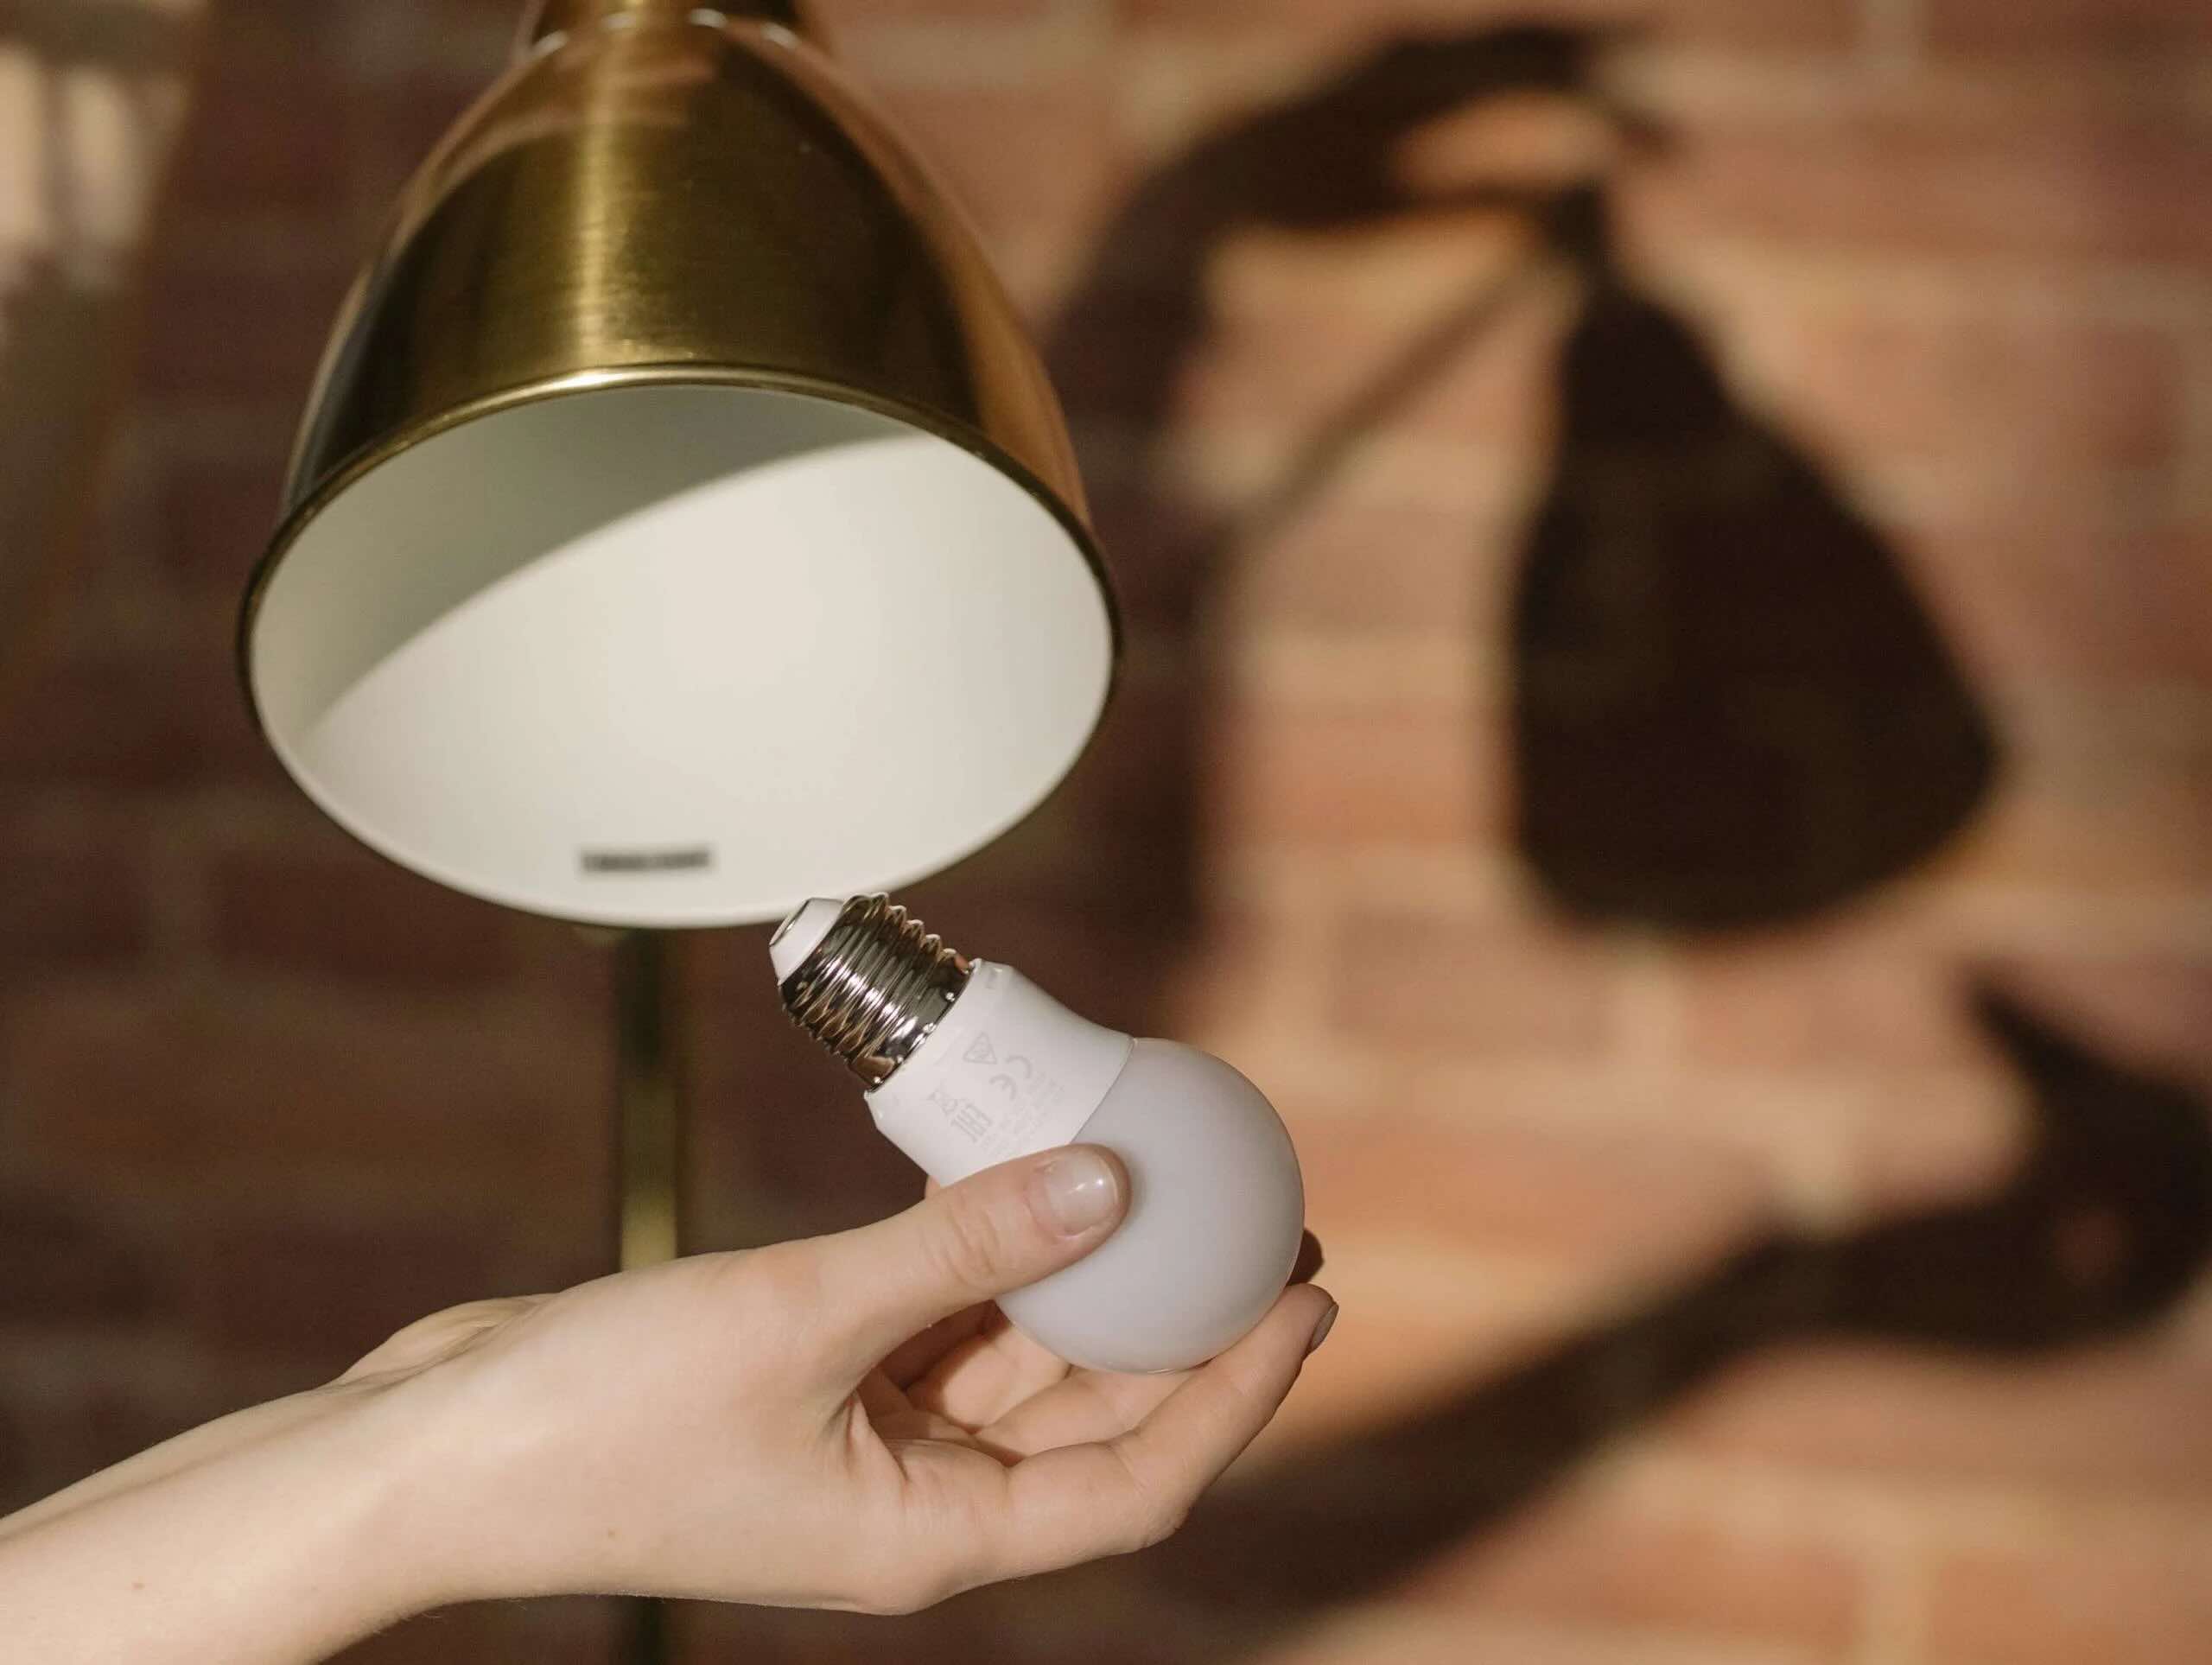
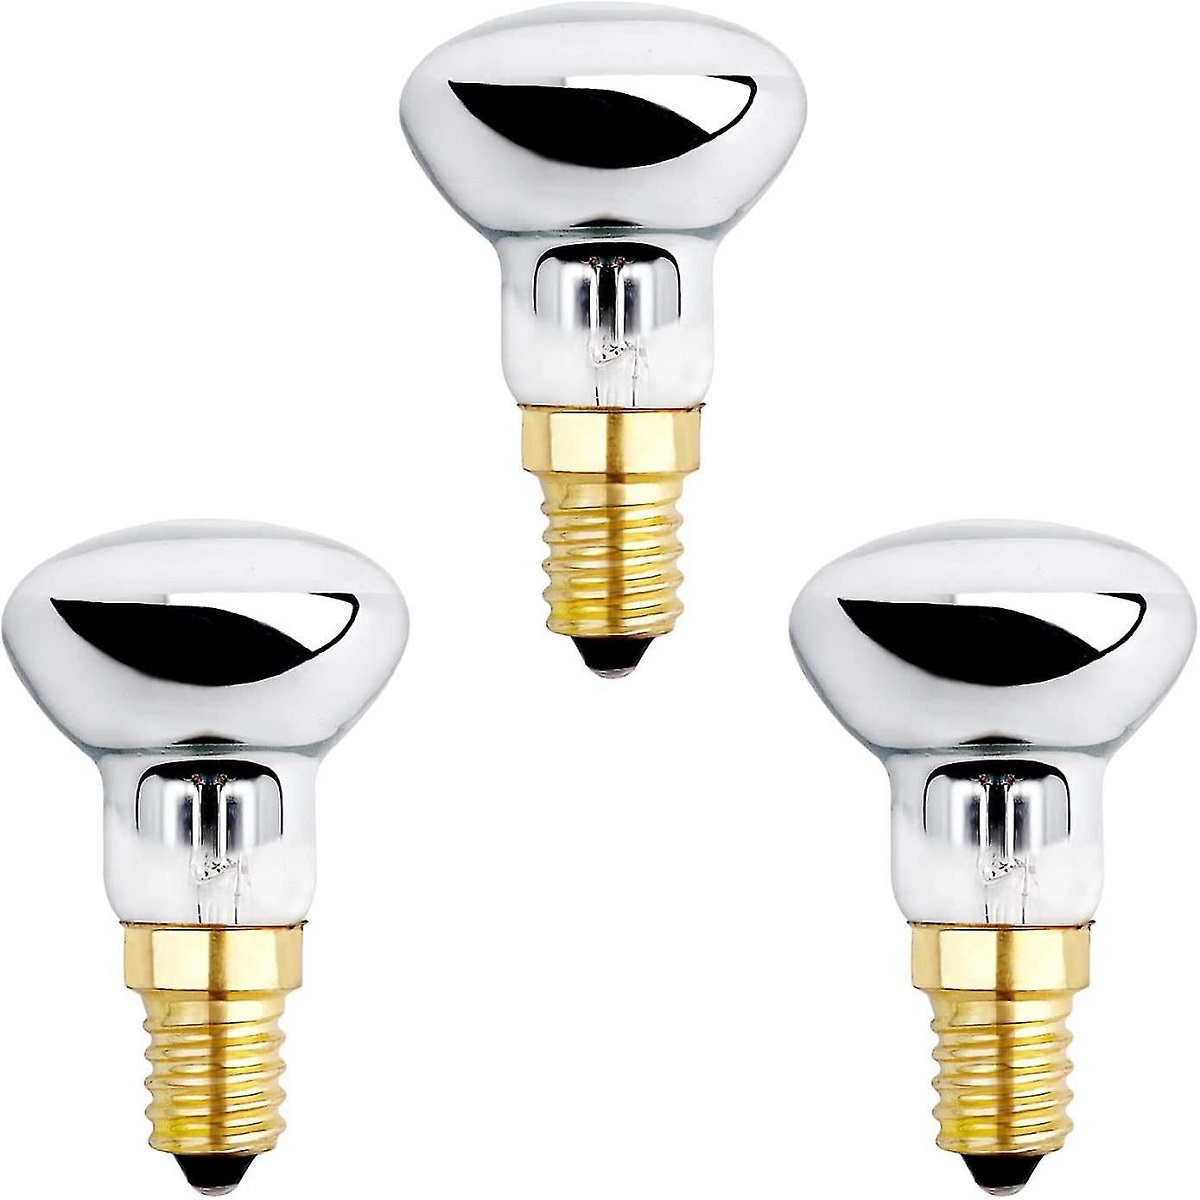
- A heat source: A simple light bulb or a desk lamp can provide the necessary heat for your lava lamp. Alternatively, you can place your lamp near a sunny window to take advantage of natural sunlight.
Once you have gathered all the materials, it’s time to proceed to the next step: assembling your homemade lava lamp.
Procedure
Now that you have all the necessary materials, let’s dive into the step-by-step process of creating your homemade lava lamp:
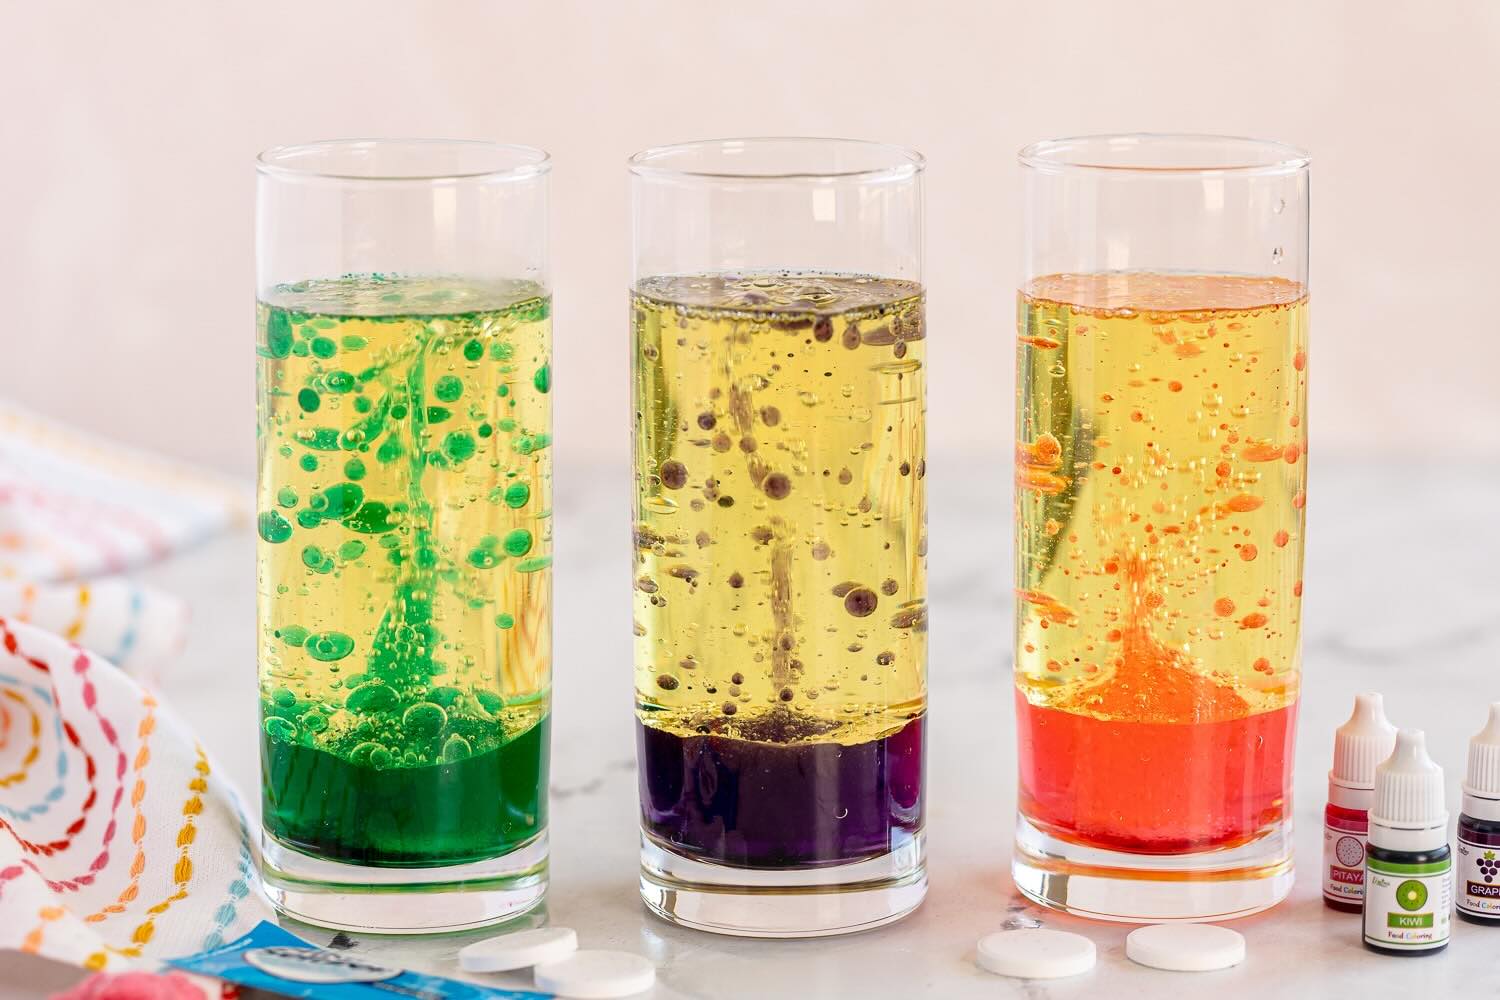
- Start by filling your clear glass container about three-fourths full with the liquid of your choice. Remember to leave enough space for the wax to rise and move.
- Add a few drops of food coloring to the liquid. Experiment with different colors to create your desired effect. Be careful not to add too much coloring, as it may overpower the rest of the materials.
- Drop a few small chunks of wax into the liquid. The wax will act as the “lava” in your lamp. Choose wax colors that will contrast nicely with the liquid and food coloring.
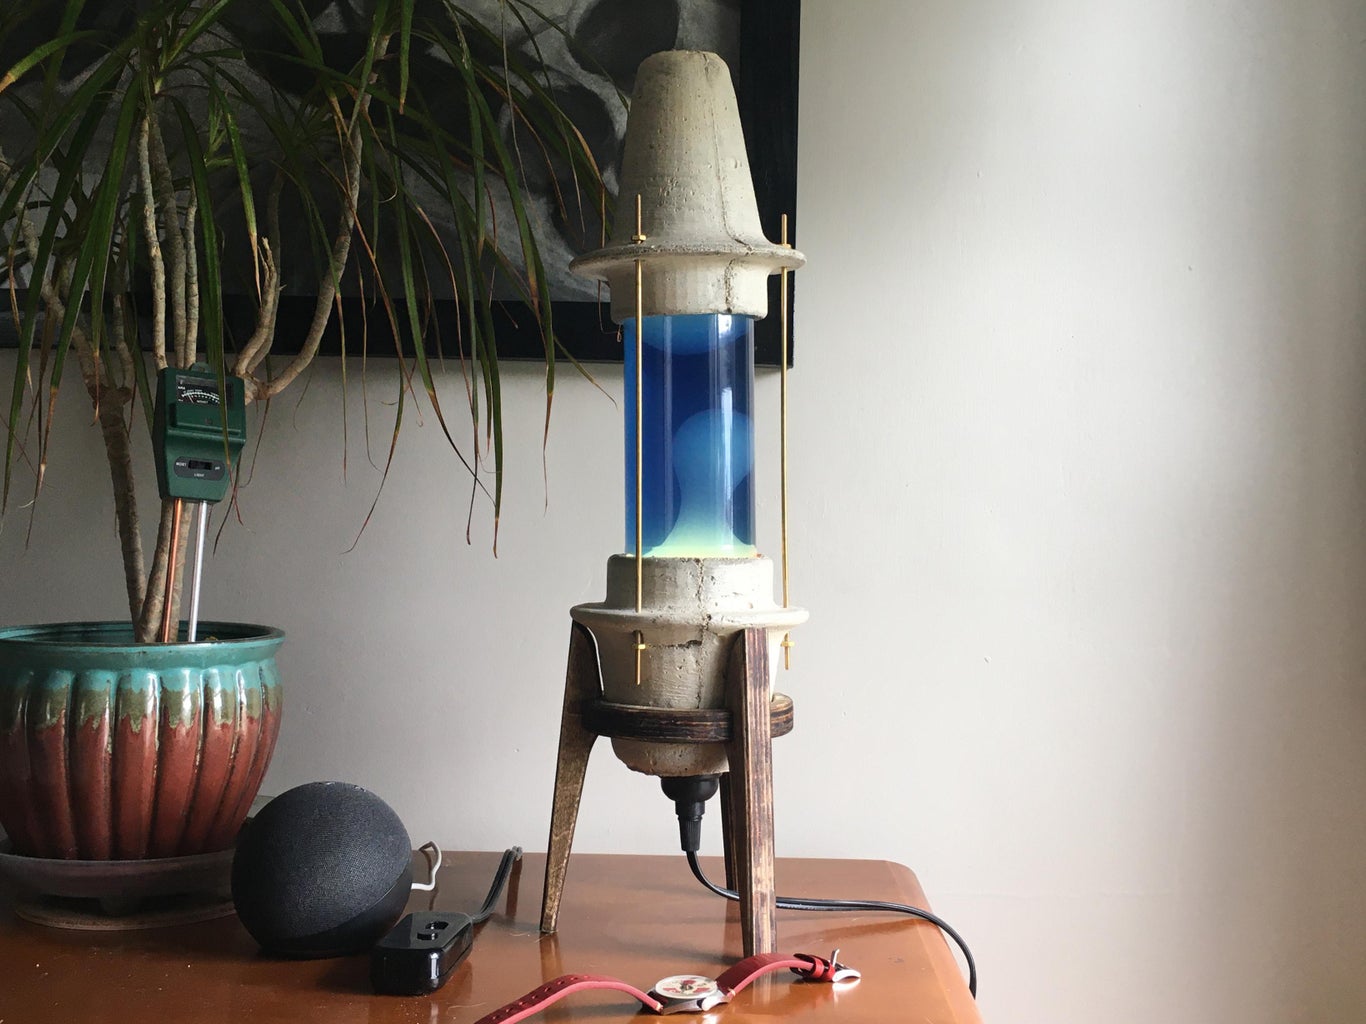
- Carefully place the glass container near a heat source, such as a light bulb or desk lamp. You want to provide enough heat to warm up the liquid and wax, but not so much that it boils.
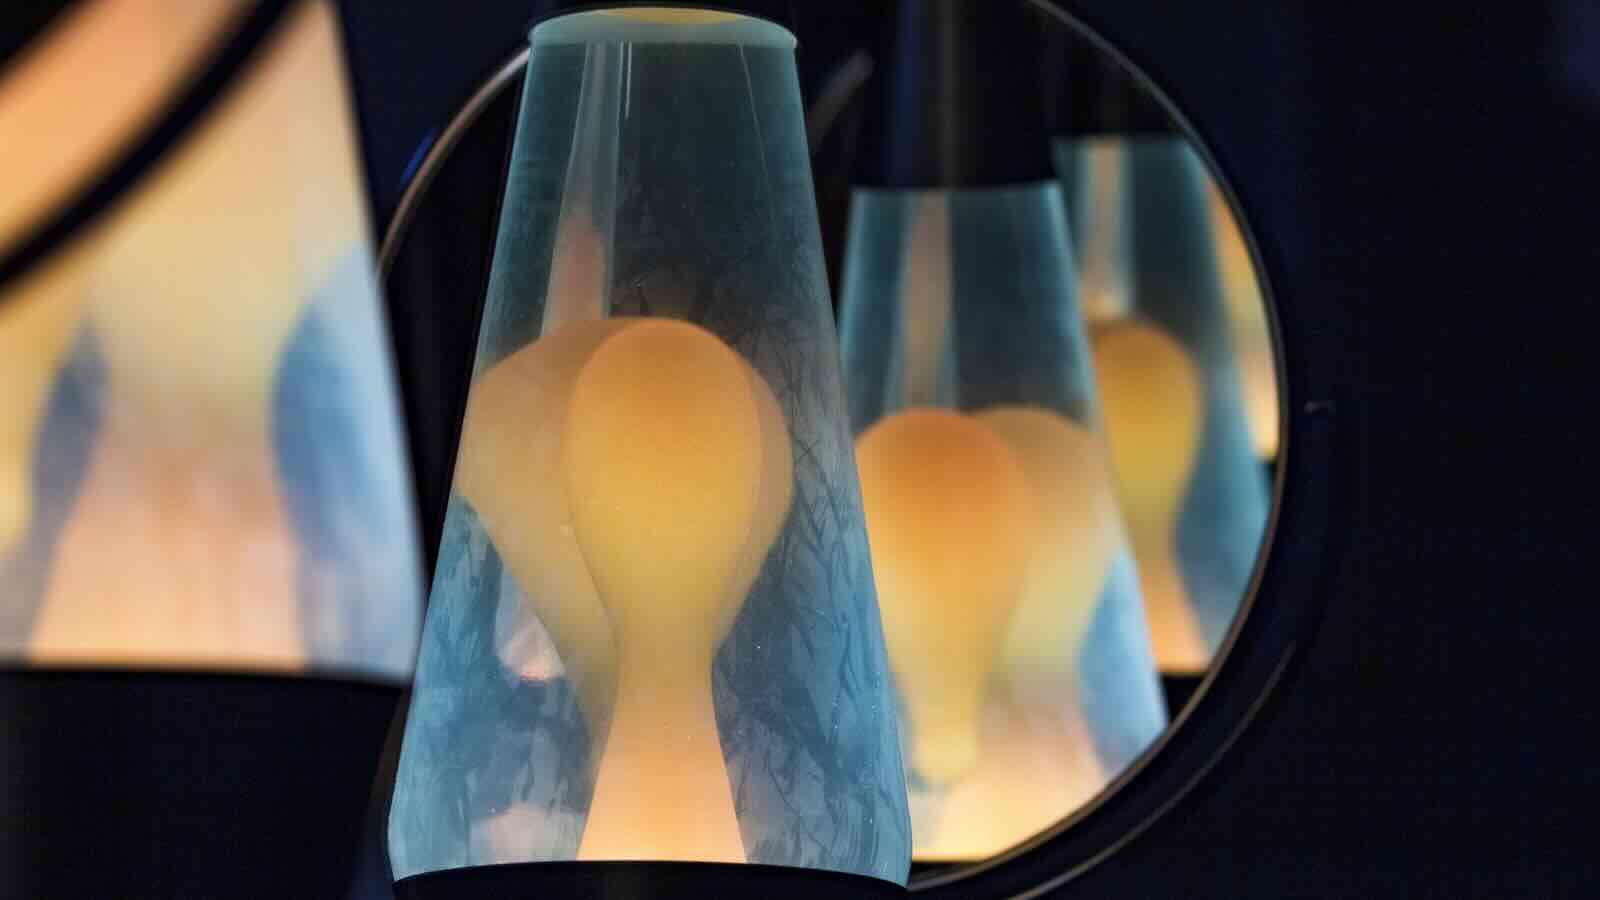
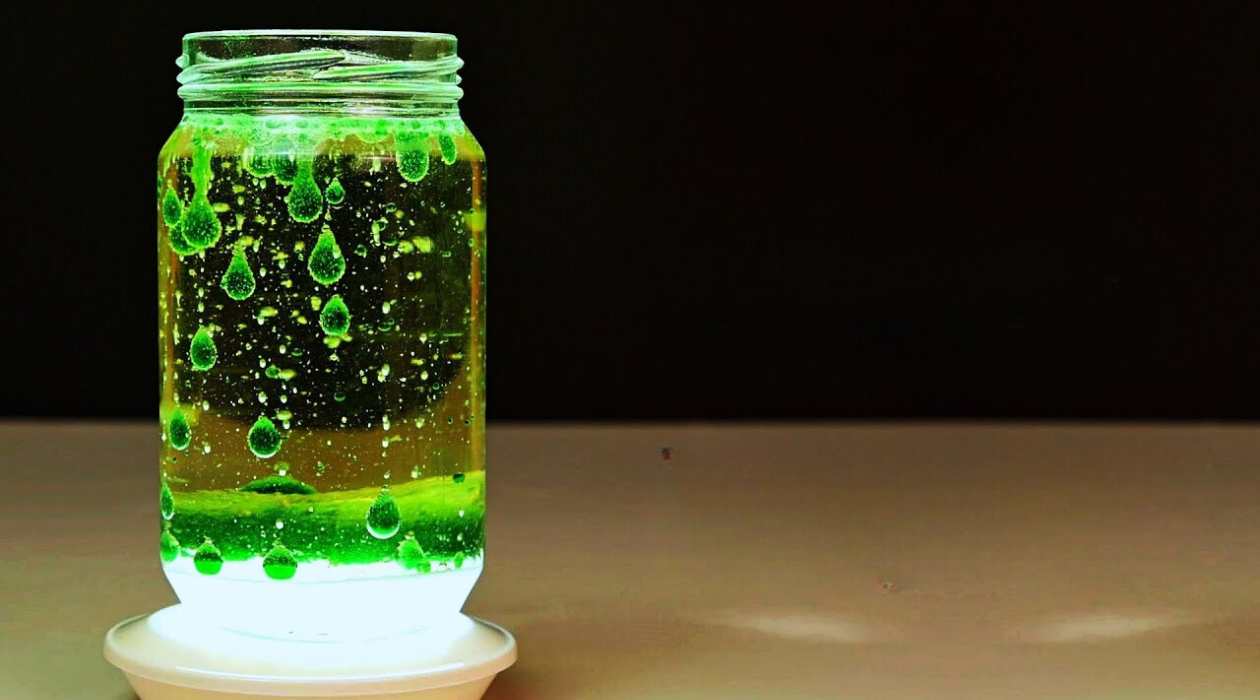
- Observe as the heat causes the wax to slowly melt and rise to the top of the liquid, creating beautiful blobs that move and flow. The heat also creates convection currents, which contribute to the mesmerizing motion of the lava lamp.
- If you want to enhance the bubbling effect, break an Alka-Seltzer tablet into small pieces and drop them into the liquid. The fizzing reaction will create additional bubbles, adding to the visual spectacle of your lava lamp.
- Enjoy the mesmerizing beauty of your homemade lava lamp! Sit back, relax, and let the captivating motion and colors soothe your mind.
Remember to exercise caution when handling the heat source and ensure that the glass container is placed on a stable surface where it won’t be easily knocked over. Safety should always be a priority during this creative project.
Now that you understand the procedure, let’s dive into the science behind how a lava lamp actually works.
The homemade lava lamp works by combining oil, water, and an effervescent tablet. The tablet reacts with the water, creating bubbles that carry the colored water up through the oil, creating the lava lamp effect.
Explanation of the Science
The mesmerizing motion and colorful display of a lava lamp are the result of several scientific principles at play. Understanding the science behind a lava lamp can give you a deeper appreciation for this unique decorative piece. Here’s a breakdown of the scientific concepts involved:
Density: The key to the movement of wax in a lava lamp lies in the difference in density between the wax and the liquid. The wax is typically made of a compound that has a higher density than the liquid, such as paraffin wax. When the lamp is heated, the wax begins to melt and becomes less dense, causing it to rise toward the surface of the liquid. As it reaches the top, it cools down and becomes denser, then sinks back down to the bottom to repeat the process.
Convection: The heat source at the bottom of the lava lamp creates a convection current within the liquid. As the liquid near the heat source gets heated up, it becomes less dense and starts to rise. As it rises, it carries the melted wax blobs along with it. Near the top, the liquid cools down, becomes denser, and sinks back down to the bottom. This continuous cycle of rising and sinking creates the mesmerizing motion of the blobs in the lamp.
Fizzing Reaction: Adding an Alka-Seltzer tablet to the liquid creates a fizzing reaction, resulting in the release of carbon dioxide gas. The gas forms small bubbles that attach to the wax blobs, causing them to rise quicker. This enhances the bubbling effect and adds an extra dimension to the movement of the blobs in the lava lamp.
The combination of density, convection, and the fizzy reaction all work together to create the mesmerizing and ever-changing display of a homemade lava lamp. It’s a delightful fusion of science and art that brings a unique charm to any space.
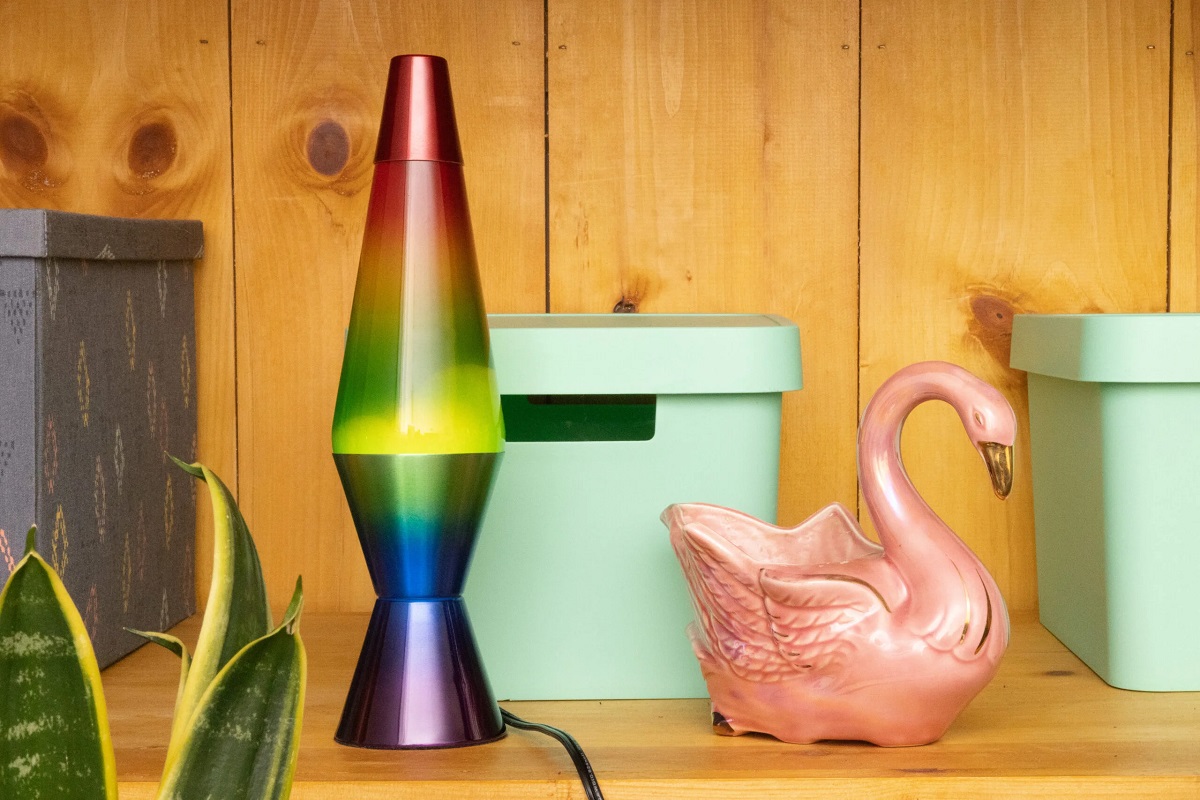
Now that you understand the science behind a lava lamp, why not try experimenting with different colors, wax shapes, and even different liquids to create your own personalized variations? Let your creativity run wild and enjoy the beauty of this classic decor piece.
Conclusion
Congratulations! By following the steps outlined in this article, you have successfully created your own homemade lava lamp and gained a deeper understanding of the science behind its captivating movement. The combination of density, convection, and the fizzy reaction creates a visually stunning display that adds a groovy and retro vibe to any room.
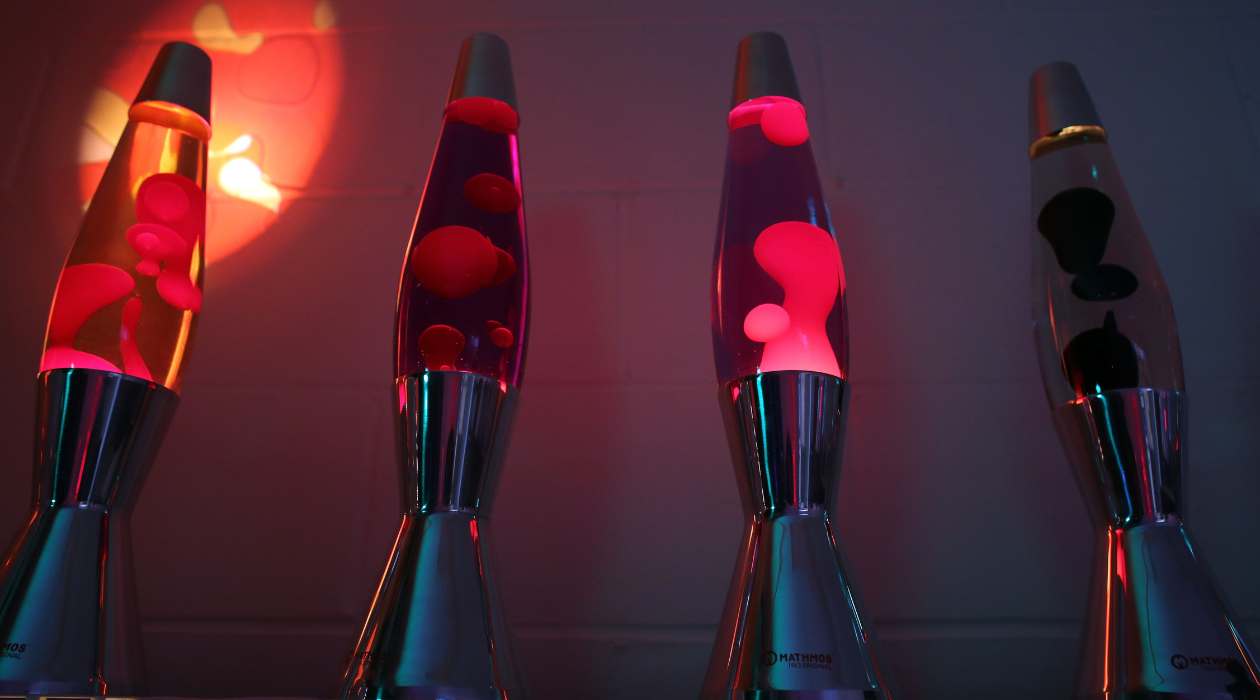
Lava lamps have been a popular decorative item for decades, captivating people of all ages with their mesmerizing motion and vibrant colors. Now, armed with the knowledge and skills to create your own lava lamp, you can enjoy the beauty and wonder of this unique creation whenever you desire.
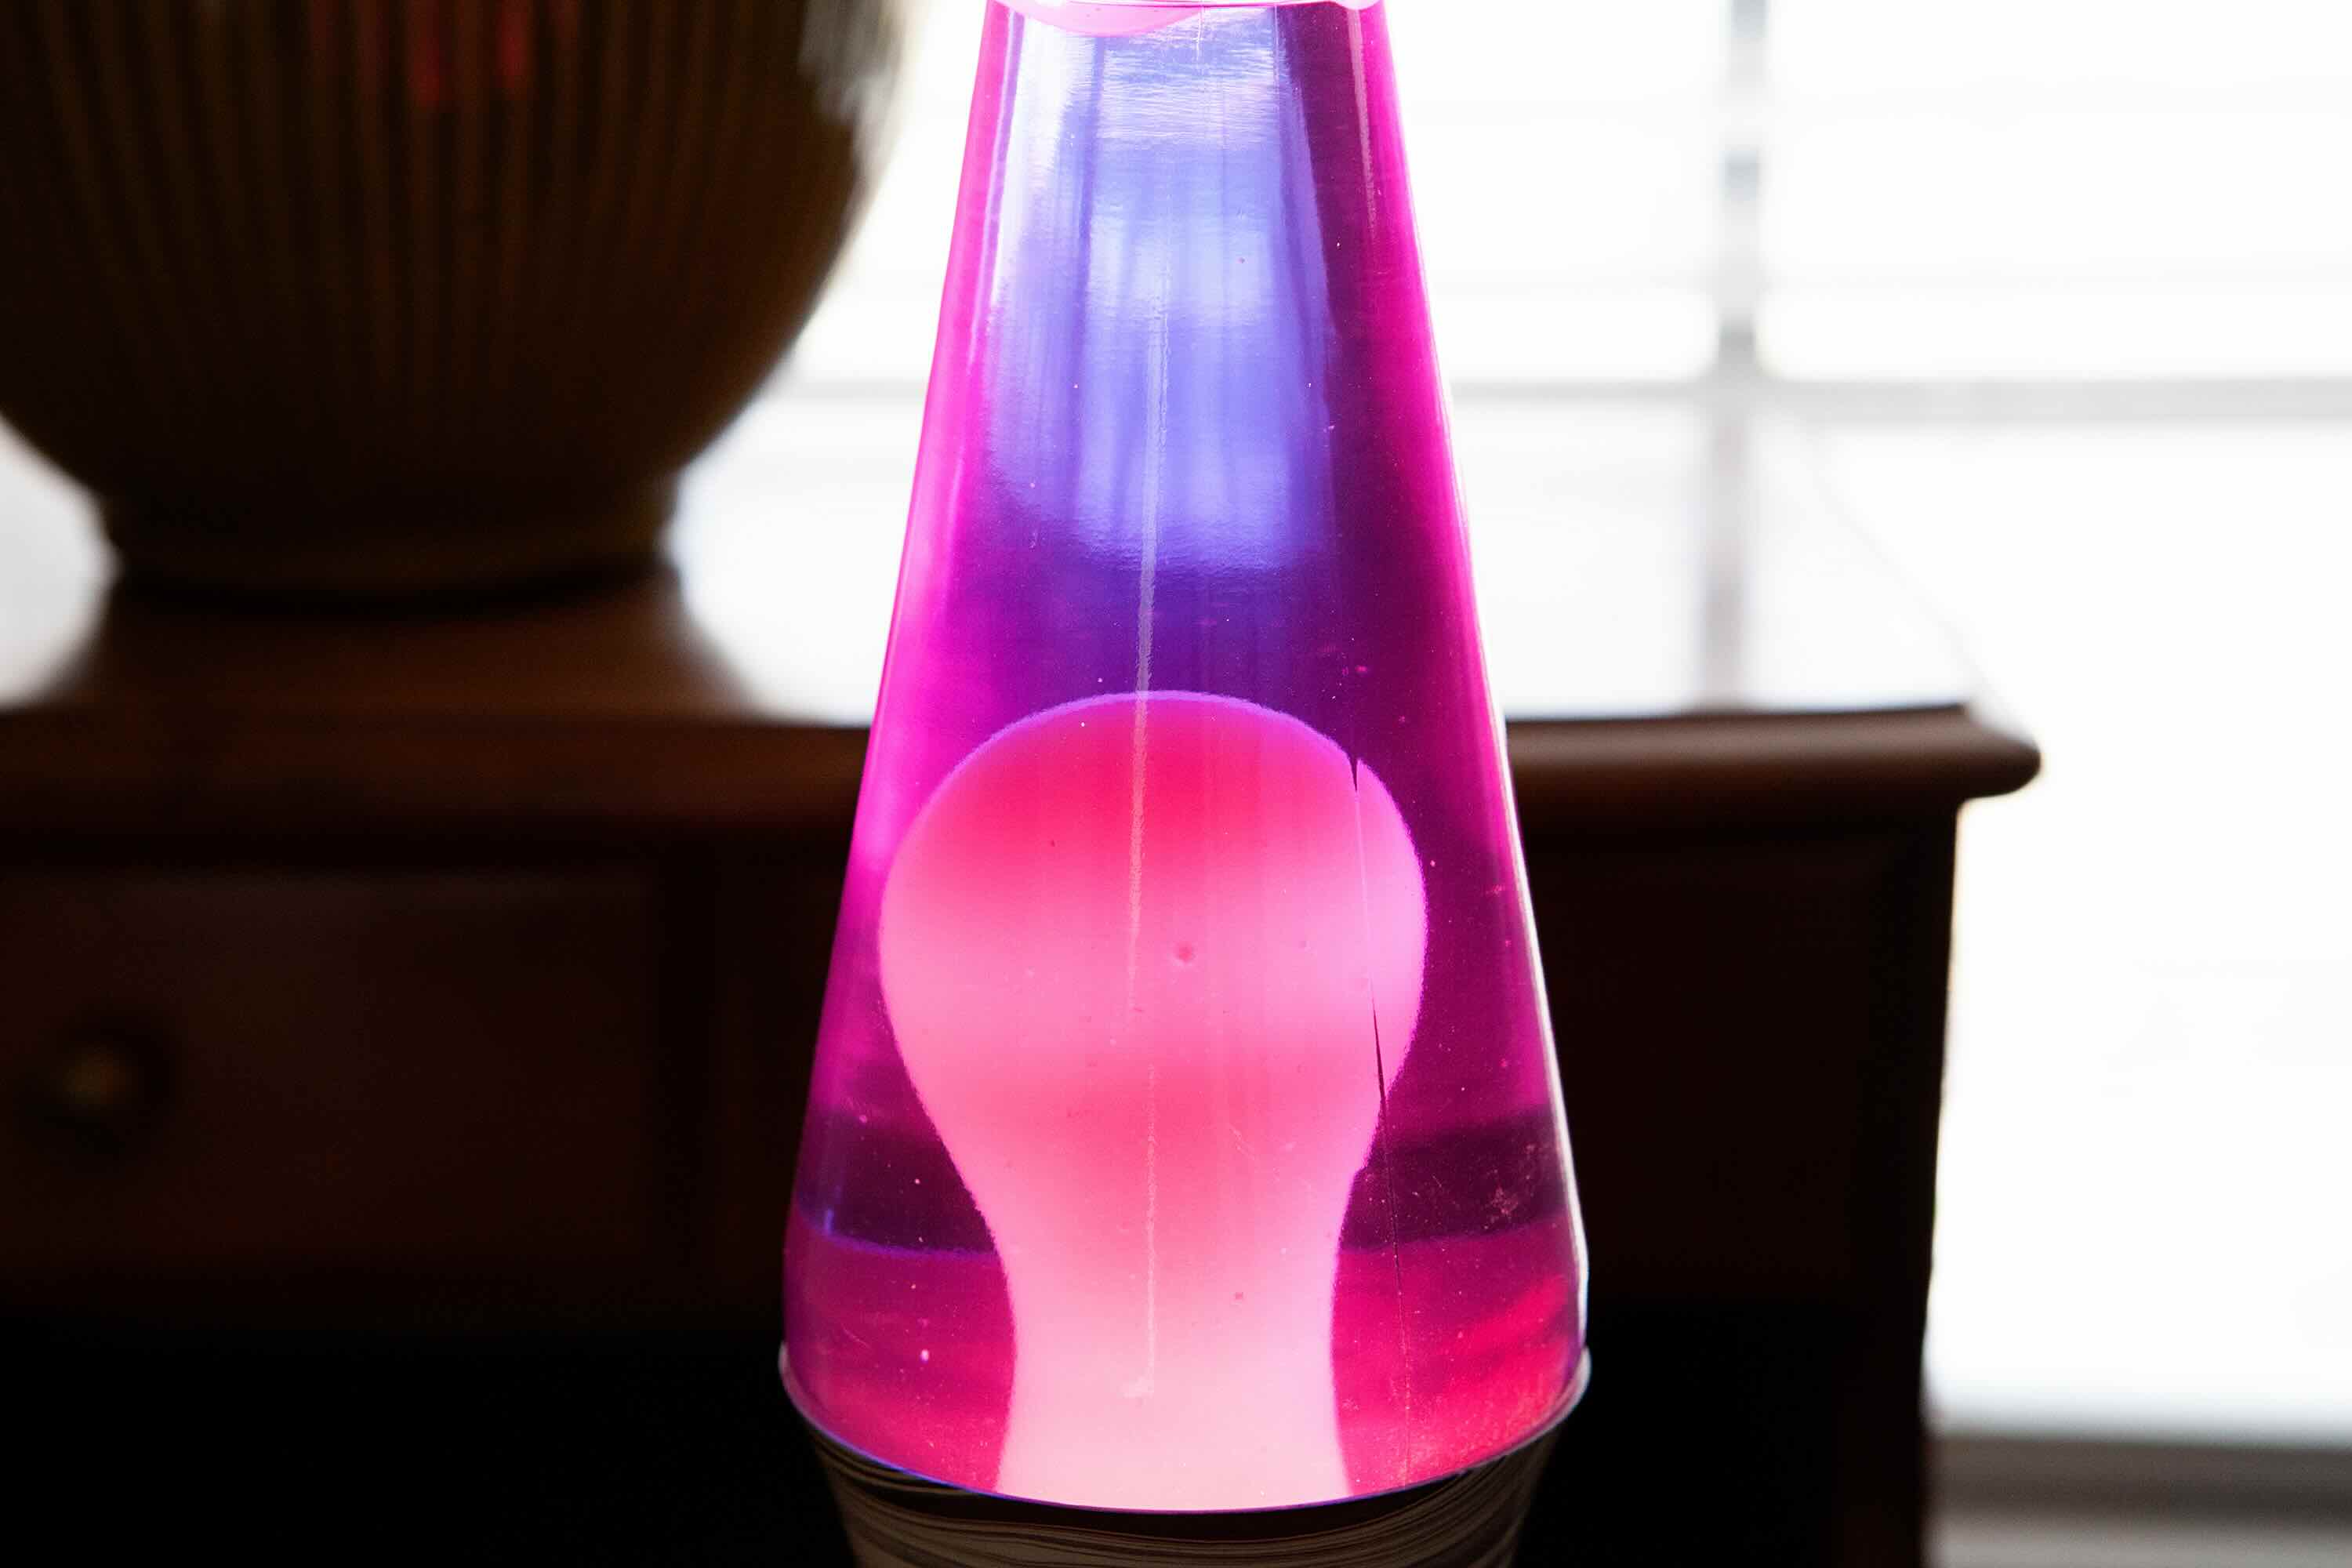
Remember to experiment with different colors, wax shapes, and liquids to personalize your lava lamp and make it even more special. From bold and bright hues to calming pastel shades, the color combinations are endless. Let your imagination run wild and create a lava lamp that reflects your own unique style and taste.
Whether you choose to make a lava lamp for your own enjoyment or as a fun project to do with friends and family, the experience is sure to be entertaining and rewarding. Not only will you have a visually appealing decor piece, but you’ll also have a deeper appreciation for the science that makes it all possible.
So, sit back, relax, and enjoy the mesmerizing motion of your homemade lava lamp. Let the vibrant colors and rhythmic flow transport you back in time and provide a sense of tranquility and intrigue. The magic of science and art has come together to create something truly special, and now you get to experience it firsthand.
Now, go ahead and showcase your homemade lava lamp with pride. You’ve unlocked the secrets behind this captivating invention, and the world of liquid motion and vibrant colors awaits your creative exploration.
Curious about more DIY projects after mastering your own lava lamp? Creating things yourself can provide a sense of accomplishment and allow personal flair to shine through. Why not dive into our article on why DIY projects are so rewarding? Whether you're looking to save money, customize your living space, or just have fun, DIY projects offer endless possibilities for creativity and personalization. Get ready to be inspired and start your next project today!
Frequently Asked Questions about How Does A Homemade Lava Lamp Work?
Was this page helpful?
At Storables.com, we guarantee accurate and reliable information. Our content, validated by Expert Board Contributors, is crafted following stringent Editorial Policies. We're committed to providing you with well-researched, expert-backed insights for all your informational needs.