Furniture
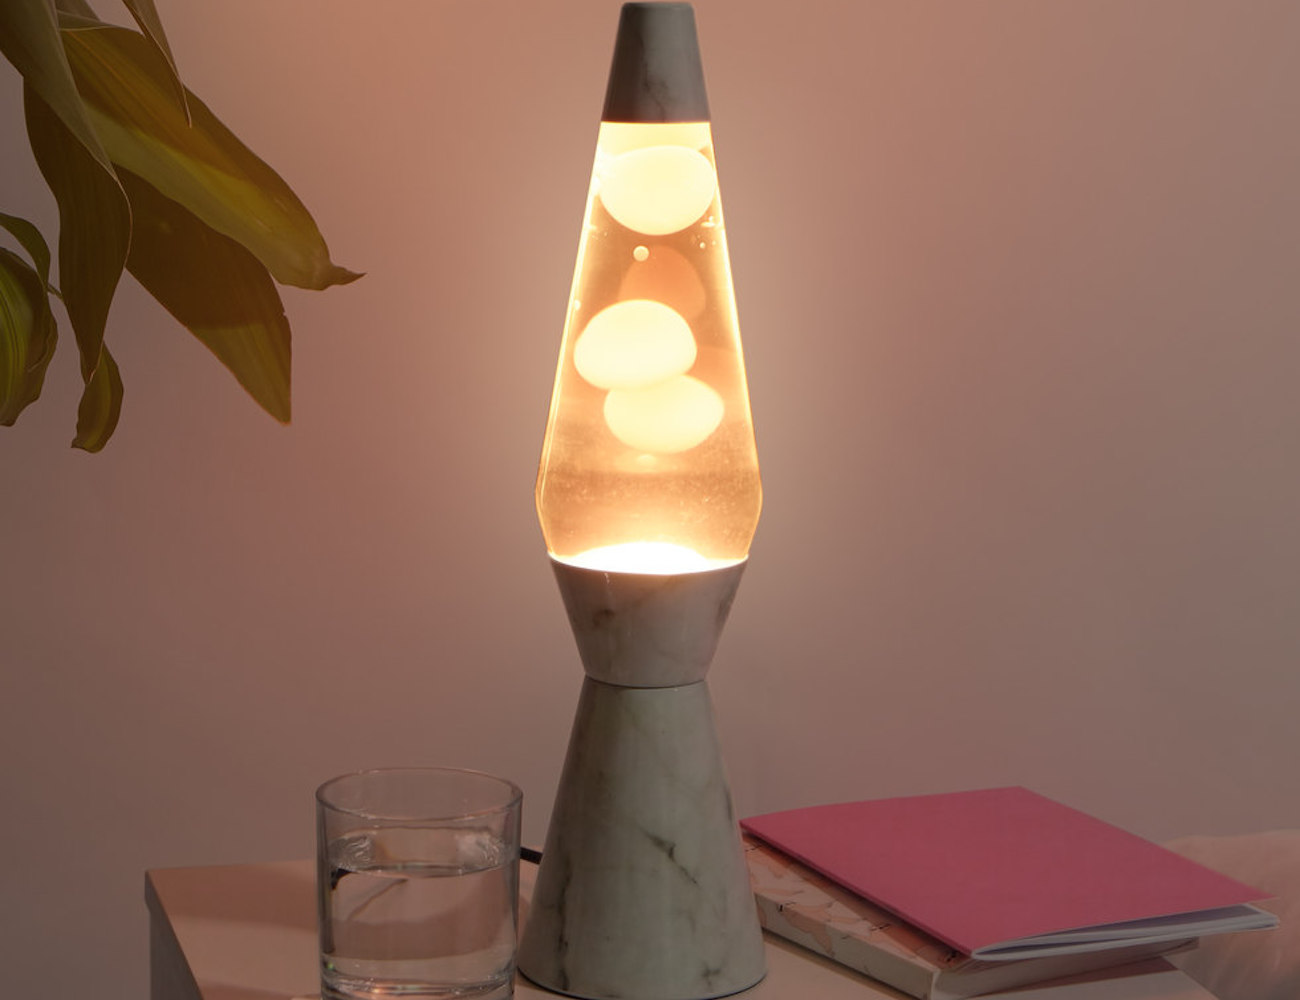
How To Fix A Shaken Lava Lamp
Modified: August 22, 2024
Discover how to easily fix a shaken lava lamp and restore it to its original condition. Find expert tips and tricks for repairing furniture and keeping your lava lamp looking its best.
(Many of the links in this article redirect to a specific reviewed product. Your purchase of these products through affiliate links helps to generate commission for Storables.com, at no extra cost. Learn more)
Introduction
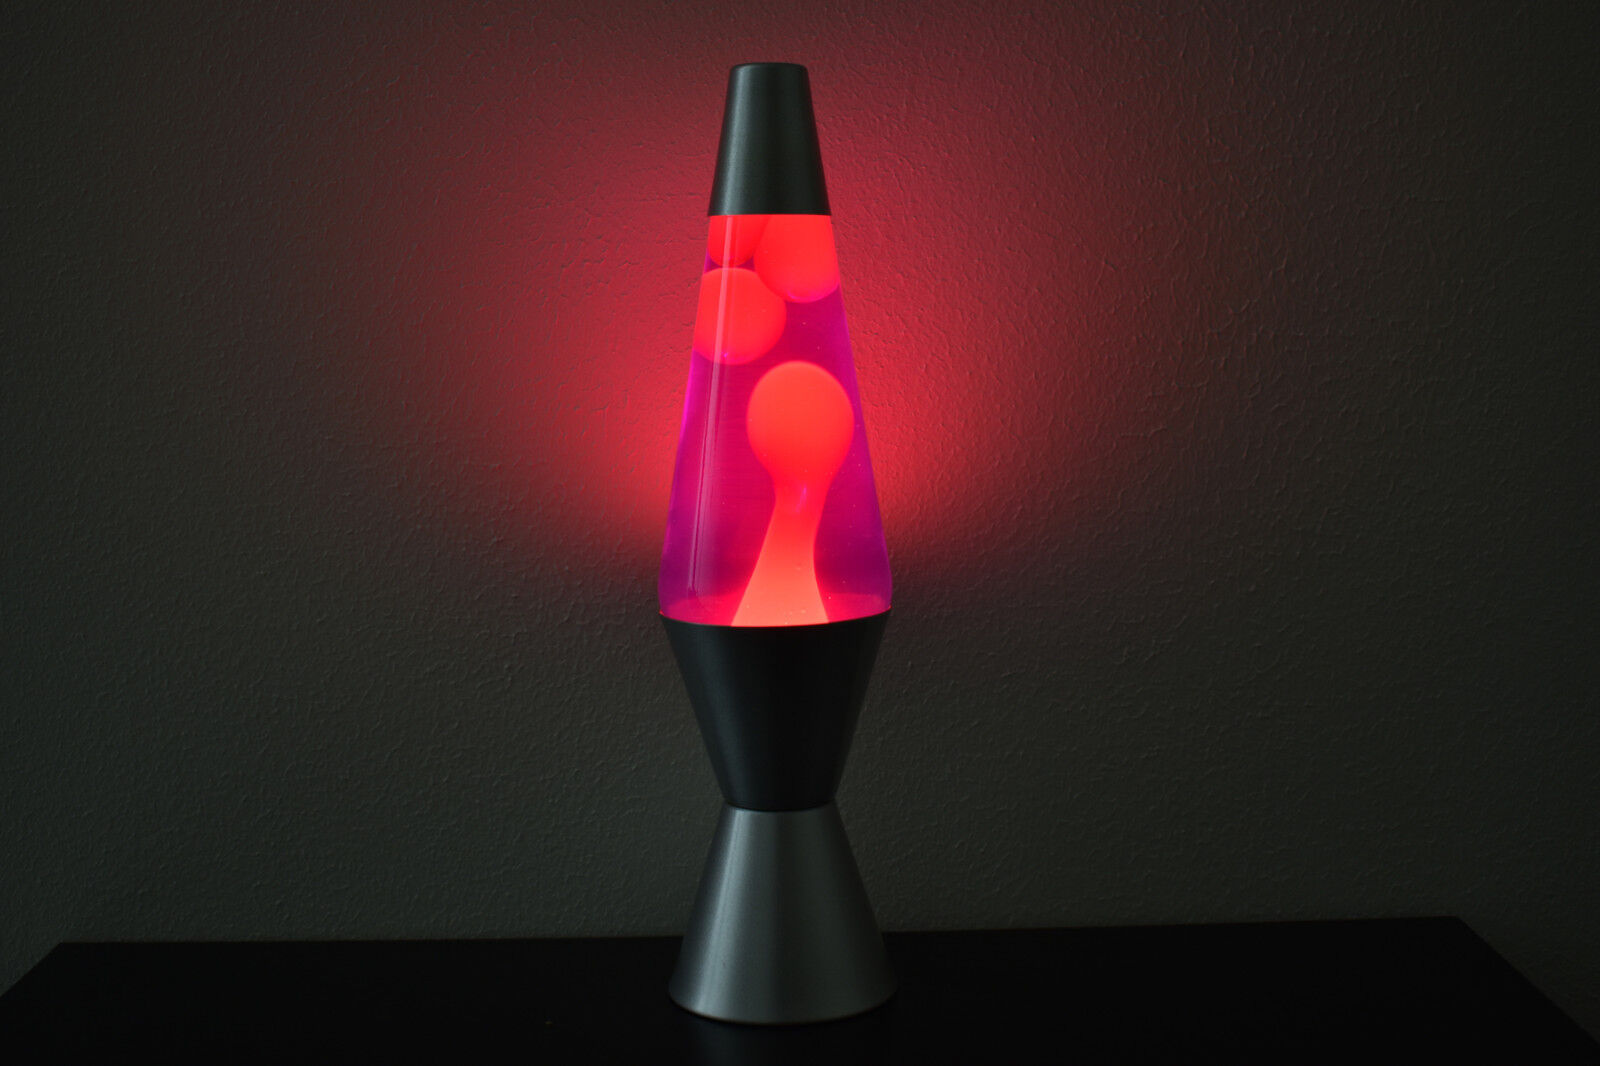
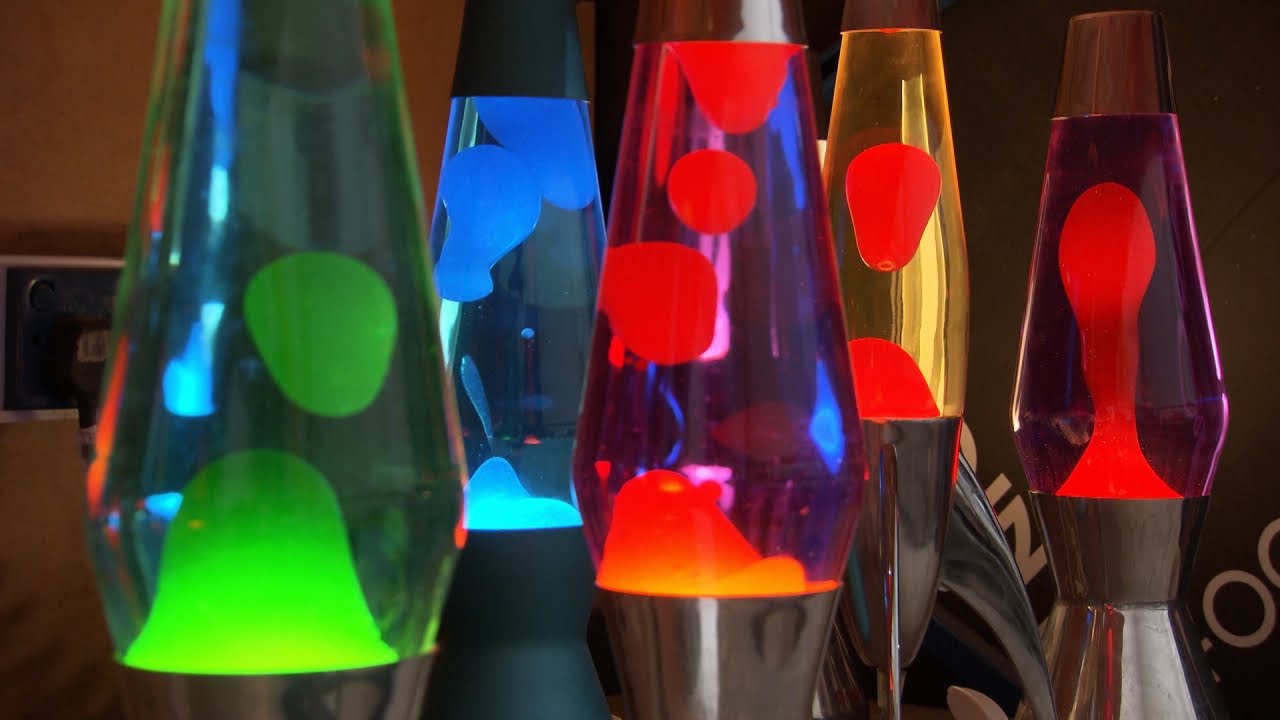
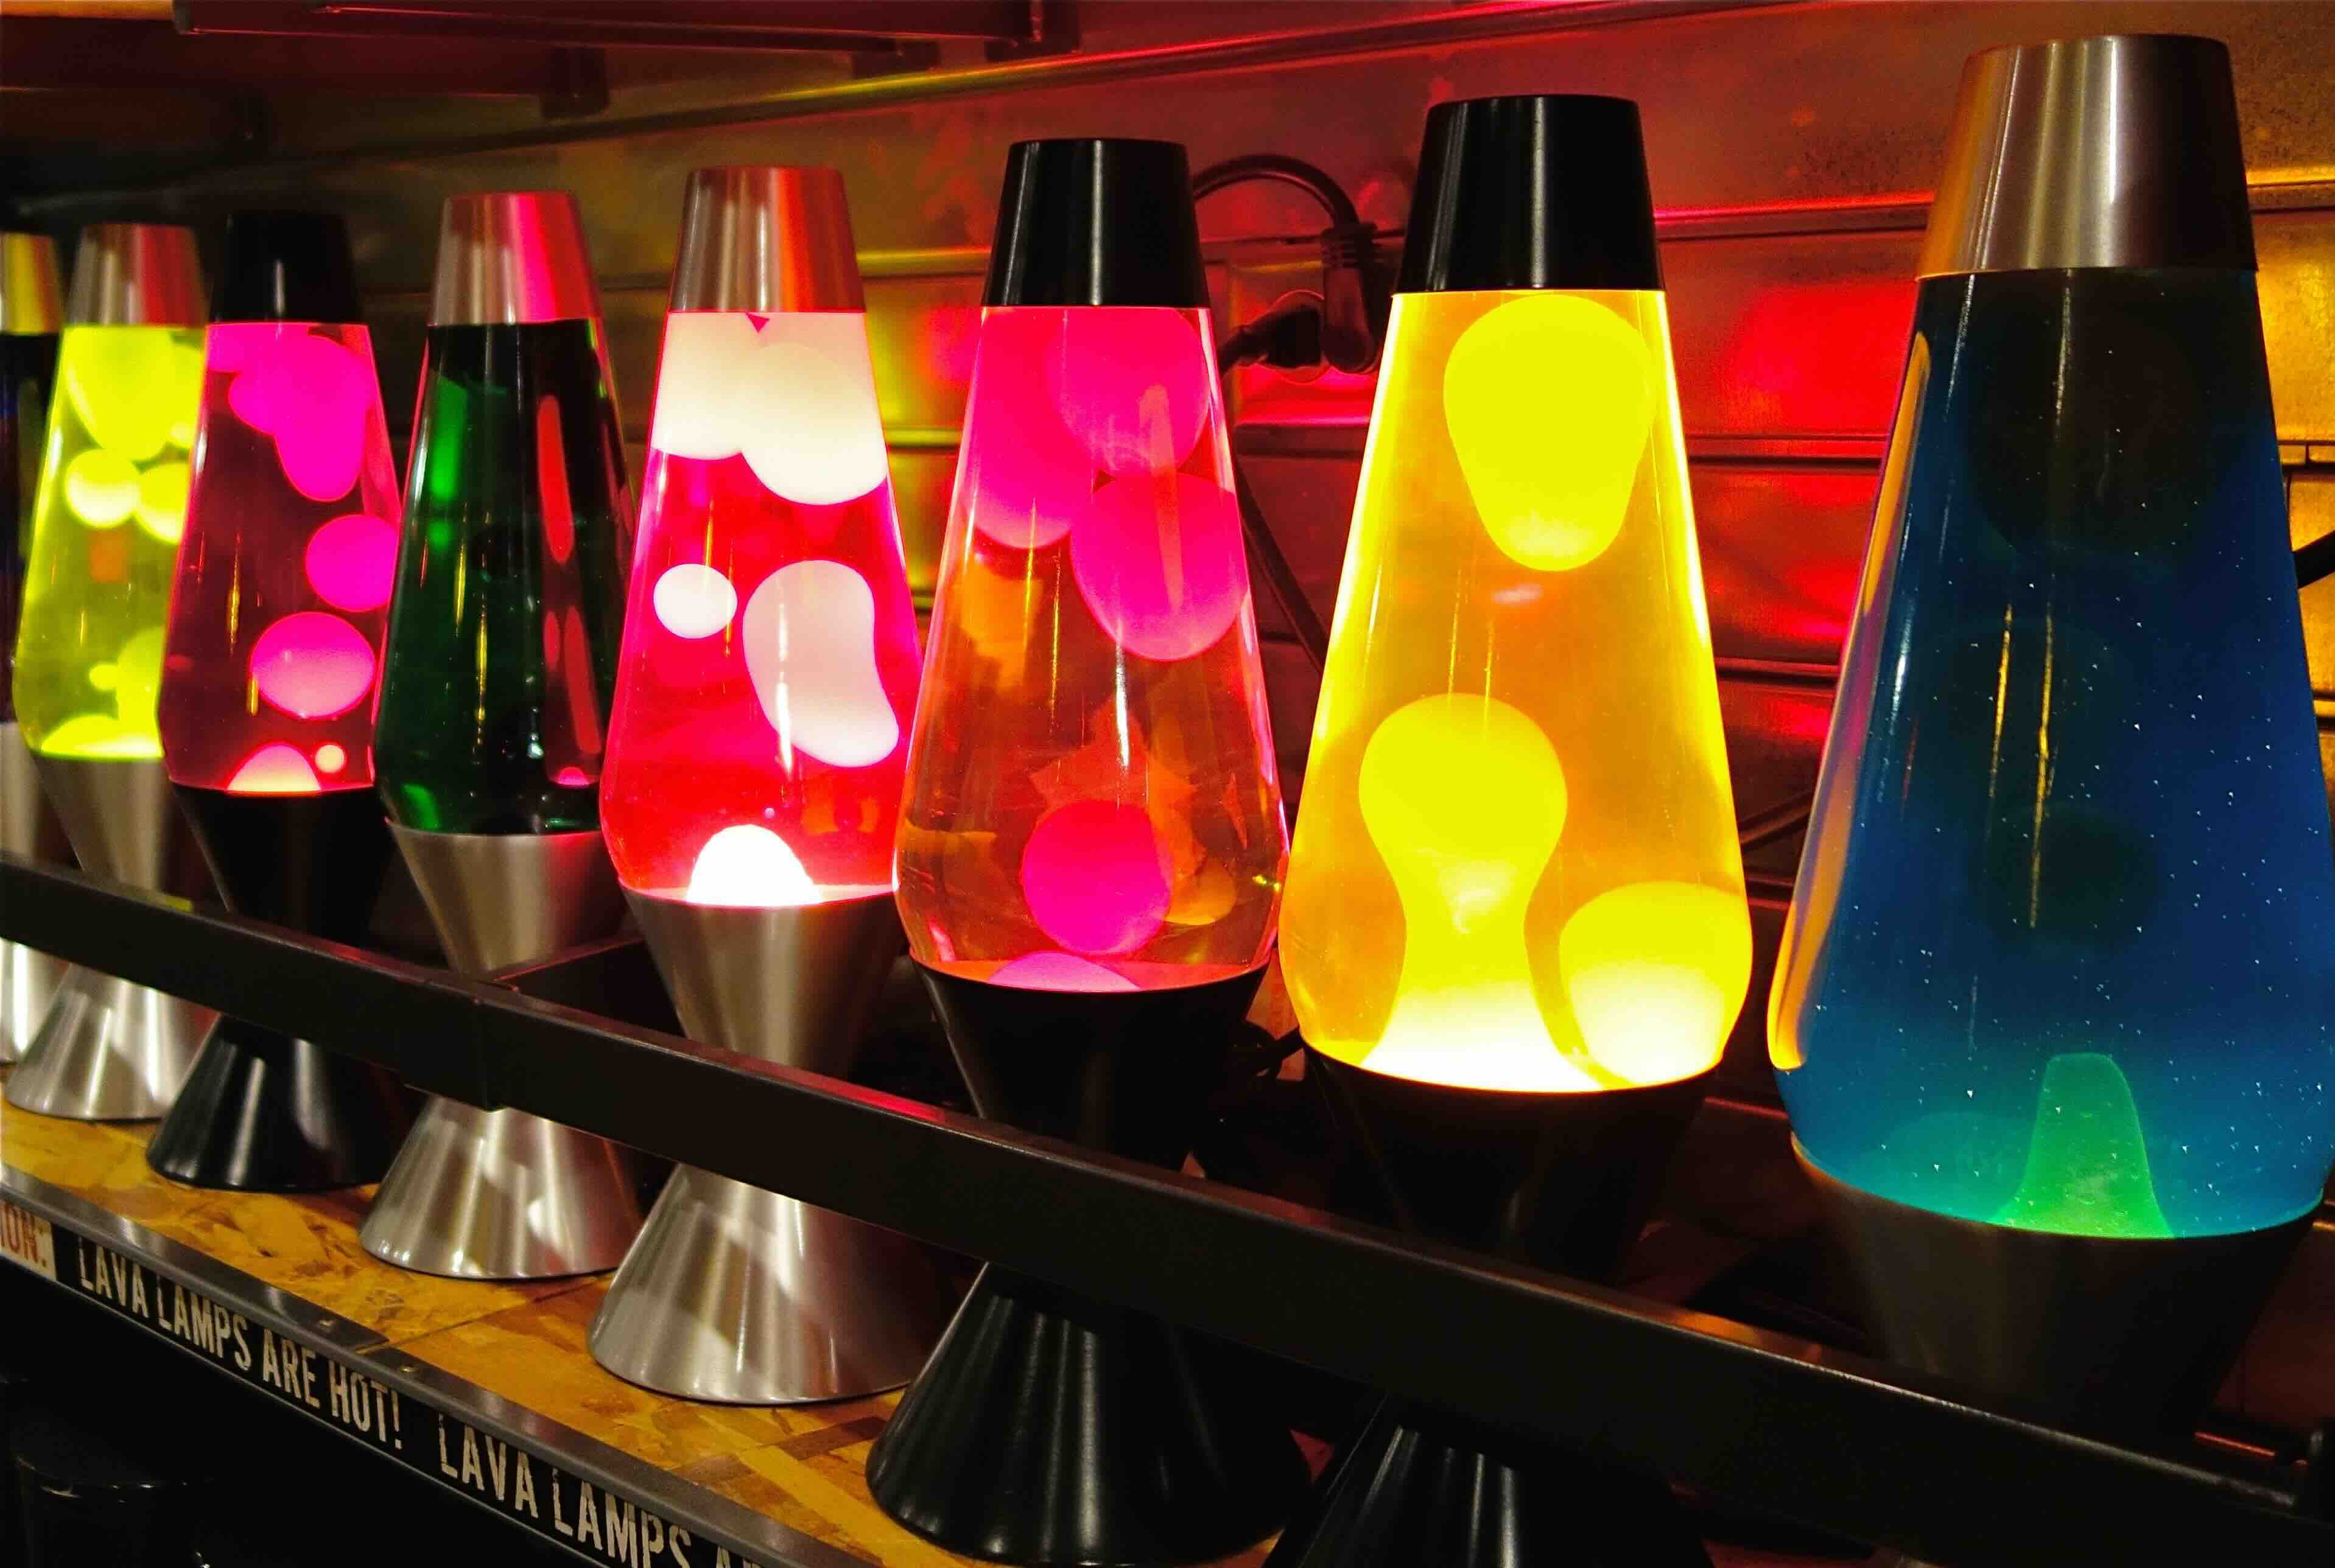
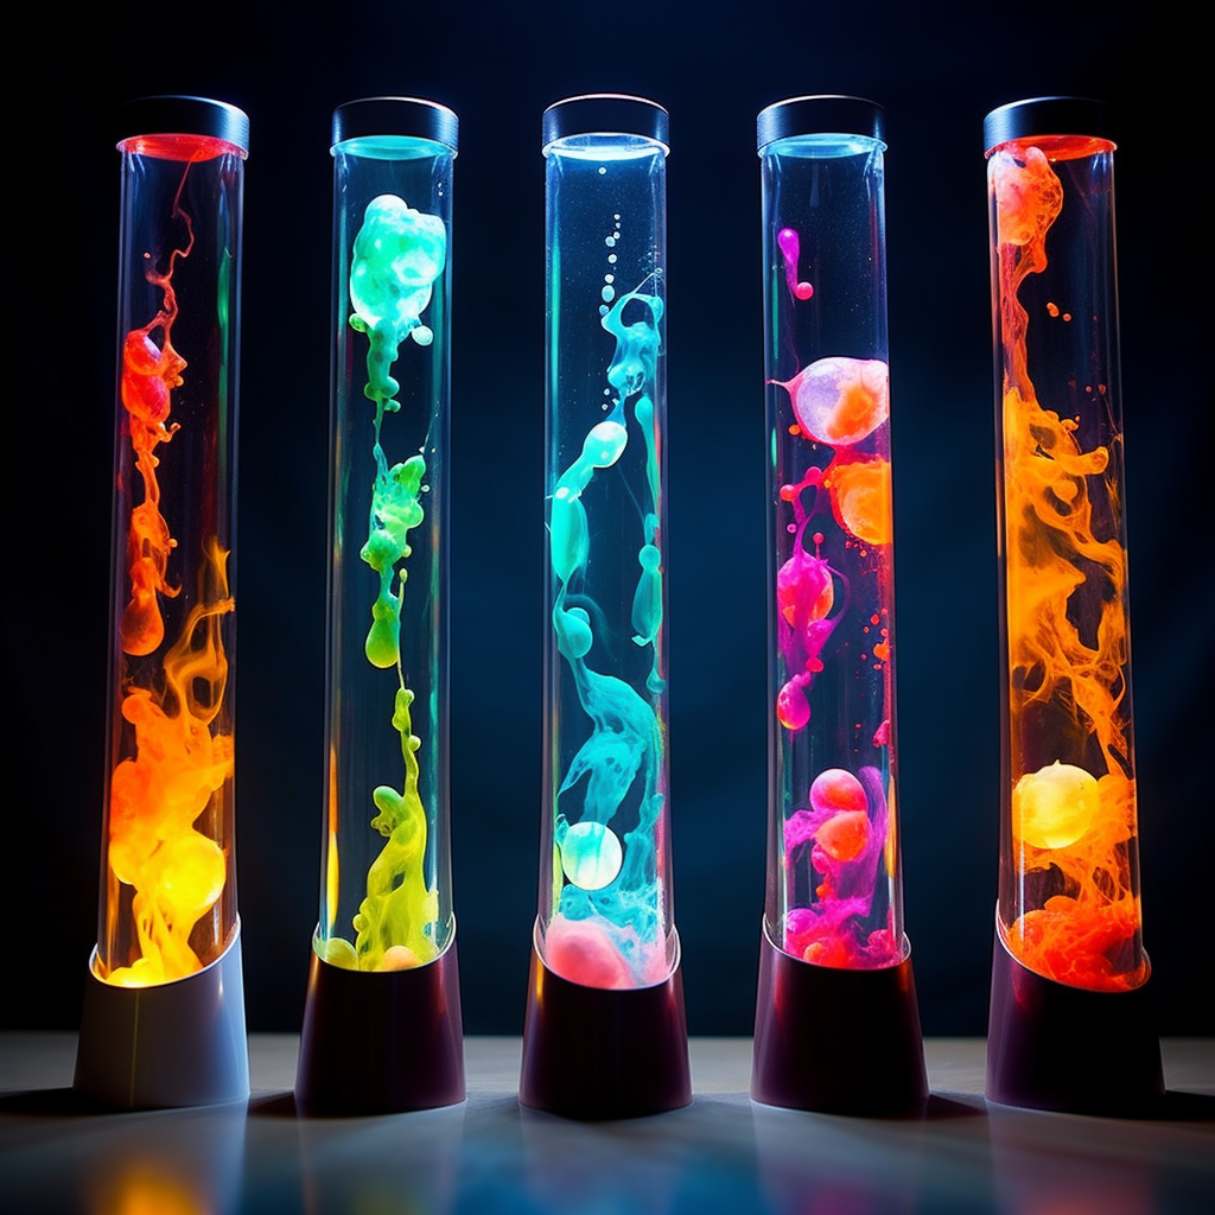
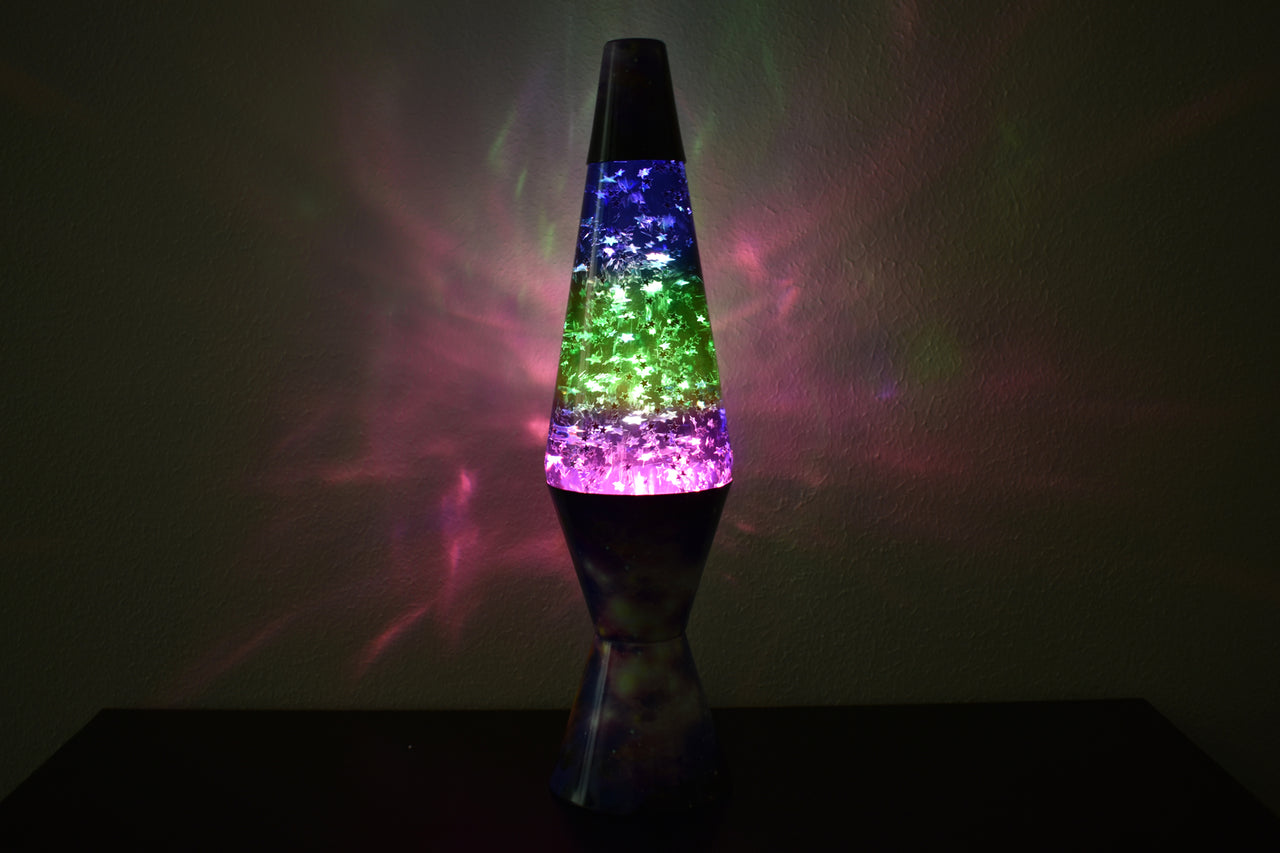
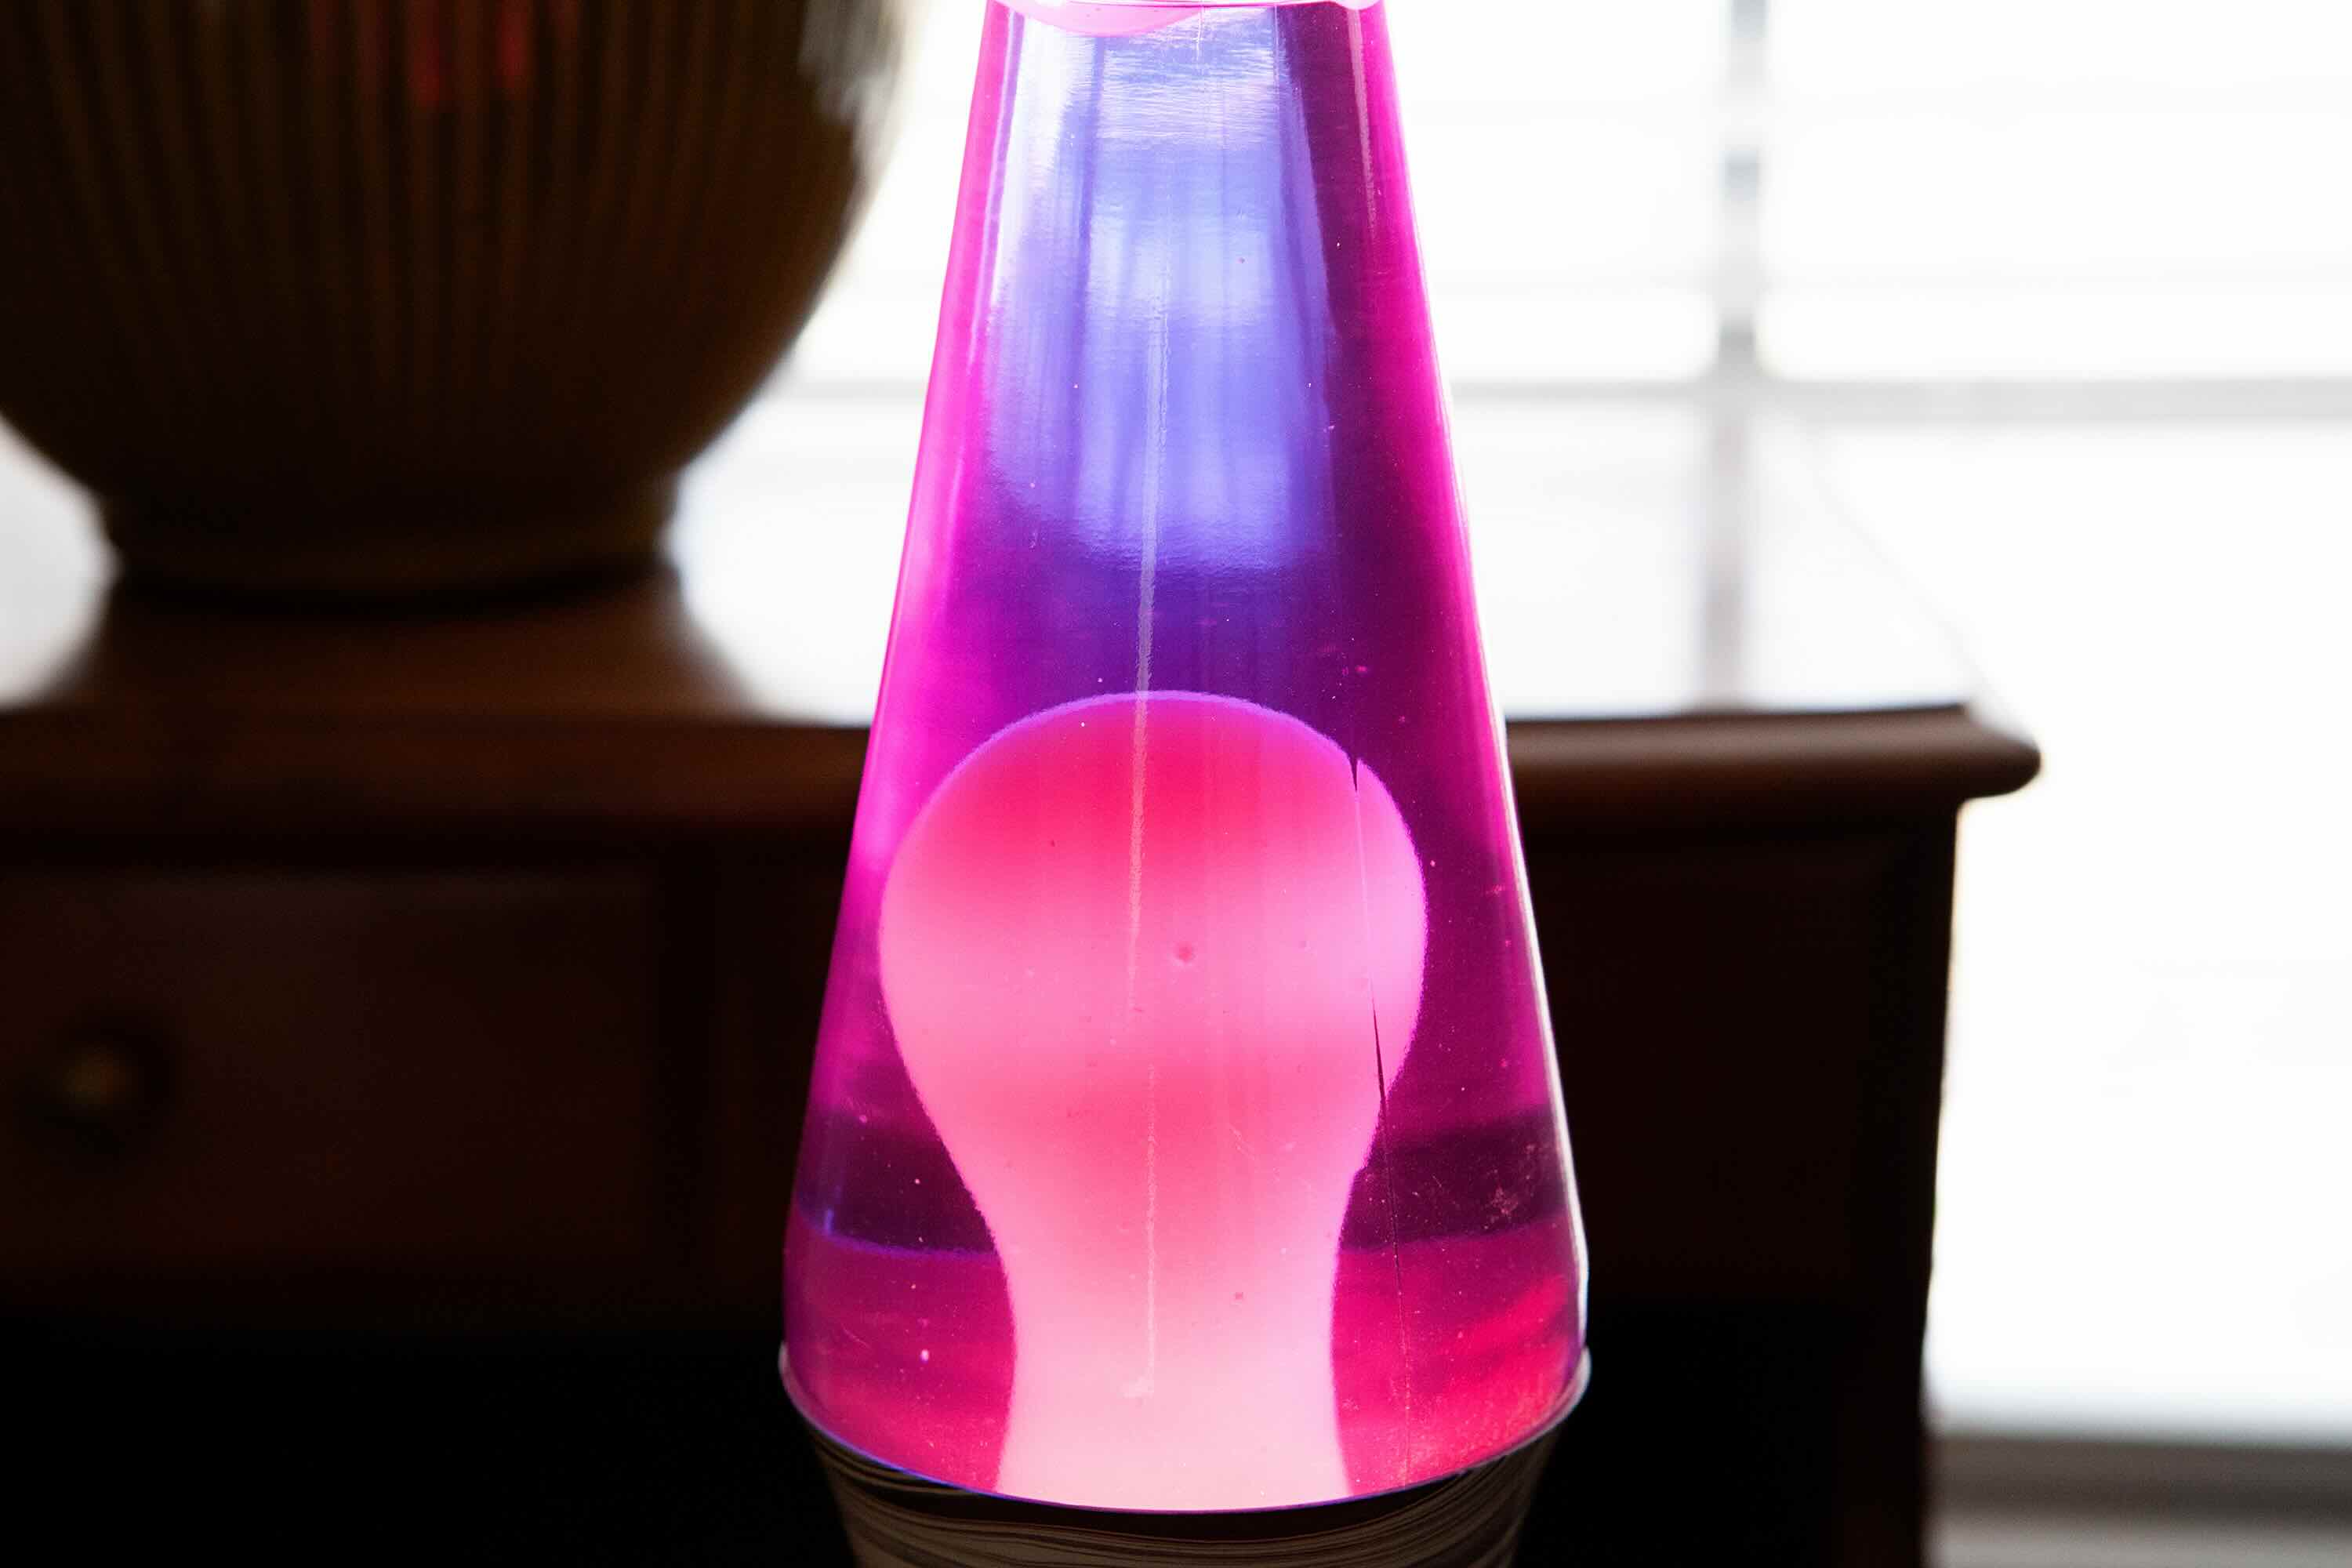
Welcome to this helpful guide on how to fix a shaken lava lamp. Lava lamps have been a fascinating and mesmerizing addition to home decor for many decades. Their unique combination of liquid and wax creates a soothing and captivating display of movement and color. However, if a lava lamp is shaken or disturbed, it can result in the formation of bubbles or clumps, detracting from its aesthetic appeal. Fortunately, there are simple steps you can take to restore your lava lamp to its original glory.
In this article, we will walk you through the process of fixing a shaken lava lamp step by step. You will learn how to identify common issues that arise from shaking, what tools and materials you will need for the repair, and how to execute each step effectively. By following these instructions, you will soon have your lava lamp back in perfect working condition, ready to provide hours of mesmerizing entertainment.
Before we dive into the details, it’s worth mentioning that safety should always be a top priority when working with any electrical appliance. Ensure that your lava lamp is unplugged and completely cool before attempting any repairs or adjustments. Additionally, it’s important to note that these troubleshooting steps are intended for traditional glass lava lamps. If you have a different type of lava lamp or are unsure of its construction, consult the manufacturer’s instructions or seek professional assistance.
So let’s get started on the journey of fixing your shaken lava lamp and bringing back its enchanting display. Grab your tools, put on your repair hat, and let’s dive into the process together!
Key Takeaways:
- Revive your shaken lava lamp by allowing it to rest, checking for leaks, adjusting the base and bulb, and replacing the liquid if needed. Enjoy the mesmerizing display and soothing ambiance once again!
- Handle the lava lamp goo delicately to restore optimal performance, and ensure all components are securely in place before testing. Sit back, relax, and bask in the enchanting glow of your restored lava lamp.
Read more: How To Fix My Lava Lamp
Understanding the Shaken Lava Lamp Issue
Before we jump into the repair process, it’s important to understand why a lava lamp becomes problematic when it’s shaken or disturbed. Lava lamps work based on the principle of heat and density. The heat from the lamp’s bulb warms the liquid wax inside the lamp, causing it to rise due to its lower density. The wax then cools down as it reaches the top of the lamp, becoming denser and sinking back down to the bottom.
When a lava lamp is shaken, the delicate balance between heat and density is disrupted. It can cause the wax and liquid inside to mix, resulting in issues such as clumping, bubbles, or a lack of flow. These problems can greatly diminish the visual appeal of the lava lamp, making it crucial to address the issue promptly.
Another potential consequence of shaking a lava lamp is leaks. The constant movement can cause the lamp’s base or cap to loosen, leading to liquid leaking out. If you notice any leaks, it’s essential to address them as part of your repair process to prevent further damage.
By understanding the underlying cause of the shaken lava lamp issue, you can better appreciate the importance of the repair steps we will cover. Now, let’s gather the tools and materials you’ll need to fix your lava lamp.
Required Tools and Materials
Before you begin fixing your shaken lava lamp, it’s important to gather the necessary tools and materials. Having everything prepared in advance will make the repair process smoother and more efficient. Here’s a list of what you’ll need:
- A screwdriver: You may need a screwdriver to open the base or cap of the lava lamp, depending on its design.
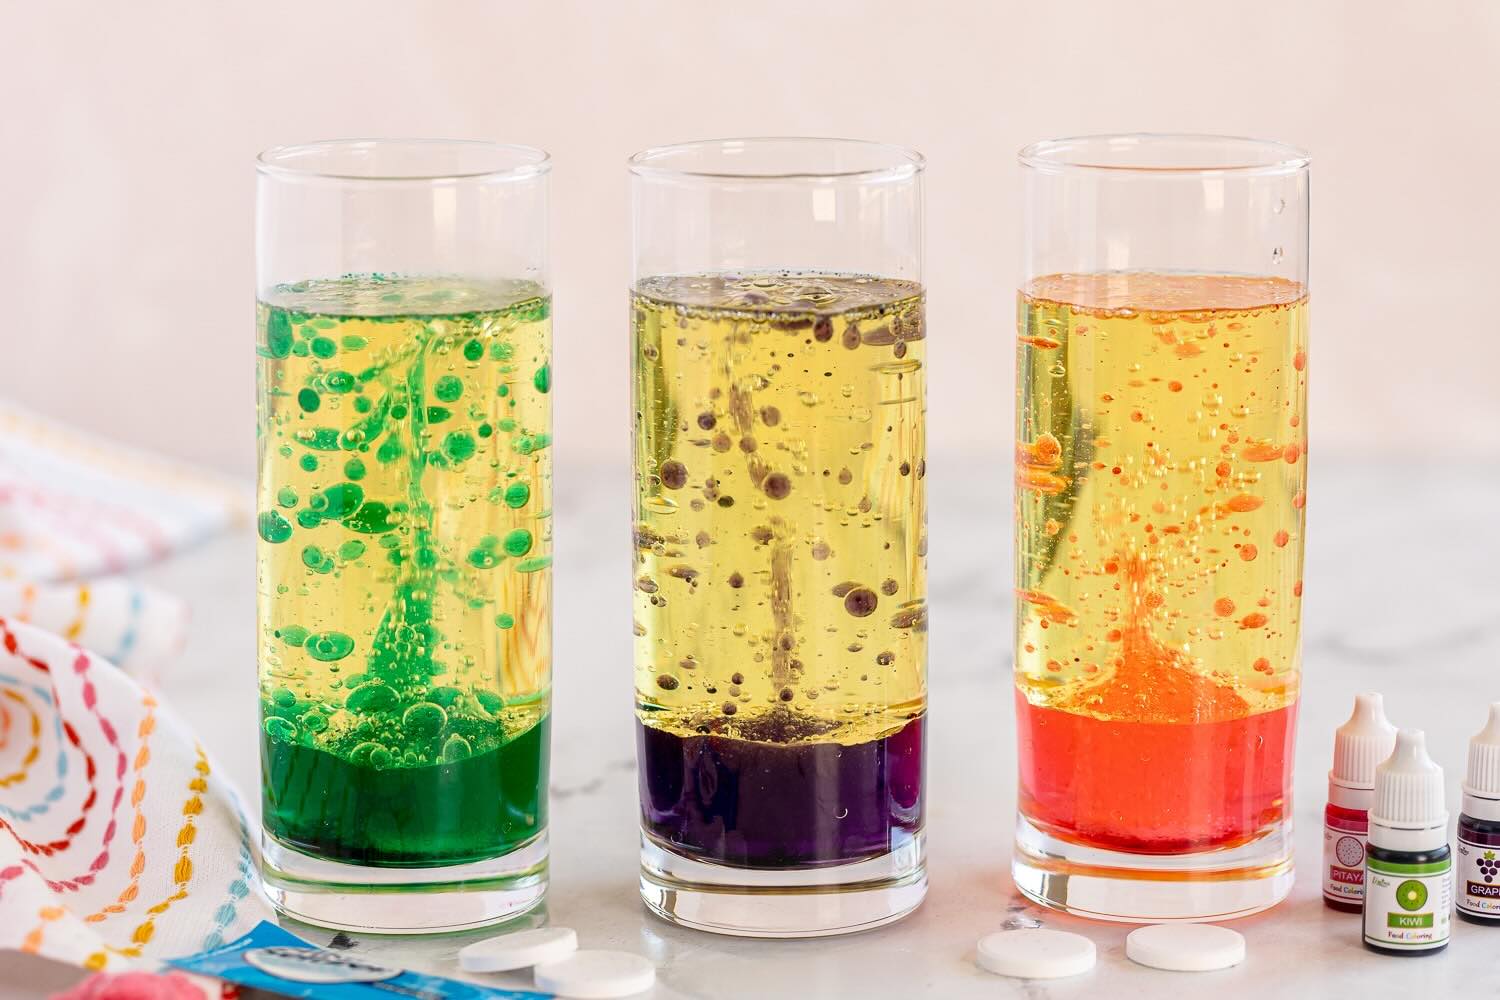
- Replacement lava lamp liquid: If your lava lamp has been severely shaken or damaged, you may need to replace the liquid inside. You can find replacement liquid for lava lamps at home decor stores or online.
- Clean cloth or paper towels: You’ll need these to wipe down the lamp components and clean up any spills.
- Tweezers or chopsticks: These tools can be handy for adjusting the position of the wax or gently removing any clumps.
- Optional: Lava lamp goo kit: If your lava lamp has experienced significant shaking, the wax inside may have broken down. In this case, a goo kit can help restore the wax consistency and improve the flow of your lava lamp.
Now that you have all the necessary tools and materials at your disposal, you’re ready to dive into the repair process. Don’t worry if you don’t have a lava lamp goo kit; most issues can be resolved using the steps we’ll outline shortly. So let’s get started with the first step: letting the lava lamp rest.
Step 1: Letting the Lava Lamp Rest
The first step in fixing a shaken lava lamp is to allow it to rest and settle. When a lava lamp has been shaken, the liquid and wax inside become agitated, resulting in bubbles or clumps. By giving the lamp sufficient time to rest undisturbed, you allow the wax to settle back to its normal state, which can address minor issues.
Start by unplugging the lava lamp and placing it on a flat surface where it won’t be disturbed. Avoid moving or shaking the lamp during this time. It’s best to let the lamp rest for at least 24-48 hours, although in some cases, it may require more time.
While the lamp is resting, check the surrounding temperature. Lava lamps are sensitive to temperature changes, and extreme heat or cold can affect their performance. Make sure the room temperature is within the recommended range specified by the manufacturer.
After the resting period, observe your lava lamp carefully. If the issue was minor and caused by slight agitation, you may notice that the wax has settled back to its original position without any clumps or bubbles. In this case, you can proceed to test the lamp to see if it’s functioning properly. If the issue persists or if you notice any leaks, proceed to the next step for further troubleshooting.
By allowing your lava lamp to rest, you give it the opportunity to self-correct minor issues caused by shaking. If this step doesn’t resolve the problem, don’t worry. There are several other steps you can take to fix your shaken lava lamp. In the next step, we will check for any leaks that may have occurred due to the shaking. Continue reading to find out how to address this issue.
Step 2: Checking for Any Leaks
After allowing your lava lamp to rest, it’s important to check for any leaks that may have occurred due to the shaking. When a lava lamp is disturbed, the movements can loosen the lamp’s base or cap, causing liquid to leak out. This not only affects the lamp’s aesthetics but can also lead to further damage if left unaddressed.
Start by carefully examining the bottom base of the lava lamp. Look for any signs of liquid residue or dampness. If you notice any leaks, it’s important to address them promptly to prevent any further damage.
If the lamp’s base is loose, use a screwdriver to tighten the screws or fasteners. Be sure not to overtighten, as this may cause the base to crack. If the base is damaged or cracked, it may need to be replaced. Contact the manufacturer or consult a professional for guidance in this case.
Additionally, check the cap of the lava lamp, especially if your lamp has a removable cap. Make sure it is securely in place to prevent any liquid from leaking out. If the cap is loose or damaged, it may need to be replaced.
If you discovered any leaks during this step, it’s essential to address them before proceeding with the repair process. Wipe away any liquid residue using a clean cloth or paper towels. Once the leaks have been resolved, you can move on to the next step, where we will focus on adjusting the lava lamp base for optimal performance.
By checking for leaks and fixing any issues, you ensure that your lava lamp functions properly and prevents any further damage or leaks in the future. Let’s now move on to the next step where we will take a closer look at adjusting the lava lamp base.
Read more: How To Clean A Lava Lamp
Step 3: Adjusting the Lava Lamp Base
Once you have addressed any leaks in your lava lamp, it’s time to focus on adjusting the base for optimal performance. The base plays a crucial role in providing stability to the lamp and ensuring that it operates smoothly.
Start by examining the base of your lava lamp. Look for any signs of misalignment or unevenness. If you notice that the base is tilted or wobbly, it may affect the flow and movement of the wax inside the lamp.
To adjust the base, you may need to use a screwdriver or other appropriate tool to loosen the screws or fasteners holding it in place. Gently realign the base so that it sits evenly and securely on the surface. Ensure that all screws are tightened properly to maintain stability.
If you have a lava lamp that sits on a metal stand, make sure the stand is sturdy and level. Adjust the stand if necessary to ensure proper alignment with the base.
Once you have adjusted the base, give the lamp a gentle shake to see if it wobbles or tilts. If you find that it remains stable, you have successfully adjusted the base. If the lamp continues to wobble or tilt, recheck the alignment and tighten the screws until the base is secure.
By adjusting the lava lamp base, you create a stable foundation for the lamp to operate effectively. This helps to minimize any disruptions to the flow and movement of the wax inside. Now that the base is properly aligned, let’s move on to the next step, where we will focus on realigning the lava lamp bulb.
If your lava lamp is shaken, let it cool completely, then carefully unscrew the top and remove the bottle. Gently swirl the bottle to mix the wax, then reassemble and turn it on.
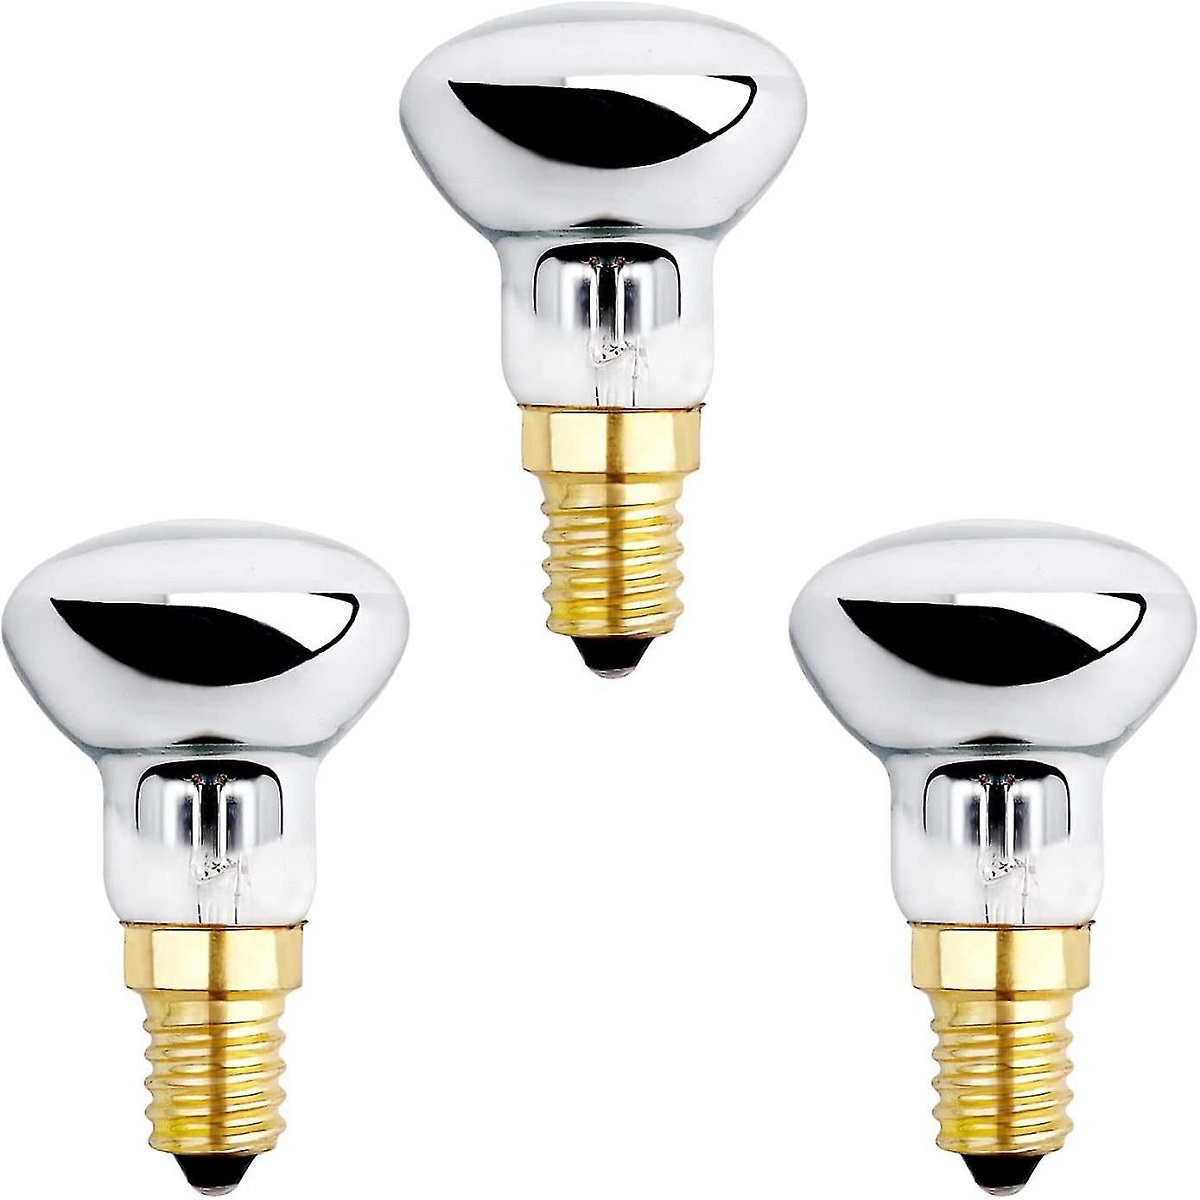
Step 4: Realigning the Lava Lamp Bulb
In this step, we will focus on realigning the lava lamp bulb. The positioning of the bulb is crucial for generating the necessary heat to warm the liquid and wax inside the lamp.
Start by unplugging the lava lamp and allowing it to cool down completely. This is essential to avoid any burns or electrical hazards during the realignment process.
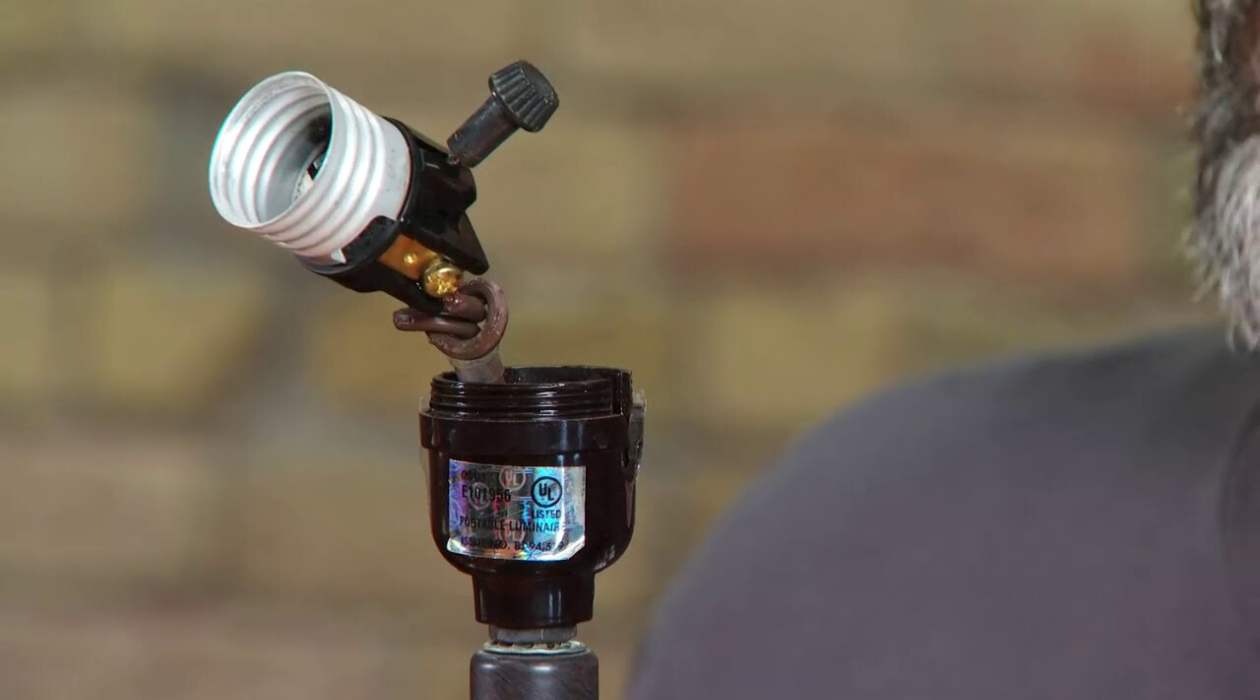
Next, carefully remove the cap or cover that protects the bulb inside the lava lamp. Use caution when handling the bulb to avoid any damage or breakage.
Inspect the position of the bulb. It should be centered and securely in place. If you notice any misalignment, gently adjust the position so that the bulb is perfectly centered.
Once you have realigned the bulb, reattach the cap or cover, ensuring that it fits securely. Be sure to fasten any screws or fasteners properly to hold it in place.
After realigning the bulb, plug in the lava lamp and turn it on. Observe the lamp closely to ensure that the bulb is illuminating the base evenly and adequately. If you notice any issues with the bulb’s positioning or illumination, repeat the realignment process until it is corrected.
Properly aligning the lava lamp bulb ensures that the lamp generates the necessary heat to warm the liquid and wax effectively. This step helps restore the proper flow and movement of the wax, resulting in a captivating display. Now that the bulb is realigned, let’s proceed to the next step, where we will address the possibility of replacing the lava lamp liquid.
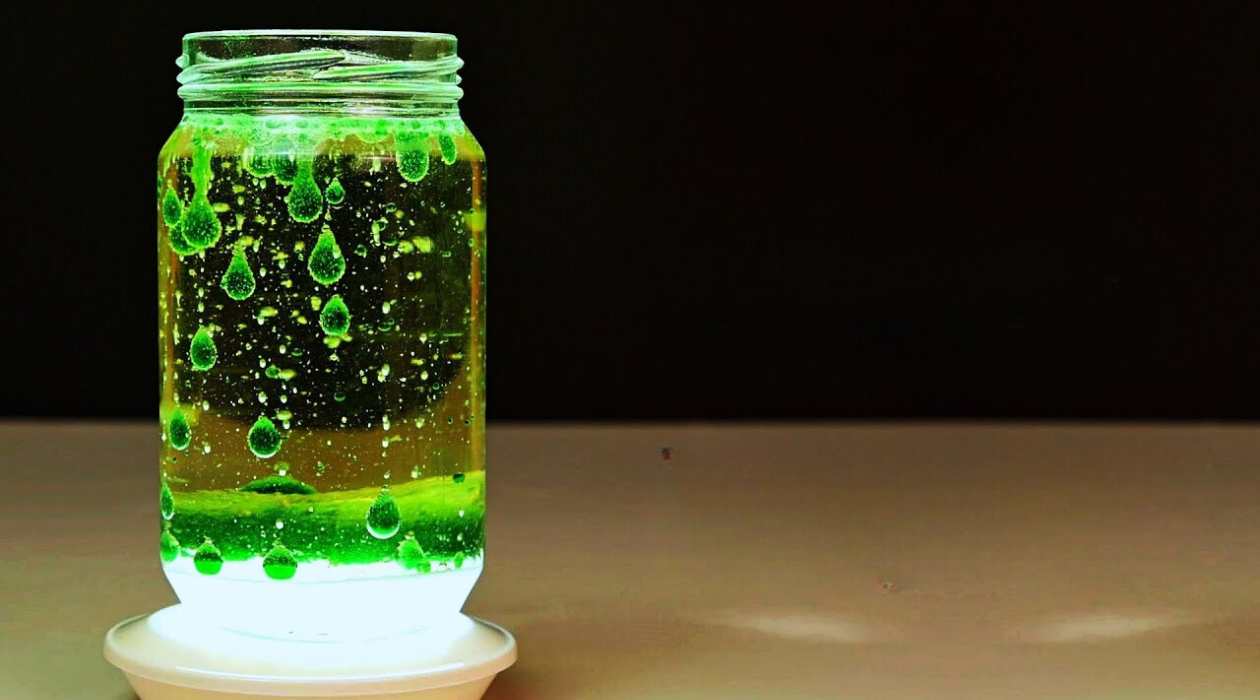
Step 5: Replacing the Lava Lamp Liquid
If your lava lamp has experienced severe shaking or damage, it may be necessary to replace the liquid inside. Over time, the liquid can become cloudy or contaminated, affecting the performance and visual appeal of the lamp. Replacing the lava lamp liquid can help restore its vibrant and captivating display.
Before you begin the liquid replacement process, make sure that the lava lamp is completely cool and unplugged. This is important for your safety and to avoid any electrical mishaps.
To replace the lava lamp liquid, follow these steps:
- Start by carefully unscrewing or removing the cap of the lava lamp. Set it aside in a safe place.
- Using a clean cloth or paper towels, carefully wipe the inside of the lamp to remove any residue or debris. Make sure the interior is clean and dry before proceeding.
- Prepare your replacement lava lamp liquid. You can find this liquid at home decor stores or purchase it online. Follow the instructions provided on the liquid container for proper usage.
- Pour the replacement liquid into the lava lamp, leaving a small space at the top for the wax to rise. Be careful not to overfill the lamp.
- Reattach the cap or cover securely. Ensure that it is fastened properly to prevent any leaks.
After replacing the lava lamp liquid, let the lamp cool down for a few minutes before plugging it in. Once it’s cooled, plug in the lamp and turn it on to enjoy its renewed vibrant display.
Replacing the lava lamp liquid can revitalize the lamp’s performance and make it look as good as new. It’s a crucial step in the repair process, especially if the original liquid has become discolored or contaminated. With the replacement liquid, your lava lamp is ready for the next step: handling the lava lamp goo, if necessary.
Step 6: Handling the Lava Lamp Goo
If your lava lamp has experienced significant shaking or has been in use for an extended period, you may notice that the wax inside has become clumpy or problematic. This can affect the flow and movement of the wax, resulting in an unsatisfactory display. In this step, we will explore how to handle the lava lamp goo to restore optimal performance.
If you have a lava lamp goo kit, follow the instructions provided to restore the wax consistency. These kits typically include additives or chemicals that can help break down any clumps and improve the flow. Be sure to read and follow the instructions carefully to achieve the best results.
If you don’t have a lava lamp goo kit, there are alternative methods you can try:
- First, allow the lava lamp to warm up and operate for a few hours. Sometimes, the heat alone can help break down small clumps and improve the flow of the wax.
- If the clumps persist, gently rotate the lava lamp while it is operating. This can help distribute the wax more evenly and assist in breaking up any larger clumps.
- You can also try using a pair of tweezers or chopsticks to carefully maneuver and break up stubborn clumps within the lamp. Be cautious not to damage the glass or other components while doing so.
Remember to exercise caution and patience during this step. Handling the lava lamp goo requires delicacy and precision to avoid causing further damage to the lamp.
Once you have successfully addressed any clumps or issues with the lava lamp goo, allow the lamp to operate for some time to ensure that the wax flows smoothly and creates the mesmerizing display you desire.
Handling the lava lamp goo is a crucial step in the repair process, especially if the lamp’s performance has been affected by clumps or uneven wax flow. By following these steps and exercising care, you can improve the movement and aesthetics of your lava lamp. Now, let’s move on to the final step: closing and testing the lava lamp.
Read more: What Is In A Lava Lamp
Step 7: Closing and Testing the Lava Lamp
Now that you have gone through the previous steps of fixing your shaken lava lamp, it’s time to close it up and test its functionality. This final step ensures that all the repairs and adjustments you’ve made result in a well-functioning and visually stunning lava lamp.
Start by double-checking that all the components are securely in place. This includes the base, cap, and bulb. Tighten any screws or fasteners as needed.
Once everything is properly closed and tightened, plug in the lava lamp and turn it on. Allow it to warm up for a few minutes to ensure that the heat is evenly distributed throughout the lamp.
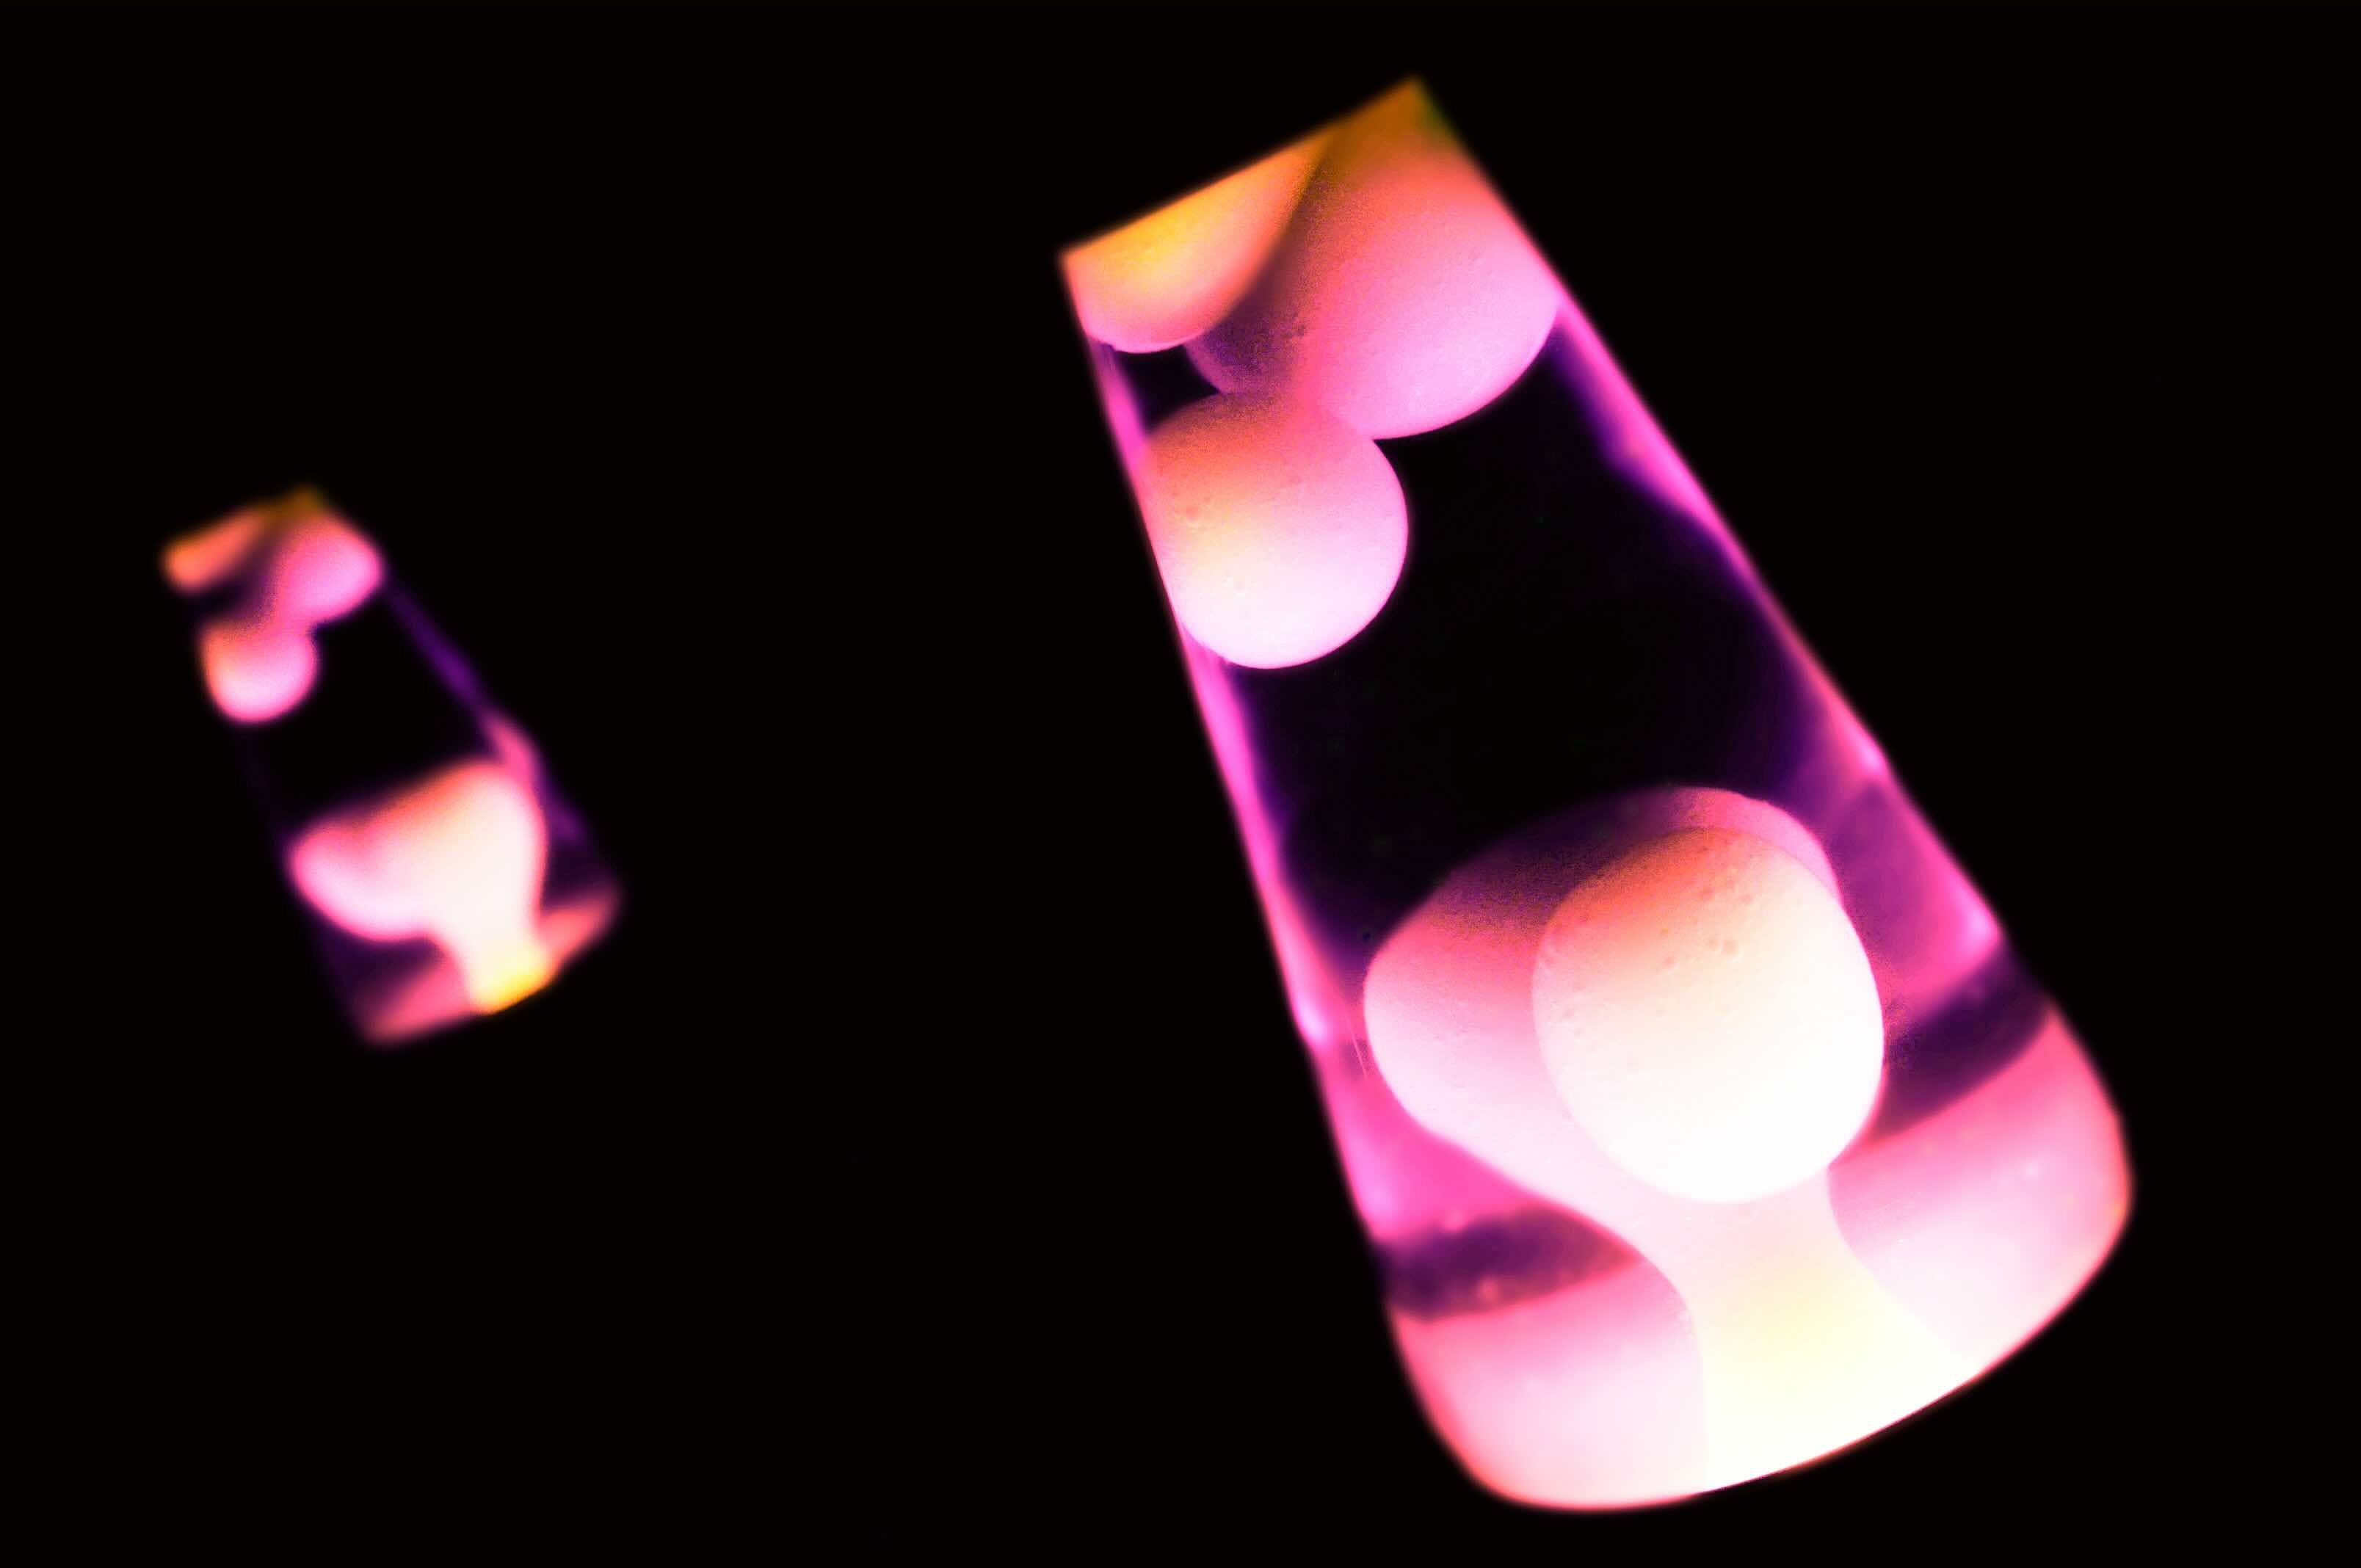
Observe the lamp closely as it starts to operate. Watch for smooth movement and flow of the wax as it rises and falls within the liquid. Take note of the colors and patterns formed by the wax, ensuring they are visually appealing.
If you notice any issues such as clumps, bubbles, or uneven movement, double-check the previous steps you’ve taken to ensure that everything has been properly addressed. If necessary, revisit necessary adjustments or replacement of liquid.
If the lamp appears to be functioning well and producing a captivating display, congratulations! You have successfully fixed your shaken lava lamp. Enjoy the soothing and mesmerizing ambiance it provides to your surroundings.
Remember to periodically check and maintain your lava lamp to ensure its continued performance. Clean the lamp periodically, replace the liquid as needed, and keep an eye on the bulb for any signs of wear or damage.
By closing and testing the lava lamp, you have completed the repair process and can now appreciate the beautiful display it offers. Sit back, relax, and enjoy the enchanting glow of your restored lava lamp.
Thank you for following this guide on how to fix a shaken lava lamp. We hope it has been helpful and that your lava lamp brings you many hours of joy and relaxation.
Conclusion
Congratulations on successfully fixing your shaken lava lamp! Through this guide, you have learned step-by-step how to address common issues that arise when a lava lamp is disturbed. By allowing the lamp to rest, checking for leaks, adjusting the base and bulb, replacing the liquid if necessary, and handling the lava lamp goo, you have restored your lava lamp to its mesmerizing glory.
Remember that safety should always be a priority when working with electrical appliances. Always ensure that the lava lamp is unplugged and cool before making any repairs or adjustments. Additionally, if you have any concerns about your lava lamp’s construction or are unsure about how to proceed, consult the manufacturer’s instructions or seek professional assistance.
Now that your lava lamp is back in perfect working condition, take the time to enjoy the soothing and captivating display it provides. Whether it’s a calming ambiance in your living room, a vibrant addition to your workspace, or a mesmerizing nightlight in your bedroom, your lava lamp can contribute to a relaxing and visually stimulating environment.
Remember to periodically maintain your lava lamp by cleaning it, replacing the liquid when necessary, and ensuring the bulb is functioning properly. By taking care of your lava lamp, you can enjoy its enchanting display for years to come.
We hope that this guide has provided you with the knowledge and confidence to fix your shaken lava lamp effectively. Thank you for following along, and we wish you many enjoyable moments with your beautifully restored lava lamp!
Frequently Asked Questions about How To Fix A Shaken Lava Lamp
Was this page helpful?
At Storables.com, we guarantee accurate and reliable information. Our content, validated by Expert Board Contributors, is crafted following stringent Editorial Policies. We're committed to providing you with well-researched, expert-backed insights for all your informational needs.