Furniture
How To Fix My Lava Lamp
Modified: August 25, 2024
Discover easy and effective methods to fix your lava lamp at home with this comprehensive guide. Explore furniture-friendly solutions to restore your favorite decor piece.
(Many of the links in this article redirect to a specific reviewed product. Your purchase of these products through affiliate links helps to generate commission for Storables.com, at no extra cost. Learn more)
Introduction
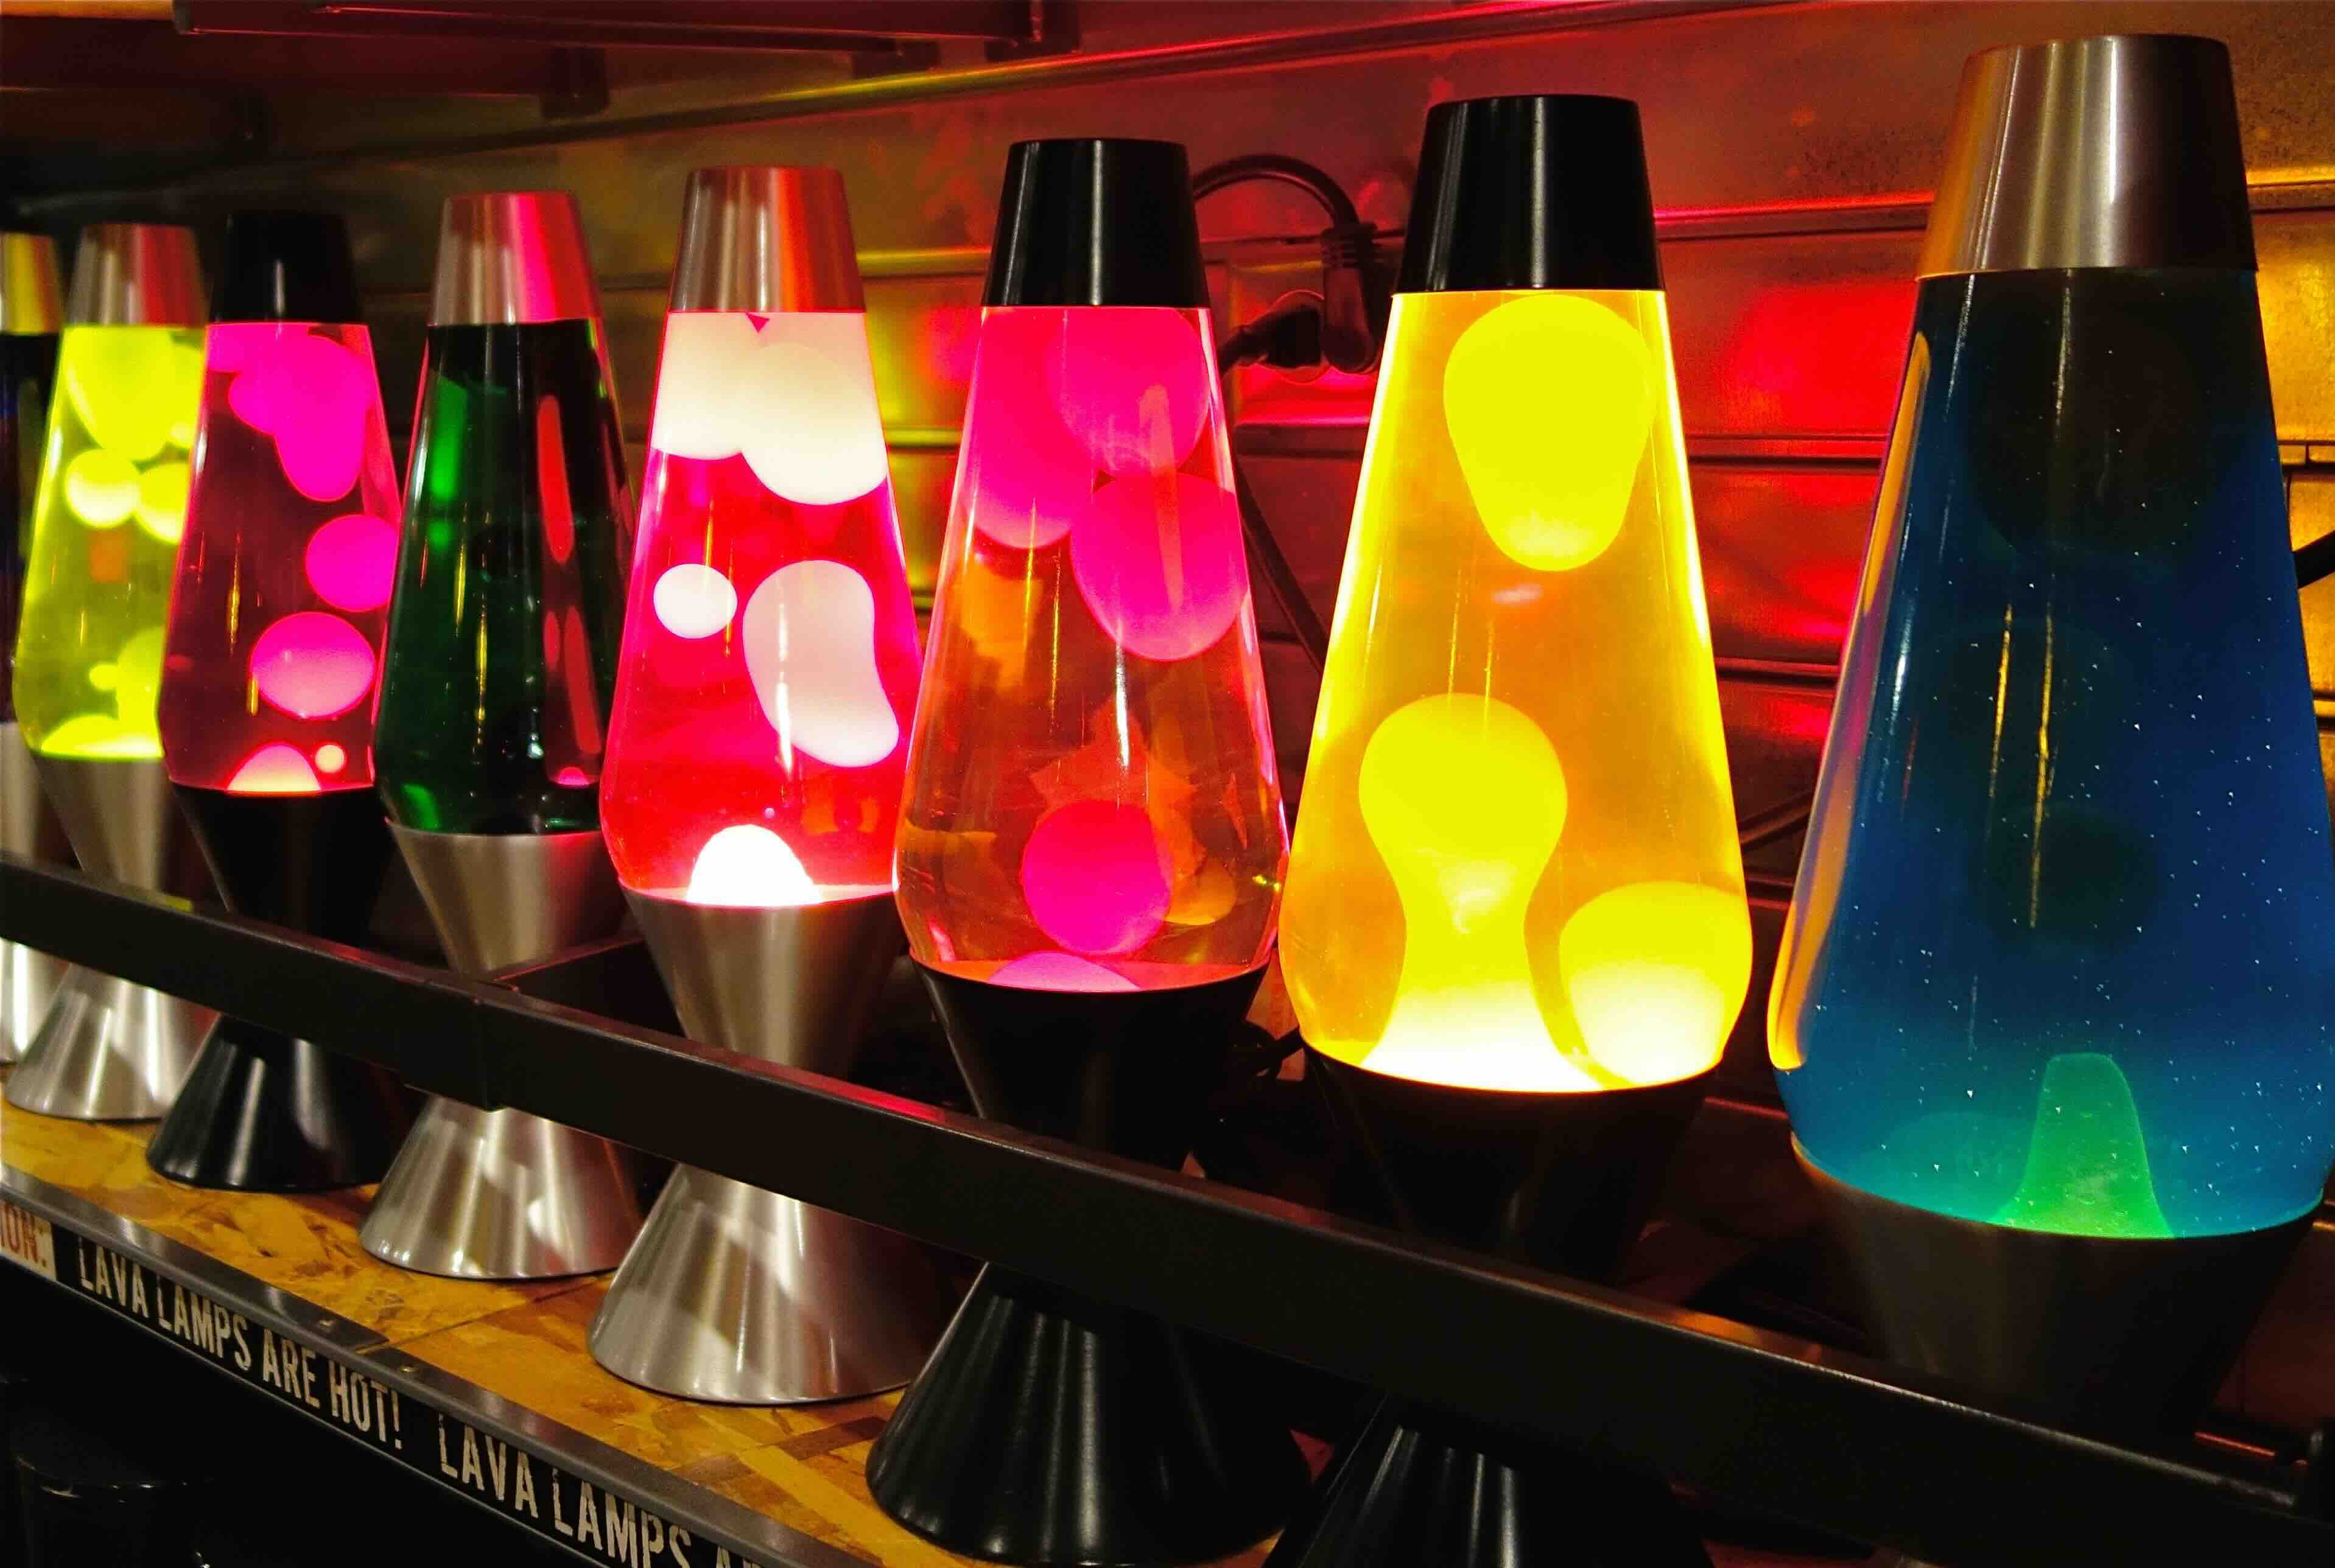
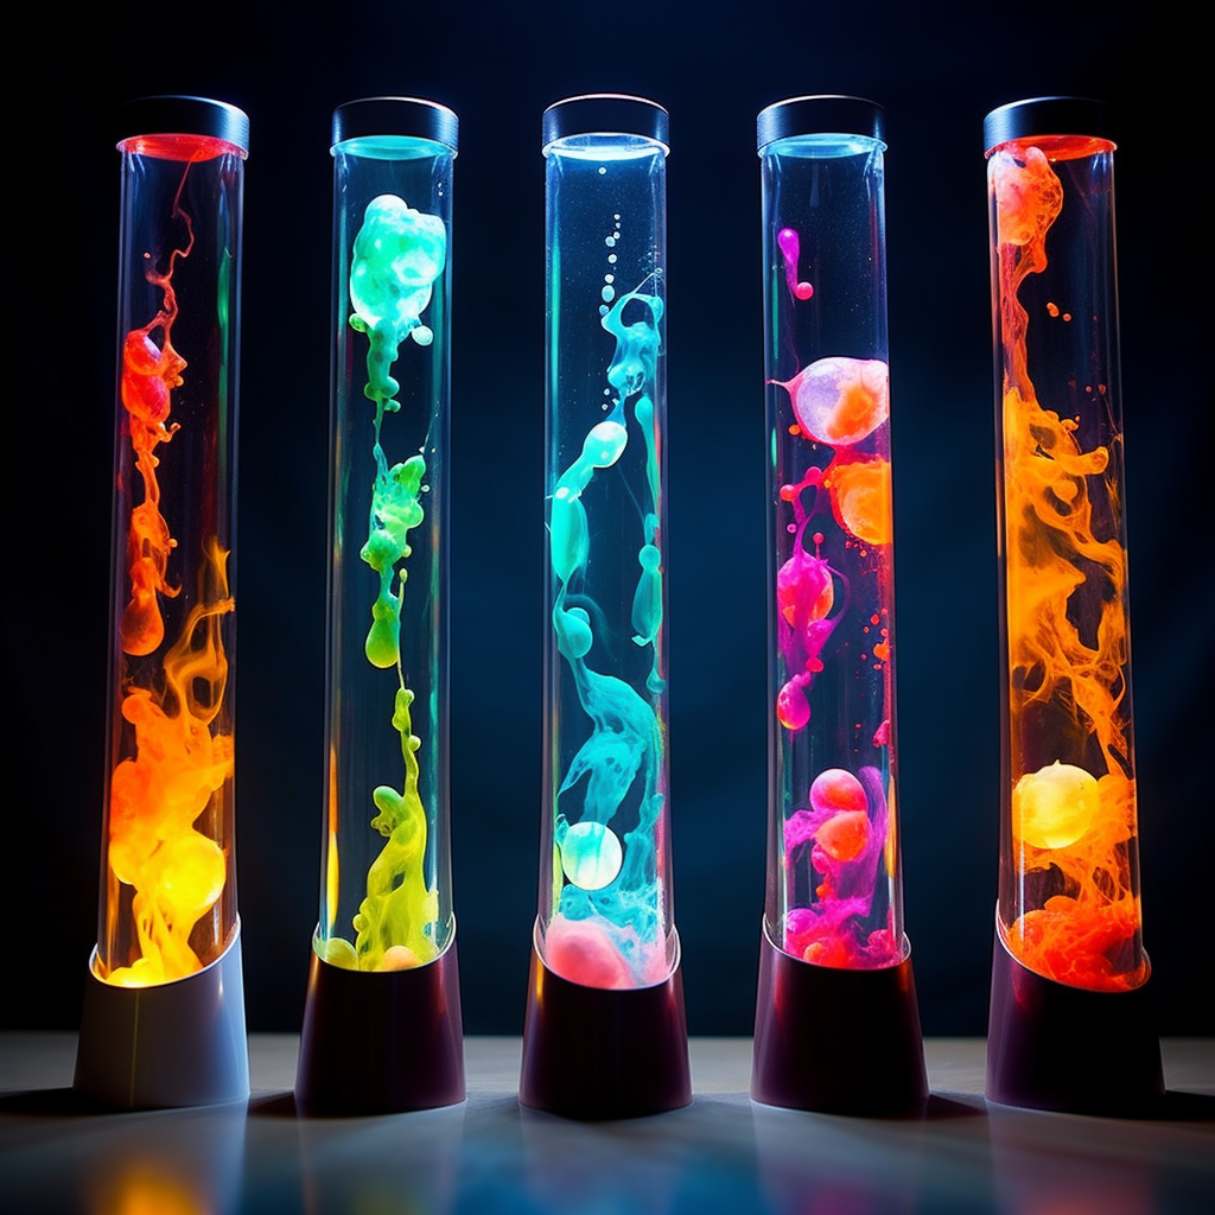
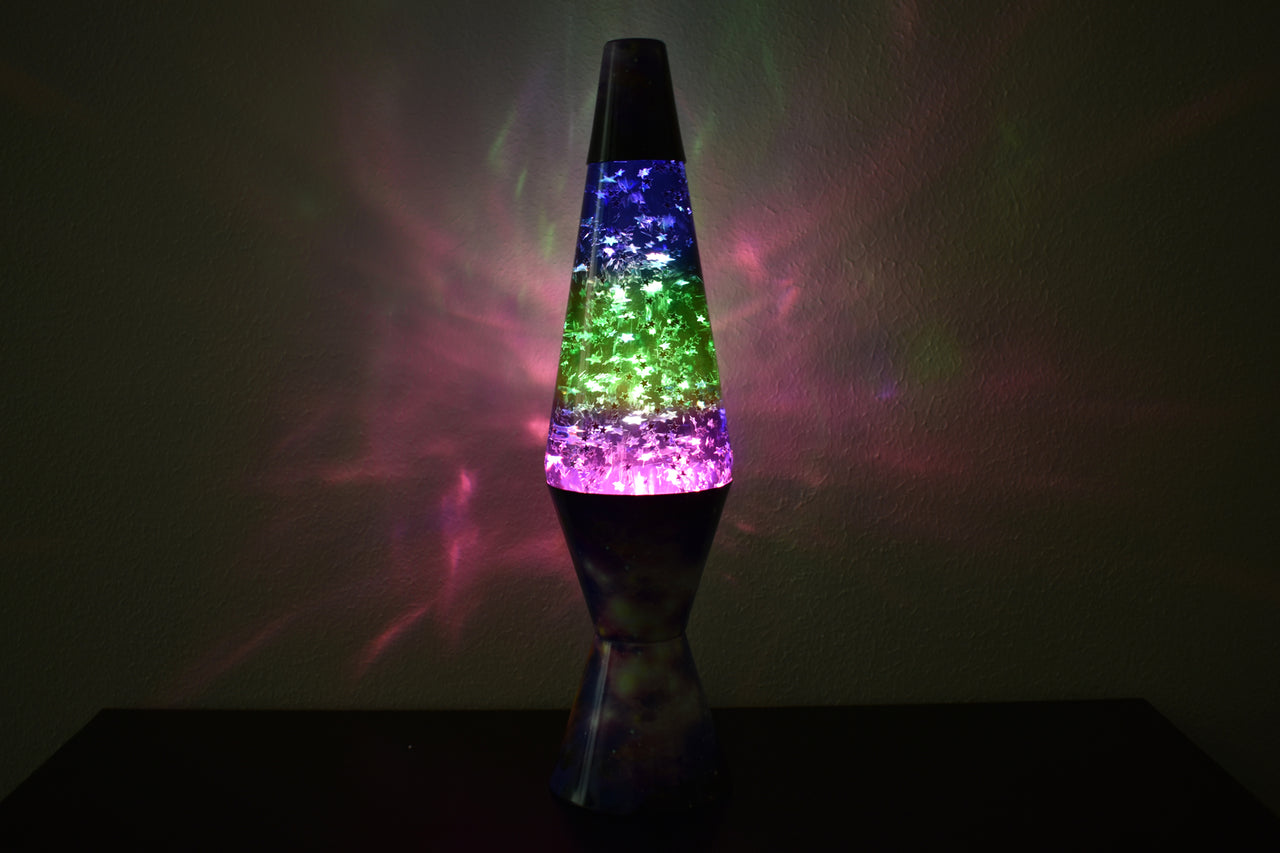
Welcome to the world of lava lamps! These mesmerizing and colorful decorative pieces have been captivating audiences for decades. With their unique blend of science and artistry, lava lamps bring a sense of tranquility and ambiance to any space. However, like any electrical item, they can sometimes encounter issues and require a little troubleshooting.
In this article, we will guide you through the process of fixing common problems that may arise with your lava lamp. Whether it’s a power issue, a bulb that needs replacing, or a base that needs repair, we’ve got you covered. Let’s dive in and bring your lava lamp back to life!
Key Takeaways:
- Keep your lava lamp flowing smoothly by checking the power source, replacing the bulb, and adjusting the temperature. Regular cleaning and professional assistance can help maintain its mesmerizing charm.
- Troubleshoot and fix your lava lamp with ease. From power source checks to base repairs, this guide ensures you can enjoy the soothing glow of your lava lamp for years to come.
Read more: How To Fix A Shaken Lava Lamp
Troubleshooting
Before we dive into the specific issues, let’s start with some general troubleshooting tips for your lava lamp:
- Make sure your lava lamp is placed on a level and stable surface.
- Avoid moving or shaking the lamp while it is on, as this can disturb the flow of the lava.
- Allow your lava lamp to cool down completely before handling or attempting any repairs.
- Always unplug the lamp from the power source before inspecting or fixing any components.
Now, let’s explore some common issues you may encounter with your lava lamp and how to fix them.
Check the Power Source
If your lava lamp isn’t turning on at all, the first thing you should check is the power source. Here’s what you can do:
- Make sure the lamp is plugged into a working electrical outlet. Try plugging another device into the same outlet to verify if it’s providing power.
- Inspect the power cord for any visible damage or fraying. If you notice any, it’s important to replace the cord to prevent any electrical hazards.
- Check the power switch on the lamp itself. Ensure that it is in the “on” position and hasn’t accidentally been turned off.
- If you’re using a power strip or extension cord, make sure it’s functioning properly. Try plugging the lamp directly into a wall outlet to eliminate any potential issues with the power strip.
- If you’ve gone through these steps and your lava lamp still isn’t working, it may be a problem with the lamp’s internal wiring. In this case, it’s best to contact a professional electrician or the manufacturer for further assistance.
By checking the power source and eliminating any potential issues, you can ensure that your lava lamp isn’t experiencing any electrical problems.
Replace the Bulb
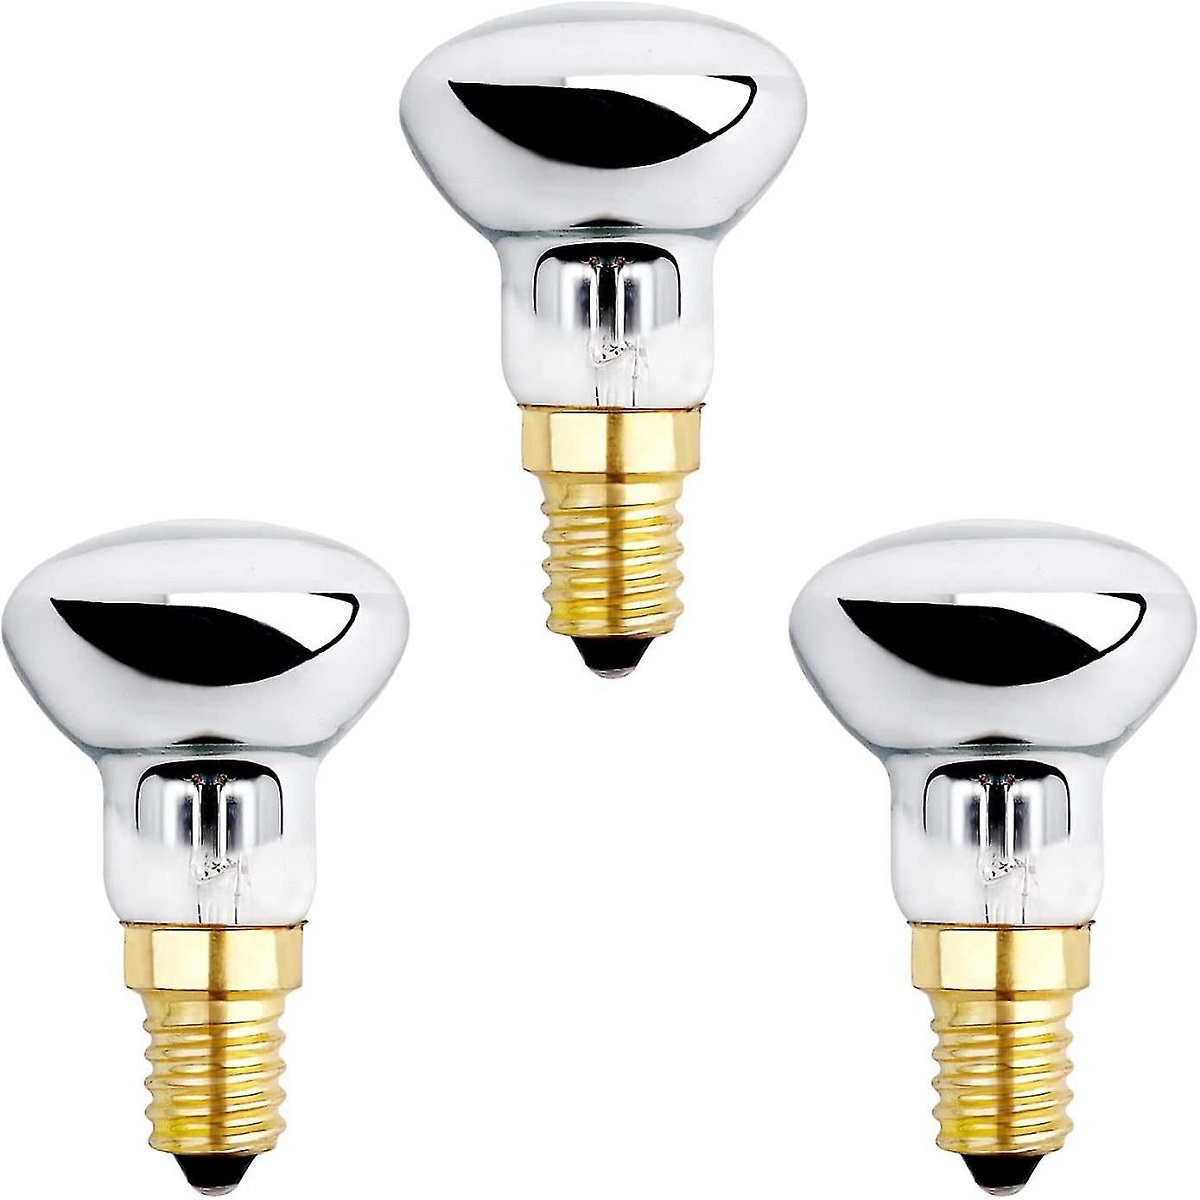
If your lava lamp is plugged in and the power source is working, but the lamp still fails to light up, the bulb may be the culprit. Follow these steps to replace the bulb:
- Make sure the lamp is turned off and unplugged before proceeding.
- Carefully remove the cap of the lava lamp to access the bulb. The cap is usually located at the top of the lamp and can be unscrewed or lifted off, depending on the model.
- Inspect the bulb and check for any signs of damage or discoloration. A burned-out or faulty bulb will need to be replaced.
- Take note of the bulb’s wattage and size. This information can usually be found on the base of the bulb or in the lamp’s instruction manual.
- Visit a local hardware store or order a replacement bulb online. Ensure that you purchase the correct wattage and size to ensure compatibility with your lava lamp.
- Once you have the replacement bulb, carefully screw it into the socket in the lamp base. Make sure it is securely fastened, but be cautious not to overtighten it, as this can damage the socket.
- Replace the cap of the lava lamp, ensuring it is properly aligned and secured.
- Plug the lamp back into the power source and switch it on. If the new bulb is functioning properly, your lava lamp should light up and begin its mesmerizing flow.
By replacing the bulb, you can restore the illumination to your lava lamp and continue enjoying its soothing glow.
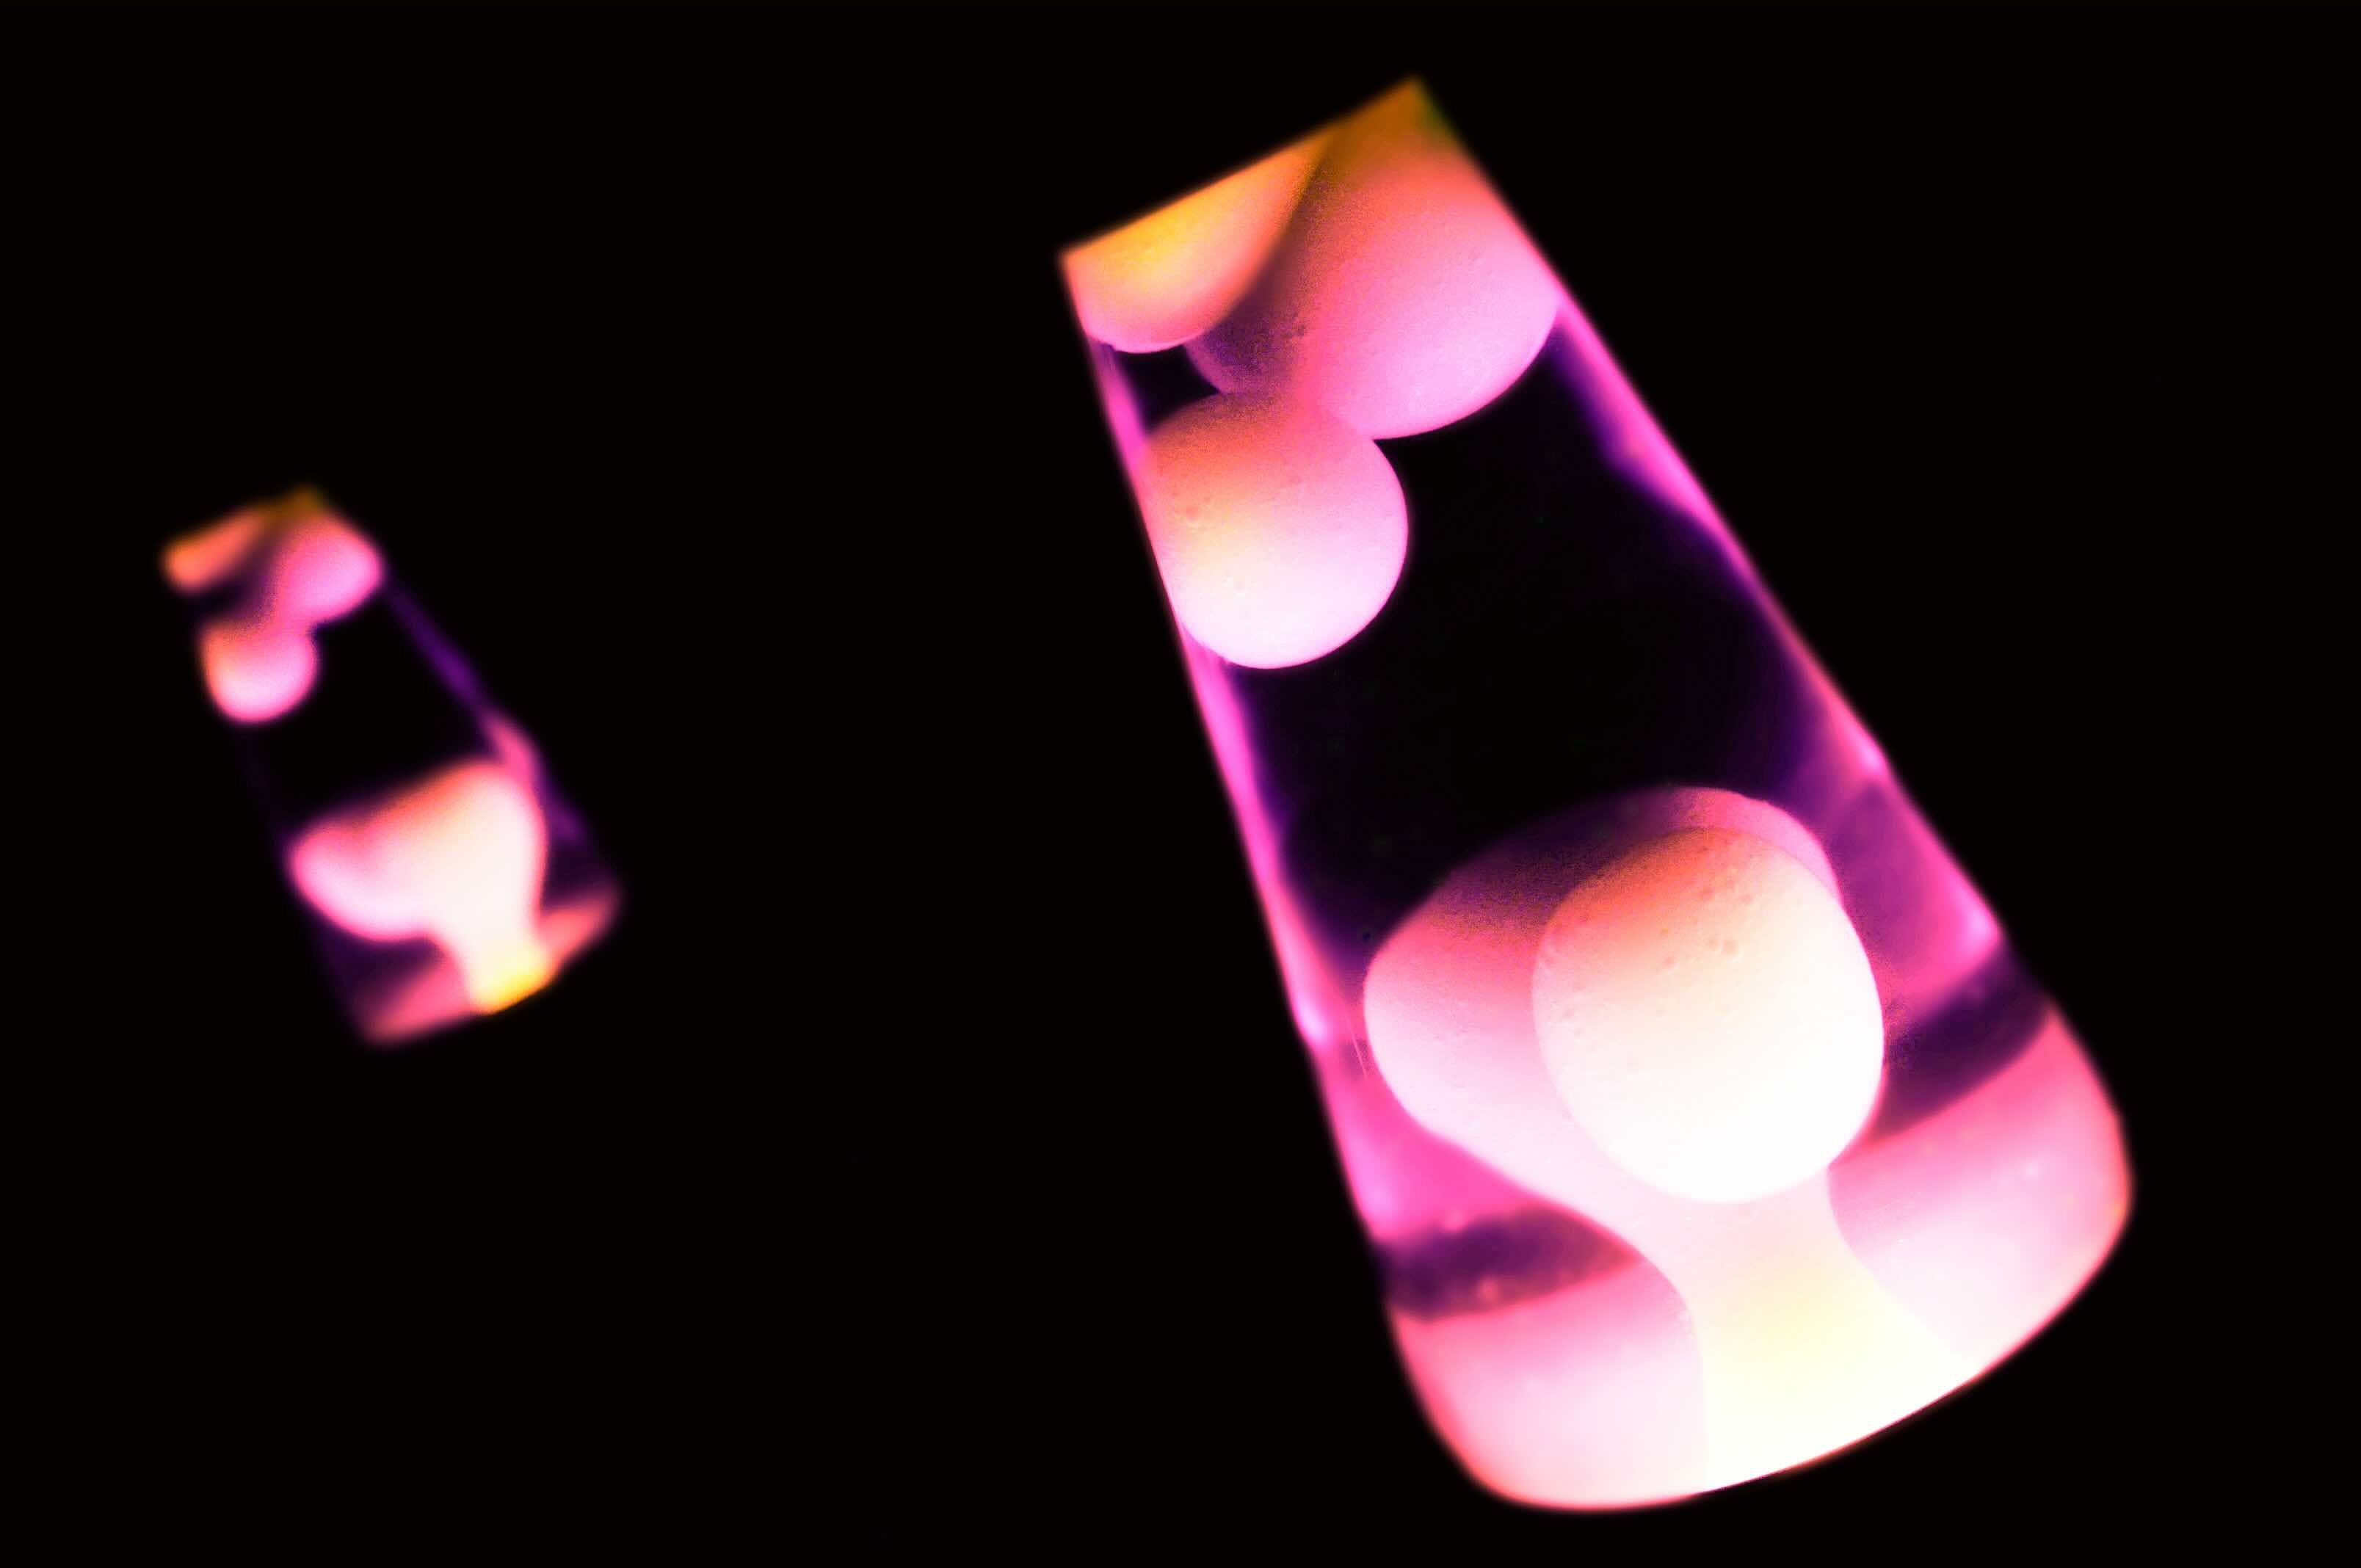
If your lava lamp is not flowing properly, try gently shaking it to dislodge any bubbles or blockages. If that doesn’t work, consider replacing the bulb or the entire lamp.
Clean the Lava Lamp
Over time, residue and sediment can accumulate inside your lava lamp, affecting its performance and appearance. Cleaning the lamp regularly can help restore its vibrant flow. Here’s how you can clean your lava lamp:
- Unplug the lamp and allow it to cool completely. It’s crucial to clean the lamp when it’s cool to avoid any potential burns.
- Remove the cap or top of the lamp to access the liquid and lava inside.
- Hold the lamp over a sink or a container and gently pour out the liquid. Be careful not to spill it, as the liquid mixture contains wax or oil that can stain surfaces.
- Fill the lamp halfway with warm water. Avoid using hot water, as it can damage the lamp’s components.
- Add a few drops of mild liquid dish soap or a specially formulated lava lamp cleaner. Swirl the mixture gently to distribute the soap throughout the water.
- Secure the top of the lamp and shake it gently to agitate the liquid and help loosen any residue.
- After shaking, let the soapy mixture sit in the lamp for a few minutes to allow it to break down the buildup.
- Empty the soapy water from the lamp and rinse it thoroughly with clean, warm water. Repeat the rinsing process until the water runs clear.
- Dry the lamp completely before refilling it. You can use a soft cloth or towel to remove any excess water.
- Refill the lamp with the appropriate liquid that came with it or use a suitable replacement. Avoid overfilling the lamp, as it can affect the lava’s movement.
- Reattach the cap or top securely, ensuring it is properly aligned.
- Plug in and switch on the lamp, and enjoy your refreshed and clean lava lamp!
Regularly cleaning your lava lamp can help maintain its beauty and ensure optimal performance in displaying those mesmerizing lava flows.
Read more: How To Clean A Lava Lamp
Adjust the Temperature
The temperature of your lava lamp plays a crucial role in the flow and movement of the lava inside. If you notice that the lava is not flowing properly or is sluggish, adjusting the temperature may help. Here’s what you can do:
- Start by checking the ambient temperature of the room where your lava lamp is located. Lava lamps operate best in room temperatures between 68°F (20°C) and 74°F (23°C).
- If the room is colder than the ideal temperature range, try moving the lamp to a warmer area or using a heating pad underneath the lamp’s base. Ensure that the heating pad is set to a low or medium setting to avoid overheating the lamp.
- Conversely, if the room is warmer than the recommended range, you can place the lamp in a cooler spot or use a small fan to create a gentle breeze around the lamp. This can help cool down the lava and promote better flow.
- Monitor the lamp’s performance after adjusting the temperature. You may need to experiment with different locations or temperature control methods to find the optimal setting for your lava lamp.
- Keep in mind that sudden temperature changes can affect the lava’s flow, so it’s best to make gradual adjustments and allow the lamp to acclimate to the new temperature.
By adjusting the temperature, you can optimize the lava lamp’s performance and ensure that the lava flows smoothly, creating those captivating visual patterns.
Repair or Replace the Base
If you’ve gone through the previous troubleshooting steps and your lava lamp still isn’t working properly, the issue may lie with the base of the lamp. Here are some steps you can take to repair or replace the base:
- Inspect the base of the lava lamp for any visible damage, such as cracks or broken components. If you notice any damage, it may be necessary to replace the entire base.
- If the base appears to be intact, check the wiring connections inside. Look for any loose or disconnected wires that may be causing the problem. If you find a loose wire, carefully reconnect it to its corresponding terminal.
- Use a multimeter to test for continuity in the wiring. This will help identify any faulty or damaged wires that may need to be repaired or replaced. If you’re not confident in your electrical skills, it’s best to consult a professional electrician for assistance.
- If you determine that the base is beyond repair or if you’re unable to fix the wiring issue, it may be necessary to replace the entire base. Contact the manufacturer or check online for replacement base options that are compatible with your specific lava lamp model.
- When replacing the base, carefully follow the manufacturer’s instructions to ensure correct installation. Make sure the new base has the appropriate wiring connections and is securely attached to the lamp.
- Once the new base is installed, plug in the lamp and test its functionality. If the lava lamp is now working properly, congratulations on successfully repairing or replacing the base!
Remember, if you’re unsure about performing any repairs or replacements on the base of your lava lamp, it’s always best to seek professional assistance to avoid any potential safety hazards.
Conclusion
Congratulations! You’ve now learned how to troubleshoot and fix common issues with your lava lamp. By following the steps outlined in this article, you can bring back the mesmerizing flow and vibrant ambiance to your favorite decorative piece.
Remember, when troubleshooting your lava lamp, start by checking the power source and replacing the bulb if necessary. Cleaning the lamp regularly will help maintain its performance and visual appeal. Adjusting the temperature can also optimize the flow of the lava. If all else fails, you may need to repair or replace the base.
However, it’s essential to prioritize safety when handling electrical devices. Always unplug your lava lamp before attempting any repairs or maintenance, and if you’re unsure, consult a professional electrician or contact the manufacturer for assistance.
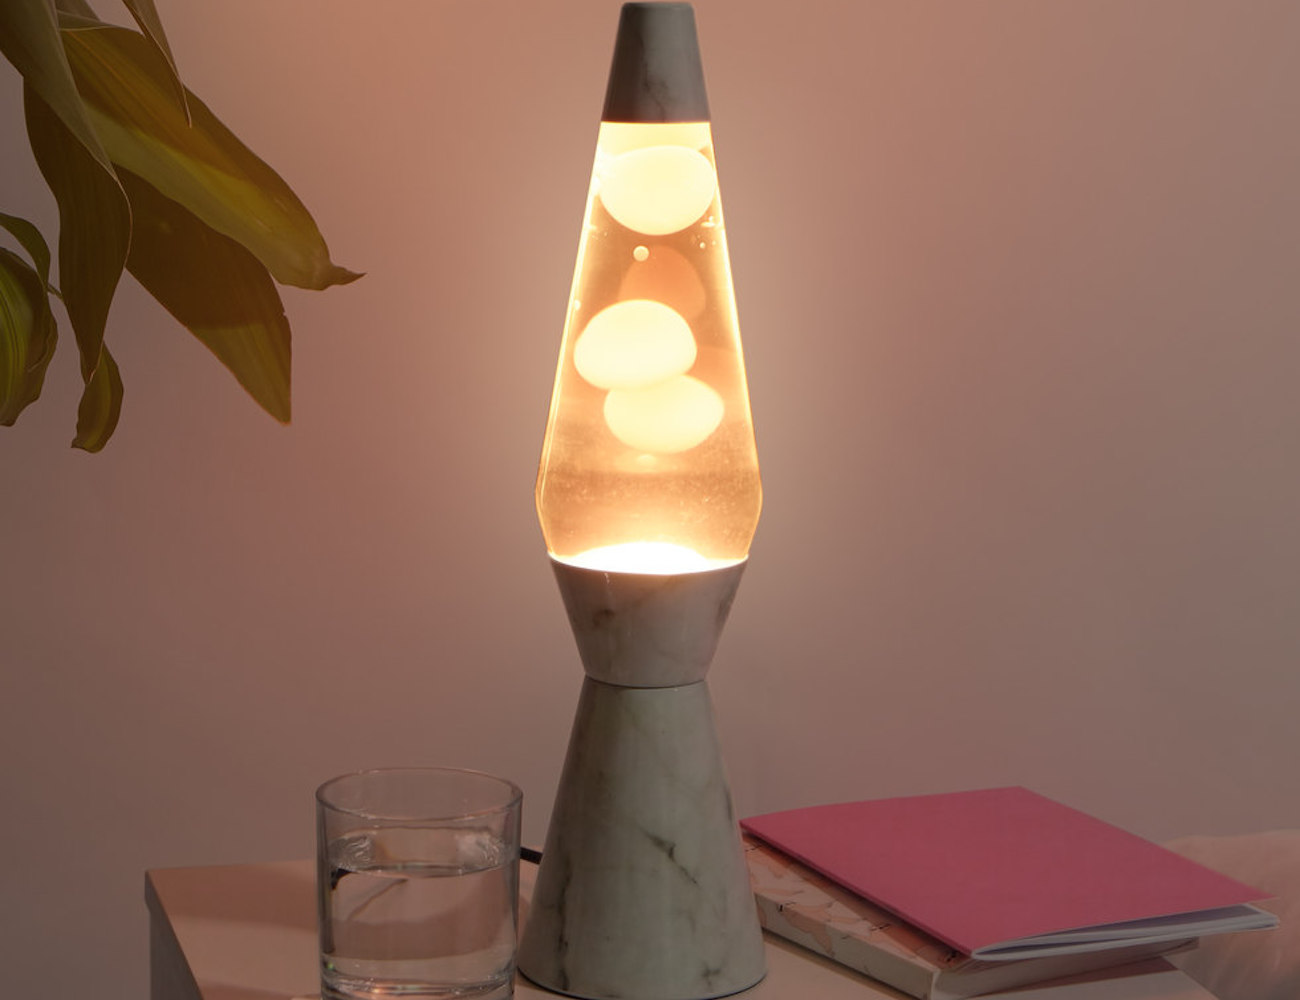
Now that you’re armed with the knowledge to fix common issues, you can continue to enjoy the hypnotic charm of your lava lamp for years to come. Sit back, relax, and immerse yourself in the captivating glow and soothing motion of the lava.
Frequently Asked Questions about How To Fix My Lava Lamp
Was this page helpful?
At Storables.com, we guarantee accurate and reliable information. Our content, validated by Expert Board Contributors, is crafted following stringent Editorial Policies. We're committed to providing you with well-researched, expert-backed insights for all your informational needs.