Home>Furniture>How To Make A Homemade Lava Lamp That Lasts Forever
Furniture
How To Make A Homemade Lava Lamp That Lasts Forever
Modified: August 16, 2024
Learn how to make a long-lasting homemade lava lamp that adds a unique touch to your furniture. Discover step-by-step instructions and create a mesmerizing centerpiece for your home.
(Many of the links in this article redirect to a specific reviewed product. Your purchase of these products through affiliate links helps to generate commission for Storables.com, at no extra cost. Learn more)
Introduction
Welcome to the world of DIY creativity! Have you ever wanted to create a mesmerizing lava lamp right in the comfort of your own home? Look no further, as we bring you a step-by-step guide on how to make a homemade lava lamp that will last forever.
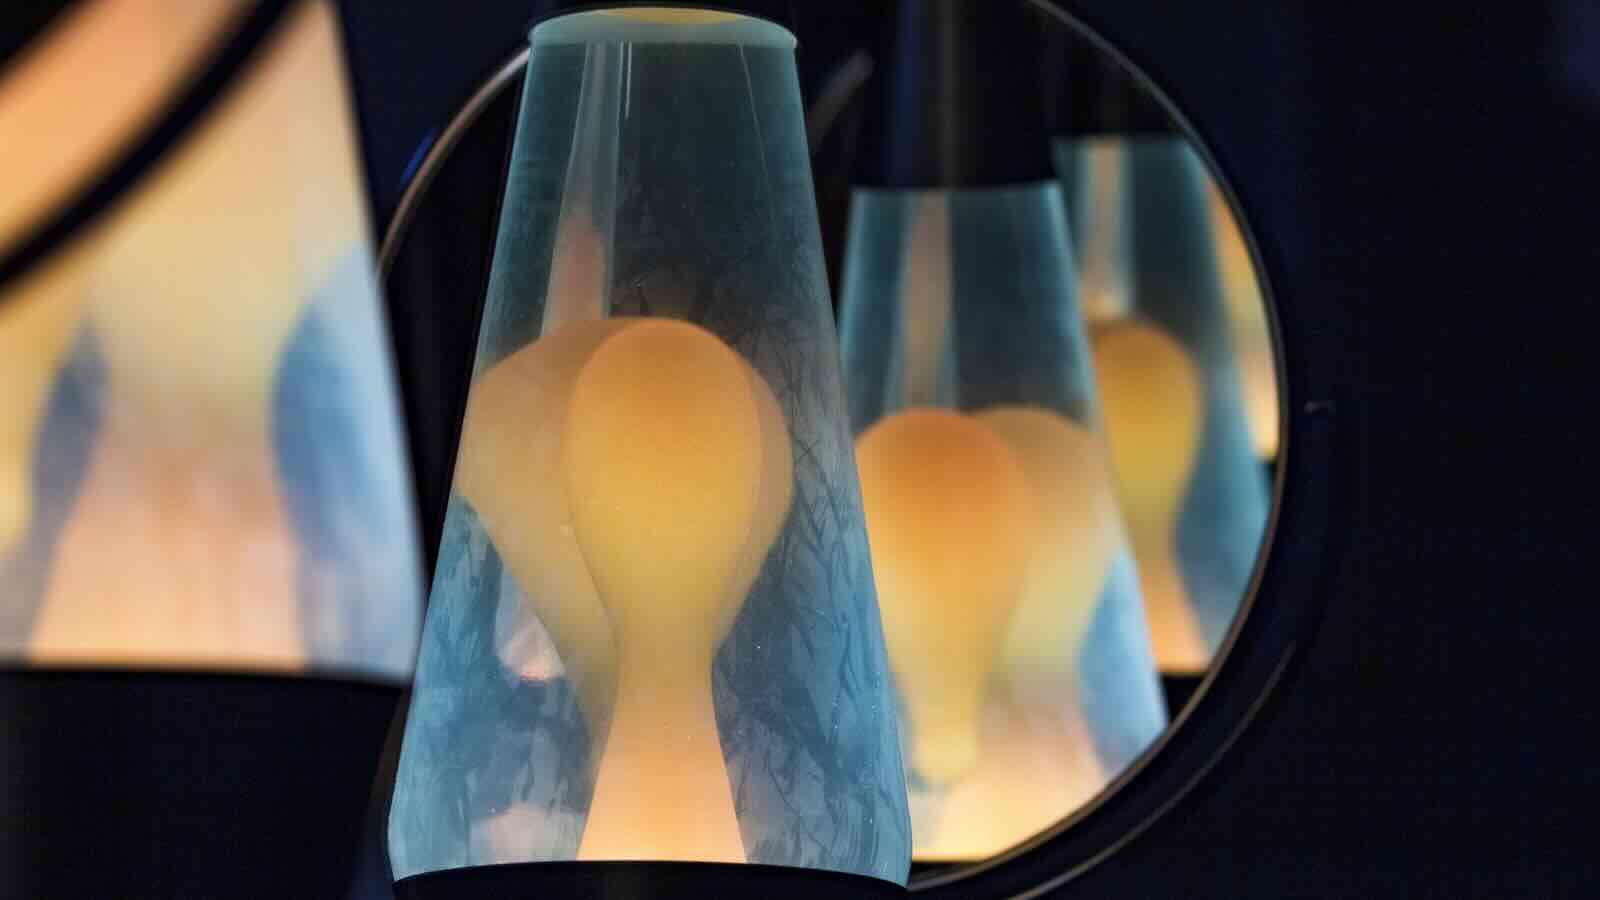
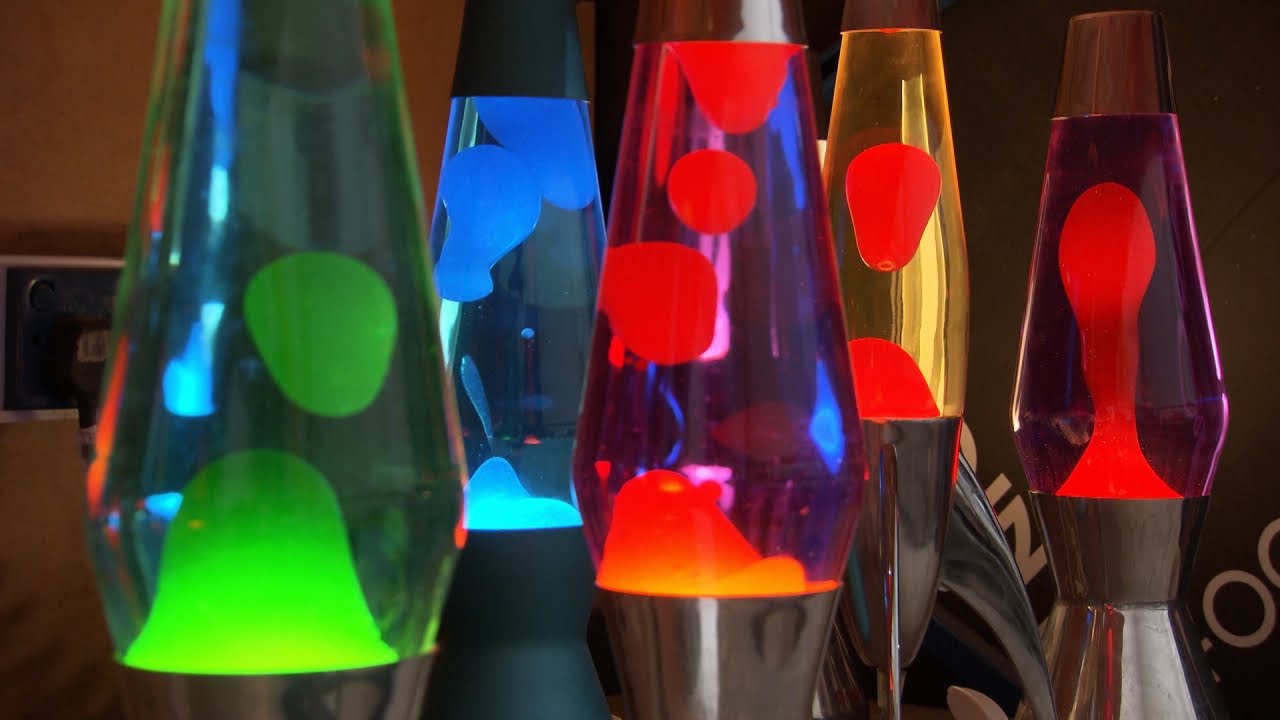
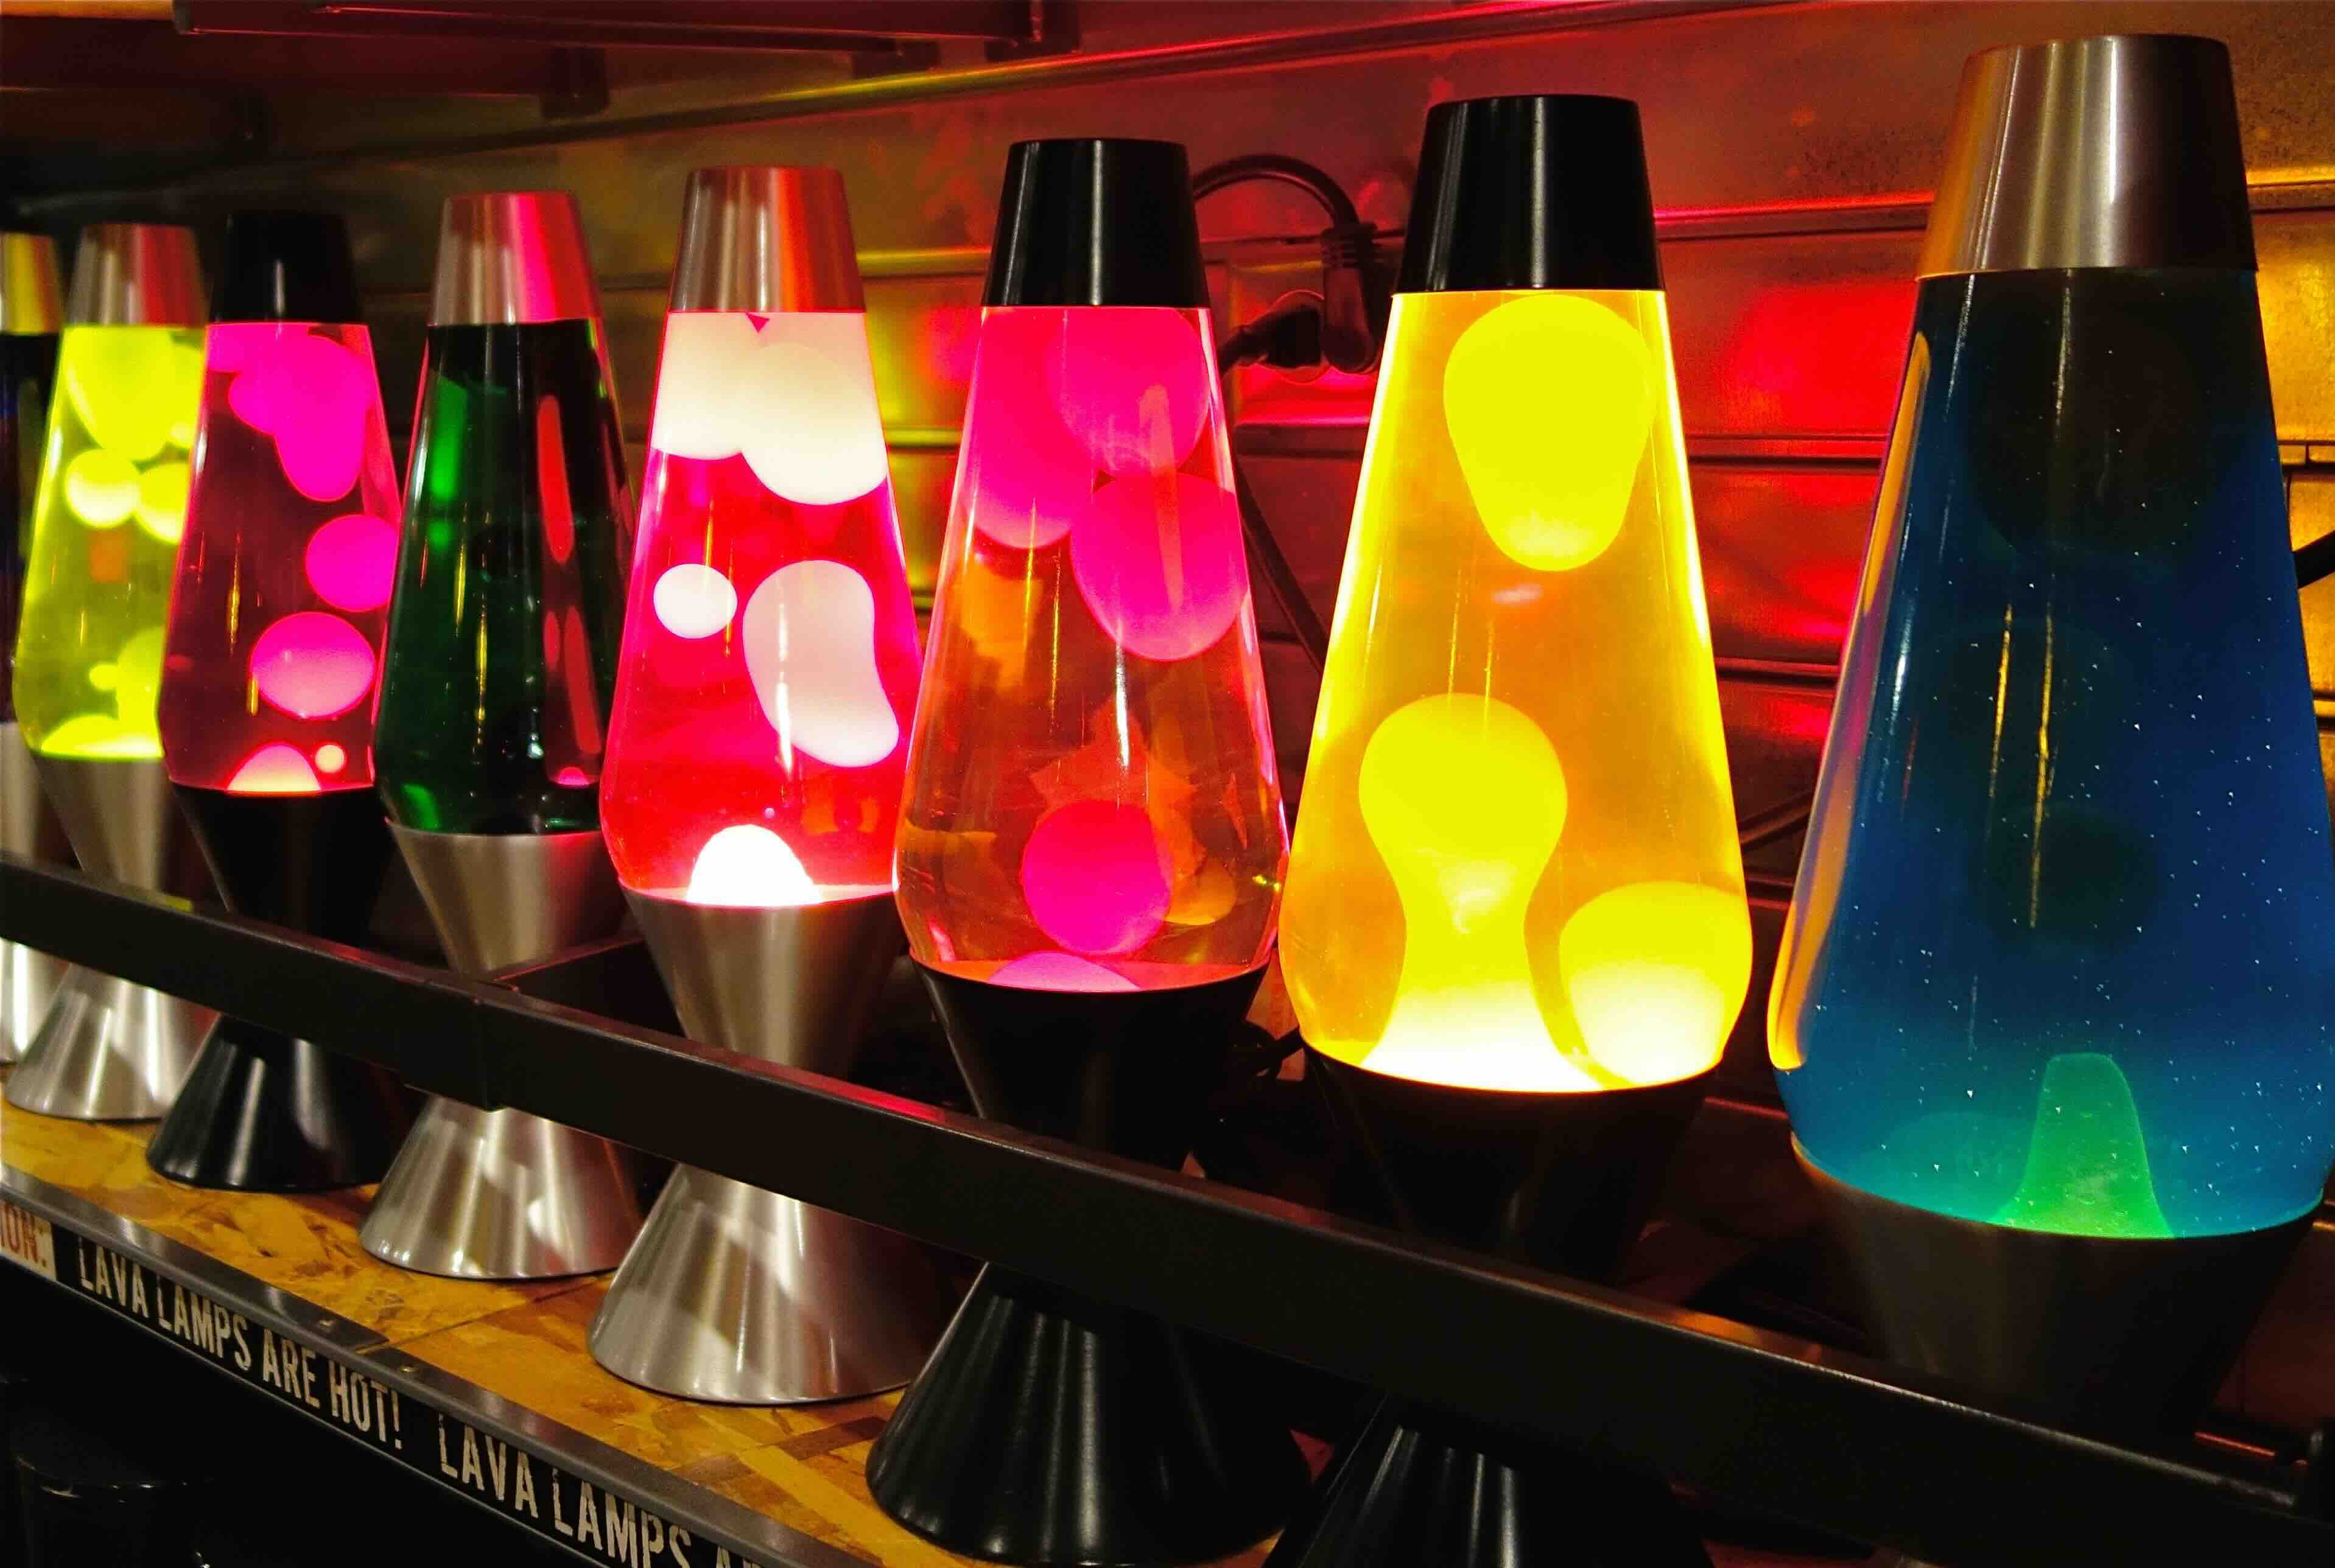
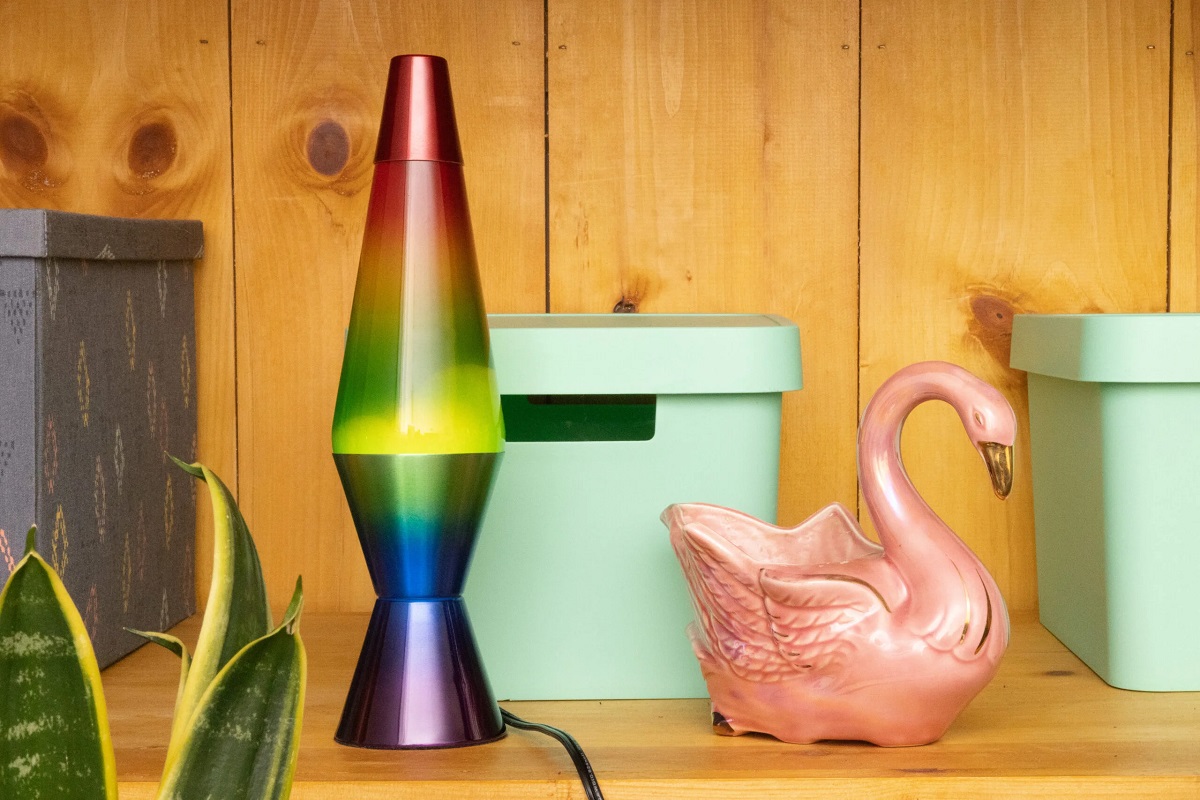
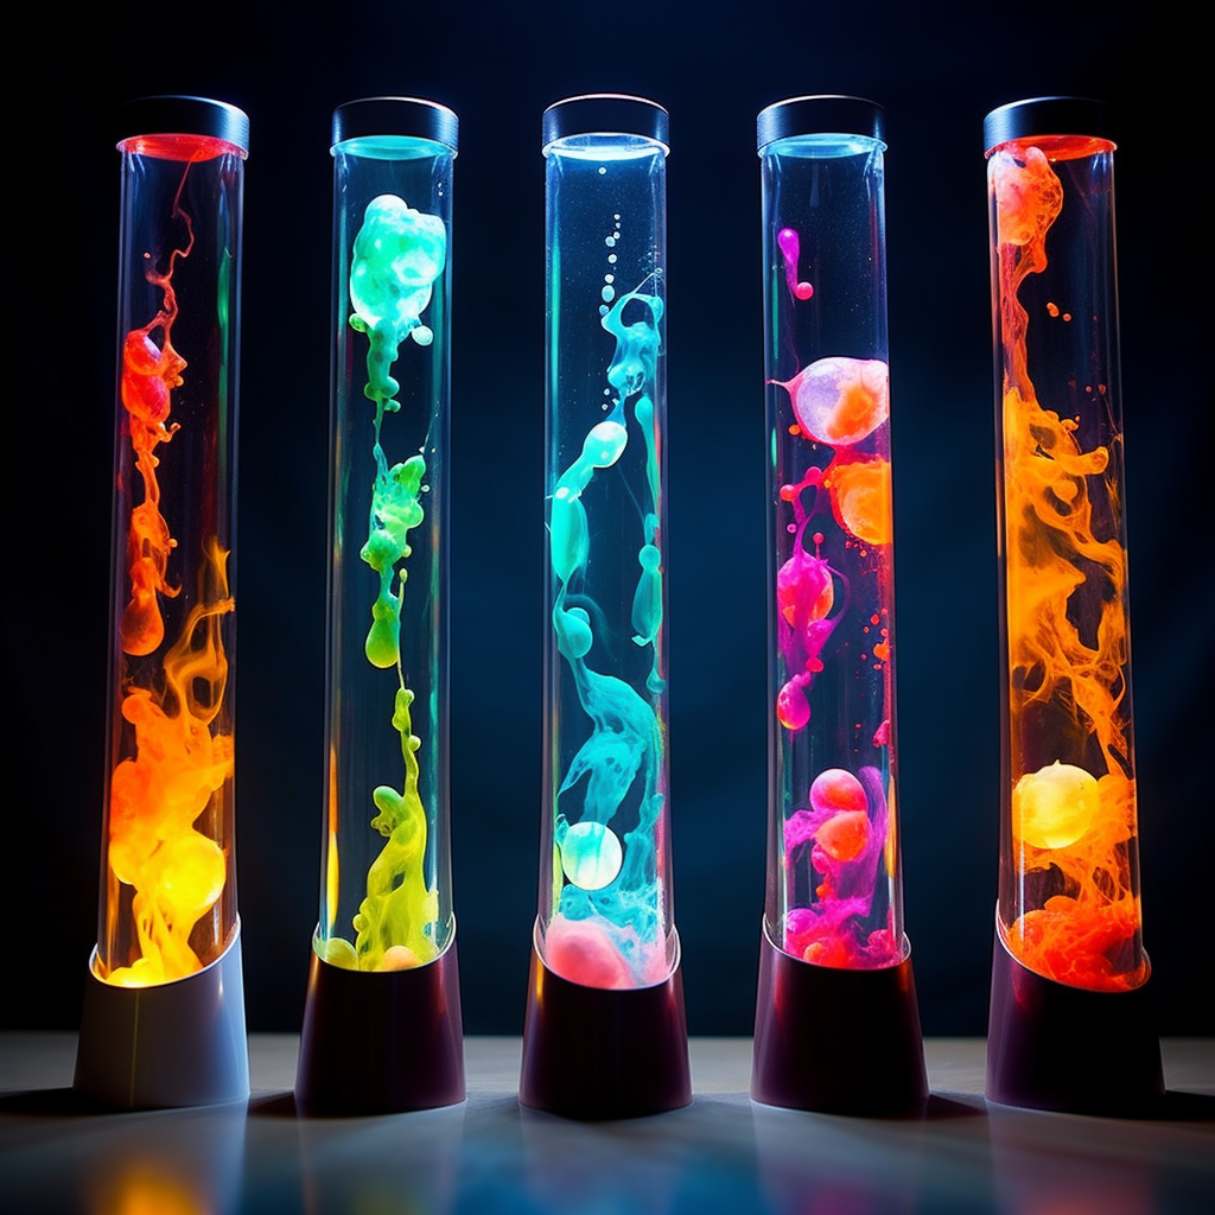
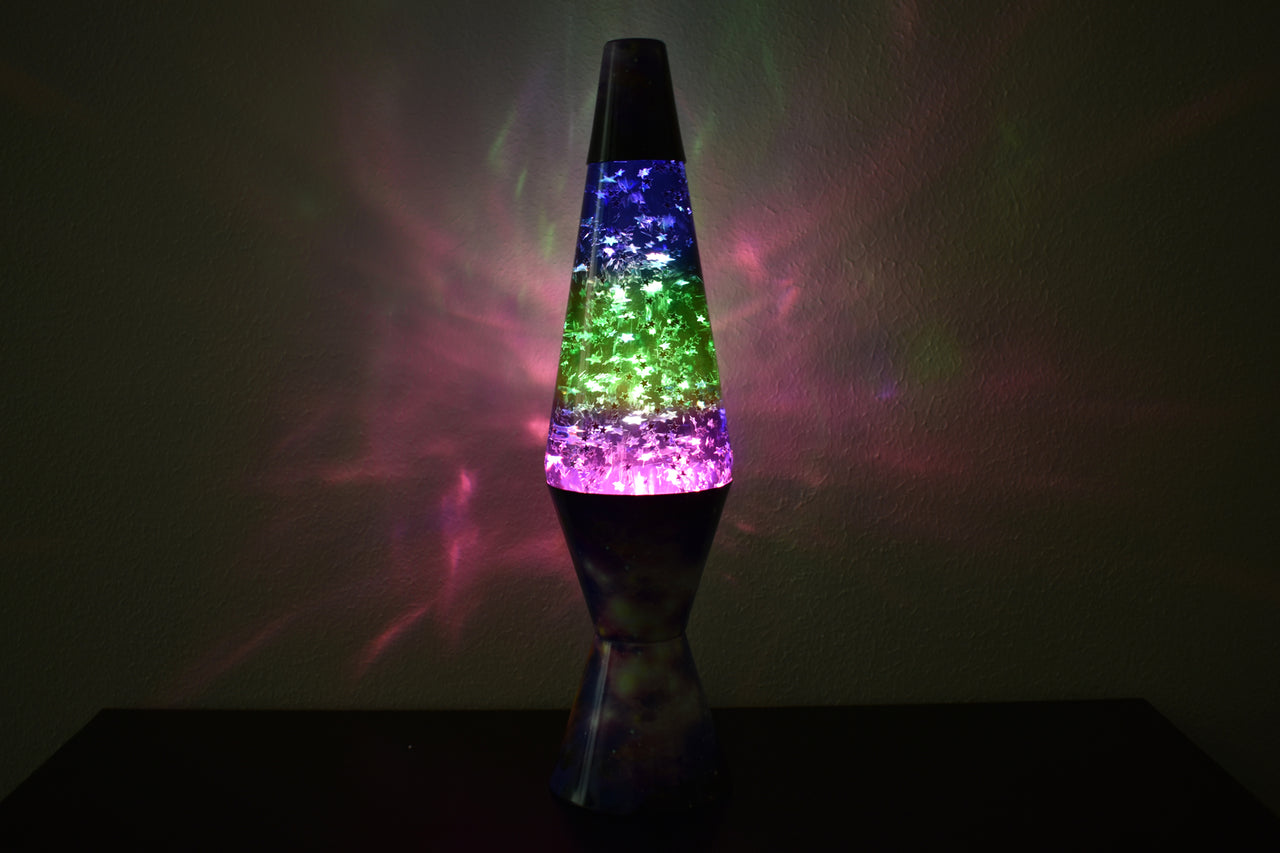
Lava lamps have been a popular and iconic decorative piece since they were first invented in the 1960s. Known for their hypnotic and captivating motion, these lamps create a tranquil ambiance that can instantly transform any space. While you can easily purchase a lava lamp from a store, making your own allows you to personalize the colors and design, making it a unique and one-of-a-kind piece.
Not only is creating a homemade lava lamp a fun and engaging project, but it also serves as a great science experiment, allowing you to explore the fascinating properties of liquids and gases. So, let’s gather the materials needed and get started on this exciting journey of creating your own forever-lasting lava lamp.
Key Takeaways:
- Unleash your creativity and explore the mesmerizing world of DIY by crafting a homemade lava lamp that will captivate and delight, bringing a touch of magic and tranquility to any space.
- Transform your home decor with a unique and personalized touch by creating a visually stunning lava lamp that lasts forever, allowing you to enjoy the calming and hypnotic effect of the gentle movement of colored blobs.
Read more: How Does A Homemade Lava Lamp Work?
Materials Needed
Before we dive into the step-by-step process, let’s gather all the materials you’ll need to create your homemade lava lamp:
- A clear plastic or glass bottle: Choose a bottle with a tight-fitting cap or lid. The size of the bottle is up to you, but a 16-ounce (500 ml) bottle is a good option.
- Vegetable oil: You’ll need enough vegetable oil to fill about three-fourths of the bottle. Any type of vegetable oil, such as canola or sunflower oil, will work fine.
- Water: You’ll need water to fill the remaining one-fourth of the bottle. Tap water is suitable for this project.
- Food coloring: Pick your favorite colors to create the lava effect. Food coloring in liquid or gel form works well for this project.
- Effervescent tablet: Choose an effervescent tablet, such as an Alka-Seltzer or an antacid tablet. These tablets will create the bubbly effect in your lava lamp.
- Optional: Glitter or decorative items: If you want to add some extra sparkle to your lava lamp, feel free to include glitter or small decorative items. This step is entirely optional but can add a touch of personalization to your creation.
Once you’ve gathered all the materials, you’re ready to move on to the next step: preparing the bottle for your homemade lava lamp.
Step 1: Preparing the Bottle
The first step in creating your homemade lava lamp is to prepare the bottle that will serve as the base for your creation. Follow these simple instructions:
- Start by making sure your bottle is clean and dry. Any residue or moisture inside the bottle can affect the lava lamp’s performance.
- Remove the cap or lid from the bottle and set it aside. You will need it later.
- If desired, you can decorate your bottle using permanent markers or stickers to give it a unique and personalized touch. Let your creativity shine!
Once you have prepared the bottle, it’s time to move on to the next step: mixing the oil and water.
Step 2: Mixing the Oil and Water
Now that you’ve prepared the bottle, it’s time to create the colorful lava effect by mixing oil and water. Follow these steps:
- Pour vegetable oil into the bottle, filling it about three-fourths of the way. The exact amount will depend on the size of your bottle.
- Next, slowly pour water into the bottle, filling the remaining one-fourth of the space. Be careful not to overfill the bottle.
- Once both the oil and water are in the bottle, allow them to settle and separate naturally. It may take a few minutes for the two liquids to fully separate.
Remember, oil and water do not mix due to their different densities. The oil will float on top of the water, creating the perfect medium for the lava lamp effect.
Now that you have successfully mixed the oil and water, it’s time to add some vibrant colors to your lava lamp. Move on to the next step: adding food coloring.
To make a homemade lava lamp that lasts forever, use a high-quality oil and a water-soluble dye to create a long-lasting and vibrant lava effect.
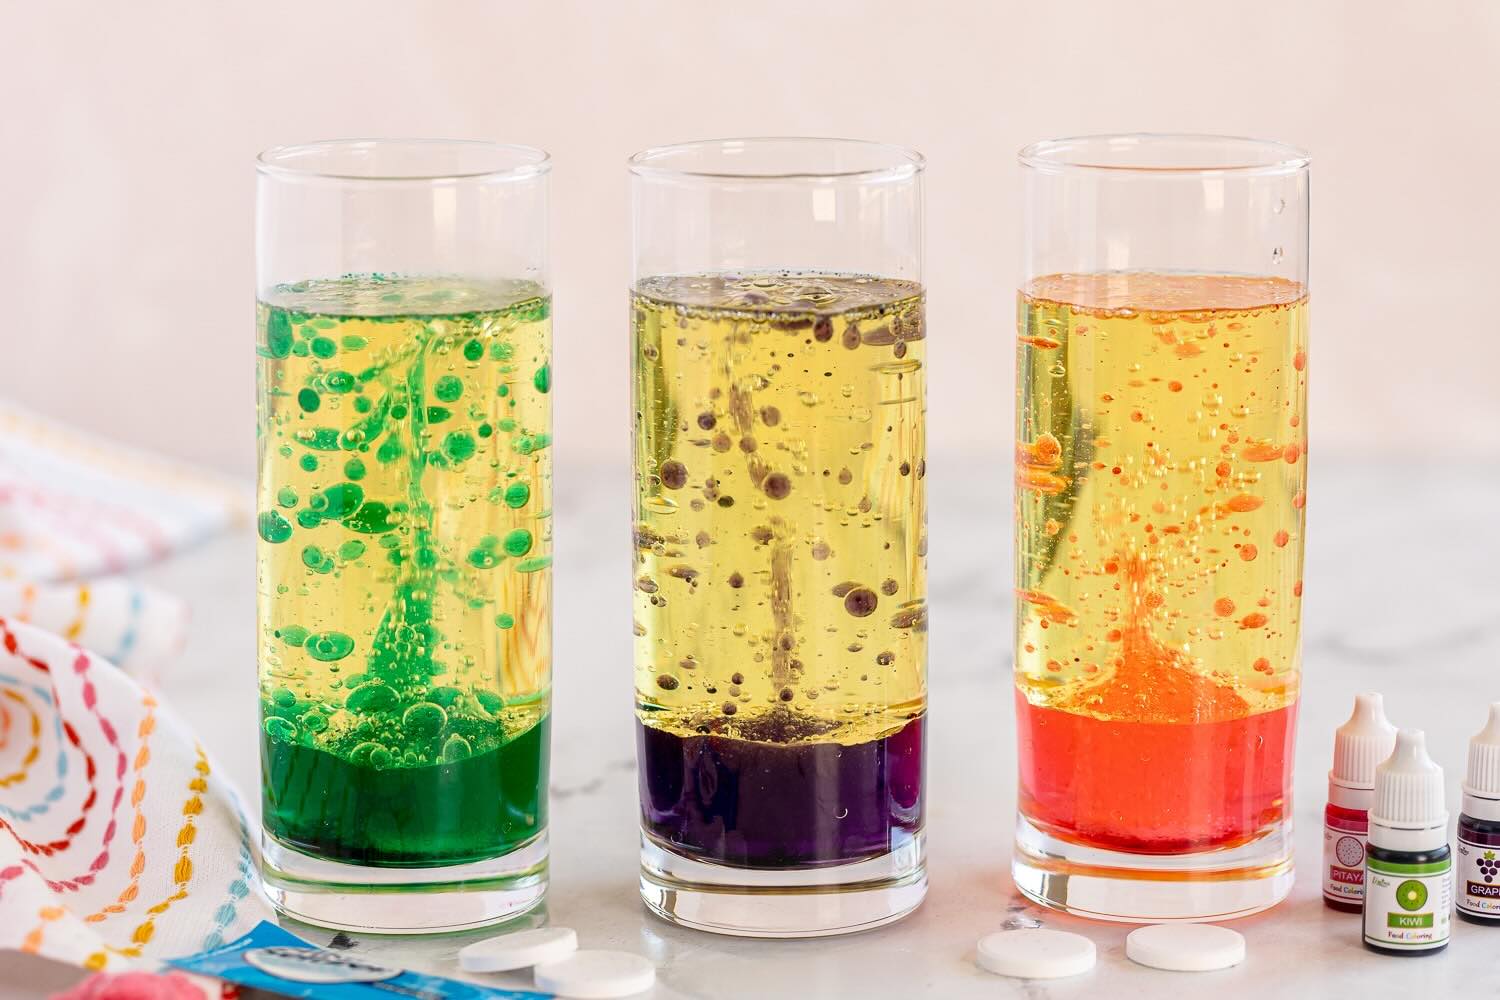
Step 3: Adding Food Coloring
Adding food coloring is where the magic happens in creating a visually stunning lava lamp. Follow these steps to achieve vibrant and captivating colors:
- Select your desired food coloring colors. You can choose one color or multiple colors to create a unique blend.
- Open the food coloring bottles or containers, and carefully add a few drops of each color into the bottle. Start with a small amount and add more as needed to achieve your desired hue.
- Observe how the food coloring drops sink through the oil and mix with the water, creating beautiful droplets of color.
- If desired, use a long stirring stick or the handle of a spoon to gently swirl the oil and water mixture. This will help distribute the colors and create a more dynamic lava effect.
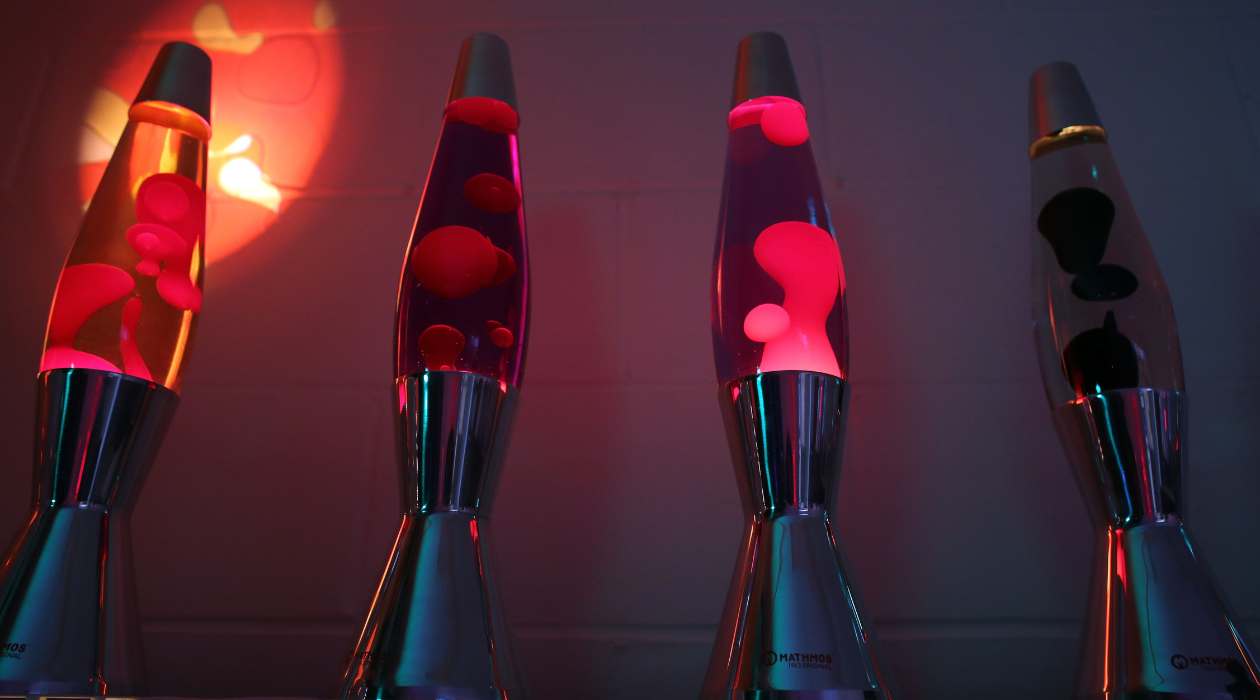
Experiment with different color combinations to unleash your creativity. Remember that lighter colors may appear more vibrant, while darker colors will create a more dramatic effect.
Now that you’ve added the food coloring, it’s time to bring your lava lamp to life by adding an effervescent tablet. Let’s move on to the next step.
Read more: How To Clean A Lava Lamp
Step 4: Adding the Effervescent Tablet
Now comes the exciting part of creating the bubbling lava effect in your homemade lava lamp. Follow these steps to add the effervescent tablet:
- Ensure that the oil and water in the bottle have settled and separated properly.
- Take the effervescent tablet, such as an Alka-Seltzer or an antacid tablet, and break it into smaller pieces. This will help the tablet dissolve more evenly and create a longer-lasting bubbly effect.
- Drop one or two small pieces of the effervescent tablet into the bottle.
- Observe as the tablet reacts with the water, releasing carbon dioxide gas bubbles that rise to the surface through the oil, creating the mesmerizing lava lamp effect.
Adding the effervescent tablet triggers a chemical reaction that produces a fizzing effect, causing the colored water droplets to move and create dynamic patterns. The more tablet pieces you add, the more vibrant and active the lava lamp effect will be.
Now that the effervescent tablet is added, it’s time to sit back, relax, and observe your homemade lava lamp in action. Move on to the final step: observing the lava lamp.
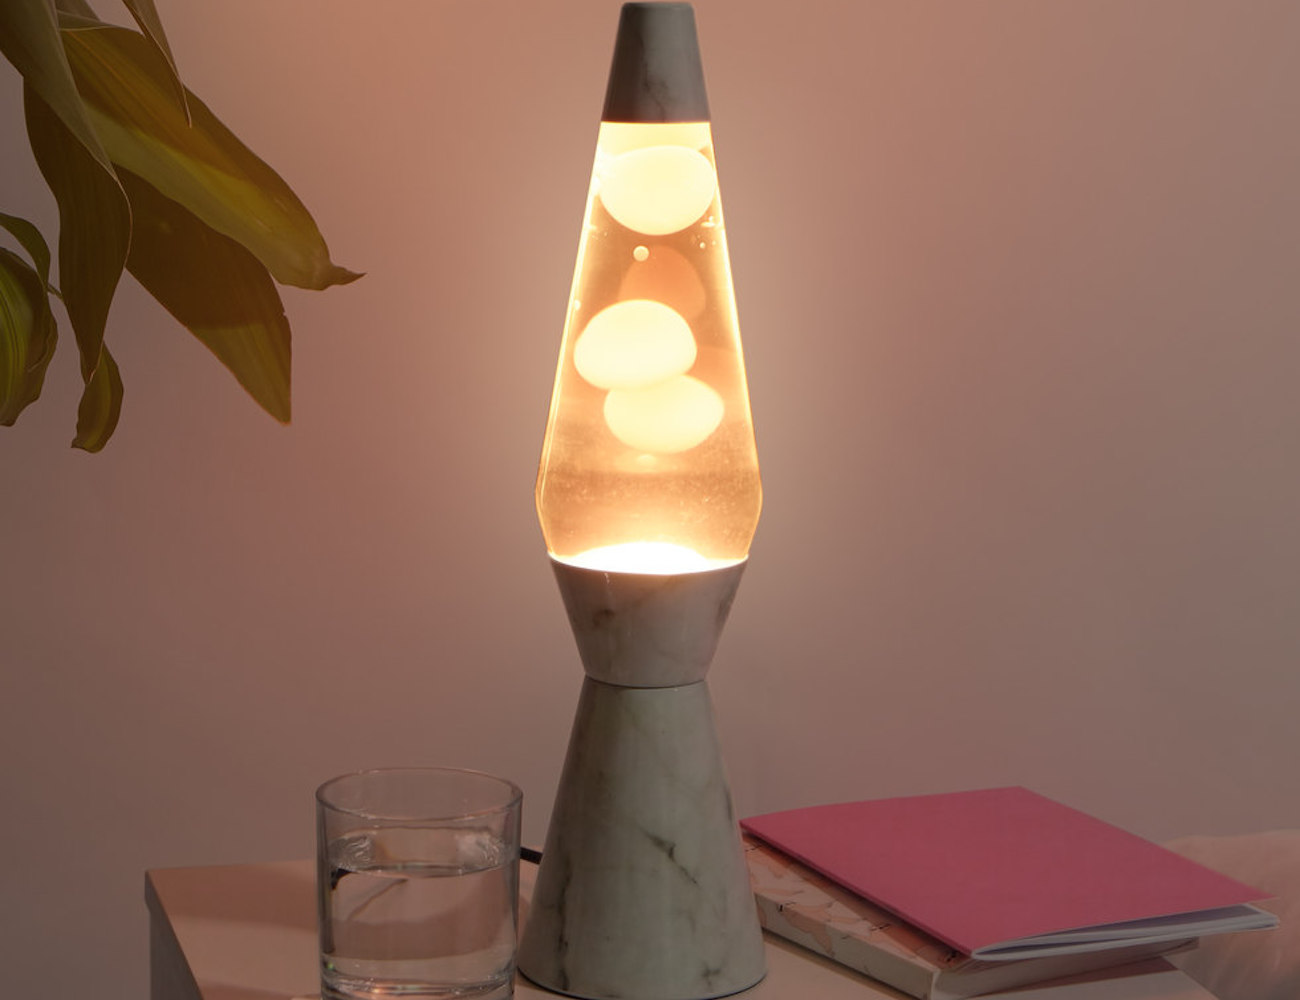
Step 5: Observing the Lava Lamp
Now that you’ve completed all the previous steps and your homemade lava lamp is ready, it’s time to sit back, relax, and enjoy the mesmerizing display. Here are a few things to keep in mind while observing your lava lamp:
- Place the lid or cap back on the bottle to prevent any accidental spills or splashes.
- Find a stable surface to place your lava lamp on. Make sure it’s a safe and visible spot where you can fully appreciate the motion and colors.
- Position the lava lamp in a room with dim lighting or in the evening to enhance the visual impact.
- As the effervescent tablet dissolves, you’ll see bubbles of carbon dioxide rising through the oil and water mixture, creating the lava lamp effect.
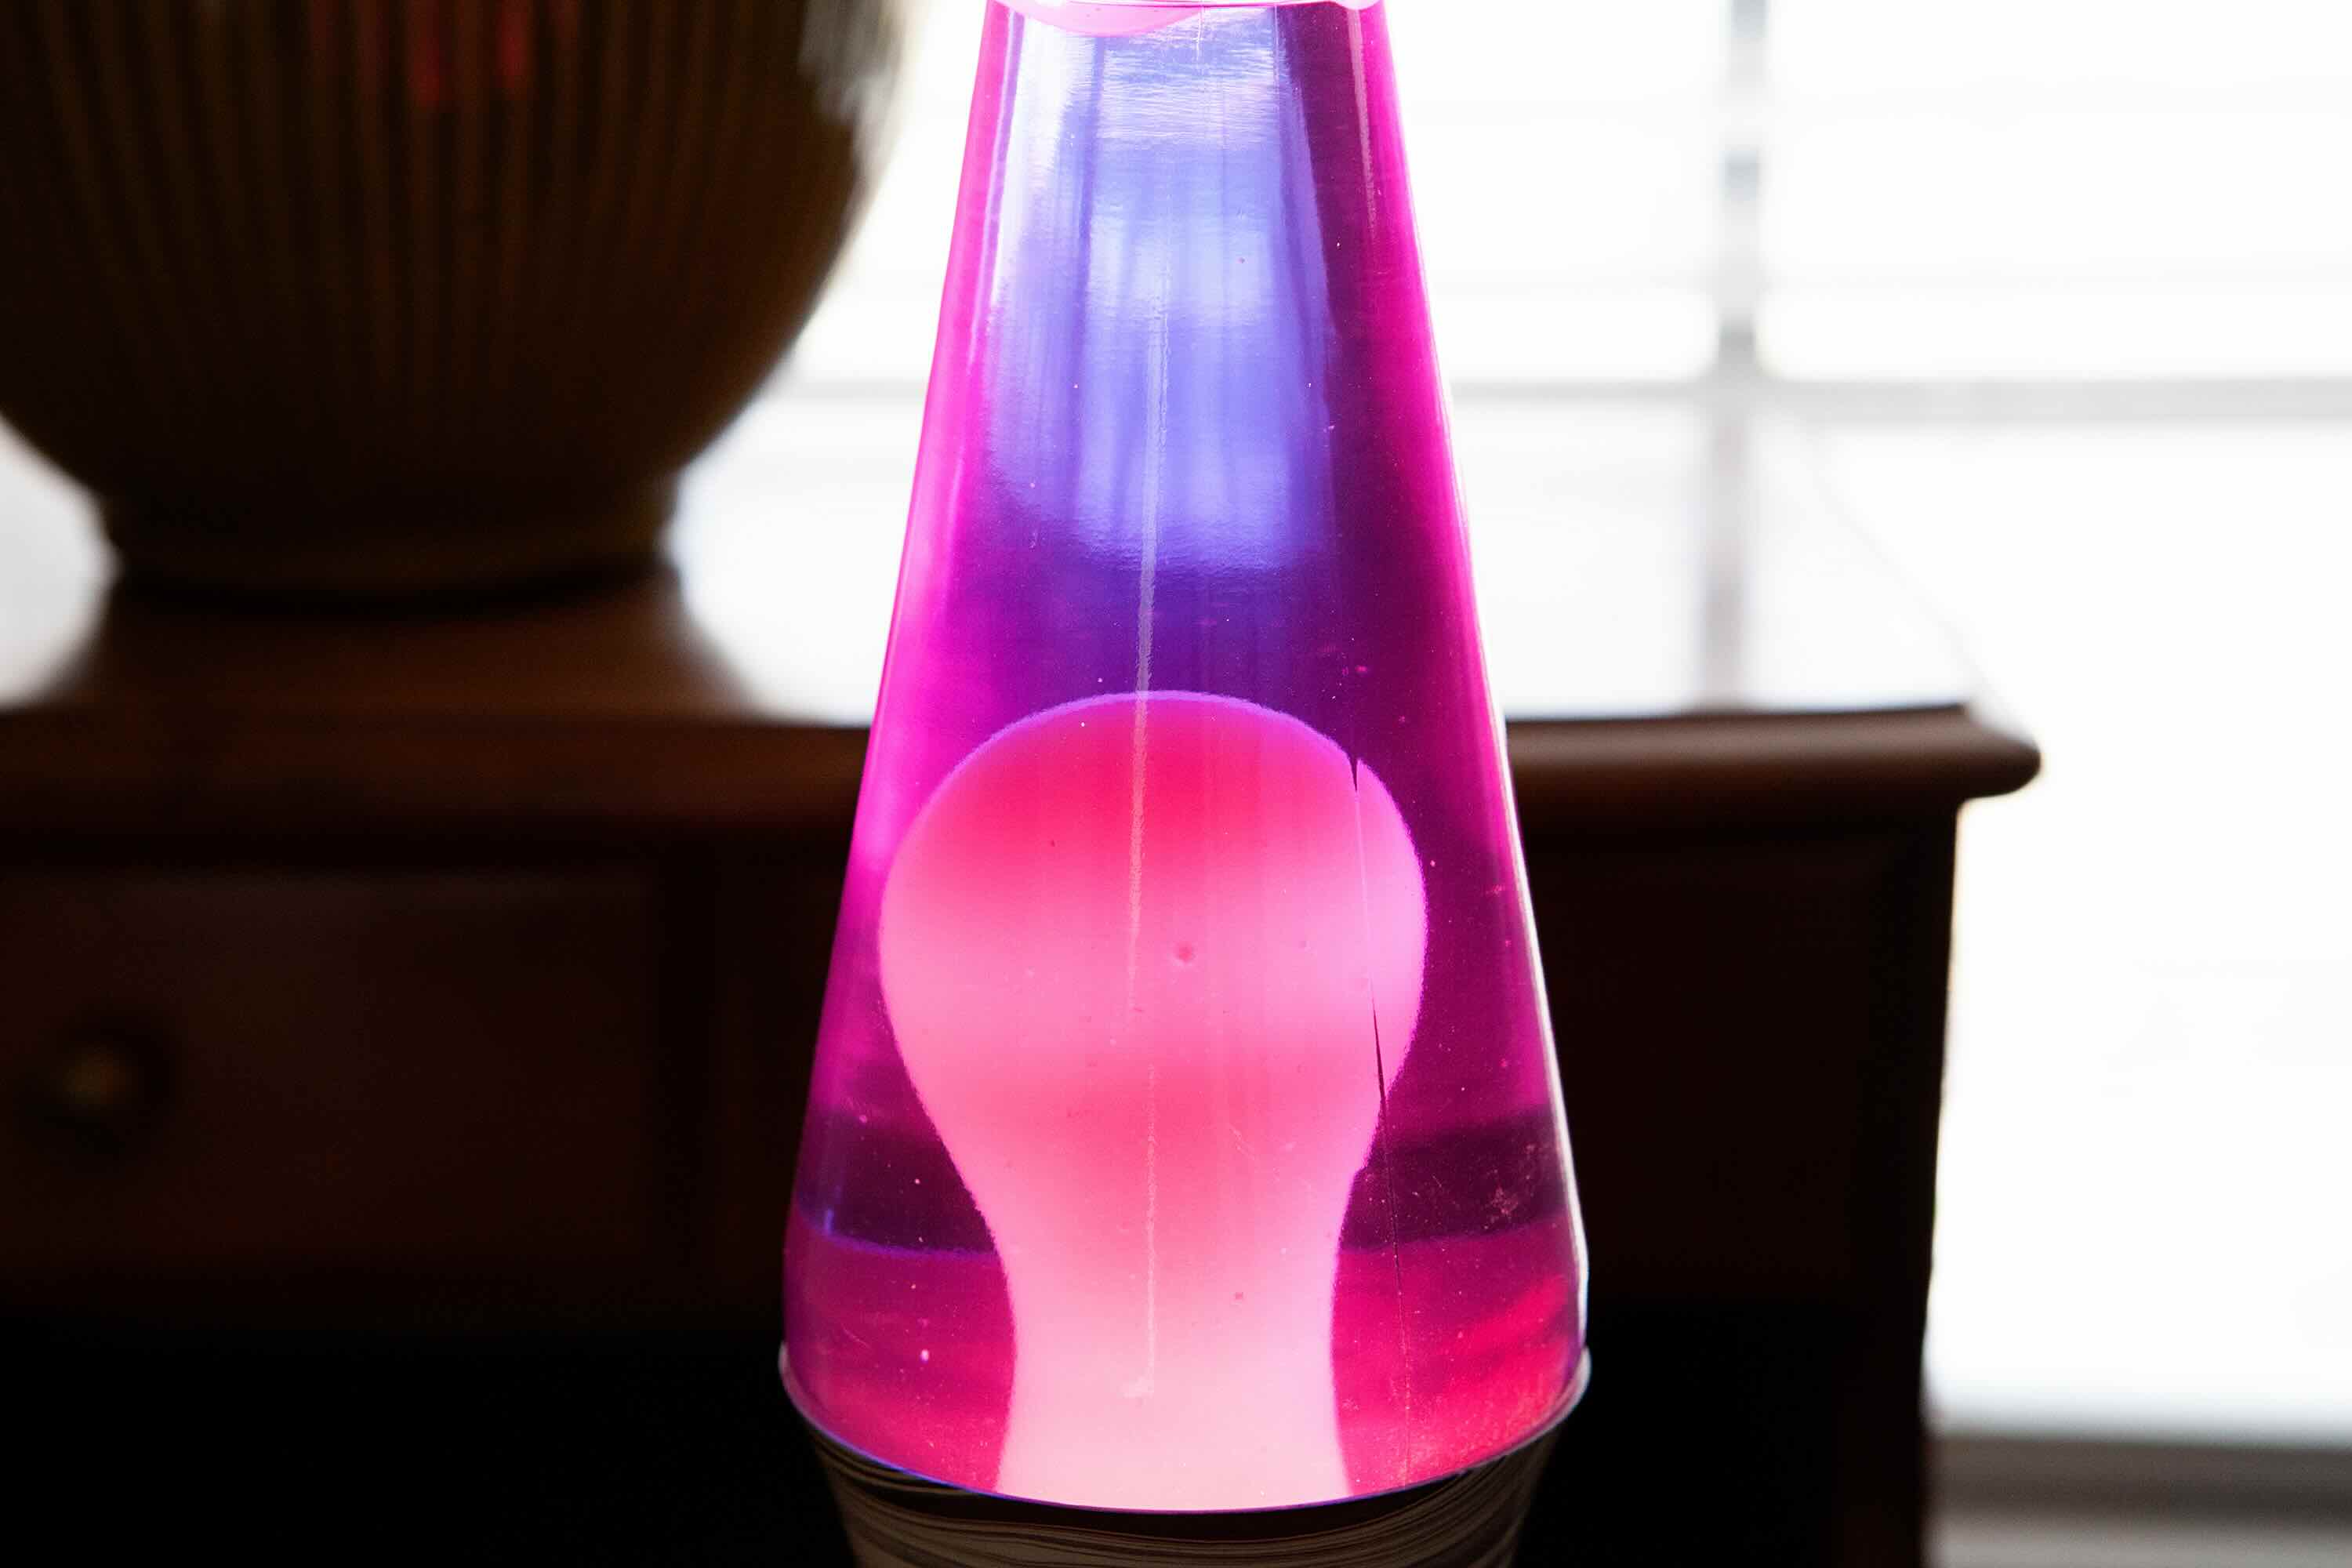
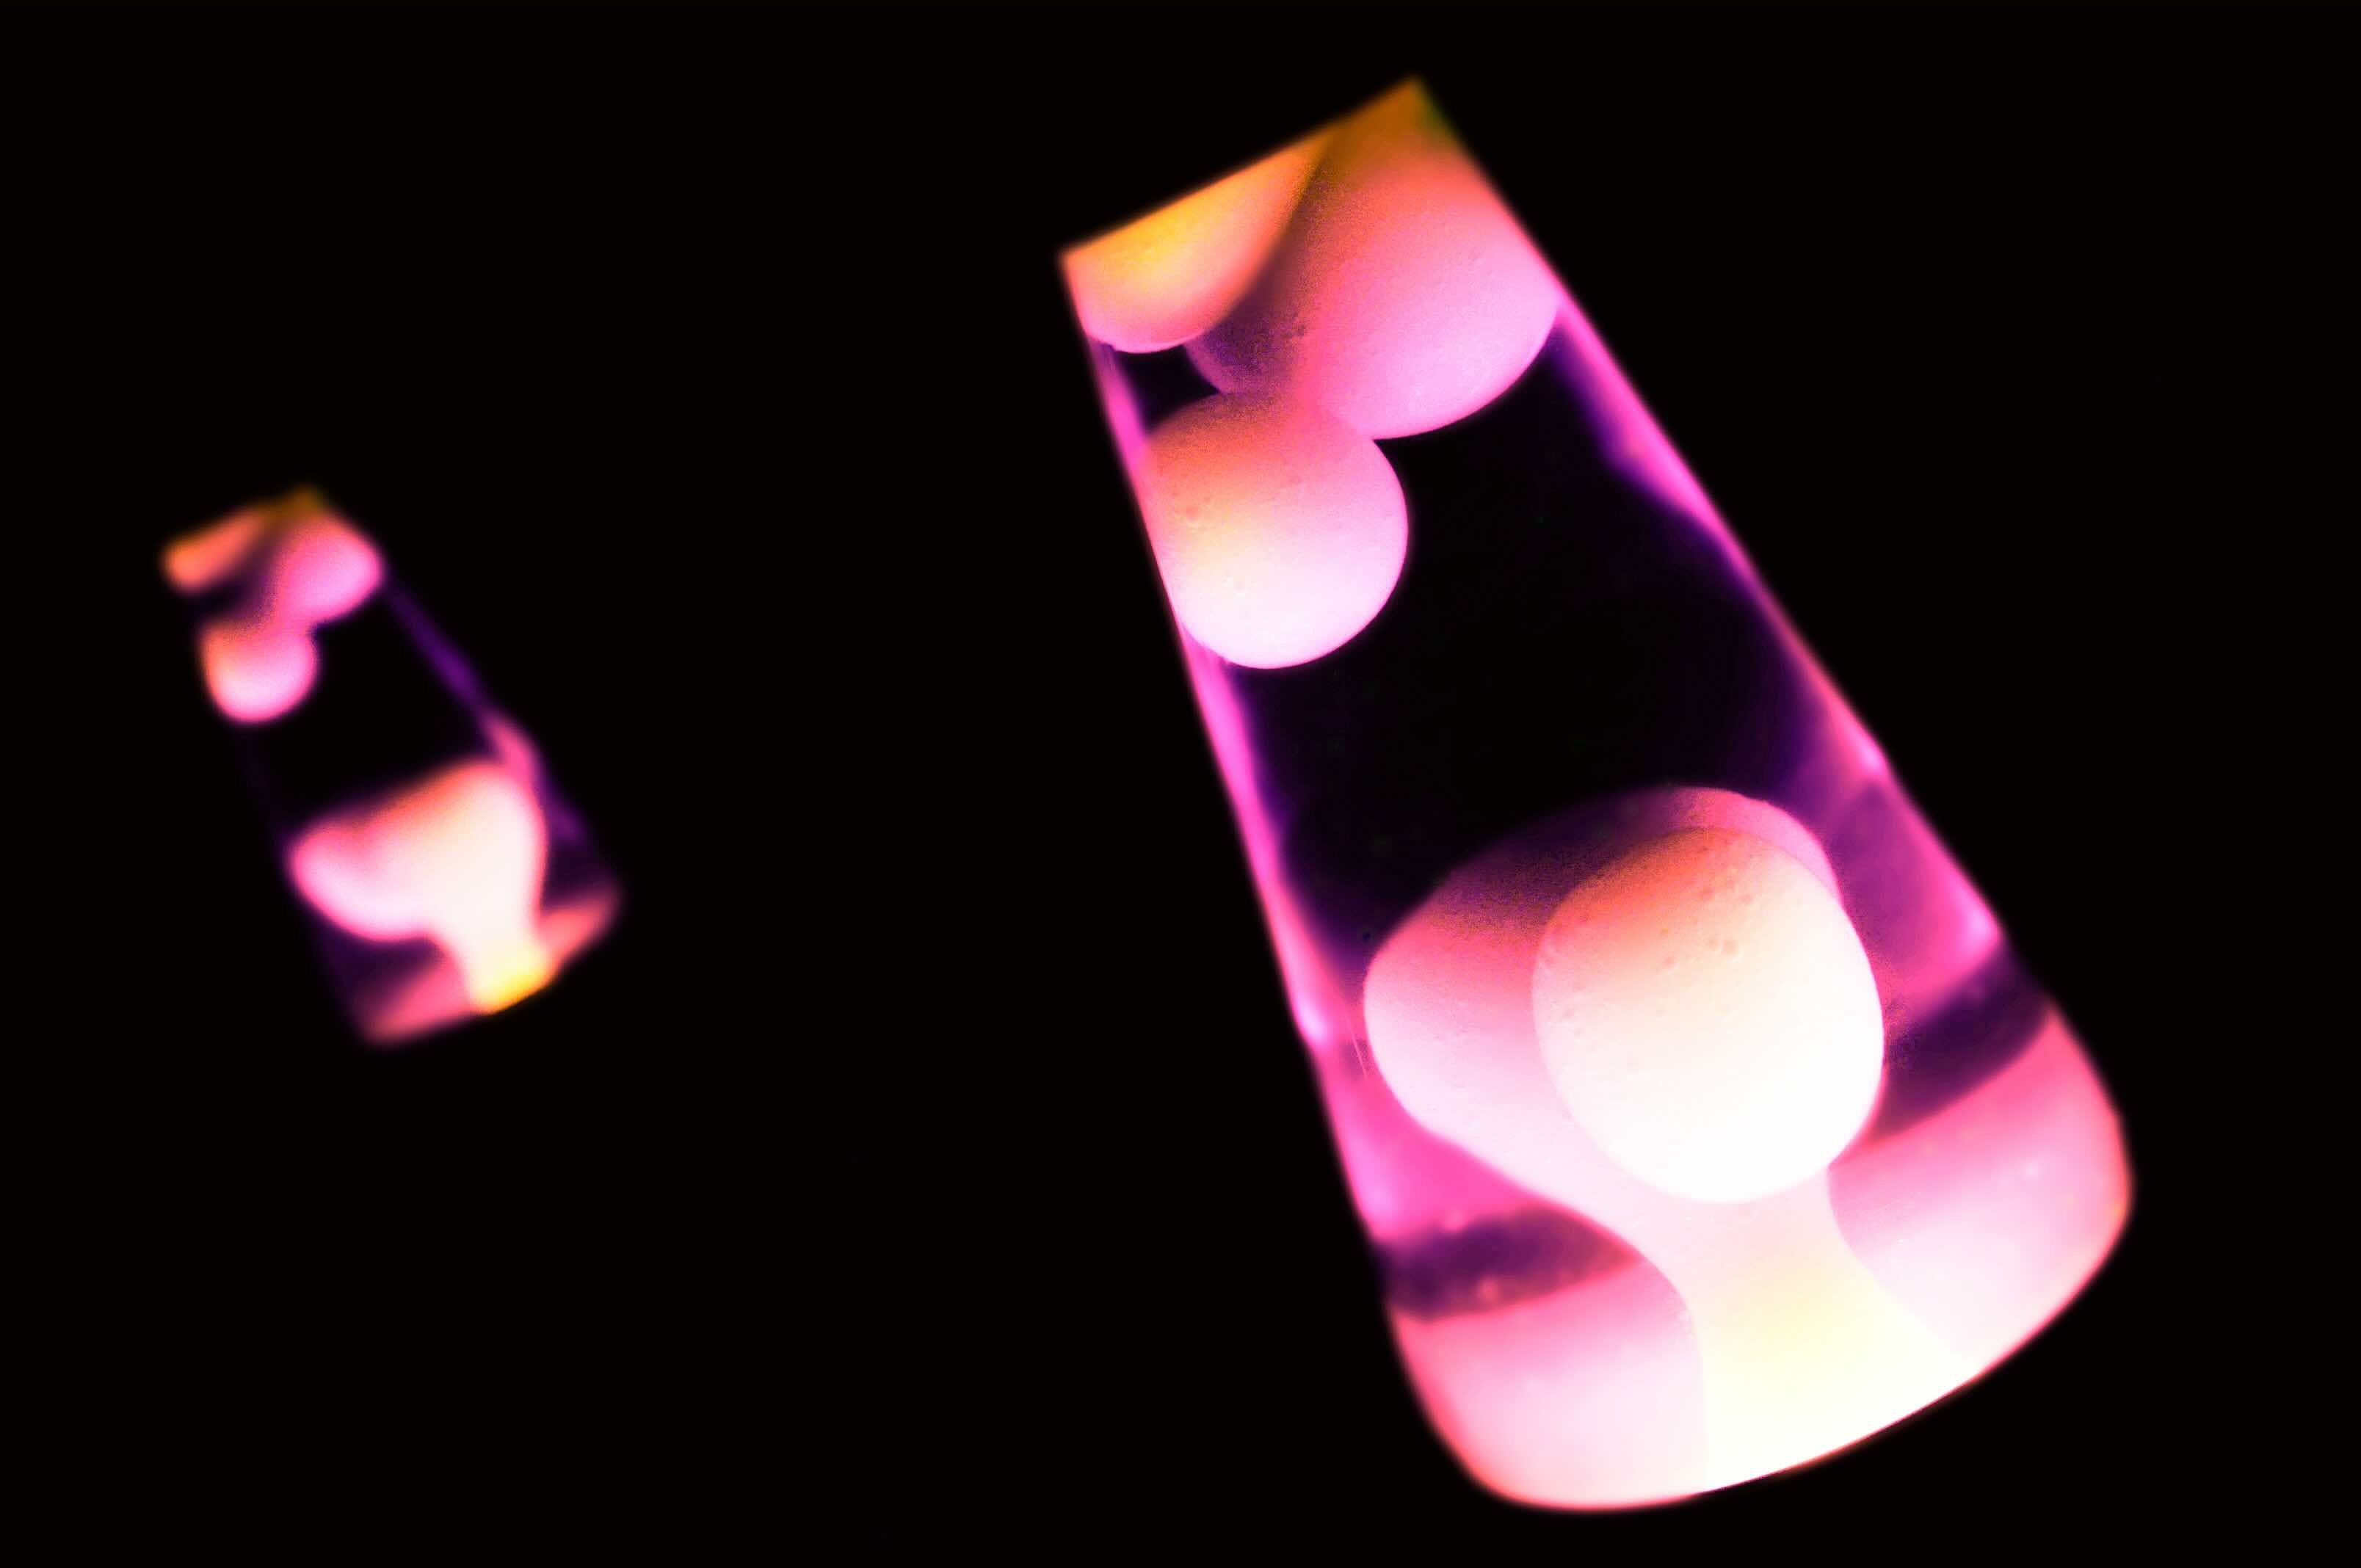
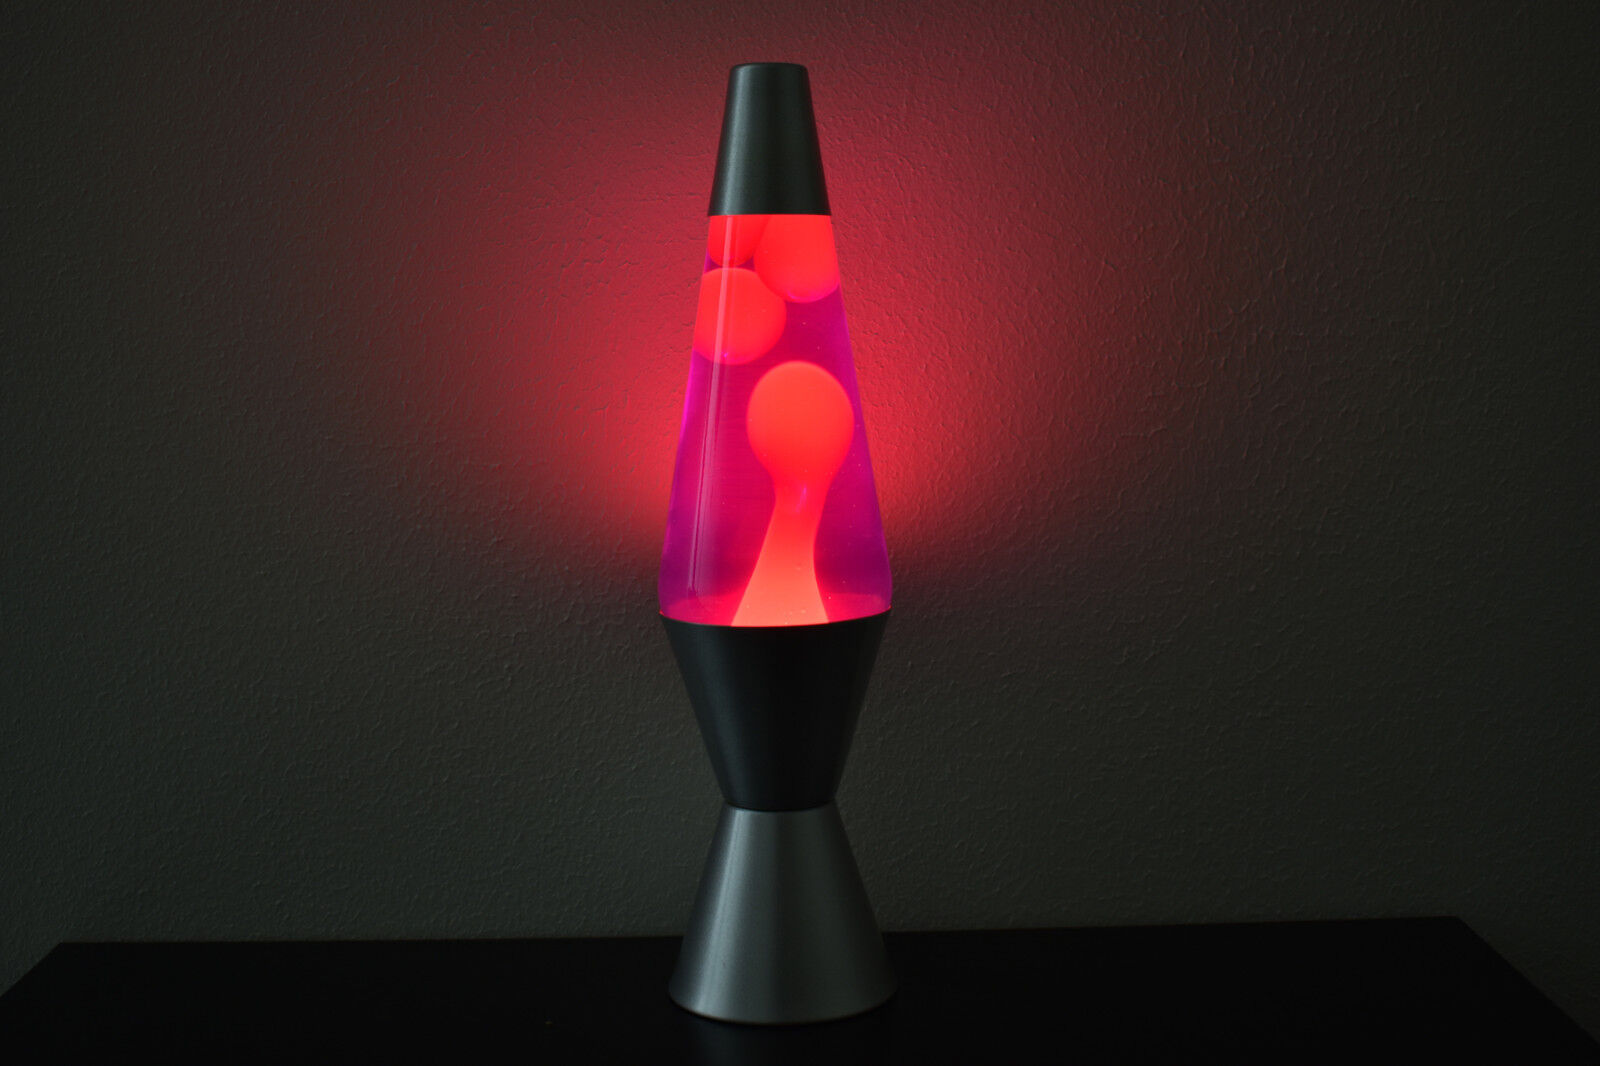
- Observe how the colored water droplets move, flow, and interact with each other, forming captivating patterns and shapes.
- Enjoy the calming and hypnotic effect created by the gentle movement of the colored blobs.
While you can enjoy your homemade lava lamp for as long as you wish, be sure to follow any safety precautions specified by the manufacturer of the effervescent tablet.
Congratulations! You have successfully created your very own homemade lava lamp that will last forever. You can now add a touch of creativity and science to your home decor or impress your friends with this fascinating DIY project.
Feel free to experiment with different colors, sizes of bottles, or even adding glitter or decorative items to make your lava lamp even more unique and personalized.
Now it’s time to sit back, relax, and let the mesmerizing lava lamp transport you into a world of tranquility and wonder.
Conclusion
Creating a homemade lava lamp is not only a fun and engaging DIY project but also a fascinating exploration of the properties of liquids and gases. By following the steps outlined in this guide, you’ve successfully crafted a mesmerizing lava lamp that will captivate and delight.
Throughout the process, you’ve learned how to prepare the bottle, mix the oil and water, add vibrant food coloring, and activate the bubbly effect using an effervescent tablet. The end result is a visually stunning lava lamp that brings a touch of magic and tranquility to any space.
Feel free to experiment with different color combinations, bottle sizes, and add your creative touch with glitter or decorative items. The possibilities are endless, allowing you to personalize your lava lamp and make it truly one-of-a-kind.
Whether you choose to use your homemade lava lamp as a beautiful decoration, a calming nightlight, or a conversation starter, it’s sure to bring joy and wonder to those who observe it.
Remember to exercise caution and follow any safety instructions provided by the effervescent tablet manufacturer. Additionally, ensure that the lava lamp is placed on a stable surface away from the reach of children or pets.
Now, sit back, relax, and enjoy the mesmerizing motion and vibrant colors of your homemade lava lamp. Let it create a serene and captivating ambiance that can transport you to a world of tranquility and wonder.
So, why wait? Gather your materials, unleash your creativity, and embark on the journey of creating your very own homemade lava lamp that will last forever.
Now that you've mastered creating a homemade lava lamp, why not check out the latest trends with lava lamps set to shine in the coming year? Whether you're looking to upgrade your current model or find inspiration for a new addition, our article on the most incredible lava lamps for 2024 offers a dazzling array of choices. Perfect for anyone eager to enhance their home's ambiance with vibrant, flowing colors.
Frequently Asked Questions about How To Make A Homemade Lava Lamp That Lasts Forever
Was this page helpful?
At Storables.com, we guarantee accurate and reliable information. Our content, validated by Expert Board Contributors, is crafted following stringent Editorial Policies. We're committed to providing you with well-researched, expert-backed insights for all your informational needs.