Furniture
How To Make A Lava Lamp In A Bottle
Modified: January 9, 2024
Learn how to make a captivating lava lamp in a bottle with simple materials. Create a unique furniture piece and bring a mesmerizing touch to your home décor.
(Many of the links in this article redirect to a specific reviewed product. Your purchase of these products through affiliate links helps to generate commission for Storables.com, at no extra cost. Learn more)
Introduction
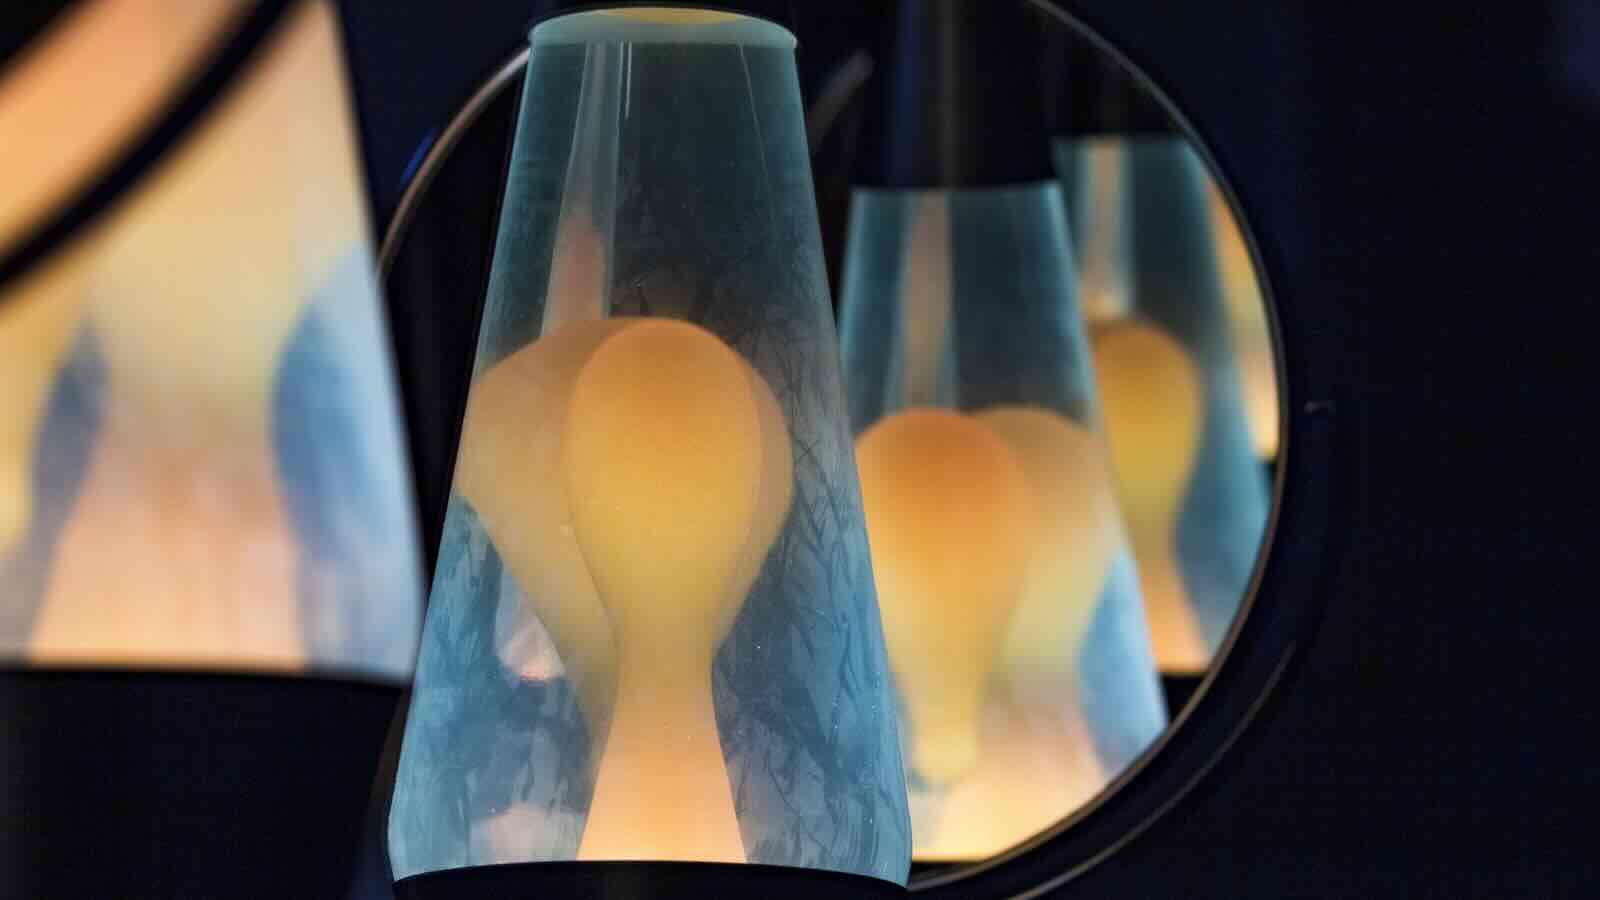
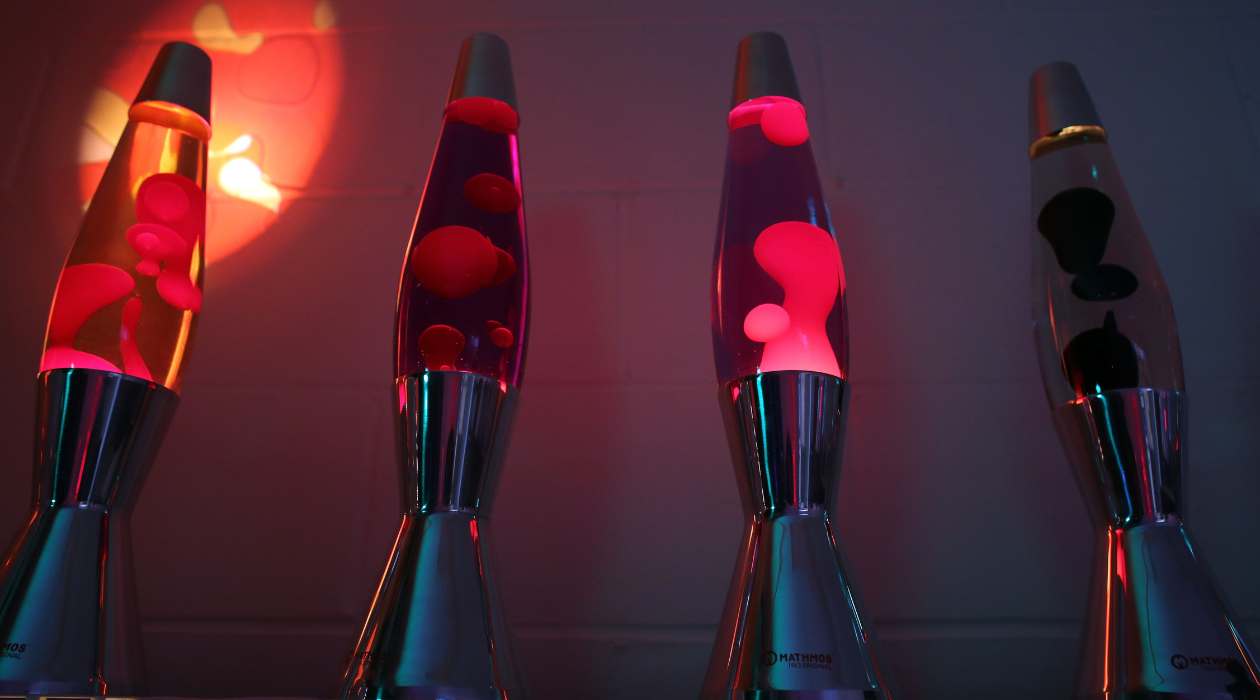
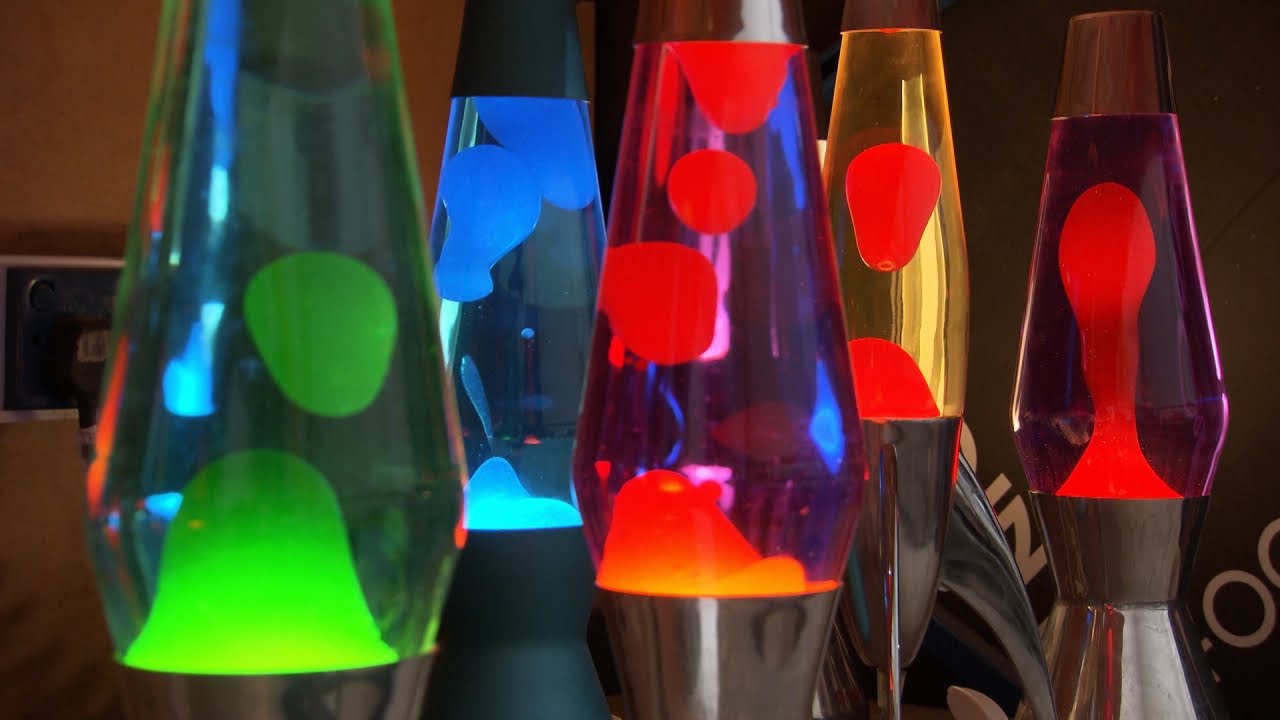
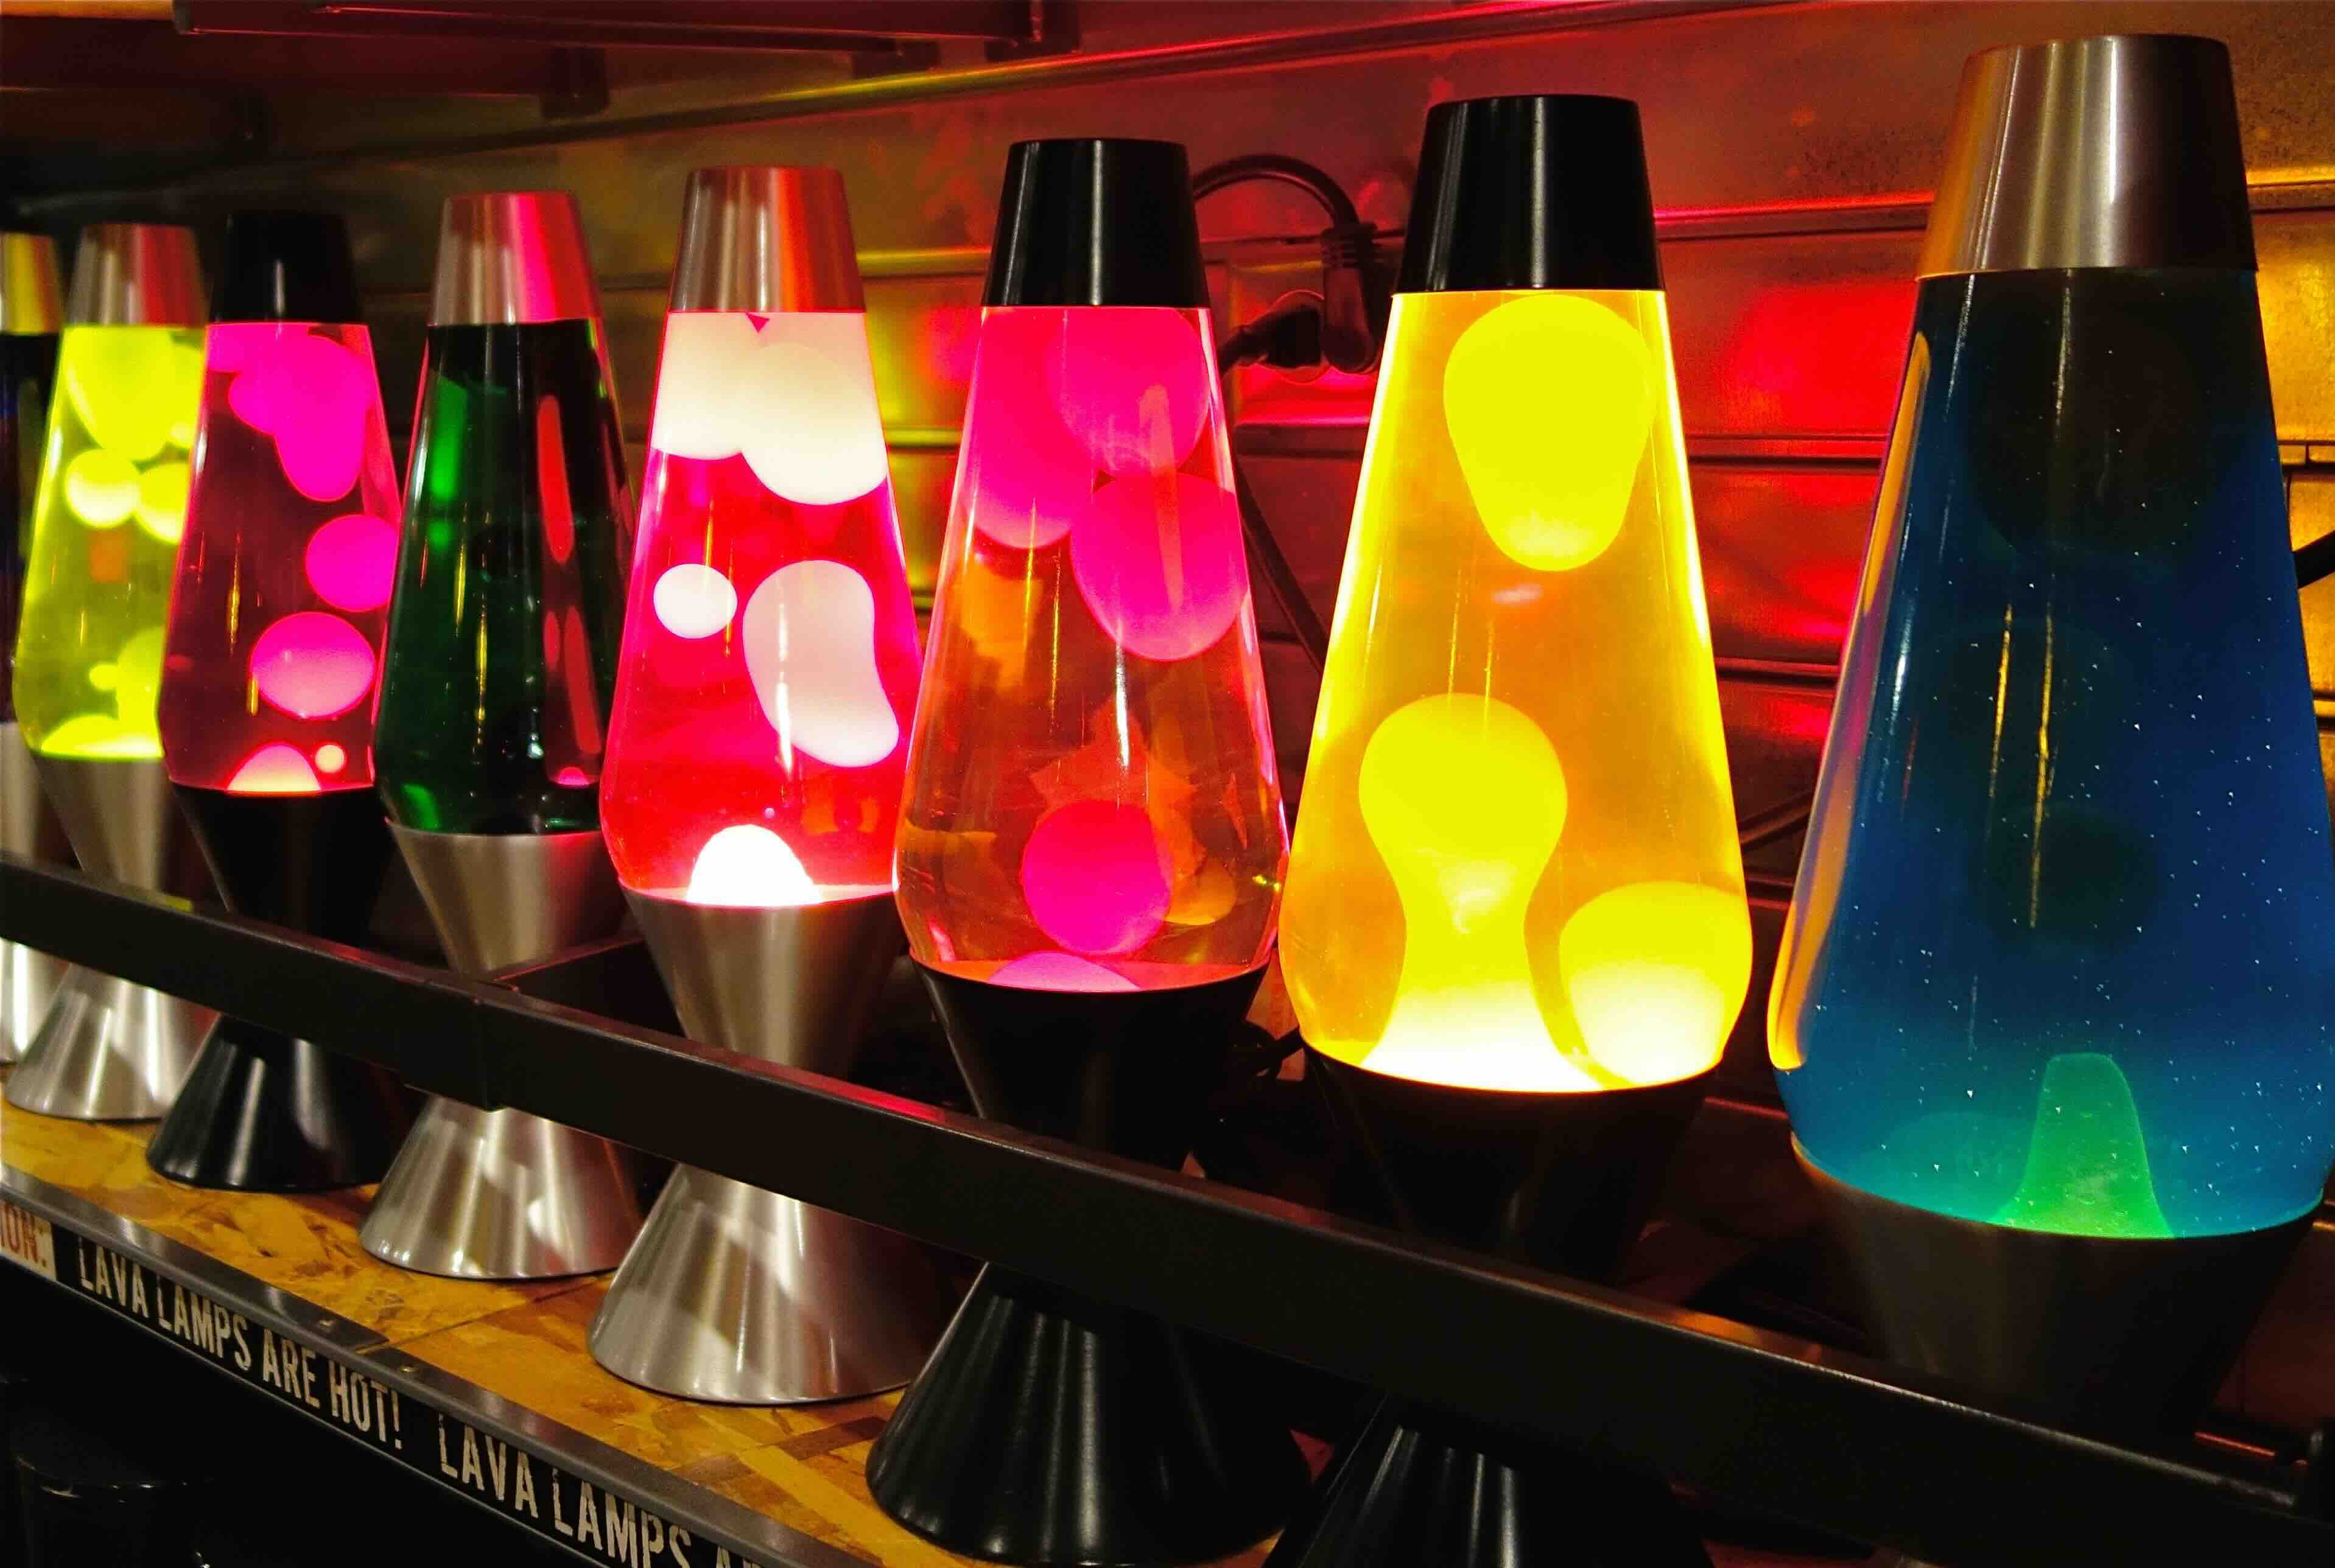
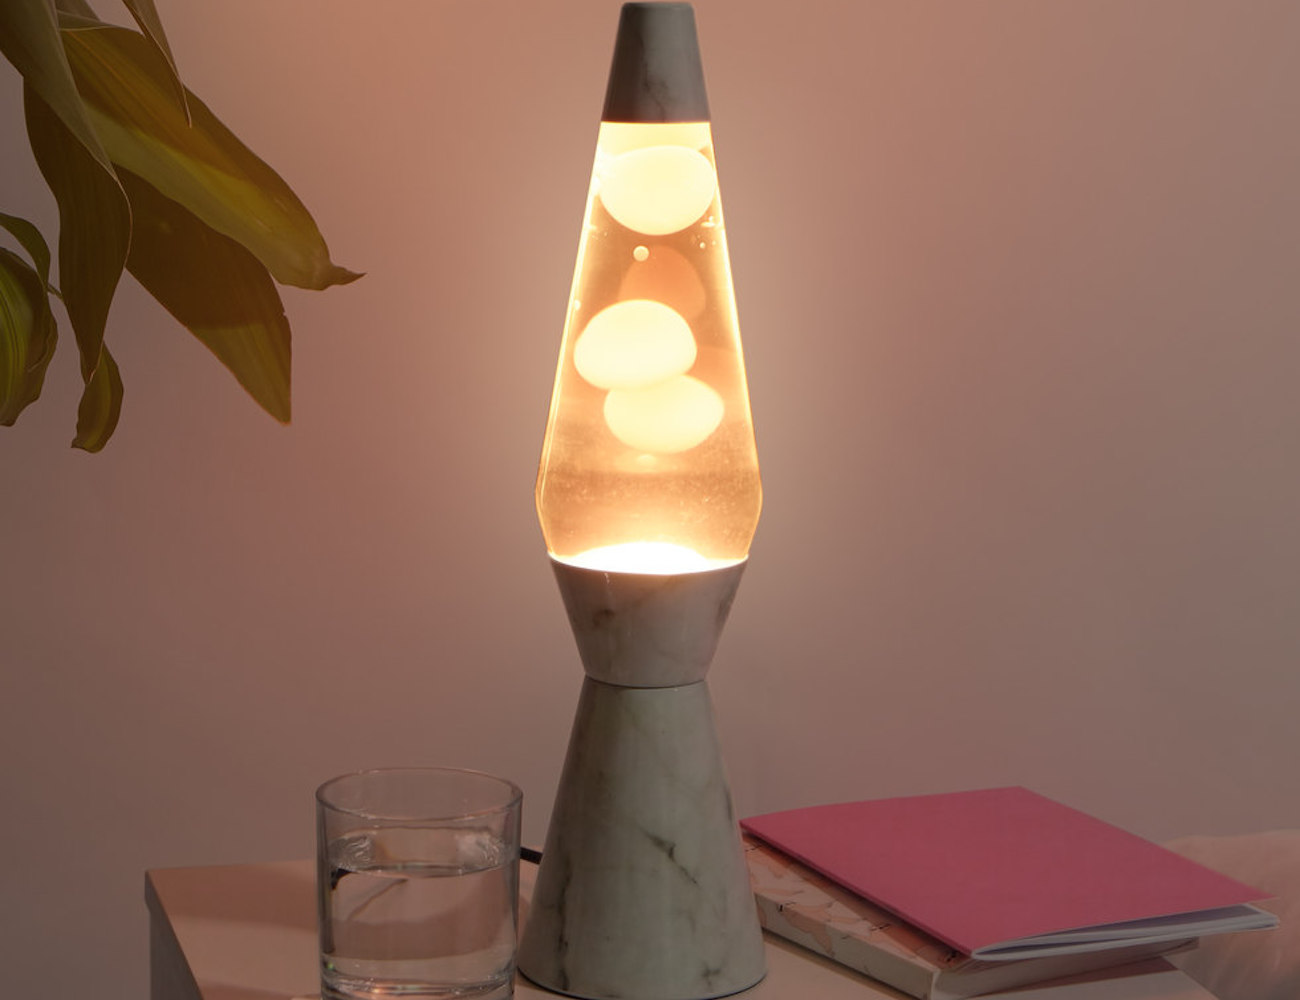
Welcome to the fascinating world of DIY lava lamps! With their mesmerizing, swirling colors and gentle, rhythmic movements, lava lamps have been a beloved decor item for decades. Watching the vibrant blobs of liquid rise and fall is not only visually pleasing but also calming and therapeutic. If you’ve ever wondered how these captivating lamps work, you’ll be delighted to know that you can create your very own lava lamp at home with just a few simple ingredients and some creativity.
In this article, we will guide you step by step on how to make a lava lamp in a bottle. It’s a fun and engaging project that you can do alone or with friends and family. Not only will you have a unique and eye-catching piece of decor, but you’ll also gain a deeper understanding of the science behind these mesmerizing lamps.
Before we dive into the process, let’s take a quick look at the materials you’ll need to gather.
Key Takeaways:
- Create your own mesmerizing lava lamp at home using simple ingredients and enjoy the therapeutic and calming effects of its vibrant, swirling colors.
- Personalize your DIY lava lamp with different colors and decorative elements, and savor the enchanting display while embracing relaxation and creativity.
Read more: How To Make Homemade Lava Lamp
Materials Required
Before you get started on your lava lamp creation adventure, make sure you have the following materials on hand:
- A clear plastic or glass bottle with a lid
- Vegetable oil
- Water
- Effervescent tablets (such as Alka-Seltzer)
- Food coloring
- Optional: Glitter or small decorative objects
These materials are readily available at most grocery or craft stores. Ensure that the bottle you choose is transparent to allow for the full visual effect of the lava lamp. A bottle with a wide mouth is preferred for ease of pouring and adding the ingredients. Now that you’ve gathered all the necessary materials, let’s move on to the step-by-step process of making your lava lamp.
Step 1: Gathering the Ingredients
The first step in creating your lava lamp is to gather all the required ingredients. As mentioned earlier, you will need:
- A clear plastic or glass bottle with a lid
- Vegetable oil
- Water
- Effervescent tablets (such as Alka-Seltzer)
- Food coloring
- Optional: Glitter or small decorative objects
Make sure you have all these items ready and easily accessible before you begin the process. You don’t want to be scrambling to find something in the middle of creating your lava lamp.
If you’re feeling creative, you can also consider adding glitter or small decorative objects to enhance the visual appeal of your lava lamp. These additional elements can create a dazzling effect when the lamp is in motion. Remember to choose non-toxic materials that won’t interfere with the functioning of the lamp.
Once you have all the ingredients and optional decorations assembled, it’s time to move on to the next step – preparing the bottle for your lava lamp creation!
Step 2: Preparing the Bottle
Now that you have gathered all the necessary ingredients, it’s time to prepare the bottle that will become the home for your lava lamp. Follow these steps:
- Start by ensuring that the bottle is clean and dry. Any residue or moisture inside the bottle may affect the interaction between the ingredients and hinder the lava lamp’s performance.
- If the bottle has any labels or stickers, remove them carefully. You want a clear and transparent surface to fully appreciate the lava lamp’s mesmerizing effect.
- Inspect the lid of the bottle. If there are any holes or cracks, it’s essential to seal them using adhesive tape or a waterproof sealant. This step is crucial to prevent any leakage during the creation process.
- Once the bottle is clean, dry, and in good condition, you can move on to the next step – adding the water and oil.
Preparing the bottle may seem like a simple task, but it sets the foundation for the success of your lava lamp creation. Take your time and ensure that the bottle is clean and sealed properly. Now that your bottle is ready, it’s time to move on to the next step – adding the water and oil to create the magical effect.
Step 3: Adding Water and Oil
Now that you have prepared the bottle, it’s time to add the essential elements that will create the mesmerizing lava effect. Follow these steps:
- Fill the bottle approximately one-fourth to one-third full with water. It’s important not to overfill the bottle to allow enough space for the other ingredients and the lava effect to occur.
- Next, slowly pour vegetable oil into the bottle until it reaches just below the brim. The oil will float on top of the water, creating the distinct layers that are characteristic of a lava lamp.
- Be patient while adding the oil to avoid overflowing the bottle. It’s okay if the oil forms a slight dome shape on the top; this will settle once the lamp is in motion.
The combination of water and oil is essential for creating the visual effect of the lava lamp. As these two liquids have different densities, the oil will float on top of the water creating separate layers. This distinction is crucial for the lava lamp’s mesmerizing display. With the water and oil added, it’s time to introduce some vibrant colors to your creation. Let’s move on to the next step – adding food coloring.
Read more: How To Clean A Lava Lamp
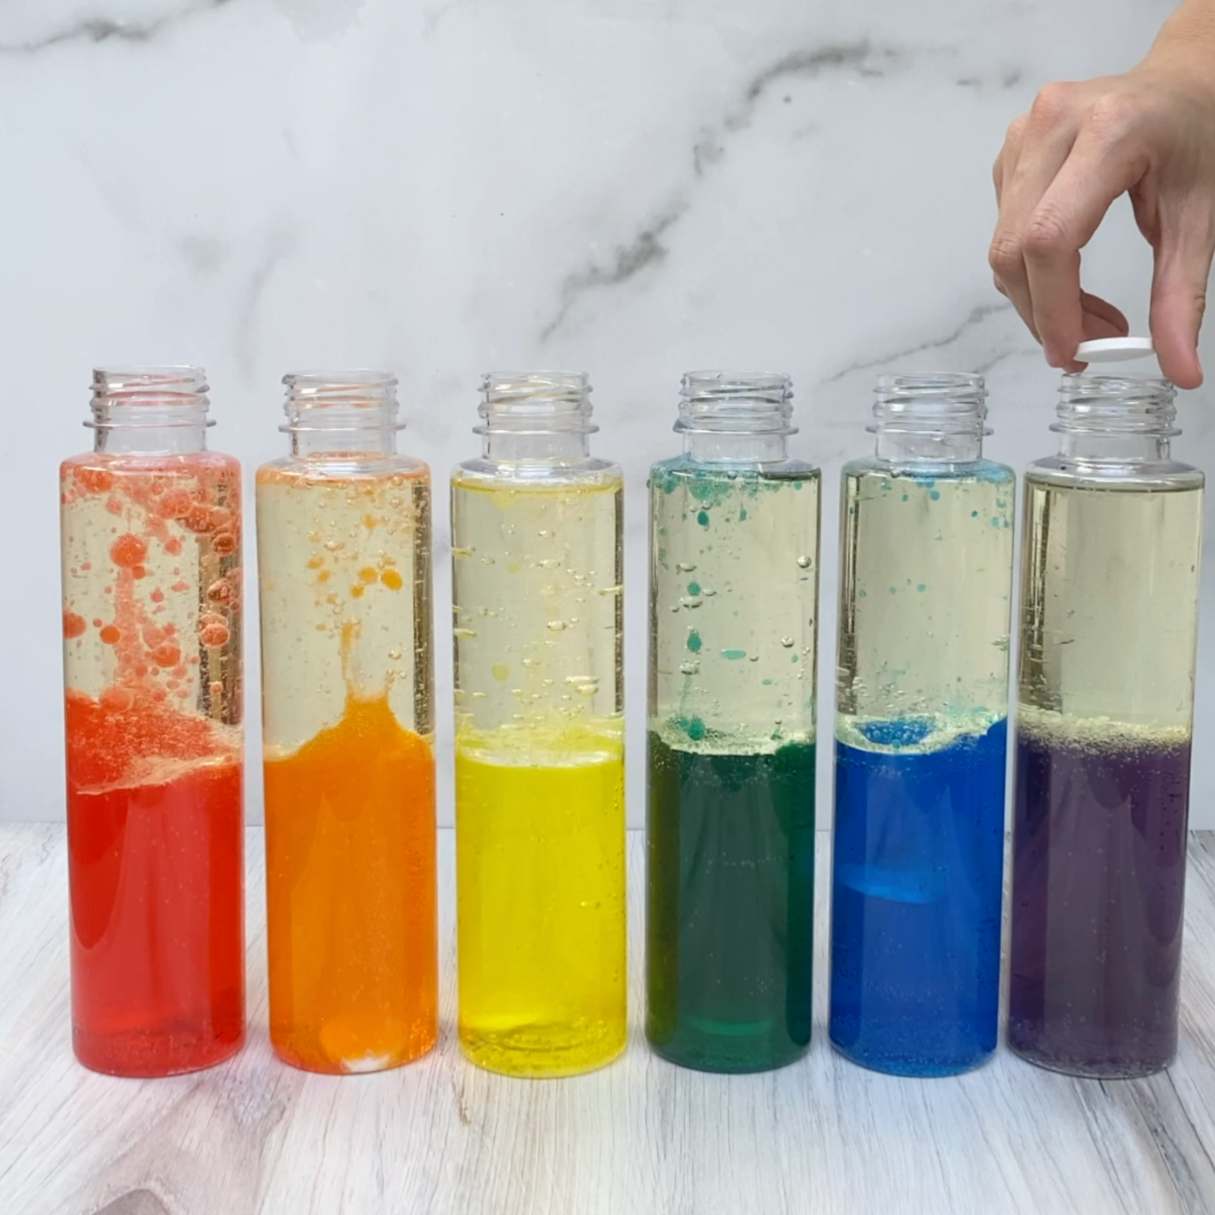
Step 4: Adding Food Coloring
Now that you have the water and oil layers set up in the bottle, it’s time to add some vibrant colors to your lava lamp. Follow these steps:
- Choose the desired color or colors for your lava lamp. You can stick with a single color for a classic look or mix different shades to create a more dynamic effect.
- Add a few drops of food coloring into the bottle. Start with a small amount and gradually add more until you achieve the desired intensity of color.
- Observe how the food coloring mixes with the water, creating colorful droplets that will eventually form the mesmerizing lava effect.
- If you’re using multiple colors, experiment with different combinations and patterns. You can create a vibrant rainbow effect or orderly color bands.
Food coloring is widely available and comes in a variety of shades, allowing you to personalize your lava lamp’s appearance. As you add the food coloring, you’ll begin to see the distinct color droplets sinking through the oil layer and mixing with the water below.
Remember, the intensity and richness of the color may vary depending on the amount of food coloring added, the size of the bottle, and the density of the liquids used. With the vibrant colors added, your lava lamp is now ready for the next step – creating the mesmerizing lava effect.
Add a few drops of food coloring to the vegetable oil before adding the water and Alka-Seltzer to create a more vibrant and visually appealing lava lamp effect.
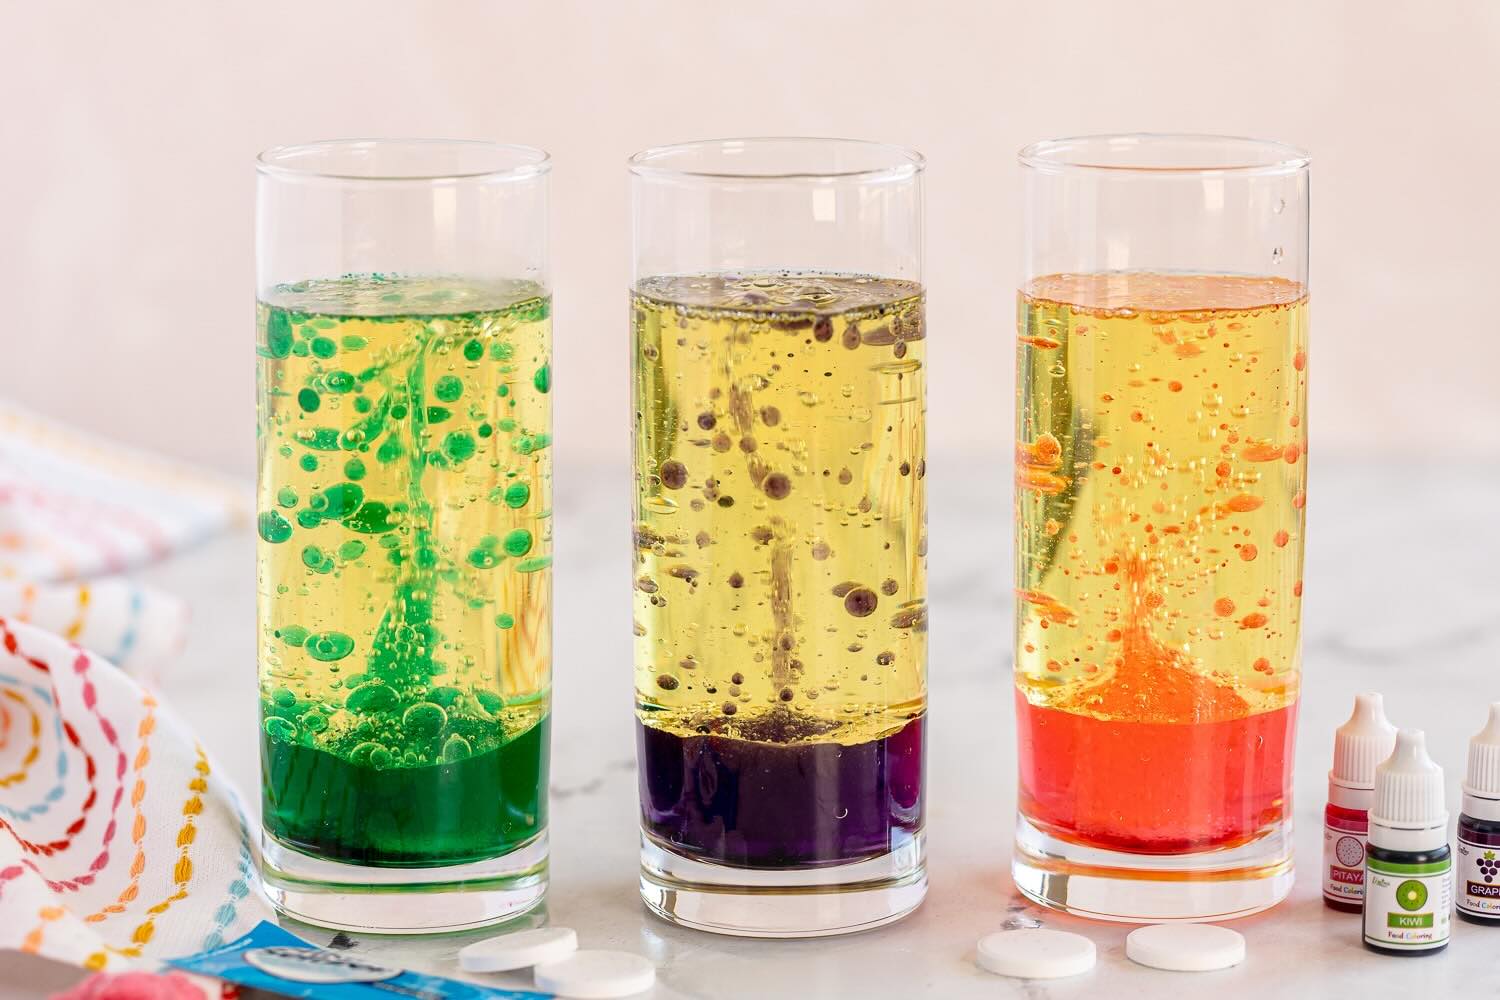
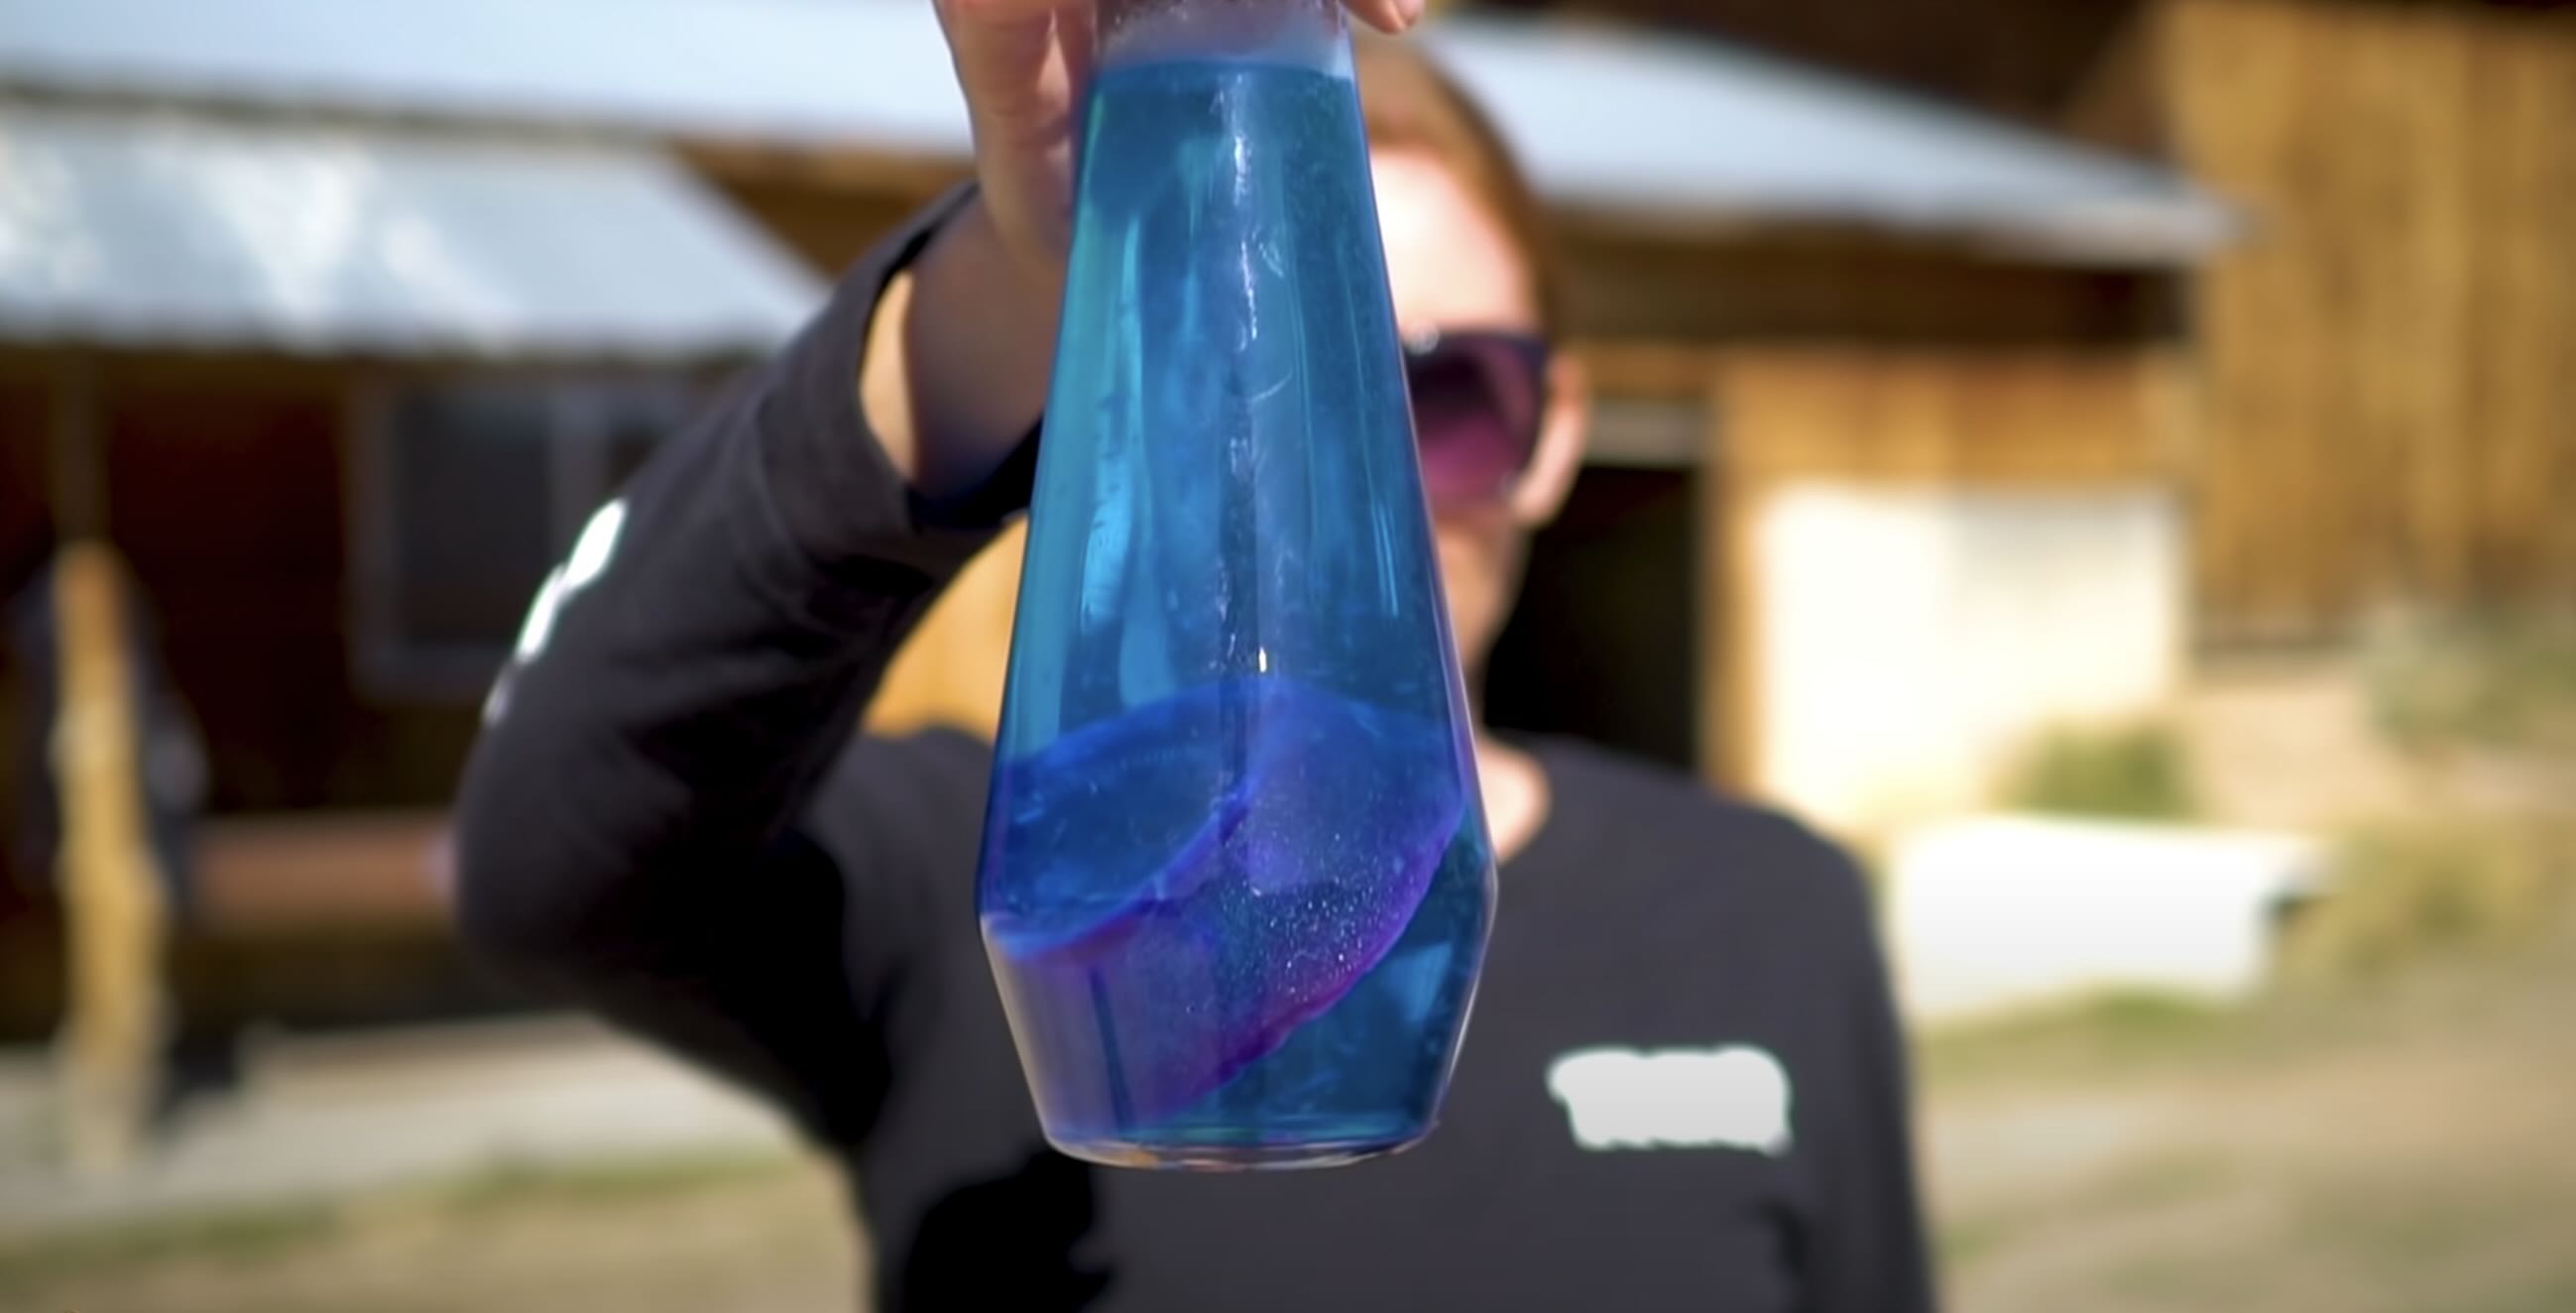
Step 5: Creating the Lava Effect
Now that you have added the colorful food coloring to your lava lamp, it’s time to create the mesmerizing lava effect. Follow these steps:
- Break an effervescent tablet into a few small pieces. The tablet will react with the water, generating bubbles that will simulate the lava lamp’s signature movement.
- Drop one piece of the tablet into the bottle and observe as it begins to dissolve in the water.
- As the tablet dissolves, it will release carbon dioxide gas bubbles that will rise through the oil layer, carrying the colored droplets with them.
- Watch in awe as the colored droplets move up and down in a mesmerizing dance, mimicking the flow of lava in a real lava lamp.
- If you want to prolong the mesmerizing effect, add additional pieces of the effervescent tablet one at a time.
It’s important to note that the reaction caused by the effervescent tablet is temporary and will eventually cease once all the tablet pieces have dissolved. However, the lava lamp effect can be easily reactivated by adding more tablet pieces.
The reaction between the water and the tablet creates bubbly eruptions that lift the colored droplets, giving them the illusion of “lava” movin in the lamp. This dynamic interaction between air bubbles and liquid creates the magical display you’re seeking.
Now that you’ve created the captivating lava effect, it’s time to seal the bottle to preserve the lamp’s functionality. Let’s move on to the next step – sealing the bottle.
Step 6: Sealing the Bottle
With the mesmerizing lava effect in full swing, it’s important to seal the bottle to maintain the proper functioning of your lava lamp. Follow these steps to seal the bottle:
- Ensure that the oil and water mixture is settled and there are no bubbles or excessive movement in the lamp.
- Carefully wipe any oil or water residue from the bottle’s opening and the inner side of the lid to ensure a tight seal.
- Place the lid securely on the bottle and tighten it as much as possible to prevent leakage.
- Hold the bottle upside down and gently shake it to ensure that the lid is properly sealed.
- If you notice any leakage or seepage, tighten the lid further or consider using adhesive tape or a waterproof sealant to reinforce the seal.
The proper sealing of the bottle is crucial to ensure the longevity and functionality of your lava lamp. If there is any leakage, it may disrupt the interaction between the ingredients and compromise the lava effect.
Once you have successfully sealed the bottle, your DIY lava lamp is almost ready for enjoyment! The final step is to activate the lamp and witness its captivating display. Let’s move on to the next step – activating the lamp.
Step 7: Activating the Lamp
Now that you have sealed the bottle, it’s time to activate your homemade lava lamp and witness its enchanting display. Follow these steps to activate the lamp:
- Ensure that the bottle is placed on a stable and flat surface.
- Give the bottle a gentle shake to disperse the colored droplets evenly throughout the lamp.
- Set the lamp in a well-lit area or near a light source such as a lamp or a window. This will enhance the visibility of the lava effect.
- If possible, dim the surrounding lights to create a more dramatic visual experience.
- Observe the mesmerizing dance of the colored droplets as they rise and fall, creating a soothing and captivating display.
- Enjoy the calming effect of your DIY lava lamp and let it bring a sense of tranquility to your space.
It’s important to note that the lava lamp’s mesmerizing effect can last for several hours, depending on the size of the bottle and the amount of effervescent tablet added. If you want to extend the display, you can add more tablet pieces as needed to reactivate the lava effect.
Now that your lava lamp is activated, it’s time to sit back, relax, and enjoy the entrancing display it offers. Let’s move on to the final step – savoring the experience of your DIY lava lamp.
Read more: How To Make A Lamp Out Of A Bottle
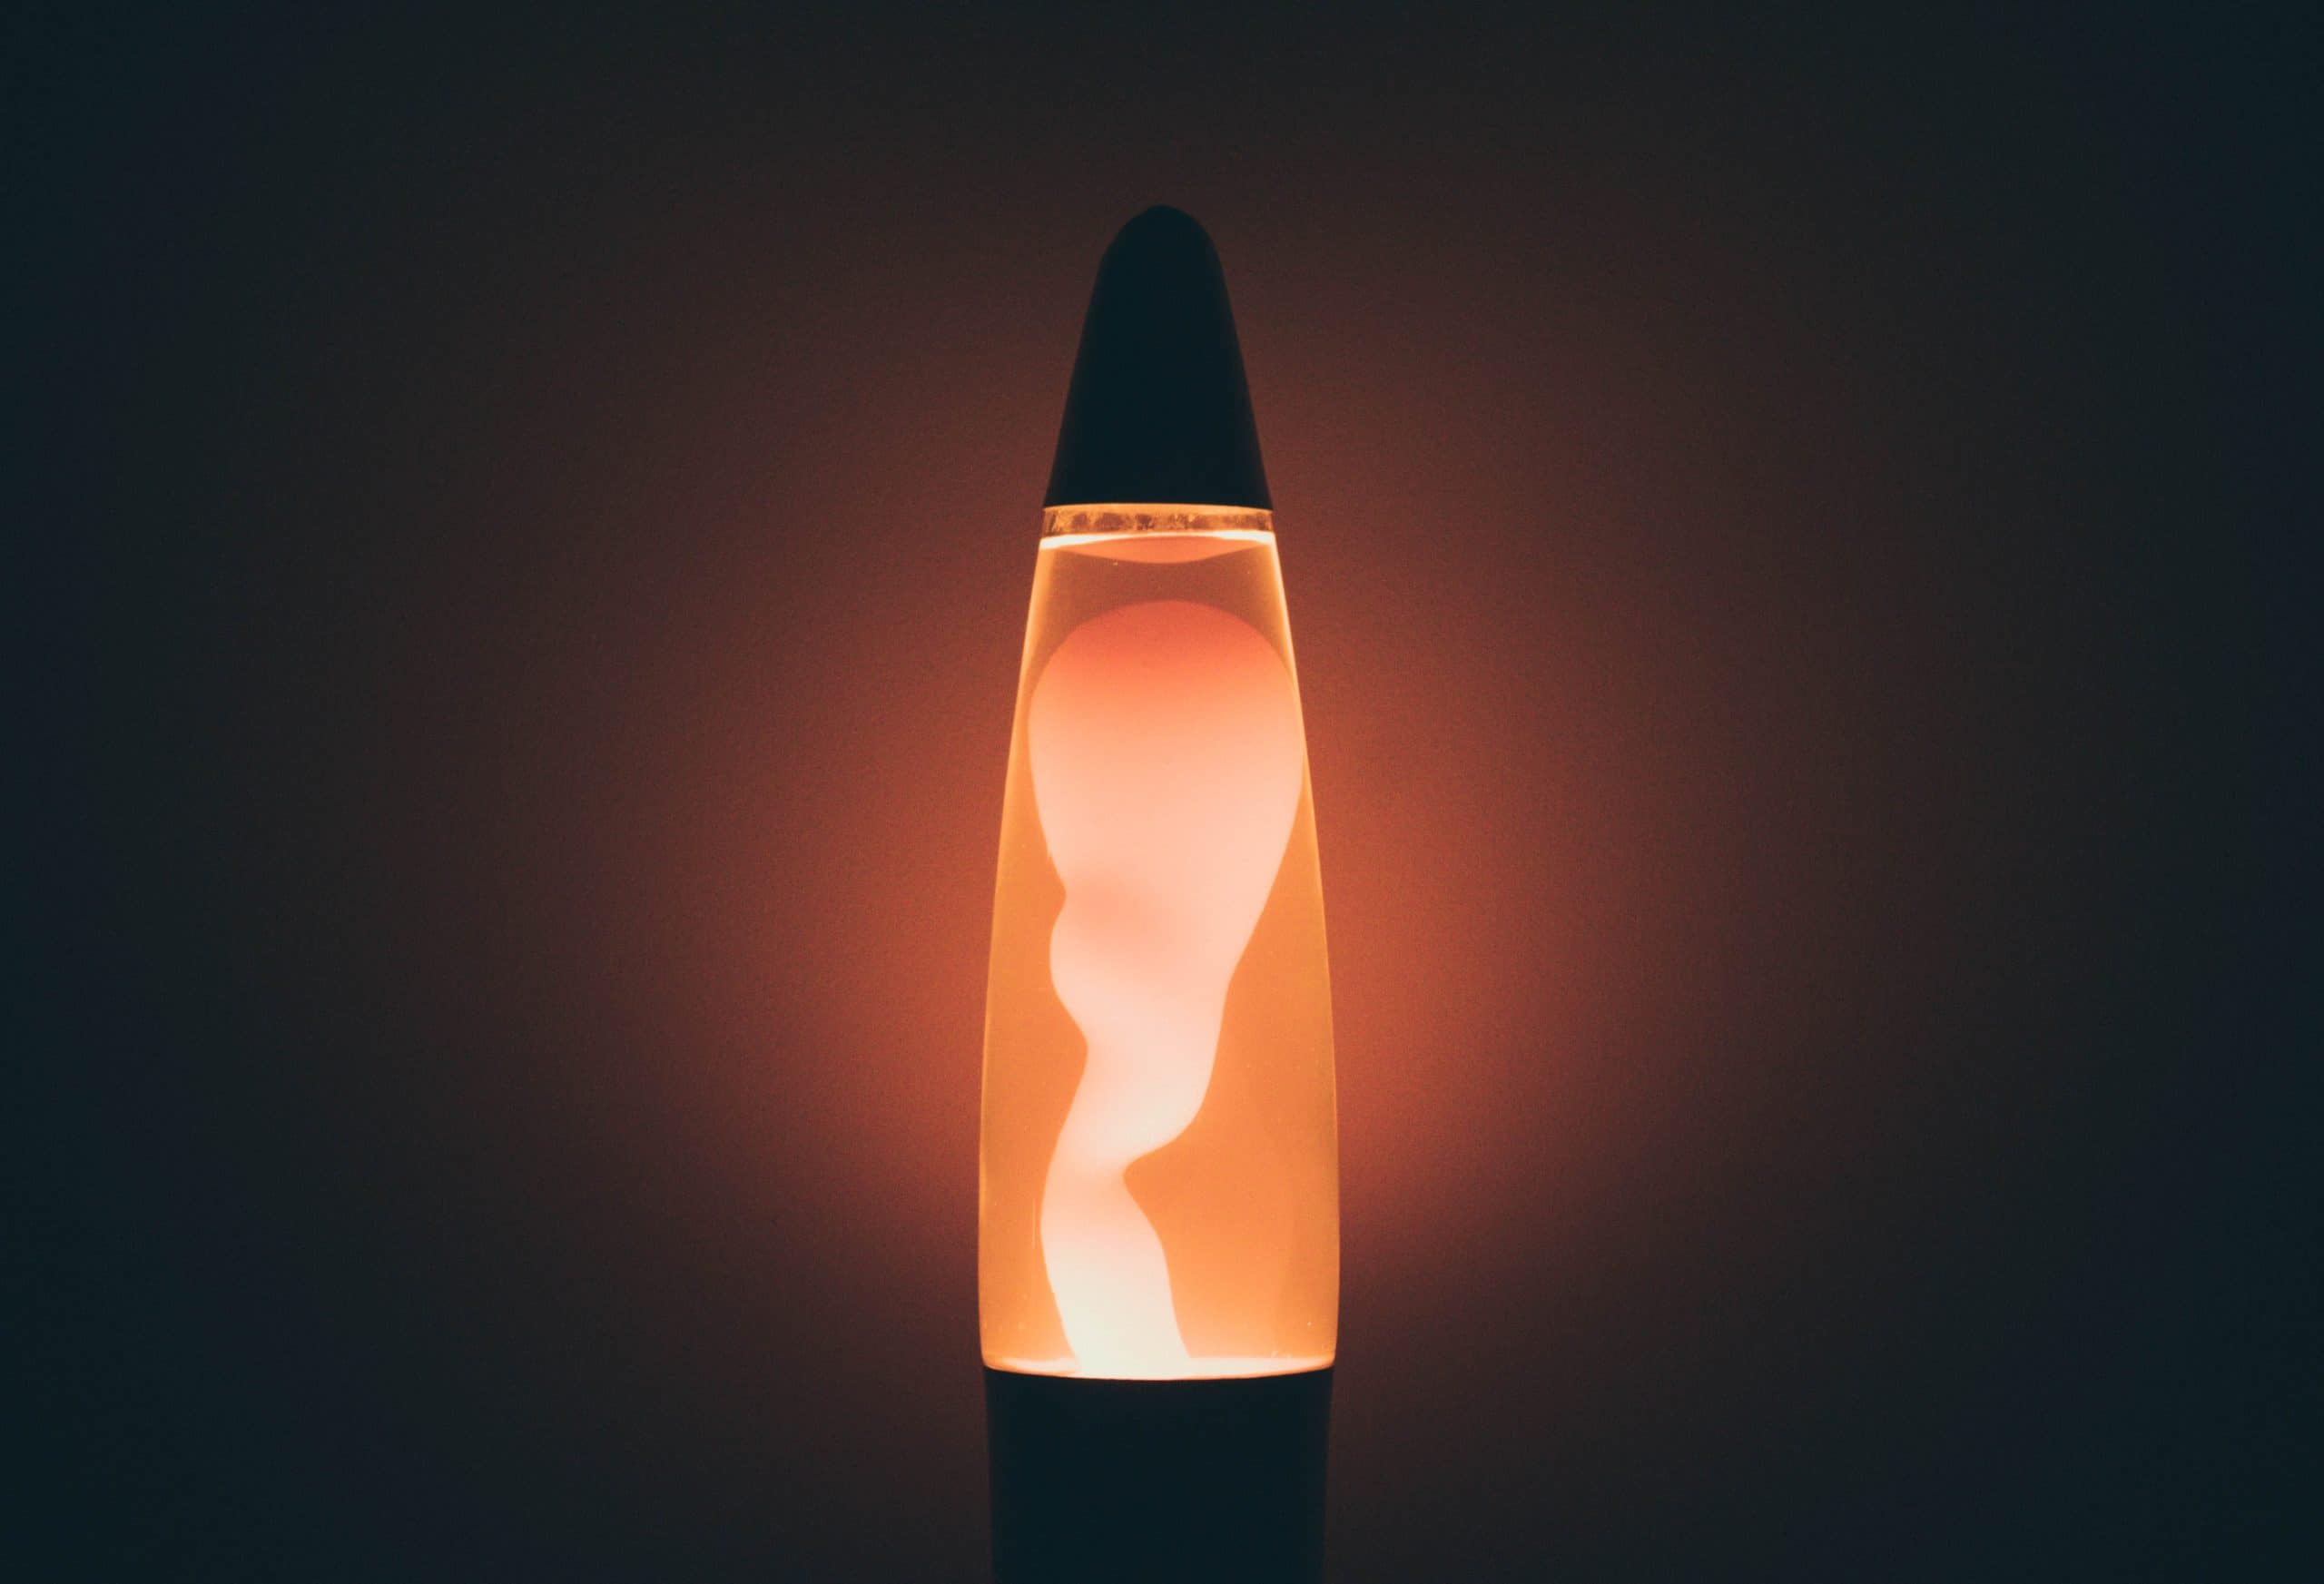
Step 8: Enjoying the Lava Lamp
Congratulations! You have successfully created your very own lava lamp. Now it’s time to sit back, relax, and bask in the mesmerizing display. Follow these steps to fully enjoy your lava lamp:
- Find a comfortable spot where you can fully appreciate the beauty and movement of your lava lamp.
- Dim the lights in the room or create a cozy ambiance to enhance the visual impact of the lamp.
- Watch as the colorful blobs of liquid rise and fall, creating a calming and hypnotic effect.
- Take a moment to appreciate the creativity and science behind your DIY lava lamp. Reflect on the satisfaction of creating something unique and delightful.
- Invite friends or family members to join you and share in the experience. The lava lamp is a great conversation starter and can provide entertainment for all.
- Experiment with different color combinations or add glitter to enhance the visual appeal of your lava lamp even further.
- Feel the soothing effect of the gently flowing colors and let your mind and body relax.
- Take photos or videos of your lava lamp in action to capture the enchanting moments and share them with others.
- Maintain the lamp by ensuring the lid is securely tightened and adding more effervescent tablets as needed to reactivate the lava effect.
Remember, your lava lamp is not only a decorative piece but also a source of relaxation and tranquility. Enjoy the calming effect it provides and allow yourself to be captivated by its beauty.
By following these steps, you have successfully created your own lava lamp and learned about the art and science behind this fascinating decor item. Whether you’re using it to enhance the ambiance of your living space or simply as a therapeutic tool, your DIY lava lamp will surely bring joy and serenity to your life.
So sit back, unwind, and enjoy the mesmerizing display of your DIY lava lamp!
Conclusion
Congratulations on completing your journey of creating a DIY lava lamp! You have learned how to transform a simple bottle into a mesmerizing decor item that brings a sense of calm and wonder to any space. By following the steps outlined in this guide, you have gained a deeper understanding of the science behind the lava lamp’s captivating visual display.
Creating your lava lamp was not only a fun and engaging project but also an opportunity to express your creativity. From gathering the materials to sealing the bottle and activating the lamp, each step contributed to the final result – a unique and personalized lava lamp.
As you observe the colorful droplets rising and falling, it’s hard not to be enchanted by the soothing and hypnotic effect of your lava lamp. Its gentle movements and vibrant colors have the power to relax and inspire, creating a tranquil atmosphere in any room.
Remember that your lava lamp can be a conversation starter, a decorative piece, or simply a tool for relaxation. You can customize it with different colors, experiment with glitter or decorative objects, and even share the experience with friends and family.
Maintaining your lava lamp is simple. Ensure the bottle is properly sealed, and add more effervescent tablets as needed to reactivate the lava effect. By taking good care of your lava lamp, you can enjoy its mesmerizing display for hours on end.
Now that you’ve successfully created your DIY lava lamp, take pride in your craftsmanship and enjoy the calming and enchanting moments it brings. Embrace the beauty of its colorful movements and let it be a source of relaxation and inspiration in your everyday life.
Thank you for joining us on this creative journey. We hope your DIY lava lamp adds a touch of magic to your space and brings you joy for years to come!
Frequently Asked Questions about How To Make A Lava Lamp In A Bottle
Was this page helpful?
At Storables.com, we guarantee accurate and reliable information. Our content, validated by Expert Board Contributors, is crafted following stringent Editorial Policies. We're committed to providing you with well-researched, expert-backed insights for all your informational needs.