Furniture
How To Attach A Changing Pad To A Dresser
Modified: October 22, 2024
Learn how to easily attach a changing pad to your dresser with these simple steps. Transform your furniture into a convenient changing station effortlessly.
(Many of the links in this article redirect to a specific reviewed product. Your purchase of these products through affiliate links helps to generate commission for Storables.com, at no extra cost. Learn more)
Introduction
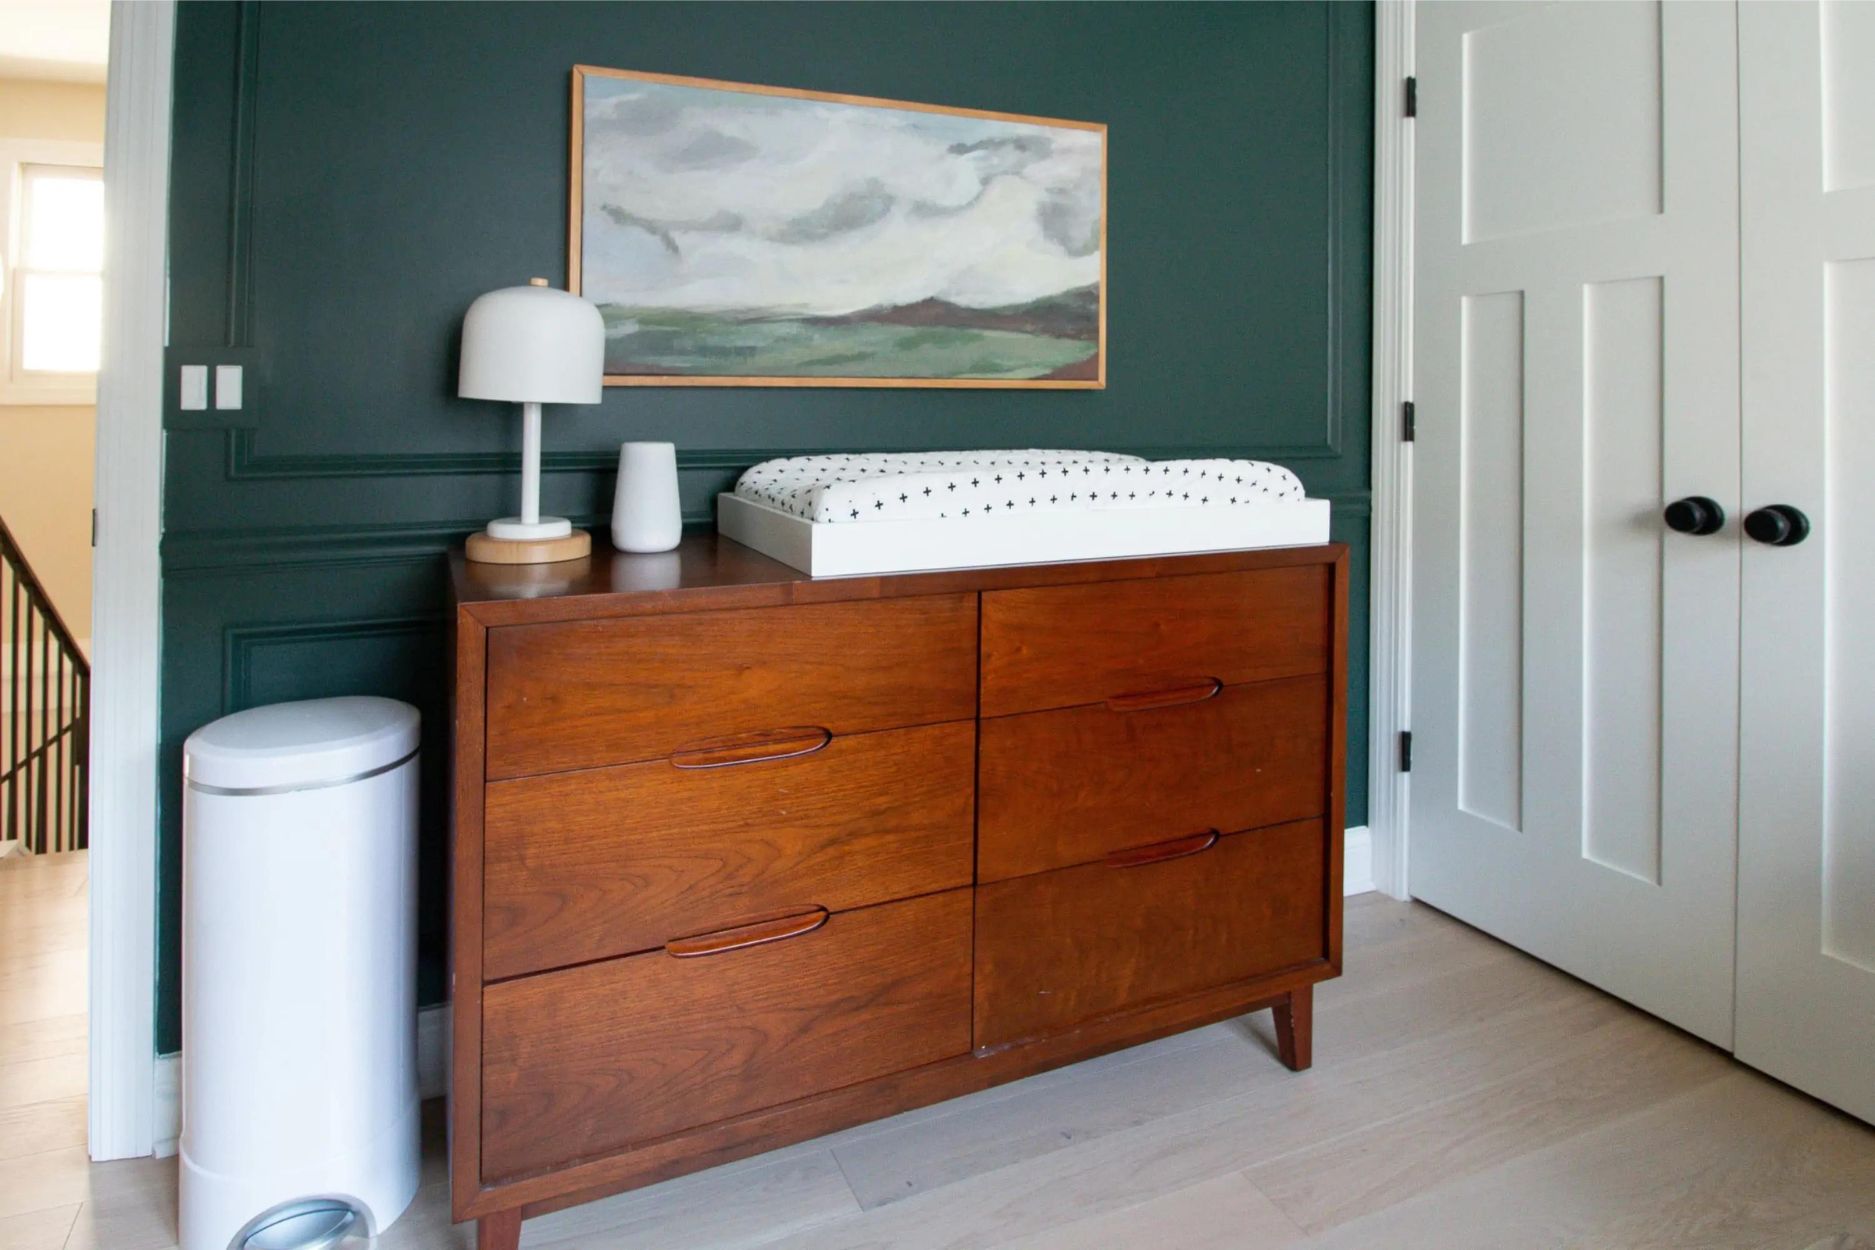
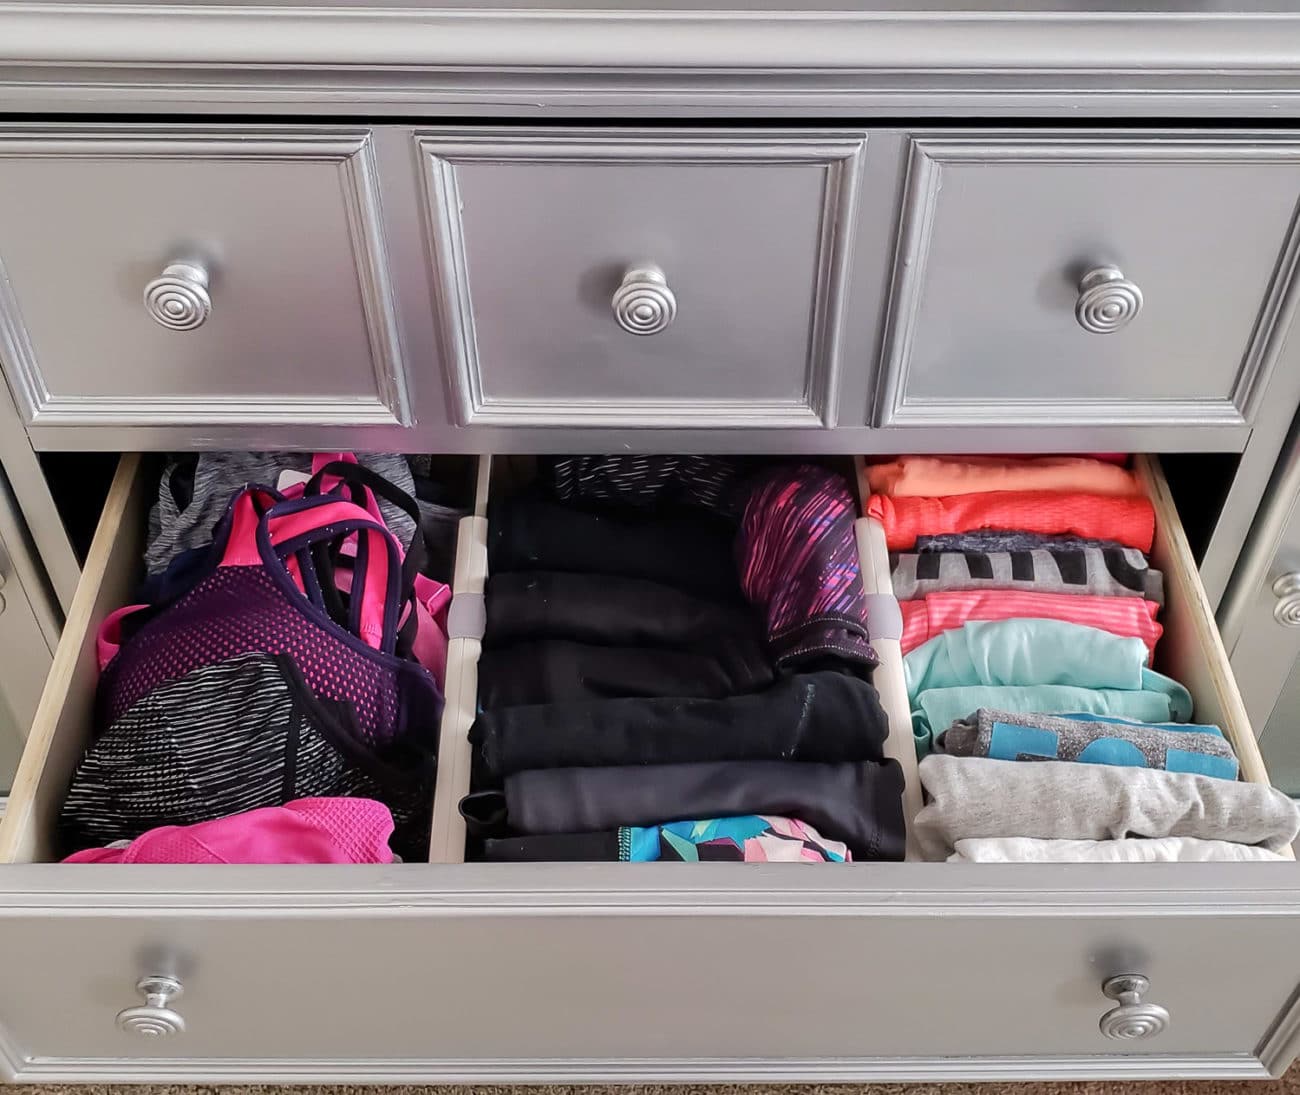
When it comes to taking care of your little one, having a dedicated space for diaper changes is essential. While standalone changing tables are a popular choice, many parents prefer to use a dresser with an attached changing pad. Not only does this save space but it also allows for dual functionality.
In this article, we will guide you through the process of attaching a changing pad to a dresser. Whether you’re setting up a nursery or simply looking to create a convenient changing station in your home, this step-by-step guide will help you achieve that in a safe and secure manner.
Before we dive into the instructions, let’s first go over the materials you’ll need for this project.
Key Takeaways:
- Create a safe and convenient diaper changing station by securely attaching a changing pad to a dresser. Follow the step-by-step guide for a practical and space-saving solution.
- Ensure stability and safety by double-checking the attachment of the changing pad to the dresser. Take necessary precautions and refer to manufacturer’s instructions for proper installation.
Read more: How To Attach An IKEA Dresser To The Wall
Step 1: Gather the necessary materials
Before you begin attaching the changing pad to the dresser, make sure you have the following materials on hand:
- A changing pad
- A dresser with a flat and sturdy surface
- Mounting brackets or straps (depending on the type of changing pad)
- A screwdriver or drill
- Measuring tape
- Level
Having these materials readily available will make the installation process much smoother. It’s also a good idea to check the manufacturer’s instructions for your specific changing pad and dresser, as they may provide additional guidance or recommend certain tools.
Step 2: Prepare the dresser
Before attaching the changing pad, it’s important to prepare the surface of the dresser to ensure a secure and stable attachment. Follow these steps to prepare the dresser:
- Clear the dresser: Remove any items, such as clothes or accessories, from the dresser surface. This will provide you with a clean and spacious area to work with.
- Clean the surface: Use a gentle cleanser to clean the dresser’s surface. This will remove any dirt, dust, or residue that could interfere with the attachment process.
- Inspect the dresser: Take a close look at the dresser to ensure it is in good condition. Check for any loose or damaged parts, as these could compromise the stability of the changing pad attachment. If you spot any issues, consider repairing or replacing the dresser before proceeding.
By properly preparing the dresser, you’ll create an optimal foundation for attaching the changing pad securely.
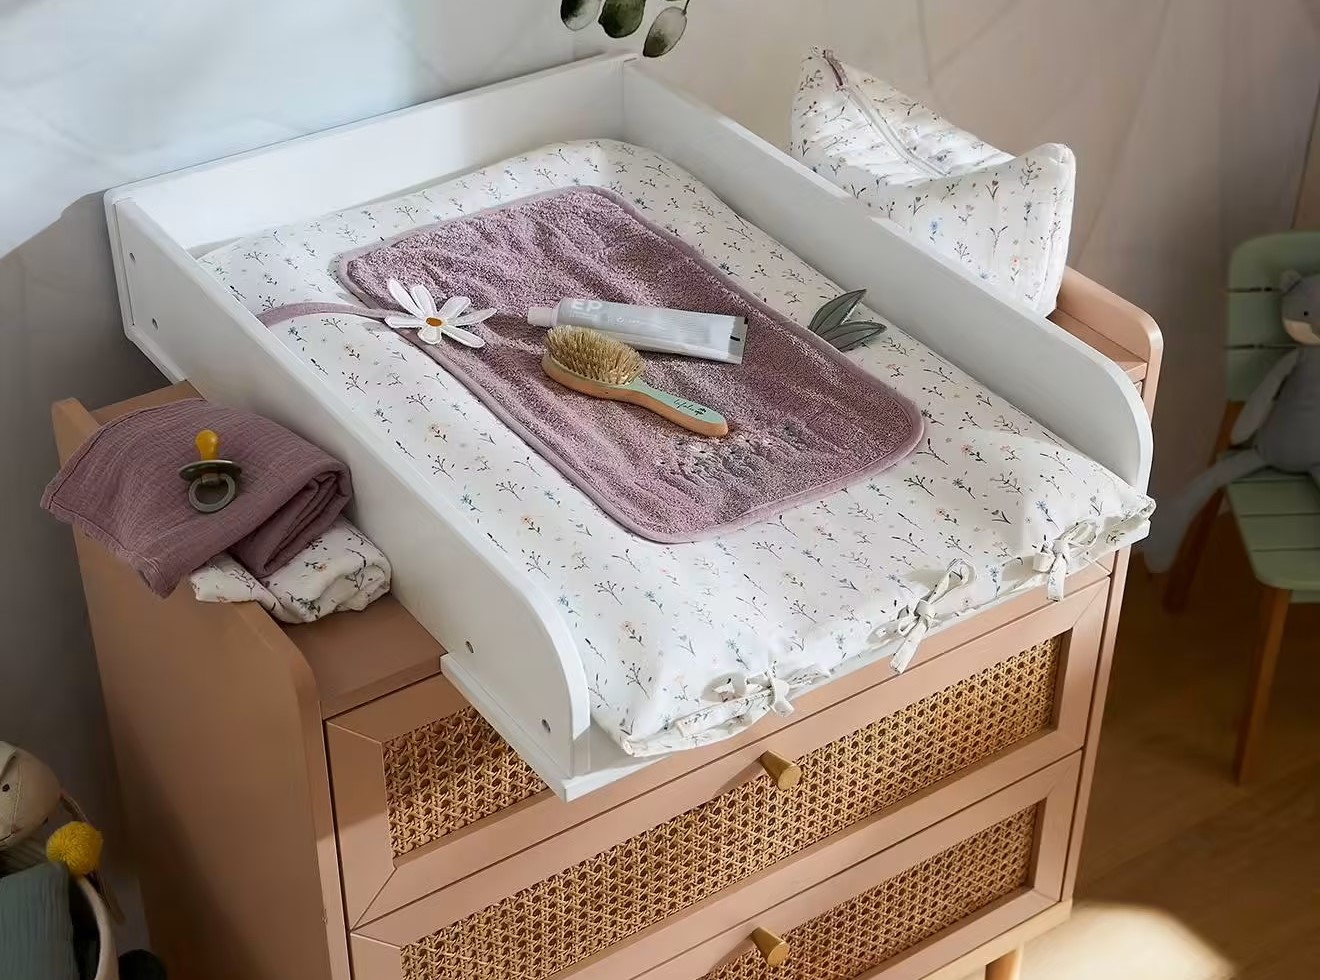
Step 3: Position the changing pad on the dresser
Now that the dresser is prepared, it’s time to position the changing pad in the desired location. Follow these steps to ensure proper placement:
- Measure the dresser: Use a measuring tape to determine the size and dimensions of the dresser’s top surface. This will help you identify the center or desired location for the changing pad.
- Mark the center: Based on your measurements, use a pencil or marker to mark the center point of the dresser. This will serve as a reference for positioning the changing pad.
- Place the changing pad: Gently place the changing pad on the marked center of the dresser. Ensure that it is aligned properly and centered.
- Use a level: To ensure the changing pad is level, place a level on top of it. Adjust the position as needed until the bubble on the level is centered, indicating a level surface.
By positioning the changing pad accurately, you’ll create a comfortable and accessible space for diaper changes.
Use adhesive Velcro strips to attach the changing pad to the top of the dresser. Place one side of the Velcro on the bottom of the pad and the other side on the dresser for a secure hold.
Step 4: Attach the changing pad securely
Now that the changing pad is properly positioned, it’s time to attach it securely to the dresser. The method of attachment will vary depending on the type of changing pad you have. Follow these steps based on your specific changing pad:
For changing pads with mounting brackets:
- Align the mounting brackets: Most changing pads with mounting brackets will have pre-drilled holes for attachment. Align the brackets with the corresponding holes on the bottom of the changing pad.
- Screw in the brackets: Using a screwdriver or drill, insert screws into the holes on the brackets and tighten them securely. Be careful not to overtighten, as this could damage the changing pad or dresser surface.
- Check the stability: Gently shake the changing pad to ensure it is securely attached to the dresser. If there is any wobbling or movement, re-tighten the screws as necessary.
For changing pads with straps:
- Position the straps: Place the changing pad on the dresser and secure the straps around the edges of the dresser. Make sure they are evenly spaced and tight.
- Fasten the straps: Use the provided buckles or fasteners to securely tighten the straps. Ensure that the changing pad is held firmly in place and does not move when pressure is applied.
- Double-check the stability: Give the changing pad a gentle tug to confirm that it is securely attached to the dresser. If the straps loosen, readjust and tighten them.
By attaching the changing pad securely, you’ll create a safe and stable surface for diaper changes.
Read more: How To Turn A Dresser Into A Changing Table
Step 5: Double-check the attachment
Once you have attached the changing pad to the dresser, it’s crucial to double-check the attachment to ensure its stability and safety. Follow these steps to perform a thorough check:
- Inspect the screws or straps: Examine the screws or straps used to attach the changing pad. Make sure they are tight and secure, with no signs of loosening.
- Test the stability: Give the changing pad a gentle shake and apply slight pressure to test its stability. It should remain firmly in place, without wobbling or shifting.
- Check the edges and corners: Verify that the changing pad is aligned evenly with the edges and corners of the dresser. There should be no overhang or gaps that could pose a safety hazard.
- Ensure no sharp edges: Feel around the changing pad and dresser to check for any sharp edges or protruding screws. Smooth out or cover any sharp spots to prevent injuries.
- Reposition if necessary: If you notice any issues or instability during the double-check, carefully reposition the changing pad and repeat the attachment process.
By double-checking the attachment, you’ll ensure that the changing pad is securely in place and ready for safe and convenient diaper changes.
Conclusion
Attaching a changing pad to a dresser is a practical and space-saving solution for creating a dedicated diaper changing station. By following the step-by-step guide outlined in this article, you can securely attach the changing pad and have a convenient and safe space for your little one’s diaper changes.
Remember to gather all the necessary materials, prepare the dresser surface, position the changing pad accurately, attach it securely using either mounting brackets or straps, and finally, double-check the attachment to ensure its stability. Taking these precautions will help you create an optimal changing station.
Always refer to the manufacturer’s instructions for your specific changing pad and dresser to ensure proper installation and safety. If you encounter any difficulties or uncertainties during the process, don’t hesitate to seek assistance from a professional.
With a properly attached changing pad on your dresser, you’ll have a convenient and functional space for diaper changes, making the daily routine with your little one a breeze.
Frequently Asked Questions about How To Attach A Changing Pad To A Dresser
Was this page helpful?
At Storables.com, we guarantee accurate and reliable information. Our content, validated by Expert Board Contributors, is crafted following stringent Editorial Policies. We're committed to providing you with well-researched, expert-backed insights for all your informational needs.


0 thoughts on “How To Attach A Changing Pad To A Dresser”