Furniture
How To Attach An IKEA Dresser To The Wall
Modified: December 7, 2023
Learn how to securely attach your IKEA dresser to the wall and ensure the safety of your furniture. Prevent accidents and create a stable environment.
(Many of the links in this article redirect to a specific reviewed product. Your purchase of these products through affiliate links helps to generate commission for Storables.com, at no extra cost. Learn more)
Introduction
Welcome to our comprehensive guide on how to attach an IKEA dresser to the wall. Securing your dresser to the wall is an essential step in ensuring the safety of your home, especially if you have children or reside in an area prone to earthquakes. Wall-mounted dressers offer stability, reducing the risk of accidents and providing peace of mind.
In this article, we will take you through the step-by-step process of securely attaching an IKEA dresser to the wall. We will also discuss the tools and materials you will need, along with tips for identifying the ideal position and locating wall studs.
Before we begin, please note that different IKEA dressers may require specific mounting techniques. Always refer to the assembly instructions provided with your specific dresser model. And as with any DIY project involving heavy furniture, it is essential to prioritize your safety and that of others.
Now, let’s dive into the details of how to successfully attach your IKEA dresser to the wall!
Key Takeaways:
- Ensure dresser stability: Use a stud finder to locate wall studs and attach mounting brackets securely. Test dresser stability after installation to prevent accidents and ensure peace of mind.
- Prioritize safety and aesthetics: Consider dresser purpose, available space, and room layout when choosing its position. Follow manufacturer instructions and regularly check dresser stability for added security.
Read also: 12 Unbelievable Ikea Dresser for 2025
Step 1: Gather the required tools and materials
Before you begin the process of attaching your IKEA dresser to the wall, it is crucial to ensure that you have all the necessary tools and materials at hand. Here’s a list of what you’ll need:
- A pencil or marker for marking the wall
- A stud finder to locate wall studs
- Mounting brackets (specific to your IKEA dresser model)
- Screws (usually included with the mounting brackets)
- A screwdriver or drill with the appropriate drill bit
- A level to ensure the dresser is straight
- A measuring tape or ruler for accurate measurements
- An extra set of hands for assistance while attaching the dresser to the wall
Once you have gathered all the necessary tools and materials, you can proceed to the next step of attaching your IKEA dresser to the wall. Having everything ready beforehand will make the process smoother and more efficient.
Now, let’s move on to step two, where we will identify the ideal position for the dresser.
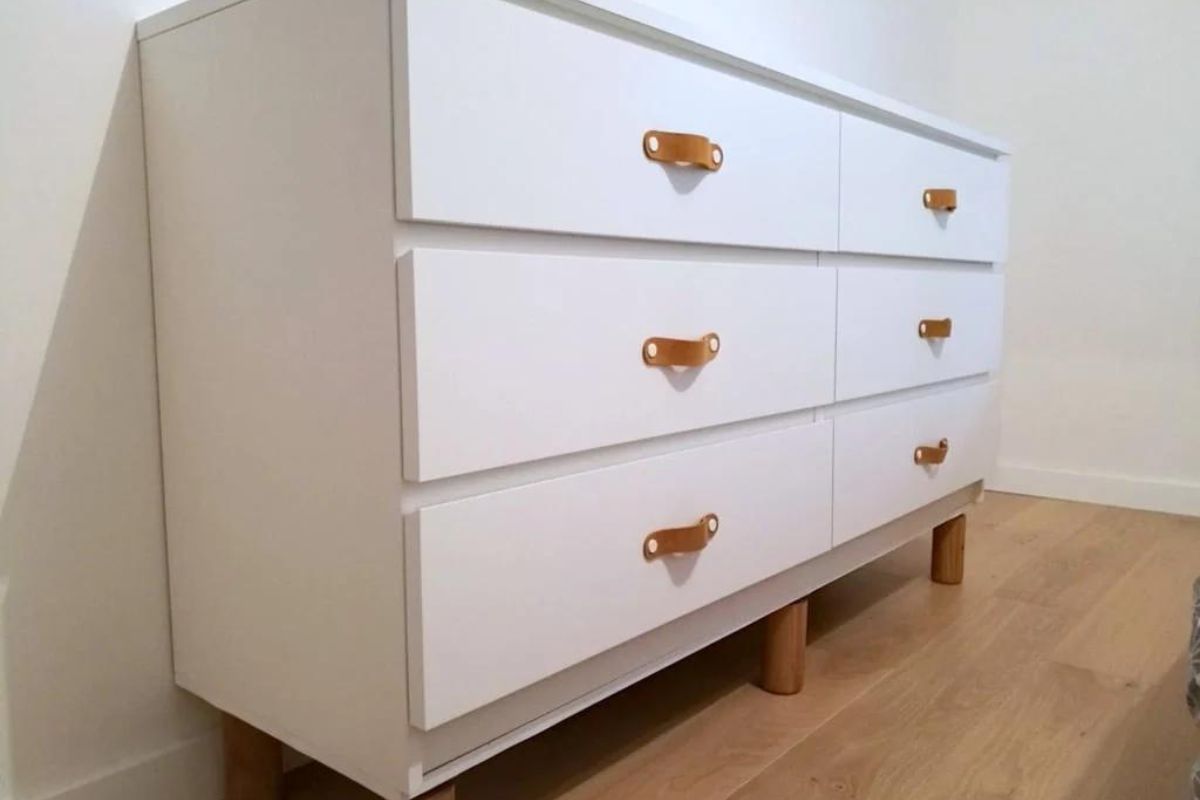
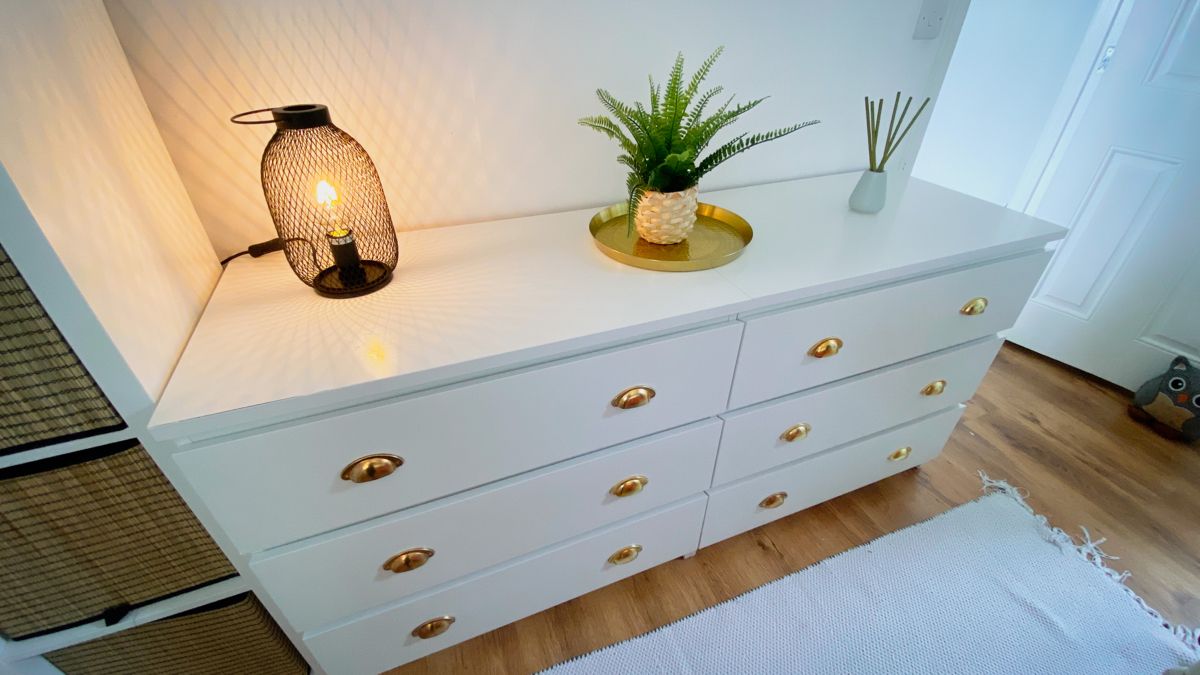
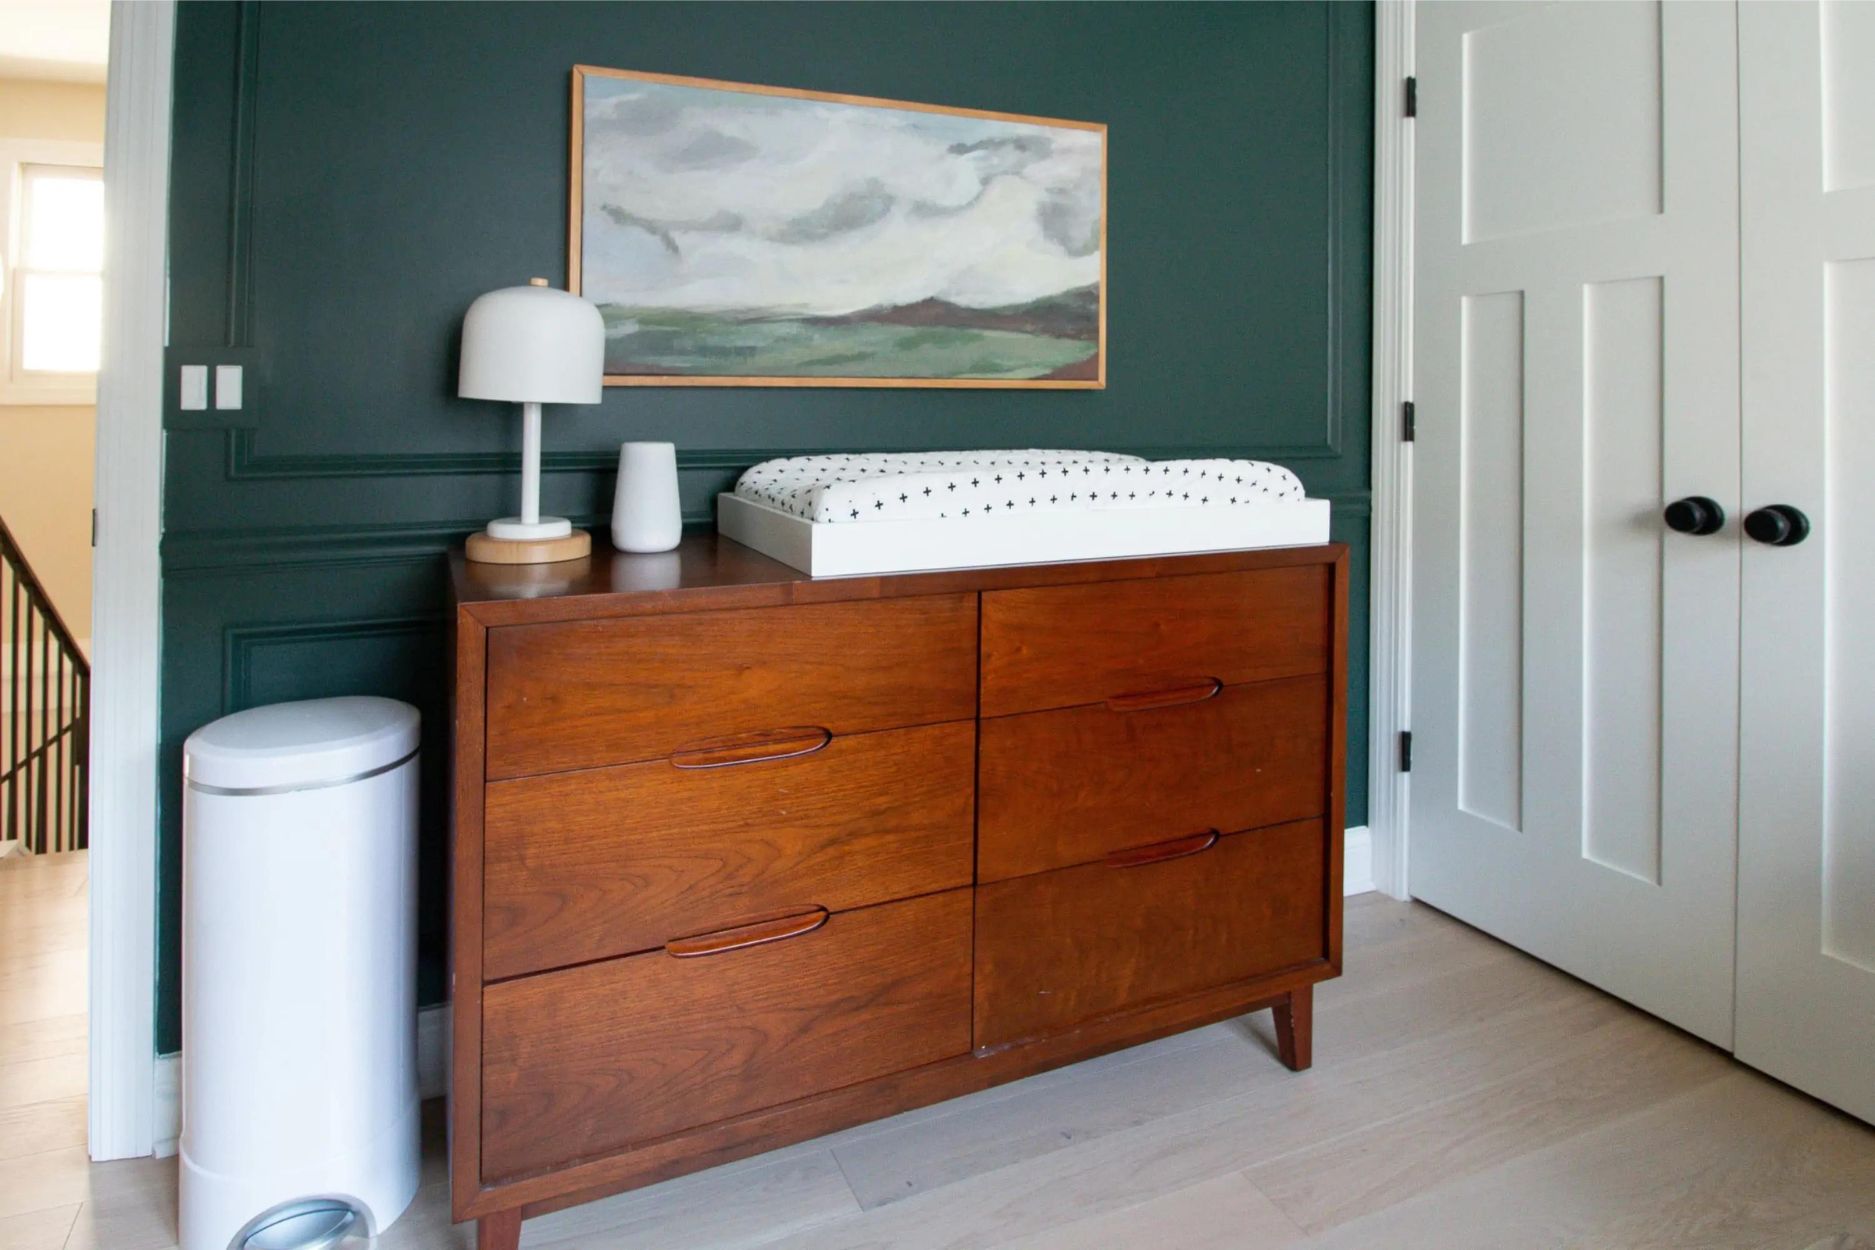
Step 2: Identify the ideal position for the dresser
Choosing the right position for your dresser is crucial for both functionality and aesthetics. Before you begin, take a moment to envision where you want the dresser to be placed in the room. Consider factors such as accessibility, available space, and the room’s overall layout. Here are a few tips to help you identify the ideal position:
- Consider the purpose: Determine the primary purpose of the dresser. Will it be used for clothing storage in a bedroom or as a media console in a living room? Understanding the dresser’s intended function will help you determine the appropriate placement in the room.
- Measure the available space: Use a measuring tape or ruler to measure the width, height, and depth of the dresser. Take note of any obstructions, such as windows, doors, or electrical outlets, that may affect the placement.
- Ensure it complements the room: Consider the overall aesthetic of the room and choose a spot where the dresser will blend harmoniously with the existing furniture and decor.
- Accessibility: Ensure that the dresser is easily accessible and allows for comfortable use. Consider factors such as clearance space for drawers and doors, as well as the distance from other furniture pieces.
Once you have determined the ideal position for your dresser, take a moment to visualize how it will look in that location. If you’re satisfied with the choice, proceed to the next step, where we will locate and mark the studs on the wall.
Step 3: Locate and mark the studs on the wall
Locating and marking the studs on the wall is a crucial step in ensuring the stability and security of your dresser. Studs provide structural support and are the ideal anchor points for attaching heavy furniture. Follow these steps to locate and mark the studs:
- Use a stud finder: A stud finder is a handy tool that helps you locate the vertical beams (studs) behind the drywall. Place the stud finder flat against the wall and slowly slide it horizontally until it indicates the presence of a stud.
- Make note of stud locations: Once you locate a stud, mark its center with a pencil or marker. Repeat this process along the wall where you plan to attach the dresser, marking the center of each stud at regular intervals.
It’s important to note that studs are typically spaced 16 inches apart, although this may vary depending on your specific wall construction. By locating and marking the studs, you’ll have a clear visual reference for where to attach the mounting brackets.
If you have trouble using a stud finder, there are alternative methods to locate studs. One common technique is tapping the wall lightly with your knuckles or a small hammer to listen for a solid, rather than hollow, sound. You can also look for other visual cues, such as electrical outlets or baseboards, that are typically attached to studs.
Once you have successfully located and marked the studs on the wall, you’re ready to move on to the next step: attaching the mounting brackets to the dresser.
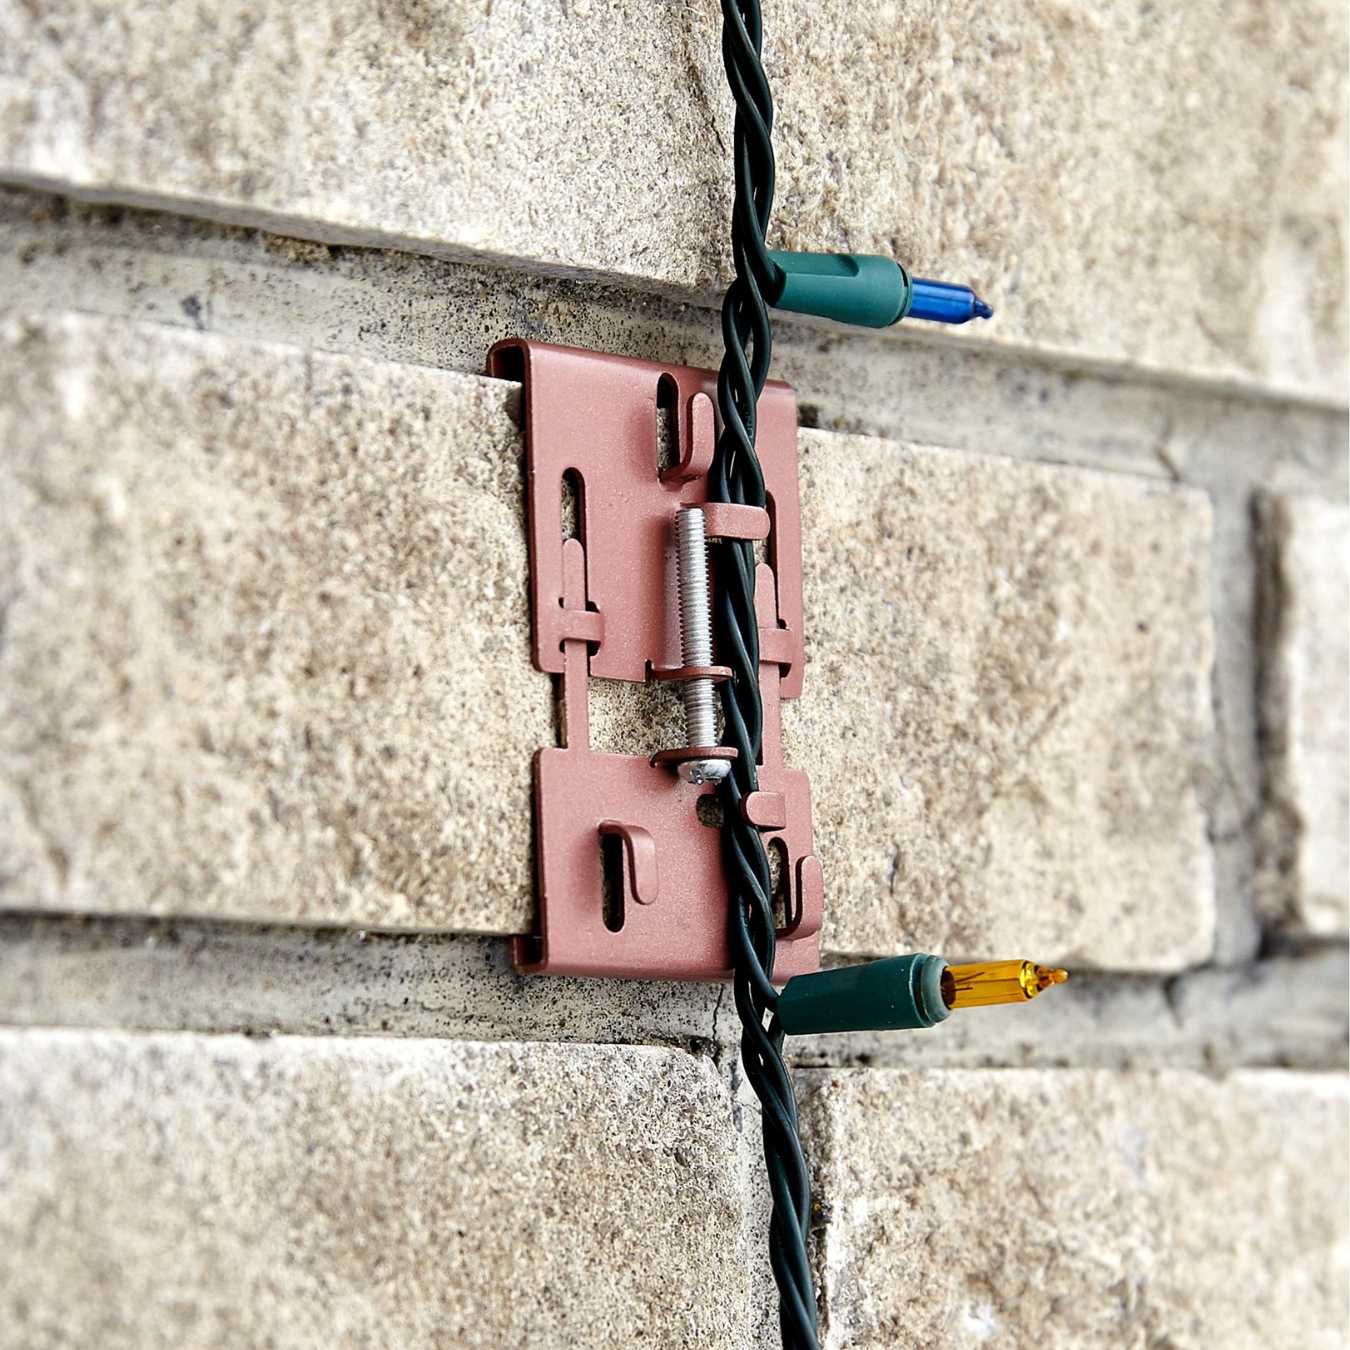
Use L-brackets to secure the back of the dresser to the wall studs. Make sure to use the appropriate hardware and follow the manufacturer’s instructions for a secure attachment.
Step 4: Attach the mounting brackets to the dresser
Attaching the mounting brackets to the dresser is a crucial step in ensuring a secure and stable attachment to the wall. The mounting brackets act as the interface between the dresser and the wall, providing the necessary support. Follow these steps to attach the mounting brackets:
- Refer to the dresser’s assembly instructions: Each dresser model may have specific instructions for attaching the mounting brackets. Refer to the included assembly instructions to ensure you follow the recommended process.
- Position the brackets: With the dresser facing upwards, place the mounting brackets on the back of the dresser at the desired height. Make sure they are aligned with the studs you marked on the wall in step 3.
- Secure the brackets: Once the brackets are in position, use the screws provided or appropriate screws based on the instructions to secure the brackets to the back of the dresser. Use a screwdriver or drill with the appropriate drill bit to ensure the screws are tightly fastened.
It’s essential to follow the instructions specific to your dresser model, as the attachment process may vary. Take your time to ensure that the brackets are properly attached and aligned with the studs. Double-check the stability of the brackets and make any necessary adjustments before moving on to the next step.
Now that you have successfully attached the mounting brackets to the dresser, it’s time to proceed to step 5: securing the dresser to the wall using the brackets.
Read more: How To Add Legs To An IKEA Malm Dresser
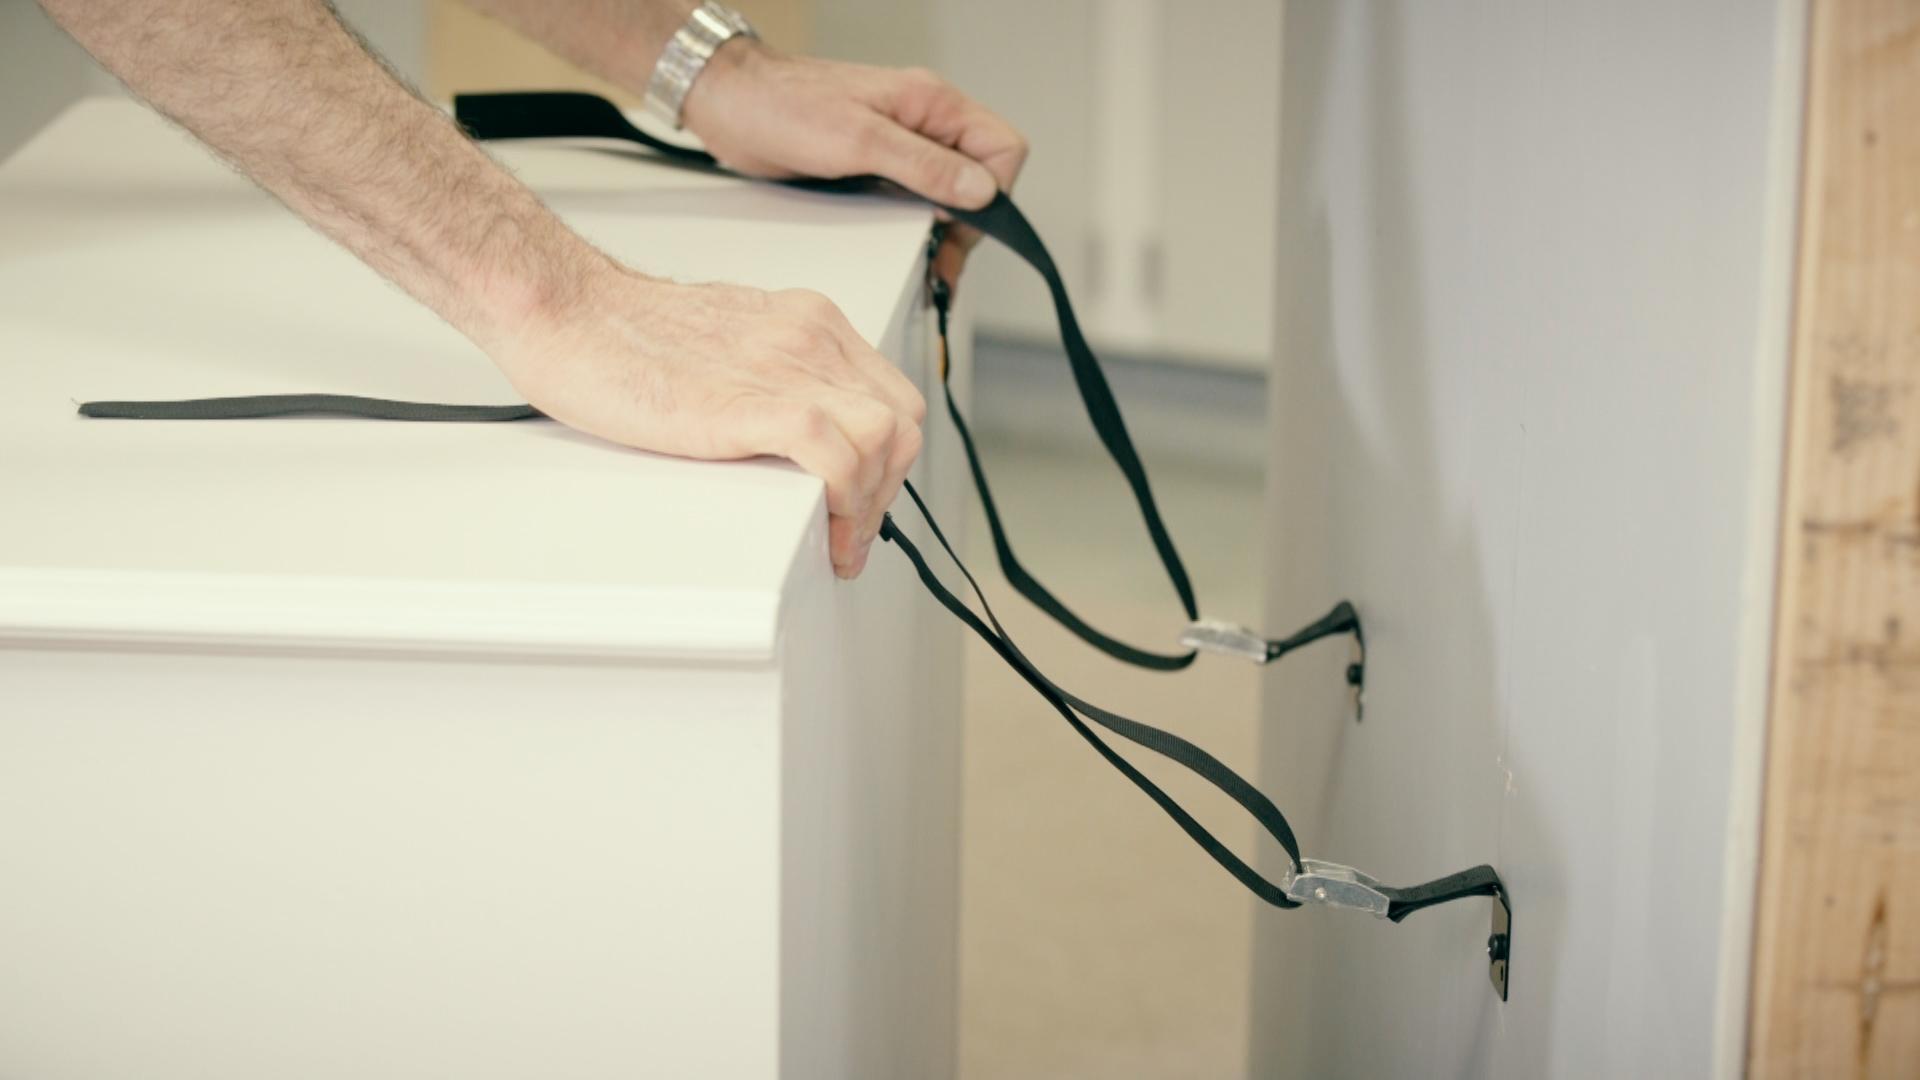
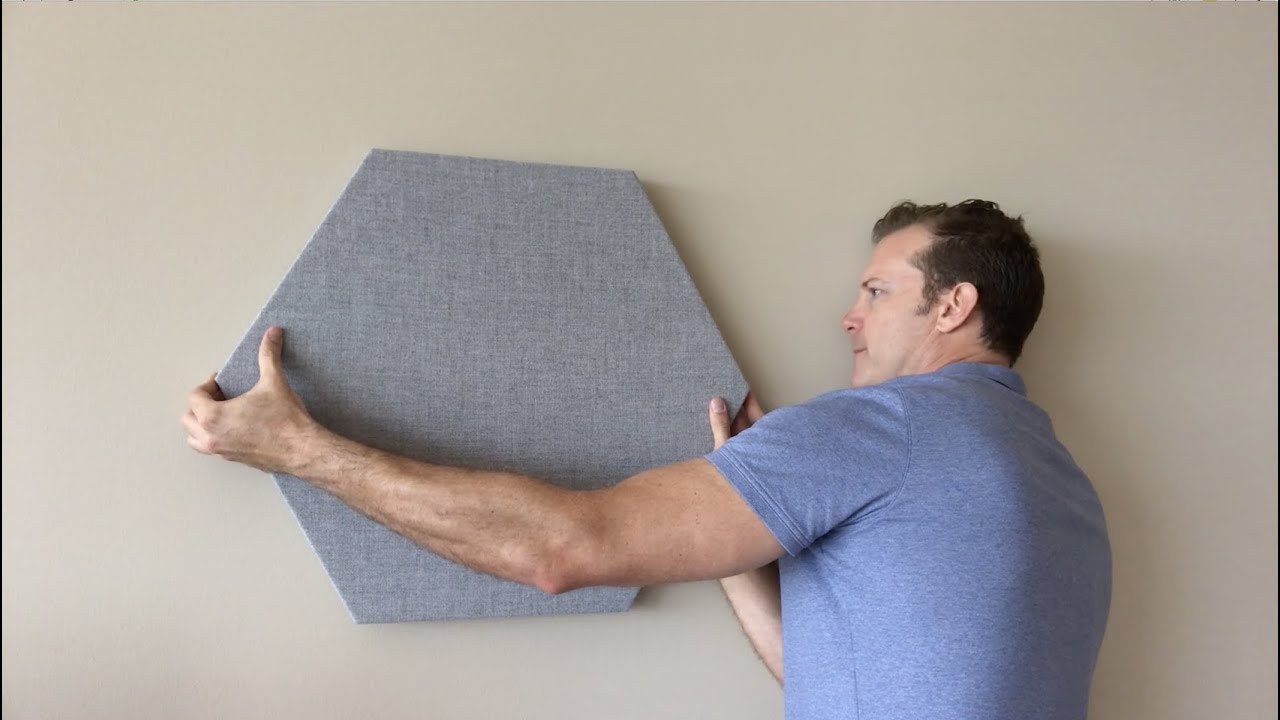
Step 5: Secure the dresser to the wall using brackets
Now that the mounting brackets are securely attached to the back of the dresser, it’s time to secure the dresser to the wall using those brackets. This step ensures that the dresser is firmly anchored and minimizes the risk of tipping or instability. Follow these steps to secure the dresser to the wall:
- Position the dresser against the wall: With the help of an extra set of hands, carefully position the dresser against the wall in the predetermined location. Ensure that the brackets align with the corresponding marks you made on the wall to indicate the stud locations.
- Align the brackets with the studs: Check that the brackets on the back of the dresser align precisely with the studs on the wall. It’s crucial to match each bracket with a stud to ensure maximum stability.
- Attach the dresser to the wall: Using the appropriate screws, drive them through the holes in the mounting brackets into the studs behind the wall. It’s essential to use long enough screws to ensure a secure attachment. Be mindful not to overtighten the screws, as this may cause damage to the wall or the dresser.
Ensure that the dresser is level and straight during this process. Using a level, check that the dresser is aligned correctly both horizontally and vertically. Adjust as needed to achieve a level and visually pleasing appearance.
Once you have securely attached the dresser to the wall using the mounting brackets, you’re almost done! Before moving on, it’s crucial to test the stability of the attached dresser, which brings us to the next step.
Step 6: Test the stability of the attached dresser
After securing the dresser to the wall using the mounting brackets, it’s important to test its stability to ensure it is securely attached and safe to use. Follow these steps to test the stability of the attached dresser:
- Apply gentle pressure: Stand in front of the dresser and gently push it from different angles to test its stability. The dresser should remain securely in place without any wobbling or shifting. Pay attention to any signs of instability or movement.
- Open and close drawers: Carefully open and close each drawer of the dresser to check if they operate smoothly and without any resistance. The drawers should slide open and close without causing the dresser to tilt or move.
- Check for levelness: Use a level to ensure that the dresser is still level both horizontally and vertically. Adjust the positioning if necessary.
If you notice any signs of instability, such as the dresser wobbling or the mounting brackets coming loose, it’s important to address the issue before using the dresser. Double-check that all screws are tightly fastened and that the brackets are securely attached to both the dresser and the wall.
Always keep an eye on the dresser’s stability over time. Regularly check the screws and brackets to ensure they remain tight and secure. If you notice any signs of looseness or instability, make the necessary adjustments promptly.
By testing the stability of the attached dresser, you can have the confidence and peace of mind knowing that it is securely fastened to the wall and poses no safety risks to you or your loved ones.
With the dresser now securely attached and tested for stability, you have successfully completed the process of attaching an IKEA dresser to the wall. Enjoy the added security, functionality, and aesthetic appeal that a wall-mounted dresser brings to your space!
Thank you for following along with our comprehensive guide. If you have any further questions or need assistance, feel free to reach out. Stay safe and happy decorating!
Conclusion
Attaching an IKEA dresser to the wall is an important step in ensuring the safety and stability of your furniture. By following the step-by-step process outlined in this guide, you can securely anchor your dresser, reducing the risk of accidents and providing peace of mind.
We started by gathering the necessary tools and materials, including a stud finder, mounting brackets, screws, and a screwdriver or drill. Then, we identified the ideal position for the dresser, considering factors such as purpose, available space, and room aesthetics.
Next, we located and marked the studs on the wall using a stud finder or alternative methods. Locating the studs is crucial for a secure attachment. We then moved on to attaching the mounting brackets to the back of the dresser, following the specific instructions provided by the manufacturer.
With the mounting brackets secured, it was time to attach the dresser to the wall. We aligned the brackets with the marked studs and used long screws to firmly fasten the dresser in place. It’s important to ensure the dresser is level and visually pleasing during this step.
Finally, we tested the stability of the attached dresser by applying gentle pressure, opening and closing the drawers, and checking for levelness. Any signs of instability should be addressed promptly by tightening screws and ensuring the brackets are securely attached.
By following these steps and regularly checking the dresser’s stability, you can enjoy a secure and functional wall-mounted dresser, providing additional storage and enhancing the overall aesthetics of your space.
Remember, safety should always be the top priority when dealing with heavy furniture. If you have any concerns or doubts, consult with a professional or contact IKEA customer service for guidance specific to your dresser model.
Thank you for reading this comprehensive guide on how to attach an IKEA dresser to the wall. We hope you found it informative and helpful. Happy decorating!
Frequently Asked Questions about How To Attach An IKEA Dresser To The Wall
Was this page helpful?
At Storables.com, we guarantee accurate and reliable information. Our content, validated by Expert Board Contributors, is crafted following stringent Editorial Policies. We're committed to providing you with well-researched, expert-backed insights for all your informational needs.


0 thoughts on “How To Attach An IKEA Dresser To The Wall”