
Furniture
How To Assemble A Dresser
Modified: August 17, 2024
Learn how to assemble a dresser with our step-by-step guide. This furniture assembly tutorial will help you easily put together your new piece and create a functional and stylish addition to your home.
(Many of the links in this article redirect to a specific reviewed product. Your purchase of these products through affiliate links helps to generate commission for Storables.com, at no extra cost. Learn more)
Introduction
Assembling furniture can be an exciting yet challenging task, especially when it comes to larger pieces like dressers. However, with the right tools, proper preparation, and a step-by-step approach, the process can be much smoother and more rewarding. In this article, we will guide you through the process of assembling a dresser, offering valuable tips and insights along the way.
Whether you are a seasoned DIY enthusiast or a beginner, assembling a dresser can be a fun and fulfilling experience. By following the assembly instructions provided by the manufacturer and using the right tools, you can create a sturdy and stylish piece of furniture that will enhance the aesthetic appeal of your space.
Before we dive into the step-by-step instructions, it is essential to gather all the necessary tools and parts. This will ensure that you have everything you need within reach, saving you time and effort:
– Screwdriver (usually Phillips or flathead)
– Hammer
– Allen wrench (if required by the dresser)
– Rubber mallet (optional)
– Measuring tape (helpful for alignment)
– Pencil (for marking any adjustments)
Having these tools readily available will make the assembly process much smoother and more efficient. Now that we have the tools in place, let’s move on to the first step: reading the instructions.
Key Takeaways:
- Proper preparation is essential for successful dresser assembly. Gather all tools and parts, carefully read the instructions, and lay out components before starting. This proactive approach saves time and ensures a smoother assembly process.
- Attention to detail is crucial for stability and functionality. From aligning base components to checking drawer smoothness, each step contributes to a sturdy and reliable dresser. Completing the assembly process brings a sense of accomplishment and enjoyment of the finished piece.
Read more: How To Assemble A Pergola
Step 1: Gather the Tools and Parts
Before diving into the assembly process, it’s crucial to gather all the necessary tools and parts. This will ensure that you have everything you need within reach, saving you time and frustration during the assembly process.
Start by checking the packaging and the instruction manual for a complete list of the parts and tools required. Common tools needed for dresser assembly include:
- Screwdriver (usually Phillips or flathead)
- Hammer
- Allen wrench (if required by the dresser)
- Rubber mallet (optional)
- Measuring tape (helpful for alignment)
- Pencil (for marking any adjustments)
Having these tools readily available will make the assembly process much smoother and more efficient. If any special tools or additional supplies are needed, ensure you have them on hand before starting the assembly.
In addition to the tools, review the instruction manual to understand the different parts included in the dresser kit. Familiarize yourself with the names of the parts and their corresponding numbers or codes, if provided. This will help you identify and locate the parts more easily during the assembly.
If the packaging is labeled with the parts, confirm that you have all the necessary pieces. Count and organize them according to the instructions to ensure nothing is missing or damaged.
It’s common for manufacturers to include extra screws, bolts, or other small parts. Keep them all together in a separate container or bag, as they may come in handy for repairing or adjusting the dresser later on. Make sure to label or take note of these extra parts, so you don’t mistake them for missing pieces during assembly.
By gathering all the tools and parts at the beginning of the process, you can eliminate the hassle of searching for missing components or running to the store in the middle of assembly. This proactive approach will save you time and ensure a smoother overall experience.
Once you’re confident that you have all the necessary tools and parts, you’re ready to move on to the next step: reading the instructions.
Step 2: Read the Instructions
Before starting the assembly process, it’s crucial to thoroughly read and understand the instructions provided by the manufacturer. The instructions will serve as your guide throughout the assembly process, providing essential information on how to properly put the dresser together.
Begin by carefully reviewing the entire instruction manual from start to finish. Pay attention to any diagrams or illustrations that accompany the written instructions, as they can offer valuable visual guidance on the assembly process.
As you read the instructions, make note of any specific steps, warnings, or recommendations mentioned by the manufacturer. Take note of any tools or additional materials required that you may have missed during the initial gathering process. This will allow you to prepare adequately and avoid any unnecessary delays.
If there are any terms or jargon that you don’t understand, refer to the glossary or index provided in the instruction manual. Understanding the terminology used, such as the names of the various parts or specific assembly techniques, will make the process much easier to follow.
If the instructions are unclear or difficult to comprehend, don’t hesitate to reach out to the manufacturer’s customer support for clarification. They will be able to provide further guidance and answer any questions you may have.
It’s important to note that different dressers may have unique assembly instructions and steps. Even if you have assembled furniture before, it’s vital to carefully read the specific instructions for the dresser you are working on to avoid any mistakes or complications.
By thoroughly reading and understanding the instructions, you will have a clear roadmap for assembling the dresser. This will help you avoid errors, save time, and ensure a successful assembly process.
With the instructions understood, it’s time to move on to the next step: laying out the parts.
Step 3: Lay Out the Parts
After gathering all the necessary tools and familiarizing yourself with the instructions, it’s time to lay out the parts of the dresser. This step is crucial as it allows you to visually assess and organize the various components before starting the assembly.
Begin by clearing a spacious area where you can lay out the parts. This can be a large table, a clean floor, or any other flat surface that provides enough space to arrange and sort the pieces properly.
Take out all the parts from their packaging and carefully separate them according to their types or categories. This may include parts for the base, sides, drawers, back panel, hardware, and any additional components specified in the instruction manual.
As you begin organizing the parts, refer to the instruction manual or any labeling on the packaging to understand the identification system used. Some manufacturers may label the parts with letters or numbers, while others may use color-coded stickers or markings.
Once you have a clear understanding of how the parts are identified, arrange them in a logical order. Group similar parts together and line them up in a way that makes it easy to access and identify them during the assembly process.
It’s also helpful to keep small hardware like screws, bolts, and washers together in a separate container or bag. This will prevent them from getting lost or mixed up with the larger parts.
As you lay out the parts, take a moment to inspect them for any damage or defects. If you notice any chips, cracks, or missing pieces, contact the manufacturer for replacement parts before proceeding with the assembly.
Laying out the parts before starting the assembly helps you visualize the overall structure of the dresser and ensures that you have everything you need. It also streamlines the assembly process by eliminating the need to search for parts as you progress through the steps.
With the parts properly arranged, you’re ready to move on to the next step: starting with the base.
Step 4: Start with the Base
Once you have gathered all the necessary tools, read through the instructions, and laid out the parts, it’s time to begin assembling your dresser. The first step in the assembly process is to start with the base.
Take a close look at the instruction manual to identify the components that make up the base of the dresser. This may include panels, slats, or support beams. Ensure that you have all the necessary parts before proceeding.
Begin by positioning the base components according to the instructions. Lay them out on the floor or your chosen workspace in the correct configuration, ensuring they are aligned properly and the pre-drilled holes or connection points are easily accessible.
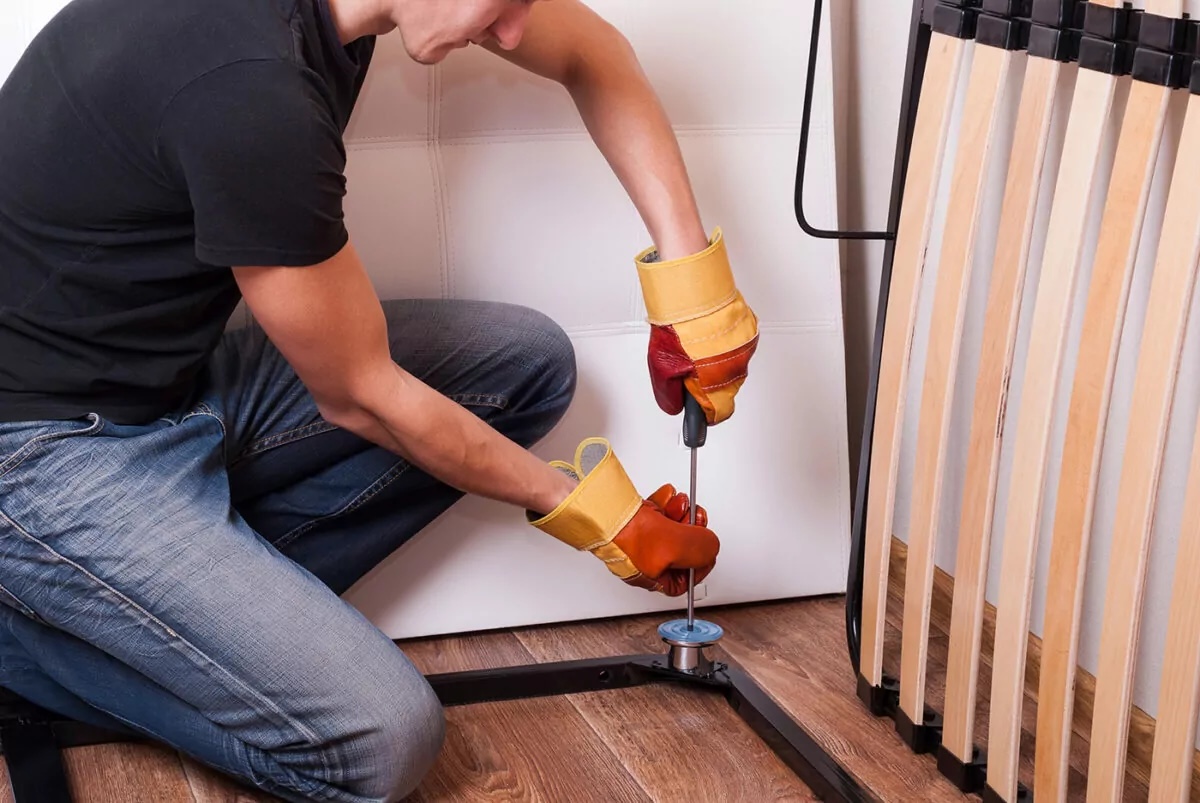
Using the appropriate tools, such as a screwdriver or Allen wrench, start attaching the base components together. Follow the instructions carefully, making sure to tighten the screws securely but not overtighten them, as this could damage the wood or cause misalignment.
If the base requires additional support legs or feet, attach them following the instructions provided. These support components are crucial for ensuring stability and weight distribution of the dresser.
As you progress with attaching the base, periodically check for alignment using a measuring tape or level. This will help you ensure that the base is straight and level, providing a solid foundation for the rest of the dresser.
Once the base is securely assembled, double-check all the connections to confirm that they are tight and secure. This will prevent any wobbling or instability in the finished dresser.
By starting with the base, you establish a sturdy foundation for the rest of the dresser assembly. Taking the time to carefully align and connect the base components will set the stage for a successful and stable final result.
With the base complete, it’s time to move on to the next step: attaching the sides.
Read more: How To Assemble A Coffee Table
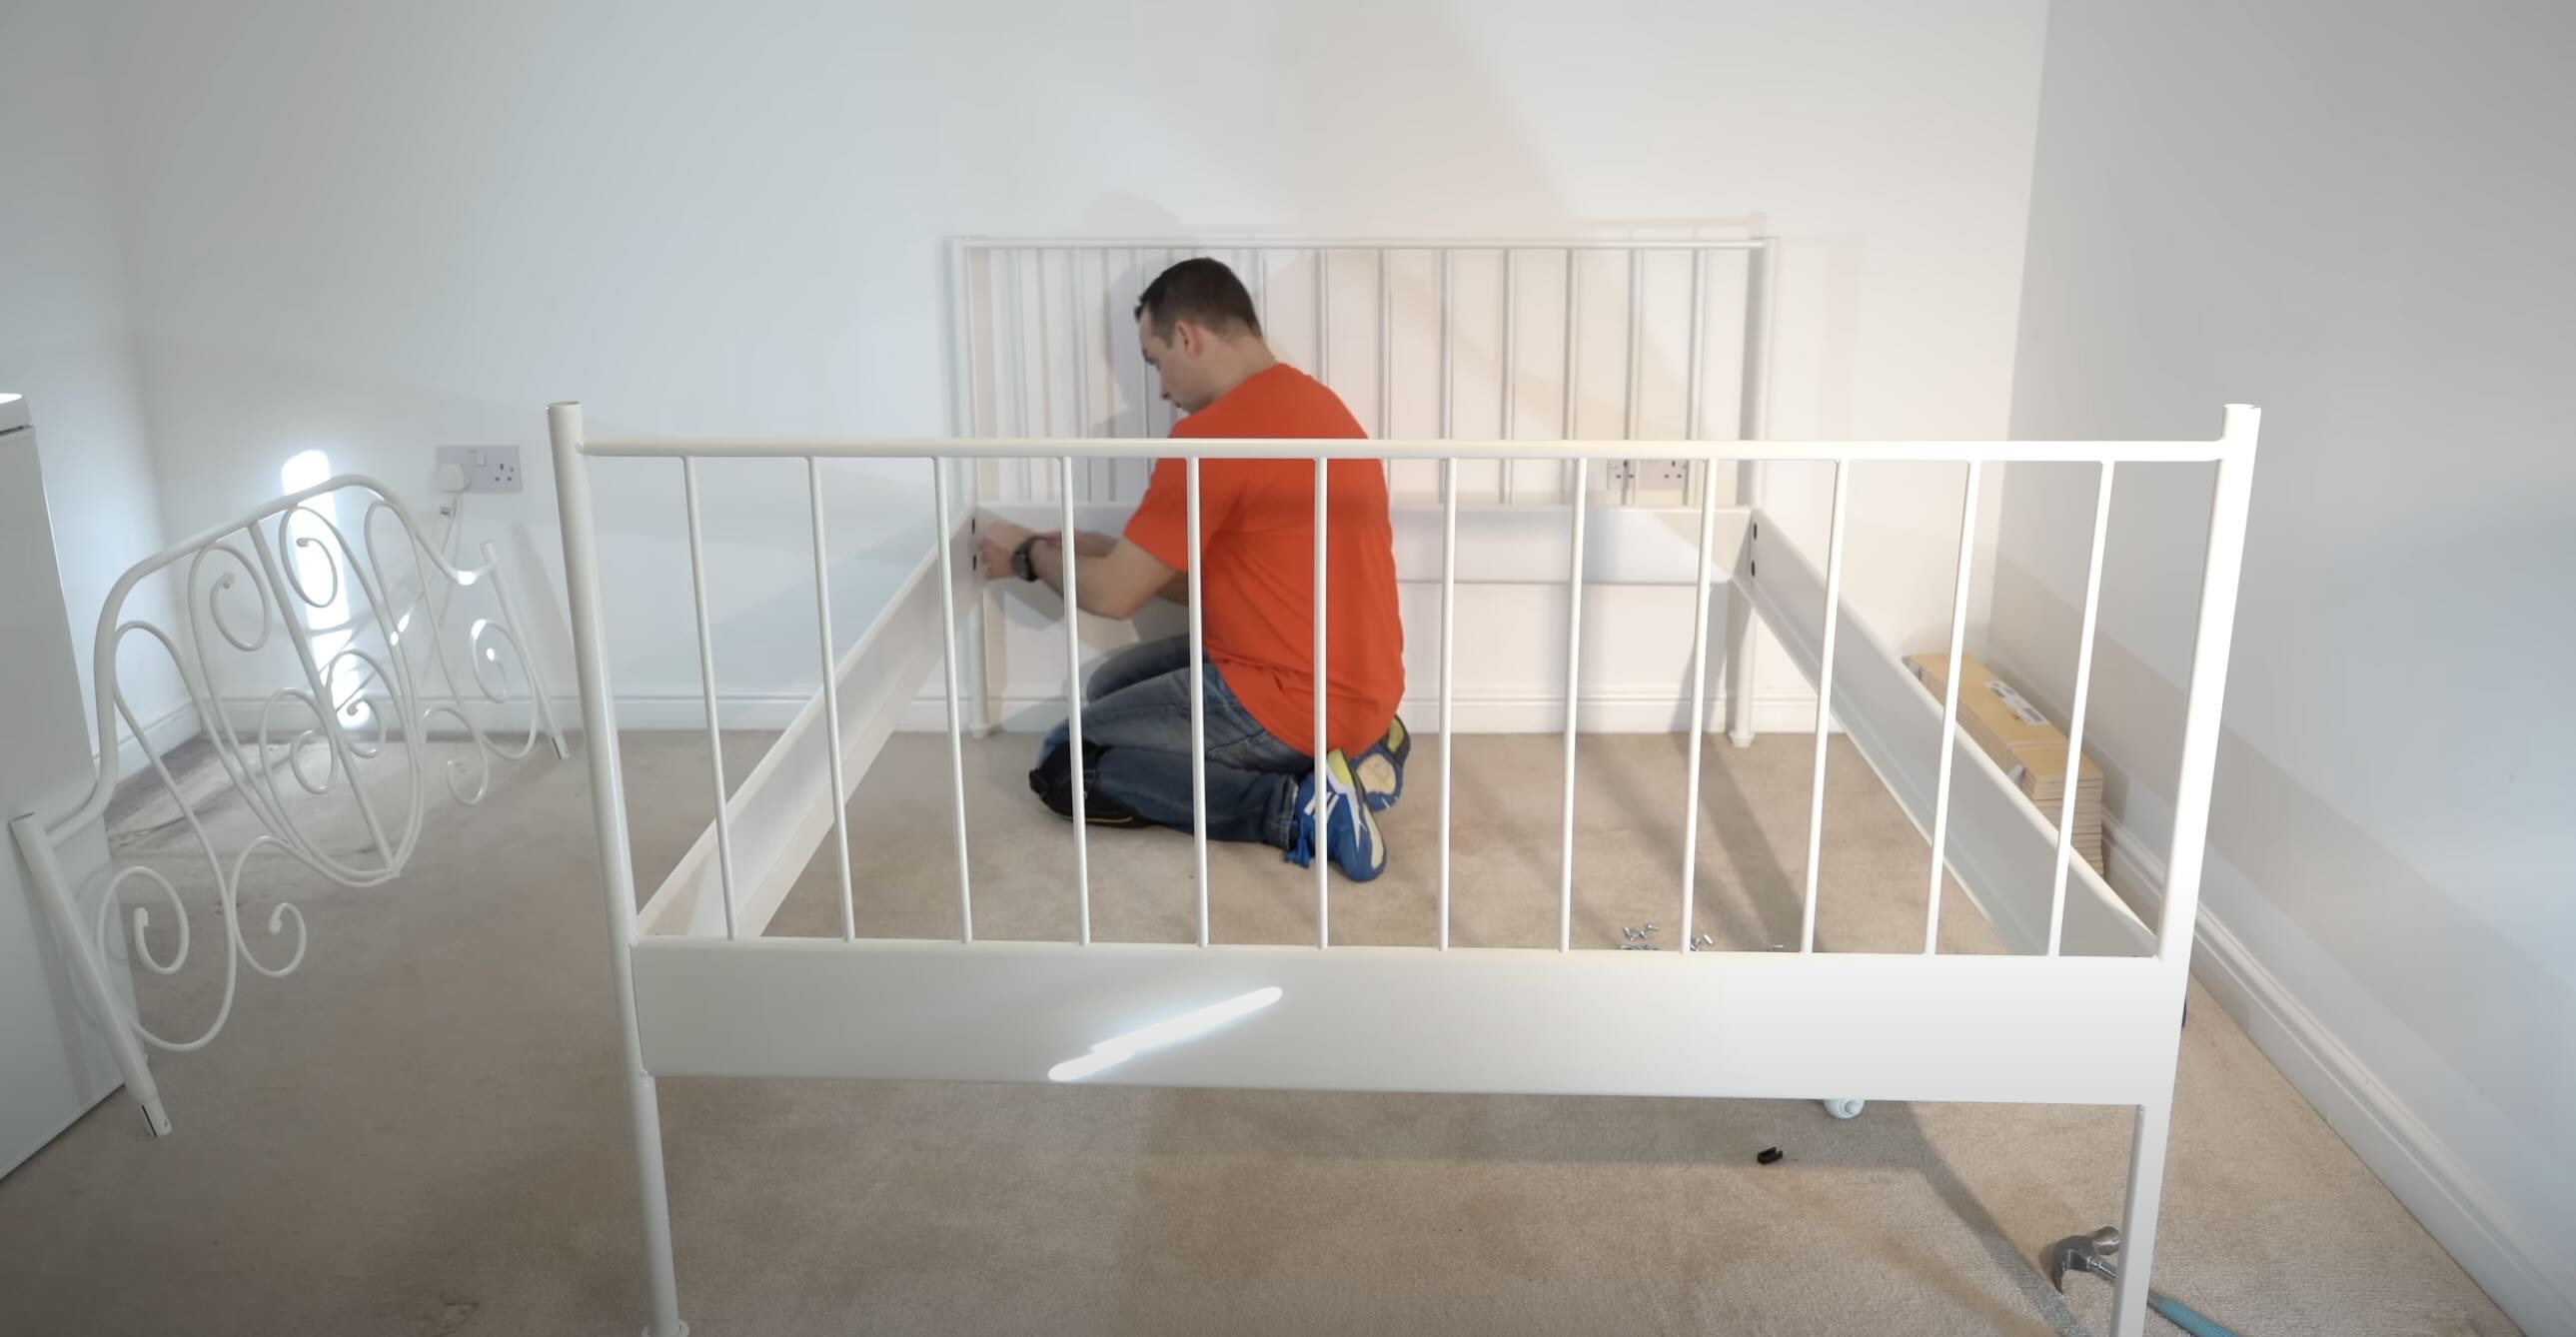
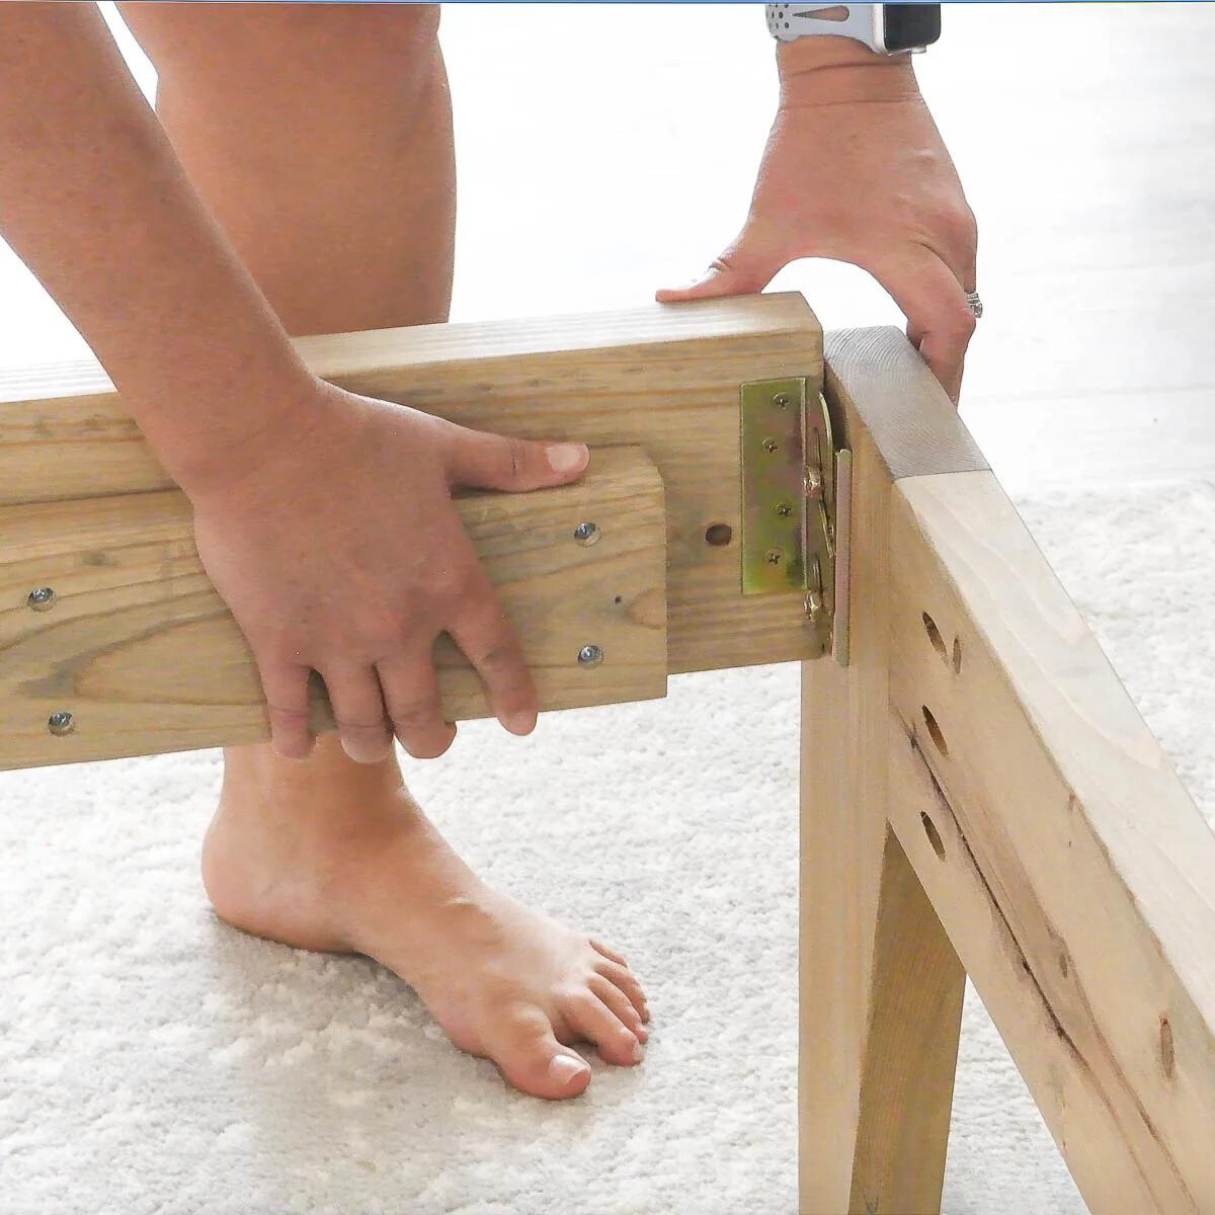
Step 5: Attach the Sides
With the base of the dresser securely assembled, it’s time to move on to attaching the sides. This step will bring the dresser closer to its final shape and structure.
Refer to the instruction manual to identify the side panels and any other components that make up the sides of the dresser. Lay out the parts in the correct orientation, double-checking the labeling or marking on each panel.
Position the side panels against the base, aligning them with the pre-drilled holes or connection points. Take care to ensure that the panels are flush with the edges of the base and that they are level. Use a measuring tape or level to double-check the alignment before proceeding.
Using the appropriate tools, such as a screwdriver or Allen wrench, begin attaching the side panels to the base. Follow the instructions carefully, inserting the screws or bolts into the pre-drilled holes and tightening them securely. Take care not to overtighten, as it can damage the wood or cause misalignment.
If the dresser design includes additional support brackets or beams for the sides, install them according to the instructions provided. These support components play a crucial role in strengthening the structure of the dresser.
As you progress with attaching the sides, periodically check for alignment and stability. Ensure that the dresser remains level and that all connections are tight and secure.
Once the sides are securely attached to the base, step back and visually inspect the dresser’s framework. Ensure that the sides are straight and flush with the base, and there are no gaps or misalignments that could affect the overall stability and functionality of the dresser.
Completing the step of attaching the sides brings the dresser closer to its final form. It establishes the main framework of the dresser, providing a solid structure to support the drawers and other components.
With the sides in place, it’s time to move on to the next step: inserting the drawers.
When assembling a dresser, lay out all the parts and hardware before starting. Follow the instructions carefully and use a power drill for faster assembly.
Step 6: Insert the Drawers
Assembling the drawers is an exciting step as it brings the dresser one step closer to completion. In this step, we will guide you through the process of properly inserting the drawers into the dresser.
Start by identifying the drawers and any accompanying components, such as drawer slides or glides. Lay them out nearby, ensuring they are easily accessible and in the correct orientation.
Before inserting the drawers, check for any labeling or markings that indicate the specific order of the drawers. This is usually denoted by numbers or letters on the underside of each drawer or inside the dresser framework.
Begin by inserting the bottom drawer into the dresser. Align the drawer slides or glides with the corresponding slots or tracks on both sides of the dresser framework. Push the drawer in gently, ensuring it slides smoothly without any resistance. If necessary, refer to the instruction manual for any specific tips or tricks for aligning the drawer properly.
Once the bottom drawer is in place, repeat the process for the remaining drawers, starting from the bottom and working your way up. Take care to align each drawer with its designated slide or glide, ensuring a smooth and seamless operation.
As you insert each drawer, verify that it is level and flush with the dresser framework. Push the drawer in fully until it clicks into place, and make sure it glides in and out smoothly without any sticking or misalignment.
After all the drawers are inserted, give them a gentle tug to ensure they are securely in place. Check that they open and close smoothly without any interference or difficulty.
If the dresser drawers have handles or knobs, this is also the time to install them. Refer to the instruction manual for the appropriate placement and alignment of the drawer handles. Use a screwdriver or any provided hardware to attach them securely.
By properly inserting the drawers, you bring functionality and storage capacity to your dresser. It’s important to ensure that the drawers glide smoothly and align correctly for easy access to your belongings.
With the drawers inserted, it’s time to move on to the next step: attaching the back panel.
Step 7: Attach the Back Panel
Attaching the back panel to the dresser is a crucial step in providing stability and reinforcing the overall structure. In this step, we will guide you through the process of securely attaching the back panel.
Start by locating the back panel among the parts. Lay it out near the dresser, ensuring it is in the correct orientation according to the instruction manual.
Position the back panel against the back of the dresser, aligning it with the edges and corners. Take note of any pre-drilled holes or connection points on the back panel and the dresser framework.
Using the appropriate tools, such as a screwdriver or Allen wrench, begin attaching the back panel to the dresser. Start in one corner and work your way across, inserting screws or nails into the pre-drilled holes or connection points.
Follow the instructions carefully, ensuring that the back panel is centered and and securely fastened. Space out the screws or nails evenly along the edges of the back panel to provide even support.
As you attach the back panel, periodically check for any gaps or misalignments. Adjust the panel if necessary to ensure a snug fit against the dresser framework.
Once the back panel is securely attached, gently test its stability by pressing against it. It should feel firm and not shift or wiggle. This ensures that the back panel provides proper reinforcement to the dresser structure.
Attaching the back panel adds an additional layer of stability and strength to the dresser. It also serves to enclose and protect the contents of the dresser, preventing them from falling out or collecting dust.
With the back panel successfully attached, you’re one step closer to completing the assembly process. The next step is to install the drawer handles.
Step 8: Install the Drawer Handles
Installing drawer handles is an essential step in completing the assembly of your dresser. This step adds the finishing touch and enhances the functionality and aesthetics of the piece. In this step, we will guide you through the process of installing the drawer handles.
Before starting, gather all the drawer handles and any accompanying hardware, such as screws or bolts. Lay them out neatly to ensure easy access.
Begin by deciding on the placement of the drawer handles. Measure and mark the desired location on each drawer front, ensuring they are aligned and symmetrical. Consider the height and position that feels comfortable and visually appealing.
Using a screwdriver or the appropriate tool, start attaching the handles to the drawers. Insert the screws or bolts through the back of the drawer front and align them with the pre-drilled holes on the handles.
Tighten the screws or bolts securely, but be cautious not to overtighten and damage the drawer front. Check that the handles are level and firmly attached to the drawers.
As you install each handle, test its functionality by pulling gently. Ensure that the handle provides a smooth and comfortable grip, allowing for easy opening and closing of the drawers.
If the dresser includes different types of handles or knobs for different drawers, repeat the process for each handle, following the same measurements and alignment.
Take a step back and admire the completed dresser with its newly installed handles. Ensure that all the handles are aligned and visually pleasing, adding a touch of style to the furniture.
Installing the drawer handles is the final step in the assembly process. It completes the functional aspect of the dresser, making it easy to access and organize your belongings.
With the handles installed, it’s time to move on to the next step: checking for stability.
Read more: How To Assemble Dining Chairs
Step 9: Check for Stability
Now that the assembly of your dresser is almost complete, it’s essential to check for stability to ensure that the final product is durable and secure. This step will help identify any potential issues or adjustments needed to enhance the stability of the dresser.
Start by giving the dresser a gentle shake or nudge to test its overall stability. It should feel sturdy and not wobble or sway excessively. If you notice any significant instability, carefully inspect the connections and tighten any loose screws or bolts.
Next, open and close each drawer, paying attention to how smoothly they slide and if they align properly. The drawers should glide in and out effortlessly without any catching or resistance. If you encounter any issues, check the alignment of the drawer slides or glides and make any necessary adjustments.
Inspect the joints and connections throughout the dresser, focusing on where the base, sides, and back panel intersect. Ensure that all screws or bolts are tightened securely and that there are no visible gaps or misalignments.
If the dresser has legs, check for any wobbling or unevenness. Adjust the legs as needed to ensure that the dresser stands level on the floor.
Consider placing some weight, such as books or clothing, evenly distributed across the top surface of the dresser. This will simulate the weight of items that will be stored on the dresser and allow you to evaluate its stability under a load.
Take a few moments to step back and observe the dresser from different angles. Ensure that it stands upright and that all components are aligned correctly. Verify that there are no signs of weakness or structural issues.
By checking for stability, you can address any potential concerns and make necessary adjustments before fully utilizing the dresser. This step ensures that the piece will withstand regular use and provide a reliable and secure storage solution for your belongings.
If you encounter any structural issues or stability concerns that cannot be resolved, contact the manufacturer for further assistance or clarification.
With stability confirmed, it’s time for the final step: cleaning up and enjoying your newly assembled dresser.
Step 10: Clean Up and Enjoy your Assembled Dresser
Congratulations! You have successfully completed the assembly of your dresser. The final step in the process is to clean up any debris and take a moment to appreciate your hard work and enjoy your newly assembled piece of furniture.
Begin by removing any packaging materials, such as cardboard or plastic wrap, from the surrounding area. Dispose of them properly or recycle them as needed. Clearing the space will allow you to fully appreciate the dresser and its visual impact.
Gently wipe down the surfaces of the dresser with a soft, lint-free cloth to remove any dust or fingerprints. Pay attention to any corners or crevices where dust might have accumulated during the assembly process.
If necessary, use a mild cleaning solution and a damp cloth to remove any stubborn stains or marks. Ensure that the cleaning solution is safe for the material of your dresser, such as wood or laminate.
Take a step back and admire your completed dresser. Notice the attention to detail and the effort you put into assembling it. Appreciate how the dresser enhances the aesthetic of your space and provides practical storage solutions.
To maximize the lifespan of your dresser, it’s important to follow proper care and maintenance instructions. Avoid placing heavy or unevenly distributed weight on the top surface, as this can cause instability or damage over time. Also, be mindful of the weight limit specified by the manufacturer for each drawer.
Regularly dust and clean the surface of the dresser to maintain its appearance and prevent the buildup of dirt or debris. Follow the manufacturer’s recommendations for cleaning and avoid using harsh chemicals or abrasive cleaners that can damage the finish.
Finally, arrange and organize your belongings in the drawers of the dresser. Enjoy the convenience and functionality of having a dedicated storage space for your clothes, accessories, or other personal items.
By following these steps, you have successfully assembled your dresser and created a beautiful and functional piece of furniture for your home. Take pride in your accomplishment and enjoy the benefits of your newly assembled dresser.
With the assembly complete, you can now sit back, relax, and appreciate the fruits of your hard work. Congratulations once again, and may your dresser bring you joy and utility for years to come!
Frequently Asked Questions about How To Assemble A Dresser
Was this page helpful?
At Storables.com, we guarantee accurate and reliable information. Our content, validated by Expert Board Contributors, is crafted following stringent Editorial Policies. We're committed to providing you with well-researched, expert-backed insights for all your informational needs.


0 thoughts on “How To Assemble A Dresser”