Furniture
How To Fix Lava Lamp Wax Stuck At The Top
Modified: August 17, 2024
Learn effective techniques to fix your furniture's lava lamp with wax stuck at the top. Say goodbye to the frustration and enjoy a flowing and functional lava lamp.
(Many of the links in this article redirect to a specific reviewed product. Your purchase of these products through affiliate links helps to generate commission for Storables.com, at no extra cost. Learn more)
Introduction
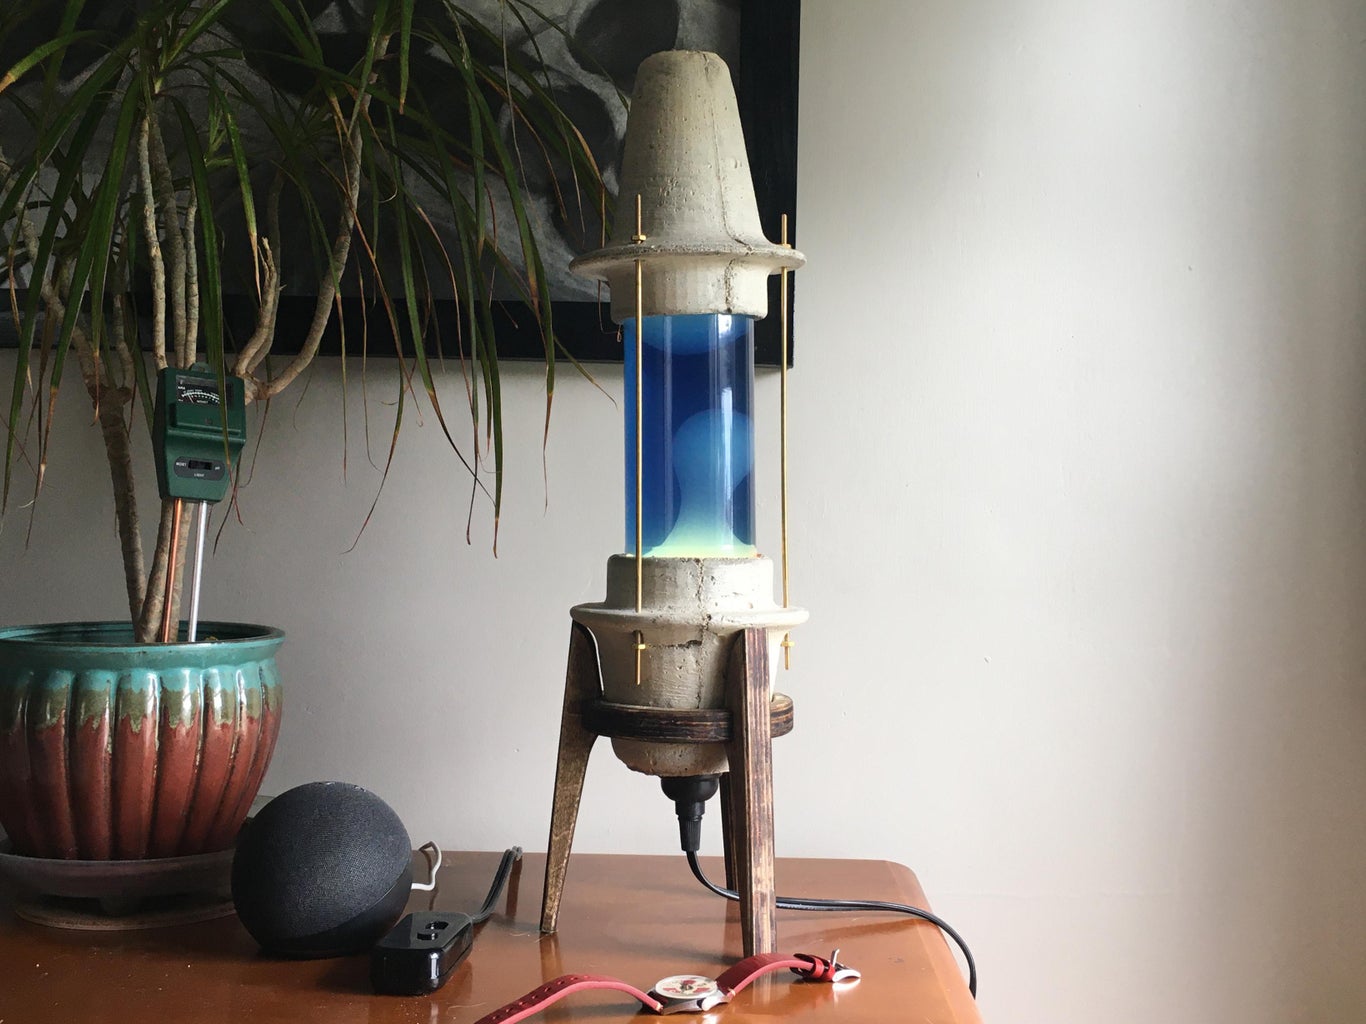
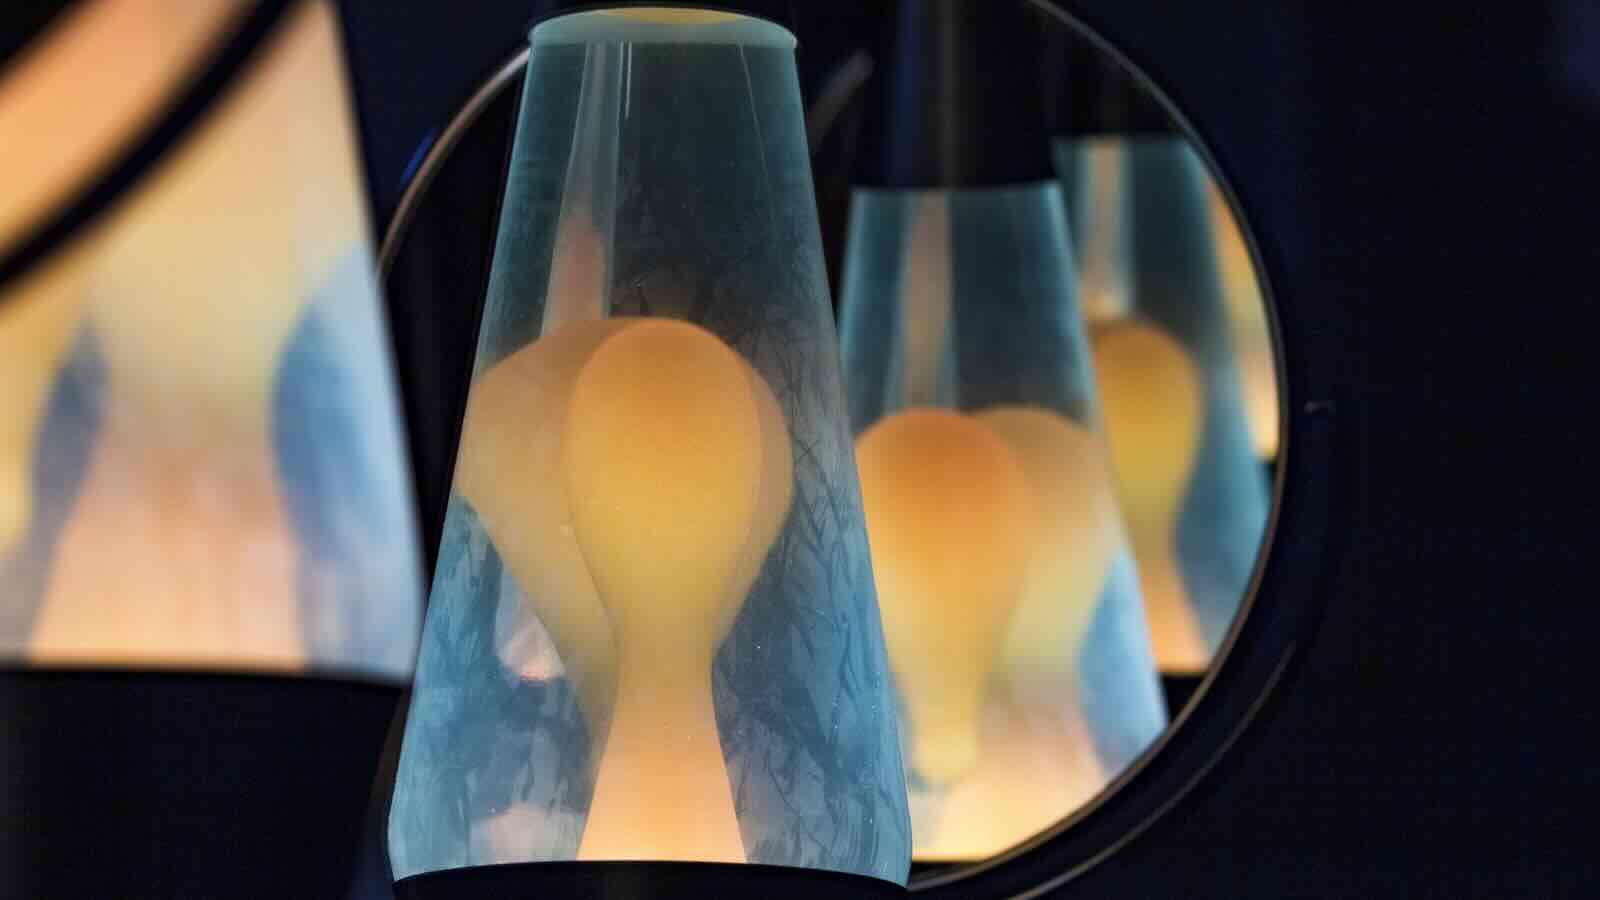
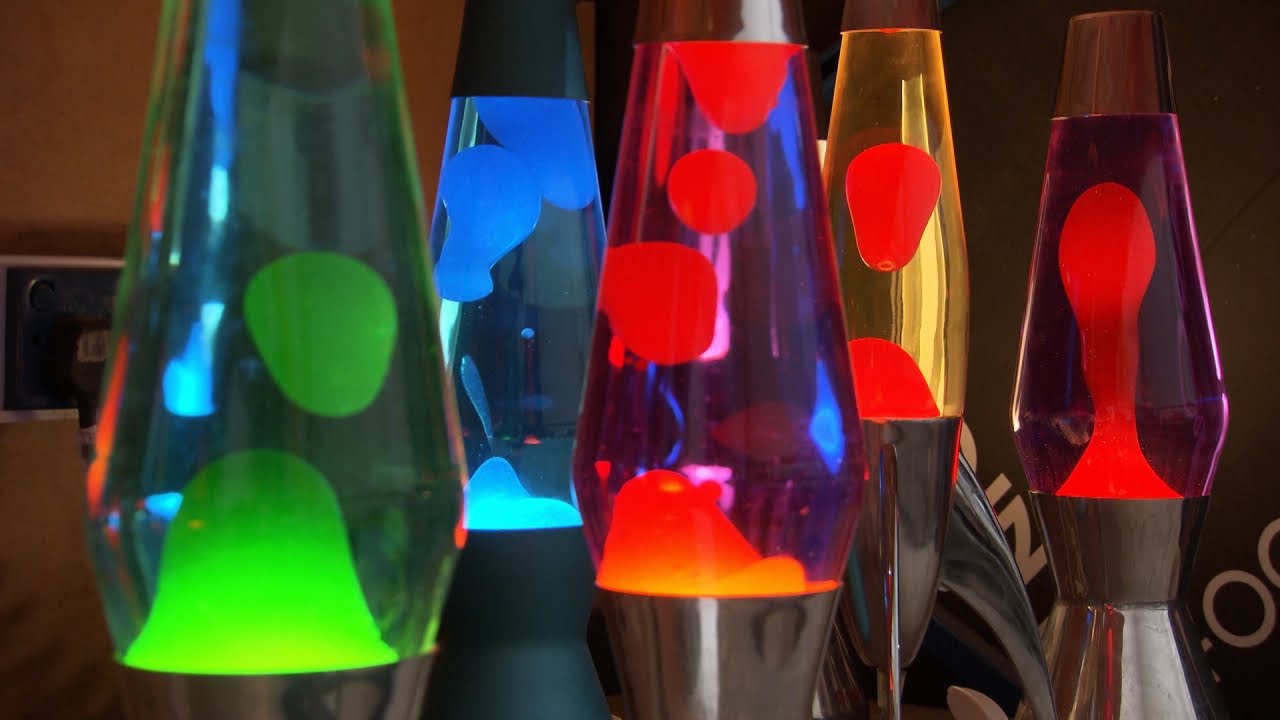
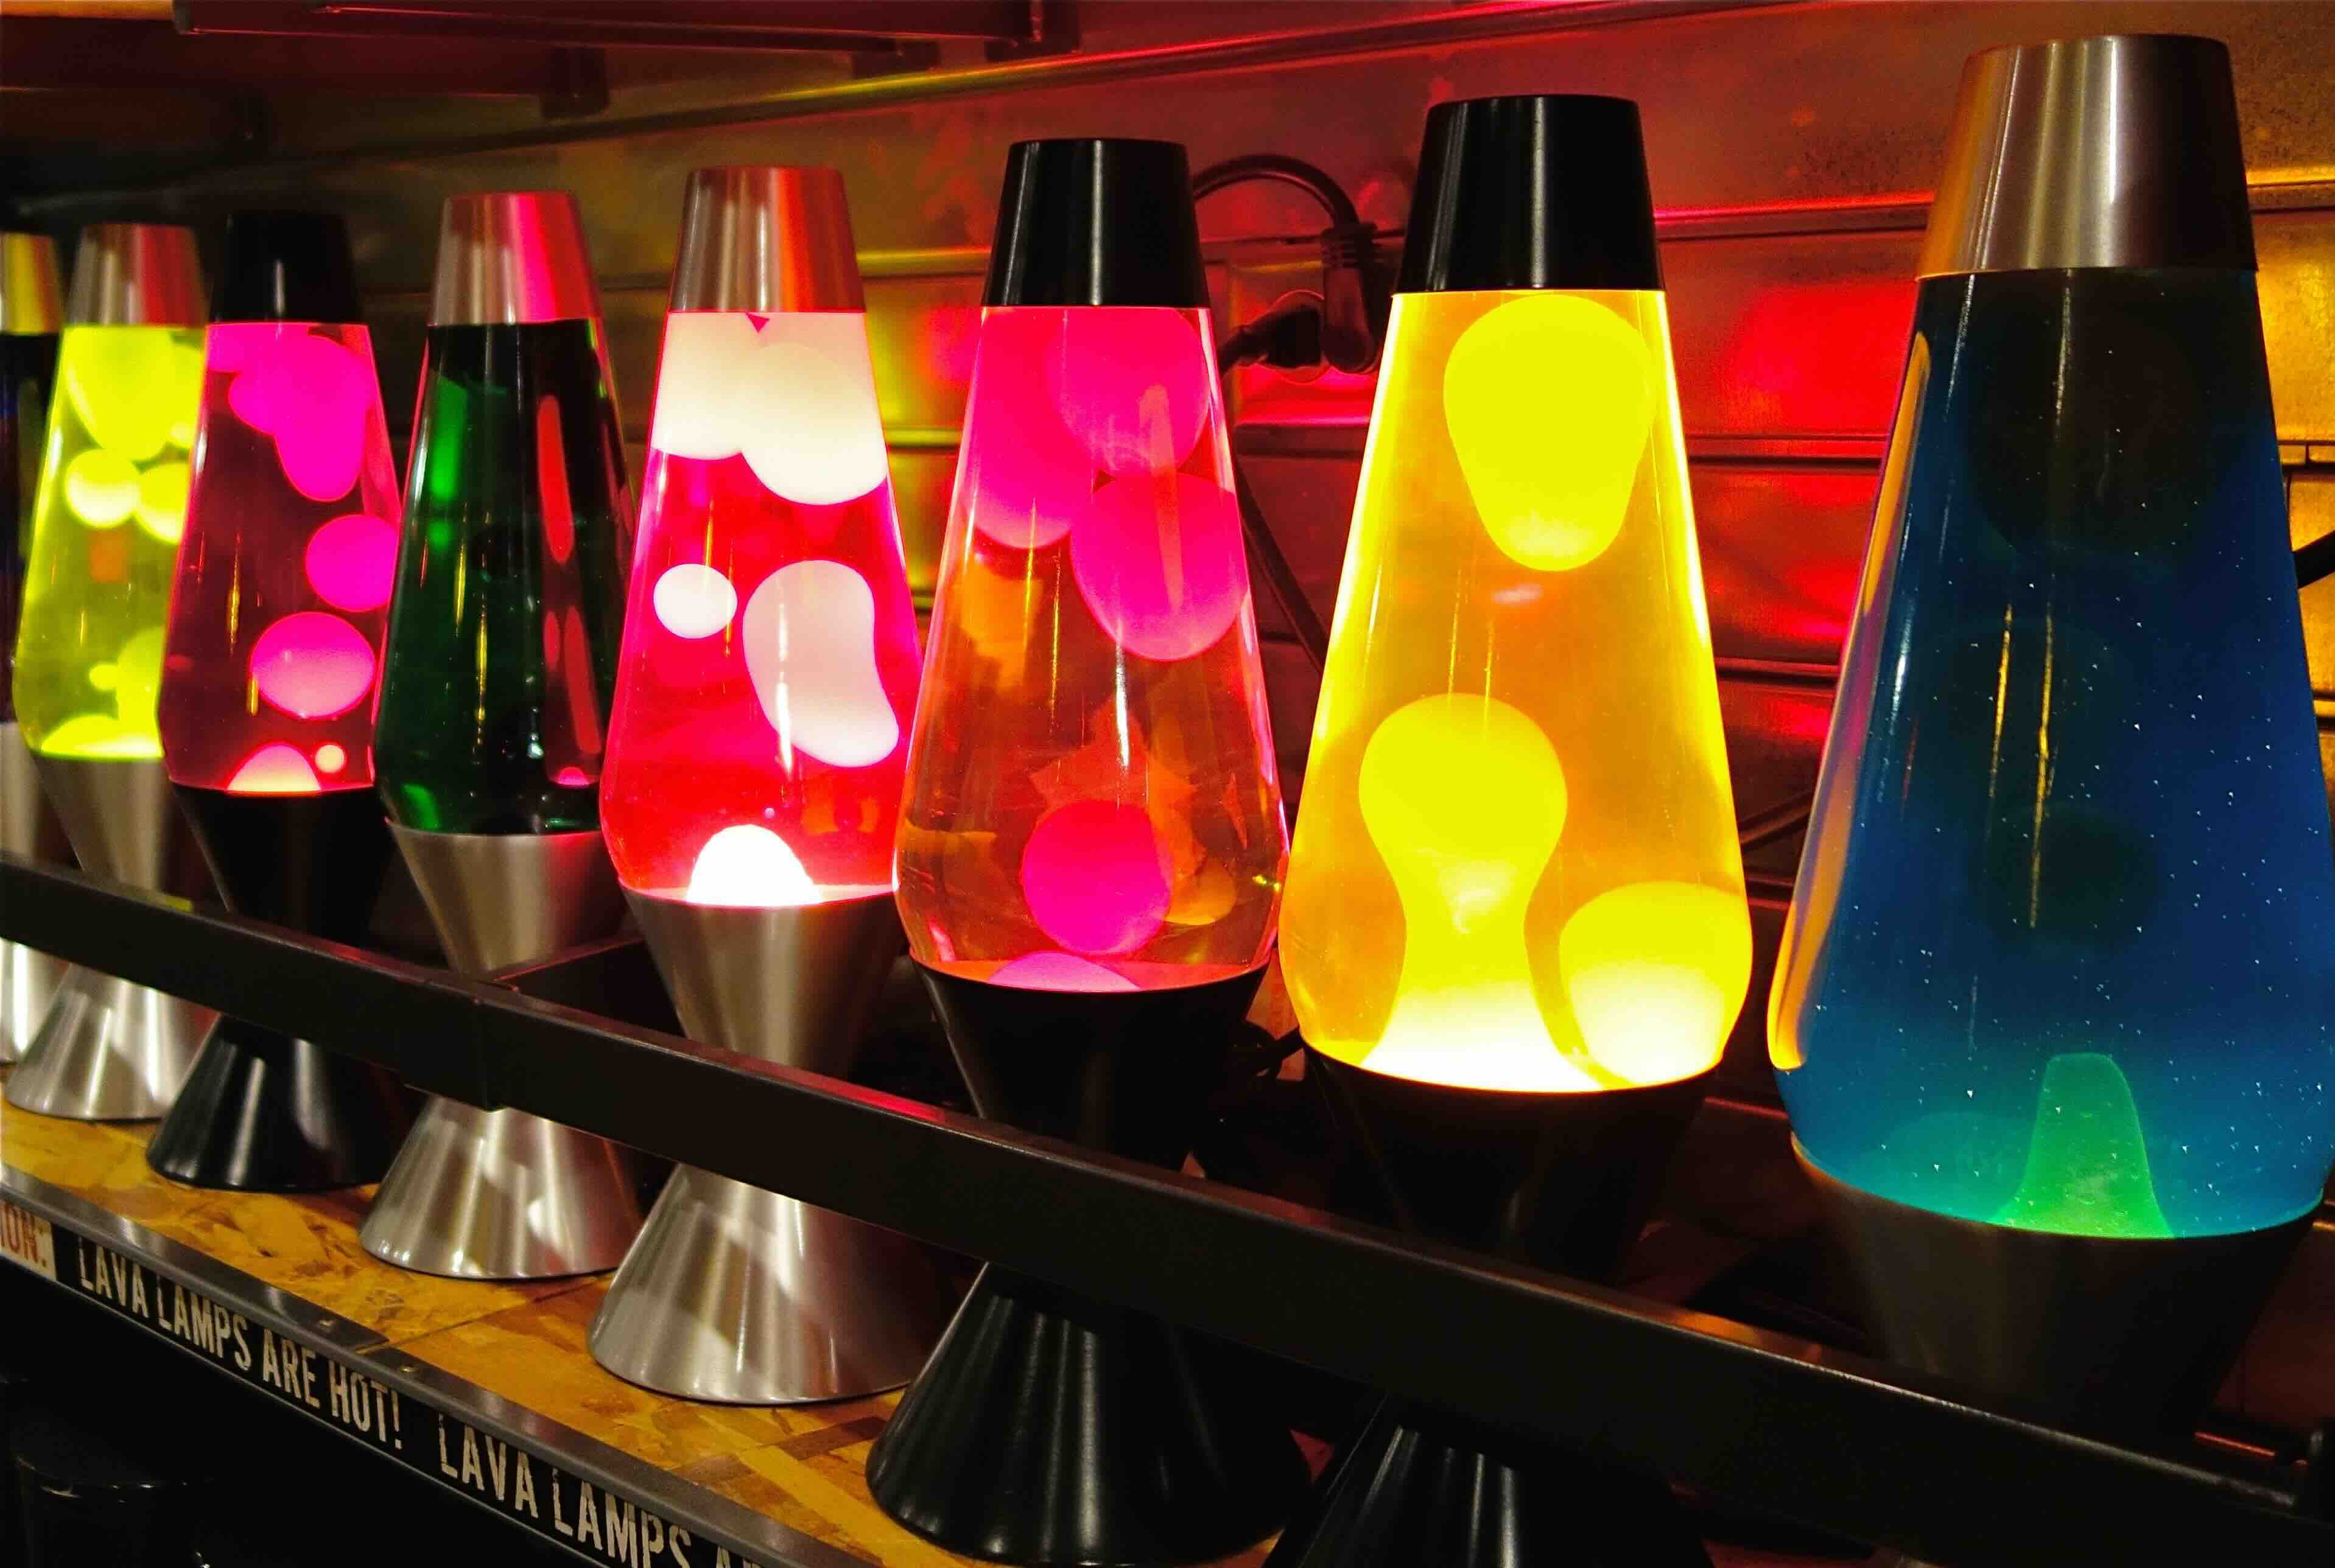
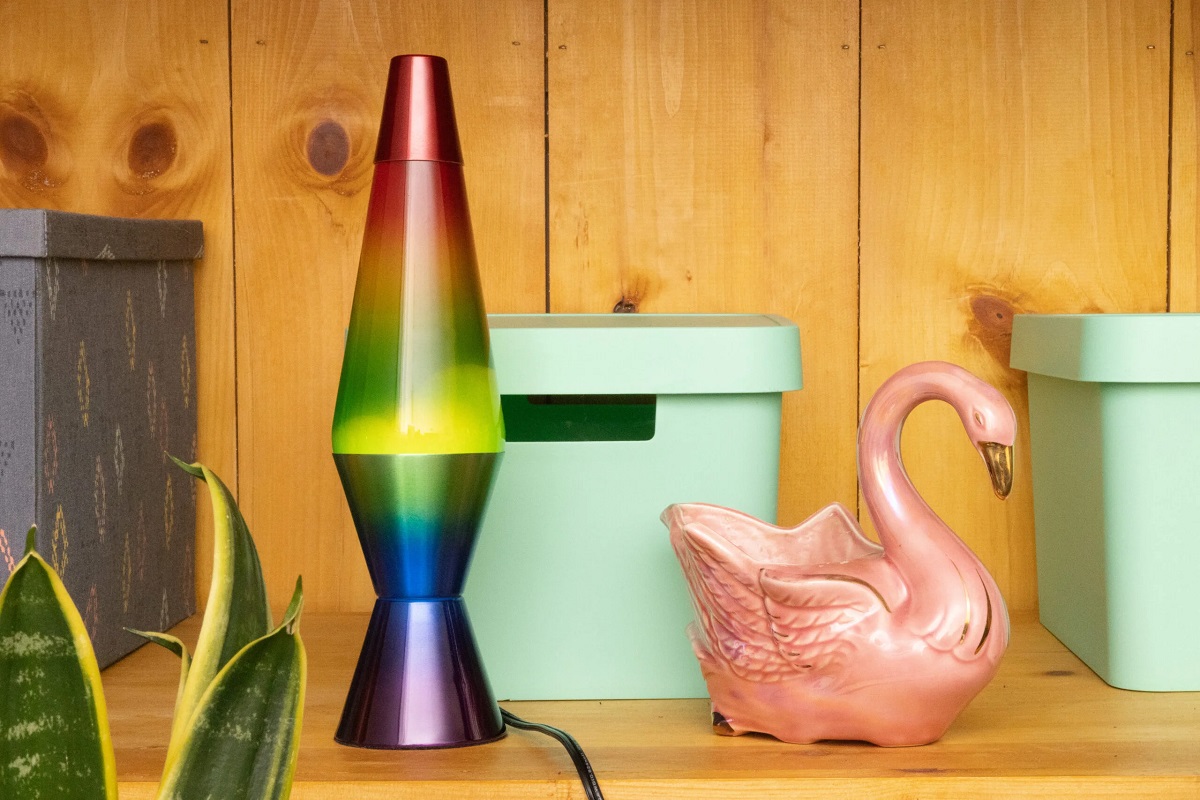
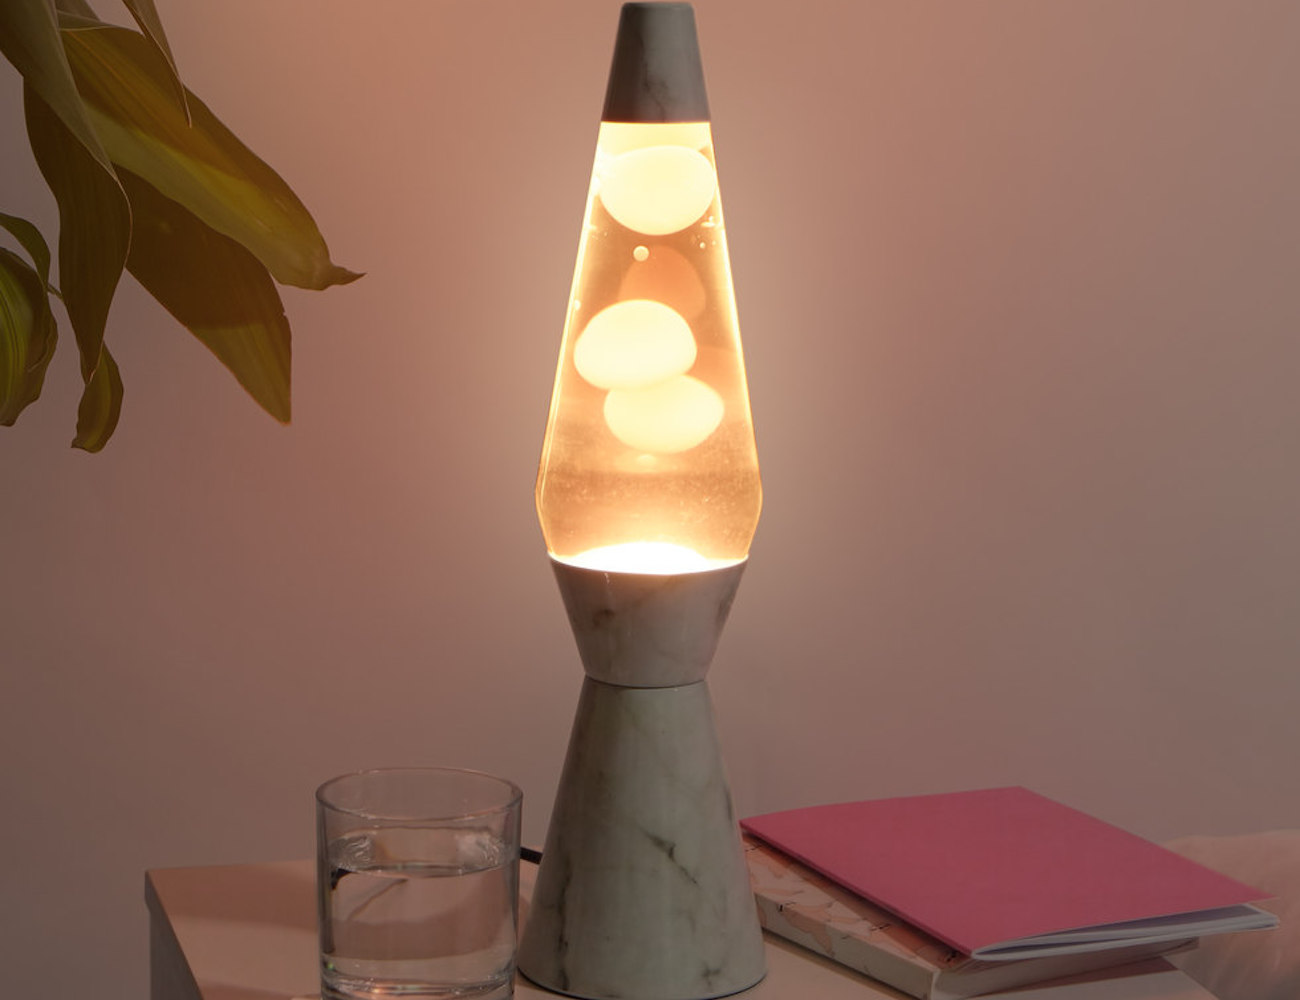
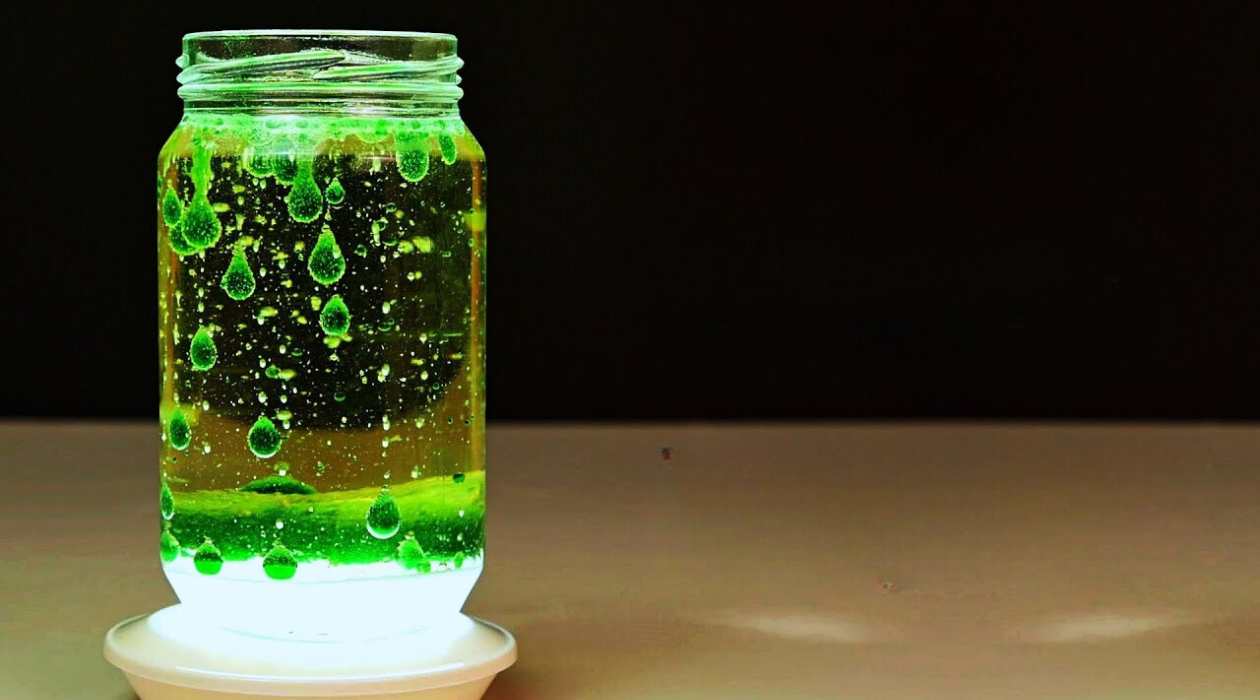
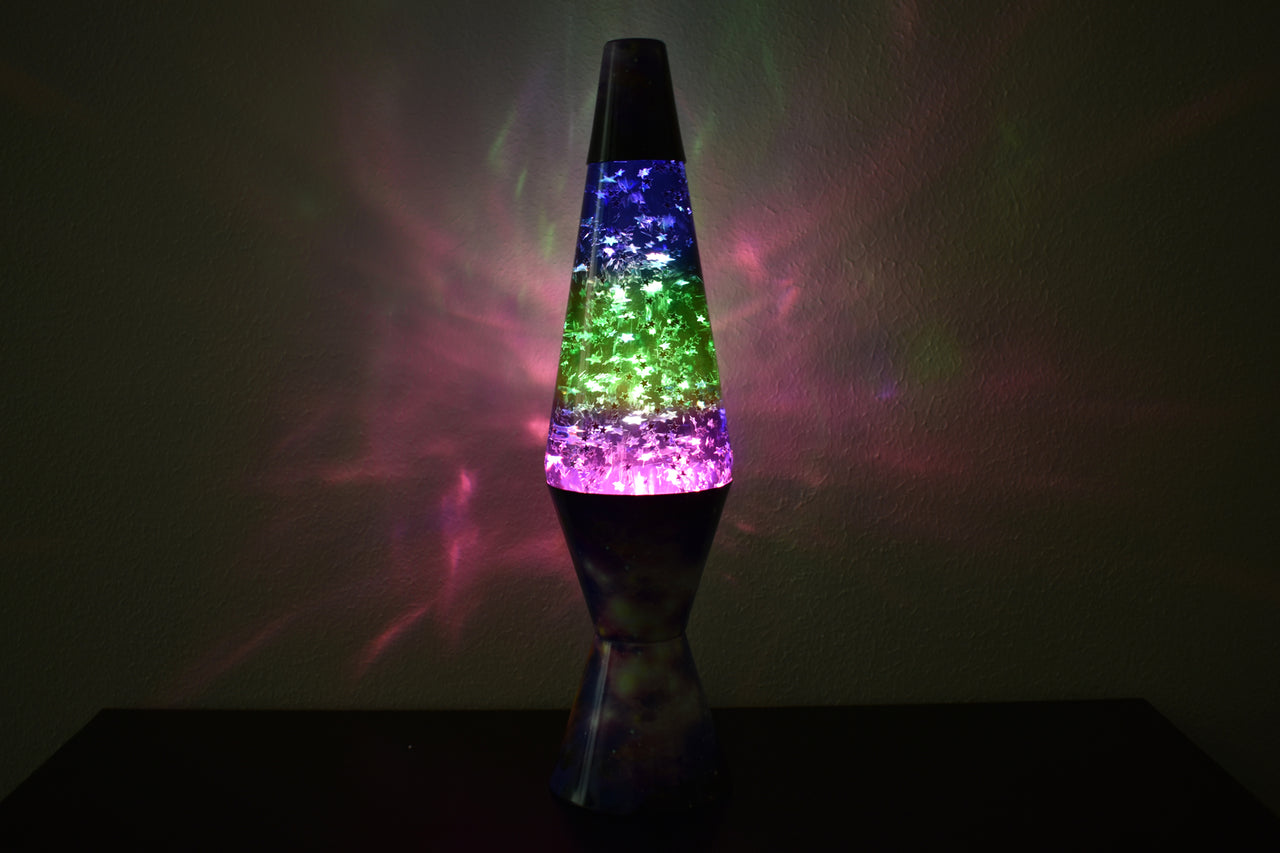
Welcome to the world of lava lamps, those mesmerizing home decor pieces that create a relaxing and ambient atmosphere with their gentle, flowing movements. However, as much as we love these iconic lamps, sometimes we encounter a common problem: the wax gets stuck at the top, leaving us with an inactive lava lamp.
If you’re experiencing this issue, fear not! In this article, we’ll guide you through the process of fixing a lava lamp with wax stuck at the top. With a few simple steps, you can bring your lava lamp back to life and enjoy its soothing, colorful display once again.
Before we dive into the steps, let’s take a moment to understand why the wax gets stuck in the first place.
Key Takeaways:
- Revive your stuck lava lamp by understanding the root cause, heating, shaking, and cooling the lamp. Patience and persistence will reward you with a mesmerizing, flowing display once again.
- Ensure safety and patience as you troubleshoot and fix your stuck lava lamp. With the right approach, you can bring back the captivating charm of this iconic home decor piece.
Read more: How To Fix A Shaken Lava Lamp
Understanding the Issue
In order to effectively fix a lava lamp with wax stuck at the top, it’s important to understand the underlying cause of this issue. The most common reason for wax sticking at the top is that the lamp’s heat has become unbalanced or insufficient.
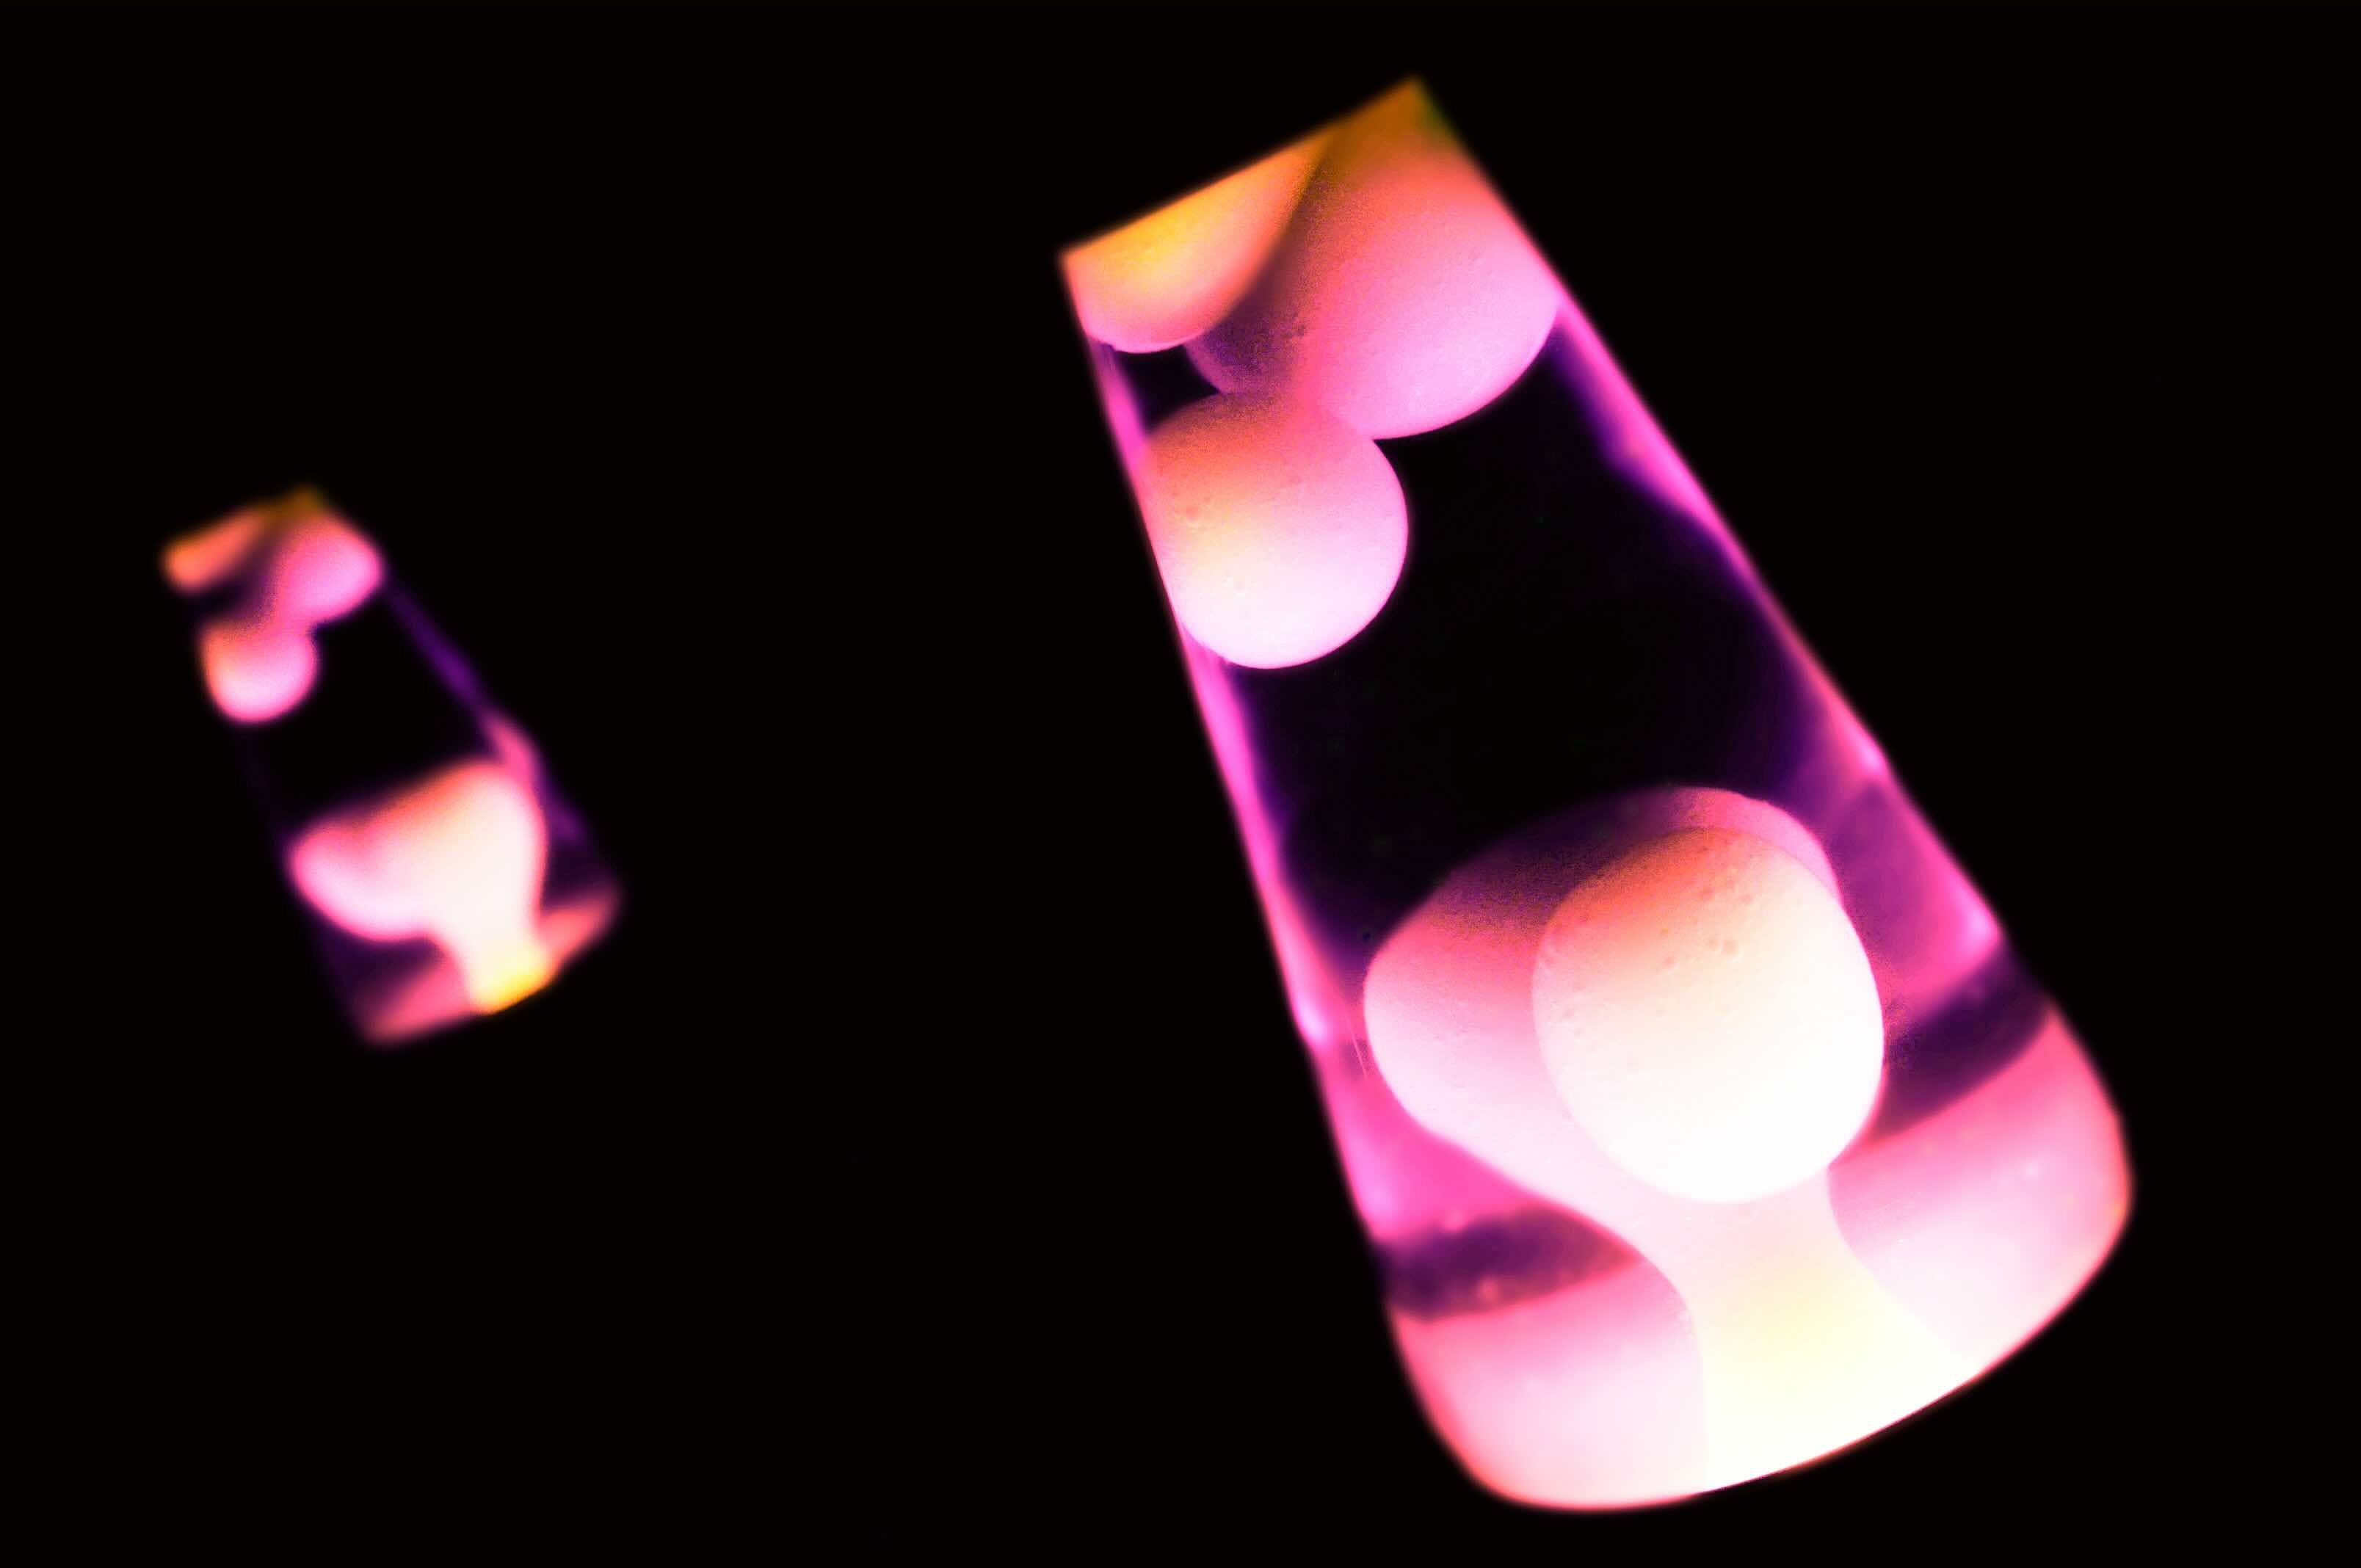
A lava lamp operates by heating a bulb that in turn warms up the wax, causing it to rise and fall in a mesmerizing motion. However, if the lamp is not properly heated, the wax may not fully melt, resulting in it getting stuck at the top. This can be frustrating, as the lamp loses its iconic movement and becomes nothing more than an interesting but lifeless decoration.
Now that we’ve identified the root cause, it’s time to delve into the step-by-step process of fixing your lava lamp with wax stuck at the top. By following these instructions, you’ll soon have your lava lamp flowing and glowing once again, adding a unique touch to your living space.
Step 1: Preparing the Lava Lamp
Before attempting to fix your lava lamp, it’s important to ensure that you have a safe and suitable environment for the process. Here are some key steps to follow:
- Switch off the lamp: Start by unplugging the lava lamp from the power source. This will prevent any accidental burns or electrocution during the repair process.
- Allow the lamp to cool down: Give the lamp sufficient time to cool down completely. This will help avoid any potential burns or mishaps while handling the lamp.
- Find a stable surface: Choose a flat and stable surface to work on. It’s important to have a secure and level area to prevent the lamp from tipping over or spilling during the repair process.
- Gather your supplies: Make sure you have all the necessary tools and materials handy. This may include a towel or cloth, gloves, and the appropriate cleaning solution for the lamp.
- Protect the surrounding area: Place a towel or cloth underneath the lava lamp to catch any potential spills or drips. This will help protect your surfaces from any damage or stains.
By following these preparatory steps, you’ll create a safe and organized space to work on fixing your lava lamp. With these precautions in place, you can now proceed to the next steps in your quest to revive your lava lamp’s flow.
Step 2: Heating the Lamp
Now that you have prepared your workspace, it’s time to move on to heating the lava lamp. Here’s what you need to do:
- Plug in the lamp: Carefully plug in the lamp and ensure that it is securely connected to the power source. Double-check that your electrical outlets are in proper working condition.
- Position the lamp: Place the lava lamp in an upright position on a stable surface. Make sure it is positioned away from any flammable materials, such as curtains or papers.
- Switch on the lamp: Turn on the lamp by flipping the power switch. It may take a few moments for the heat to activate, so be patient and observe the lamp’s behavior.
- Monitor the heat: Observe the lamp as it heats up. You should start to notice changes in the wax, with some softening and movement occurring towards the top of the lamp.
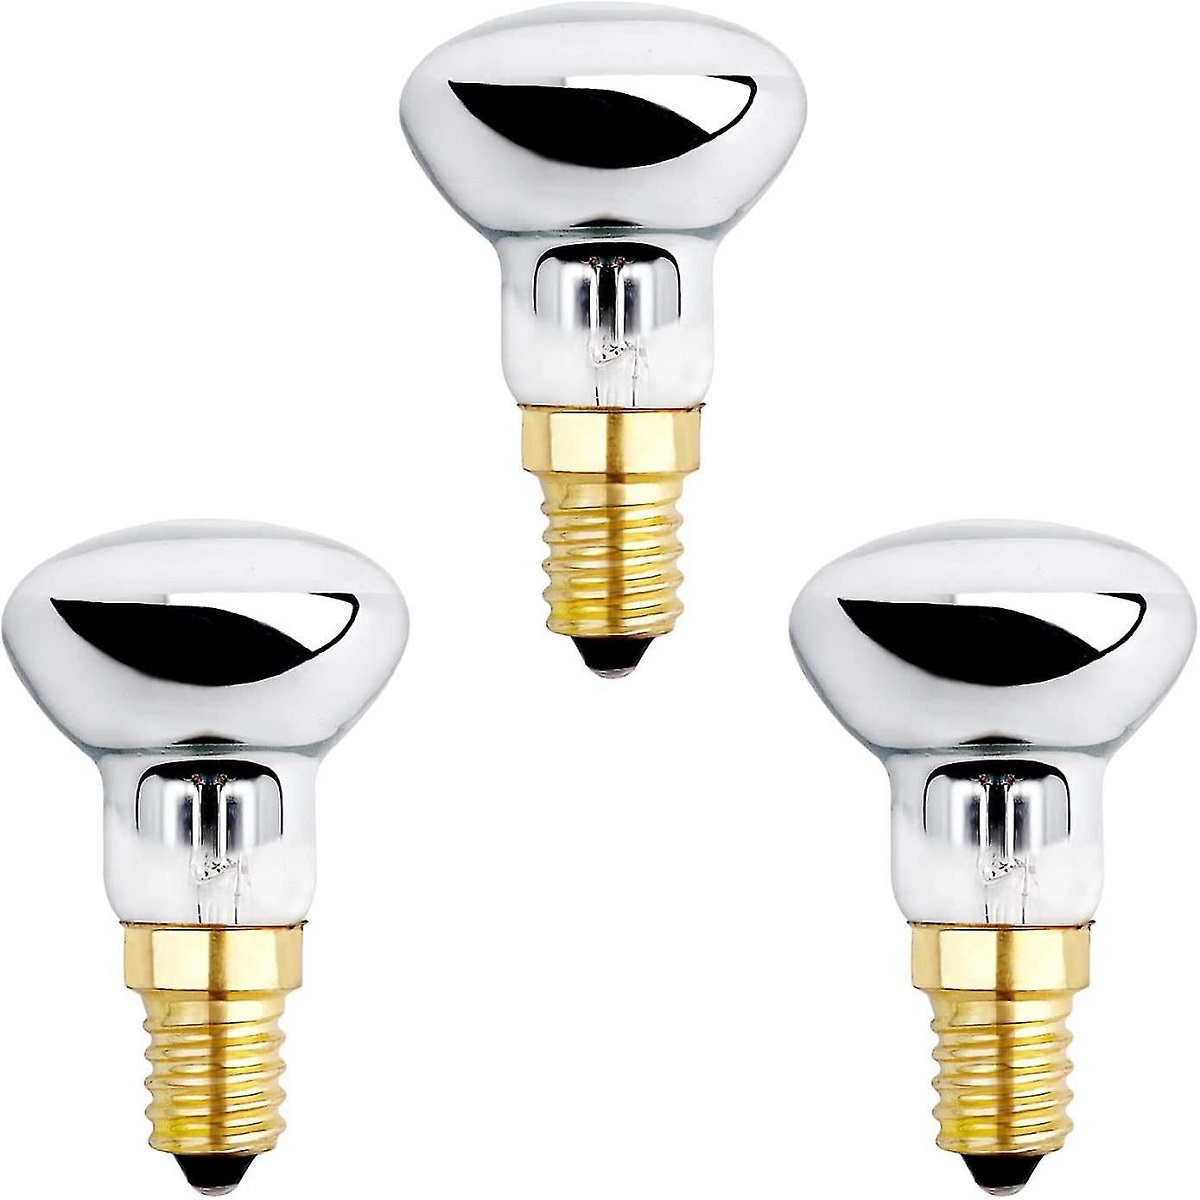
- Adjust the heat if necessary: If the lamp is not heating up enough to properly melt the wax, you may need to adjust the heat source. Move the lamp away from any drafts or cool areas and ensure that the bulb is in proper working condition.
Heating the lava lamp is a crucial step in encouraging the wax to flow properly again. By following these simple guidelines and ensuring that the lamp receives sufficient heat, you’re on your way to resolving the issue of wax getting stuck at the top.
Turn off the lamp and let it cool. Gently shake the lamp to dislodge the wax from the top. If that doesn’t work, carefully use a hairdryer to heat the top of the lamp and encourage the wax to move.
Step 3: Shaking the Lamp
After heating the lamp and ensuring that the wax has softened, it’s time to move on to the next step: shaking the lamp. This will help dislodge any wax that may be stuck at the top and promote a more even flow. Here’s what you need to do:
- Switch off the lamp: Before shaking the lava lamp, make sure to switch it off and unplug it from the power source. Safety first!
- Let it cool for a while: Allow the lamp to cool down for a few minutes to avoid any potential mishaps. You don’t want to burn yourself while handling the lamp.
- Gently shake the lamp: Once the lamp has cooled, take a firm grip of the base and gently shake it from side to side. The aim is to dislodge any wax that may have formed a solid mass at the top.
- Observe the movement: As you shake the lamp, keep an eye on the wax’s movement inside. You should see it break apart and begin to flow more freely.
- Repeat the shaking process: If necessary, continue shaking the lamp at regular intervals until you are satisfied with the movement and flow of the wax.
Shaking the lamp helps redistribute and break up any clumps or solidified wax that may be causing the obstruction. Remember to always handle the lamp with care to avoid any accidents or spills. With a little patience and gentle shaking, you’ll soon witness your lava lamp reignite its captivating display.
Read more: How To Fix My Lava Lamp
Step 4: Cooling and Repeating the Process
After shaking the lava lamp and witnessing improved movement of the wax, it’s time to move on to the final step: cooling and potentially repeating the process. Here’s what you need to do:
- Place the lamp in a cool area: Once you’re satisfied with the movement of the wax, turn off the lamp and find a cool area to let it rest. This will allow the wax to solidify and settle back to its normal state.
- Monitor the lamp: Keep an eye on the lamp as it cools down. Take note of any changes in the wax’s movement. If you still notice some wax sticking at the top after cooling, you may need to repeat the previous steps.
- Repeat the heating and shaking process: If necessary, plug in the lamp, heat it up, and gently shake it once again to encourage any stubborn wax to loosen and flow more freely. Remember to follow the same precautions and steps as before.
- Allow for proper cooling: Once you have repeated the process, allow the lamp to cool once more. This will give the wax another chance to settle and hopefully result in a successful flow.
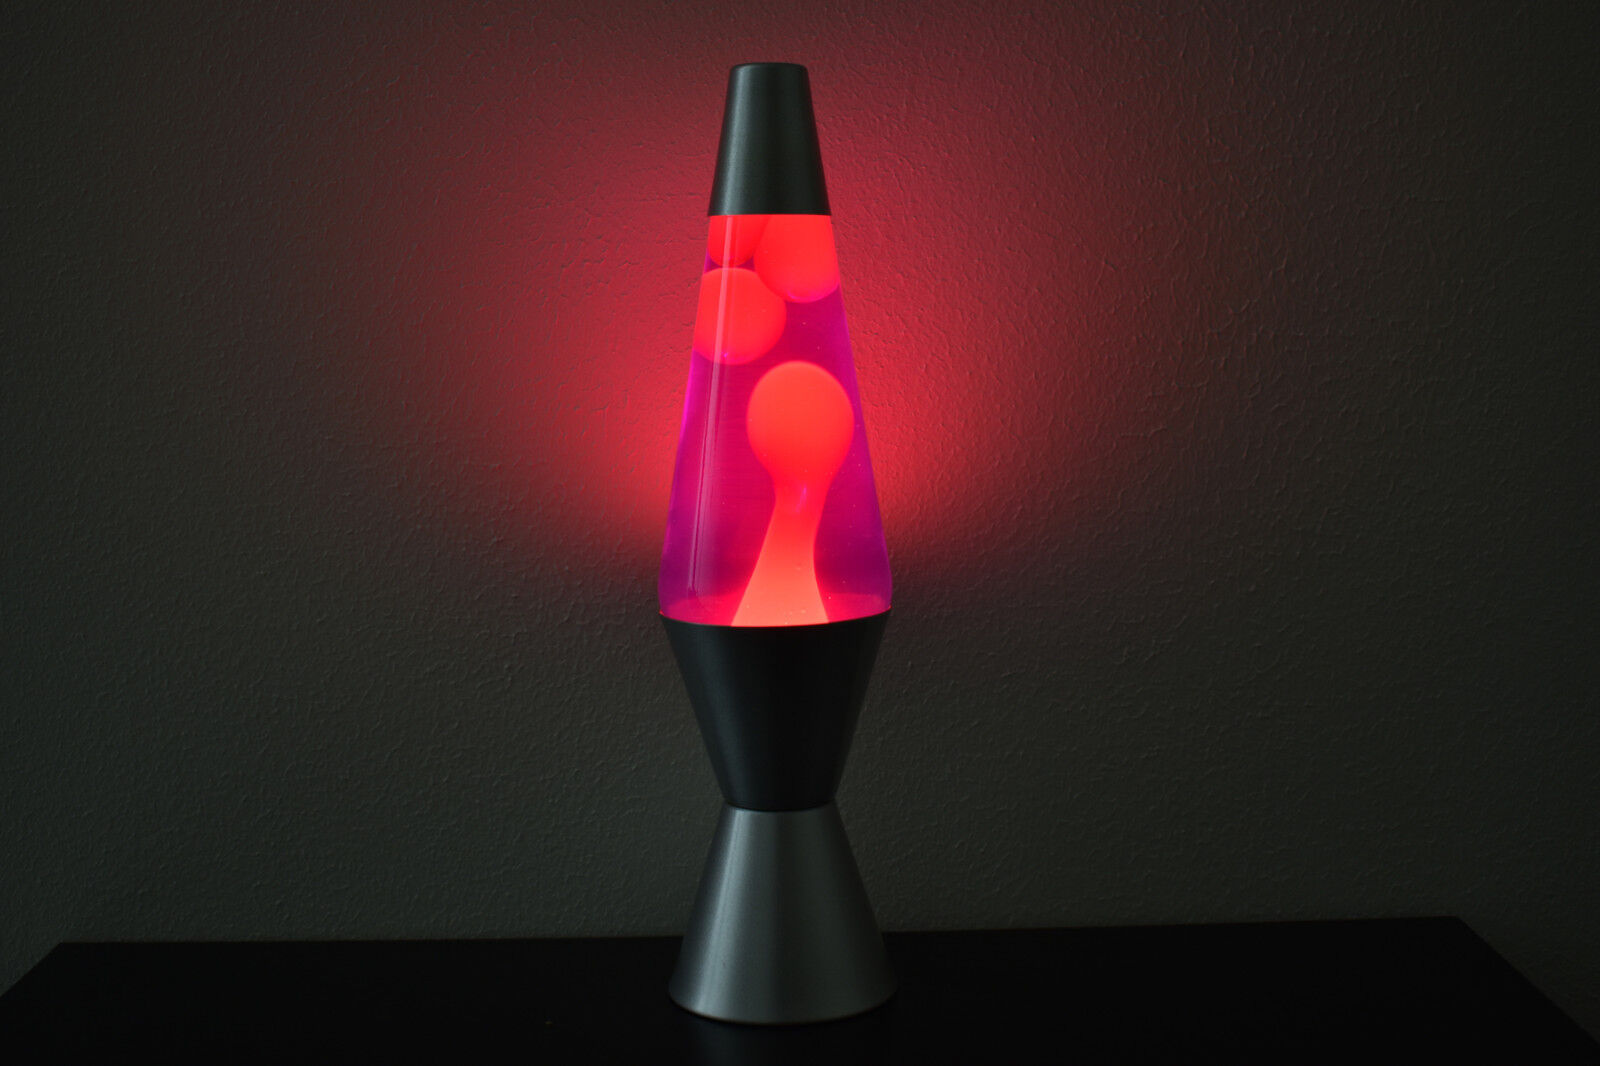
- Observe and enjoy: After the lamp has cooled down, switch it on and observe the mesmerizing flow of the wax. You should now have a lava lamp that is free from obstructions and providing a serene and captivating display.
By cooling the lamp and potentially repeating the process, you are giving the wax multiple opportunities to flow freely and alleviate any sticking issues. With a bit of patience and persistence, you’ll be rewarded with a fully functioning lava lamp that adds a unique ambiance to your space.
Conclusion
Fixing a lava lamp with wax stuck at the top may initially seem daunting, but with the right approach and a little bit of effort, you can revive your lamp and restore its mesmerizing flow. By following the steps outlined in this guide, you’ll be able to troubleshoot and resolve the issue effectively.
Remember, the key to solving this problem lies in understanding the root cause, preparing the lamp properly, heating it to encourage wax movement, shaking it to dislodge any obstructions, and allowing it to cool and potentially repeating the process if needed.
It’s important to approach this task with caution and prioritize safety. Always switch off and unplug the lamp before attempting any repairs. Allow the lamp to cool down before handling it and ensure a stable working surface to prevent accidents or spills.
With each step, take your time and observe the behavior of the wax, making necessary adjustments to improve its flow. Patience and persistence are key ingredients in successfully fixing a lava lamp with wax stuck at the top.
Once your lava lamp is flowing freely again, sit back, relax, and enjoy the hypnotic display it creates. A well-functioning lava lamp adds a touch of nostalgia and charm to any space, providing a unique and captivating focal point.
So, don’t let a stuck wax ruin the magical experience of your lava lamp. Follow the steps in this guide, troubleshoot the issue, and bring your lava lamp back to life!
Now that you've tackled fixing your lava lamp, why not dive deeper into making your home more comfortable and efficient? Our comprehensive guide on home upkeep offers valuable insights and practical tips to ensure everything around your house is in top shape. From checking smoke detectors to cleaning gutters, you'll find easy steps to enhance your living space's safety and functionality. Don't miss out on these essential routines that can save you time and money down the road.
Frequently Asked Questions about How To Fix Lava Lamp Wax Stuck At The Top
Was this page helpful?
At Storables.com, we guarantee accurate and reliable information. Our content, validated by Expert Board Contributors, is crafted following stringent Editorial Policies. We're committed to providing you with well-researched, expert-backed insights for all your informational needs.