Furniture
How To Fix A Lamp
Modified: August 16, 2024
Learn how to fix a lamp and save money on furniture repairs. Step-by-step guide to troubleshooting and repairing common lamp issues.
(Many of the links in this article redirect to a specific reviewed product. Your purchase of these products through affiliate links helps to generate commission for Storables.com, at no extra cost. Learn more)
Introduction
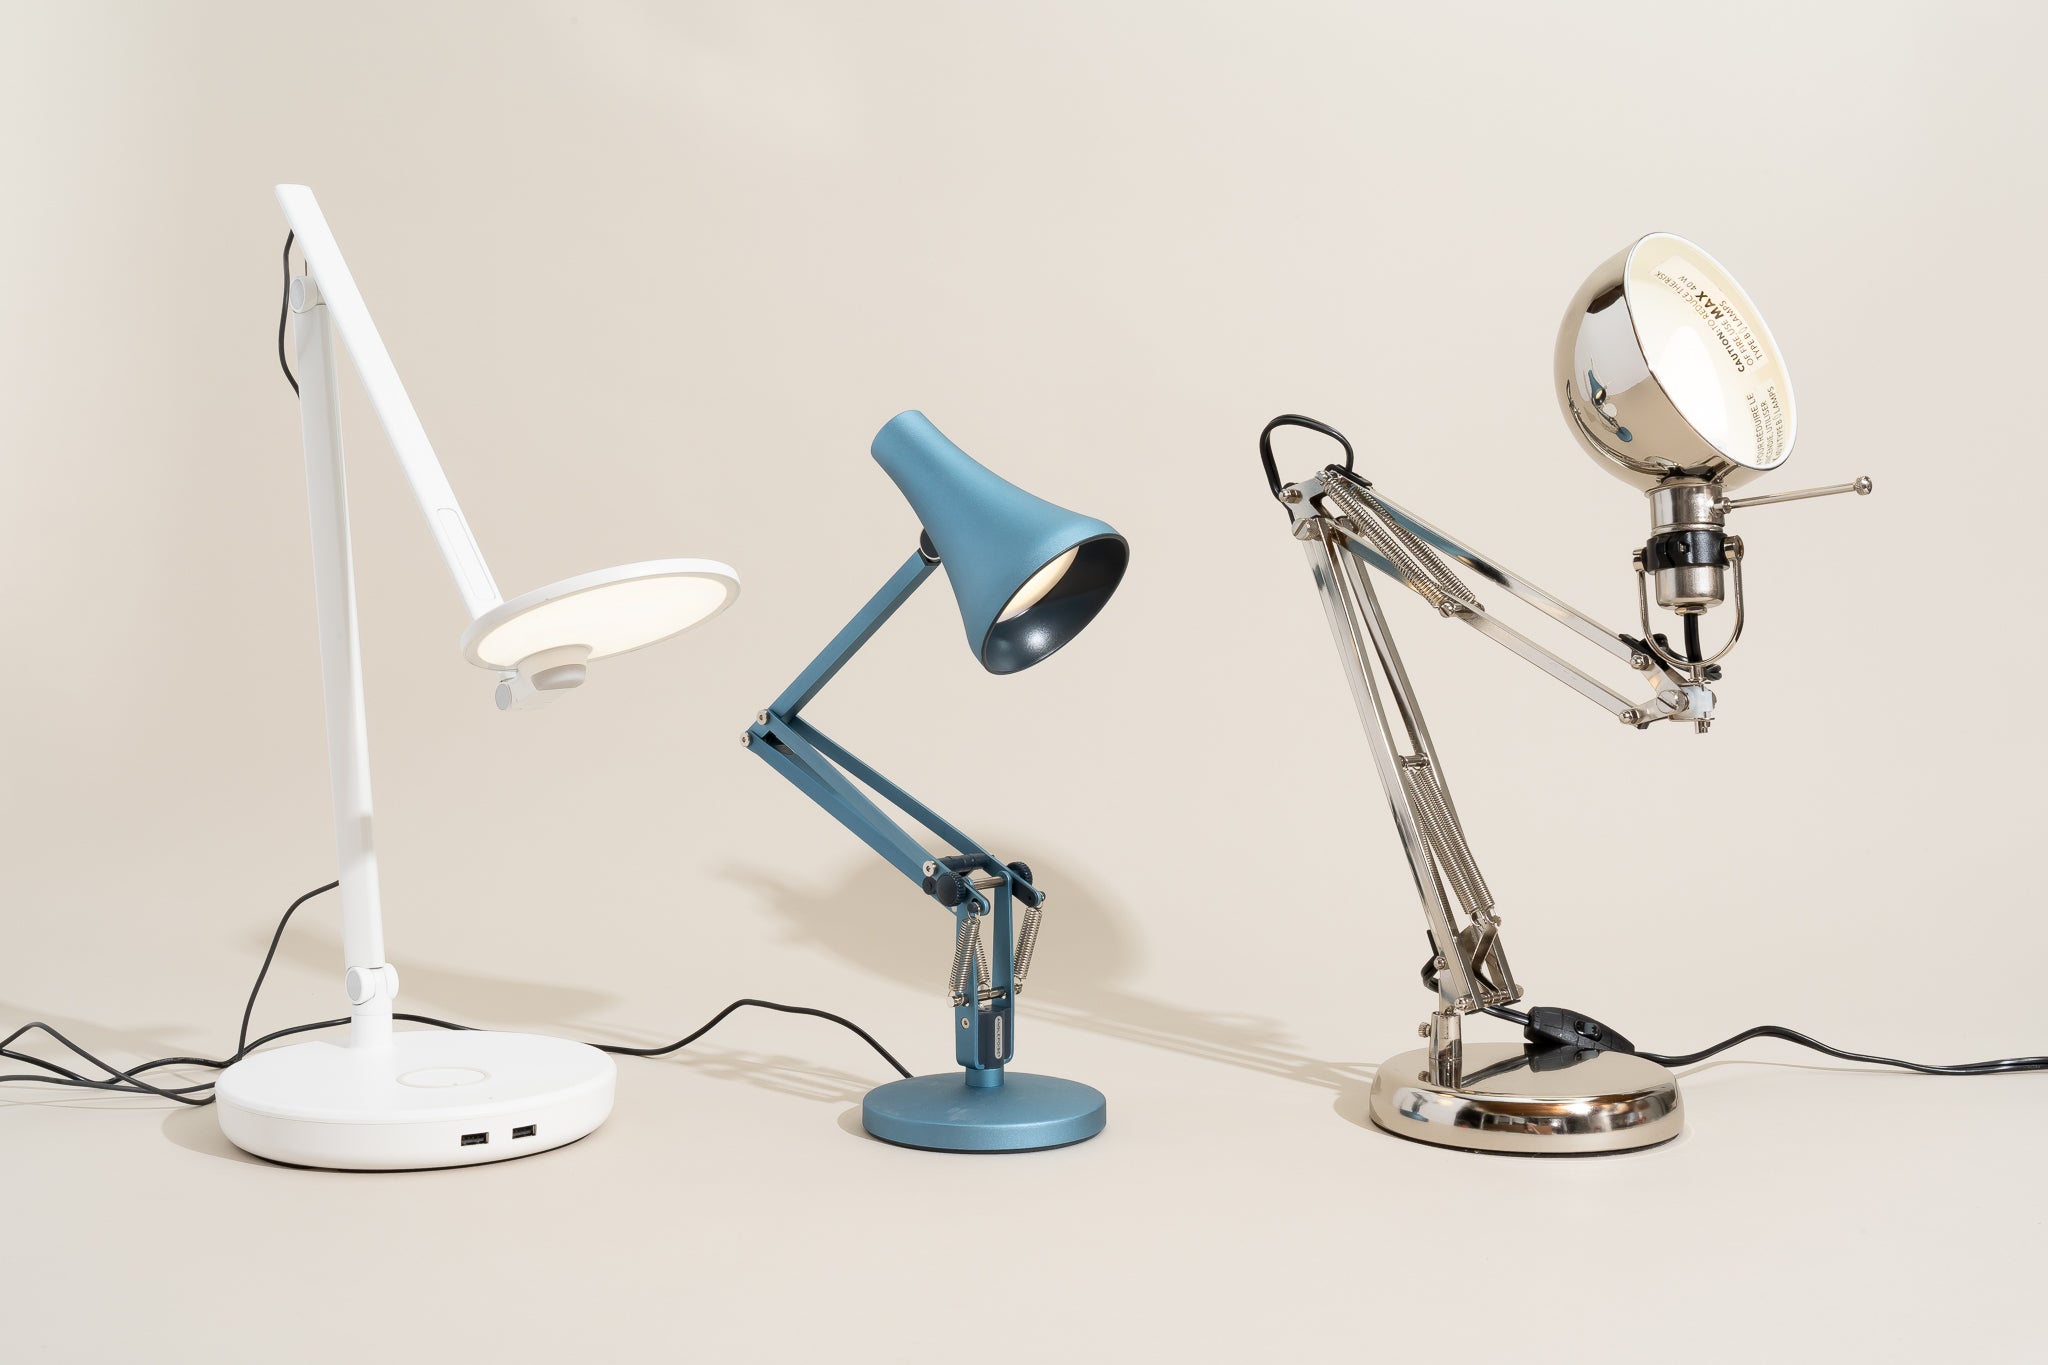
When it comes to home decor, few things can set the ambiance quite like a well-placed lamp. Whether it’s a cozy reading nook, a bedside table, or a desk space, lamps provide essential lighting and add a touch of style to any room. However, like any other electrical appliance, lamps can sometimes have issues that need to be addressed.
Instead of immediately replacing a faulty lamp, you can take matters into your own hands and attempt to fix it yourself. Not only is this a cost-effective solution, but it also allows you to flex your DIY skills and gain a sense of accomplishment. In this guide, we will walk you through the steps to fix a lamp, from identifying the issue to testing the repairs.
In order to successfully fix a lamp, you will need a few tools and materials. The good news is that most of these are readily available and affordable. Let’s take a look at what you’ll need:
Key Takeaways:
- Don’t toss out that flickering lamp just yet! With the right tools and know-how, you can troubleshoot and fix common issues, saving money and gaining a DIY sense of accomplishment.
- From inspecting cords to testing the final repairs, DIY lamp fixing is a rewarding and cost-effective way to revive your lighting. Prioritize safety, follow the steps, and enjoy a well-lit home!
Read more: How To Fix A Touch Lamp
Tools and Materials Needed
Before getting started, gather the following tools and materials:
- Screwdriver set: You’ll need both flathead and Phillips head screwdrivers to remove screws and access different parts of the lamp.
- Electrical tester: This tool is essential for checking if the lamp is receiving power and for identifying any faulty connections.
- Wire cutters/strippers: These will come in handy if you need to cut or strip wires during the repair process.
- Replacement parts: Depending on the issue, you may need to have replacement parts on hand, such as a new bulb, cord, plug, switch, or socket.
- Electrical tape: This will be used to secure any loose connections and provide insulation.
- Safety goggles: It’s always important to protect your eyes when working with electrical components.
Now that you have all the necessary tools and materials, let’s move on to the next step: identifying the issue.
Step 1: Identify the Issue
Before you start taking apart your lamp, it’s crucial to first identify what the problem is. This will help you determine the appropriate course of action and save you time and effort.
Start by observing the lamp’s behavior. Is it completely dead, or is it flickering on and off? Does it turn on but not provide adequate illumination? By understanding the symptoms, you can narrow down the potential causes.
Here are a few common issues you may encounter with your lamp:
- No power: If your lamp isn’t turning on at all, the problem may lie with the power source, such as a malfunctioning cord, plug, or socket.
- Flickering light: If the lamp turns on but flickers, it could indicate a loose bulb or a faulty connection.
- Inadequate lighting: If your lamp is not providing enough light, it may be due to a dim or incompatible bulb.
- Broken switch: If the lamp switch is not functioning properly or has become unresponsive, it may need to be repaired or replaced.
- Physical damage: Visible damage, such as a cracked socket or broken wire, can directly affect the lamp’s functionality.
Take a close look at your lamp to determine which of these issues aligns with the symptoms you’ve observed. Keep in mind that it may be a combination of factors, so thorough inspection is key.
Once you have identified the issue, you can proceed to the next step: unplugging the lamp.
Step 2: Unplug the Lamp
Safety should always be your top priority when working with electrical appliances. Before you begin any repairs on your lamp, make sure to unplug it from the power source. This will prevent any accidents or electrical shocks during the process.
To unplug the lamp, follow these simple steps:
- Locate the lamp’s electrical cord. It is usually connected to the base or the socket of the lamp.
- Trace the cord until you find the plug that is inserted into the wall outlet.
- Gently pull the plug out of the outlet.
Once the lamp is unplugged, you can move on to the next step: inspecting the cord and plug.
Keep in mind that even after unplugging the lamp, you should still handle the parts and components with care and avoid touching any exposed wires.
Step 3: Inspect the Cord and Plug
After unplugging the lamp, it’s time to inspect the electrical cord and plug. Over time, these components can wear out or become damaged, leading to issues with power supply and connectivity.
Follow these steps to thoroughly inspect the cord and plug:
- Visually examine the cord for any frayed or damaged areas. Pay close attention to the ends of the cord where it connects to the plug and the lamp base.
- Gently run your fingers along the length of the cord to feel for any bumps, cuts, or exposed wires. If you encounter any, it’s a clear indication of damage.
- Check the plug for any signs of wear and tear. Look for loose connections, bent or corroded prongs, or burn marks.
- If you can access the cord’s wire connections, inspect them as well. Make sure they are securely attached and without any loose or exposed wires.
If you notice any issues with the cord or plug during your inspection, it’s best to replace them to ensure the safety and functionality of your lamp. You can find replacement cords and plugs at hardware stores or online retailers.
However, if the cord and plug appear to be in good condition, the problem may lie elsewhere in the lamp. In that case, move on to the next step: replacing the bulb.
Check the light bulb and socket first. If they are not the issue, then inspect the lamp cord for any fraying or damage. If the cord is damaged, it may need to be replaced. Always unplug the lamp before attempting any repairs.
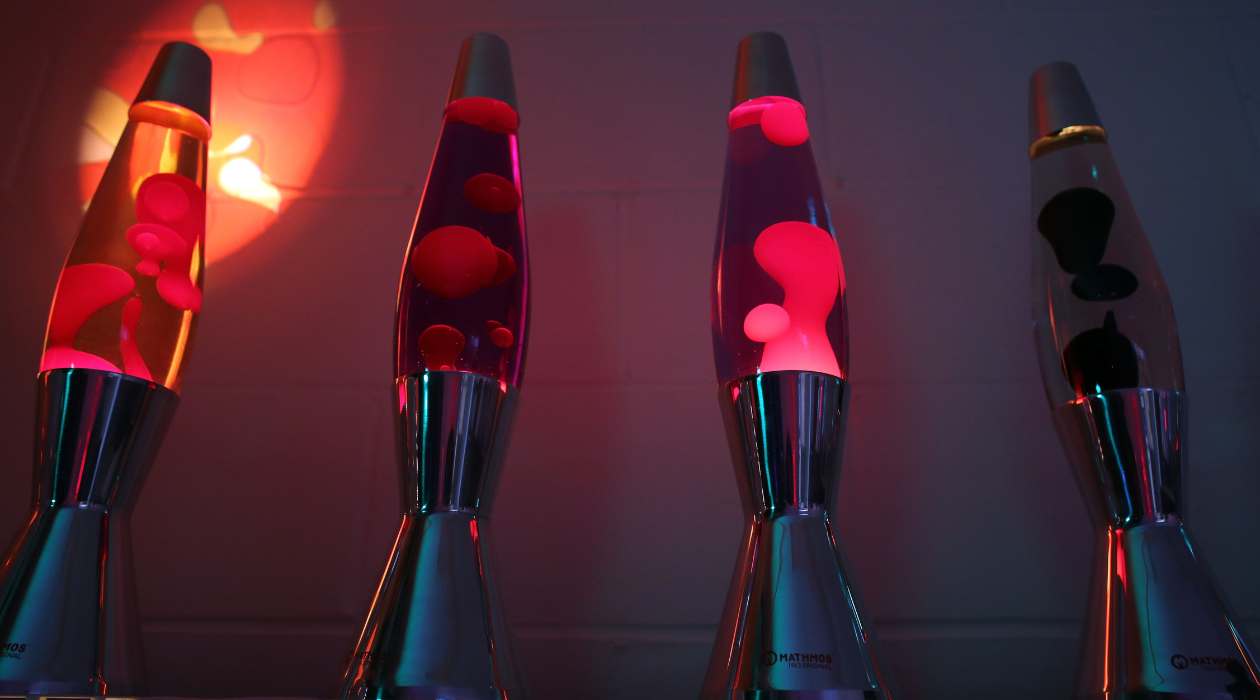
Read more: How To Fix A Shaken Lava Lamp
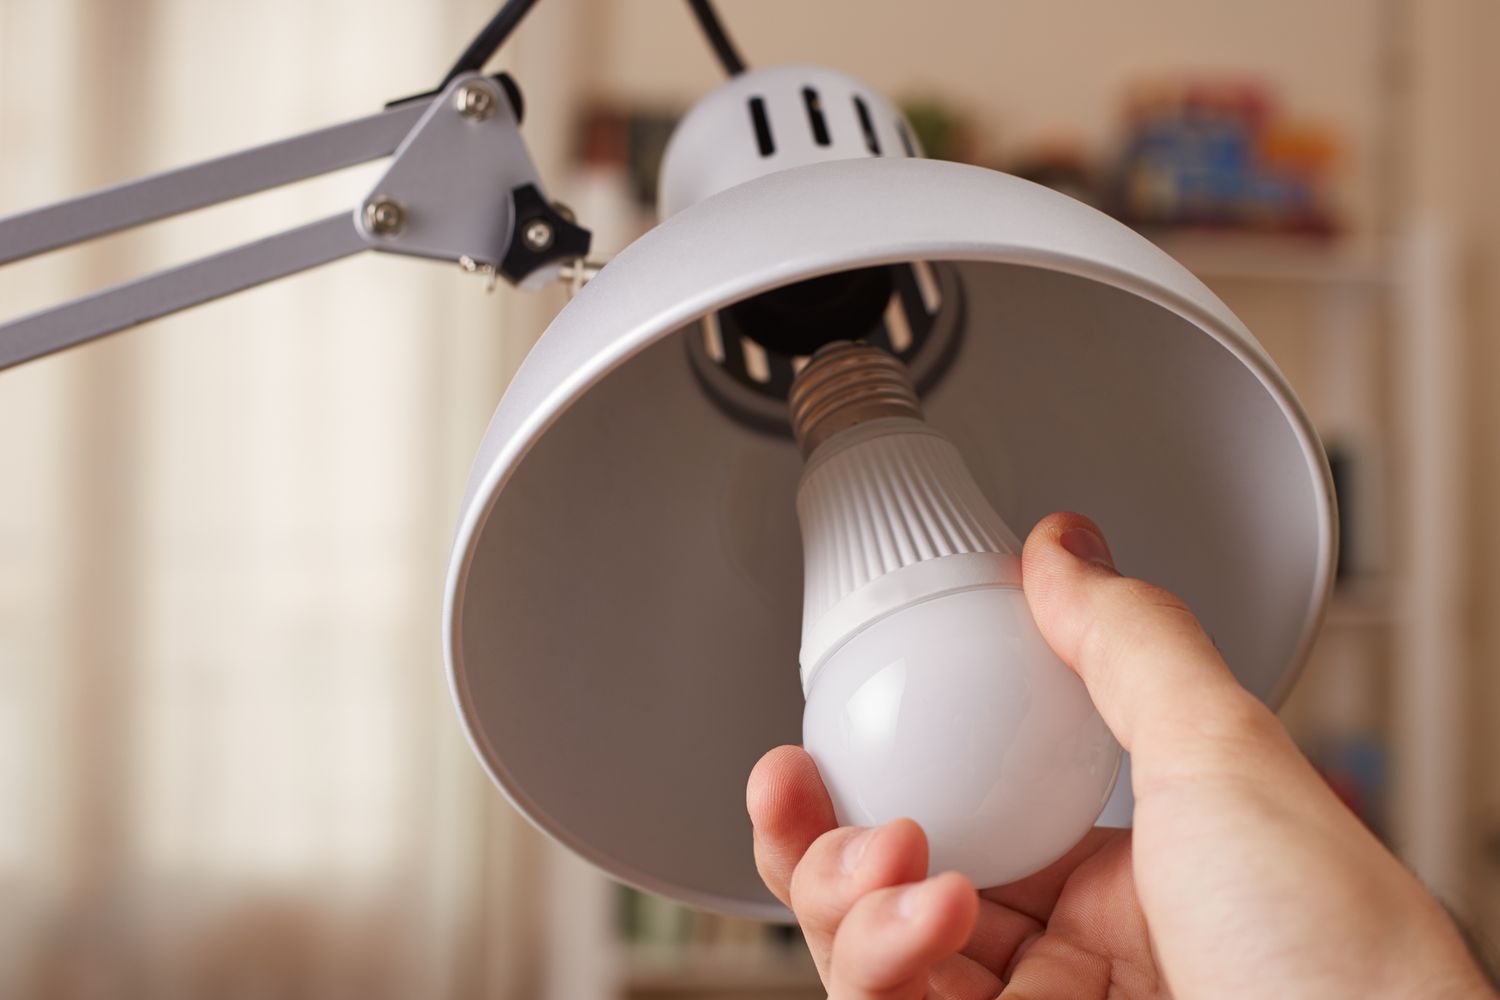
Step 4: Replace the Bulb
If you’ve determined that the issue with your lamp is a faulty bulb, it’s time to replace it. Over time, bulbs can burn out or become incompatible with the lamp, causing inadequate lighting or no illumination at all.
Follow these steps to replace the bulb in your lamp:
- Make sure the lamp is still unplugged for safety purposes.
- Identify the type of bulb your lamp requires. Check the wattage and base type, which is typically indicated on the old bulb or in the lamp’s manual.
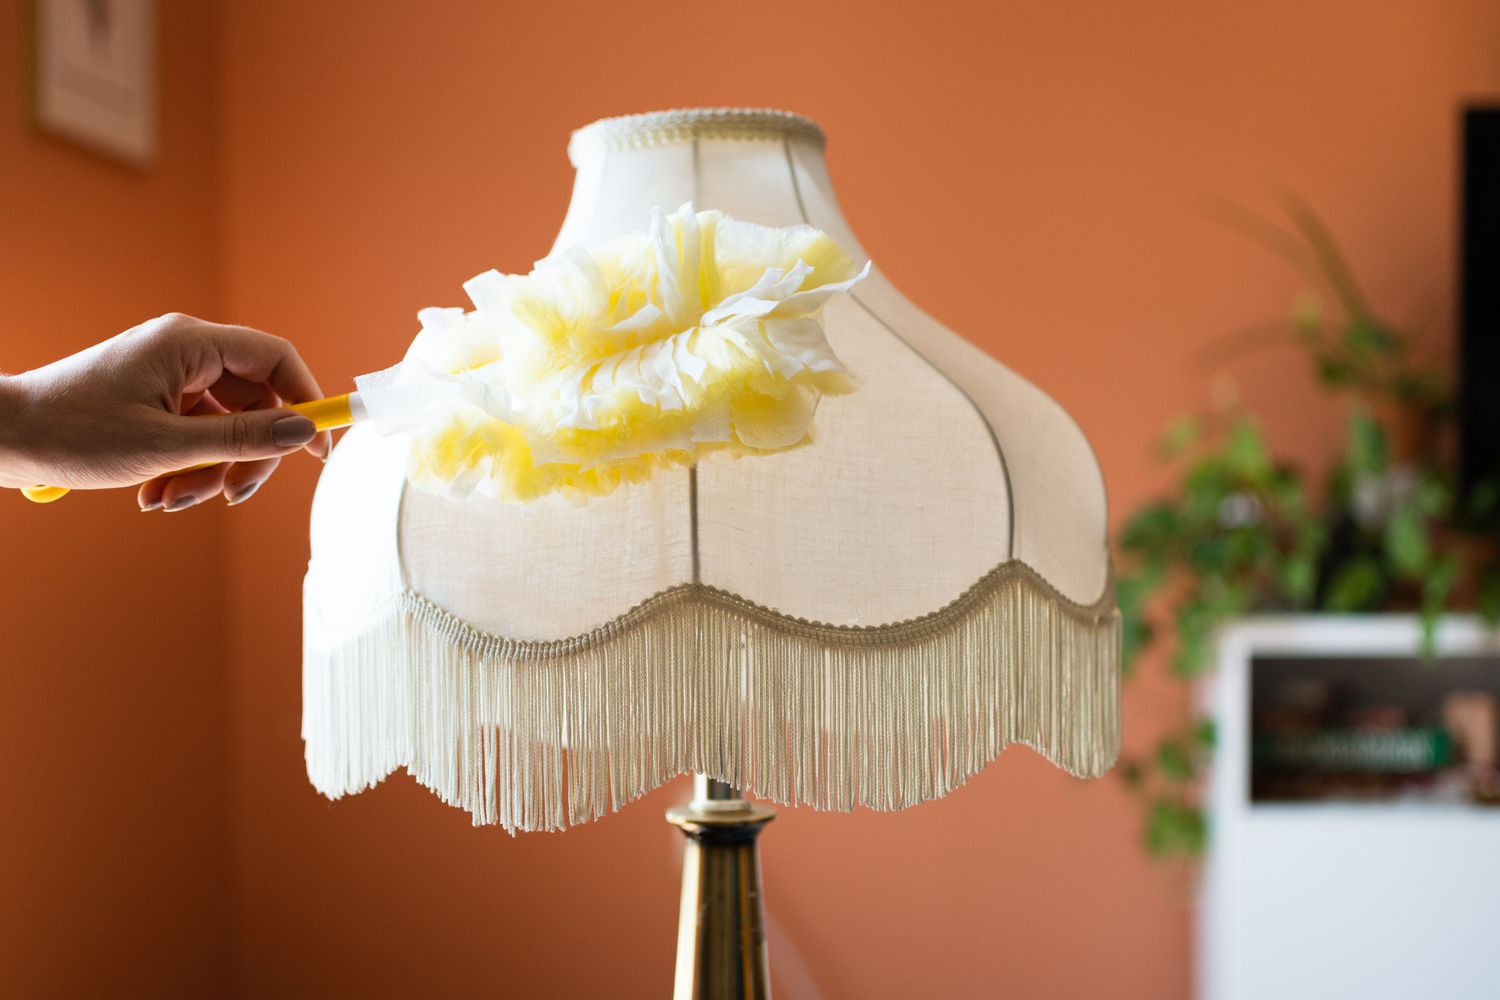
- Remove the lampshade, if applicable, by gently lifting it off or unscrewing it.
- Check if there is a decorative cap or cover over the bulb. If yes, remove it by unscrewing or sliding it off.
- Grasp the old bulb firmly but gently, and twist it counterclockwise to unscrew it from the socket. Avoid applying too much force, as you don’t want to break the bulb.
- Dispose of the old bulb properly, following your local guidelines for recycling or disposing of light bulbs.
- Take the new bulb and insert it into the socket, making sure it is positioned correctly. Twist it clockwise until it is securely in place.
- If there was a decorative cap or cover, reattach it by screwing or sliding it back on.
- Finally, reattach the lampshade if you removed it, ensuring it is straight and secure.
Once the new bulb is installed, plug in the lamp and test it to see if the issue is resolved. If the lamp still doesn’t turn on or there is flickering, the problem may lie elsewhere, such as the socket. Continue to the next step for further troubleshooting.
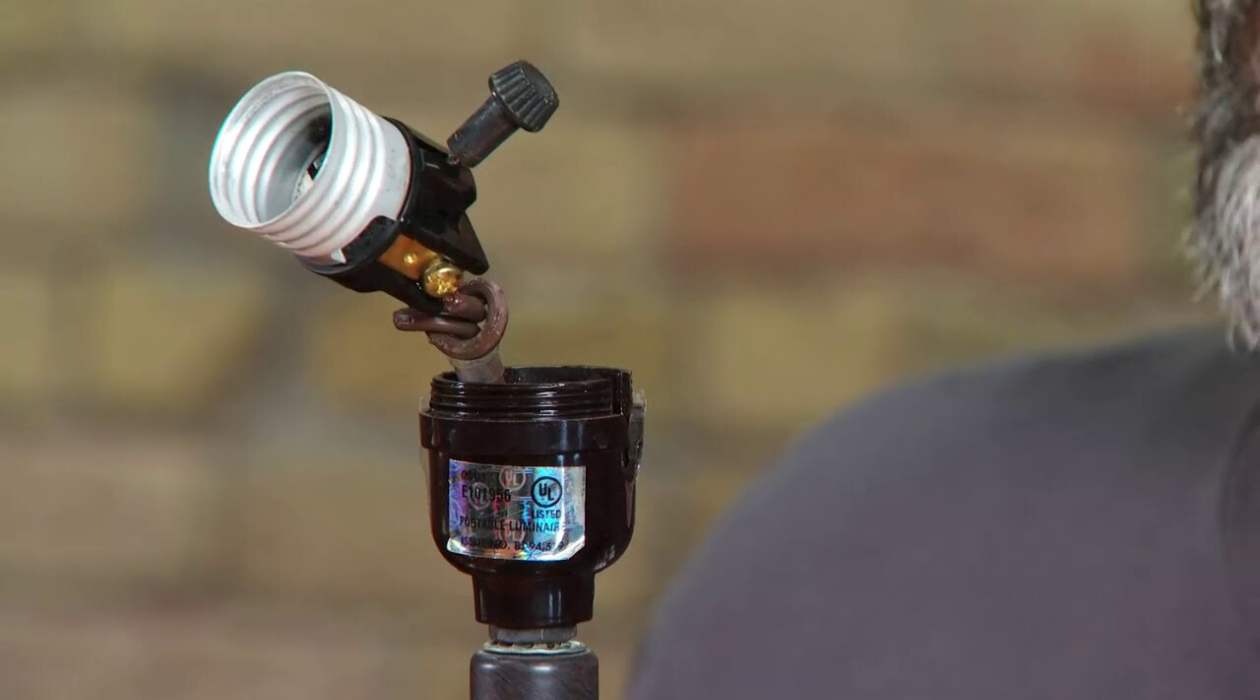
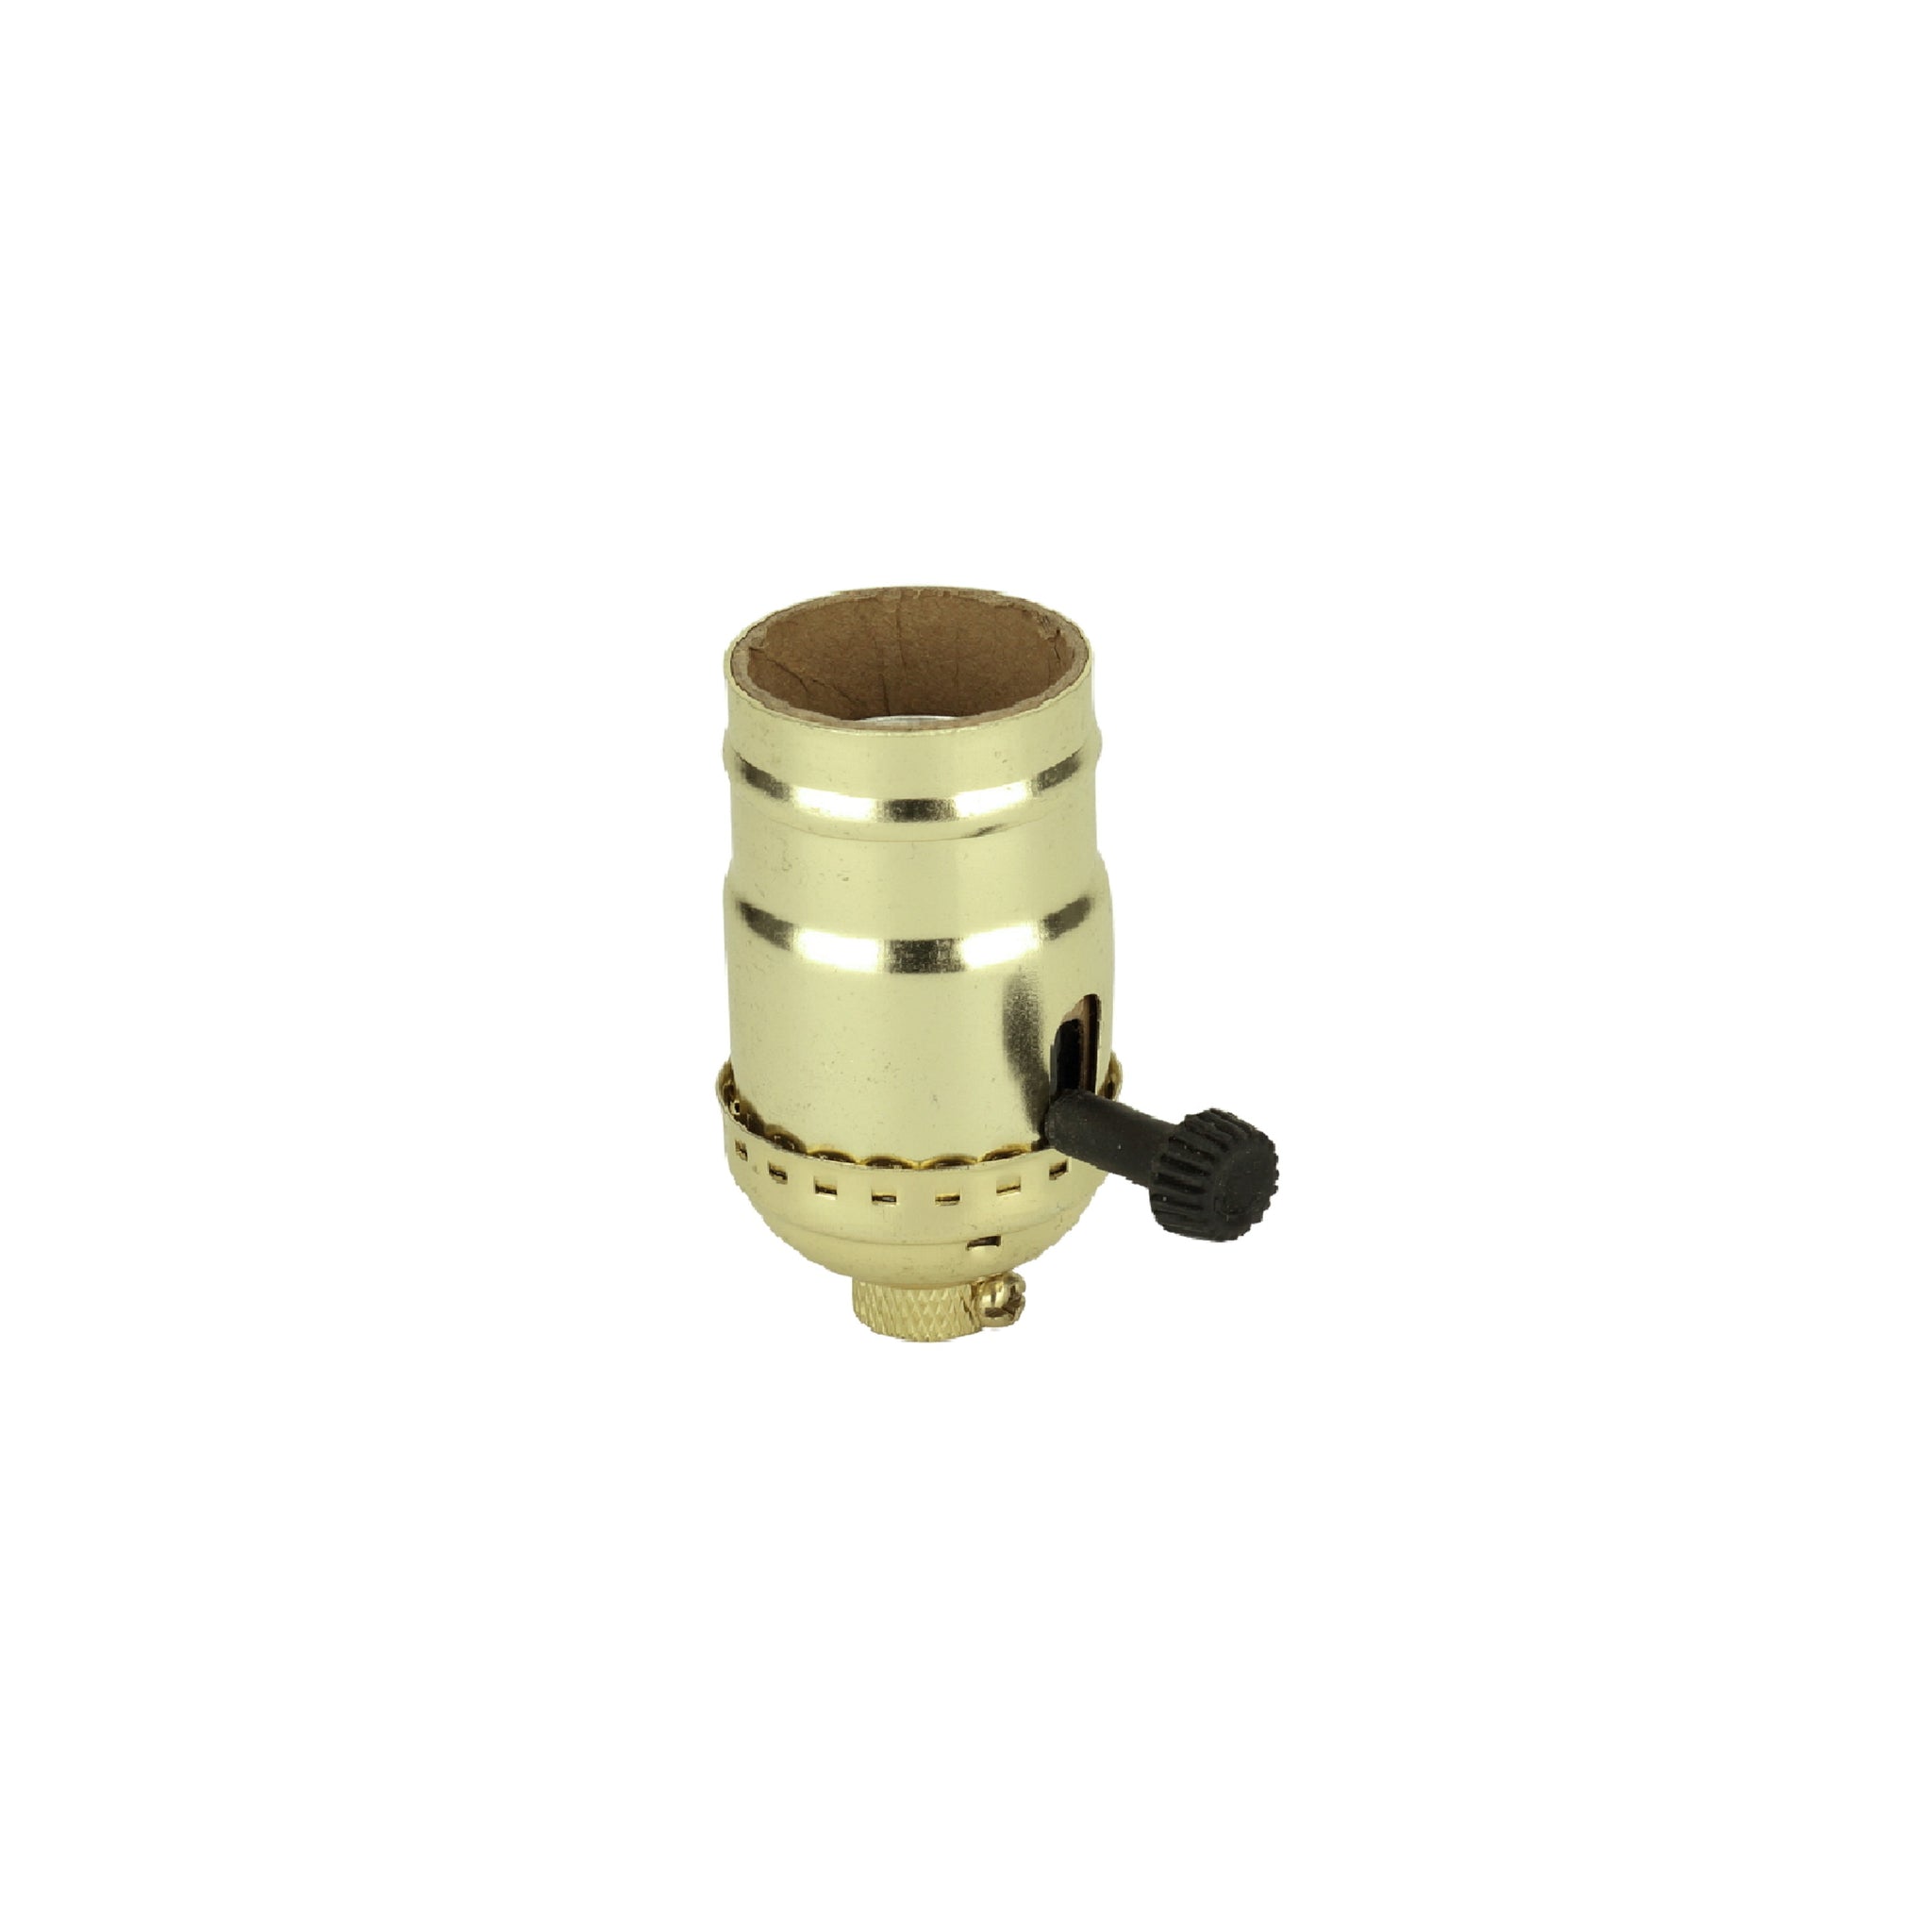
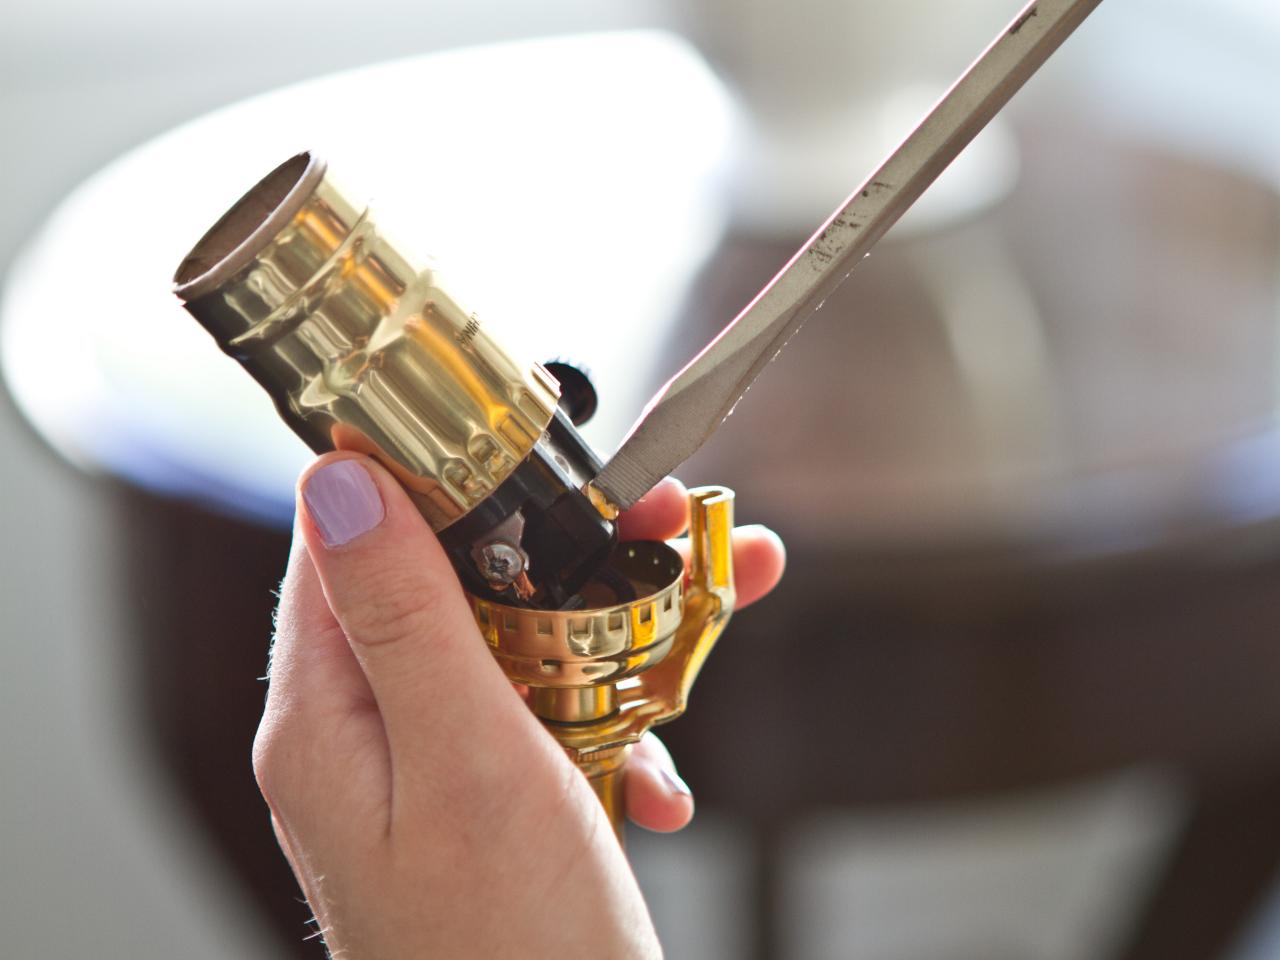
Step 5: Check the Socket
If replacing the bulb did not resolve the issue with your lamp, it’s time to investigate the socket. The socket is responsible for providing the electrical connection between the bulb and the lamp, and it can sometimes become loose or damaged.
Follow these steps to check the socket of your lamp:
- Make sure the lamp is unplugged to ensure your safety.
- Remove the lampshade and bulb, if you haven’t done so already.
- Inspect the socket for any visible damage, such as loose connections, bent pins, or signs of corrosion.
- If the socket appears dirty or corroded, you can clean it gently using a soft cloth or a small brush. Be sure to remove any debris or dust that may be interfering with the electrical connection.
- If the socket is loose, you may need to tighten or adjust it. Use a screwdriver to tighten any screws or other fasteners that secure the socket to the lamp base.
- If the socket is damaged beyond repair, or if you suspect it may be the cause of the problem, you can replace it. Socket replacement kits are available at hardware stores or online retailers. Make sure to select a socket that is compatible with your lamp model.
- Install the new socket following the manufacturer’s instructions. Typically, this involves connecting the wires to the designated terminals and securing them with screws.
- Reattach the lampshade and insert a new bulb into the socket.
Once you have checked or replaced the socket, plug in the lamp and test it to see if the issue has been resolved. If the lamp is still not functioning correctly, proceed to the next step: repairing or replacing the switch.
Step 6: Repair or Replace the Switch
If your lamp is still not working properly after checking the socket, the problem might lie with the switch. The switch is responsible for controlling the flow of electricity to the lamp, so a faulty switch can prevent the lamp from turning on or off as intended.
Follow these steps to repair or replace the switch:
- Make sure the lamp is unplugged to ensure your safety.
- Remove the lampshade, bulb, and any decorative covers or caps.
- Inspect the switch for any visible damage, such as loose wires, broken components, or signs of wear and tear.
- If the switch appears dirty, you can clean it gently using a small brush or compressed air to remove any dust or debris that may be obstructing its functionality.
- If the switch is damaged or unresponsive, you will need to replace it. Switch replacement kits are available at hardware stores or online retailers. Make sure to choose a switch that is compatible with your lamp model.
- To replace the switch, carefully follow the manufacturer’s instructions. Typically, this involves disconnecting the wires from the old switch, connecting them to the new switch’s terminals, and securing them in place.
- Once the new switch is installed, reassemble the lamp by attaching the lampshade, bulb, and any decorative covers or caps.
After repairing or replacing the switch, plug in the lamp and test it to see if the issue has been resolved. If the lamp is still not functioning correctly, proceed to the final step: testing the lamp.
Step 7: Test the Lamp
After going through the previous steps to identify and address the issues with your lamp, it’s time to put your repairs to the test. Testing the lamp will help you determine if all the necessary repairs or replacements have been successful.
Follow these steps to test your lamp:
- Make sure the lamp is plugged into a functioning wall outlet.
- If you have a lamp with a built-in switch, turn the switch to the “On” position. If your lamp does not have a built-in switch, proceed to the next step.
- Use the lamp switch or a wall switch to turn on the power to the lamp.
- Observe the lamp to see if it turns on and provides adequate illumination. Check for any flickering or other abnormalities.
- If the lamp is functioning properly, congratulations! Your repairs or replacements have been successful.
- If the lamp still has issues, carefully review the steps you have taken so far and retrace your actions. Double-check the connections, wires, and components to ensure that everything is in place.
- If you are unable to fix the lamp on your own or if the issues persist, it may be best to consult a professional electrician for further assistance.
Remember to always prioritize safety and exercise caution when working with electrical appliances. If at any point you feel unsure or uncomfortable with the repair process, it is recommended to seek professional help.
By following these steps and troubleshooting your lamp’s issues, you can save money, prolong the life of your lamp, and feel accomplished in your DIY skills. Enjoy the satisfaction of a well-functioning, beautifully lit lamp in your home!
Read more: Where To Get A Lamp Fixed
Conclusion
Fixing a lamp doesn’t have to be a daunting task. With a little knowledge and the right tools, you can successfully address common issues and restore your lamp to its full functionality.
In this guide, we have covered the necessary steps to identify and resolve problems with your lamp. From inspecting the cord and plug to replacing the bulb, checking the socket, repairing or replacing the switch, and finally testing the lamp, each step plays a crucial role in identifying and addressing the issue at hand.
Remember to always prioritize safety when working with electrical appliances. Unplug the lamp before starting any repairs, handle components with care, and consult a professional if you are unsure or uncomfortable with any aspect of the process.
By taking the DIY approach to fix your lamp, not only can you save money, but you can also gain a sense of accomplishment and satisfaction. There’s something special about being able to revive a beloved lamp and continue to enjoy its illuminating presence in your home.
So the next time your lamp is flickering or refusing to turn on, grab your tools and follow the steps outlined in this guide. You’ll be surprised at what you can accomplish and how rewarding the experience can be.
Happy lamp fixing!
Frequently Asked Questions about How To Fix A Lamp
Was this page helpful?
At Storables.com, we guarantee accurate and reliable information. Our content, validated by Expert Board Contributors, is crafted following stringent Editorial Policies. We're committed to providing you with well-researched, expert-backed insights for all your informational needs.


0 thoughts on “How To Fix A Lamp”