Furniture
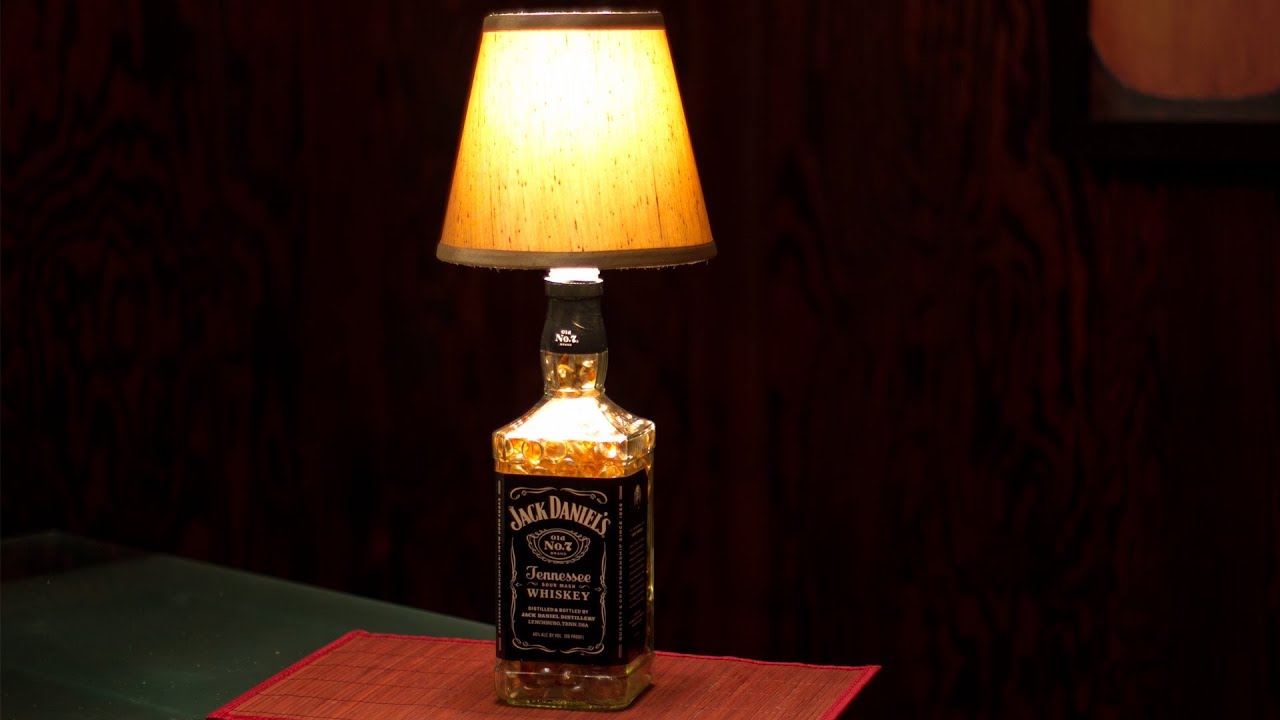
How To Make A Lamp Out Of A Bottle
Modified: January 23, 2024
Learn how to transform a bottle into a stunning lamp with this simple DIY furniture project. Create unique and stylish lighting for your home today!
(Many of the links in this article redirect to a specific reviewed product. Your purchase of these products through affiliate links helps to generate commission for Storables.com, at no extra cost. Learn more)
Introduction
Welcome to our comprehensive guide on how to make a lamp out of a bottle. This creative DIY project allows you to transform an ordinary bottle into a unique and stylish lamp that will add a touch of charm to any space. Whether you’re looking to upcycle an old bottle or simply want to create a personalized lighting piece, this step-by-step tutorial will guide you through the process.
In this article, we will discuss the materials needed, as well as the various steps involved in crafting your own bottle lamp. From preparing the bottle to assembling the lamp kit and attaching the lampshade, we’ll cover it all. So, let’s get started on this exciting journey of turning a simple bottle into a functional and beautiful lighting fixture!
Key Takeaways:
- Transform ordinary bottles into unique and stylish lamps with a few simple steps, adding a touch of charm and personalization to any space. Get creative and let your imagination run wild!
- Experiment with different bottle shapes, colors, and decorative elements to create a diverse collection of stunning bottle lamps that reflect your unique style and taste. Let your creativity shine and enjoy the satisfaction of crafting your own beautiful and functional lighting fixtures.
Read more: How To Make A Lamp Out Of A Liquor Bottle
Materials Needed
Before you begin creating your bottle lamp, it’s important to gather all the necessary materials. Here’s a list of items you’ll need for this project:
- A bottle of your choice – This can be any type of glass bottle, such as a wine bottle, liquor bottle, or even a mason jar. Consider the size and shape of the bottle based on your design preferences.
- A lamp kit – Look for a lamp kit that includes a socket, cord, and plug. These kits can be found at hardware stores or online.
- A lampshade – Select a lampshade that complements the size and style of your bottle. You can find a wide variety of lampshades at home decor stores or specialty lampshade shops.
- A drill with a glass drill bit – You’ll need a drill to create a hole in the bottle cap for the lamp kit’s cord to pass through. Make sure to use a glass drill bit specifically designed for drilling through glass without damaging it.
- Electrical tape – This will be used to secure the lamp kit’s cord to the bottle.
- A small wrench – You’ll need this to tighten the various components of the lamp kit.
- Optional: Decorative elements – If you want to add a personal touch to your bottle lamp, consider adding decorative elements such as ribbons, beads, or paint to enhance its aesthetics.
Make sure you have all these materials on hand before you begin the project to ensure a smooth and hassle-free crafting process. Once you have everything you need, you’re ready to move on to the next step: preparing the bottle.
Step 1: Prepare the Bottle
The first step in creating your bottle lamp is to prepare the bottle itself. Follow these instructions to ensure that your bottle is clean and ready for the transformation:
- Empty and clean the bottle – Start by emptying the contents of your chosen bottle and rinse it thoroughly with water. Remove any labels or stickers on the surface. If there are stubborn adhesive residue left behind, you can use rubbing alcohol or a mixture of water and vinegar to remove it.
- Choose a base – To provide stability to your lamp, consider using a sturdy base. This can be a wooden or metal disc, or even a decorative ceramic plate. Select a base that is slightly wider than the bottom of your bottle to prevent it from tipping over.
- Attach the base – Apply a small amount of epoxy or strong adhesive to the bottom of the bottle and firmly press it onto the base. Allow it to dry and set completely, following the instructions on the adhesive packaging.
- Optional: Decorate the bottle – If you want to add personal flair to your lamp, consider decorating the bottle. You can paint the bottle using glass paint or wrap it with decorative ribbon or twine. Get creative and customize it to match your desired aesthetic.
By following these steps, you’ll ensure that your bottle is clean, secure, and visually appealing. Once your bottle is prepared, you can move on to the next step: choosing a lamp kit.
Step 2: Choose a Lamp Kit
Choosing the right lamp kit is essential for creating a safe and functioning bottle lamp. A lamp kit typically includes a socket, cord, and plug, allowing you to easily convert your bottle into a functional lighting fixture. Here are some factors to consider when selecting a lamp kit:
- Type of socket – Lamp kits come in various types of sockets, such as brass, nickel, or ceramic. Consider the style and aesthetic you’re aiming for and choose a socket that complements the overall look of your bottle lamp.
- Cord length – Make sure to select a lamp kit with a cord length that suits your needs. Measure the distance between the desired location of your lamp and the nearest power outlet to ensure that the cord will be long enough.
- Plug type – Check if the lamp kit comes with a plug that is compatible with the electrical outlets in your home. Common plug types include two-pronged and three-pronged plugs.
- Quality and safety – Look for a lamp kit that is of good quality and meets safety standards. Ensure that the socket and cord are properly insulated and that the kit includes clear instructions for installation.
Once you’ve chosen a lamp kit that meets your requirements, you’re ready to move on to the next step: drilling a hole in the bottle cap.
Step 3: Drill a Hole in the Bottle Cap
Drilling a hole in the bottle cap is an important step in creating a bottle lamp, as it allows the cord of the lamp kit to pass through and connect to the socket. Follow these steps to safely and effectively drill a hole in the bottle cap:
- Choose the right drill bit – Select a glass drill bit that matches the size of the cord on your lamp kit. It’s important to use a drill bit specifically designed for glass to prevent cracking or damaging the bottle.
- Mark the center of the cap – Use a marker or pencil to mark the exact center of the bottle cap. This will serve as your guide for drilling the hole.
- Secure the bottle and cap – Place the bottle in a vertical position and secure it firmly to prevent it from moving during drilling. You can use clamps or a vice to hold the bottle steady. Additionally, make sure the cap is tightly screwed onto the bottle to provide stability.
- Start drilling – Gently apply even pressure and begin drilling at the marked center of the bottle cap. Keep the drill perpendicular to the cap and maintain a steady pace. It’s crucial to use a slow speed and allow the drill bit to do the work to avoid excessive pressure that could crack the glass.
- Apply water as lubrication – While drilling, it’s recommended to periodically apply water to the drilling area as lubrication. This helps keep the glass and drill bit cool and prevents overheating or shattering.
- Drill until the desired hole size is reached – Continue drilling until you achieve a hole that is just large enough to accommodate the lamp kit cord. Check the size of the hole by periodically inserting the cord through the cap.
- Clean and smooth the edges – After drilling, remove any glass debris from the bottle cap and smooth the edges of the hole using a file or sandpaper. This will ensure that the cord can pass through smoothly without any snags.
By following these steps, you’ll successfully drill a hole in the bottle cap, allowing for the next step of assembling the lamp kit and bringing your bottle lamp to life.
When making a lamp out of a bottle, make sure to use a bottle with a wide enough opening to fit the lamp kit. Clean the bottle thoroughly and consider using a clear bottle to showcase the light.
Read more: How To Make A Lava Lamp In A Bottle
Step 4: Assemble the Lamp Kit
Now that you have drilled a hole in the bottle cap, it’s time to assemble the lamp kit. Follow these steps to ensure a secure and functional bottle lamp:
- Thread the cord through the bottle cap – Take the cord of the lamp kit and carefully insert it through the hole in the bottle cap. Pull the cord until the cap rests securely on top of the bottle.
- Separate the wires – Once the cord is threaded through the bottle cap, you will notice that it consists of two wires – a neutral wire and a hot wire. These wires are usually color-coded, with the neutral wire being identified by a ribbed insulation or a white color, and the hot wire having smooth insulation or a black color.
- Loosen the socket base – On the lamp kit, you’ll find a socket base that holds the light bulb. Use a small wrench or your hand to loosen the socket base, creating some space to work with.
- Strip the wire ends – Strip about half an inch of insulation from the ends of both wires using wire strippers or a knife. Be careful not to cut or damage the actual wires.
- Attach the wires to the socket – Twist the exposed copper ends of the wires around the screws located on the socket base. The neutral wire (ribbed insulation or white color) should be connected to the silver screw, while the hot wire (smooth insulation or black color) should be connected to the gold screw. Use a small screwdriver to tighten the screws securely.
- Secure the socket – After connecting the wires to the socket, carefully push the socket and its base back into its original position. Make sure it is securely tightened to prevent any movement or loose connections.
- Use electrical tape – To further secure the cord to the bottle and prevent any strain on the connections, wrap electrical tape around the cord where it meets the bottle cap. This will provide added stability and insulation.
Once you have successfully assembled the lamp kit, you’re one step closer to completing your bottle lamp. The next step is to attach the lampshade and add the finishing touches to your unique creation.
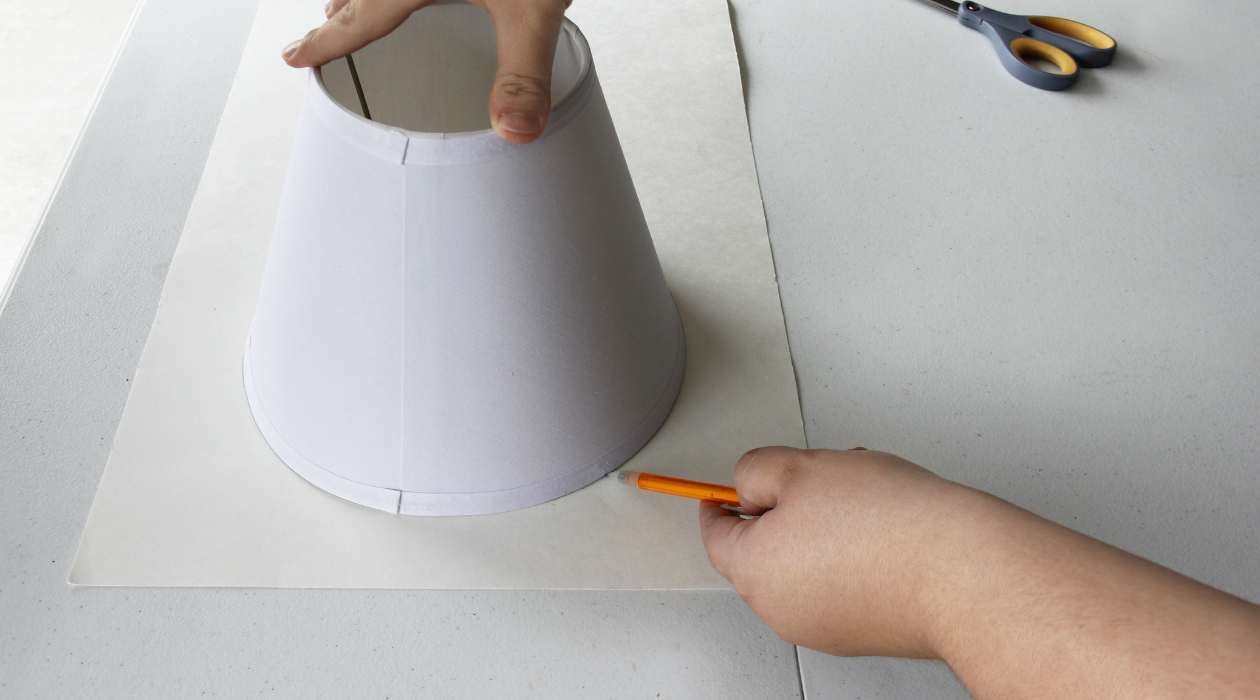
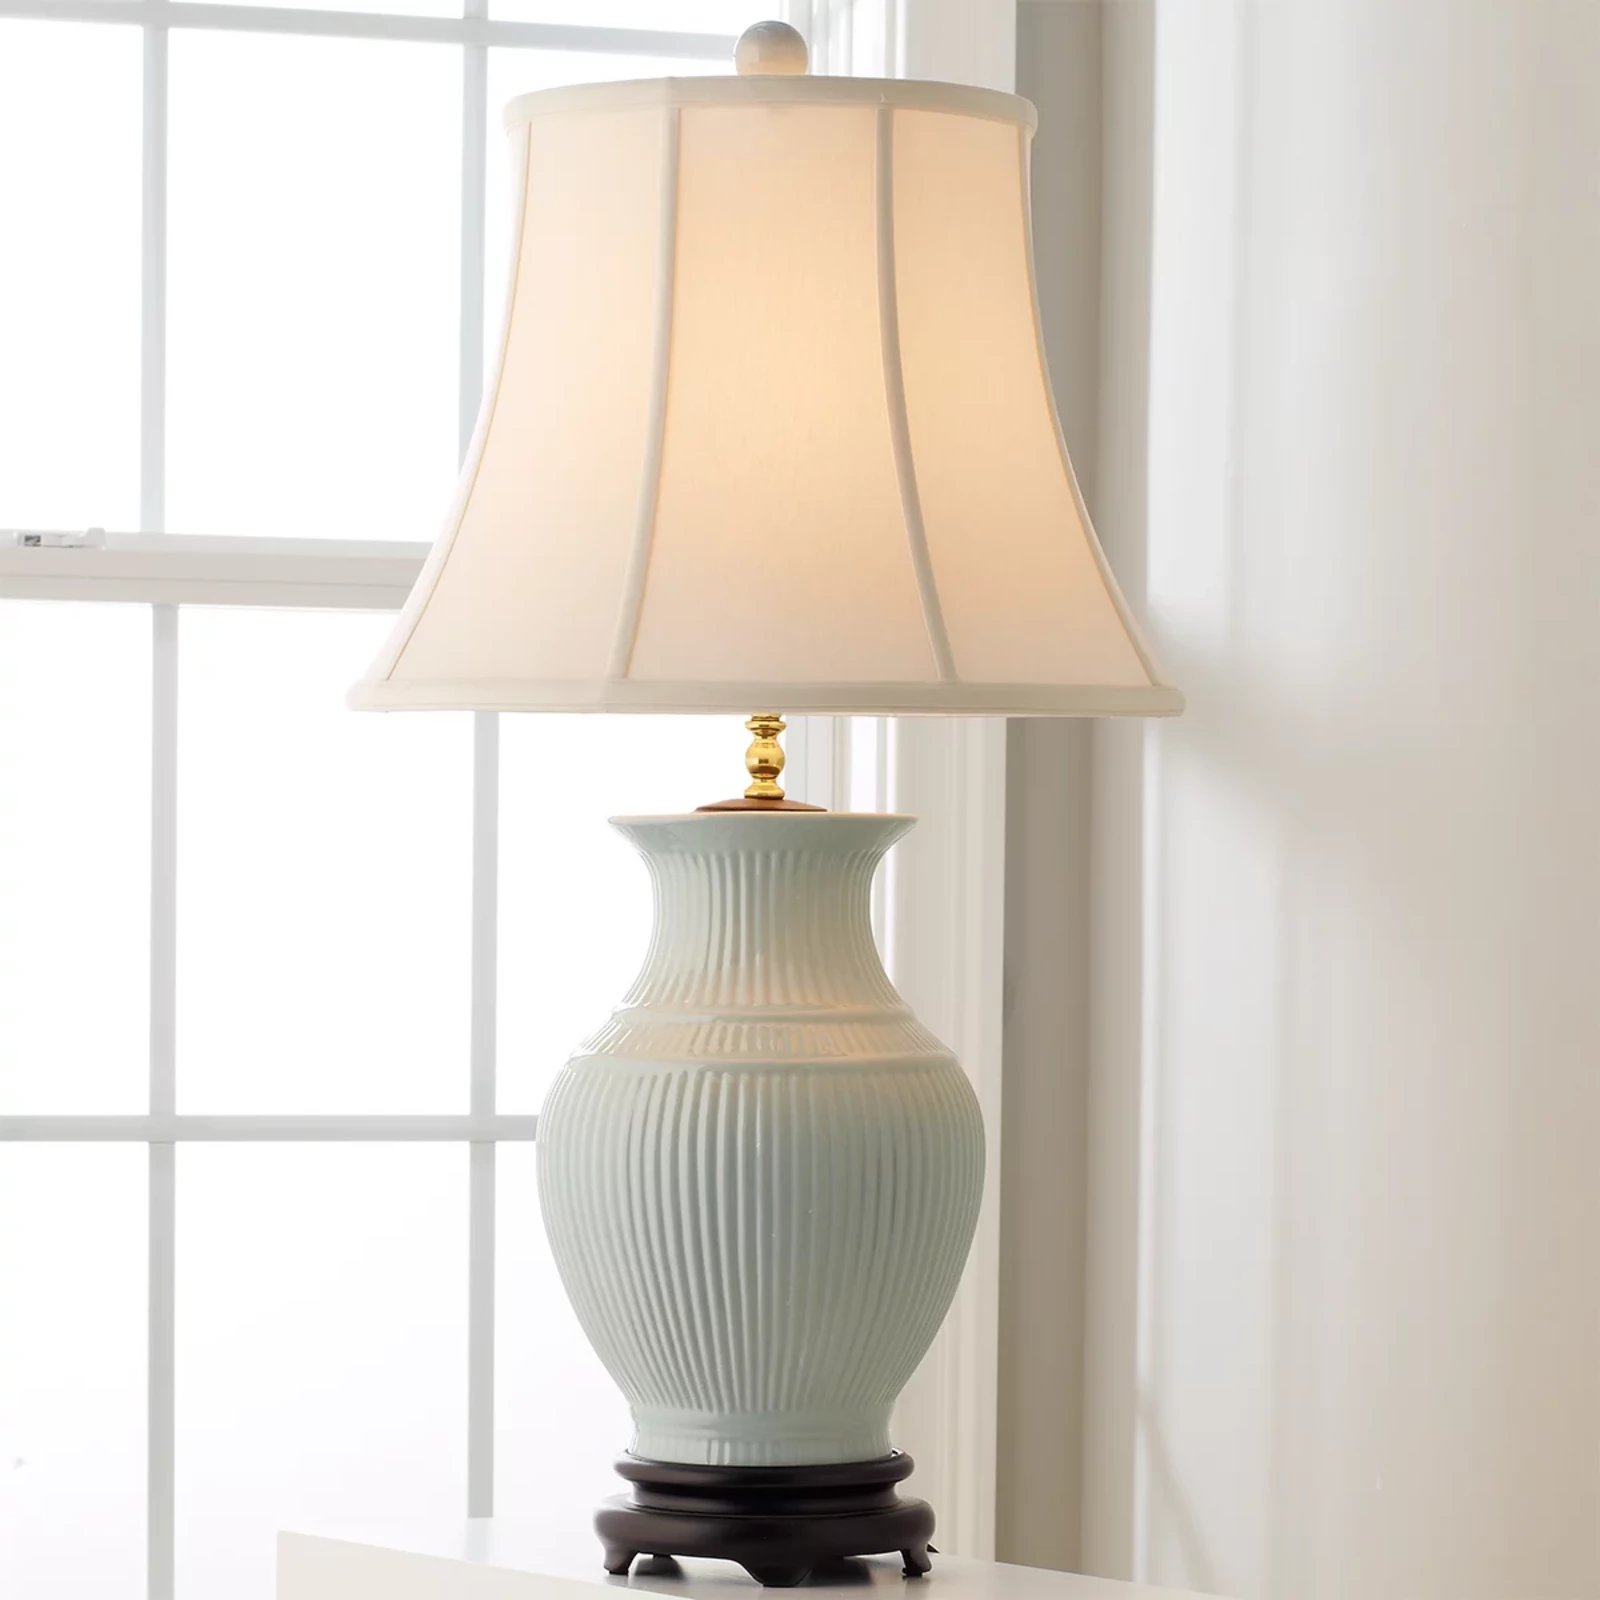
Step 5: Attach the Lampshade
Attaching the lampshade is the final step in creating your bottle lamp. This step adds the finishing touch and enhances the overall look and ambiance of your lamp. Follow these instructions to securely attach the lampshade:
- Select the appropriate lampshade – Choose a lampshade that complements the size, shape, and style of your bottle lamp. Consider the color, texture, and design of the lampshade to create a cohesive and aesthetically pleasing look.
- Place the lampshade ring – Most lampshades come with a detachable ring that fits onto the socket or harp of the lamp. Slide the ring onto the socket, ensuring it sits securely.
- Secure the lampshade – Once the ring is in place, carefully position the lampshade onto the ring. Adjust the lampshade to ensure it is straight and centered. Some lampshades have a finial that screws onto the top to hold the lampshade in place. If your lampshade has a finial, gently tighten it to secure the lampshade. If not, ensure the lampshade sits snugly on the ring.
- Test for stability – Gently tap the lampshade to ensure it is firmly attached and stable. Adjust as necessary to achieve the desired positioning.
With the lampshade securely attached, your bottle lamp is now complete. The next step is to test and adjust the lamp to ensure it functions properly.
Step 6: Test and Adjust the Lamp
After completing the assembly of your bottle lamp, it’s crucial to test and adjust it to ensure it functions properly and meets your desired lighting needs. Follow these steps to test and make any necessary adjustments:
- Insert the light bulb – Choose an appropriate light bulb for your bottle lamp. Refer to the manufacturer’s recommendations for the maximum wattage allowed for your lamp kit. Screw the light bulb into the socket securely.
- Plug in the lamp – Insert the plug of the lamp kit into a nearby electrical outlet. Ensure that the outlet is functioning properly.
- Switch on the lamp – Flip the switch on the socket to turn on the lamp. If the lamp doesn’t turn on, check the following:
- Verify the bulb connection – Ensure that the light bulb is tightly screwed into the socket. Sometimes, a loose connection can prevent the lamp from turning on.
- Check the cord connection – Inspect the area where the cord connects to the bottle cap. Make sure the wires are securely attached and that there are no loose connections.
- Test the outlet – Plug another device into the same outlet to determine if the issue lies with the lamp or the electrical supply.
- Adjust the lamp – If the lamp is working but the lighting is not to your liking, you can make some adjustments:
- Experiment with different light bulb wattages – If the lamp is too bright or too dim, try using a bulb with a higher or lower wattage to achieve the desired level of lighting.
- Position the lampshade – Adjust the angle and position of the lampshade to control the direction and diffusion of light. This allows you to create the desired ambiance in your space.
- Add a dimmer switch – If you want to have more control over the brightness, consider adding a dimmer switch to the lamp’s cord. This allows you to adjust the intensity of the light as needed.
By testing and adjusting your bottle lamp, you can ensure that it functions properly and meets your lighting preferences. Take the time to make any necessary modifications to achieve the desired ambiance and functionality.
Congratulations! You have successfully created your own unique and stylish bottle lamp. Your creation adds a touch of charm and personalization to any space. Enjoy the warm and inviting glow that your bottle lamp now brings to your home or office.
Conclusion
Congratulations on completing your journey of turning a simple bottle into a stunning lamp! By following the step-by-step process outlined in this guide, you have successfully transformed an ordinary object into a unique and personalized lighting fixture. Your bottle lamp not only adds a touch of charm and style to any space but also showcases your creativity and craftsmanship.
Throughout this DIY project, you have learned how to prepare the bottle, choose an appropriate lamp kit, drill a hole in the bottle cap, assemble the lamp kit, attach the lampshade, and test and adjust the lamp for optimal functionality. Each step was designed to ensure that your bottle lamp not only looks beautiful but also functions safely and effectively.
Remember, the possibilities for personalization are endless. Feel free to experiment with different bottle shapes and sizes, lampshade designs, and decorative elements to create a bottle lamp that truly reflects your unique style and taste. Get creative and let your imagination run wild!
Whether you choose to showcase your bottle lamp on a nightstand, a side table, or as a centerpiece, it will undoubtedly become a conversation starter and a focal point in any room. Enjoy the warm and inviting glow that your bottle lamp provides, creating a cozy and welcoming ambiance in your living space.
Thank you for joining us on this exciting DIY journey. We hope this guide has inspired you to explore the world of upcycling and unleash your creativity. We can’t wait to see the beautiful bottle lamps you create!
Read more: How To Make A Wine Bottle Oil Lamp
Additional Tips and Ideas
As you continue to explore the world of bottle lamp making, here are some additional tips and ideas to enhance your creativity and help you create even more stunning and unique pieces:
- Experiment with different bottle shapes and sizes – Don’t limit yourself to just the classic wine bottle shape. Explore various bottle shapes, such as decanters, vintage soda bottles, or even perfume bottles, to create a diverse collection of bottle lamps.
- Consider using tinted or colored bottles – Instead of opting for clear glass bottles, try using tinted or colored bottles to add a pop of color and visual interest to your lamp. Look for bottles in shades like amber, blue, or green to create a captivating effect.
- Add personal touches – Customize your bottle lamp by adding personal touches. Consider adding decorative elements like charms, seashells, or feathers, or even painting designs on the bottle to make it truly one-of-a-kind.
- Create themed bottle lamps – Let your imagination run wild by creating themed bottle lamps. For example, use a beer bottle and add beer-themed decorations for a man cave, or use a mason jar and fill it with fairy lights for a whimsical touch.
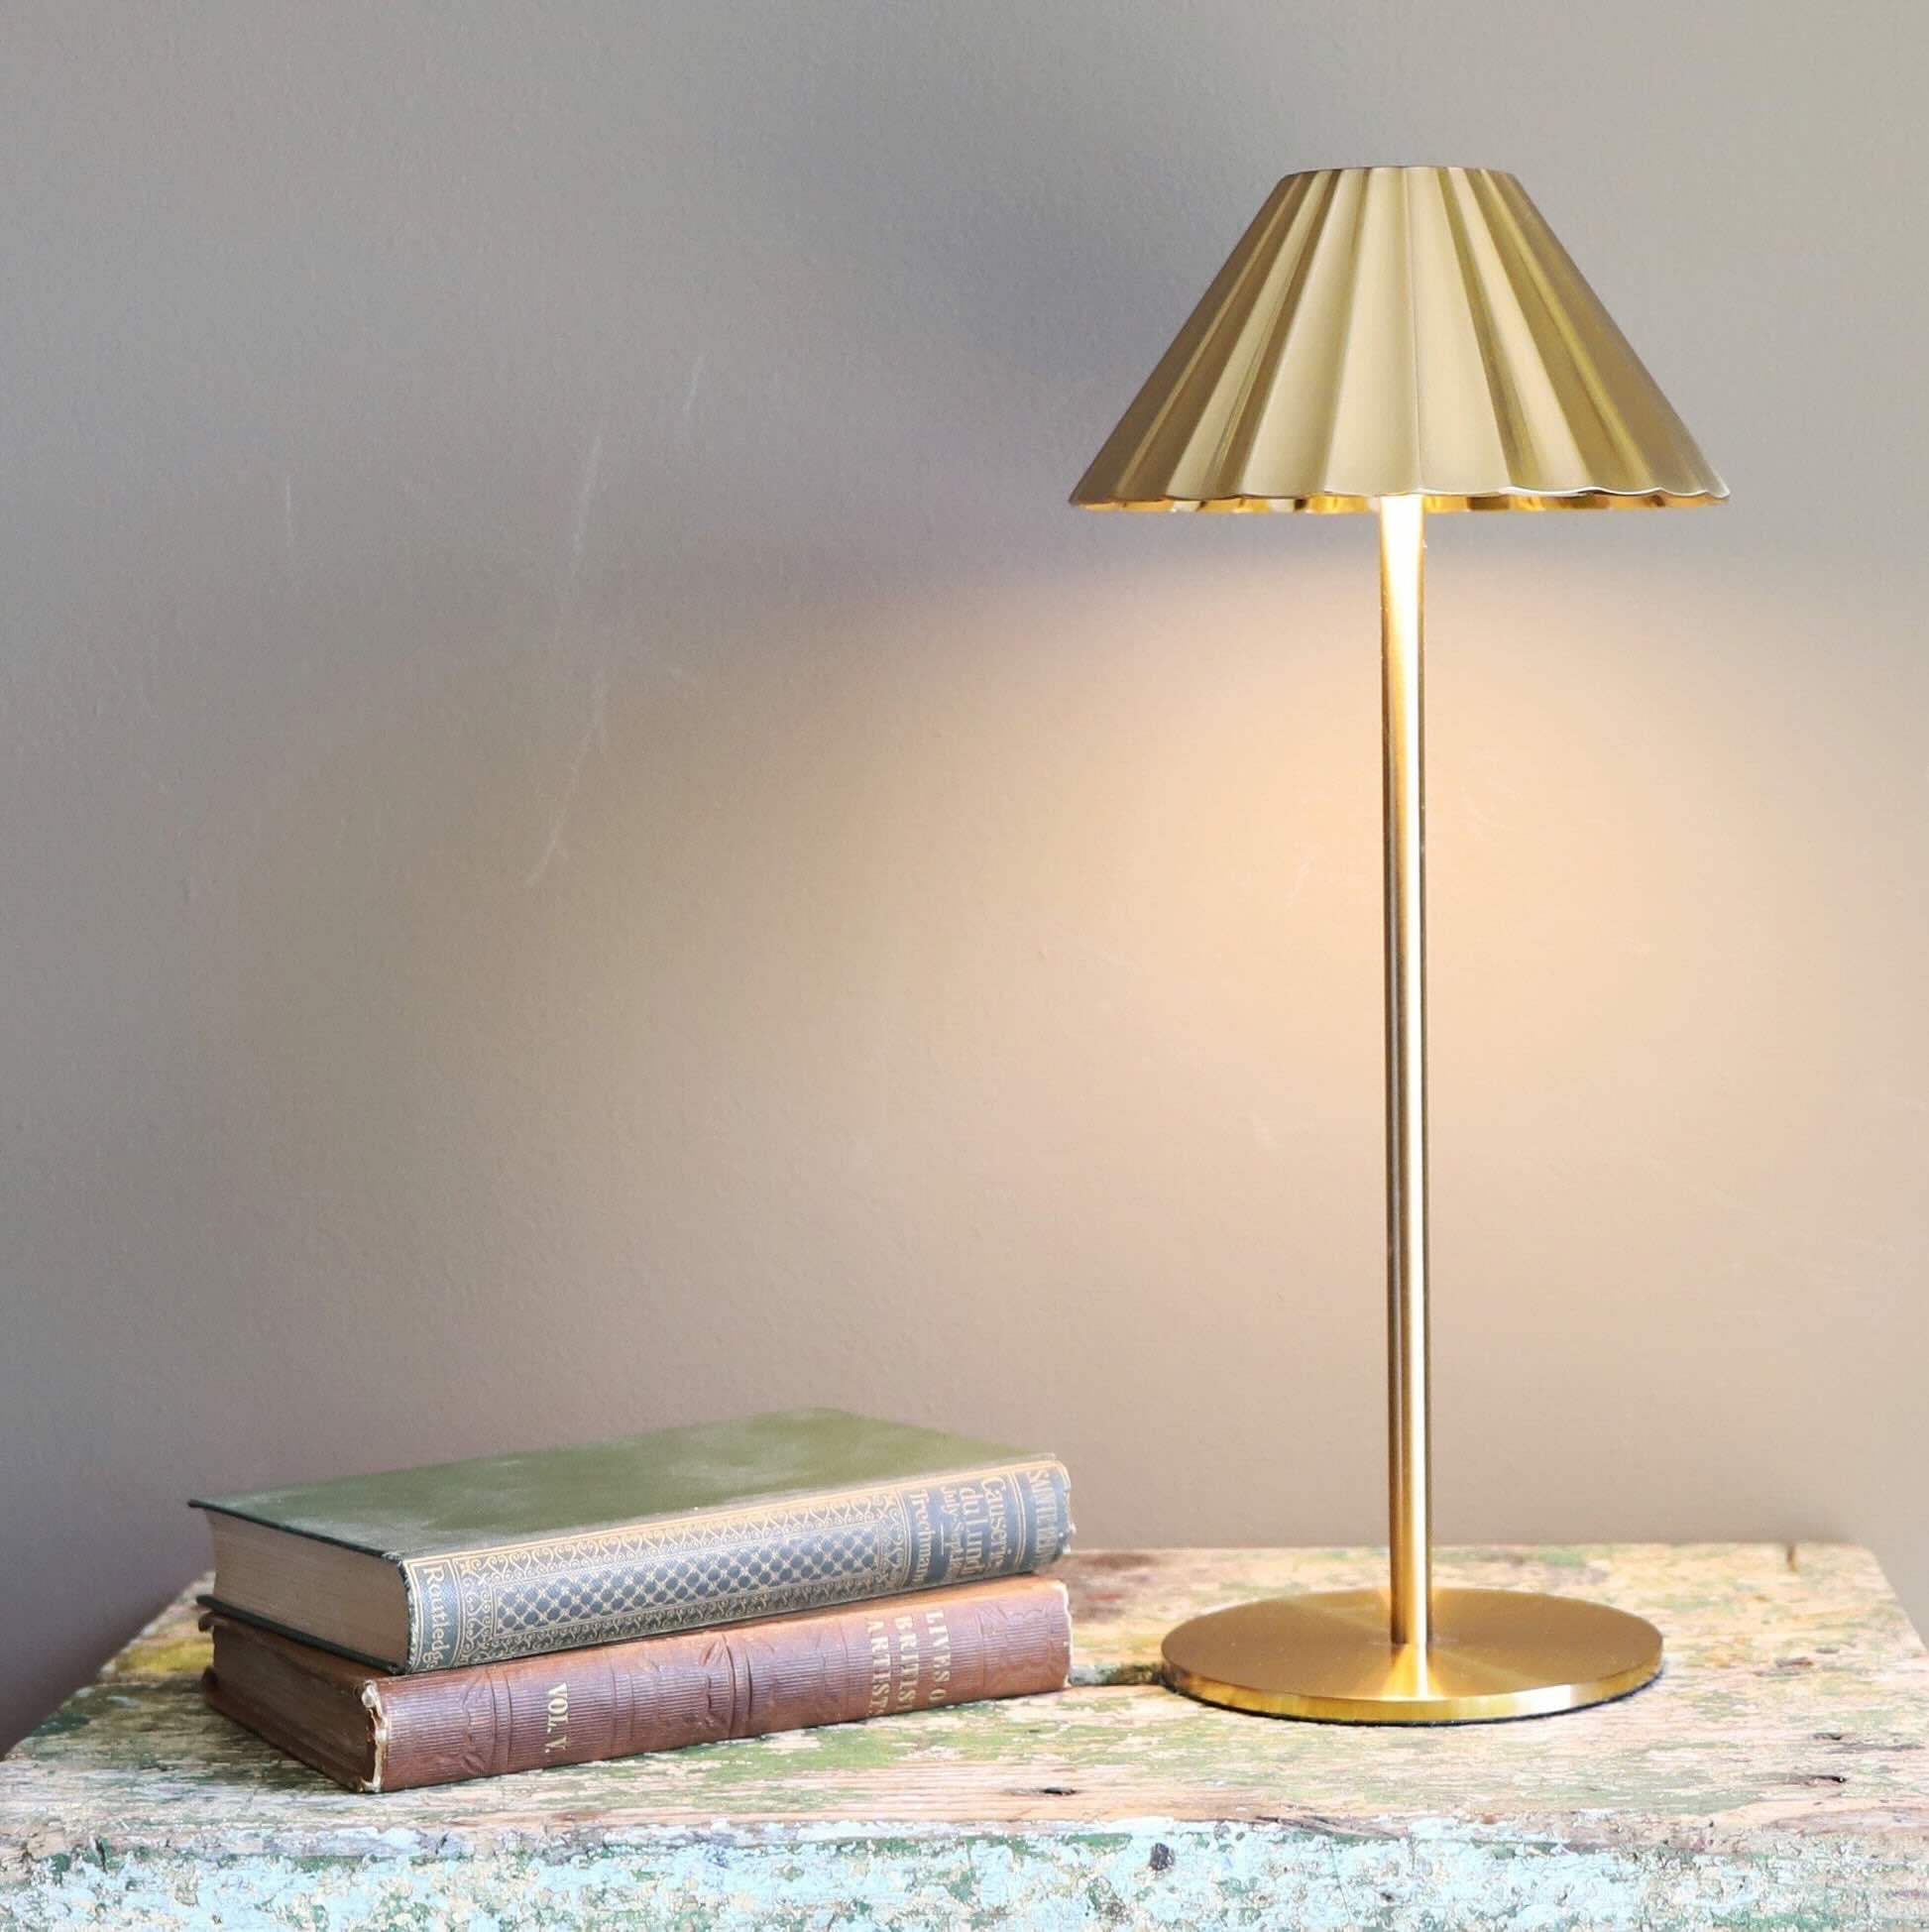
- Experiment with different lampshade styles – Lampshades come in various shapes, sizes, and materials. Consider using a drum shade for a modern look, a bell-shaped shade for a more traditional feel, or even a DIY lampshade made from fabric or paper for a unique and personalized touch.
- Add a touch sensor – If you want to have a more convenient way to turn your bottle lamp on and off, consider adding a touch sensor. These sensors can be easily installed and allow you to control the lamp with a simple touch.
- Use multiple bottle lamps for a cohesive look – Create a striking visual impact by using multiple bottle lamps in the same room or space. Arrange them on a shelf or sideboard to create an eye-catching display that adds warmth and character to the area.
- Explore different lighting options – While standard light bulbs provide a warm and cozy glow, consider exploring different lighting options. LED bulbs offer energy efficiency and come in various color temperatures, allowing you to customize the ambiance of your lamp.
- Share your creations – Once you’ve honed your bottle lamp-making skills, why not share your creations with friends, family, and on social media? Your unique designs and innovative ideas may inspire others to embark on their own bottle lamp-making journeys.
Remember, the key to creating stunning bottle lamps is to let your creativity shine. Allow yourself to experiment, explore, and have fun during the process. Enjoy the satisfaction of crafting your own beautiful and functional lighting fixtures that reflect your individual style and add a touch of handmade elegance to your space.
Frequently Asked Questions about How To Make A Lamp Out Of A Bottle
Was this page helpful?
At Storables.com, we guarantee accurate and reliable information. Our content, validated by Expert Board Contributors, is crafted following stringent Editorial Policies. We're committed to providing you with well-researched, expert-backed insights for all your informational needs.


0 thoughts on “How To Make A Lamp Out Of A Bottle”