
Furniture
How To Set A Lamp Timer
Modified: December 7, 2023
Learn how to set a lamp timer for your furniture lighting needs. Control the ambiance and save energy with easy-to-follow instructions.
(Many of the links in this article redirect to a specific reviewed product. Your purchase of these products through affiliate links helps to generate commission for Storables.com, at no extra cost. Learn more)
Introduction
Welcome to our comprehensive guide on how to set a lamp timer. Whether you’re looking to add convenience and automation to your home or simply want to enhance security by creating the illusion of an occupied house, a lamp timer is an excellent device to have.
A lamp timer allows you to schedule when your lamps turn on and off, providing you with the flexibility to create a custom lighting routine. Whether you’re on vacation, working late, or want to wake up to a well-lit room, a lamp timer can make it happen.
In this article, we will walk you through the step-by-step process of setting a lamp timer like a pro. We’ll cover the necessary materials you’ll need, the initial setup, and how to program your lamp timer to cater to your specific needs.
So let’s dive in and discover how to set a lamp timer: the ultimate tool for controlling your home’s lighting!
Key Takeaways:
- Takeaway 1: Master the art of setting a lamp timer by gathering the right materials, inserting batteries, programming on/off times, and activating the timer for a convenient and energy-efficient lighting schedule.
- Takeaway 2: Enjoy the benefits of automated lighting with a lamp timer, from enhancing security to creating a personalized lighting routine. Periodically review and update the programming to ensure it continues to meet your needs effectively.
Step 1: Gather the Necessary Materials
Before you start setting up your lamp timer, it’s important to gather all the necessary materials to ensure a smooth and hassle-free installation. Here’s what you’ll need:
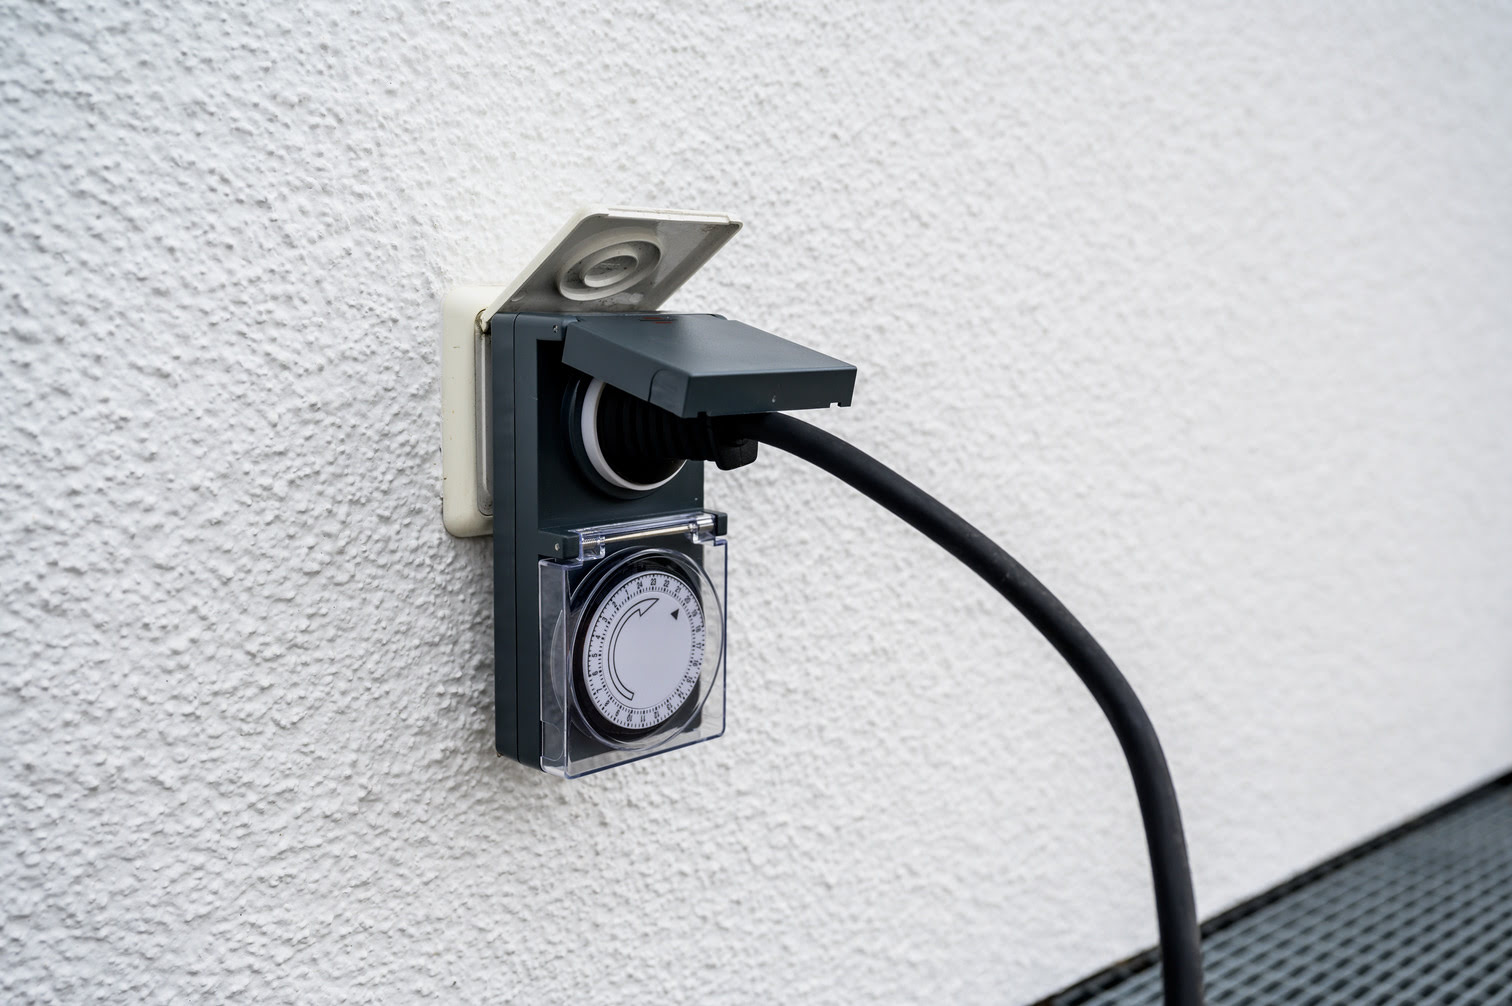
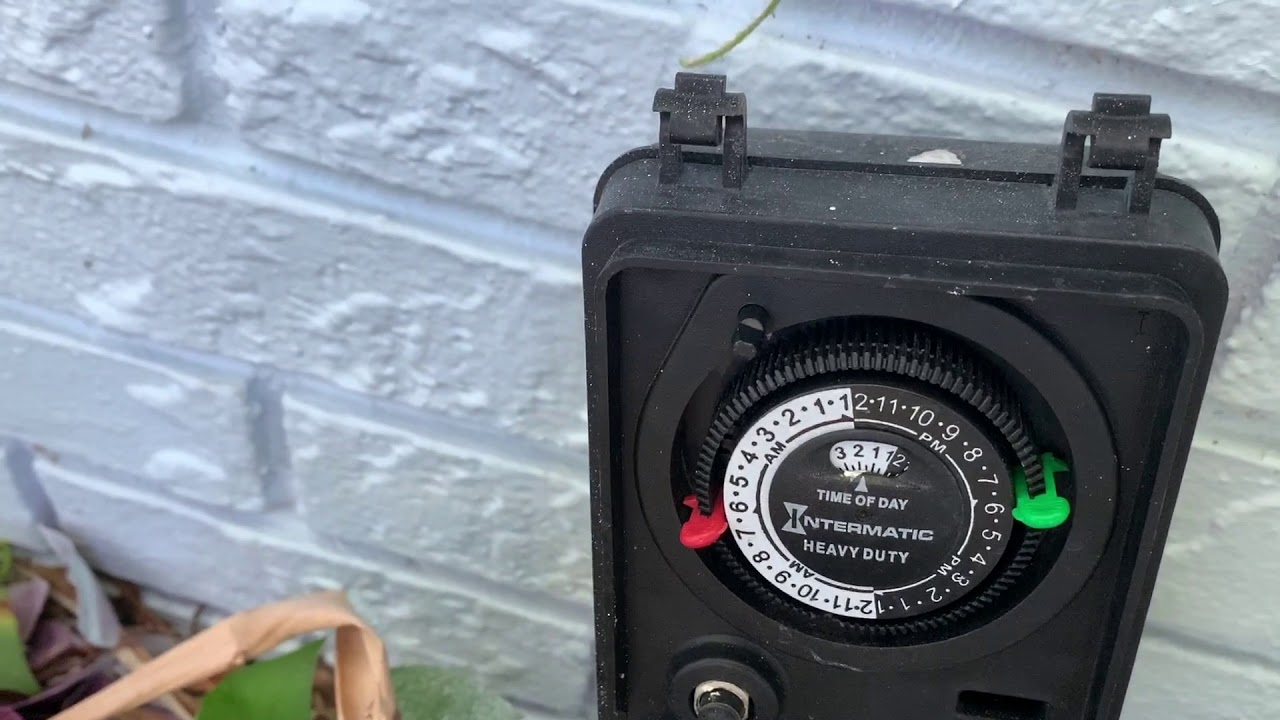
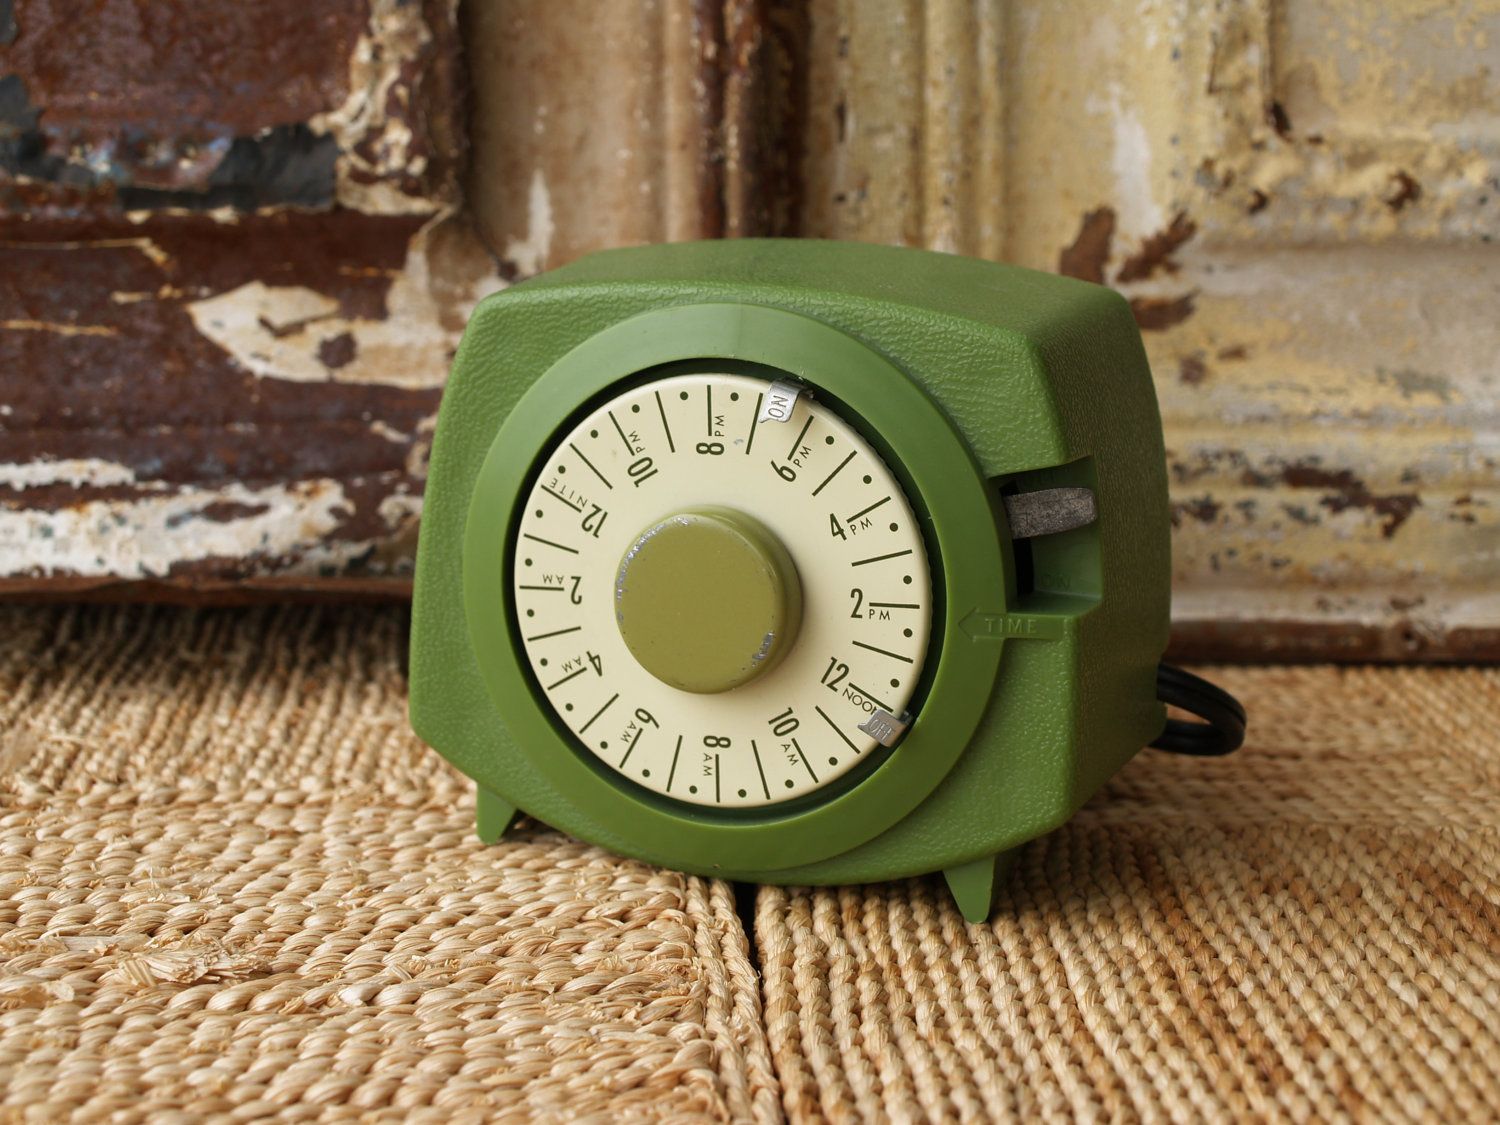
- A lamp timer: There are various types of lamp timers available in the market, from simple plug-in timers to more advanced programmable timers. Choose one that suits your needs and matches the type of lamp you’ll be using.
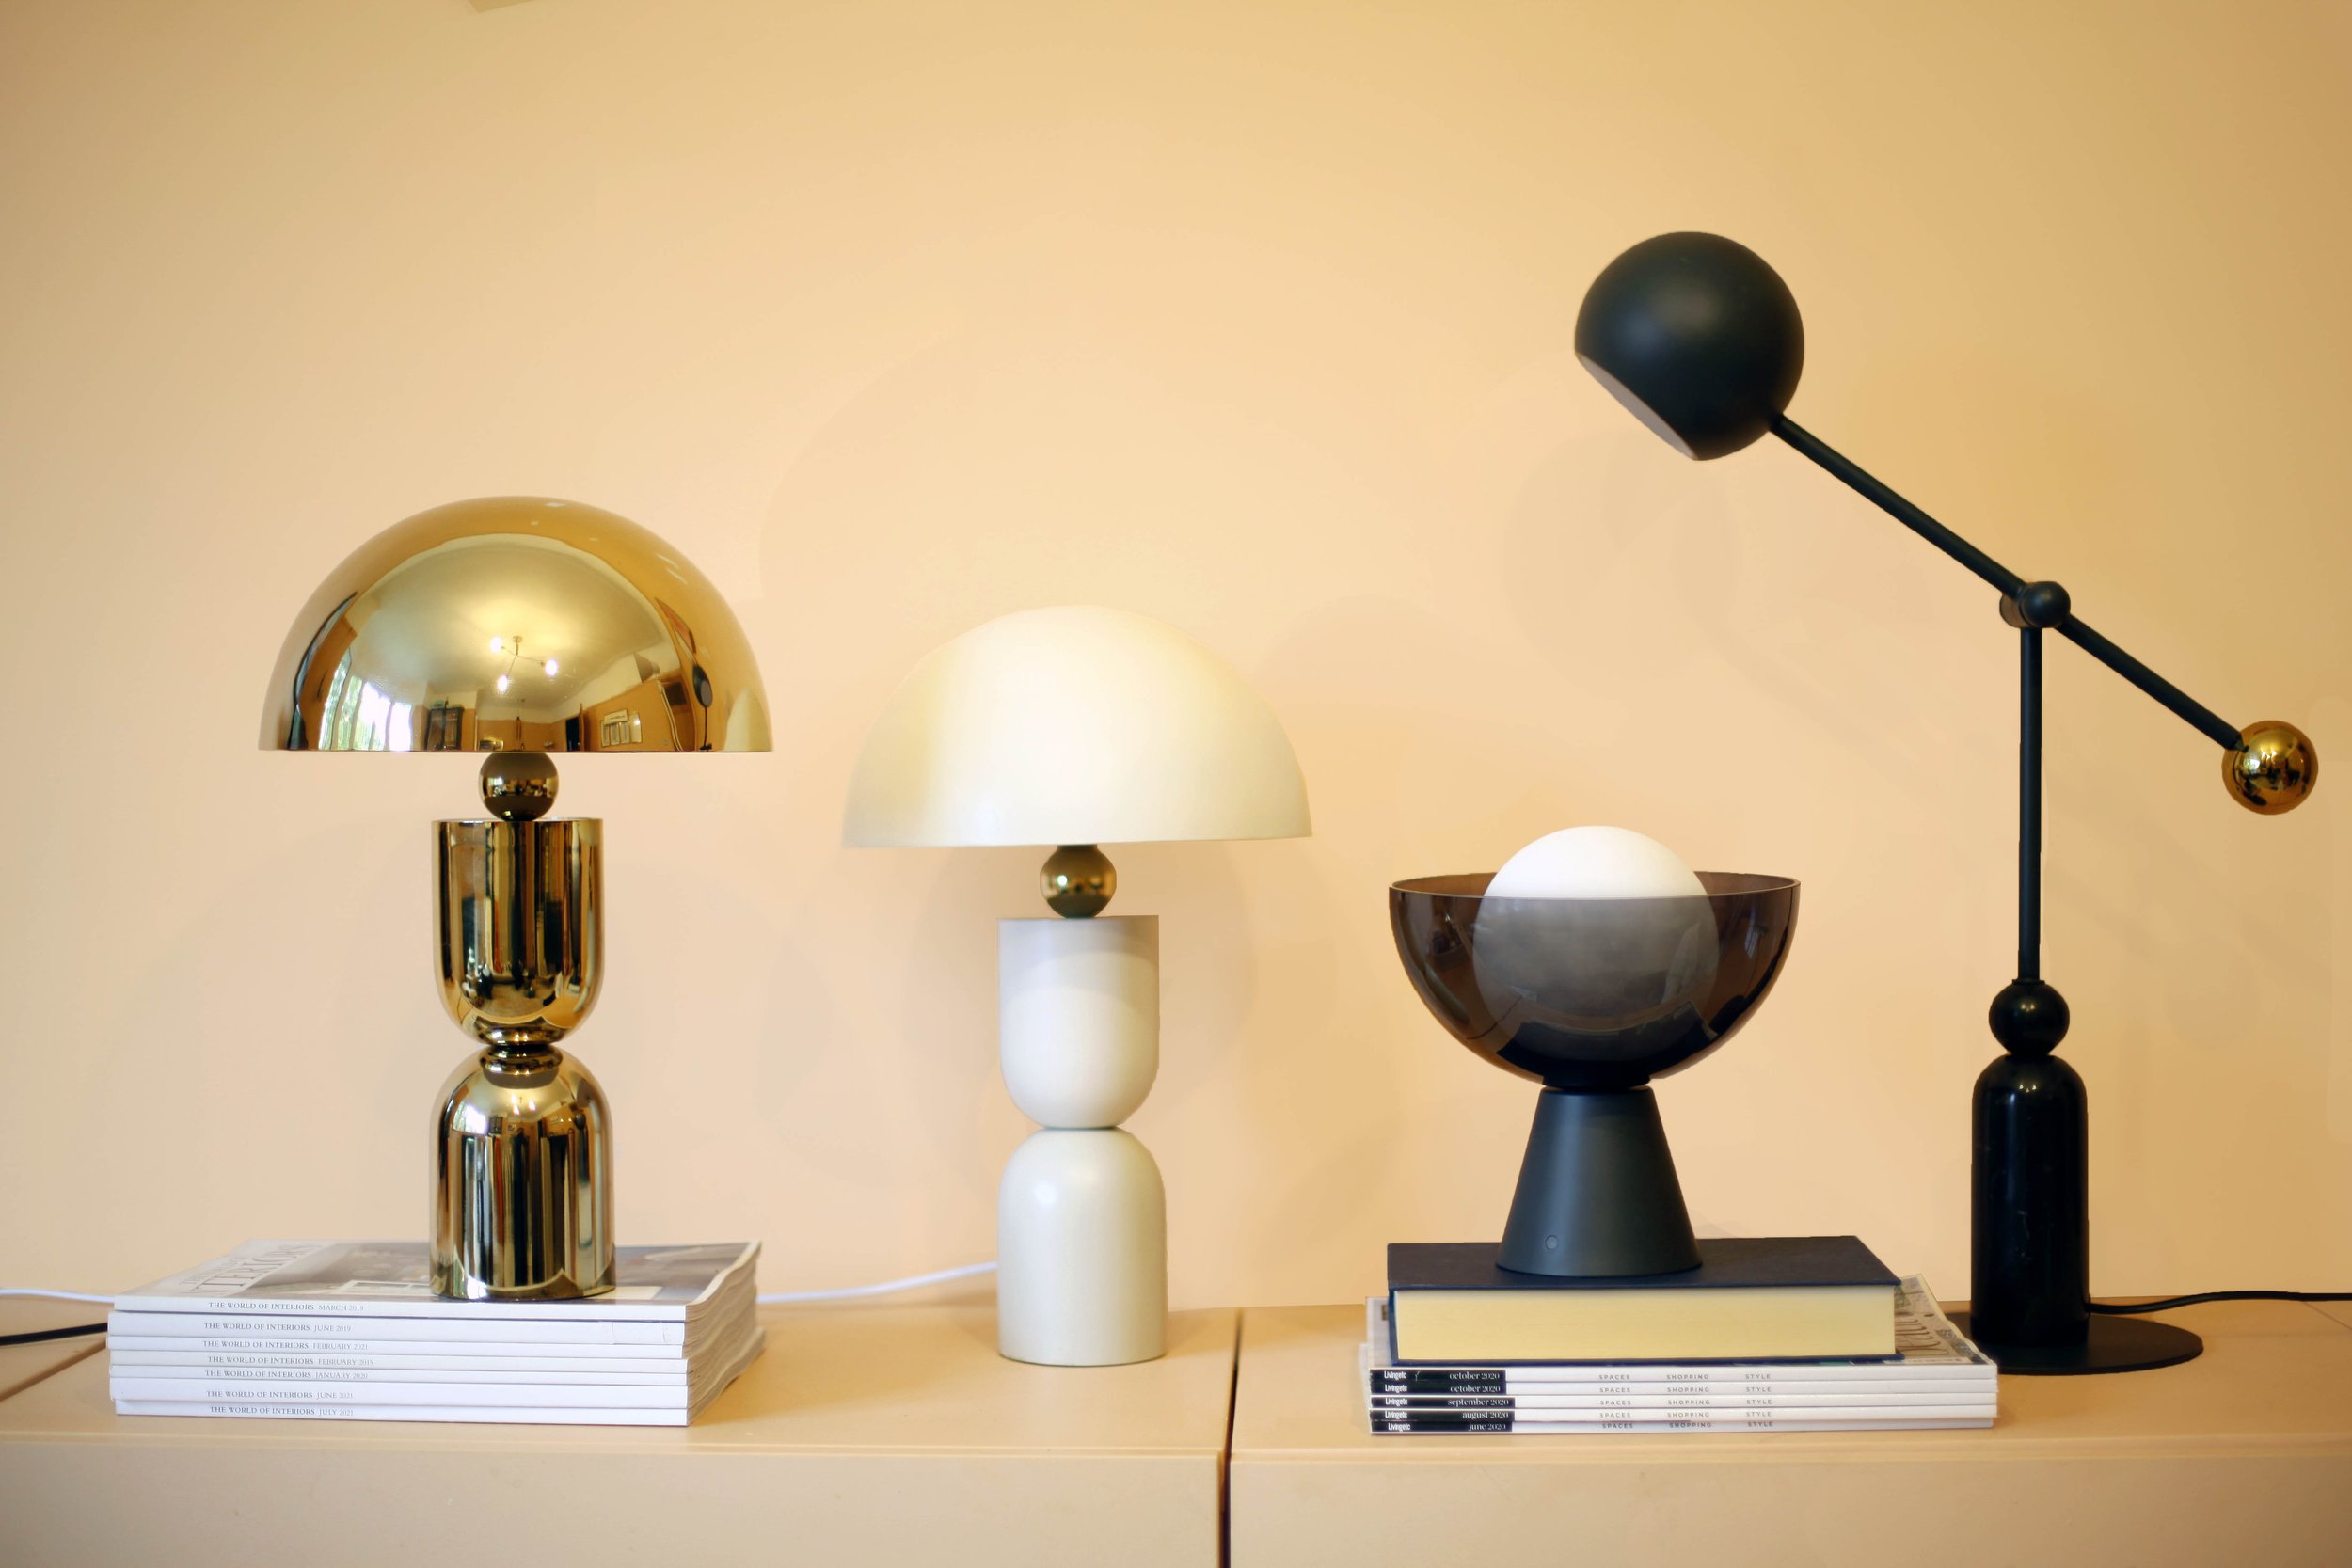
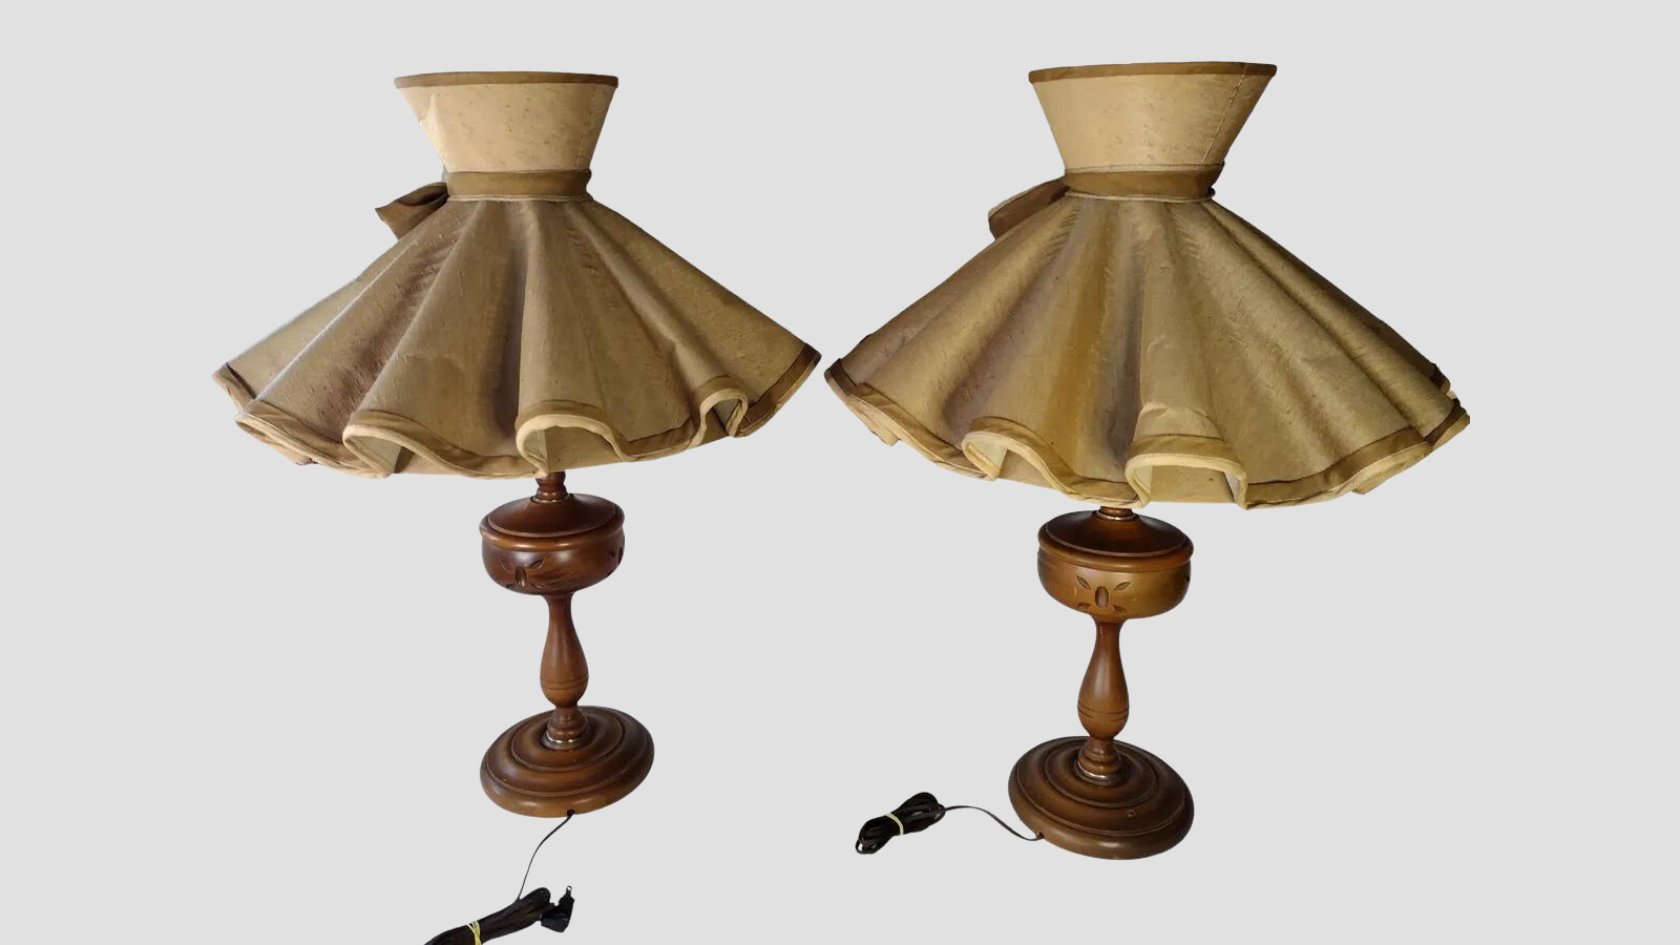
- Lamps: Select the lamps you want to control with the lamp timer. Make sure they are in good working condition and have a compatible plug.
- Batteries: Check the lamp timer’s specifications and see if it requires any batteries. If it does, make sure you have the correct ones on hand.
- An extension cord (optional): If your lamps are not close to an electrical outlet, you may need an extension cord to connect them to the lamp timer.
Once you have gathered all the necessary materials, you’re ready to move on to the next step. Having everything ready beforehand will save you time and prevent any unnecessary interruptions during the setup process.
Step 2: Insert Batteries into the Lamp Timer
Now that you have all the necessary materials for setting up your lamp timer, it’s time to insert the batteries into the timer (if required). Follow these steps to complete this process:
- Locate the battery compartment: Look for a small panel or compartment on the lamp timer. This is where the batteries will be inserted.
- Open the battery compartment: Use your fingers or a small screwdriver to open the compartment. Be careful not to apply too much force or damage the cover.
- Insert the batteries: Match the positive (+) and negative (-) ends of the batteries with the corresponding symbols inside the battery compartment. Slide the batteries into place, ensuring they fit snugly.
- Close the battery compartment: Gently close the cover of the battery compartment, ensuring it clicks securely into place. This will protect the batteries and keep them in position.
- Double-check battery polarity: Take a moment to verify that the batteries are inserted correctly. Improper battery orientation can prevent the lamp timer from functioning properly.
It’s important to note that not all lamp timers require batteries. Some models are powered directly through the electrical outlet. If your lamp timer doesn’t have a battery compartment, skip this step and proceed to the next one.
Once you have successfully inserted the batteries (if needed), you’re now ready to move on to the next step: setting the current time on the lamp timer.
Step 3: Set the Current Time on the Lamp Timer
Setting the current time on your lamp timer is crucial for accurate scheduling. Follow these steps to set the current time:
- Locate the time-setting buttons: Look for the buttons or controls labeled “Time” or “Clock” on your lamp timer. These buttons will allow you to adjust the current time.
- Press the time-setting button: Press and hold the time-setting button until the display or indicator on the lamp timer starts flashing. This indicates that you are in the time-setting mode.
- Adjust the hours: Use the arrow buttons or knob to adjust the hours. Keep an eye on the display or indicator to ensure the correct hour is set.
- Adjust the minutes: Once the hours are set correctly, proceed to adjust the minutes. Again, use the arrow buttons or knob to make the necessary adjustments.
- Confirm the time: Once you have set the current time, press the time-setting button again to confirm and save your settings. The display or indicator should stop flashing, indicating that the current time is now set.
It’s important to note that different lamp timers may have variations in their time-setting process. Refer to the user manual specific to your lamp timer for any additional instructions or features.
With the current time properly set on your lamp timer, you’re ready to move on to the next step: setting the on and off times for the lamp.
When setting a lamp timer, be sure to read the instructions carefully and set the current time accurately. Test the timer to ensure it turns the lamp on and off at the desired times.
Step 4: Set the On and Off Times for the Lamp
Setting the on and off times for your lamp is the core functionality of a lamp timer. This feature allows you to automate when the lamp turns on and off, making it convenient and energy-efficient. Here’s how you can set the on and off times:
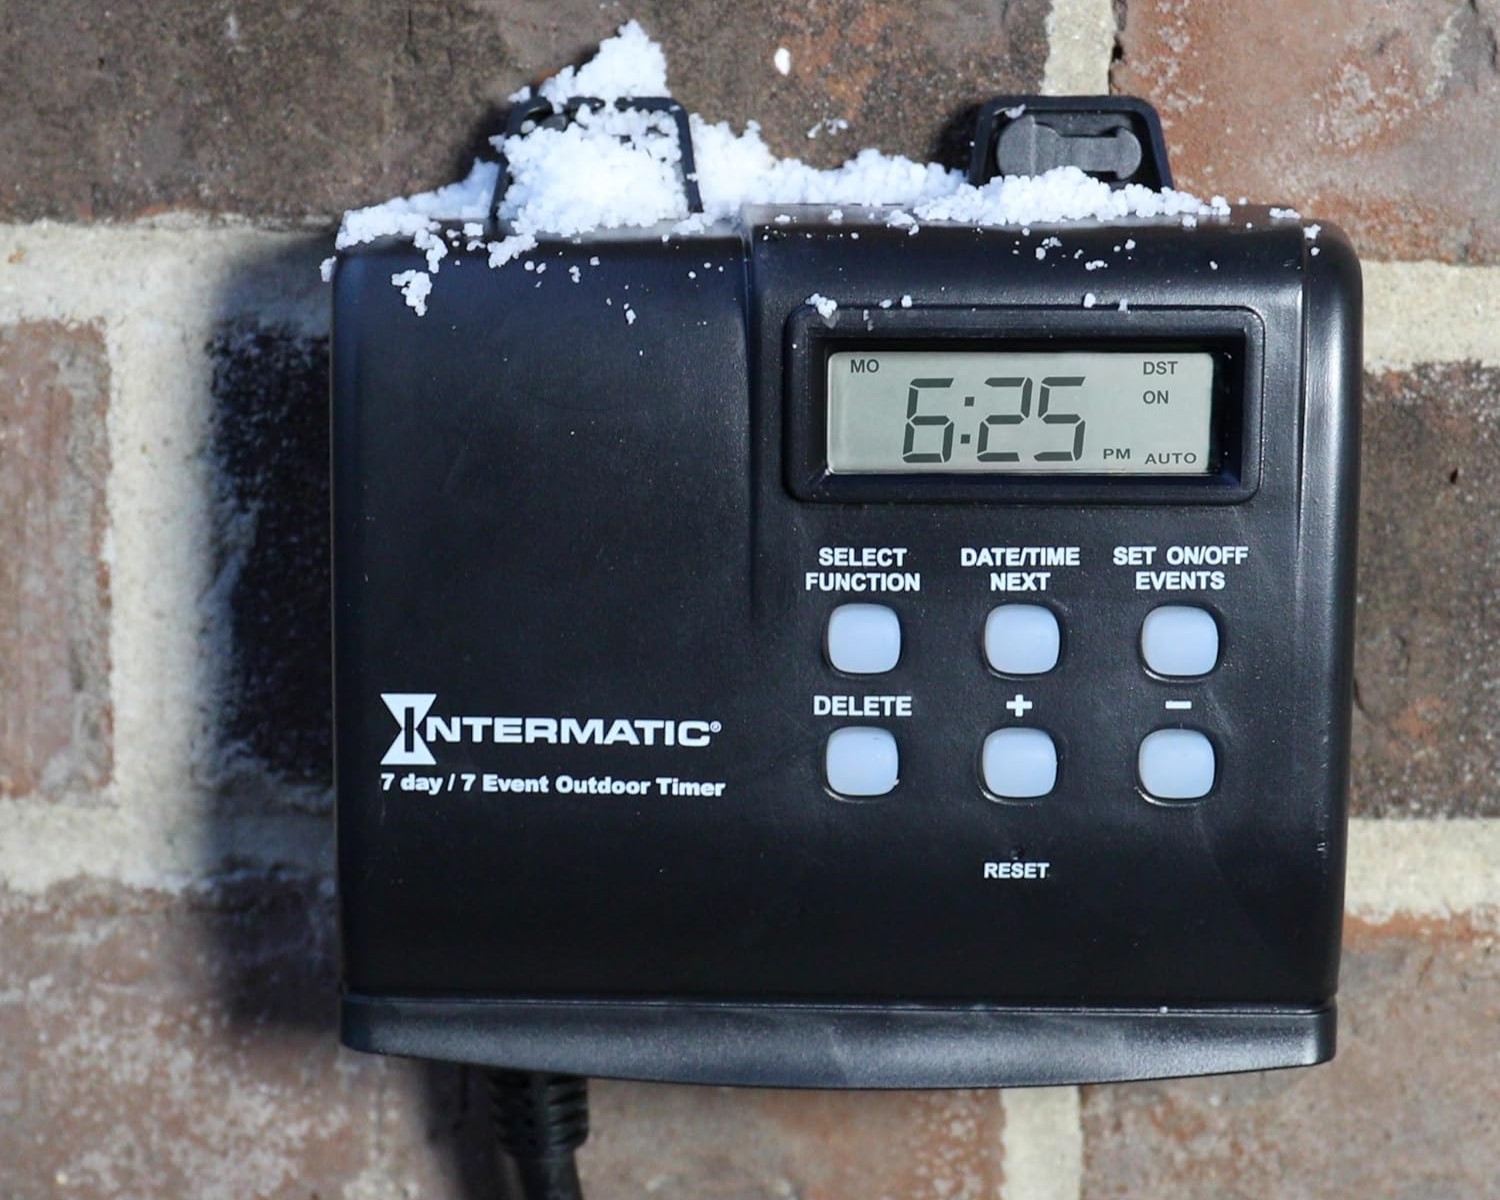
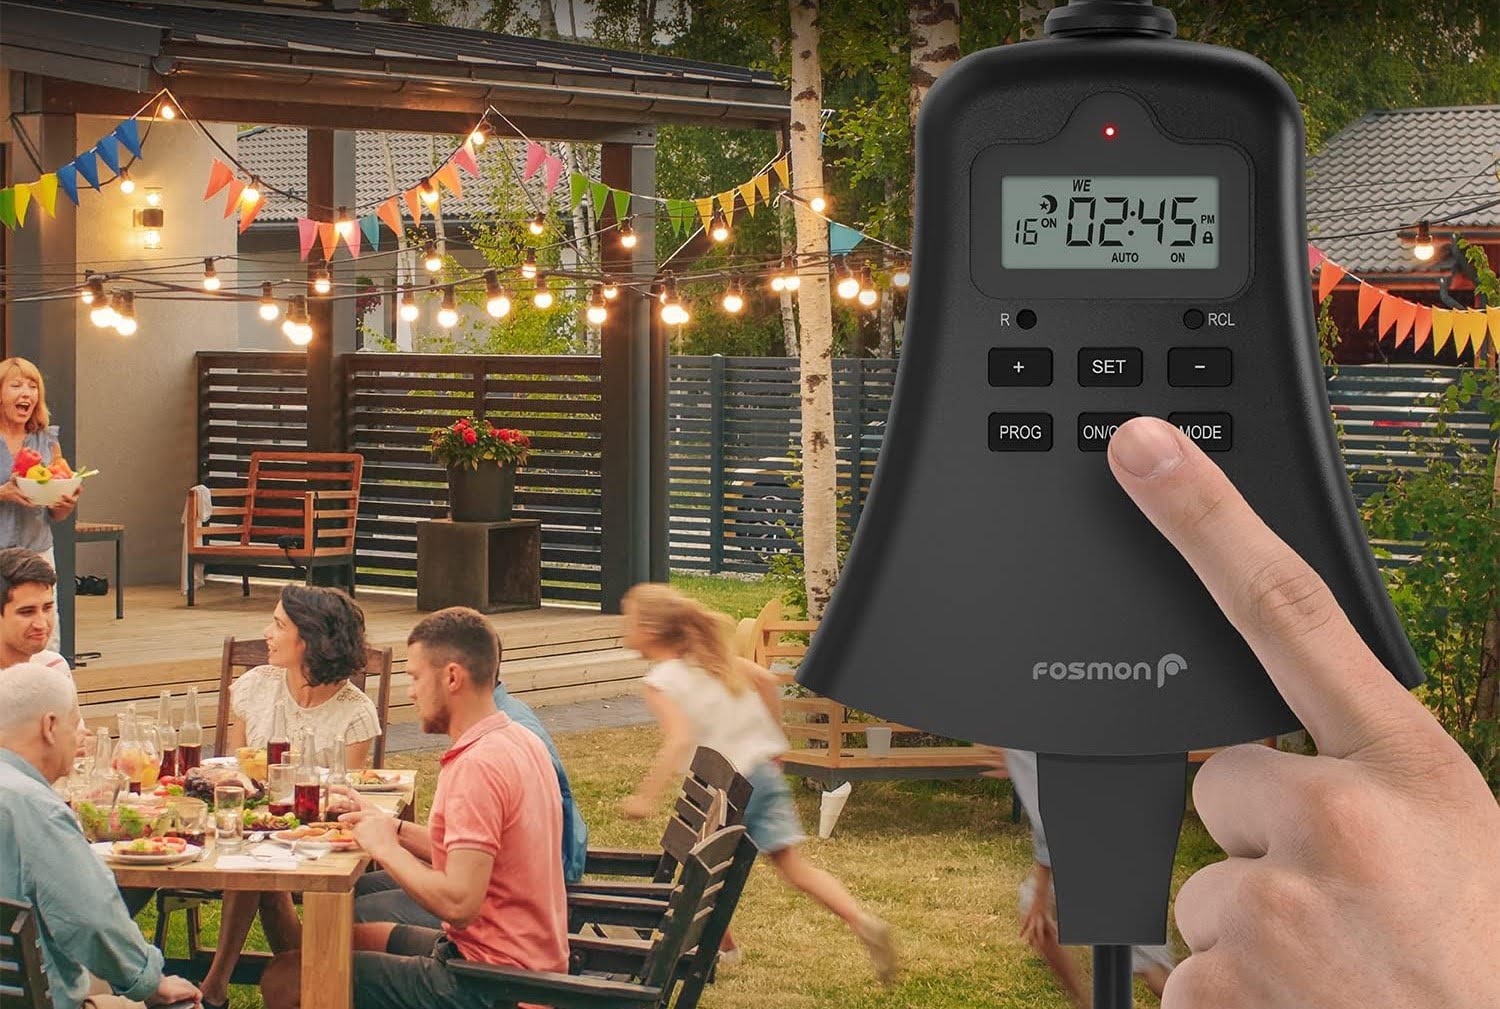
- Identify the programming buttons: Look for buttons or controls on your lamp timer that are related to programming or setting the on/off times. These buttons may be labeled “Program,” “Schedule,” or similar.
- Enter the programming mode: Press and hold the programming button until the display or indicator starts flashing or indicates that you are in the programming mode.
- Select the days: Some lamp timers allow you to choose specific days of the week for your schedule. Use the designated buttons or controls to select the desired days.
- Set the on time: Use the arrow buttons or knobs to set the desired time when you want the lamp to turn on. Pay attention to AM and PM indicators if your lamp timer uses a 12-hour format.
- Set the off time: Similarly, use the arrow buttons or knobs to set the time when you want the lamp to turn off.
- Repeat for additional cycles: If you want the lamp to turn on and off multiple times throughout the day, repeat the previous steps to set additional cycles.
- Save the schedule: Once you have set the desired on/off times and days, press the programming button again to save and confirm your schedule. The display or indicator should stop flashing, indicating that the schedule is now set.
Remember to double-check your settings before saving to ensure that your lamp timer is programmed to meet your specific needs. Consult the user manual provided with your lamp timer for any additional instructions or features.
With the on and off times for your lamp successfully programmed, you’re ready to proceed to the final step: double-checking and activating the lamp timer.
Read more: How To Set Timer On Thermostat
Step 5: Double-Check and Activate the Lamp Timer
Before you finalize the setup process, it’s crucial to double-check your lamp timer’s settings to ensure everything is in order. Follow these steps to double-check and activate the lamp timer:
- Review the schedule: Take a moment to review the on and off times you have programmed for your lamp. Ensure that they align with your desired lighting preferences and any specific requirements you have.
- Validate the current time: Confirm that the current time displayed on your lamp timer is accurate. If needed, you can go back to Step 3 and adjust the time accordingly.
- Plug in the lamp: Connect your lamp to the lamp timer by plugging it into the designated outlet of the timer. Ensure that the lamp is securely connected and that the switch on the lamp is turned on.
- Activate the lamp timer: On some lamp timers, there may be a button or switch specifically designated for activating or enabling the programmed schedule. Activate the lamp timer using the appropriate method.
- Observe the lamp’s behavior: Once the lamp timer is activated, observe the lamp to confirm that it turns on and off according to the scheduled times you set. Make any necessary adjustments if you notice any discrepancies.
It’s important to note that lamp timers may have additional features such as randomization, countdown timers, or manual override functions. Refer to the user manual provided with your lamp timer to explore these features further and learn how to make use of them effectively.
With the lamp timer double-checked and activated, you have successfully completed the setup process! Enjoy the convenience, security, and energy-saving benefits of having your lamp automatically turn on and off based on your desired schedule.
Remember to periodically review and update your lamp timer’s programming to accommodate any changes in your routine or preferences. This will ensure that your lamp timer continues to serve its purpose effectively.
Thank you for following this comprehensive guide on how to set a lamp timer. We hope this article has been helpful in setting up and maximizing the utility of your lamp timer. Happy lighting!
Conclusion
Congratulations! You have reached the end of our comprehensive guide on how to set a lamp timer. By following the step-by-step instructions outlined in this article, you have learned how to gather the necessary materials, insert batteries, set the current time, program the on and off times, and double-check and activate the lamp timer.
A lamp timer is a valuable tool that adds convenience, security, and energy-efficiency to your home. With the ability to automate your lamps’ on and off times, you can create a customized lighting schedule that suits your lifestyle and preferences. Whether you want to simulate occupancy while you’re away or simply enjoy the comfort of a well-lit room, a lamp timer can help.
Remember to refer to the user manual that came with your specific lamp timer for any additional features or functionalities. Some lamp timers may offer advanced options like randomization or manual override, allowing for even greater control over your lighting setup.
Periodically review and update your lamp timer’s programming to accommodate changes in your routine or preferences. This will ensure that your lamp timer continues to meet your needs effectively and efficiently.
Thank you for taking the time to learn how to set a lamp timer. We hope this guide has been informative and useful to you. Illuminate your home with ease and enjoy the benefits of automated lighting!
Frequently Asked Questions about How To Set A Lamp Timer
Was this page helpful?
At Storables.com, we guarantee accurate and reliable information. Our content, validated by Expert Board Contributors, is crafted following stringent Editorial Policies. We're committed to providing you with well-researched, expert-backed insights for all your informational needs.
