Furniture
How To Paint A Ceramic Lamp Base
Modified: February 23, 2024
Learn how to transform your ceramic lamp base into a stunning piece of furniture with our step-by-step painting guide. Elevate your home decor with this easy DIY project.
(Many of the links in this article redirect to a specific reviewed product. Your purchase of these products through affiliate links helps to generate commission for Storables.com, at no extra cost. Learn more)
Introduction
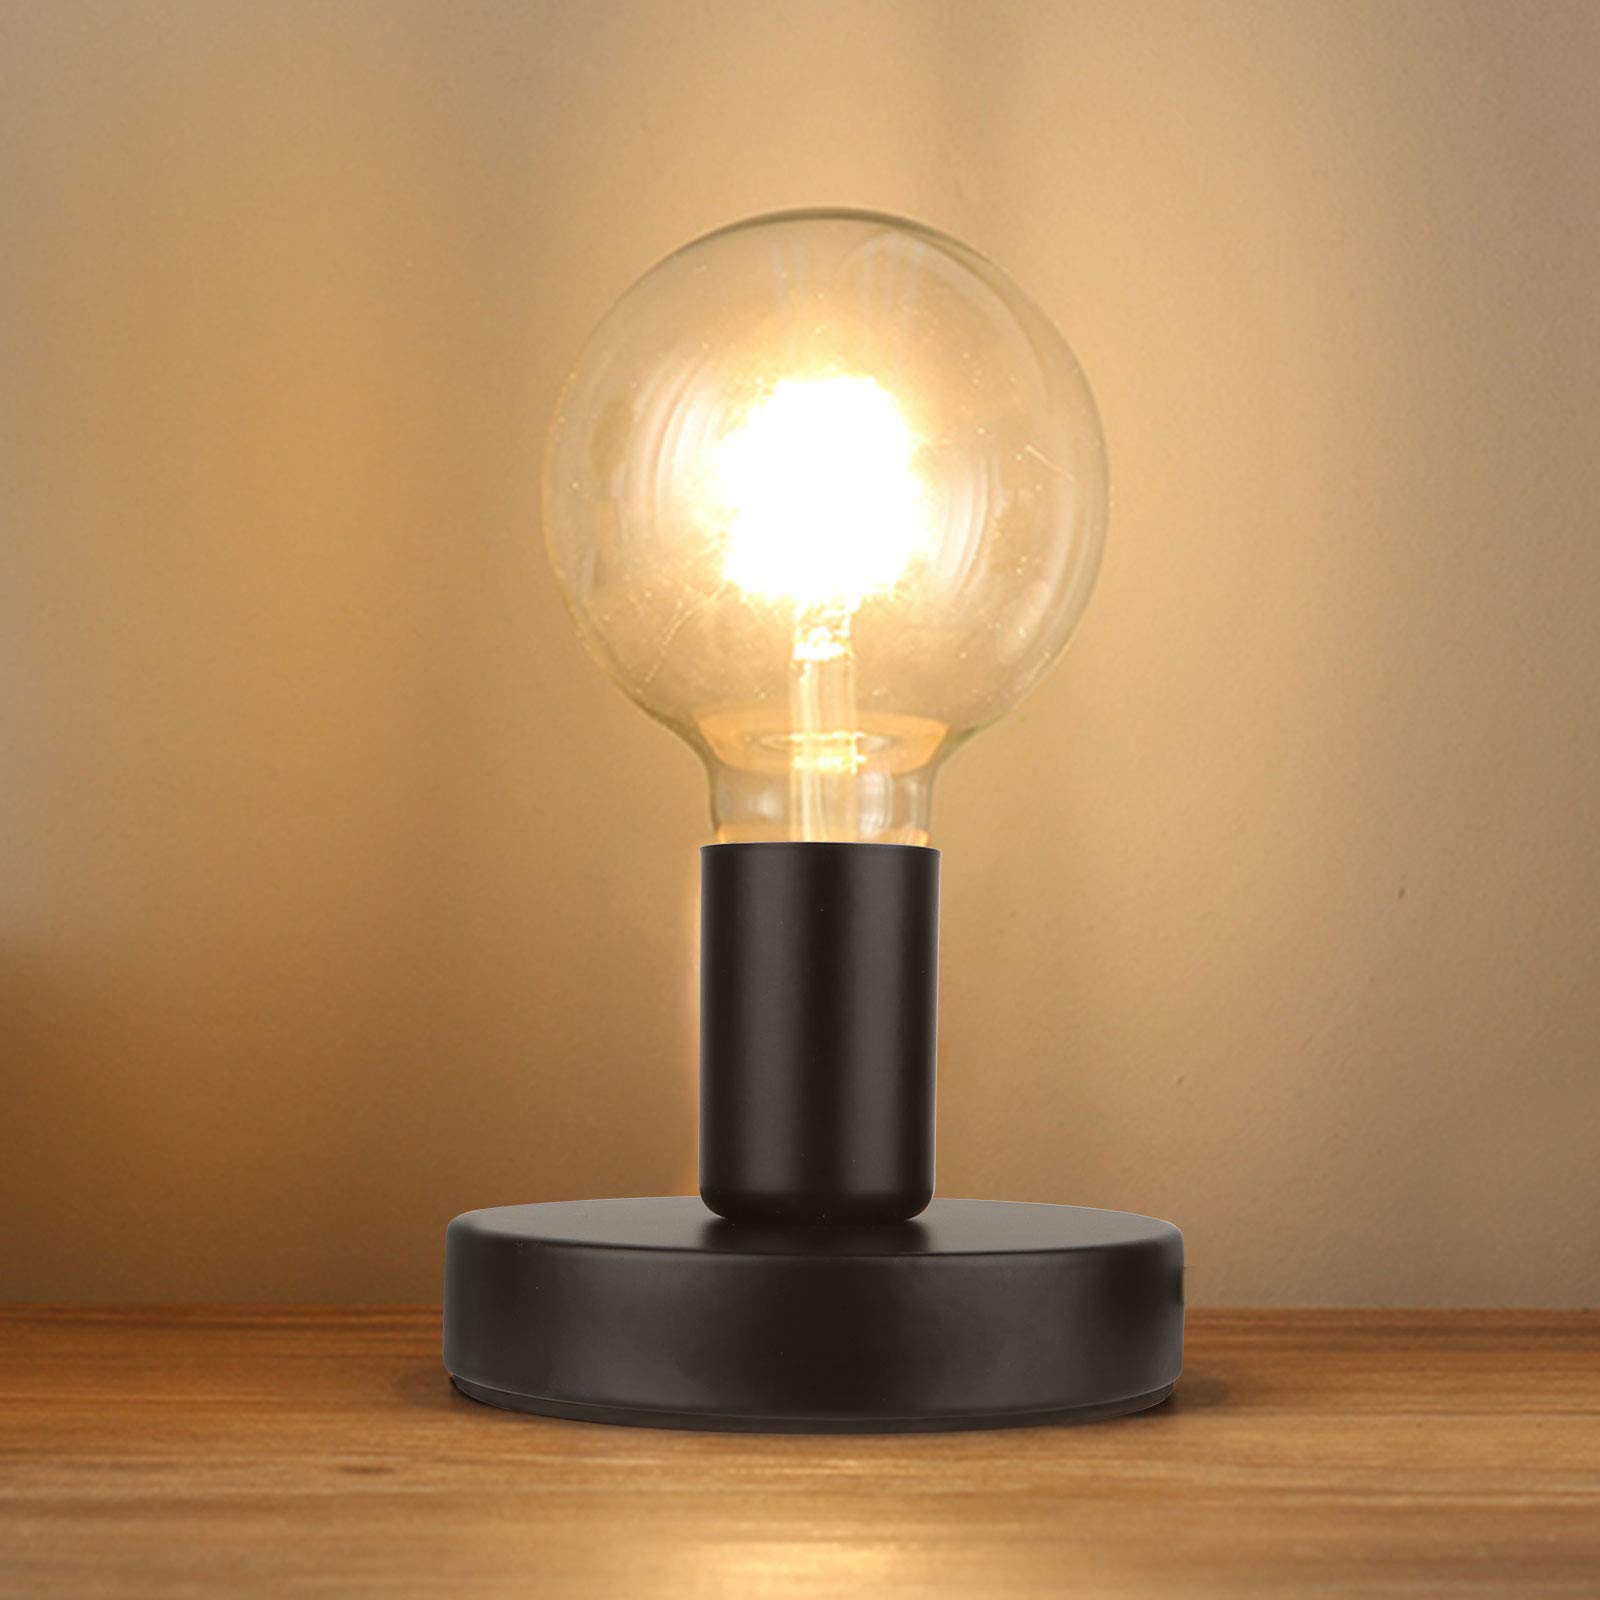
Welcome to the exciting world of furniture design and decoration! Whether you’re a seasoned DIY enthusiast or a novice looking to spruce up your living space, painting a ceramic lamp base is a fantastic way to add a personal touch to your home decor. With a few simple steps and the right materials, you can transform a plain and ordinary lamp base into a stunning and eye-catching centerpiece.
The beauty of painting a ceramic lamp base is that it allows you to unleash your creativity and experiment with different colors, patterns, and finishes. You can choose to go bold with vibrant hues to make a statement, or opt for a more subtle and sophisticated look with muted tones. Whatever your style may be, painting a ceramic lamp base is a fun and rewarding project that will instantly revitalize your living space.
In this article, we will guide you through the step-by-step process of painting a ceramic lamp base. We’ll cover everything from preparing the surface, selecting the right paint, and applying the paint in a way that ensures a smooth and professional-looking finish. So, grab your paintbrushes and let’s get started on this creative adventure!
Key Takeaways:
- Unleash Your Creativity: Painting a ceramic lamp base allows you to experiment with colors, patterns, and finishes, adding a personal touch to your home decor and revitalizing your living space.
- Transform Ordinary to Extraordinary: With the right materials and step-by-step guidance, you can turn a plain ceramic lamp base into a stunning centerpiece that complements your style and enhances your home decor.
Read more: How To Repair A Lamp Base
Materials Needed
Before diving into the painting process, it’s important to gather all the necessary materials to ensure a smooth and successful project. Here’s a list of materials you’ll need to paint a ceramic lamp base:
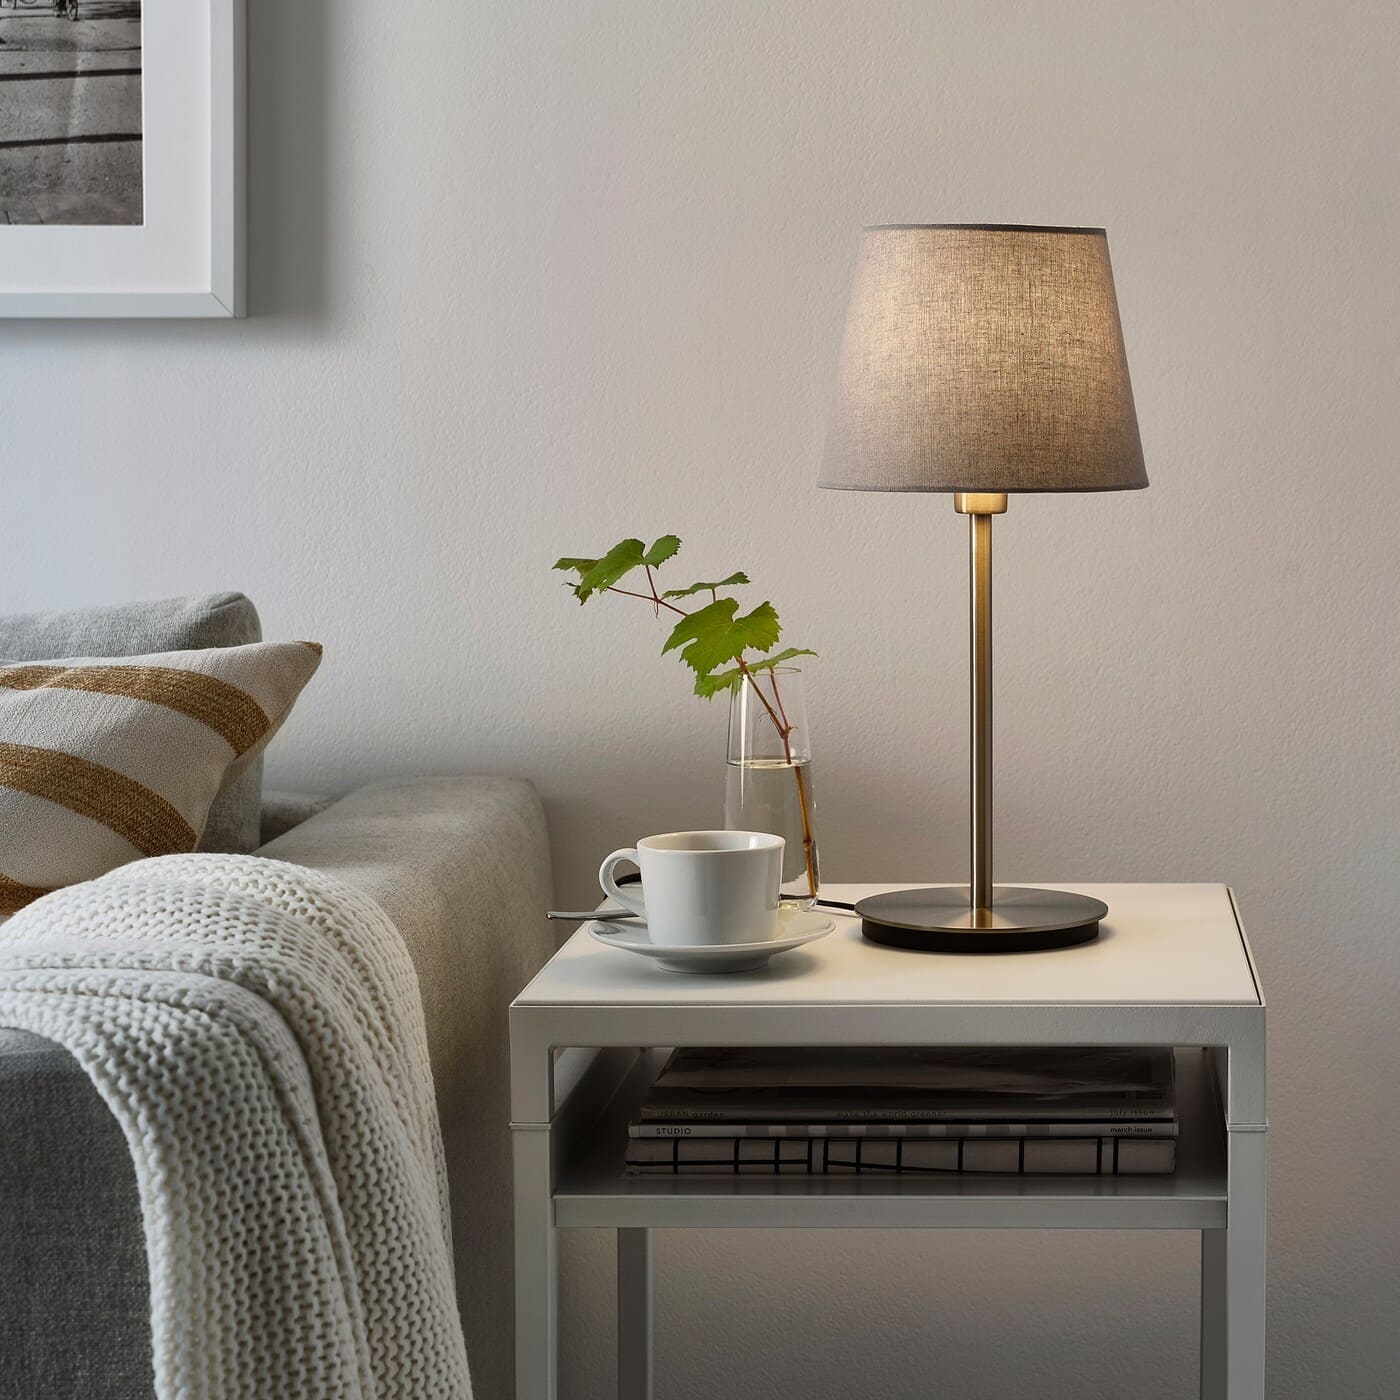
- Ceramic lamp base: Choose a lamp base that is made of ceramic or porcelain. Make sure it is clean and free from any dust or debris.
- Primer: Select a high-quality primer specifically designed for use on ceramic surfaces. This will help the paint adhere better and provide a smooth base for your chosen color.
- Paint: Opt for acrylic or ceramic paints that are suitable for indoor use. These paints offer excellent coverage, durability, and come in a wide range of colors to suit your preference.
- Paintbrushes: Get a set of high-quality paintbrushes in various sizes. Flat or angled brushes are ideal for large areas, while smaller brushes are perfect for intricate details.
- Palette or disposable plate: Use a palette or a disposable plate to mix and blend your paints.
- Painter’s tape: Use painter’s tape to mask off any areas you want to keep paint-free, such as the lamp socket or cord.
- Sandpaper or sanding block: If the lamp base has rough spots or imperfections, you’ll need sandpaper or a sanding block to smooth them out.
- Clean cloth: Have a clean cloth or sponge handy for wiping away any excess paint or cleaning the surface.
- Drop cloth or newspapers: To protect your workspace, lay down a drop cloth or newspapers to catch any paint drips or spills.
Having all these materials ready before starting the project will make the painting process much easier and more enjoyable. Now that you have everything you need, let’s move on to the first step: preparing the ceramic lamp base.
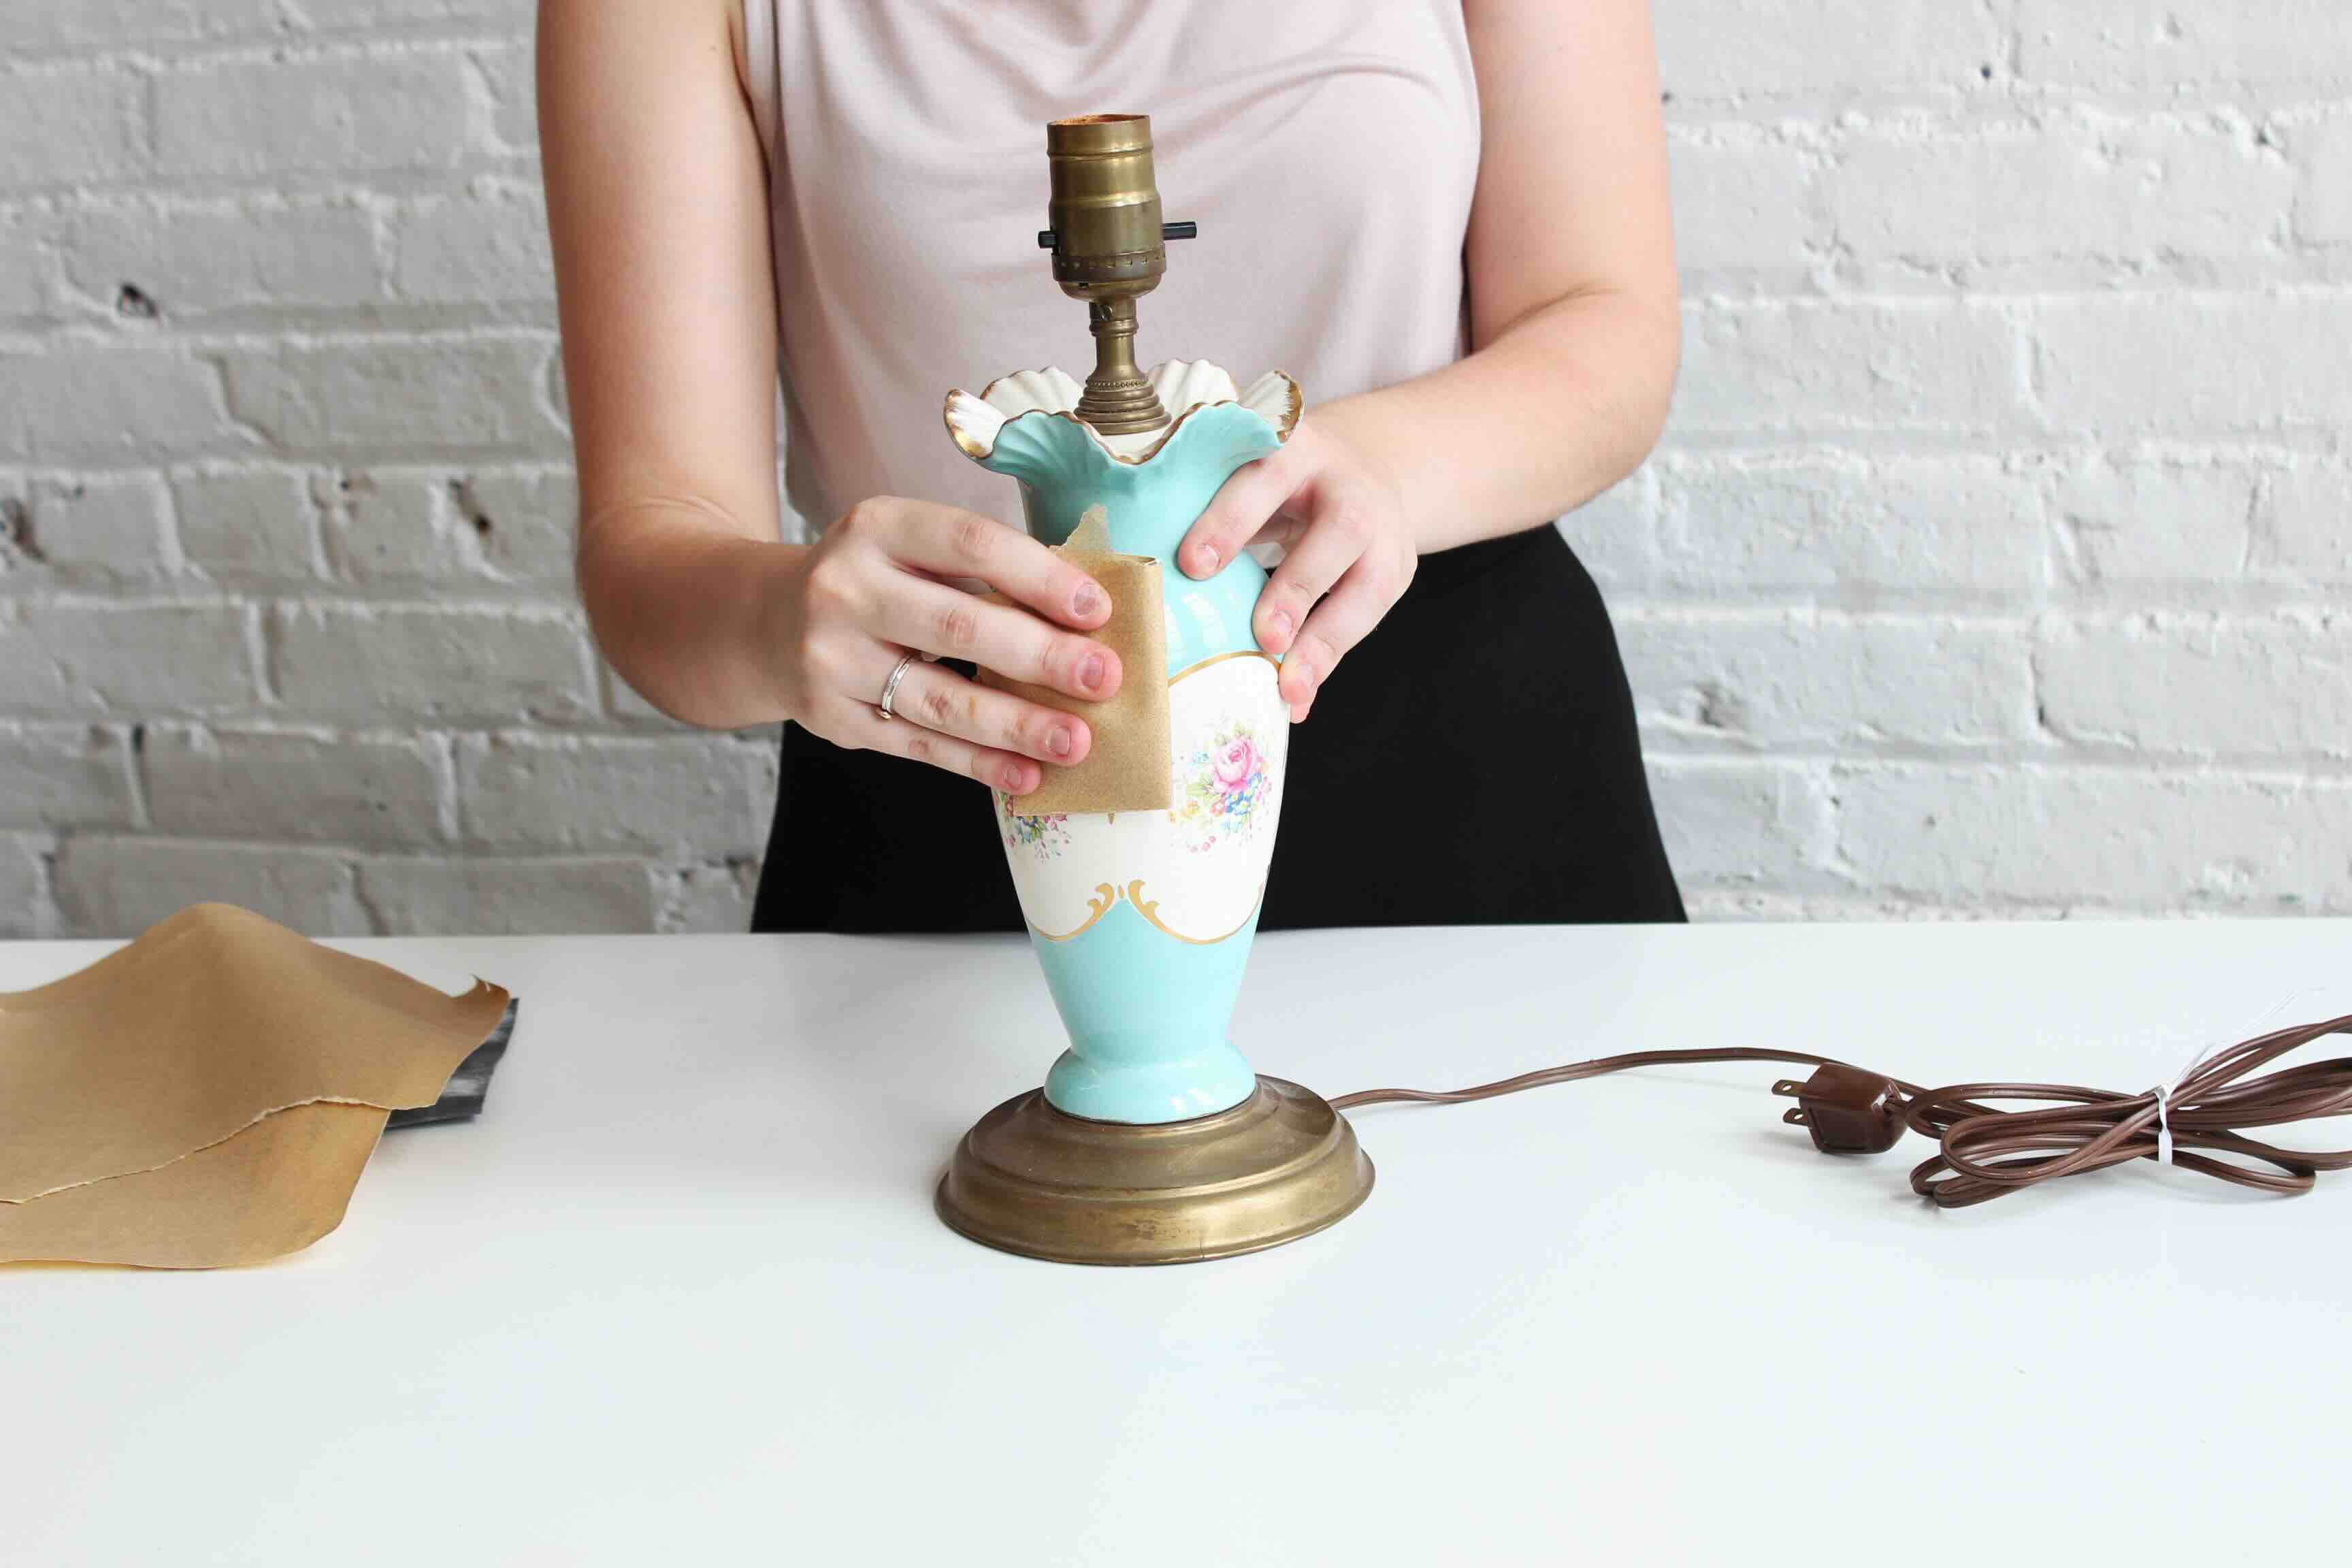
Step 1: Prepare the Ceramic Lamp Base
Before you begin painting, it’s essential to prepare the ceramic lamp base to ensure a clean and smooth surface for the primer and paint to adhere to. Follow these steps to properly prepare the base:
- Clean the lamp base: Start by thoroughly cleaning the lamp base to remove any dirt, grime, or oils. You can use a mild detergent and warm water to wipe down the surface. Rinse it well and allow it to dry completely before moving on to the next step.
- Sand the surface: If the ceramic lamp base has a glossy or smooth finish, lightly sand it with fine-grit sandpaper or a sanding block. This will roughen up the surface, allowing the primer to adhere better. Be gentle to avoid damaging the base.
- Remove any hardware: If your lamp base has any removable parts, such as a lampshade holder or decorative accents, carefully remove them. This will make it easier to paint and prevent any accidental damage to these components.
Once you have successfully prepared the ceramic lamp base, you’re ready to move on to the next step: cleaning the surface.
Step 2: Clean the Surface
Now that you have prepared the ceramic lamp base, it’s time to clean the surface to ensure it’s free from any dust, debris, or residual particles. Follow these steps to clean the surface effectively:
- Use a damp cloth: Take a clean, damp cloth or sponge and wipe down the entire lamp base. This will help remove any remaining dirt or residue from the preparation process. Make sure to pay attention to all the nooks and crannies.
- Dry the surface: After cleaning the surface, use a dry cloth or allow the lamp base to air dry completely. Ensuring it is fully dry will prevent any moisture from interfering with the primer and paint application.
- Inspect for any dust or particles: Once the surface is dry, carefully inspect the lamp base to ensure there are no dust particles or debris present. If you notice any unwanted particles, gently wipe them away with a clean cloth.
By thoroughly cleaning the surface of your ceramic lamp base, you are setting the stage for a flawless paint application. Now, let’s move on to the next step: priming the base.
Step 3: Prime the Base
Priming the ceramic lamp base is a crucial step in ensuring a smooth and durable paint finish. The primer creates a surface that the paint can adhere to effectively and provides an even base color. Follow these steps to prime the base:
- Choose the right primer: Select a primer that is specifically designed for use on ceramic surfaces. Look for one that provides good adhesion and is compatible with the type of paint you plan to use.
- Prepare the primer: Stir the primer thoroughly to ensure it’s well mixed. If necessary, thin it with a small amount of water according to the manufacturer’s instructions.
- Apply the primer: Use a paintbrush or a foam brush to apply a thin and even layer of primer to the entire ceramic lamp base. Start from the top and work your way down, ensuring all surfaces are covered.
- Smooth out any brushstrokes: Once you’ve applied the primer, gently smooth out any visible brushstrokes with long, even strokes in one direction. This will help achieve a smoother texture for the paint application.
- Allow the primer to dry: Follow the drying time recommended by the primer manufacturer. Typically, it takes around 1-2 hours for the primer to dry completely. Make sure to place the lamp base in a well-ventilated area to speed up the drying process.
- Inspect for any imperfections: After the primer has dried, carefully inspect the lamp base for any imperfections, such as drips or uneven areas. If necessary, lightly sand these areas with fine-grit sandpaper and apply another coat of primer to achieve a smooth and flawless surface.
Priming the ceramic lamp base will ensure that the paint adheres properly and provides a professional-looking finish. Once the primer is dry and any imperfections have been addressed, you’re ready to move on to the next step: choosing the paint.
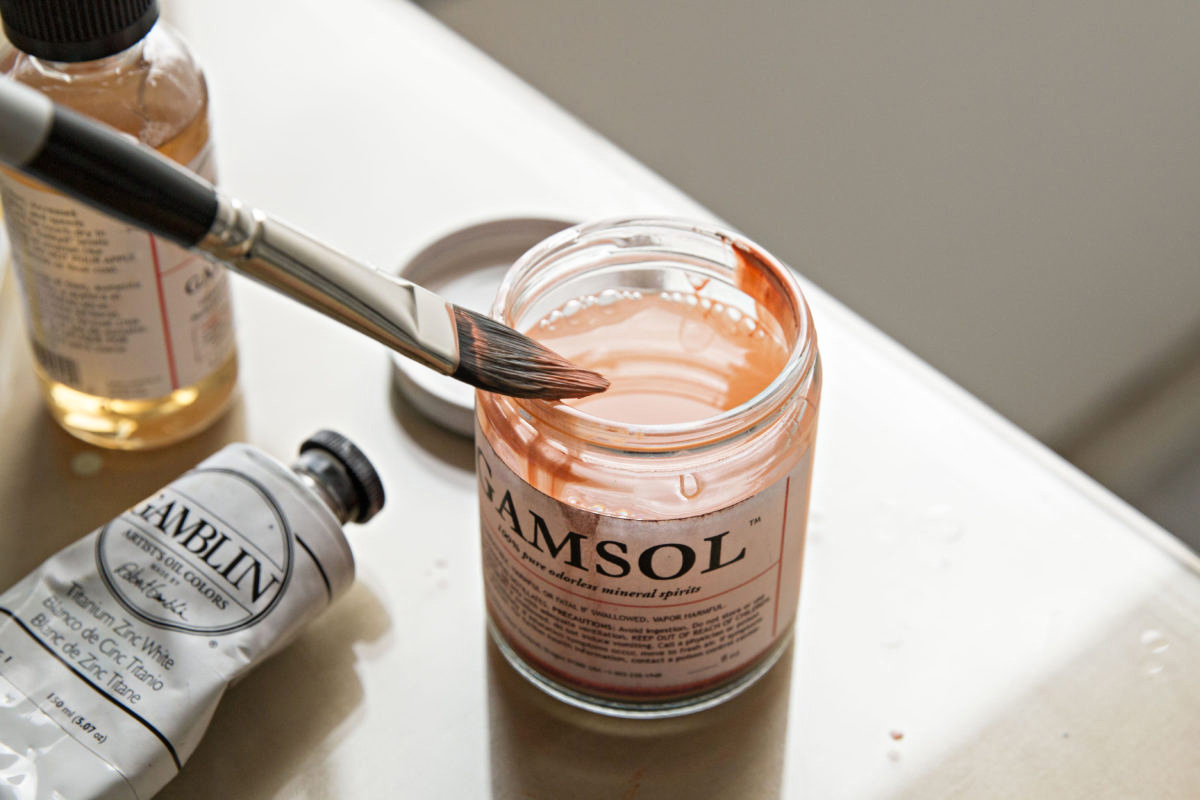
When painting a ceramic lamp base, make sure to clean the surface thoroughly with rubbing alcohol before applying a primer to ensure the paint adheres properly.
Read more: How To Make A Ceramic Lamp
Step 4: Choose the Paint
Choosing the right paint for your ceramic lamp base is crucial in achieving the desired look and ensuring long-lasting results. Consider the following factors when selecting your paint:
- Type of paint: Opt for acrylic or ceramic paints that are specifically formulated for use on indoor surfaces. These types of paints offer excellent coverage, durability, and are available in a wide range of colors to suit your style and preference.
- Finish: Consider the finish you want to achieve. Matte finishes offer a subtle and elegant look, while glossy finishes provide a shiny and reflective surface. Choose a finish that complements your overall home decor and personal style.
- Color: The color choice is entirely up to you and your desired aesthetic. You can choose to match the lamp to your existing color scheme or use it as an opportunity to make a bold statement with a contrasting color.
- Quantity: Determine how much paint you need based on the size of your lamp base and the number of coats you plan to apply. It’s always better to have a little extra paint than to run out halfway through the project.
When choosing the paint, it’s a good idea to visit a local home improvement store or browse online to explore the various options available. Take your time to compare colors, finishes, and read customer reviews to ensure you select a high-quality and reliable paint brand.
Once you have chosen the paint that meets your preferences, you’re ready to move on to the next step: applying the paint to the ceramic lamp base.
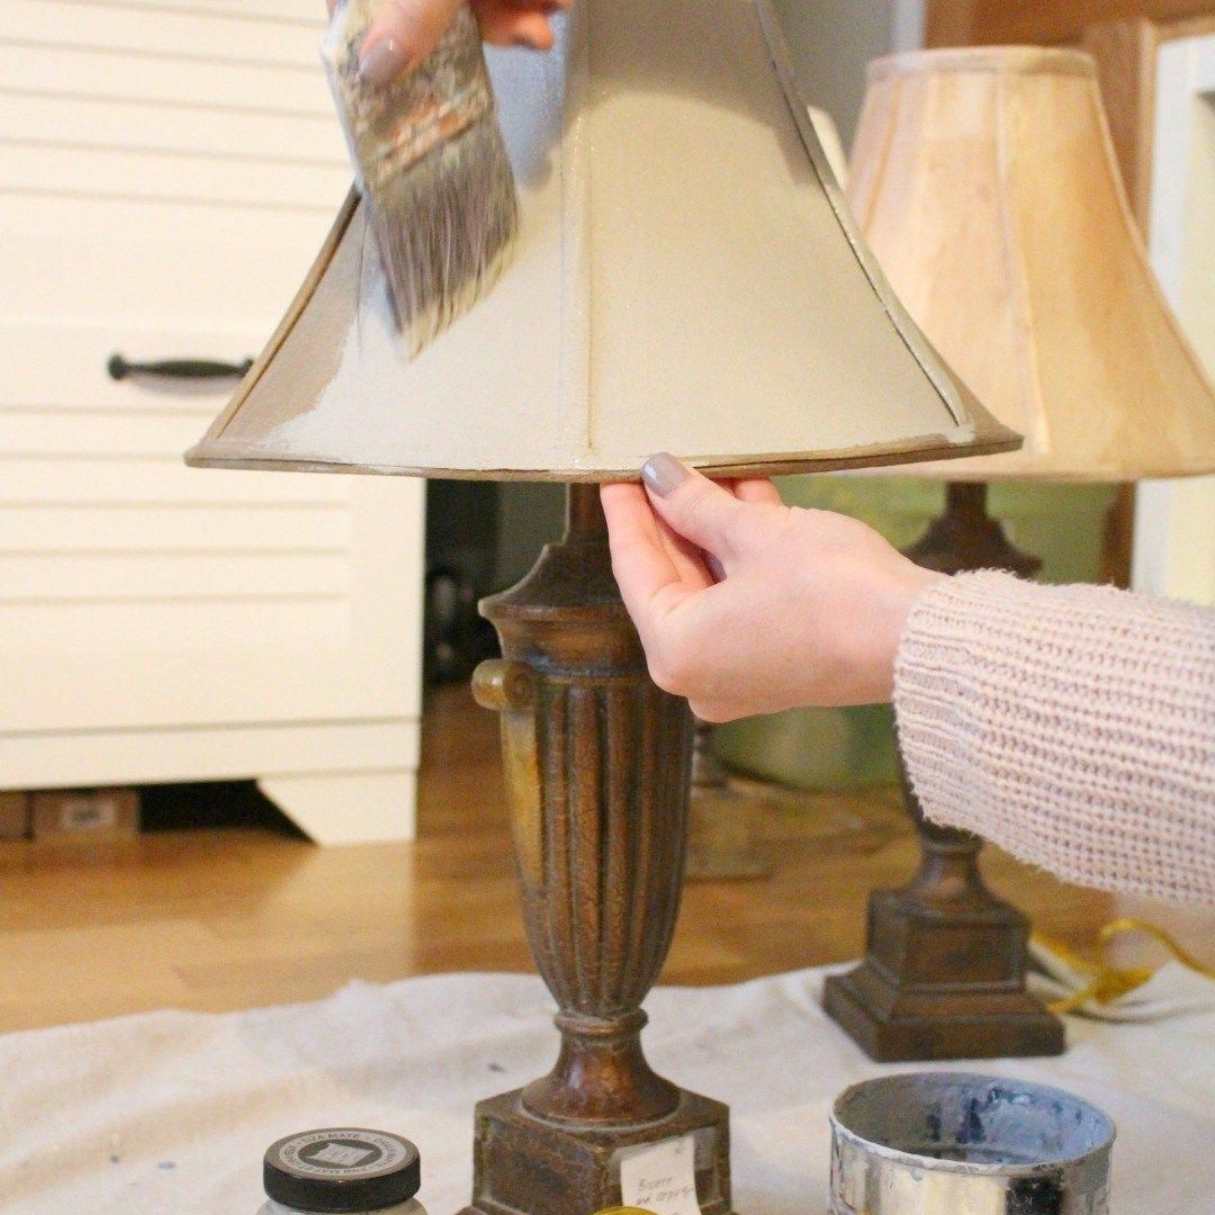
Step 5: Apply the Paint
Now that you’ve chosen the perfect paint for your ceramic lamp base, it’s time to bring your creative vision to life. Follow these steps to apply the paint for a smooth and professional-looking finish:
- Prepare your work area: Lay down a drop cloth or newspapers to protect your work surface from any accidental spills or drips. Make sure you’re working in a well-ventilated area.
- Stir the paint: Open your paint can and use a stir stick to thoroughly mix the paint. This will ensure an even consistency and desired color.
- Apply the first coat: Using a clean paintbrush, start applying the paint to the ceramic lamp base in smooth and even strokes. Begin from the top and work your way down, making sure to cover all surfaces. Apply a thin coat to prevent drips or clumps.
- Allow the coat to dry: Follow the drying time indicated on the paint can. Typically, it takes about 1-2 hours for the first coat to dry. Avoid touching or disturbing the lamp base while it’s drying to prevent any smudges or imperfections.
- Apply additional coats: Depending on the opacity and coverage of your chosen paint, you may need to apply multiple coats for a solid and consistent color. Allow each coat to dry before applying the next one. Follow the instructions on the paint can for the recommended number of coats.
- Smooth out any imperfections: After each coat has dried, inspect the lamp base for any drips, brushstrokes, or imperfections. If necessary, lightly sand the surface with fine-grit sandpaper and wipe away any dust before applying the next coat.
- Let the final coat dry: Once you have achieved the desired color and coverage, allow the final coat to dry completely. This may take a few hours or overnight, depending on the paint.
By following these steps and taking your time during the painting process, you will be rewarded with a beautifully painted ceramic lamp base. Now, let’s move on to the next step: adding finishing touches.
Step 6: Add Finishing Touches
Now that you’ve painted the ceramic lamp base, it’s time to add those final touches that will elevate its appearance and tie it into your overall home decor. Follow these steps to add the finishing touches:
- Inspect for any touch-ups: Take a close look at the painted lamp base and check if there are any areas that need touch-ups. Use a small brush to fix any imperfections or uneven spots with the same paint color.
- Add decorative details: To make your lamp base even more visually appealing, consider adding decorative details. You can use stencils, stamps, or even freehand paint patterns or designs onto the surface. Get creative and let your imagination run wild.
- Seal the paint: If you want to protect the paint and give the lamp base a more durable finish, consider applying a clear sealant or varnish. This will help prevent chipping, fading, and make the surface easier to clean.
- Reattach any hardware: Once the paint and sealant have dried, reattach any removable parts that you had previously removed. Ensure they are properly secured and aligned.
- Clean up: Dispose of any paint materials and clean your brushes according to the manufacturer’s instructions. Properly store any remaining paint for future touch-ups or projects.
These finishing touches will add that extra touch of creativity and uniqueness to your ceramic lamp base. Once you’re satisfied with the final result, it’s time to move on to the last step: allowing the paint to dry completely.
Step 7: Let the Paint Dry
After completing the painting process and adding the finishing touches to your ceramic lamp base, it’s crucial to allow the paint to dry completely. This will ensure that the paint sets properly and provides a long-lasting finish. Follow these steps for proper drying:
- Check the manufacturer’s instructions: Refer to the paint can or manufacturer’s instructions for the specific drying time. This can vary depending on the type of paint and environmental conditions.
- Set the lamp base in a well-ventilated area: Place the lamp base in a well-ventilated area where it won’t be disturbed. Ensure proper air circulation to speed up the drying process.
- Avoid touching or moving the lamp base: While the paint is drying, avoid touching or moving the lamp base to prevent any smudges or damages to the finish.
- Wait for the recommended drying time: Give the paint ample time to dry according to the manufacturer’s instructions. This may take a few hours or even overnight.
- Perform a touch test: Once the recommended drying time has passed, gently touch a small inconspicuous area of the lamp base to ensure that the paint is completely dry and doesn’t leave any residue on your finger.
It’s crucial to exercise patience during the drying process to achieve the best results. Rushing the drying time may lead to smudging, smearing, or even damage to the painted surface. Once you’re confident that the paint is dried, you can proudly display your beautifully painted ceramic lamp base and enjoy the transformation it brings to your space.
Congratulations! You have successfully painted a ceramic lamp base and added a personal touch to your home decor. With your newfound knowledge and skills, you can now embark on more exciting furniture painting projects. Keep exploring your creativity and have fun with your DIY endeavors!
Read more: How To Paint Ceramic Coasters
Conclusion
Painting a ceramic lamp base is a fantastic way to unleash your creativity and add a personal touch to your home decor. With a few simple steps and the right materials, you can transform an ordinary lamp base into a stunning centerpiece that complements your style and enhances your living space. By following the step-by-step guide outlined in this article, you can achieve a smooth and professional-looking finish.
Remember to start by preparing the ceramic lamp base, cleaning the surface, and applying a primer to ensure a clean and smooth canvas for painting. Then, carefully choose the right type and color of paint that matches your desired aesthetic. Applying multiple thin coats of paint will ensure an even and vibrant result.
Don’t be afraid to add your personal touch by incorporating decorative details or patterns onto the lamp base. Once you’re satisfied with the painting, allow the paint to dry completely before handling or displaying the lamp. Patience is key to achieving a durable and long-lasting finish.
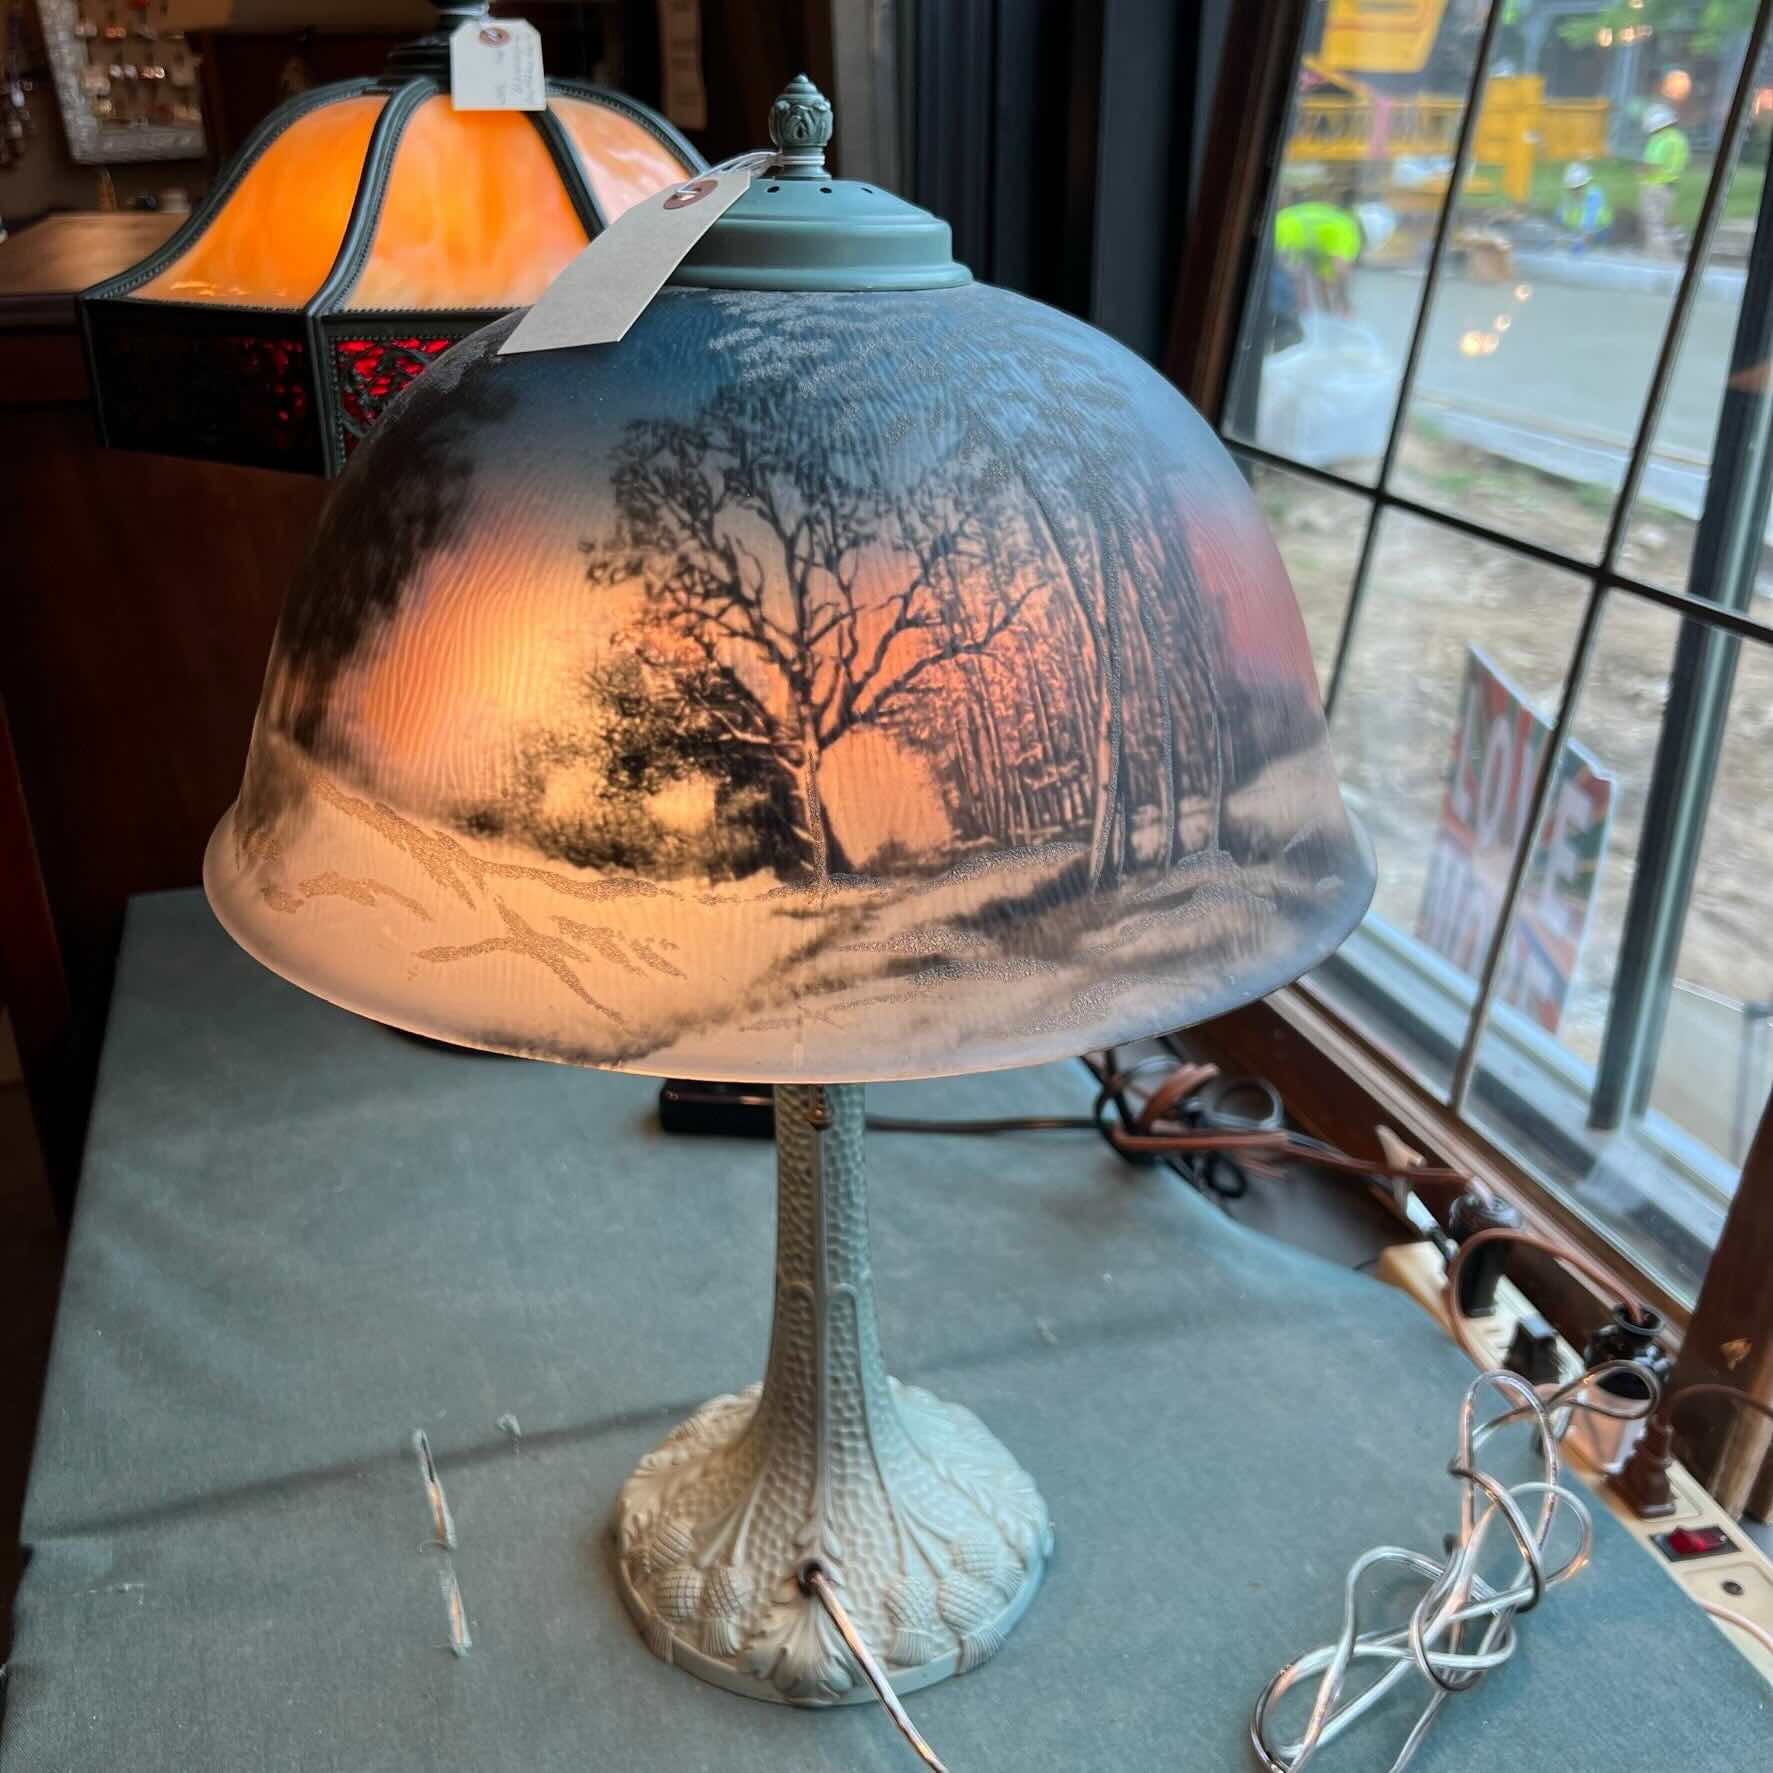
A beautifully painted ceramic lamp base can instantly elevate the look and feel of any room. It brings a sense of uniqueness and creativity to your home decor, making a bold statement or subtly blending in with your existing style. Plus, the satisfaction of creating something with your own hands is truly rewarding.
So, grab your paintbrushes and let your imagination run wild. Let the colors and patterns reflect your personality and transform your living space into a haven of personal expression. With the knowledge and techniques you’ve gained from this article, you’re ready to embark on more exciting furniture painting projects. Happy painting and enjoy the process of bringing new life to your home decor!
Frequently Asked Questions about How To Paint A Ceramic Lamp Base
Was this page helpful?
At Storables.com, we guarantee accurate and reliable information. Our content, validated by Expert Board Contributors, is crafted following stringent Editorial Policies. We're committed to providing you with well-researched, expert-backed insights for all your informational needs.