Home>Furniture>Living Room Furniture>How To Refill A Big Joe Bean Bag

Living Room Furniture
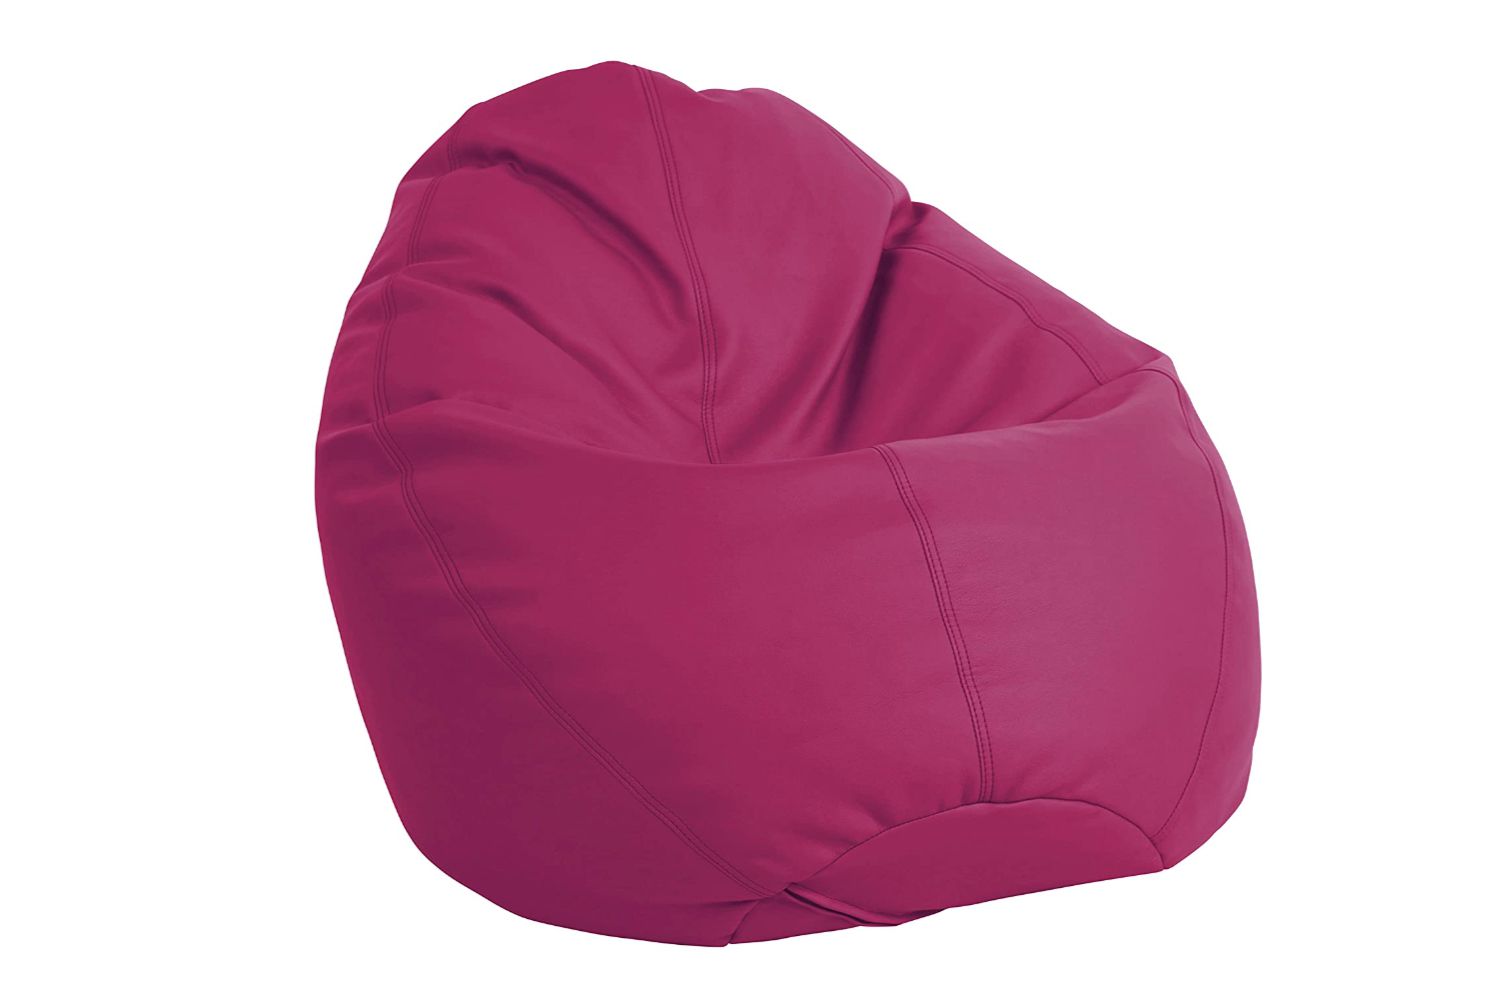
How To Refill A Big Joe Bean Bag
Modified: August 25, 2024
Learn how to easily refill your Big Joe Bean Bag and bring new life to your living room furniture. Save money and enjoy ultimate comfort with this DIY step-by-step guide.
(Many of the links in this article redirect to a specific reviewed product. Your purchase of these products through affiliate links helps to generate commission for Storables.com, at no extra cost. Learn more)
Introduction
Welcome to the ultimate guide on how to refill a Big Joe bean bag! Whether you’ve had your bean bag for years and it has lost its fluffiness, or you just want to add extra filling for that extra comfort, this article will walk you through the process step by step. Refilling a bean bag may seem daunting, but with the right materials and a little bit of patience, you can bring new life to your beloved bean bag.
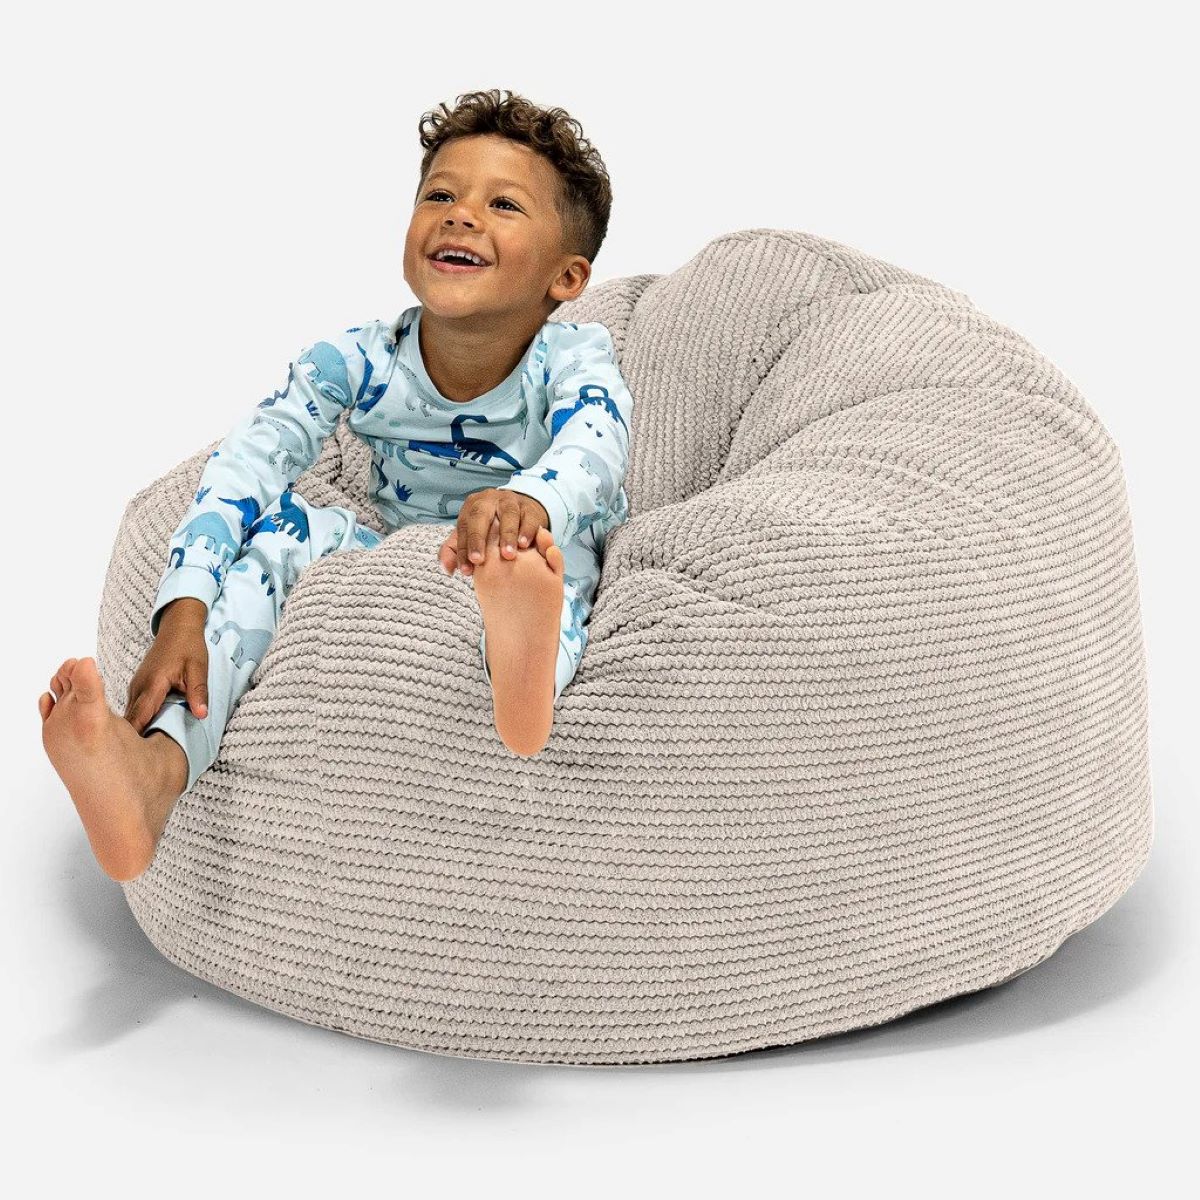
Bean bags are versatile and comfortable pieces of furniture that can be enjoyed by people of all ages. They come in a variety of sizes, shapes, and colors, making them a popular choice for living rooms, playrooms, dorm rooms, and even outdoor spaces. Over time, the filling inside the bean bag can become compacted and lose its shape, causing it to become uncomfortable to sit on. Refilling your bean bag is a simple and cost-effective solution to bring back that plush and cozy feel.
Before we dive into the step-by-step process, let’s take a look at the materials you’ll need to refill your Big Joe bean bag:
Key Takeaways:
- Refilling a Big Joe bean bag is a simple process that can bring new life to your favorite furniture. Just follow the steps to empty, prepare, refill, distribute, and close the bean bag for optimal comfort.
- By taking the time to properly refill your Big Joe bean bag, you can enjoy a cozy and inviting seating option that provides comfort and style for relaxation and socializing. Remember to periodically fluff and adjust the filling to maintain its comfort and shape.
Read more: How To Open Big Joe Bean Bag
Materials Needed
Before you begin the process of refilling your Big Joe bean bag, it’s important to gather all the necessary materials. Here’s a list of what you’ll need:
- A new bag of bean bag filling: This is the most crucial component of the process. Make sure to purchase enough filling to adequately refill your bean bag. The amount of filling needed will depend on the size and shape of your bean bag, so refer to the manufacturer’s guidelines or recommendations.
- A large funnel or a PVC pipe: These tools will help you easily pour the filling into the bean bag without making a mess. A funnel with a wide opening is ideal for this task, but if you don’t have one, you can create a makeshift funnel using a PVC pipe.
- A zipper or Velcro: Depending on the design of your Big Joe bean bag, you may need a zipper or Velcro to close the bag once you’ve finished refilling it. Check the existing closure and see if you need to replace it or if it requires any repairs.
- Scissors or a seam ripper: If you need to replace the closure on your bean bag, you’ll need scissors or a seam ripper to remove the old zipper or Velcro. Make sure to exercise caution when using sharp tools.
- A vacuum cleaner (optional): If your bean bag cover is removable, it’s a good idea to give it a thorough cleaning before refilling. Use a vacuum cleaner with a brush attachment to remove any dirt, dust, or debris from the cover.
Once you have gathered all the necessary materials, you can proceed to the next steps of the bean bag refilling process. Remember to work in a well-ventilated area and take your time to ensure a successful and hassle-free refilling experience.
Step 1: Emptying the Bean Bag
Before you can start refilling your Big Joe bean bag, you’ll need to completely empty it of its existing filling. Follow these steps to empty your bean bag:
- Find a clean and spacious area: Choose a location where you can easily spread out the bean bag and have enough room to work.
- Move the bean bag to the designated area: Carefully carry or drag the bean bag to the chosen area. If the bean bag is too heavy or bulky, enlist the help of a friend to make the process easier and avoid any strain or injury.
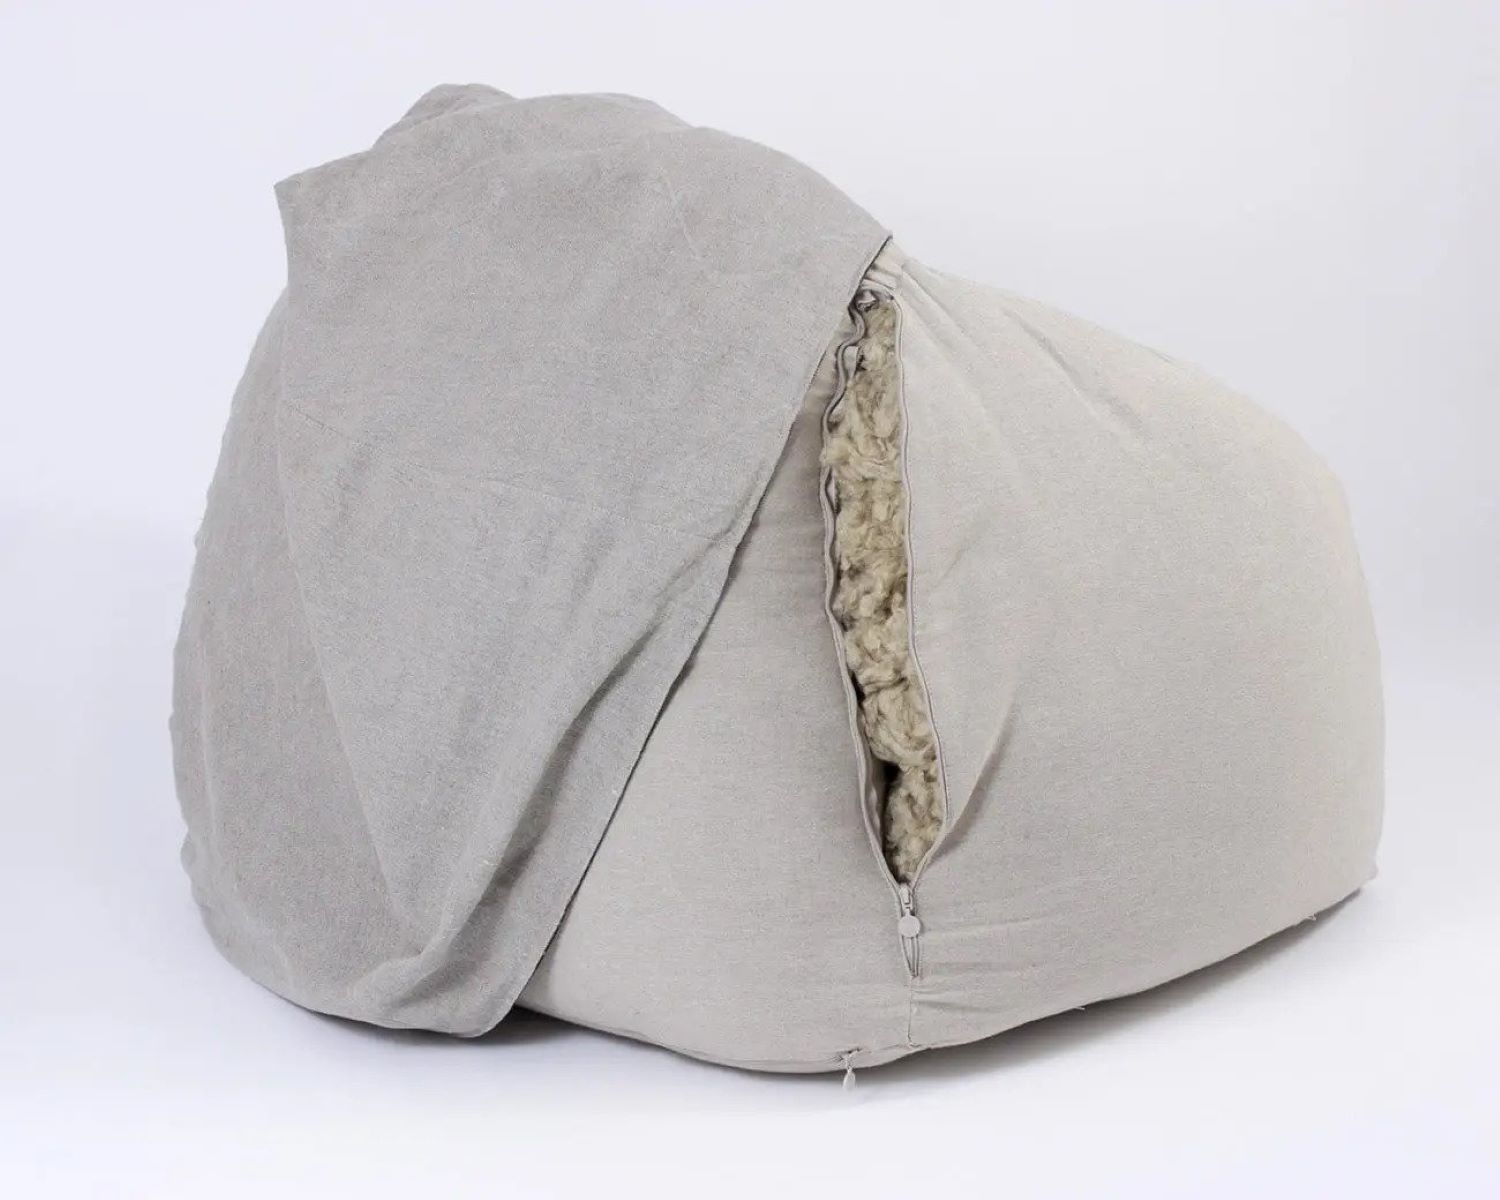
- Unzip or unfasten the closure: Locate the zipper or Velcro that keeps the bean bag closed. Carefully unzip or unfasten the closure to access the bean bag’s interior.
- Empty the filling: Slowly tilt the bean bag to one side, allowing the filling to pour out. Depending on the size of your bean bag and the amount of filling inside, you may need to tip and rotate the bean bag to empty it completely.
- Store the old filling (optional): If you wish to reuse the existing filling, have a large plastic bag or container ready to collect and store the filling. However, keep in mind that over time, filling can become compacted and lose its shape, so it’s often recommended to use fresh filling for optimal comfort.
- Clean the bean bag cover (optional): If your bean bag cover is removable and washable, take this opportunity to clean it. Follow the manufacturer’s instructions for washing and drying to ensure the best results.
By emptying the bean bag first, you create a blank canvas for the refill process. Removing the old filling not only allows you to start fresh but also makes it easier to assess the amount of new filling needed for optimal comfort.
Now that the bean bag is empty, it’s time to move on to step 2: preparing the filling.
Step 2: Preparing the Filling
Now that you have emptied your Big Joe bean bag, it’s time to prepare the filling that will give your bean bag its new and comfortable shape. Follow these steps to prepare the filling:
- Open the new bag of bean bag filling: Carefully open the bag of fresh bean bag filling. Use scissors or a knife to cut open the bag, making sure to avoid damaging the filling inside.
- Fluff the filling: Once the bag is open, give the filling a good shake to help separate and loosen the beads. This will make it easier to pour and distribute the filling inside the bean bag.
- Check the consistency: Take a moment to assess the consistency of the filling. If it feels too compacted or dense, you can use your hands to break up any clumps and ensure a more even distribution of the filling.
- Consider adding additional filling (optional): If you prefer a firmer bean bag, you can add extra filling. Remember to refer to the manufacturer’s recommendations or guidelines to avoid overfilling, as it can affect the comfort and shape of the bean bag.
Preparing the filling is an important step in ensuring that your bean bag is comfortable and provides proper support. By giving the filling a shake and checking its consistency, you can optimize the fluffiness and feel of your bean bag.
With the filling prepared, you’re now ready to move on to the next step: refilling the bean bag.
When refilling a Big Joe bean bag, make sure to use the right type of filling material, such as virgin polystyrene beads. Use a funnel to easily pour the beads into the bag, and be sure to fill it to the recommended level for optimal comfort.
Step 3: Refilling the Bean Bag
Now comes the exciting part – refilling your Big Joe bean bag! Follow these steps to ensure a successful refill:
- Position the bean bag correctly: Place the empty bean bag in a position that allows you easy access to the opening. You may want to lean it against a wall or have someone hold it up for you.
- Insert the funnel or PVC pipe: Take your large funnel or PVC pipe and insert it into the opening of the bean bag. Make sure it is secure and positioned in a way that prevents any spillage.
- Pour the filling into the funnel or pipe: Carefully and slowly pour the prepared filling into the funnel or pipe. Take your time to ensure an even distribution of the filling throughout the bean bag. If using a PVC pipe as a makeshift funnel, you may need to use a scooping motion to transfer the filling from the bag into the pipe.
- Continue pouring until desired fullness: Keep pouring the filling into the bean bag until you achieve your desired level of fullness. It’s important not to overfill the bean bag, as this can make it uncomfortable and affect its shape. Refer to the manufacturer’s guidelines or recommendations for the appropriate amount of filling.
- Remove the funnel or pipe: Once you have finished pouring the filling, carefully remove the funnel or pipe from the opening of the bean bag. Be gentle to avoid any spillage or displacement of the filling.
Refilling your bean bag requires patience and attention to detail. Take your time to ensure that the filling is evenly distributed and that you achieve the desired level of comfort. If needed, you can always make adjustments later.
With the bean bag successfully refilled, it’s time to move on to the next step: distributing the filling.
Read also: 13 Best Big Joe Bean Bag Chair For 2025
Step 4: Distributing the Filling
Now that your Big Joe bean bag is filled with fresh filling, it’s important to distribute the filling evenly to ensure maximum comfort and support. Follow these steps to distribute the filling effectively:
- Fluff and shake the bean bag: Start by gently fluffing and shaking the bean bag. This helps to distribute the filling and prevent any clumping or uneven sections.
- Massage and knead the bean bag: Use your hands to massage and knead the bean bag all over. This will help to break up any remaining clumps and encourage the filling to settle evenly.
- Flip and rotate the bean bag: Flip the bean bag over and rotate it in different directions. This will help to further distribute the filling and ensure balanced support throughout.
- Sit and test the bean bag: Take a seat on the bean bag and test its comfort and support. Adjust the filling as needed by adding or removing some until you get the desired feel. Remember, everyone has different preferences, so make sure it suits your comfort level.
By distributing the filling, you ensure that your bean bag is consistent in its fluffiness and support. Taking the time to fluff, shake, massage, and test the bean bag will result in a comfortable and inviting seating option.
Now that the filling is distributed, it’s time to move on to the final step: closing the bean bag.
Step 5: Closing the Bean Bag
After successfully refilling and distributing the filling in your Big Joe bean bag, it’s time to close it securely. Follow these steps to ensure that the filling stays in place:
- Inspect the existing closure: If your bean bag has a zipper or Velcro closure, check its condition to ensure it is in good working order. If any repairs or replacements are needed, now is the time to attend to them.
- Align the closure properly: Align the two sides of the closure, making sure that they line up evenly. This will ensure a proper seal and prevent any filling from escaping.
- Zip up the bean bag (for zipper closures): If your bean bag has a zipper closure, carefully zip it up. Take your time to ensure that the zipper is fully closed and that both sides are securely fastened together.
- Reattach the Velcro (for Velcro closures): If your bean bag has a Velcro closure, press the two sides of the Velcro firmly together. Make sure that the Velcro is properly aligned and that it forms a strong bond.
- Double-check for any gaps or openings: Once the closure is secured, double-check the bean bag for any gaps or openings where the filling may have escaped. If you find any, adjust the closure or filling to seal them properly.
Closing the bean bag is crucial to maintaining the shape and comfort of the filling. Take the time to ensure that the closure is properly aligned and securely fastened, so that you can enjoy your bean bag without any worries of the filling shifting or escaping.
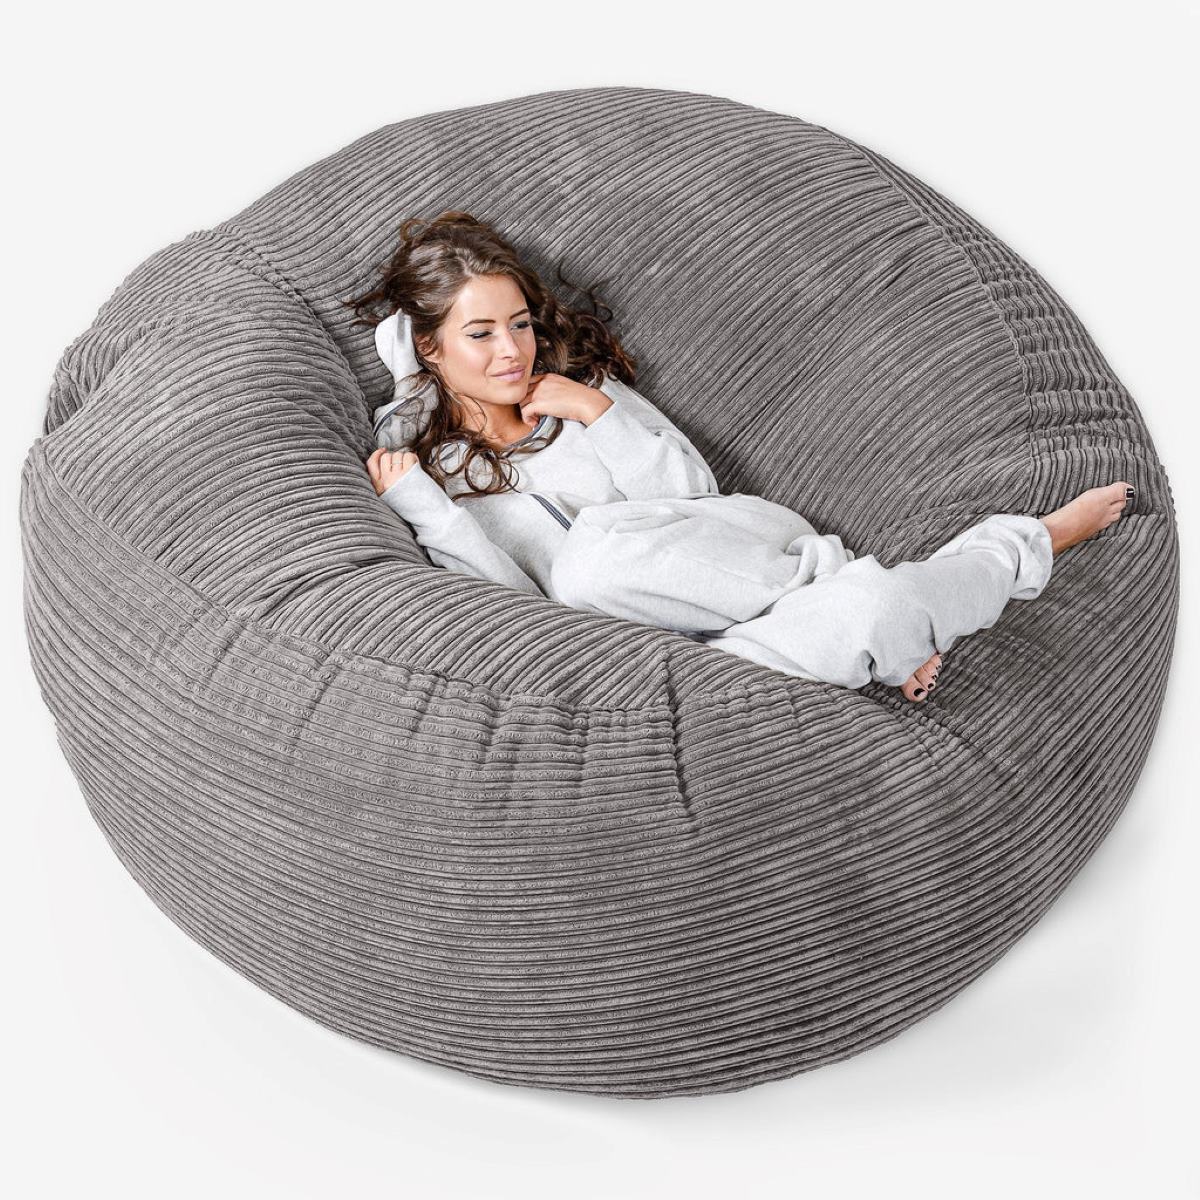
Congratulations! You have successfully refilled and closed your Big Joe bean bag. It’s now ready to be enjoyed, providing you with a cozy and comfortable seating option for relaxation, lounging, and socializing.
Remember, over time, the filling may settle or compress. If you notice that your bean bag becomes less fluffy or comfortable, you can repeat this process to add more filling and restore its original comfort.
Enjoy your newly filled bean bag and make the most of its comfort and style!
Conclusion
Refilling a Big Joe bean bag is a simple and rewarding process that can breathe new life into your favorite piece of furniture. By following the steps outlined in this guide, you can restore the plushness and comfort of your bean bag, ensuring many more hours of relaxation and enjoyment.
Remember, the key to a successful refill is to properly empty the bean bag, prepare the filling, refill it evenly, distribute the filling, and securely close the bean bag. By taking the time to follow each step carefully, you can achieve optimal comfort and support.
Whether your bean bag is in need of a fluff-up, requires extra filling for additional support, or you simply want to revitalize its appearance, the process of refilling a bean bag is well worth the effort. You’ll be rewarded with a cozy and inviting seating option that can be enjoyed by family, friends, and even pets.
Don’t forget to take care of your bean bag by periodically fluffing and adjusting the filling to maintain its comfort and shape. Regularly inspect the closure to ensure it remains secure and functional, and if necessary, address any repairs or replacements.
Now that you’re equipped with the knowledge and steps to refill your Big Joe bean bag, it’s time to get started. Gather the materials, create a comfortable workspace, and enjoy the process of transforming your bean bag into a haven of relaxation and style.
So go ahead, take a seat, sink into the fluffiness, and let your newly refilled Big Joe bean bag envelop you in comfort.
Frequently Asked Questions about How To Refill A Big Joe Bean Bag
Was this page helpful?
At Storables.com, we guarantee accurate and reliable information. Our content, validated by Expert Board Contributors, is crafted following stringent Editorial Policies. We're committed to providing you with well-researched, expert-backed insights for all your informational needs.


0 thoughts on “How To Refill A Big Joe Bean Bag”