Home>Furniture>Office Furniture>How To Clean a Dry Erase Board + Best Home & Office Picks
Office Furniture
How To Clean a Dry Erase Board + Best Home & Office Picks
Modified: December 6, 2023
Learning how to clean a dry erase board is essential for prolonging its life for further use. Read all about dry erase boards and their maintenance here!
(Many of the links in this article redirect to a specific reviewed product. Your purchase of these products through affiliate links helps to generate commission for Storables.com, at no extra cost. Learn more)
Dry erase boards have been a staple in meeting rooms, classrooms, and playrooms for years. They’re an excellent tool, both for sharing ideas with a bigger group and also for jotting down thoughts or artistic doodles. Over time though, they can get rather grimy. It’s important to know how to clean a dry erase board so it’s always ready for use.
What Is a Dry Erase Board?
In its basic form, a dry erase board is a slab with a smooth, wipeable surface that can be written on with an impermanent ink marker. It’s often used for teaching, presentations, and children’s crafts. The nice thing about these slabs is that they can be fitted into a frame or a mount. This allows them to be moved around or hung up easily on a wall. They’re also known as whiteboards.
Types of Dry Erase Board
A dry erase board can often be defined by the materials used to make it. There are a handful of types on the market today, and each one has unique quirks and different maintenance needs.
Melamine
Melamine dry erase boards are one of the most affordable options. The main material, melamine, is an organic compound that you may recognize from reusable plastic plates and other dishware. To use it on a dry erase board, a clear coat of plastic is layered onto a fiberboard sheet, creating an easy writing surface.
The thing about this type of dry erase board is that it tends to stain and scuff easily. They’re generally the most difficult type to keep pristine. Staining and ghosting are common when you don’t wipe it down right away, meaning if you want to keep your writings on the board for longer periods, this may not be the type for you. Permanent markers are also especially damaging on these boards.
Painted Steel and Aluminum
Painted steel and aluminum are another set of options for your dry erase board. These types of boards consist of a steel or aluminum sheet sprayed over with whiteboard paint. The steel variants are magnetic as well, making it easy to stick markers or erasers with magnet backing onto their surface. They’re easier to keep clean, with a higher erasability, but still suffer from streaks and stains over time.
Porcelain
Much like steel whiteboards, porcelain dry erase boards make use of metal to create a magnetic surface on which to write. They’re made up of a layer of hard ceramic over a steel backing. Porcelain is one of the most premium whiteboard options on the market thanks to its durability and resistance to stains. Since the material doesn’t absorb ink as easily, porcelain dry erase boards are excellent for prolonged use and are a good investment if you’re willing to put more money into your board.
Read more: How To Store Dry Erase Markers
Glass
Glass dry erase boards have recently begun to rise in popularity thanks to their sleek and modern look. They’re the most expensive option but are also some of the most classy in terms of appearance and design. These types of boards typically come without a frame and are mounted directly onto a wall. The non-porous surface is, like porcelain, easy to care for and keep clean. It’s also highly resistant to scuffs and scratches.
How To Clean a Dry Erase Board
Now that you know about the different types of boards and how each handles ink and scratches, it’s time to look at how to clean a dry erase board. These are general tips for all types, but keep in mind that some materials may be easier to clean than others.
Method 1 – General Clean
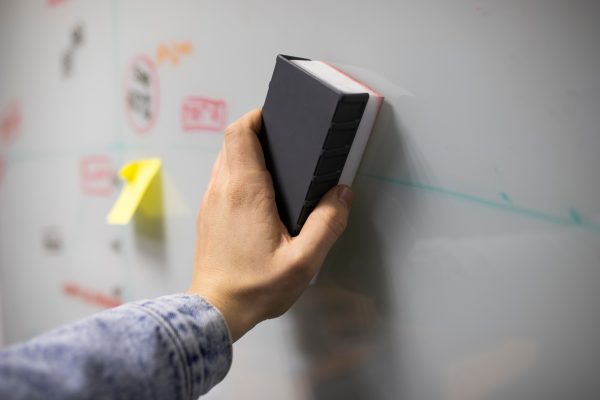
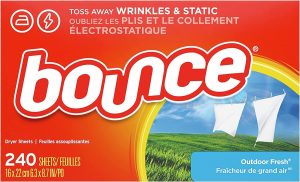
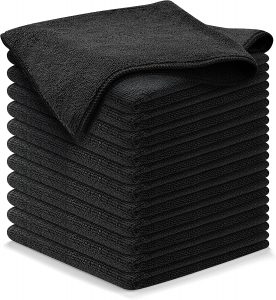
A regular, general clean is important to keep your dry erase board in tip-top condition. You’ll usually want to do a general clean after every use. General cleans simply use a porous wipe to remove the ink from the whiteboard surface. Fabric softener sheets, microfiber cloths, and good old-fashioned whiteboard erasers are great for this.
Method 2 – Spot Clean
Sometimes, especially stubborn stains may crop up. In particular, accidentally using a permanent marker on your dry erase board can cause a lot of damage. Leaving writing on it for too long can also cause the ink to dry up and badly mark the surface. In these cases, you may want to try a spot clean.
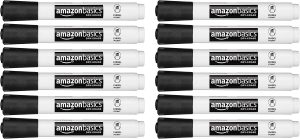
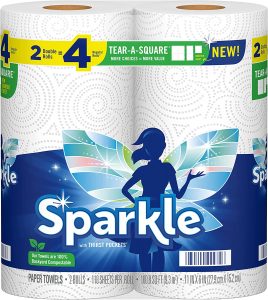
One of the easiest ways to do a spot clean is to use another dry erase marker to spread ink over the area. The inks in these markers have a special compound that makes them impermanent. By using the ink on these spots, the compound spreads to the stuck ink and helps you wipe it off. A rougher wiper like a paper towel is particularly helpful with this method.
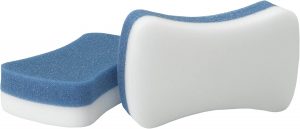
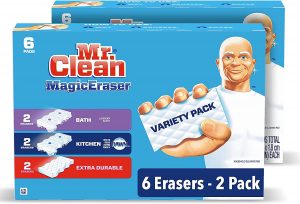
You can also use a magic eraser, which can rub off the ink from a single spot. Try adding some mild soapy water if the stain persists.
Method 3 – Deep Clean
If the whole dry erase board is covered in dried ink and ghosting, you may want to try a deep clean. Deep cleans involve going over the whole board with cleaning agents to completely wipe the slate clean. Many of these can double as spot cleaning measures if you want to target only a small area.
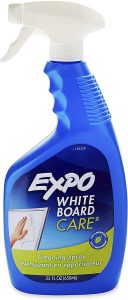
One of the most obvious choices is a whiteboard liquid cleaner. These are specially formulated to work on dry erase boards, and they’re very effective. Just make sure the one you buy suits whatever type of whiteboard you’re using it on.
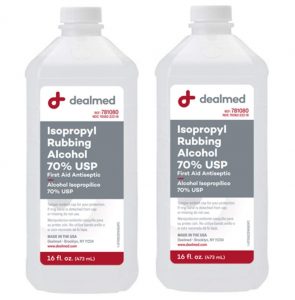
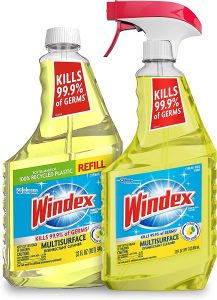
If you’re looking for a cleaning agent that’s more multi-purpose, you can also pick up some window cleaner or isopropyl alcohol. Both have proven quite handy when it comes to removing stains or ghosting from a board.
What to Avoid When Cleaning a Dry Erase Board
Now, there are some rules on what not to do when cleaning a dry erase board. One thing to keep in mind is to avoid anything that can damage the wipeable surface. Since any scuffs on the whiteboard will make writing on it more difficult, you’ll want to protect it as much as possible.
To do just that, steer clear of wax-based cleaners. The wax in these formulas leaves behind a thin film that makes writing on the board difficult. Also try to avoid abrasive cleaners such as toothpaste, baking soda, and other such scrubs. These can easily damage a melamine or painted steel board. Glass and porcelain may be more resistant, but it’s better to be safe than sorry in this case.
Similarly, any cloths or wipers that are too rough should also be avoided. Steel wool or the rough side of a sponge can easily scuff surfaces that you’re trying to clean.
Dry Erase Board Pros and Cons
There’s a lot to like about dry erase boards, but there are also some drawbacks. This section goes over some of the pros and cons to keep in mind when deciding if you want to buy one.
Pros
Dry erase boards are some of the best tools to use for meetings and classes. They can help everyone visualize what’s being talked about, and make for an excellent place to share ideas.
In addition to this, writing and drawings can be easily erased and rewritten. As a result, the dry erase board makes for a reusable, mistake-friendly tool. They’re also fairly easy to purchase and install with their hangable frames or stands. This makes them accessible to the average consumer. Many times, you’ll find yourself saving on paper when you have a board for brainstorming right in your room.
Read also: 10 Amazing Dry Erase Wall Decals For 2025
Cons
There are a few cons you need to be aware of as well, though. As we’ve seen, certain whiteboards can be quite a handful to maintain. Some of the more affordable options also don’t last long even with the best care. If you decide to purchase a more premium board, you’ll find it cuts down on maintenance and replacement costs, but it can be a bit of an investment at the start.
Pros and Cons Summary
Pros
- Excellent for sharing ideas in a group setting
- Reusable and mistake-friendly
- Easy to purchase and install
- Saves on paper and other writing materials
Cons
- May be difficult to maintain
- More affordable options tend to be less durable
Best Dry Erase Board Picks
Sometimes, a worn dry erase board may be too far gone to clean. In that case, you may be in the market for a replacement. We’ve compiled a list of some of our favorite Amazon picks below along with key details to help you make your decision.
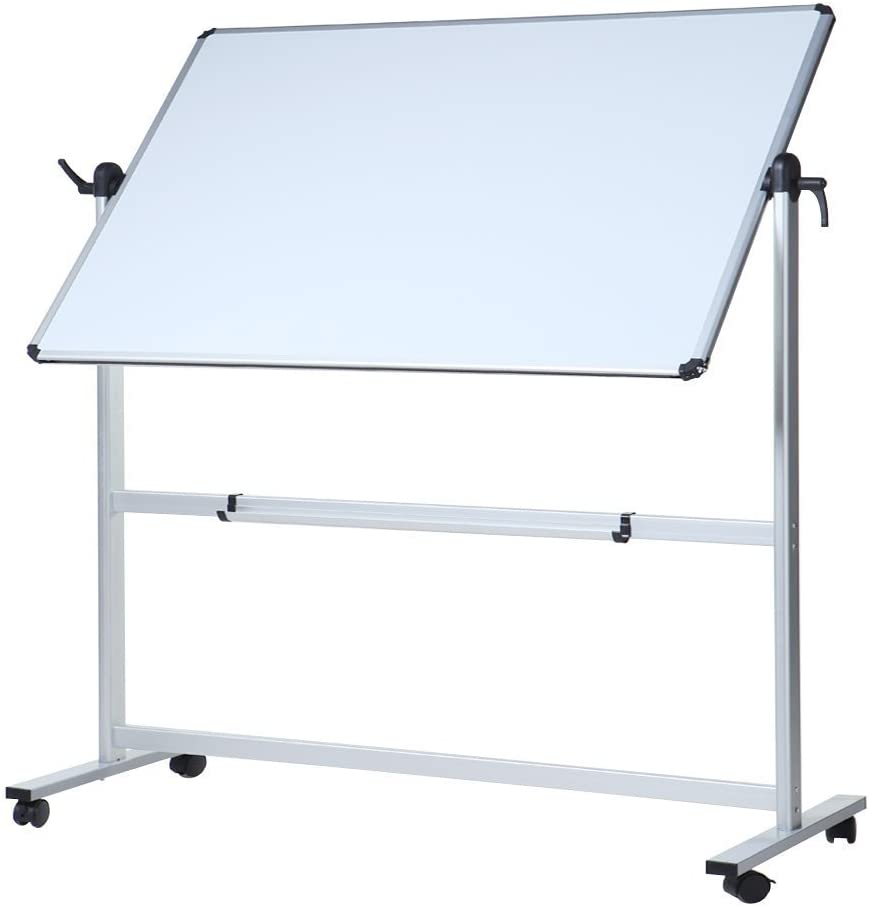
Let’s start the list strong with the Double-Sided Magnetic Mobile Dry Erase Board from VIZ-PRO. This board has an independent aluminum frame with four caster wheels, making it lightweight enough for convenient mobility.
Key Features
- Dual-sided, writable surface
- Magnetic center
- Rotatable and lockable
- Wheeled, mobile stand
Specifications
- 48 inches x 36 inches
Pros
- Setup is relatively easy
- Assembly tools provided
- Sturdy and will not wobble
- High-quality surface
Cons
- The aluminum stand is frail during assembly
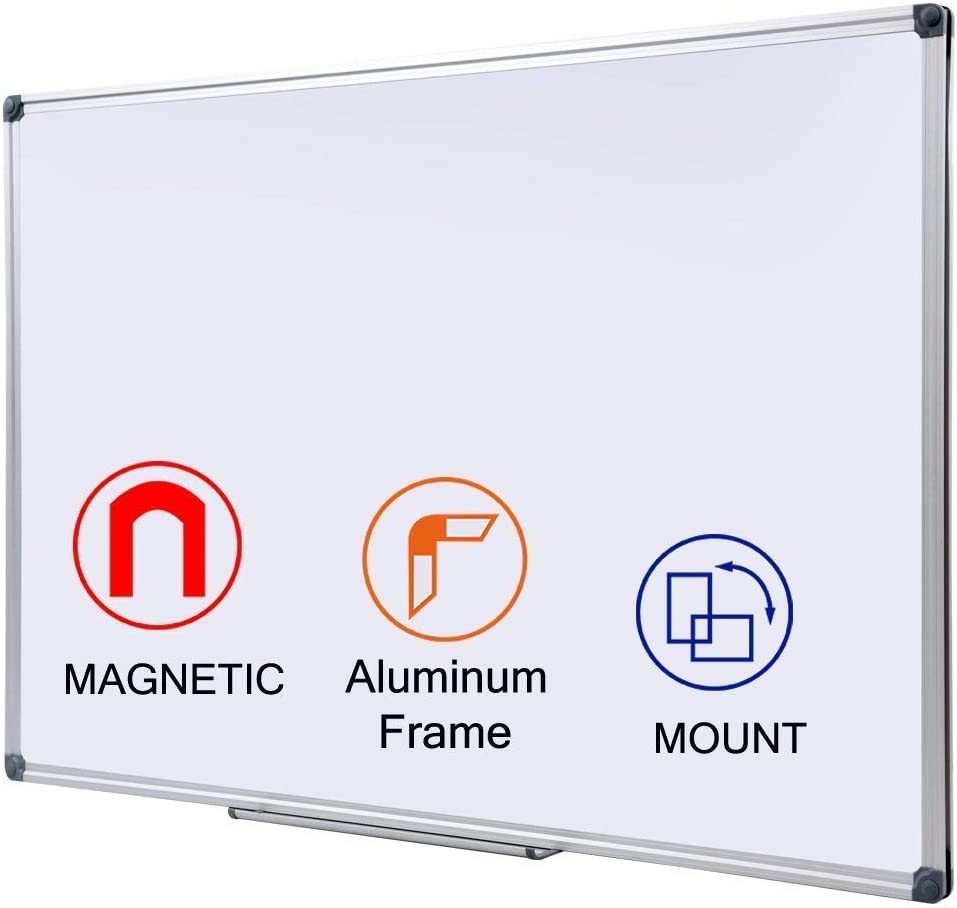
If you’re looking for a simple, mountable board, you can pick up the Magnetic Dry Erase Board from DexBoard. Its magnetic backing provides a convenient place to pin up notes for reference as you write. This board is a no-muss no-fuss solution to your whiteboard needs.
Key Features
- Integrated wall mount for installation
- Aluminum outer frame
- Magnetic surface
- Removable pen tray
Specifications
- 48 inches x 36 inches
Pros
- Well-made and sturdy build quality
- Easy to install
- Magnetic quality allows papers to be hung up
Cons
- Small pen tray
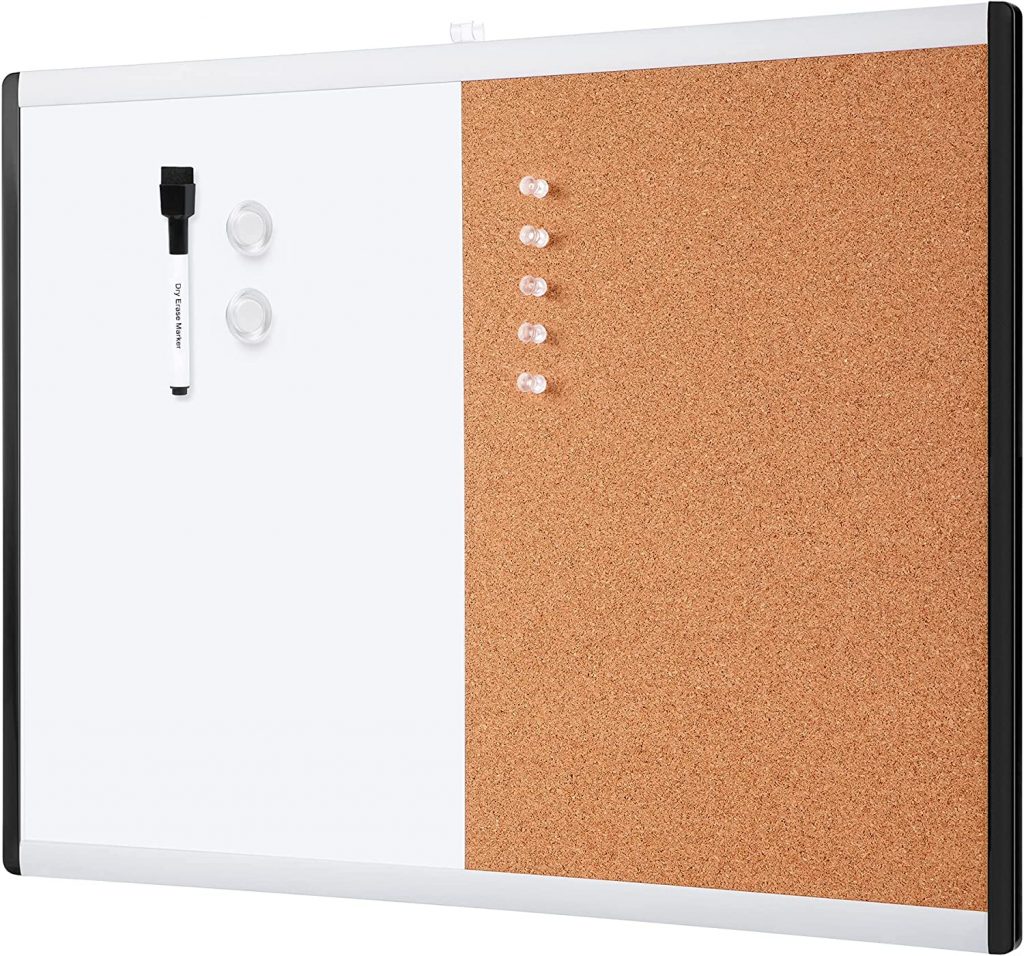
For a more flexible setup, why not try the Magnetic Dry Erase and Cork Board Combo from Amazon Basics? We’re a big fan of pin boards here, so we definitely recommend this multipurpose set. Jot down your reminders on one side while tacking on any important notes on the other.
Key Features
- Dry erase board and cork board combo design
- Magnetic whiteboard
- Lightweight aluminum and plastic frame
Specifications
- 17 inches x 23 inches
Pros
- Excellent size
- Convenient dual-use design
- Great quality for the price
Cons
- Included adhesive strips may loosen with added weight
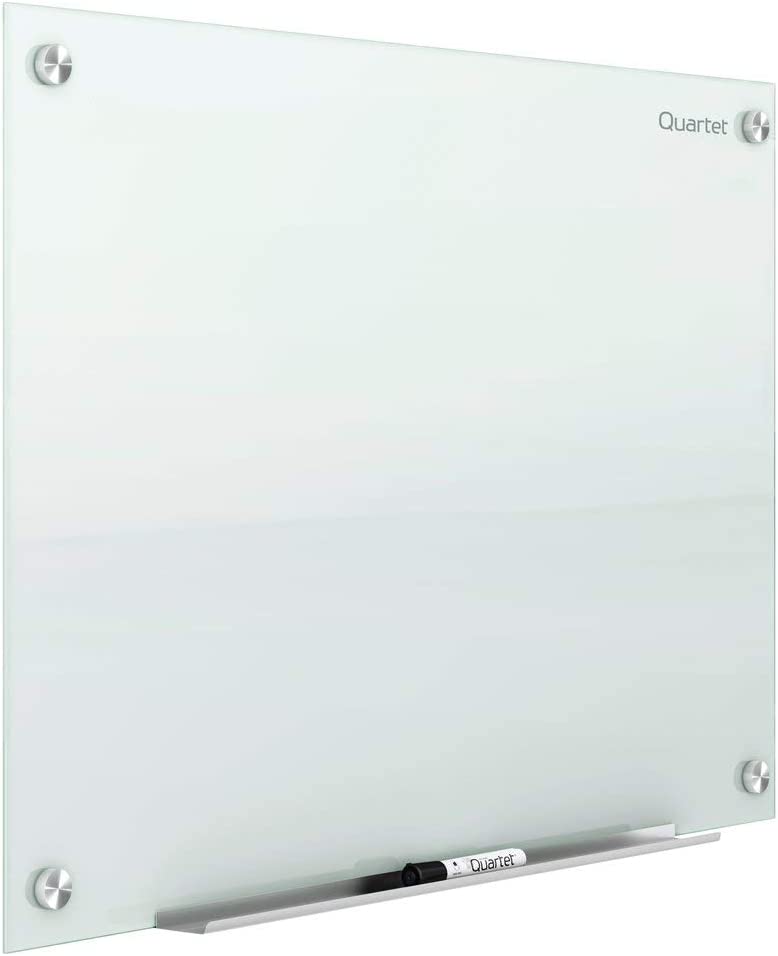
The Glass Dry Erase Board from Quartet is without a doubt the classiest board on this list. The white glass design is sleek and frameless with four metal studs on the corners acting as a beautiful accent to its final look. Thanks to the main material being non-absorbent, it’s also a breeze to maintain and an absolute delight to use.
Key Features
- Frameless design
- Tempered glass surface is non-absorbent and resistant to stains and ghosting
- Durable and long-lasting
- Steel, magnetic backing
Specifications
- 72 inches x 48 inches
Pros
- Allows markings to show clearly
- Easy to erase with little to no ghosting
- Sleek and modern aesthetic
Cons
- Installation is difficult
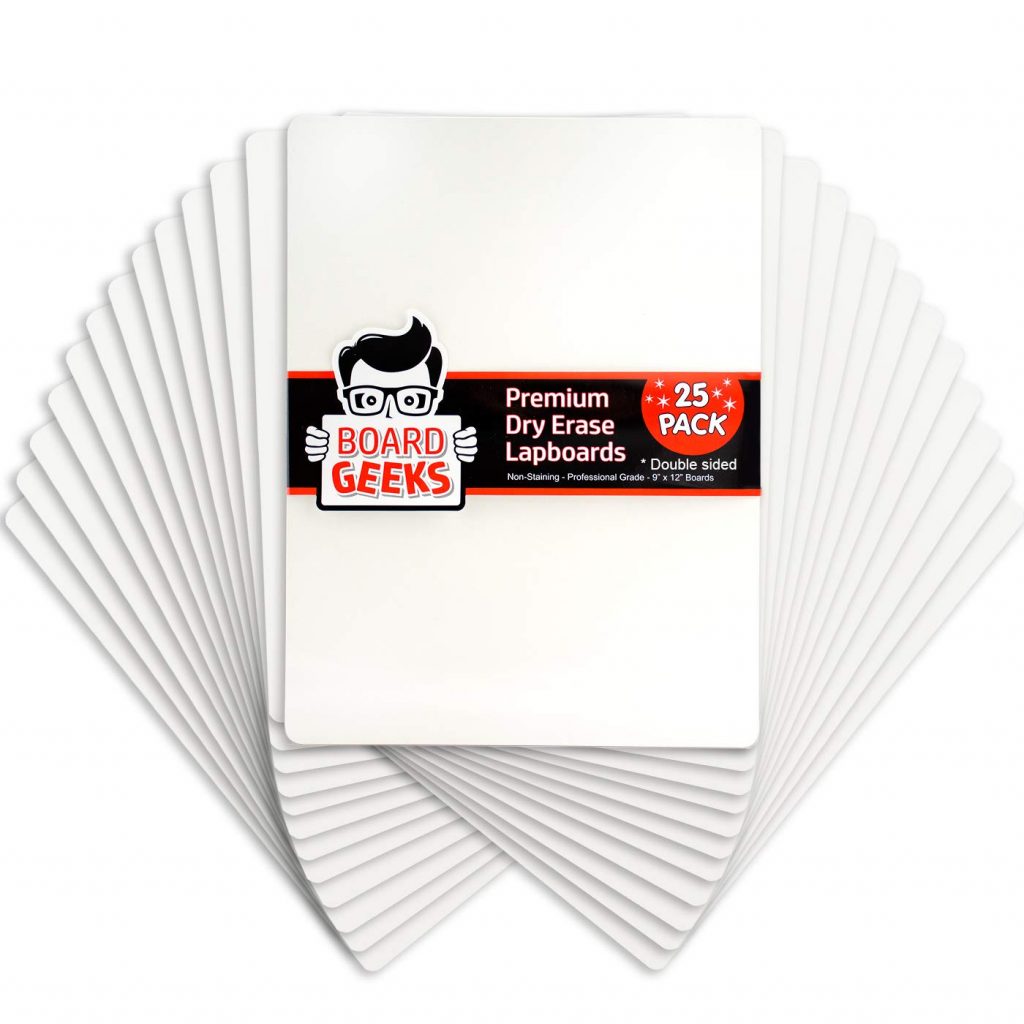
No space for a big whiteboard? Try the Dry Erase Lapboard Pack from Board Geeks. They’re nice and compact while still providing the paper-saving qualities of any dry erase board. Whether you have a ton of ideas to write or are planning a group activity, the set of 25 pieces also ensures you’ll have plenty of extras to spare.
Key Features
- Single-sided writing surface
- Slim and lightweight design
- Pack of 25 pieces
Specifications
- Per piece: 12 inches x 9 inches
Pros
- Competitively priced
- Excellent for taking notes
- Rounded corners for easy holding
Cons
- Normal-sized marker lines may be too thick for the compact size
Read also: 14 Best Mr Clean Magic Eraser Mop For 2025
How to Integrate a Dry Erase Board Into Any Room
Now that you’ve seen an array of options, it’s time to put a dry erase board into your room. For meeting rooms and classrooms, they can commonly be found on the wall or rolled in on an independent frame. At home, however, you have the freedom to get a little more creative.
For instance, when it comes to the playroom, some dry erase boards are available with child-friendly frames made of colorful plastic. However, another option you can consider is a whole whiteboard wall, which is made possible with whiteboard paint. This solves the age-old problem of your kids drawing on the walls. Just be sure to pick out some non-toxic markers for them to use and they’re sure to be entertained for hours.
A compact dry erase board would also make for a handy home office supply. Pick up a photo frame holder and prop it up like a small painting, or consider installing it on the side of one of your larger furniture pieces. Whatever your setup is, you’d be surprised by the number of places you can blend a dry erase board into the background, especially if it’s a glass whiteboard. Just keep an open mind and let your creativity run wild.
Frequently Asked Questions about How To Clean Dry Erase Board
Yes, dry erase markers and whiteboard markers are the same. They both contain a special ink consisting of an oily silicone polymer. This chemical allows the ink to avoid sticking to dry erase boards and other smooth surfaces.
There are many cleaning agents in the market for dry erase boards, but oftentimes some isopropyl alcohol can remove stubborn stains just fine. For wiping a dry erase board down, either a whiteboard eraser or dark-colored microfiber cloth should work.
A deep clean for a whiteboard can be achieved with some good cleaning agents and a good wipe-down. Isopropyl alcohol, window cleaner, and specialized whiteboard formulas are popular choices.
Some mild soap and water can do wonders for any whiteboard eraser. Just be careful if the eraser is glued onto some sort of plastic holder, as the glue may get washed off.
Read more: What Is Dry-Cleaning For A Carpet
Conclusion
Whether you’re someone who likes jotting concepts down or you have an artistic little one constantly in need of paper, a reusable board may be the perfect aid. Knowing how to clean a dry erase board then is quite a handy skill to have. This way, you can keep your beloved board white and usable for a good long time.
Was this page helpful?
At Storables.com, we guarantee accurate and reliable information. Our content, validated by Expert Board Contributors, is crafted following stringent Editorial Policies. We're committed to providing you with well-researched, expert-backed insights for all your informational needs.




0 thoughts on “How To Clean a Dry Erase Board + Best Home & Office Picks”