Home>Furniture>Outdoor Furniture>How To Build A Fire Pit Patio

Outdoor Furniture
How To Build A Fire Pit Patio
Modified: October 19, 2024
Learn how to create a stunning outdoor living space with a fire pit patio, perfect for entertaining and relaxing. Explore our range of outdoor furniture to complete your design.
(Many of the links in this article redirect to a specific reviewed product. Your purchase of these products through affiliate links helps to generate commission for Storables.com, at no extra cost. Learn more)
Introduction
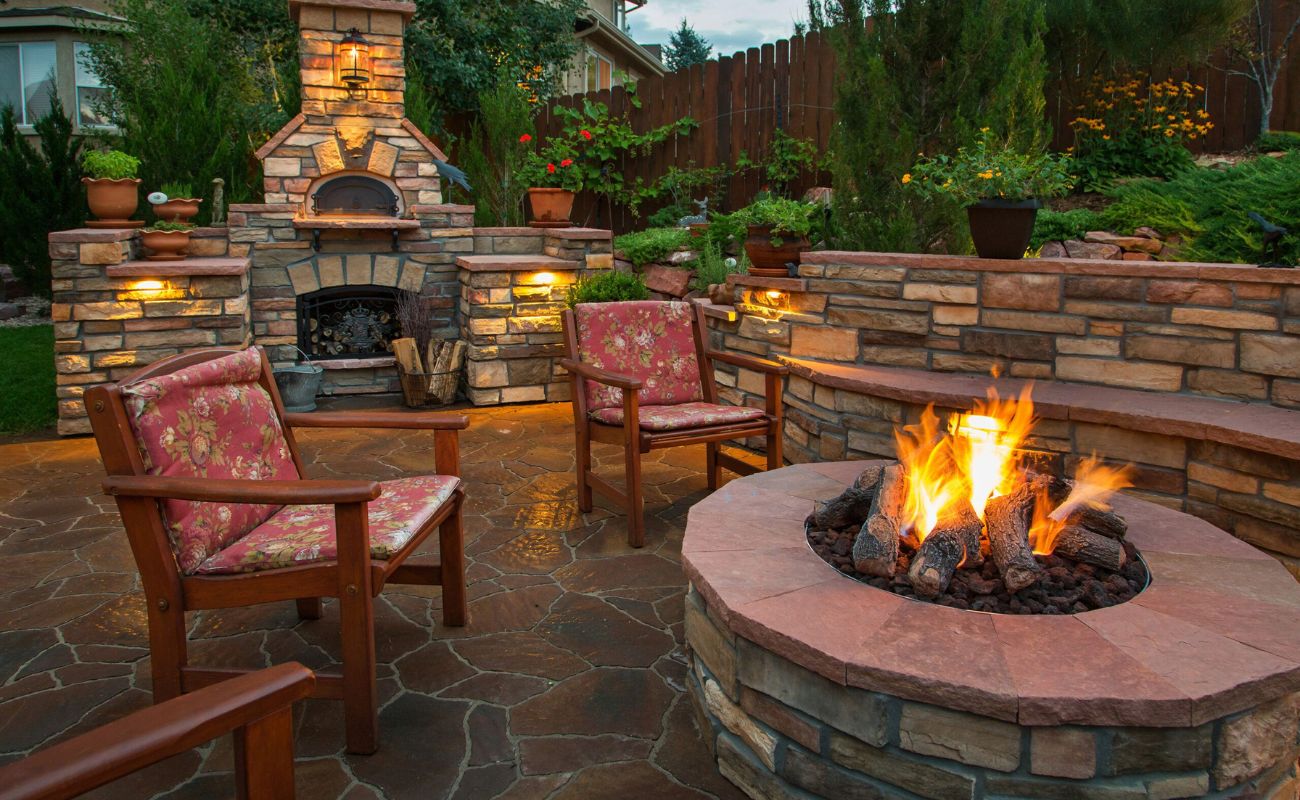
Welcome to the ultimate guide on how to build a fire pit patio! If you’re looking to create a cozy and inviting outdoor space where you can gather with friends and family, a fire pit patio is the perfect addition. Not only does it provide warmth on chilly evenings, but it also adds a touch of ambiance to your backyard. Whether you’re a DIY enthusiast or a beginner, this step-by-step guide will teach you everything you need to know to create your own fire pit patio.
Before we dive into the details, it’s important to note that safety should always be the top priority when building a fire pit patio. Make sure to check local regulations and obtain any necessary permits before proceeding with your project. Additionally, it’s crucial to follow the manufacturer’s instructions for any materials or appliances used in the construction process.
Now that we’ve got the essentials out of the way, let’s get started on creating your dream fire pit patio!
Key Takeaways:
- Safety first! Before building a fire pit patio, always check local regulations, obtain permits, and follow manufacturer’s instructions for a cozy and safe outdoor space.
- Carefully choose the location and size of your fire pit patio to ensure functionality, accessibility, and compliance with building codes. Then, clear the area, prepare the ground, and follow the step-by-step guide for a successful DIY project.
Read more: How To Build A Fire Pit On A Concrete Patio
Step 1: Determine the location and size of your fire pit patio
The first step in building your fire pit patio is to carefully choose the location and determine the appropriate size. Consider factors such as the layout of your backyard, proximity to your home, and any landscaping or obstacles that may affect the placement of your patio.
Start by identifying a flat and sturdy area in your yard that is at a safe distance from any structures, trees, or flammable materials. You’ll want to ensure that your fire pit patio is located away from overhanging branches or anything that could catch fire. Take measurements to determine the dimensions of your patio, keeping in mind that the size should be proportional to your outdoor space and accommodate the number of people you plan to host.
Keep in mind the functionality and accessibility of your fire pit patio as well. Consider factors like wind patterns, sun exposure, and visibility from your home. You may want to position your patio in an area that offers a picturesque view or provides a sense of privacy.
Additionally, it’s crucial to check with your local building codes and regulations to ensure that you comply with any restrictions on fire pit placement or patio construction. Some areas may have specific guidelines regarding residential fire pit installations, including setback requirements and fire safety regulations.
Once you have determined the ideal location and size for your fire pit patio, mark the boundaries using stakes or spray paint. This will give you a clear visual representation of the space and help you plan the subsequent steps of the construction process.
Remember, the location and size of your fire pit patio will have a significant impact on the overall functionality and enjoyment of your outdoor space. Take your time to carefully consider these factors before moving on to the next step.
Step 2: Clear the area and prepare the ground
Now that you’ve determined the location and size of your fire pit patio, it’s time to clear the area and prepare the ground for construction. This step is crucial for ensuring a solid foundation and a level surface for your patio.
Start by removing any existing vegetation, such as grass, weeds, or plants, within the marked boundaries of your patio. You can use a shovel, garden hoe, or a rented sod cutter to effectively remove the vegetation and create a clean slate for your project.
Next, check the area for any rocks, roots, or debris that may impede the construction process. Remove any obstructions and level the ground using a rake or a garden roller to create a smooth and even surface.
If the ground is uneven or slopes, you may need to consider additional measures to ensure the stability of your fire pit patio. For slight slopes, you can use a hand tamper to compact the soil and create a level surface. In the case of significant slopes, you may need to consider building retaining walls or terracing to address the issue.
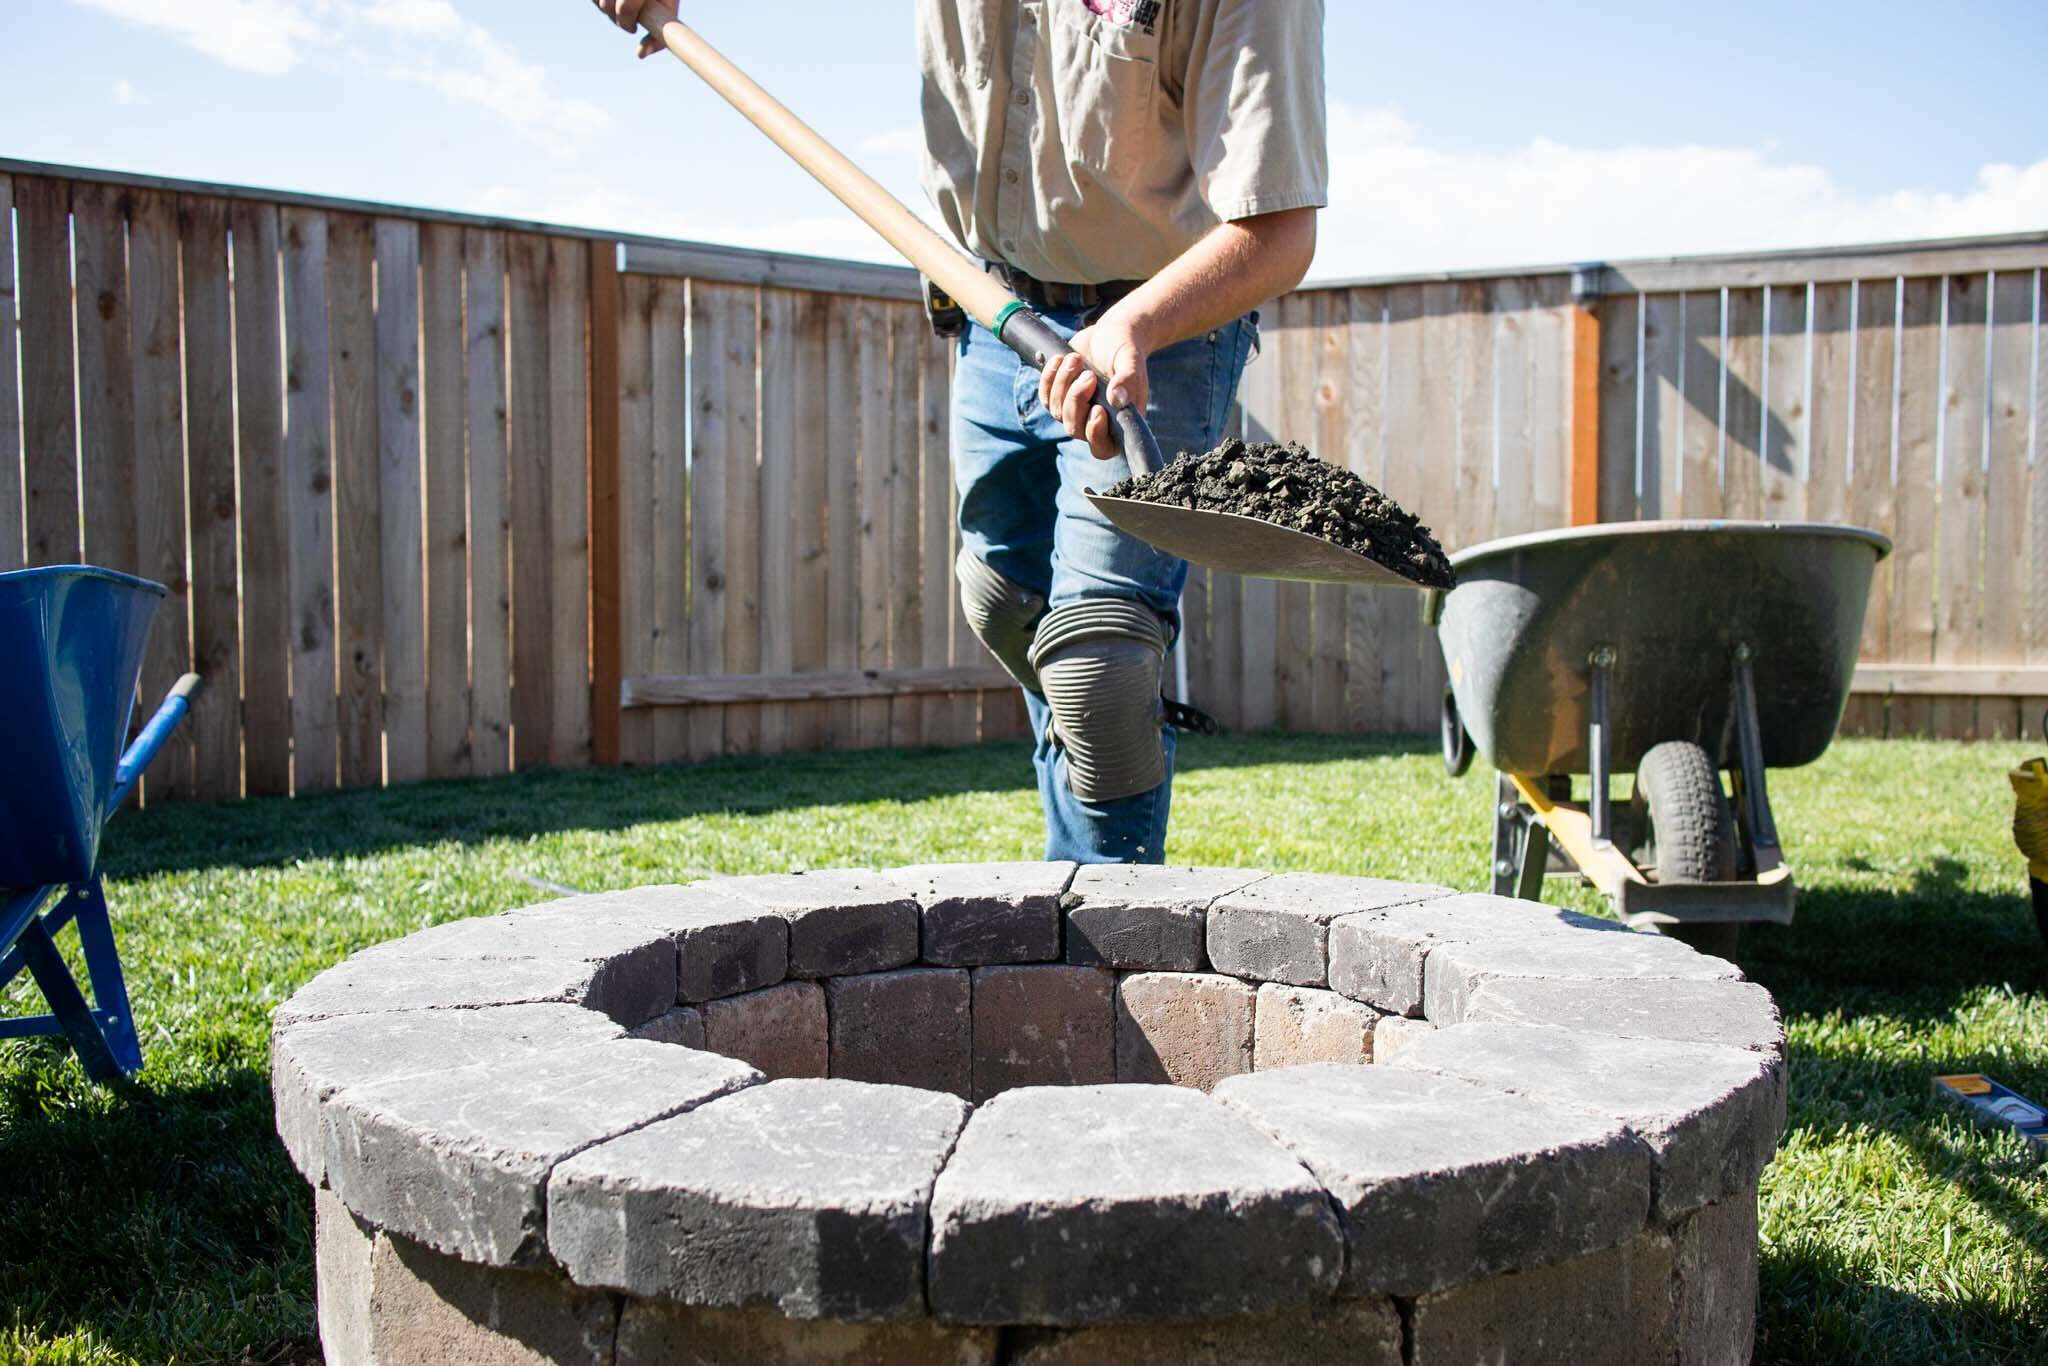
Once the ground is cleared and leveled, it’s time to prepare the foundation. This typically involves adding a layer of crushed gravel or sand to provide stability and drainage for your patio. Spread a 2 to 4-inch layer of gravel or sand evenly across the entire area, using a rake or a shovel to smooth it out. Be sure to compact the material thoroughly to create a solid base for your patio.
If you’d like to ensure maximum stability, you can also consider adding a layer of landscape fabric over the gravel or sand. This will help prevent weed growth and provide an additional barrier against any potential issues with the ground.
With the area cleared and the ground prepared, you’re now ready to move on to the next step of building your fire pit patio. Stay tuned for Step 3, where we’ll guide you through the process of installing the fire pit base!
Step 3: Install the fire pit base
With the area cleared and the ground prepared, it’s time to move on to installing the fire pit base for your patio. The base serves as the foundation for your fire pit and provides stability and heat resistance.
Start by determining the type of base you want to use for your fire pit. There are several options available, including concrete, pavers, or a fire pit kit. Each option has its own advantages, so choose the one that best fits your budget, design preferences, and skill level.
If you choose to go with a concrete base, you’ll need to prepare the forms. Use wooden boards or plywood to create a frame that matches the dimensions of your fire pit. Make sure the frame is level and secure, and then pour the concrete mixture into the forms. Smooth the surface with a trowel and let it cure according to the manufacturer’s instructions.
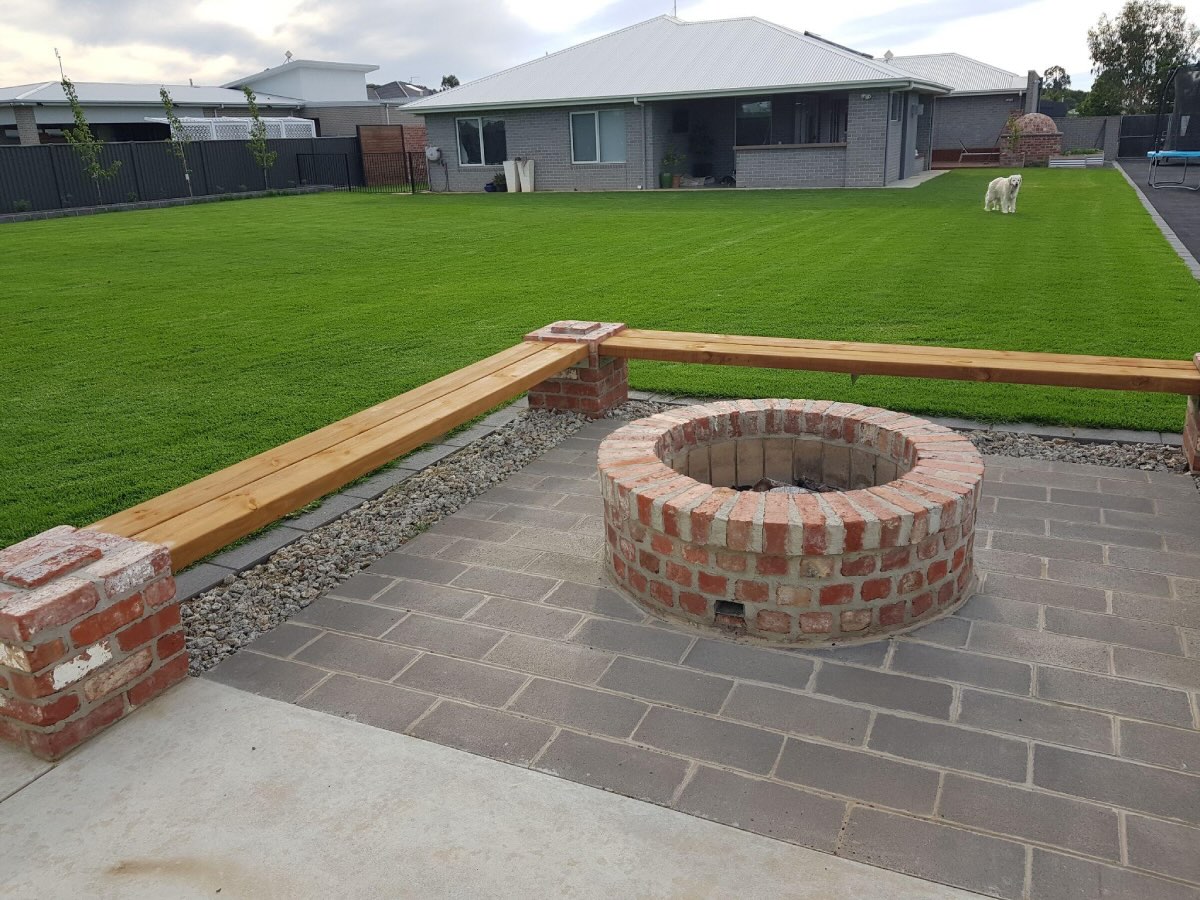
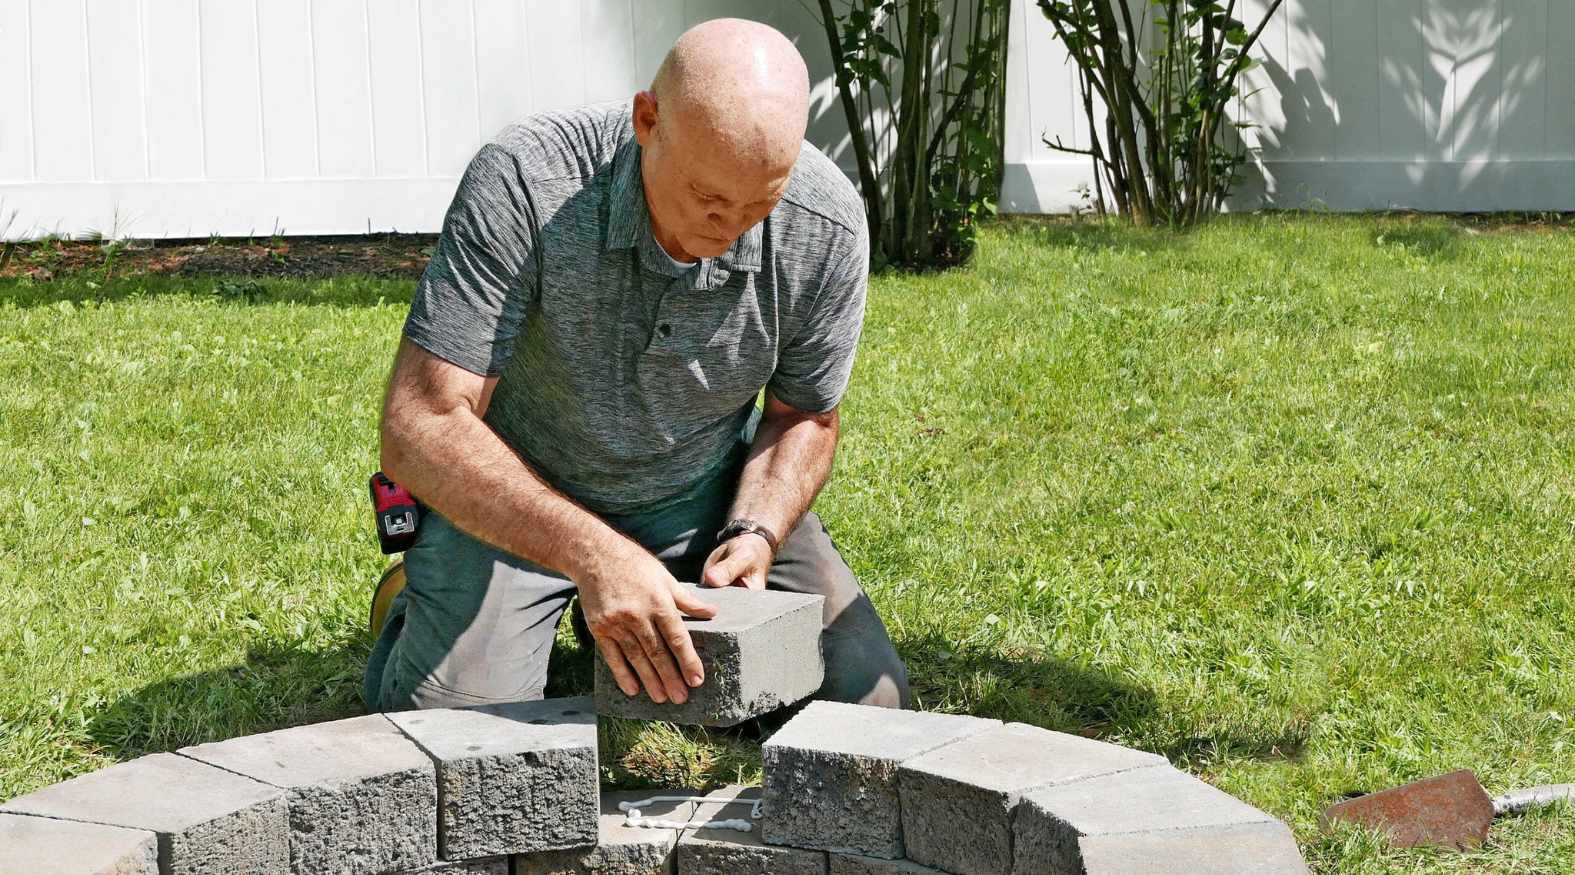
If you prefer to use pavers for the base, start by laying them out in the desired pattern within the boundaries of your patio. Make sure they are level and properly spaced. You may need to cut some pavers to fit the edges or create a circular shape for the fire pit. Use a saw or chisel to make the necessary cuts, following safety guidelines.
For those who opt for a fire pit kit, carefully follow the manufacturer’s instructions for proper installation. These kits typically come with a metal ring or insert that serves as the base for the fire pit. Place the ring or insert in the center of your patio and make sure it is level.
Regardless of the base option you choose, ensure that the fire pit is positioned at a safe distance from any flammable materials or structures. Be mindful of the height of the fire pit, especially if you’re planning to add seating around it. Safety should always be a top priority when designing your fire pit patio.
Once the base is installed, double-check its stability and levelness. This will ensure that your fire pit sits securely and that the flames will burn evenly. Take the time to make any necessary adjustments before moving on to the next stage of building your fire pit patio.
Congratulations! You’ve successfully completed Step 3 of building your fire pit patio. In the next step, we’ll guide you through the process of laying the patio pavers. Stay tuned!
Step 4: Lay the patio pavers
Now that you’ve installed the fire pit base, it’s time to move on to the exciting part: laying the patio pavers. This step will bring your fire pit patio to life and create a beautiful and functional outdoor space.
Start by gathering all the necessary materials and tools for the job. You’ll need the patio pavers, a rubber mallet or a hand tamper, a level, a broom, and a sand or gravel base for added stability.
If you haven’t done so already, lay down a layer of sand or gravel on top of the fire pit base. This will help level the surface and provide additional support for the patio pavers. Spread the sand or gravel evenly, making sure it’s about 1 to 2 inches thick.
Next, begin laying the patio pavers in your desired pattern. Start from one corner and work your way outward, placing each paver firmly on the sand or gravel base. Use a rubber mallet or a hand tamper to gently tap each paver into place, ensuring that they are level and evenly spaced.
As you lay the pavers, periodically check their alignment and levelness with a carpenter’s level. This step is important to ensure a neat and professional-looking finish. Make any necessary adjustments by adding or removing sand or gravel underneath the pavers.
Don’t forget to incorporate a gap between the pavers for joint sand. This will help lock the pavers in place and prevent weed growth. Use a broom to sweep sand into the gaps, and then gently tap the pavers to settle them and fill any remaining gaps.
Continue this process until all the patio pavers are laid and the entire area is covered. Take your time and pay attention to detail, making sure each paver is secure and level. Remember, the quality of your workmanship will determine the longevity and appearance of your fire pit patio.
Once all the patio pavers are in place, give the area a final sweep to remove any excess sand or debris. This will help ensure a clean and polished finish for your fire pit patio.
Congratulations! You’ve completed Step 4 of building your fire pit patio. In the next step, we’ll guide you through leveling and securing the patio pavers. Stay tuned!
When building a fire pit patio, make sure to choose a level and stable location, use fire-resistant materials, and leave enough space around the fire pit for seating and safety.
Read more: How To Build An Outdoor Fire Pit
Step 5: Level and secure the patio pavers
After laying the patio pavers, it’s important to take the time to level and secure them properly. This will ensure that your fire pit patio is not only visually appealing but also safe and durable for years to come.
Start by checking the levelness of the patio pavers. Use a long, straight board or a level to determine if any pavers are higher or lower than the surrounding ones. If you find any discrepancies, gently lift the pavers and add or remove sand or gravel as needed to achieve a level surface.
Next, secure the patio pavers in place to prevent shifting or movement over time. One common method is to use edge restraints, such as plastic or metal strips, along the perimeter of the patio. These restraints help keep the pavers in place and provide a clean and finished appearance. Secure the edge restraints in the ground, making sure they are firmly anchored.
Another option for securing the patio pavers is to use polymeric sand. Polymeric sand is a mixture of sand and a special adhesive that hardens when water is applied. This adhesive creates a strong bond between the pavers, locking them in place and reducing the chance of shifting. After ensuring the pavers are level, sweep the polymeric sand into the joints, making sure to fill all the gaps. Use a broom to remove any excess sand from the surface of the pavers.
Once the polymeric sand is applied, lightly mist the patio with water. This will activate the adhesive and initiate the hardening process. Allow the patio to dry completely before walking on it or adding any furniture.
Finally, take a few moments to inspect the patio and make any necessary adjustments. Check for any loose or uneven pavers and re-tamp or adjust them as needed. Additionally, inspect the overall appearance of the patio and make sure it meets your desired aesthetic.
By properly leveling and securing the patio pavers, you’ll create a stable and long-lasting fire pit patio that can withstand the test of time. It’s an essential step in ensuring the overall quality and functionality of your outdoor space.
Great job! You’ve completed Step 5 of building your fire pit patio. In the next step, we’ll guide you through the process of building the fire pit itself. Stay tuned!
Step 6: Build the fire pit
Now comes the exciting part – building the fire pit for your patio! A fire pit adds warmth, ambiance, and a focal point to your outdoor space, making it perfect for cozy evenings and gatherings with friends and family.
Before you begin, decide on the type and design of fire pit that you want. Common options include in-ground fire pits, above-ground fire pits, or fire pit kits. Each option has its own benefits and considerations, so choose the one that fits your style and budget.
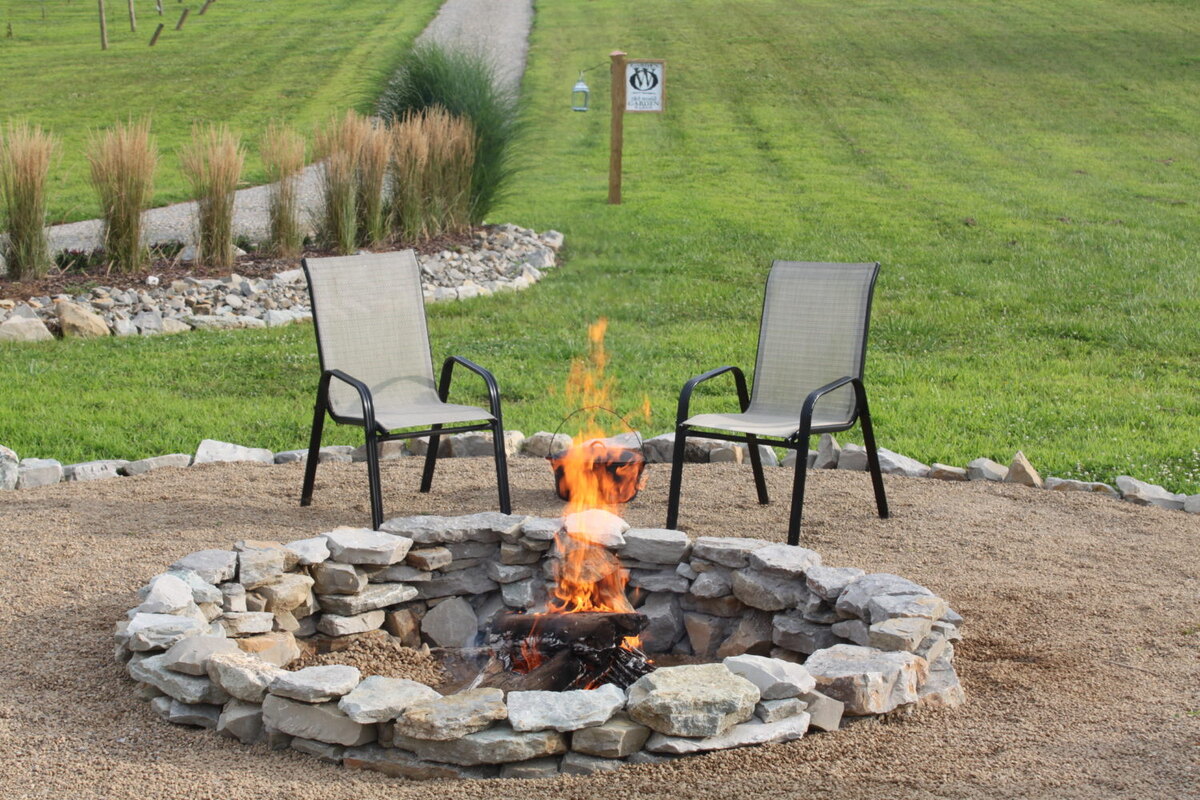
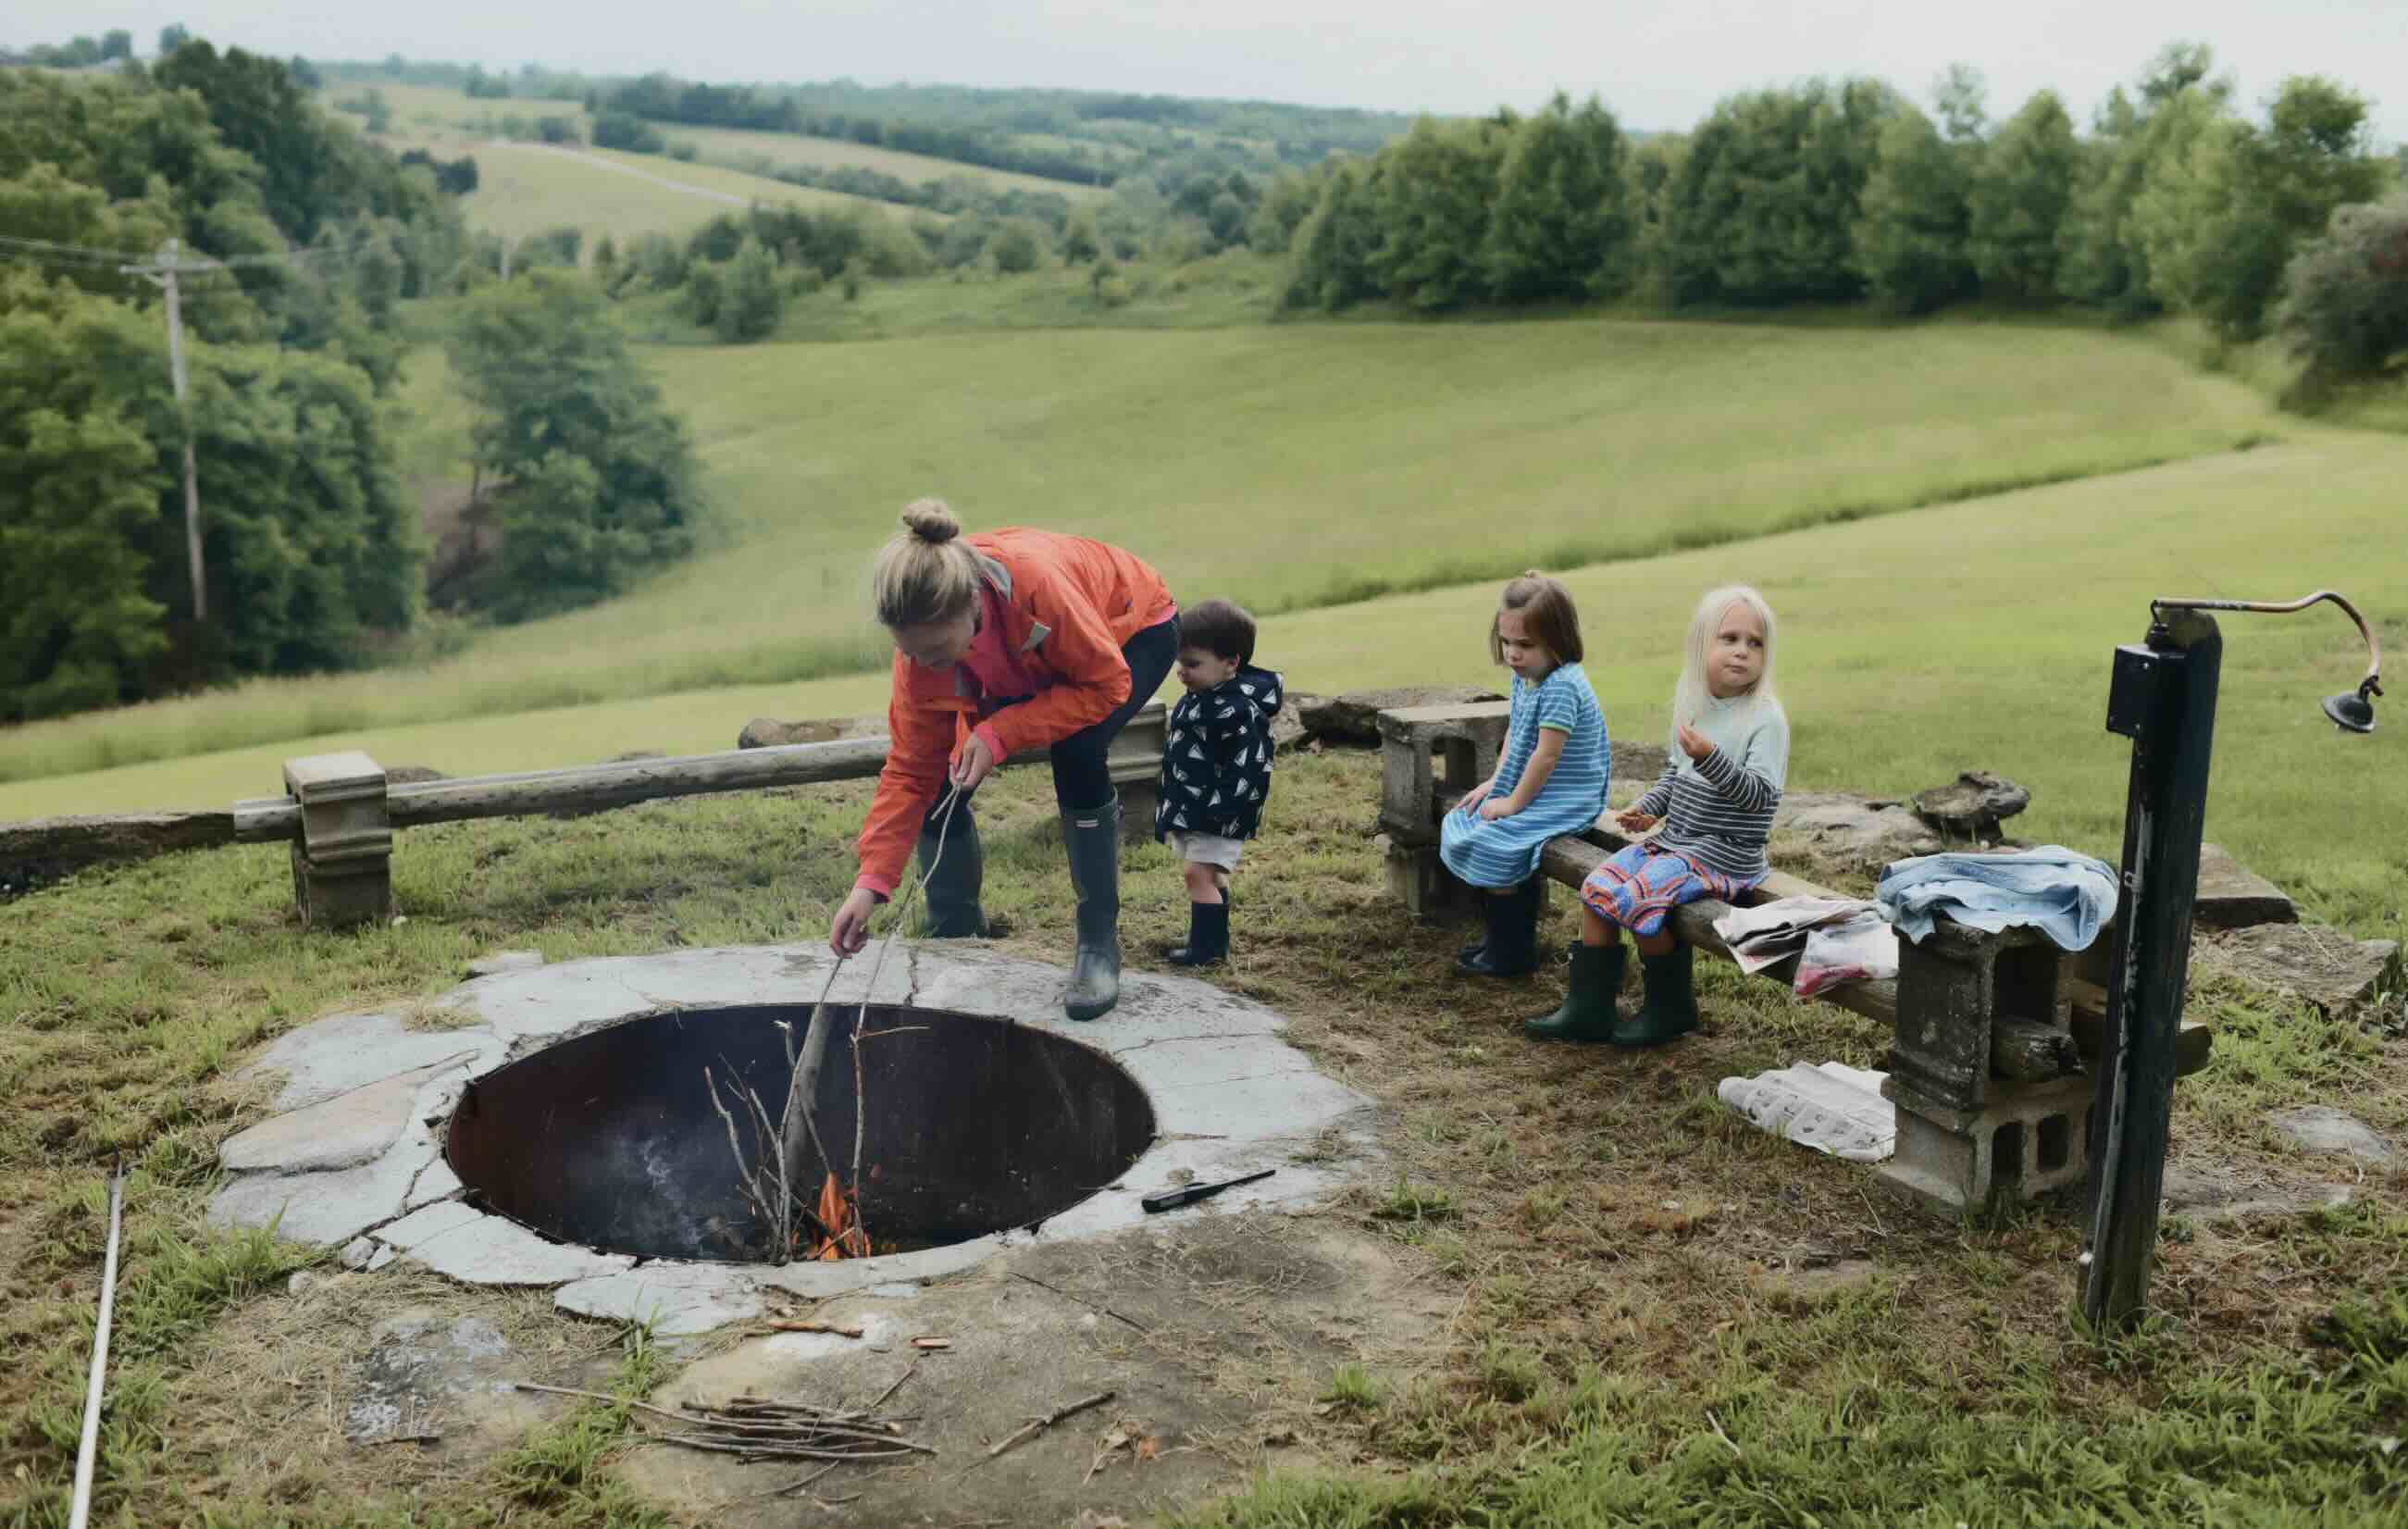
If you’re building an in-ground fire pit, start by marking the area where you want to dig the pit. Use stakes and string to create a circular or square outline. Ensure the dimensions of the pit are proportional to the size of your patio and leave enough space for seating around the fire pit.
Once the area is marked, start digging the pit. Dig a hole approximately 1 to 2 feet deep, depending on the desired size of your fire pit. Use a shovel or a rented excavator to remove the soil and create a smooth and level base for your fire pit.
If you’re opting for an above-ground fire pit or a fire pit kit, follow the manufacturer’s instructions for installation. Set the fire pit ring or insert securely in the desired location, making sure it is level and centered.
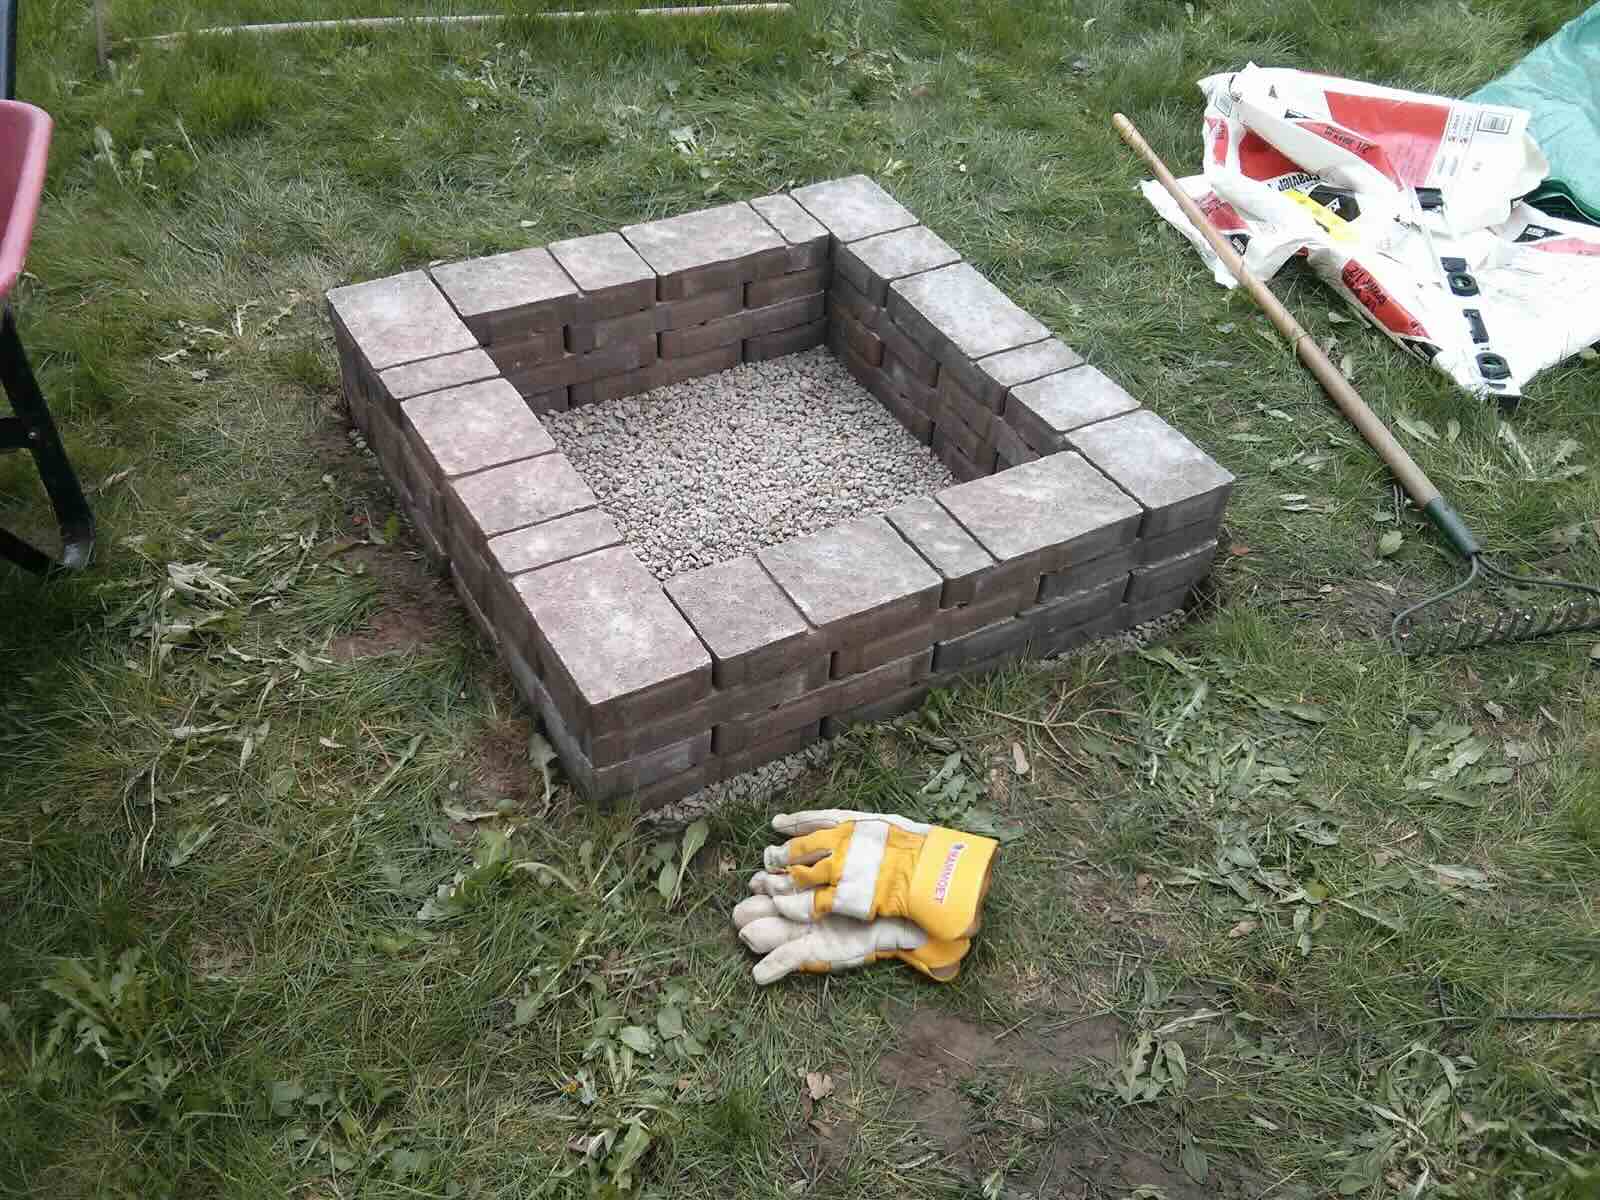
After your fire pit area is prepared, line the inside of the pit with a layer of fire-resistant materials. Common options include fire bricks or fire-rated concrete blocks. Arrange the material securely, ensuring it completely lines the interior walls of the fire pit.
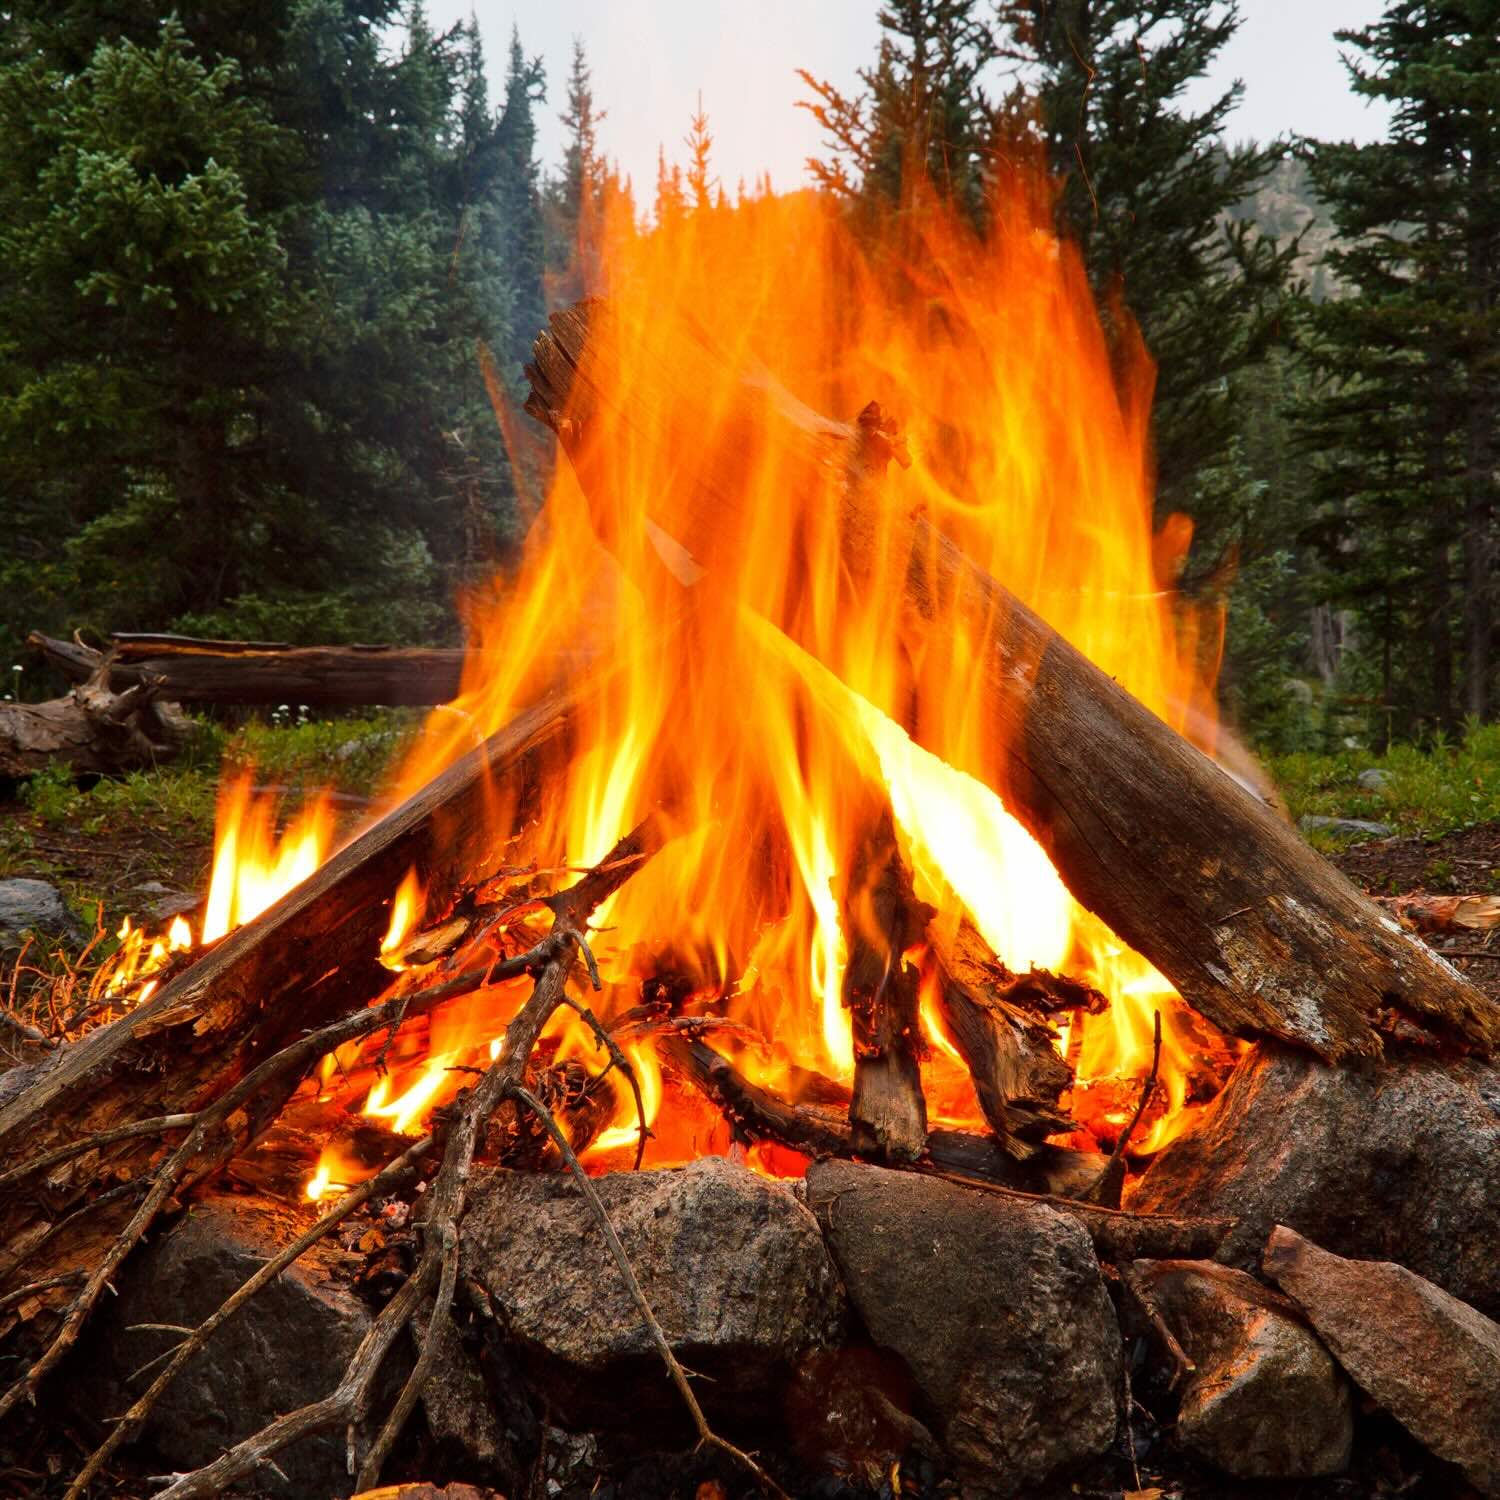
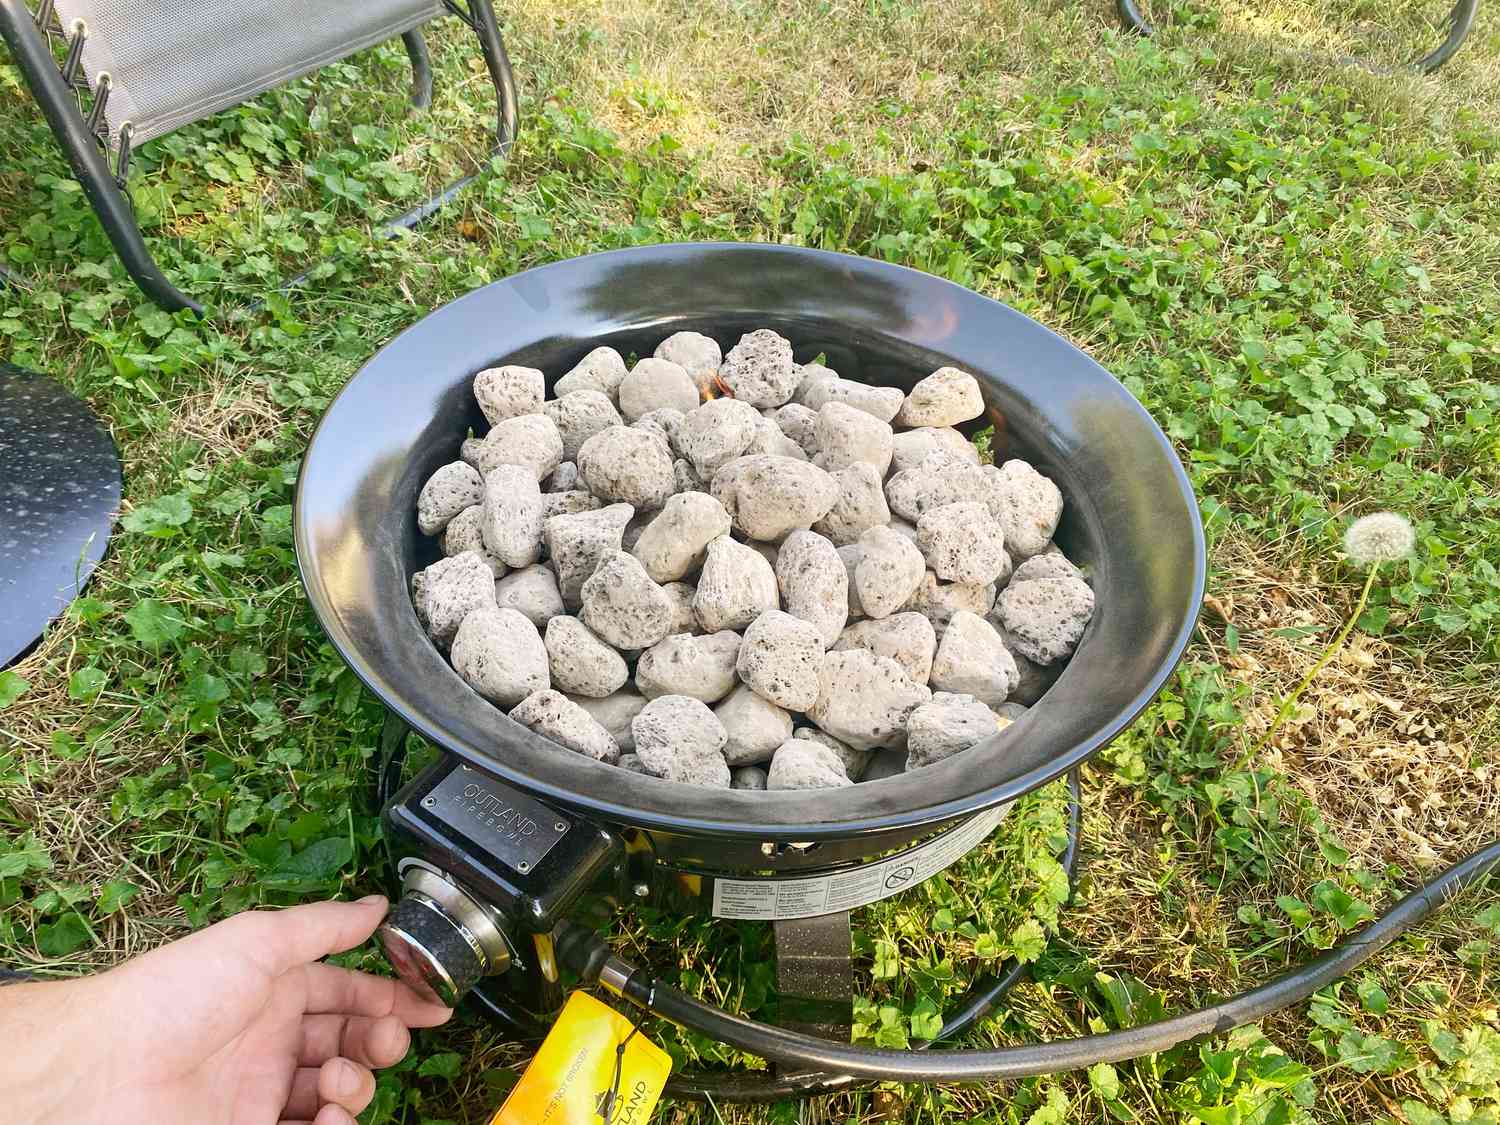
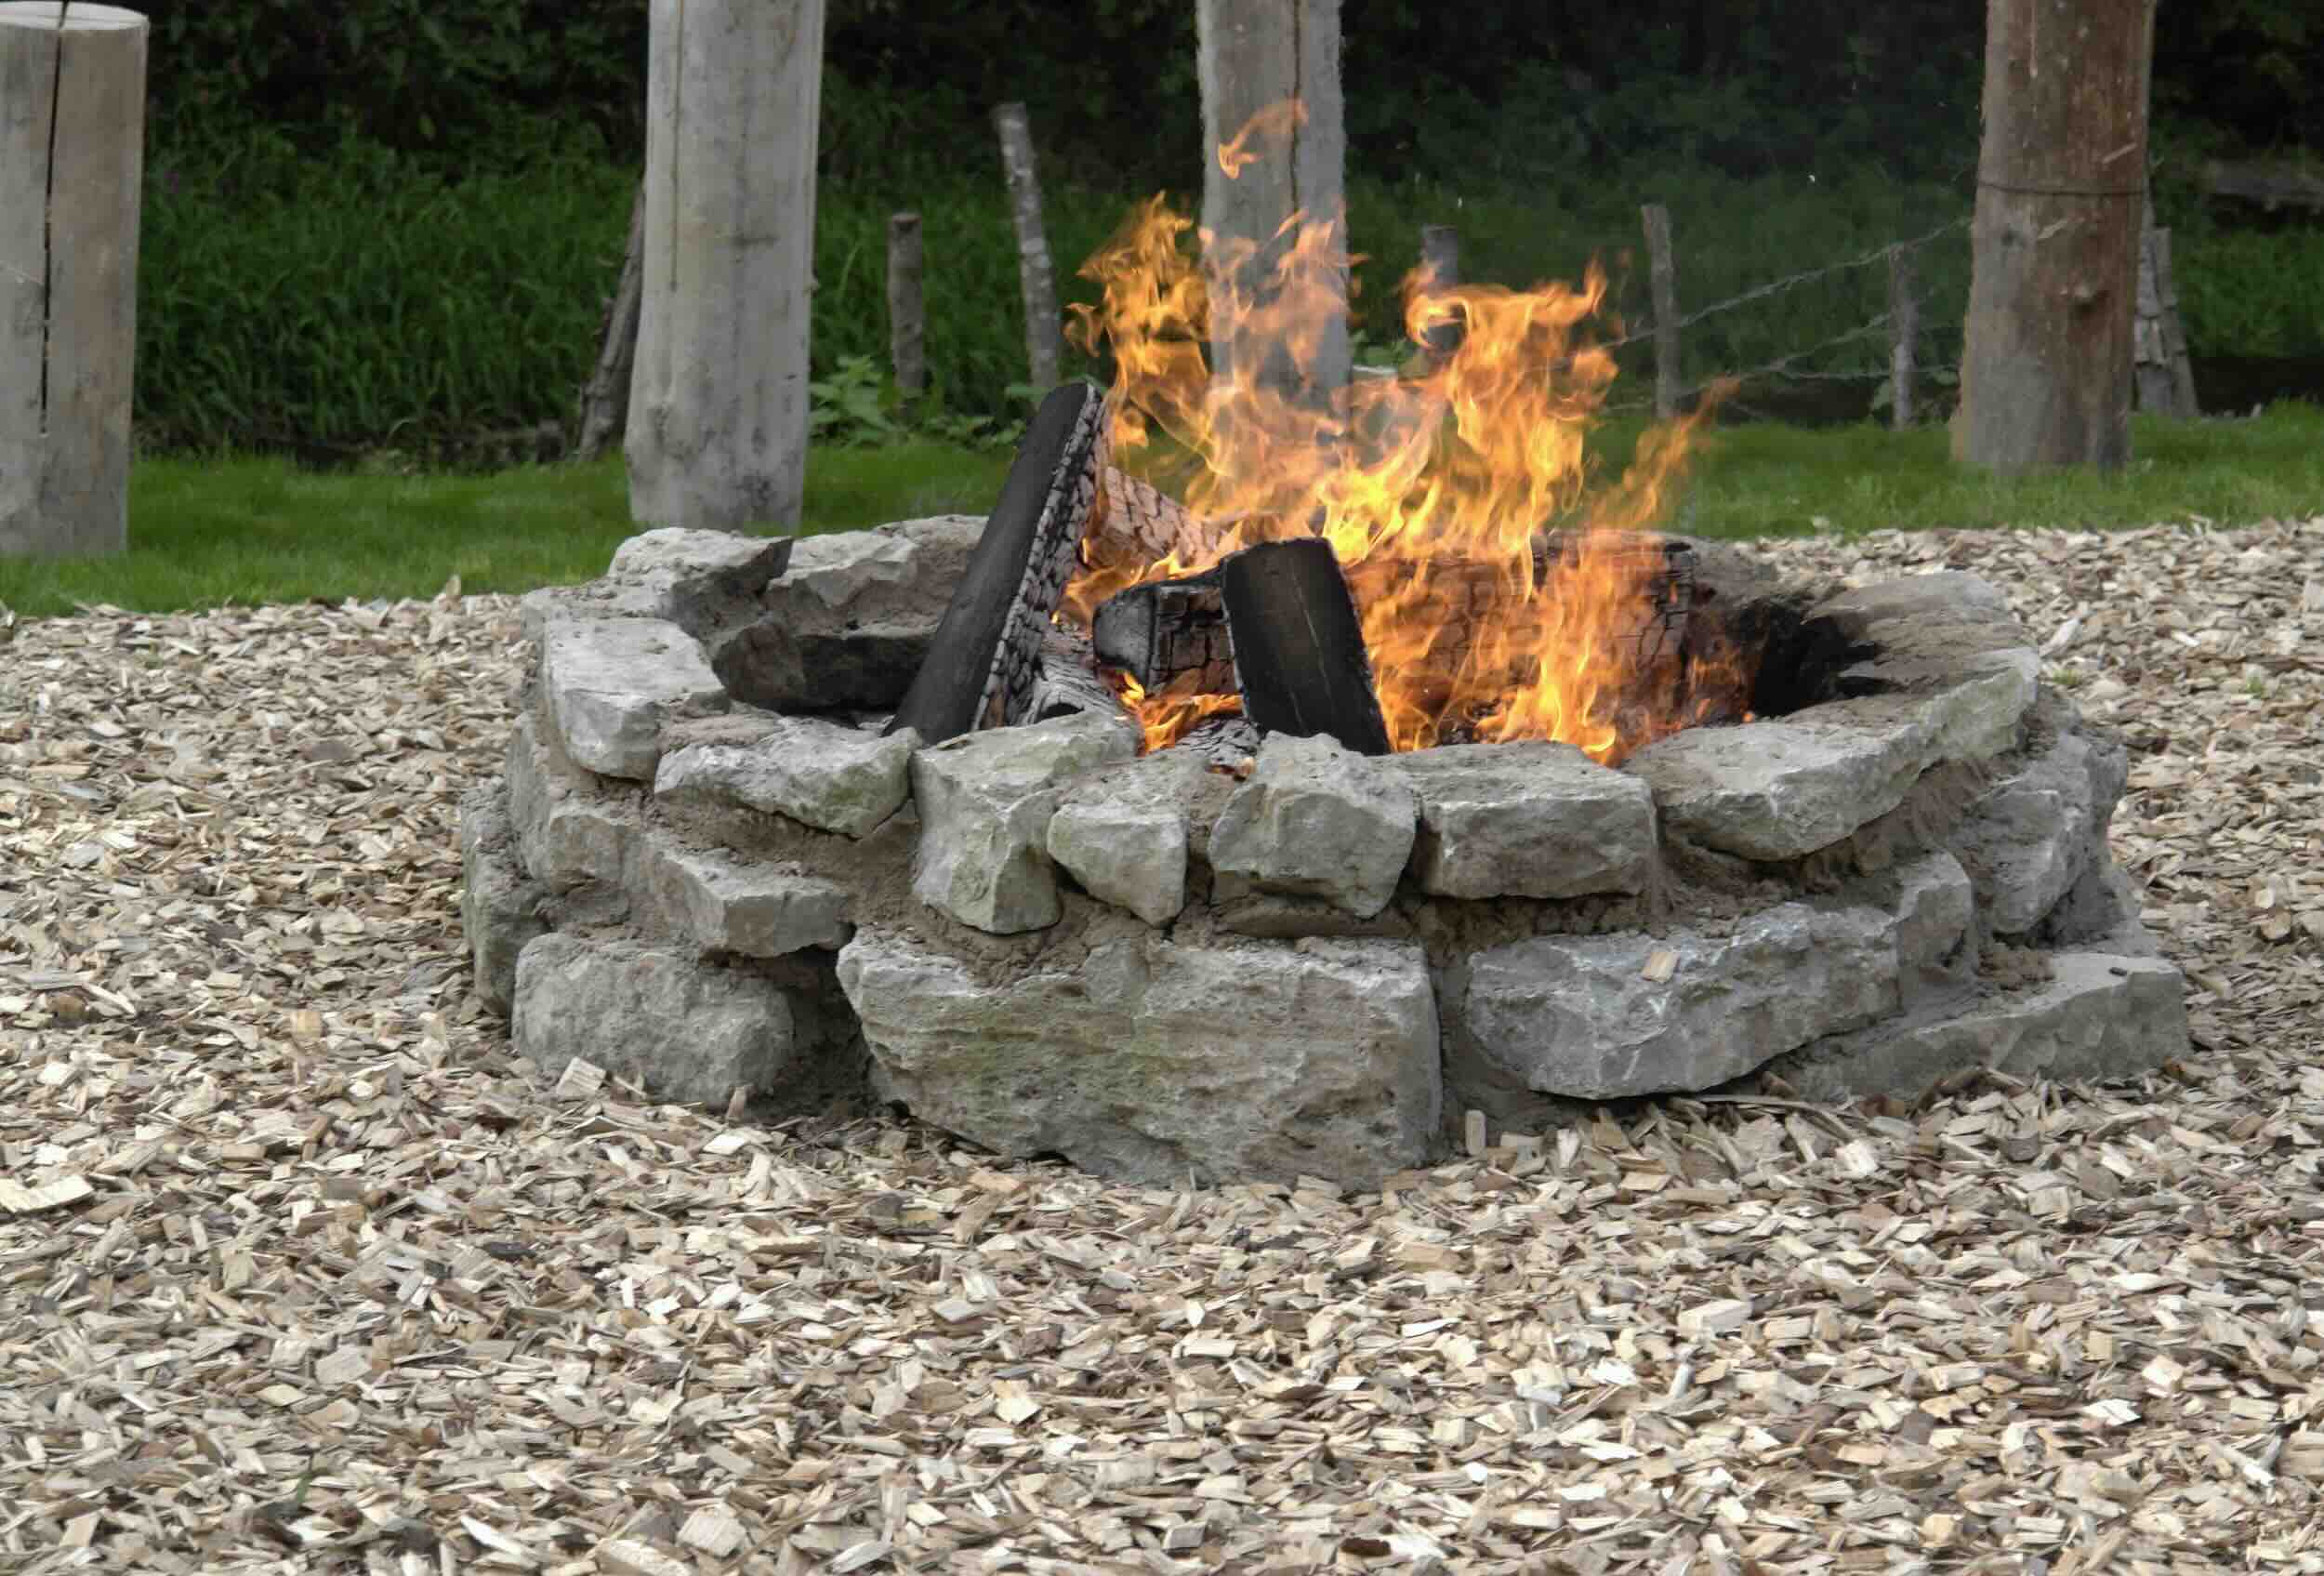
Next, choose your fire pit fuel. Options include wood-burning fire pits or gas fire pits. If you’re using a wood-burning fire pit, place a layer of lava rocks or fire-resistant material at the bottom of the pit to improve airflow and promote efficient burning.
If you’re using a gas fire pit, consult a professional to help with the gas line installation and hookup. Follow all safety regulations and guidelines when working with gas as the fuel source for your fire pit.
Once your fire pit is installed and fueled, it’s time to test it out! Light a small fire and ensure that everything is functioning correctly. Make any necessary adjustments or modifications to guarantee a safe and enjoyable fire pit experience.
Remember to follow all local safety regulations and guidelines when using your fire pit. Keep a fire extinguisher or a bucket of water nearby for emergencies, and ensure that the area around the fire pit is clear of flammable materials.
Well done! You have successfully completed Step 6 of building your fire pit patio. In the next step, we’ll discuss the finishing touches and important safety considerations for your fire pit patio. Stay tuned!
Step 7: Finishing touches and safety considerations
Congratulations on reaching the final step of building your fire pit patio! In this step, we’ll cover the finishing touches and important safety considerations to ensure your fire pit patio looks stunning and remains a safe and enjoyable space for everyone.
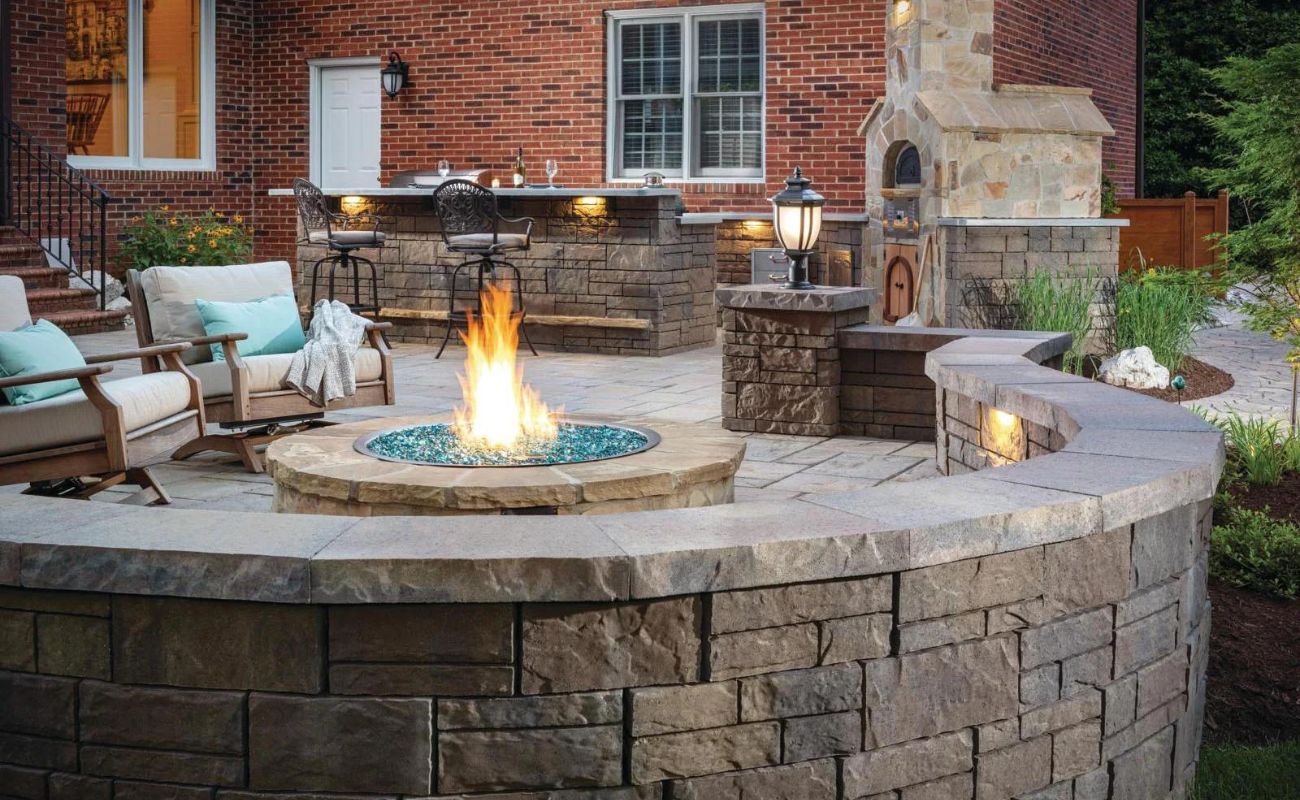
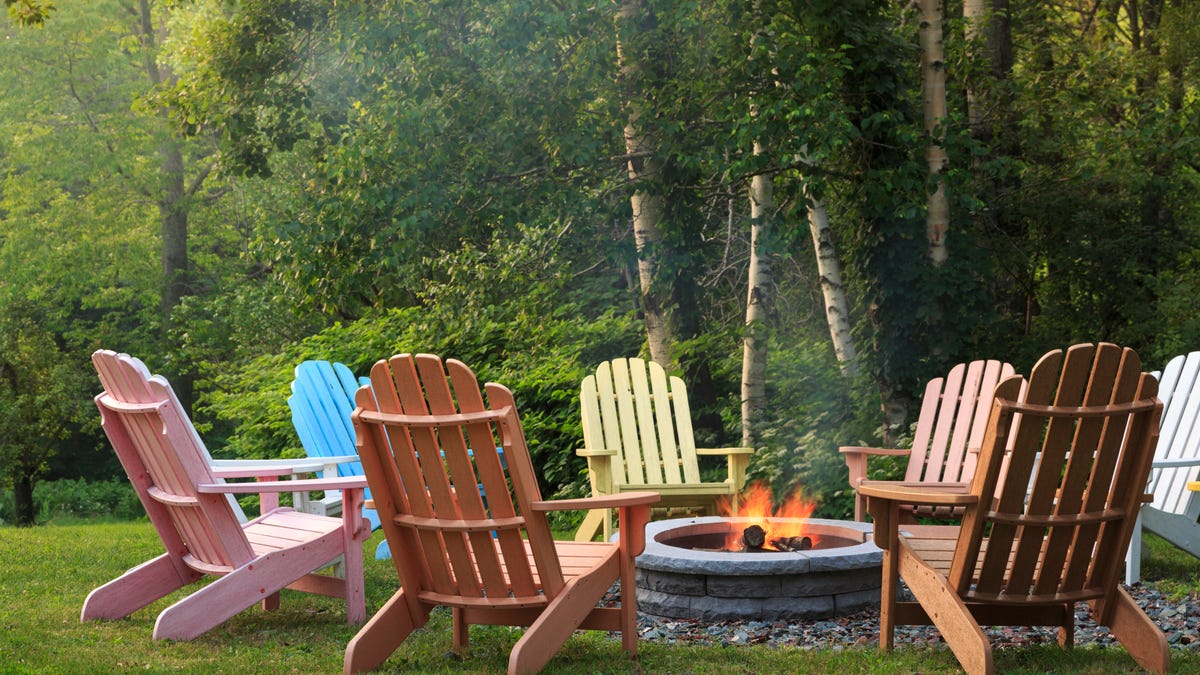
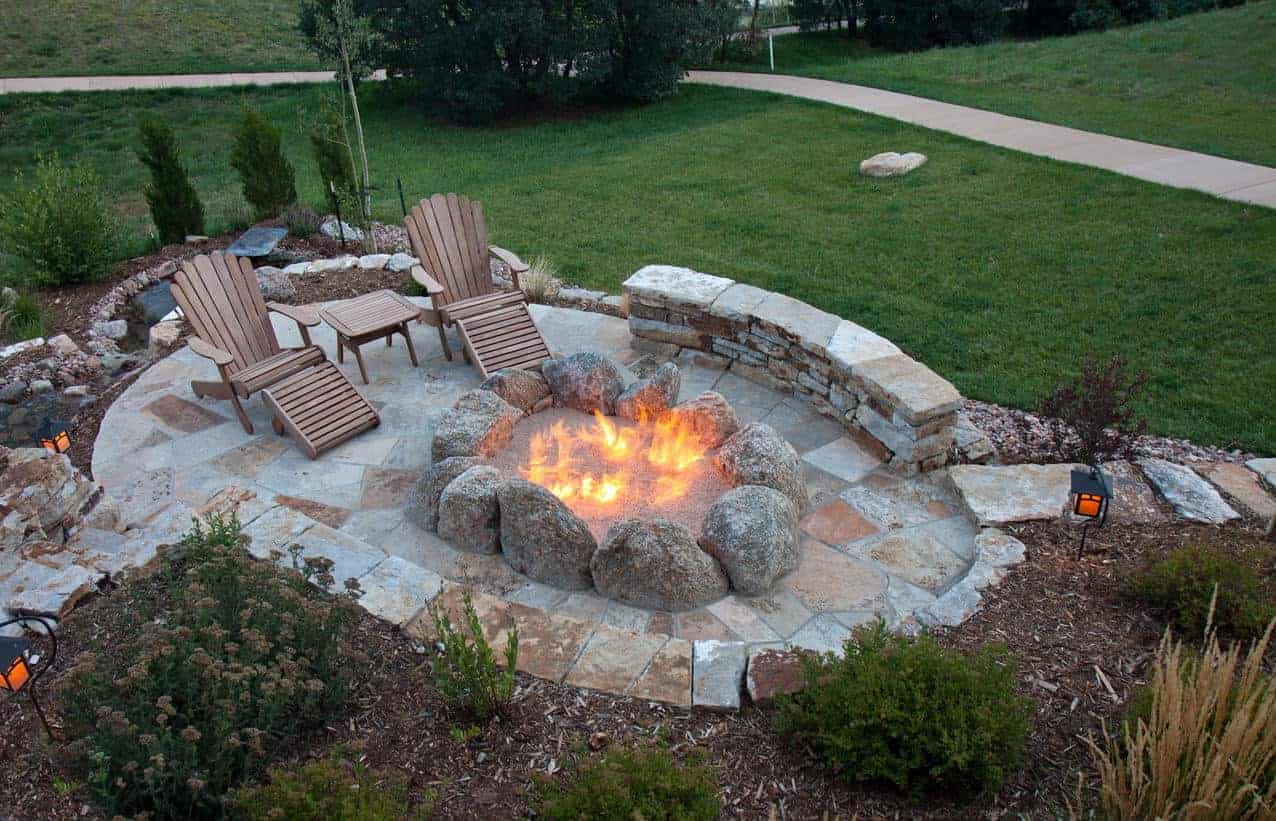
First, let’s talk about the finishing touches. Enhance the aesthetics and functionality of your fire pit patio by adding seating options. Consider outdoor furniture such as lounge chairs, benches, or even built-in seating around the fire pit. Choose materials that are weather-resistant and comfortable for long periods of use.
Additionally, you may want to incorporate a table or side surfaces near the seating area. This provides convenient spots to place drinks, snacks, or any other items you may need while enjoying the fire pit patio.
Now, let’s address the important safety considerations. It’s crucial to prioritize safety to ensure everyone’s well-being and prevent any accidents or mishaps while using your fire pit patio.
First and foremost, always follow the basic fire safety guidelines. Keep a safe distance between your fire pit and any flammable materials, such as overhanging branches, wooden structures, or plants. Avoid using your fire pit on windy days, as this could potentially spread sparks or flames. Never leave the fire unattended and always extinguish it completely before leaving the patio area.
It’s also important to have fire safety equipment readily available. Keep a fire extinguisher nearby, preferably one that is suitable for outdoor use. Additionally, have a bucket of sand or water on hand to quickly and effectively extinguish any small fires or embers that may escape the fire pit.
Furthermore, consider adding safety features to your fire pit patio. Install proper outdoor lighting to ensure visibility during evening gatherings. This will help prevent accidental trips or falls around the patio area. Clearly mark any steps or elevation changes to avoid potential hazards.
Lastly, educate yourself and your guests about fire pit safety. Establish ground rules, such as prohibiting running or horseplay around the fire pit area. Make sure everyone understands the dangers of the fire and the importance of following safety precautions.
With the finishing touches in place and safety considerations addressed, your fire pit patio is now complete! It’s time to sit back, relax, and enjoy the cozy ambiance and warmth of your outdoor space.
Thank you for following this step-by-step guide on how to build a fire pit patio. We hope this comprehensive resource has provided you with the knowledge and inspiration to create your dream outdoor space. Happy gathering and stay safe!
Conclusion
Congratulations on successfully completing your fire pit patio! By following this step-by-step guide, you have learned the essential techniques and considerations for building a beautiful and functional outdoor space. Your fire pit patio will be a captivating centerpiece where you can gather with loved ones and create lasting memories.
Throughout the process, we emphasized the importance of safety. It’s crucial to always prioritize safety when it comes to fire pit usage. Familiarize yourself with local regulations and guidelines to ensure you adhere to them. Additionally, take the necessary precautions, such as keeping a fire extinguisher nearby, practicing responsible fire management, and educating your guests about fire safety.
The location and size of your fire pit patio were determined with a balance of functionality and aesthetics in mind. By carefully considering these factors, you have created a space that fits seamlessly into your backyard and enhances your outdoor living experience.
From clearing and preparing the ground to laying patio pavers and building the fire pit, each step was meticulously explained to help you achieve professional results. Remember to take your time and pay attention to detail throughout the process for the best outcome. Adding the finishing touches, such as seating options and side surfaces, will provide comfort and convenience for you and your guests.
By successfully completing this project, you have not only created an inviting fire pit patio, but also developed valuable DIY skills and knowledge. The satisfaction of building something with your own hands and seeing it come to life is truly rewarding.
Now that your fire pit patio is complete, it’s time to enjoy its warmth and ambiance. Gather your friends and family, roast marshmallows over the crackling flames, and create cherished memories under the starry night sky.
Thank you for embarking on this journey with us, and we hope you have found this guide informative and inspiring. Your fire pit patio will undoubtedly become a cherished feature of your outdoor living space for years to come. Sit back, relax, and savor the beauty and magic of your newly constructed fire pit patio!
After mastering your fire pit patio, why stop there? Dive into vibrant setups that breathe life into any gathering under the stars with our guide on Outdoor Living. For those who relish hands-on tasks, our insights on DIY Projects offer exciting ways to enhance your home environment yourself. And, if you're already thinking about your next outdoor get-together, don't miss our collection of Fire Pit Ideas, perfect for planning memorable evenings.
Frequently Asked Questions about How To Build A Fire Pit Patio
Was this page helpful?
At Storables.com, we guarantee accurate and reliable information. Our content, validated by Expert Board Contributors, is crafted following stringent Editorial Policies. We're committed to providing you with well-researched, expert-backed insights for all your informational needs.



0 thoughts on “How To Build A Fire Pit Patio”