Home>Furniture>Outdoor Furniture>How To Tie Aerial Hammock
Outdoor Furniture
How To Tie Aerial Hammock
Modified: August 17, 2024
Learn how to tie an aerial hammock and elevate your outdoor furniture experience. Discover the best techniques for setting up and enjoying your outdoor aerial hammock.
(Many of the links in this article redirect to a specific reviewed product. Your purchase of these products through affiliate links helps to generate commission for Storables.com, at no extra cost. Learn more)
Introduction
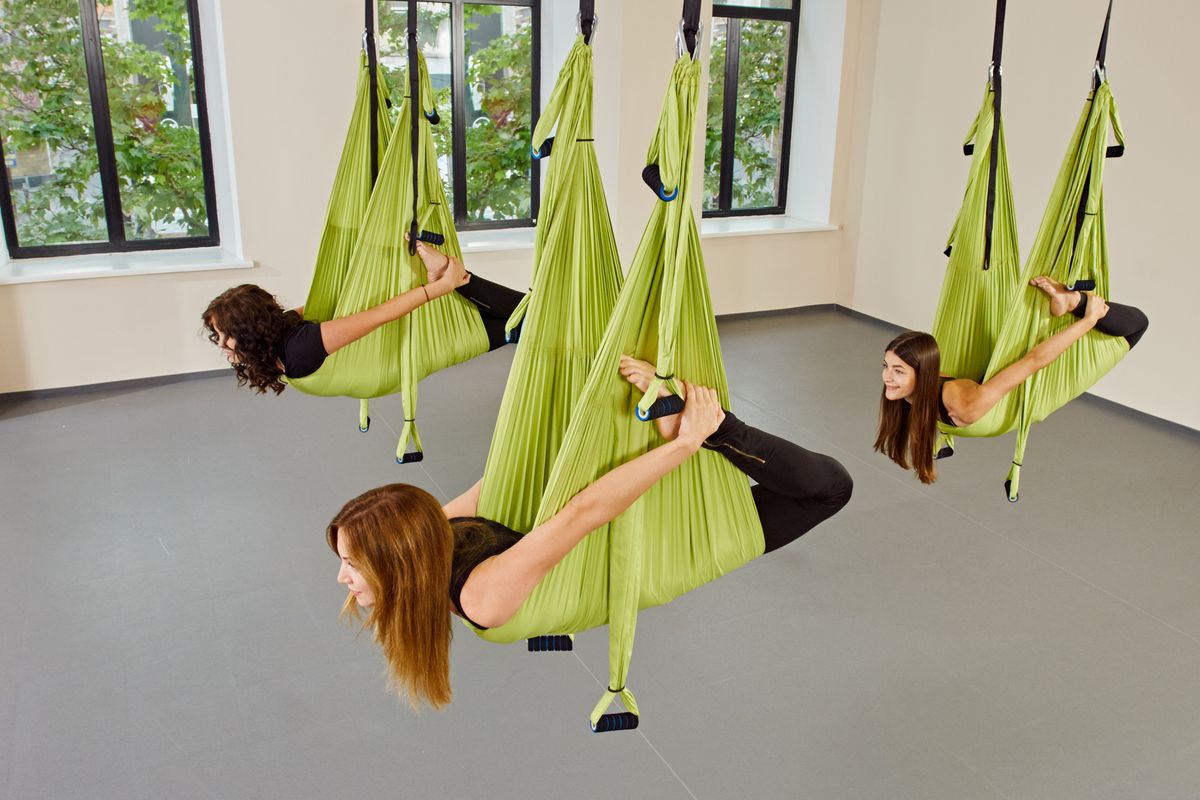
Welcome to the exciting world of aerial hammocks! Whether you’re a seasoned acrobat or a beginner looking for a fun and challenging way to stay fit, aerial hammocks offer a unique and exhilarating experience. These versatile pieces of equipment can be used both indoors and outdoors, making them a popular choice for those who want to take their fitness routines to new heights.
In this article, we will guide you through the process of tying an aerial hammock. From setting up the hammock to learning basic knots and moves, we’ll cover everything you need to know to get started. So, grab your hammock and let’s dive in!
Key Takeaways:
- Get ready to soar with aerial hammocks! Follow the steps to set up and secure your hammock, learn basic knots, and try beginner-friendly moves. Safety first, then enjoy the thrill of aerial hammocking!
- Aerial hammocking is a fun way to stay fit and improve strength and flexibility. Always prioritize safety, seek guidance from professionals, and challenge yourself with new moves. Embrace the grace and strength of aerial hammocking!
Read more: How To Rig Aerial Hammock
Materials Needed
Before you can start tying your aerial hammock, you’ll need a few essential materials. Here’s a list of what you’ll need:
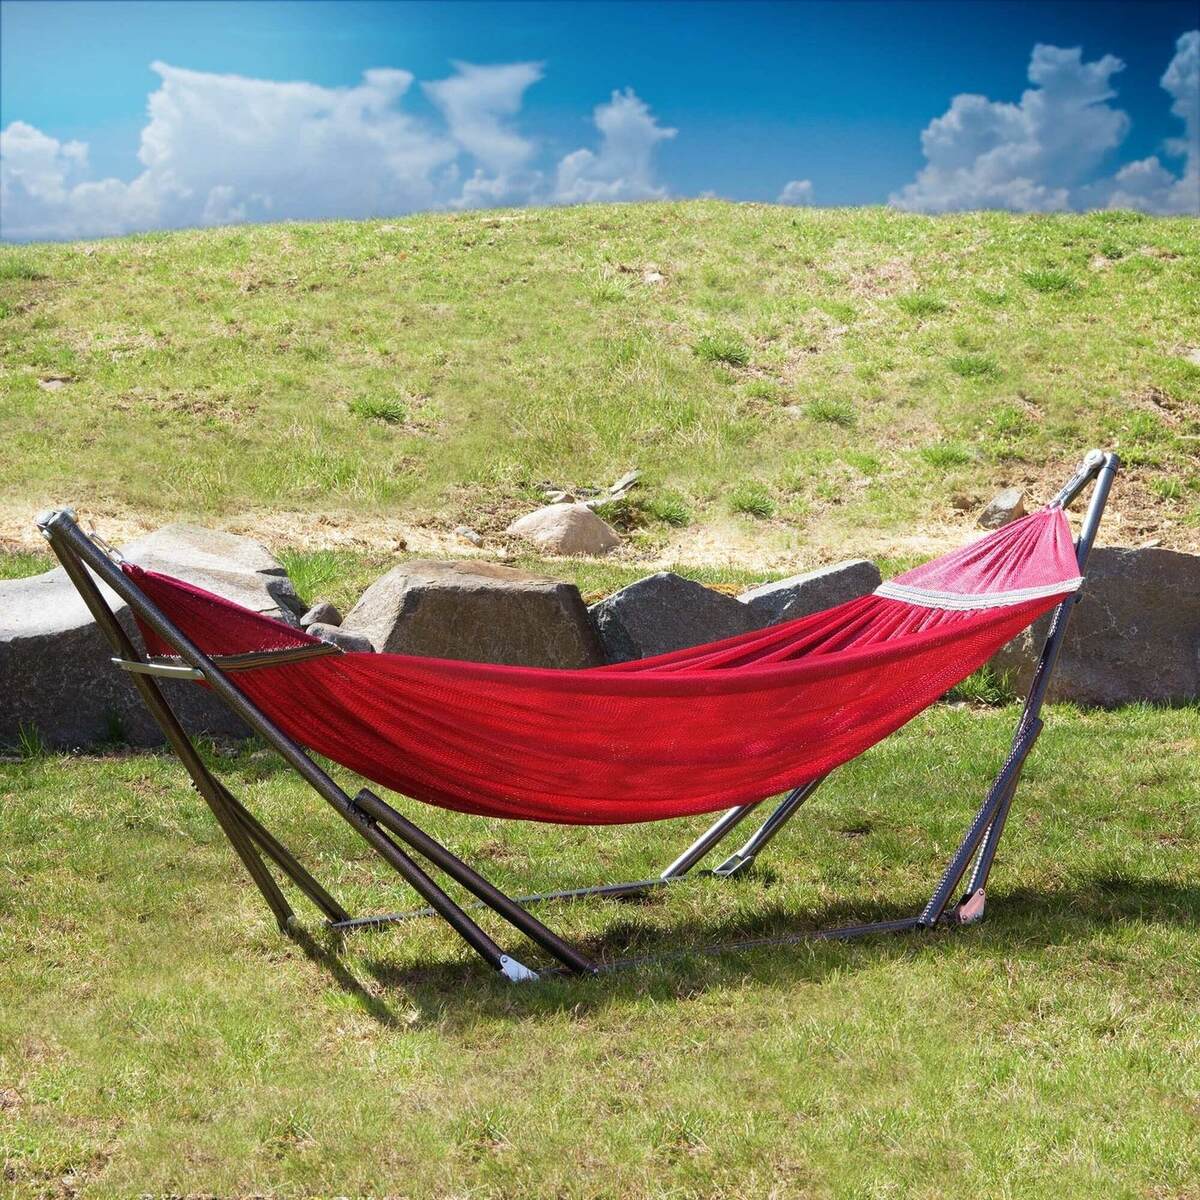
- An aerial hammock: This is the main piece of equipment. You can purchase a pre-made hammock or make your own using strong, durable fabric.
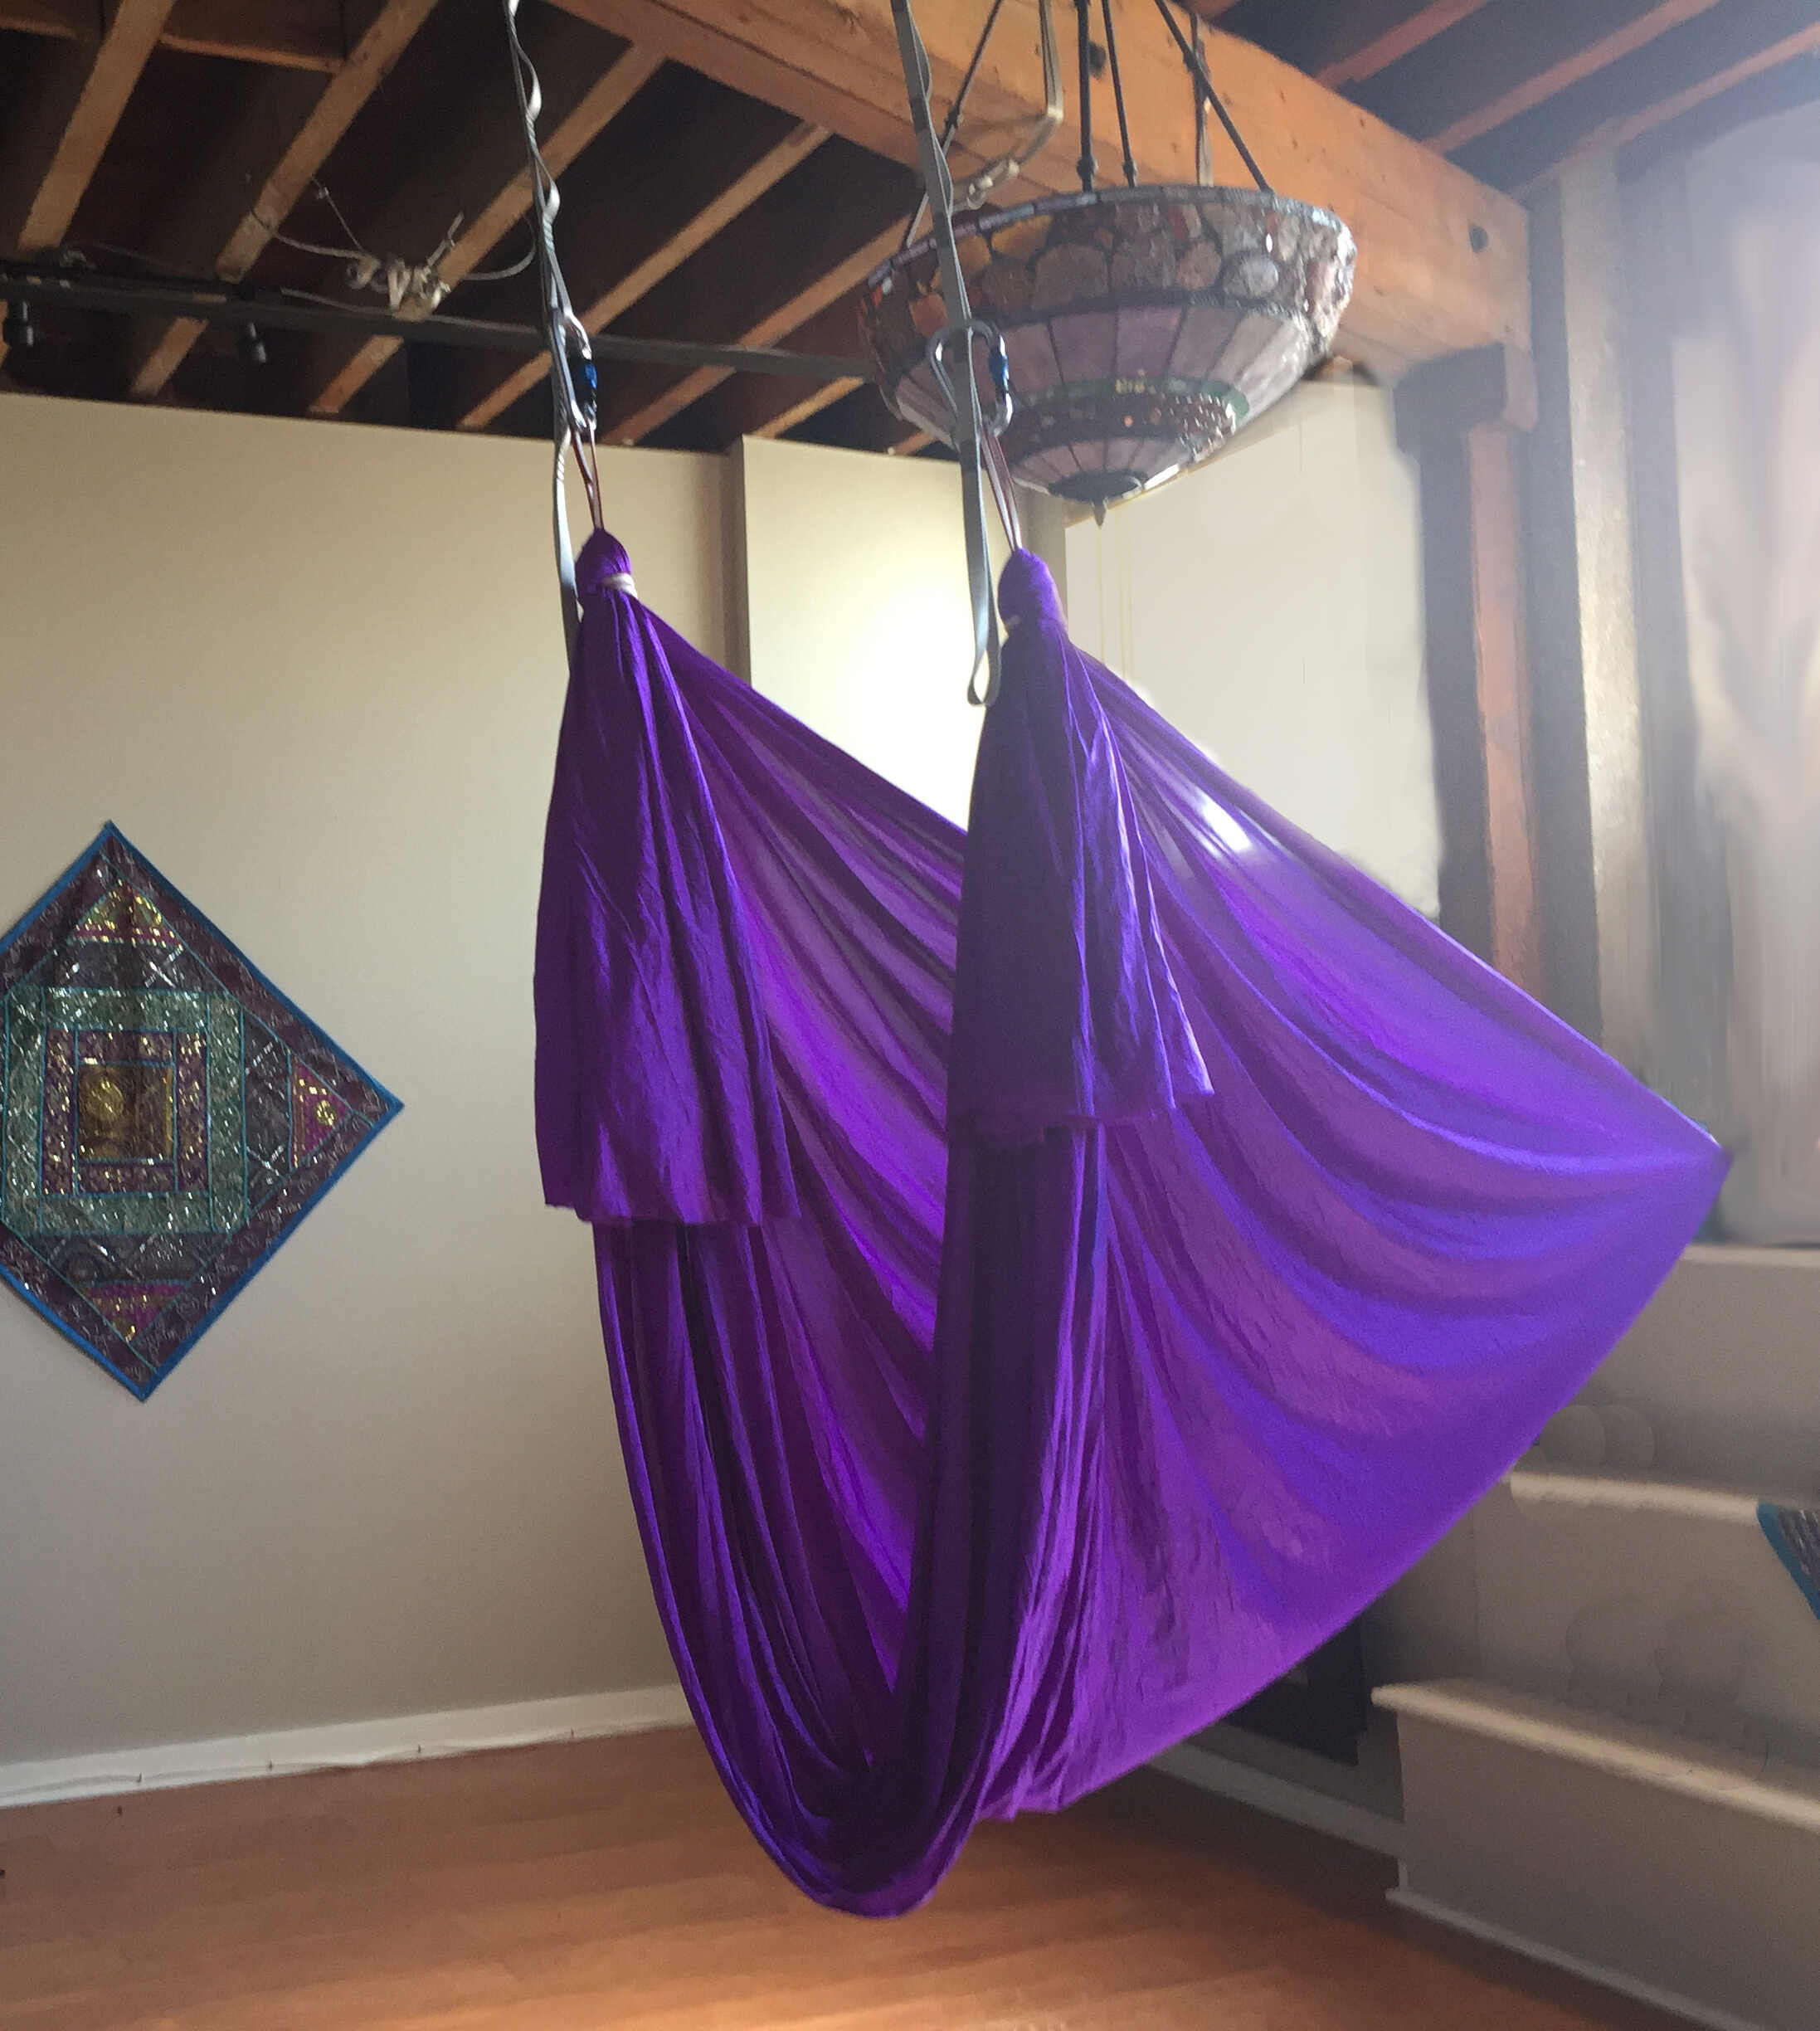
- A rigging point: This can be a sturdy tree branch, a metal beam, or a professionally installed rigging point. Make sure it is strong enough to support your weight.
- Climbing hardware: This includes carabiners, swivels, and daisy chains. These items will be used to secure the hammock to the rigging point.
- A mat or crash pad: It’s always a good idea to have some padding beneath your rigging point in case of accidental falls.
- A spotter: If you’re new to aerial hammocks, it’s recommended to have someone with you to assist and ensure your safety during the process.
Once you have all these materials ready, you’re all set to start tying your aerial hammock!
Step 1: Setting Up the Aerial Hammock
Setting up the aerial hammock may seem daunting at first, but with the right guidance, it can be a straightforward process. Here’s a step-by-step guide:
- Choose a suitable rigging point: Look for a strong and secure spot to hang your aerial hammock. It should be able to support your weight and have enough space around it for you to move freely.
- Attach the carabiners: Take the carabiners and attach them to the rigging point. Make sure they are locked securely to avoid any accidents.
- Set the hammock height: Adjust the height of the hammock based on your preference. Remember to leave enough space between the bottom of the hammock and the ground to allow for movements and poses.
- Connect the hammock to the carabiners: Take the daisy chains and connect them to the carabiners. Then, attach the hammock to the daisy chains using the appropriate method, such as a lark’s head knot.
- Adjust the tension: Once the hammock is attached, adjust the tension by pulling on the daisy chains. The hammock should be taut but not overly tight.
- Double-check everything: Before you start using the aerial hammock, double-check all the connections and make sure everything is secure. Give the hammock a gentle tug to ensure it is holding up properly.
With these steps completed, you’re ready to move on to the next stage of tying the aerial hammock: learning some basic knots.
Step 2: Basic Knots for the Aerial Hammock
Learning a few basic knots is essential for tying the aerial hammock securely. These knots will ensure that your hammock stays in place during your aerial routines. Here are a few knots to get you started:
- Lark’s Head Knot: This is the most common knot used to attach the hammock to the carabiners. To tie the lark’s head knot, fold the hammock in half, pass the folded end through the carabiner, and then pull the rest of the hammock through the folded end loop.
- Figure 8 Knot: The figure 8 knot is used to create a loop in the hammock for foot-holds or handholds. To tie a figure 8 knot, make a loop in the hammock, pass the end of the hammock through the loop, and then bring it back over the top of the loop.
- Double Fisherman’s Knot: This knot is used to connect two ends of the hammock together securely. To tie a double fisherman’s knot, take the two ends of the hammock, cross them over each other, create a loop with each end, and then pass the ends through each other’s loop twice.
It’s important to practice these knots until you’re comfortable tying them quickly and securely. Remember to always check your knots before using the aerial hammock to ensure they are tight and reliable.
Now that you’ve mastered the basic knots, let’s move on to tying the single point of contact on the aerial hammock.
When tying an aerial hammock, make sure to use a secure and reliable knot such as a figure-eight knot or a double bowline. Always check the knot for safety before using the hammock.
Step 3: Tying the Single Point of Contact
Tying the single point of contact is an important step in setting up your aerial hammock. This point will serve as the main attachment for your body during various aerial poses and movements. Here’s how to tie the single point of contact:
- Locate the center of the aerial hammock: Fold the hammock in half lengthwise and find the center point. This will be where your body attaches to the hammock.
- Create a loop with the center point: Take the center point of the hammock and create a loop by overlapping the two ends. The loop should be large enough to accommodate your foot, hand, or any other body part you plan to attach to the hammock.
- Tie a secure knot: Once you have the loop, tie a secure knot around it to hold it in place. The type of knot you use will depend on personal preference and comfort.
- Test the knot: Give the knot a gentle tug to ensure it is secure. It should hold your weight without slipping or coming undone.
Remember to repeat this process for each side of the aerial hammock to create two single points of contact. These points will provide stability and support throughout your aerial routine.
Now that you’ve tied the single point of contact, let’s move on to learning some basic aerial hammock moves.
Read more: How To Tie A Hammock Rope
Step 4: Basic Aerial Hammock Moves
Now that you have your aerial hammock set up and secured, it’s time to learn some basic moves to get you started. These moves will help build strength, improve flexibility, and allow you to explore the full potential of the aerial hammock. Here are a few basic moves to try:
- Seat Pose: Start by sitting in the hammock with your legs extended in front of you. Hold onto the fabric for support and engage your core. This pose is great for building stability and getting comfortable in the hammock.
- Straddle Inversion: Sit at the center of the hammock and slowly lean back, bringing your legs up and apart into a straddle position. This move helps build upper body strength and improves flexibility.
- Pike Fold: Start in a seated position and gradually lift your legs straight in front of you. Reach your hands towards your toes and fold your body forward at the hips. This move stretches the hamstrings and strengthens the core.
- Backbend: Hold onto the fabric and lean backward, allowing your back to arch. Control the movement with your core muscles and engage your arms for support. This move helps improve spinal flexibility and strengthens the upper body.
- Scissors: Sit on one side of the hammock and lift your legs straight out in front of you. Cross one leg over the other and then uncross them in a scissor-like motion. This move targets the lower abs and inner thighs.
Remember to always practice these moves with caution and listen to your body. Start with beginner-friendly poses and gradually progress to more advanced moves as you gain strength and confidence. It’s also a good idea to take regular breaks and stay hydrated during your aerial hammock practice.
Now that you’re familiar with some basic moves, let’s move on to the final step: safety tips and precautions.
Step 5: Safety Tips and Precautions
As exhilarating as aerial hammock activities can be, it’s vital to prioritize safety at all times. Here are some essential safety tips and precautions to keep in mind:
- Always perform aerial hammock activities under the guidance of a trained instructor, especially if you’re a beginner. They can provide you with proper technique, spotting, and safety protocols.
- Ensure that your rigging point is secure and can safely support your weight. Regularly inspect the area for any signs of wear or damage.
- Perform a thorough warm-up before each session to prepare your muscles and joints for the physical demands of aerial hammock movements.
- Check your equipment regularly for any signs of wear and tear. Replace any worn-out or damaged components immediately.
- Use crash pads or mats underneath your rigging point to minimize the impact in the event of a fall. Ensure that the area around the hammock is clear of obstacles or hazards.
- Listen to your body and know your limits. Do not push yourself beyond what feels comfortable or safe. Take breaks when needed and stay hydrated.
- Be mindful of your surroundings and the space requirements for each aerial hammock movement. Make sure there is enough space above, below, and around you to perform your routines safely.
- Develop a strong core and upper body strength as they play a crucial role in maintaining stability and control during aerial hammock activities.
- If you have any pre-existing medical conditions or injuries, consult with your healthcare provider before starting aerial hammock training.
Remember, safety should always be the top priority. By following these safety tips and precautions, you can enjoy the thrill and benefits of aerial hammock activities while minimizing the risk of injury.
Now that you’re equipped with the necessary knowledge and precautions, it’s time to soar to new heights in your aerial hammock practice!
Happy flying!
Conclusion
Congratulations! You’ve now learned how to tie an aerial hammock and discovered some basic moves to try. Aerial hammocking is not only a fun and exciting way to stay fit, but it also helps improve strength, flexibility, and body awareness.
Remember to always practice safety first and foremost. Ensure that your rigging point is secure, regularly inspect your equipment, and listen to your body’s limits. By taking these precautions, you can enjoy the exhilarating experience of aerial hammocking with peace of mind.
Whether you’re a beginner or an experienced aerialist, continue to challenge yourself and explore new moves in your practice. Seek guidance from trained professionals to improve your technique and master more advanced poses.
So, grab your aerial hammock, tie it securely, and let yourself soar through the air. Embrace the grace and strength that aerial hammocking brings, and enjoy the amazing benefits it offers for both your physical and mental well-being.
Remember to have fun, stay safe, and keep reaching new heights in your aerial hammock journey!
Frequently Asked Questions about How To Tie Aerial Hammock
Was this page helpful?
At Storables.com, we guarantee accurate and reliable information. Our content, validated by Expert Board Contributors, is crafted following stringent Editorial Policies. We're committed to providing you with well-researched, expert-backed insights for all your informational needs.


0 thoughts on “How To Tie Aerial Hammock”