Home>Furniture>Outdoor Furniture>How To Macrame A Hammock Chair
Outdoor Furniture
How To Macrame A Hammock Chair
Modified: March 16, 2024
Learn how to macrame a stylish hammock chair for your outdoor furniture. Create a cozy and relaxing spot to unwind in your garden or patio with this easy DIY project.
(Many of the links in this article redirect to a specific reviewed product. Your purchase of these products through affiliate links helps to generate commission for Storables.com, at no extra cost. Learn more)
Introduction
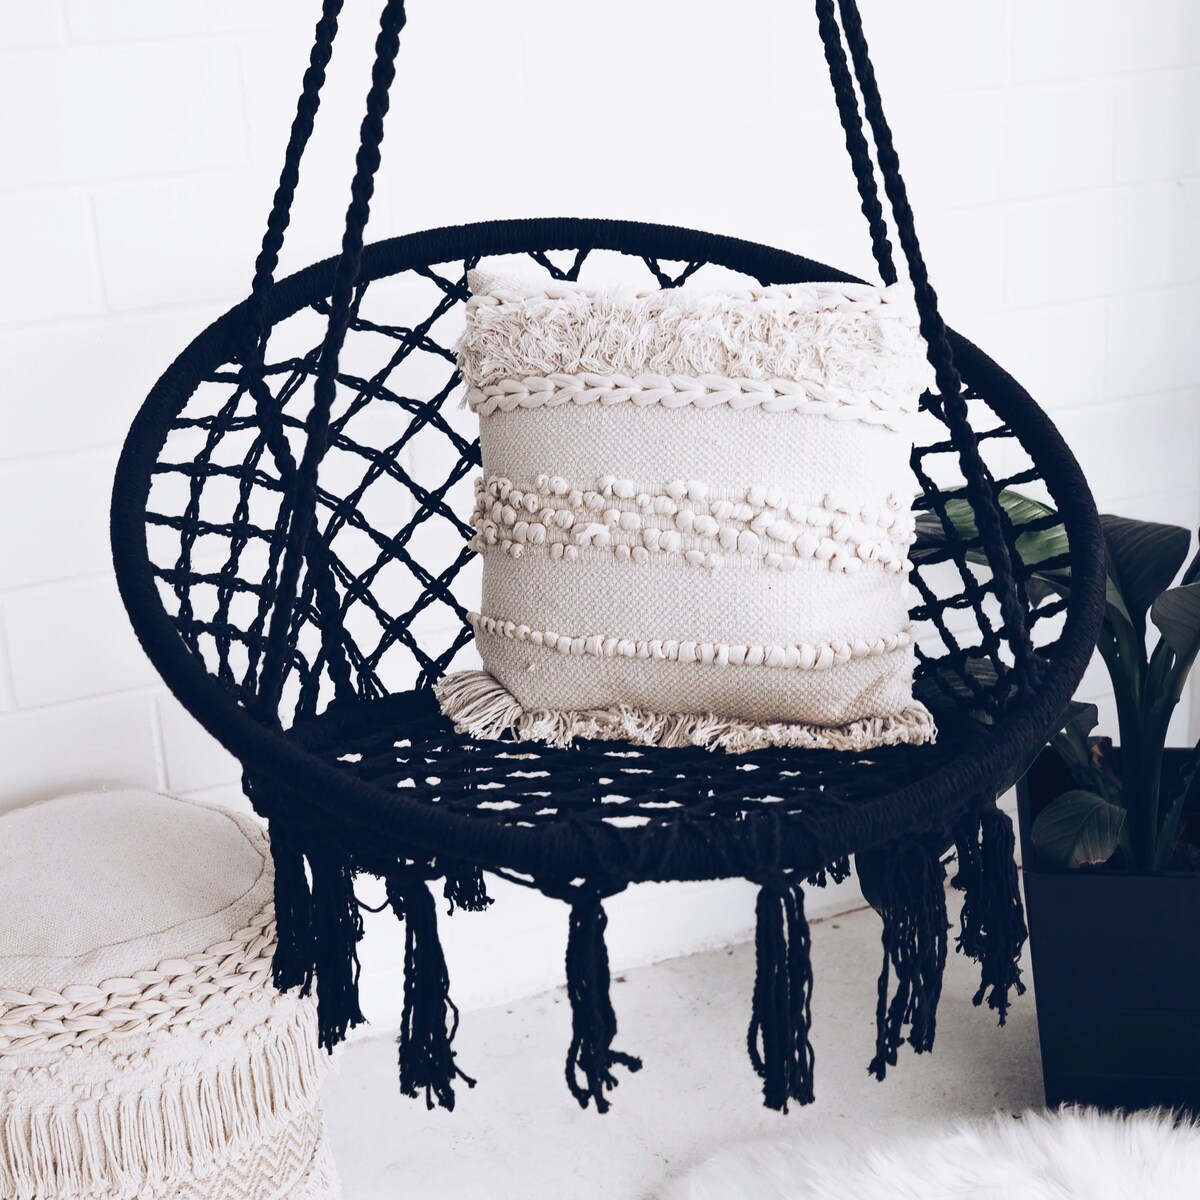
Welcome to the world of outdoor relaxation! There’s nothing quite like lounging in a comfortable hammock chair, gently swaying in the breeze, while enjoying the beauty of nature or simply unwinding after a long day. If you’re looking to add a touch of bohemian charm and coziness to your outdoor space, why not try making your own macrame hammock chair?
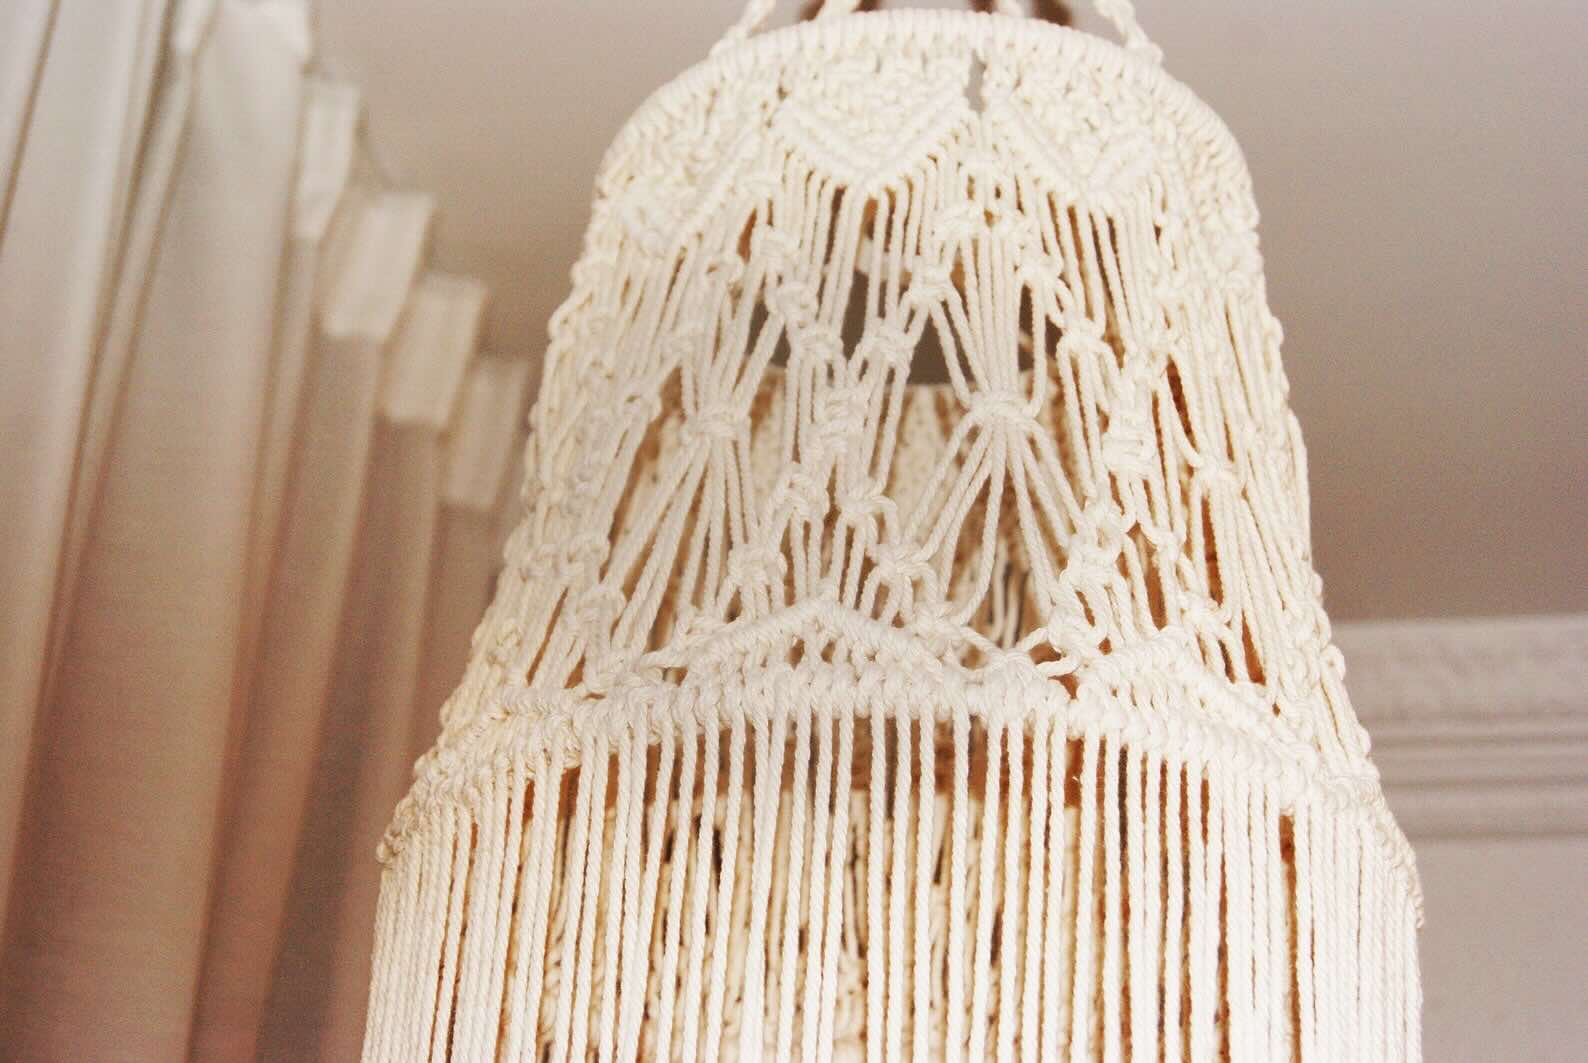
Macrame, the art of knotting ropes to create intricate patterns, has been around for centuries. It’s not only a fun and creative hobby but also a practical skill that allows you to craft unique and personalized pieces. Making a hammock chair is a perfect project for both beginners and experienced macrame enthusiasts.
In this article, we’ll guide you through the steps of creating your very own macrame hammock chair. We’ll provide a list of materials you’ll need, along with detailed instructions and tips to ensure your chair turns out beautifully. So, grab your favorite cup of tea, find a cozy spot, and let’s dive into the captivating world of macrame!
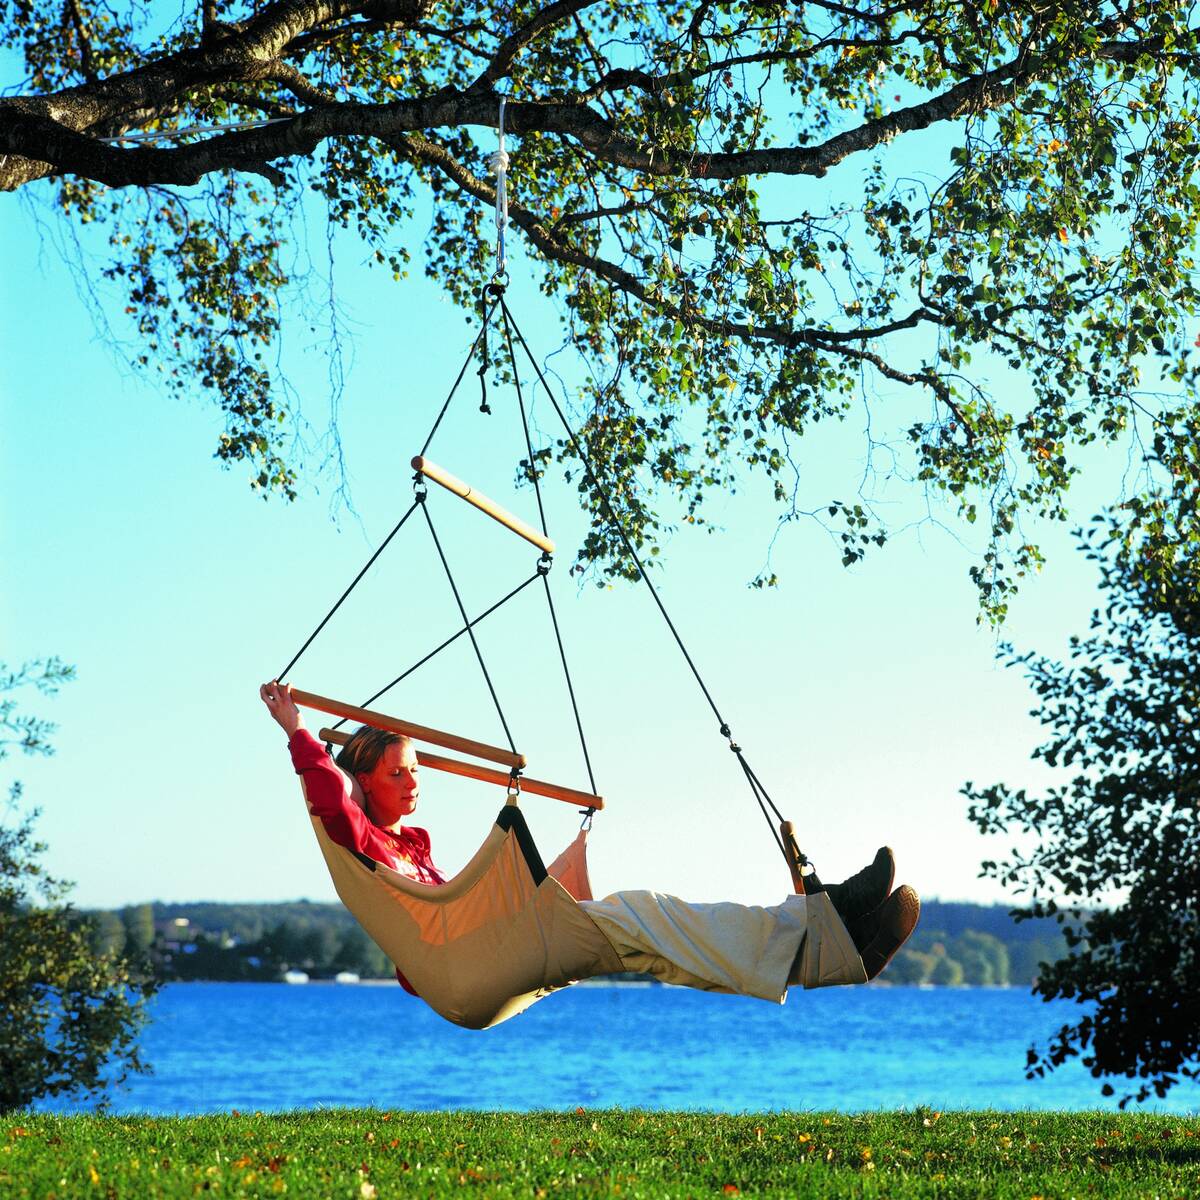
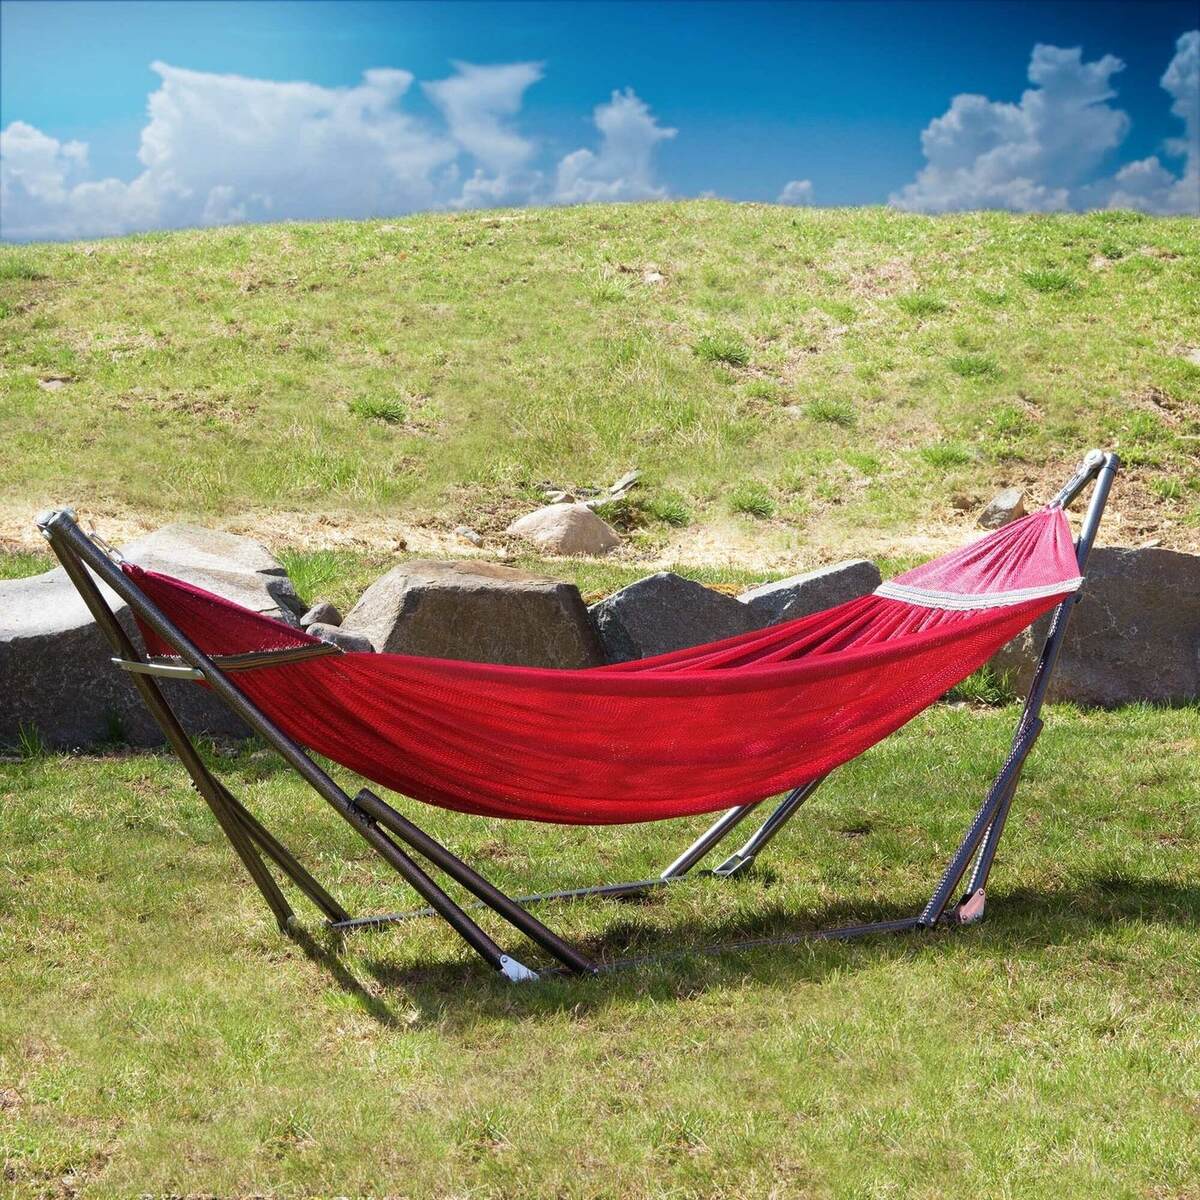
Note: Before you begin, make sure you have a sturdy tree, pergola, or some other structure to hang your hammock chair from. Safety is essential, so ensure the structure can support the weight and movement of the chair.
Key Takeaways:
- Create your own macrame hammock chair using sturdy cotton rope and basic knots. Add a bohemian touch to your outdoor space and enjoy the relaxing comfort of your handmade masterpiece.
- Personalize your macrame hammock chair with decorative accents and cushions. Embrace creativity, patience, and attention to detail for a unique and cozy outdoor haven.
Read more: How To Make A Macrame Hammock
Materials Needed
Before you start your macrame hammock chair project, gather the following materials:
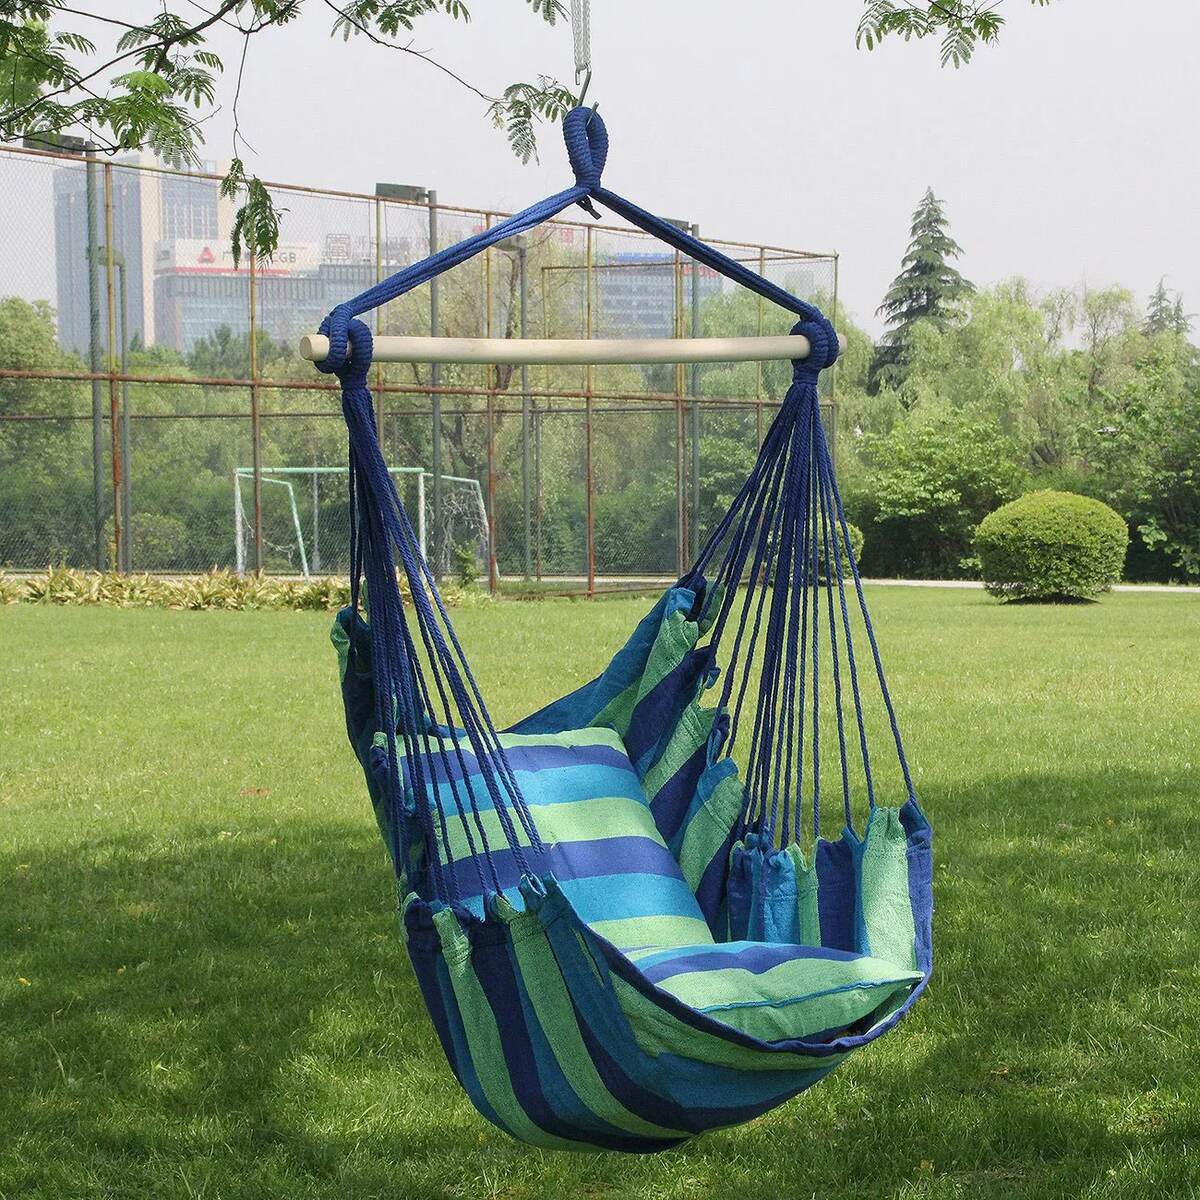
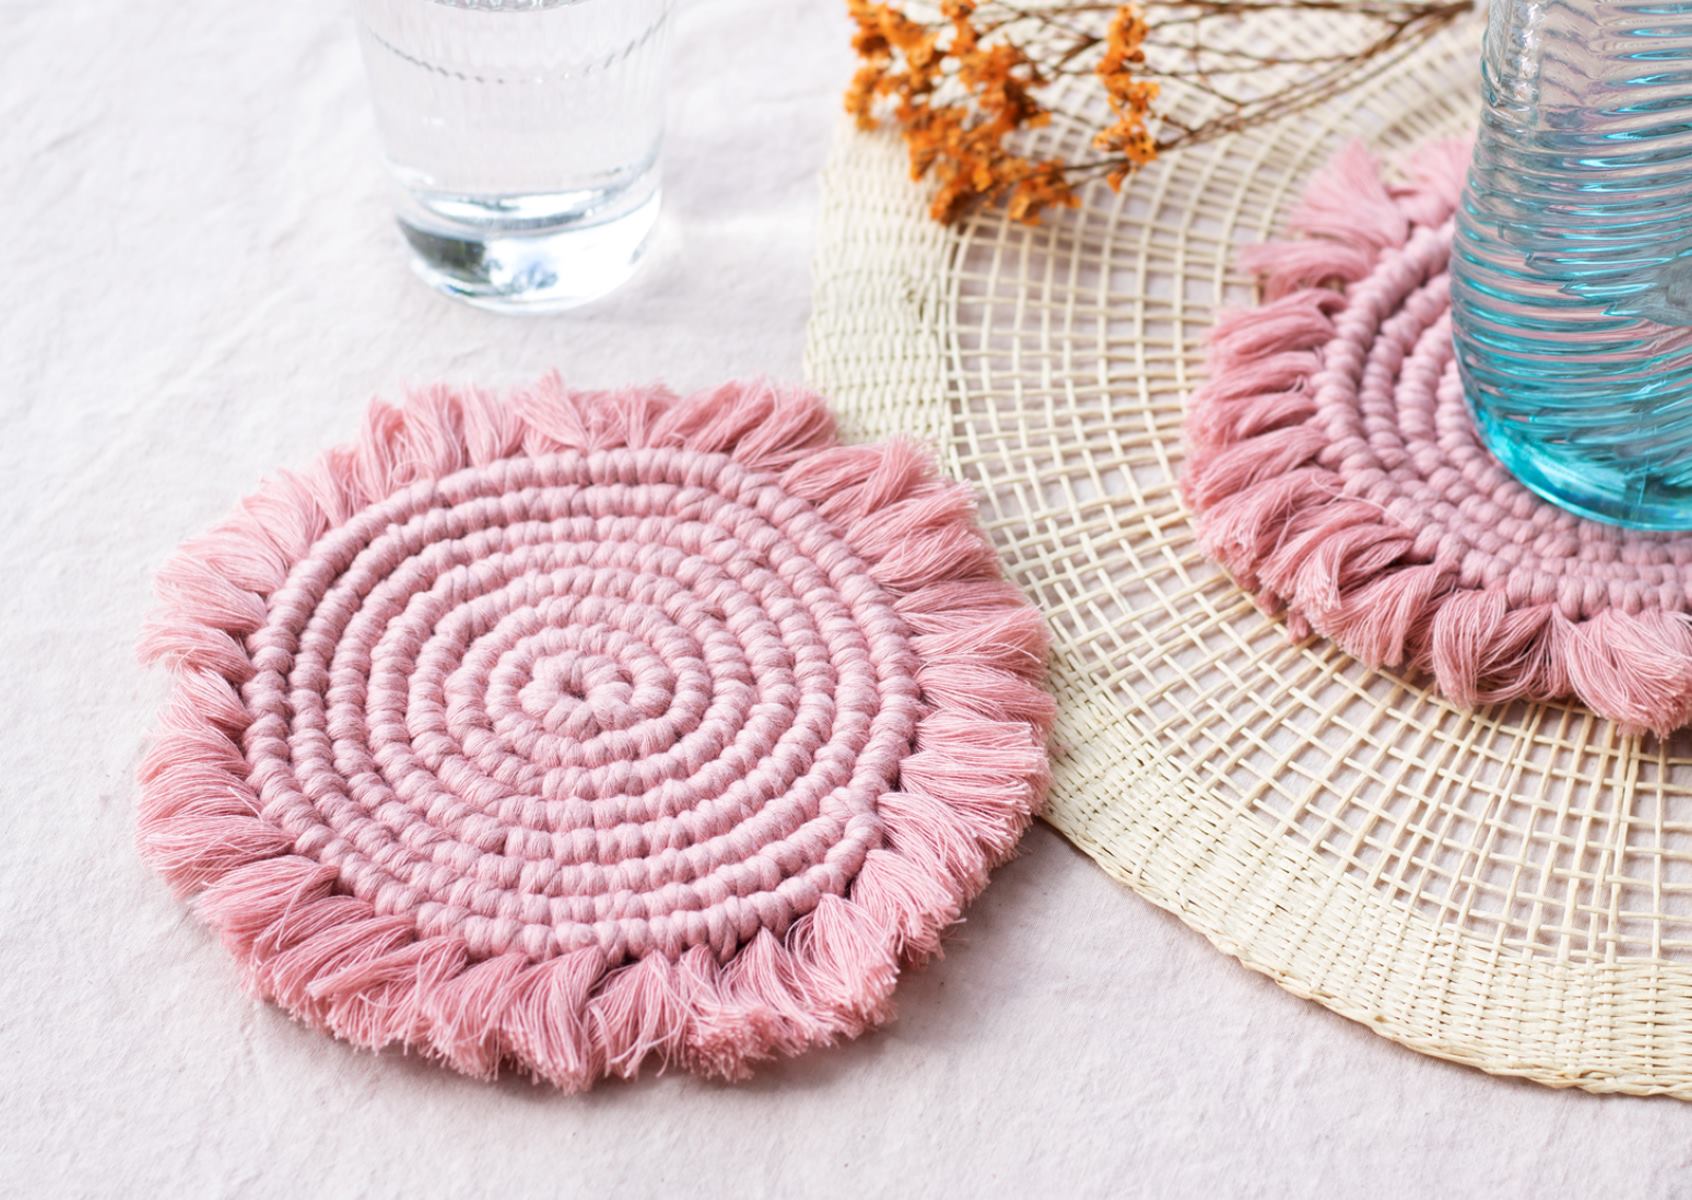
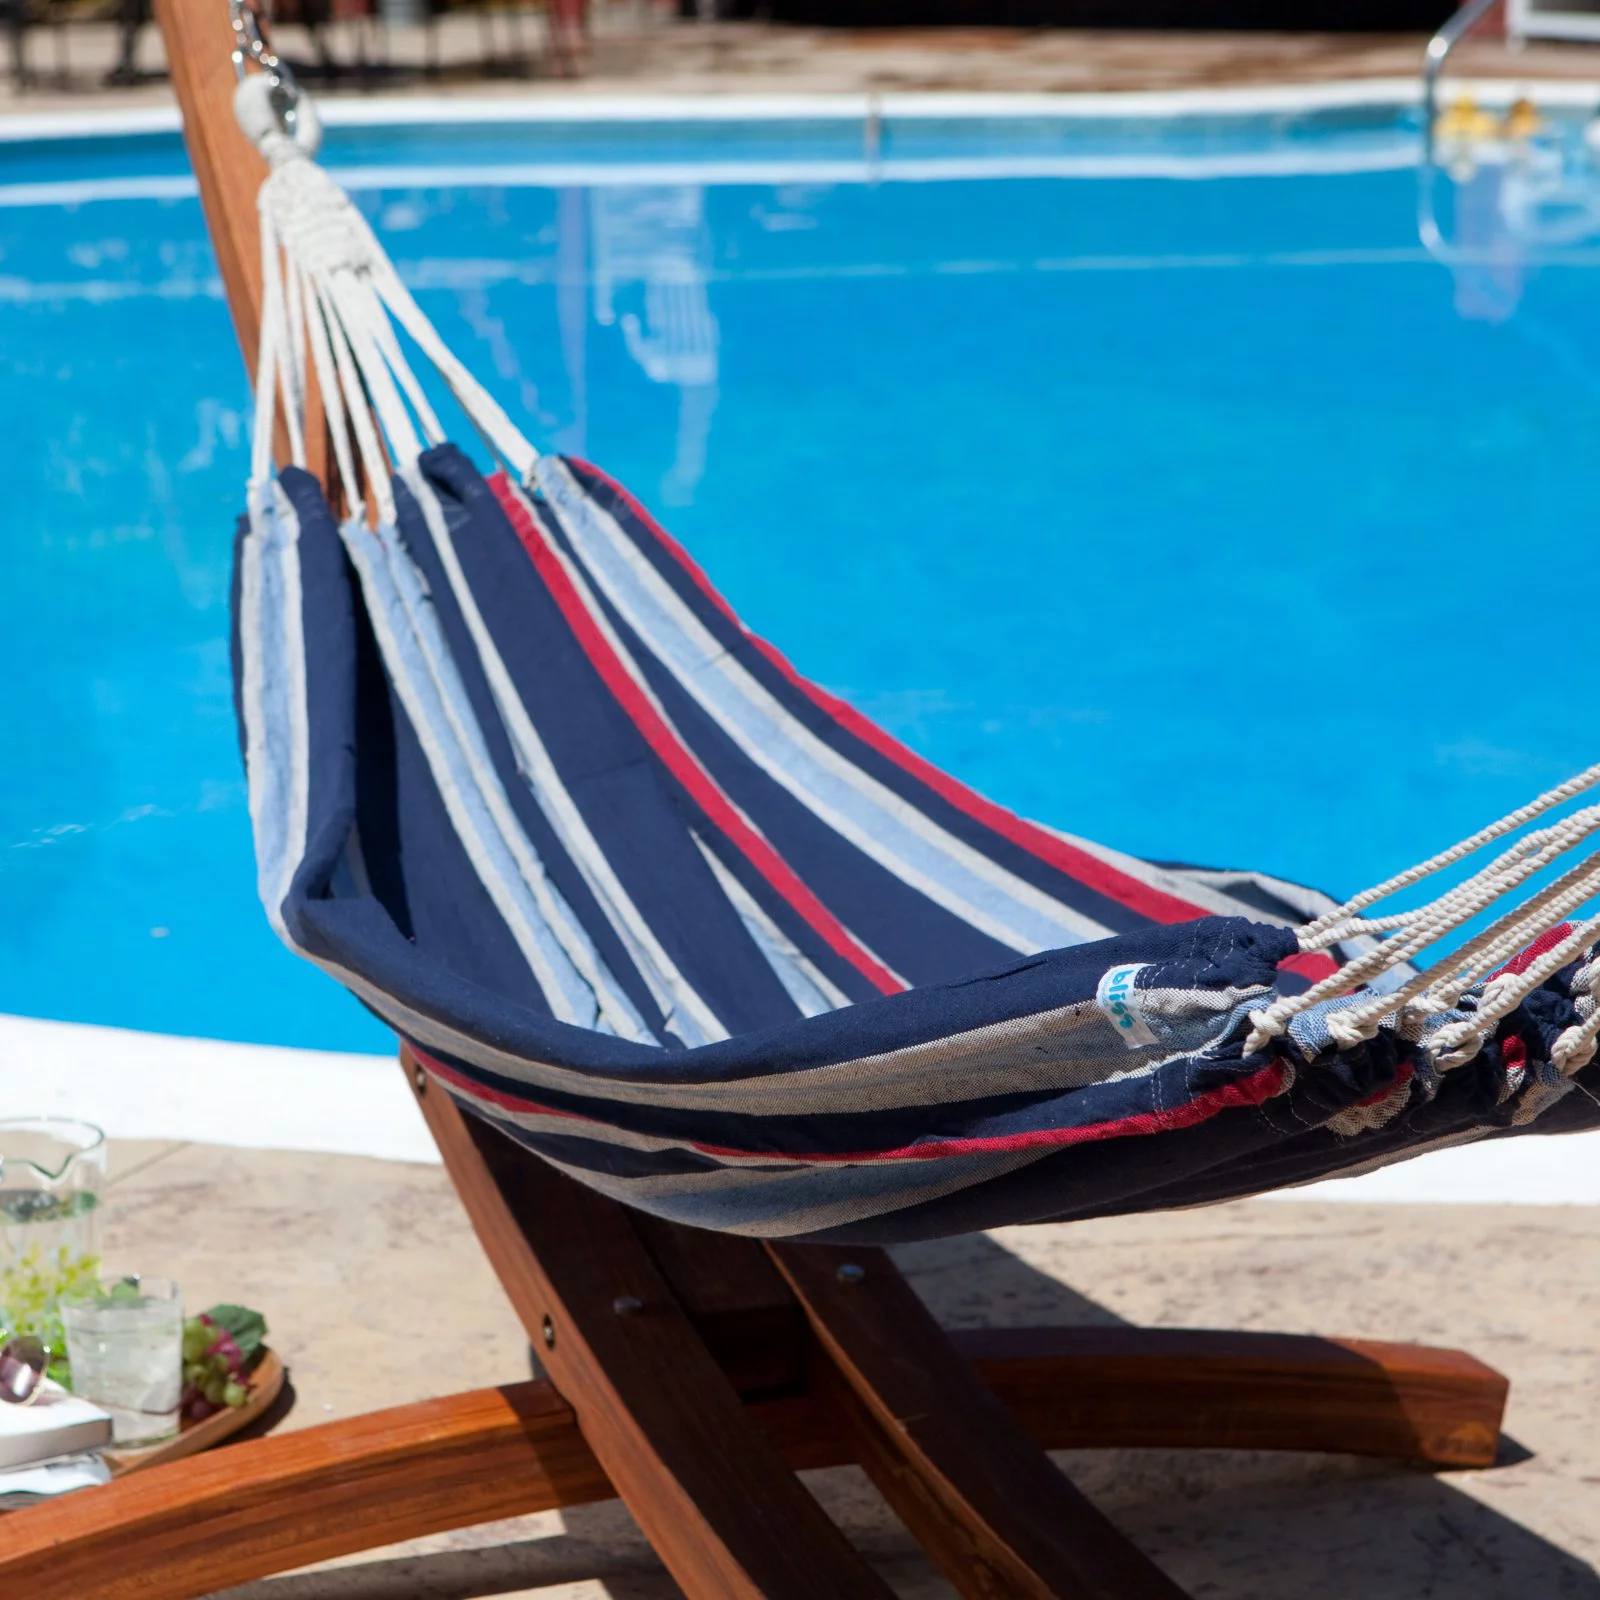
- Macrame rope: Choose a sturdy and durable rope suitable for outdoor use. We recommend using 100% cotton rope, as it provides a soft and comfortable feel. The length of the rope will depend on the size of your chair and how low you want it to hang.
- Wooden dowel or metal ring: You’ll need a strong and smooth dowel or ring to serve as the anchor point for your hammock chair. The width and length should be suitable for supporting your weight when you sit in the chair.
- Tape measure or ruler: This will help you measure and cut the rope to the desired lengths.
- Scissors: A good pair of scissors is essential for cutting the rope cleanly and accurately.
- Comb or brush: You’ll need this to comb out any tangles or knots in the rope as you work.
- Optional: Cushion or pillow: For added comfort, you can include a cushion or pillow to make your hammock chair even more inviting.
Make sure you have all these materials ready before you start, so you can fully immerse yourself in the creative process without any interruptions. Now that you have everything you need, let’s move on to the exciting part: making your macrame hammock chair!
Step 1: Choosing the Right Rope
Choosing the right type of rope is crucial for creating a sturdy and comfortable macrame hammock chair. Here are a few things to consider:
- Material: Opt for a rope made of 100% cotton, as it provides both durability and a soft, natural feel. Cotton ropes are also easy to work with and knot securely.
- Thickness: The thickness of the rope will determine the overall look and strength of your hammock chair. Thicker ropes (around 6-10 mm) are more substantial and ideal for supporting heavier weights. Thinner ropes (around 4-6 mm) create an intricate and delicate appearance.
- Length: The length of the rope will depend on how high or low you want your hammock chair to hang. Measure the distance from the hanging point to the desired seat level, accounting for additional length needed for knots and fringe.
- Color: Consider the color scheme of your outdoor space and choose a rope color that complements it. Natural beige or off-white ropes create a classic look, while bold and vibrant colors can add a pop of personality to your macrame hammock chair.
It’s important to check the weight limit of the rope and ensure it can support your weight comfortably. Remember, safety should be the top priority when selecting the rope for your hammock chair.
Once you’ve chosen the perfect rope, you’re ready to move on to the next step: measuring and cutting the rope.
Step 2: Measuring and Cutting the Rope
Now that you have your chosen rope, it’s time to measure and cut it to the appropriate lengths for your macrame hammock chair. Precision is essential in this step to ensure a balanced and comfortable seat. Here’s what you need to do:
- Start by measuring the length you want your hammock chair to be. Consider how high or low you want it to hang and measure the distance from the anchor point to the seat level. Add a few extra inches for knots and fringe, as well as any extra length you want for the backrest.
- Using a tape measure or ruler, mark the desired length on the rope.
- Next, determine the number of ropes you’ll need for the seat. This will depend on the style of macrame pattern you want to create. Typically, you will need at least 8-12 ropes to create a comfortable seat.
- Divide the total length by the number of ropes to determine the individual length for each rope.
- Once you have the individual rope length, add a few extra inches for knots and trimming.
- Repeat this process for the backrest ropes, if you want to include one.
- Using sharp scissors, cut the ropes to the measured lengths. Make sure to cut them cleanly and without fraying.
Remember to double-check your measurements before cutting, as accuracy is crucial for a well-balanced and comfortable hammock chair. Once you have all your ropes cut and ready, you’re now prepared to start creating the seat of your macrame hammock chair in the next step.
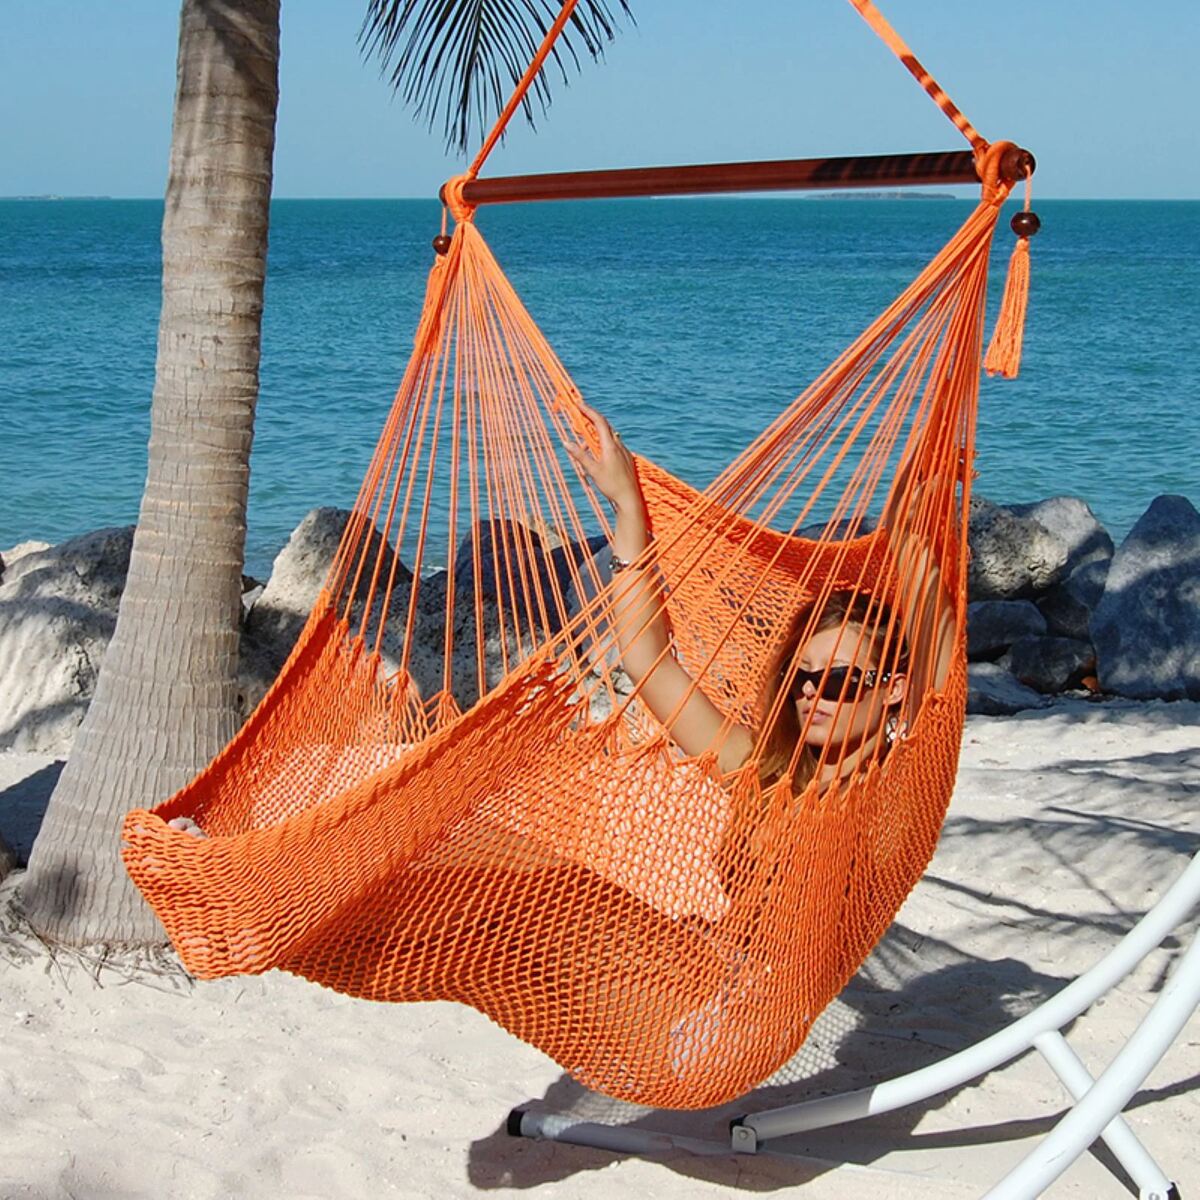
Step 3: Creating the Seat of the Hammock Chair
Now that you have your ropes cut to the desired lengths, it’s time to start creating the seat of your macrame hammock chair. Follow these steps to weave the ropes together:
- Start by gathering all the ropes for the seat. You should have an equal number of ropes that you previously cut, depending on the style and width of your desired seat.
- Take one rope and fold it in half to create a loop at the top.
- Thread the loop through the metal ring or wooden dowel, making sure it’s secure.
- Repeat this step with the rest of the ropes, spacing them evenly around the ring or dowel.
- Now, it’s time to create the knots for the seat. You can use a variety of macrame knots, such as the square knot or the half square knot, to create a decorative and stable pattern. Choose a knot that you’re comfortable with or learn a new one if you want to challenge yourself.
- Starting with the two ropes next to each other, tie a knot about 6-8 inches below the ring or dowel. Make sure the knot is tight and secure.
- Continue tying knots with neighboring ropes all the way around the ring or dowel. Repeat this process until you’ve reached the desired length for the seat.
- Once you’ve reached the desired length, tie a knot at the end of each rope to secure the seat.
Take your time and ensure each knot is tight and evenly spaced. Depending on the style you want, you can leave the ends of the rope as fringe or trim them to achieve a neat and polished look.
With the seat of your macrame hammock chair complete, it’s now time to move on to the next step: creating the backrest, if desired.
When macrameing a hammock chair, make sure to use strong and durable rope or cord to support the weight of the person sitting in the chair. It’s important to double-check the knots and the overall structure to ensure safety and stability.
Read more: How To Make A Macrame Fruit Hammock
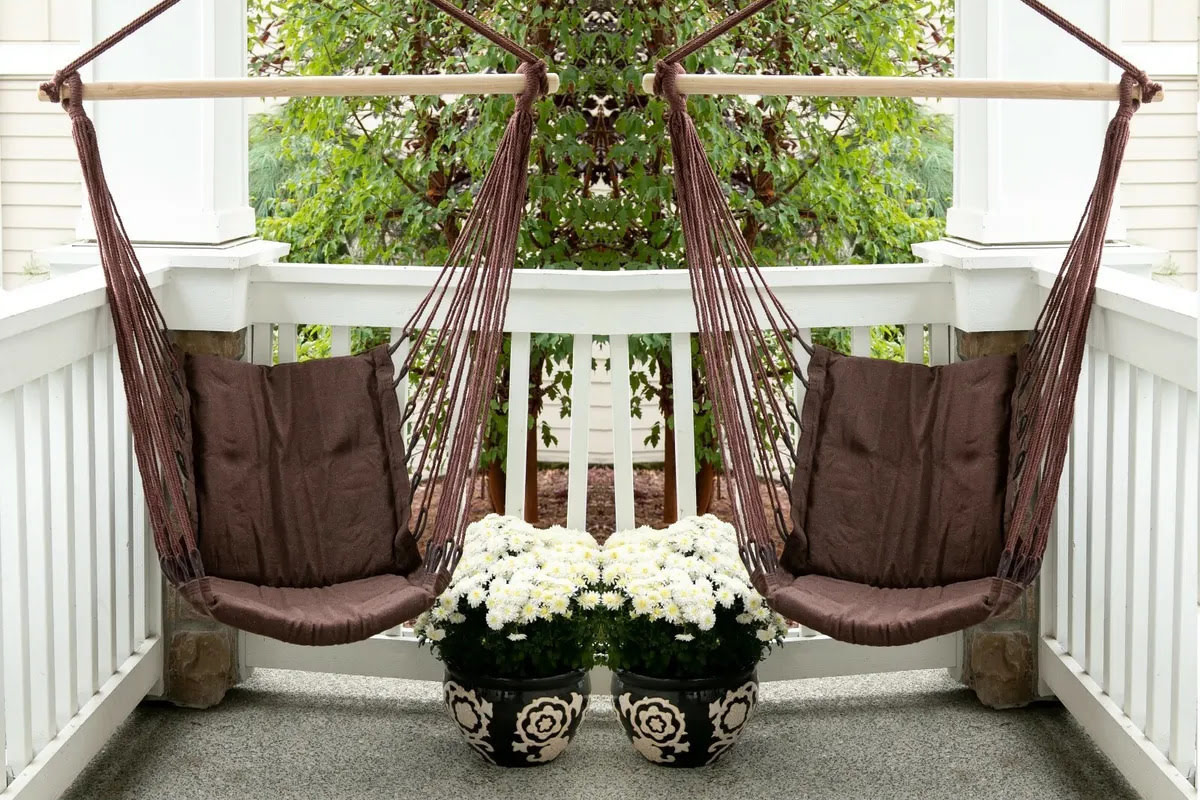
Step 4: Creating the Backrest of the Hammock Chair
If you prefer a hammock chair with a backrest for added support and comfort, this step will guide you through creating the backrest using macrame techniques. Follow these steps:
- Divide the remaining ropes in half. These ropes will be used for the backrest.
- Starting on one side of the seat, take two neighboring ropes and tie a knot about 12-15 inches above the seat. This will be the first row of knots for the backrest.
- Continue tying knots with the neighboring ropes until you reach the other side of the seat. This creates a row of knots that will form the first row of the backrest.
- Once the first row is complete, start the second row by tying knots with the ropes above the first row of knots. Make sure to space the knots evenly and keep the tension consistent.
- Repeat this process, alternating between rows, until you reach the desired height for the backrest. You can make the backrest as tall or as short as you like, depending on your preference.
- Once you’ve reached the desired height, tie a knot at the end of each rope to secure the backrest.
Take your time to ensure each knot is tight and evenly spaced. Adjust the tension as needed to create a comfortable and supportive backrest. You can also experiment with different knot patterns to add visual interest to your macrame hammock chair.
Congratulations! You’ve completed the backrest of your macrame hammock chair. Now, let’s move on to the final step: adding the finishing touches.
Step 5: Adding Finishing Touches
With the seat and backrest of your macrame hammock chair complete, it’s time to add those final touches to make it truly special. Here are a few ideas to consider:
- Trimming: If you prefer a clean and polished look, trim any excess rope from the knots, making sure to leave a small fringe if desired.
- Decorative Accents: Add decorative accents such as beads, shells, or feathers to the ends of the ropes for a bohemian touch.
- Cushions or Pillows: Enhance the comfort of your hammock chair by adding cushions or pillows to the seat and backrest. Choose weather-resistant cushions made for outdoor use to ensure durability.
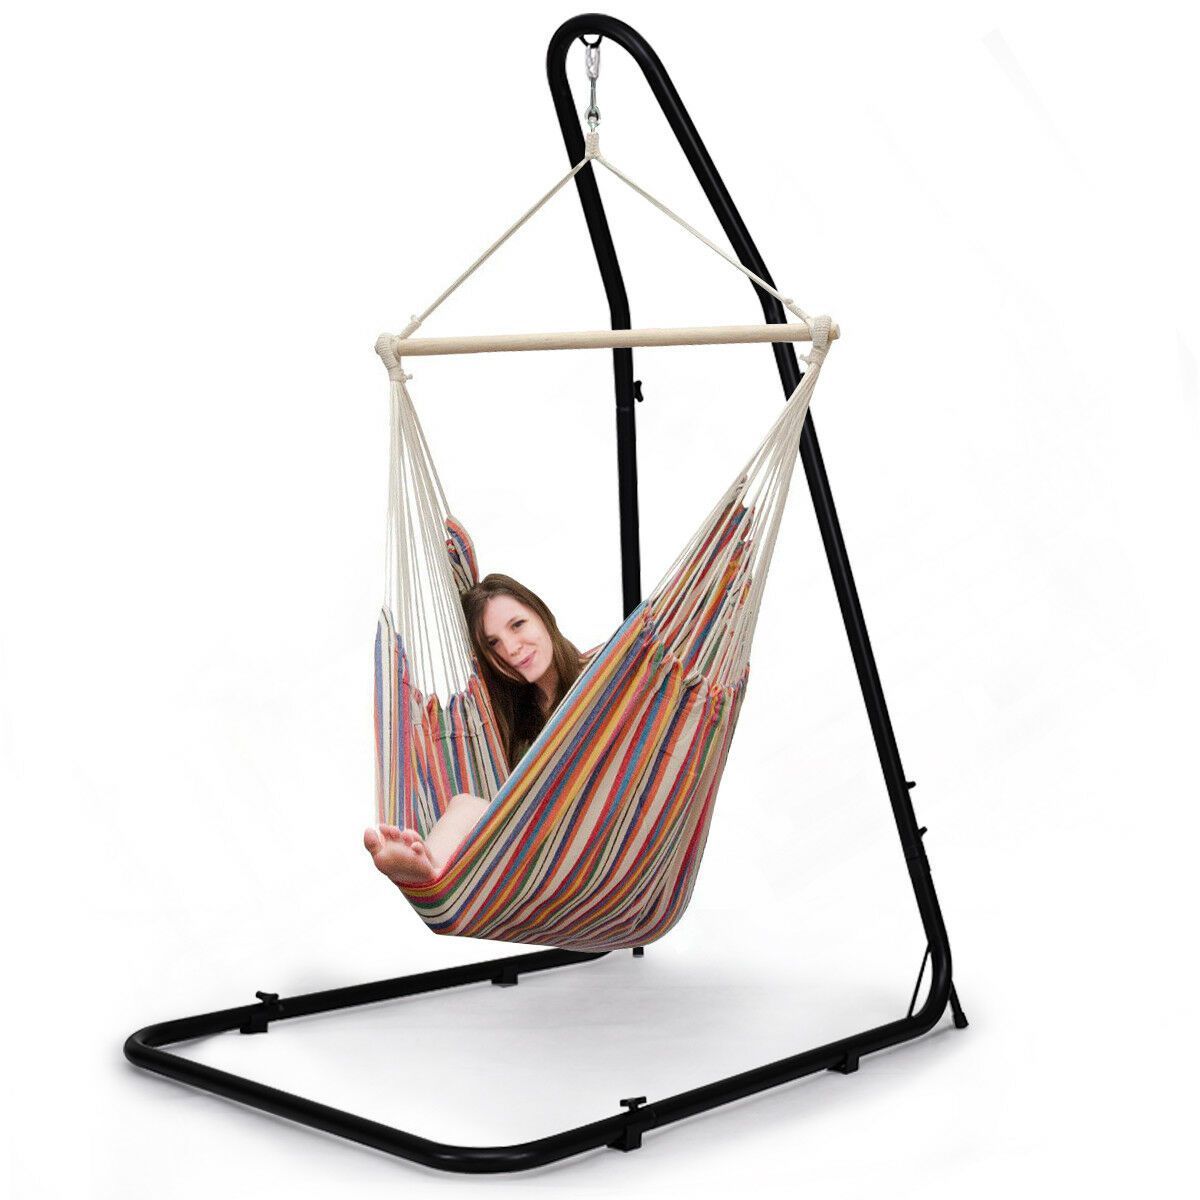
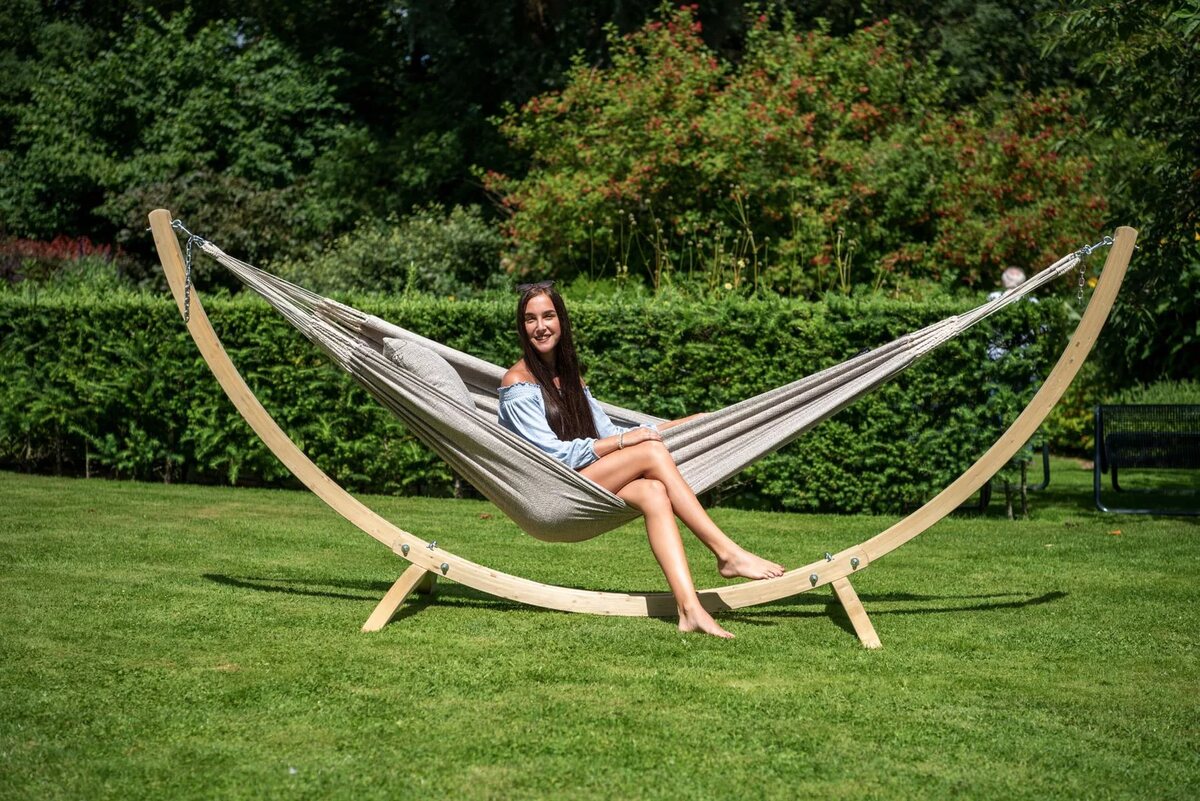
- Hang It Up: Find a sturdy tree branch, pergola beam, or ceiling beam to hang your macrame hammock chair. Secure it with a strong rope or chain, making sure it can support the weight of the chair and anyone sitting in it.
Remember to step back and admire your handiwork throughout the process. Making a macrame hammock chair is a creative and rewarding project that allows you to add a personal touch to your outdoor space.
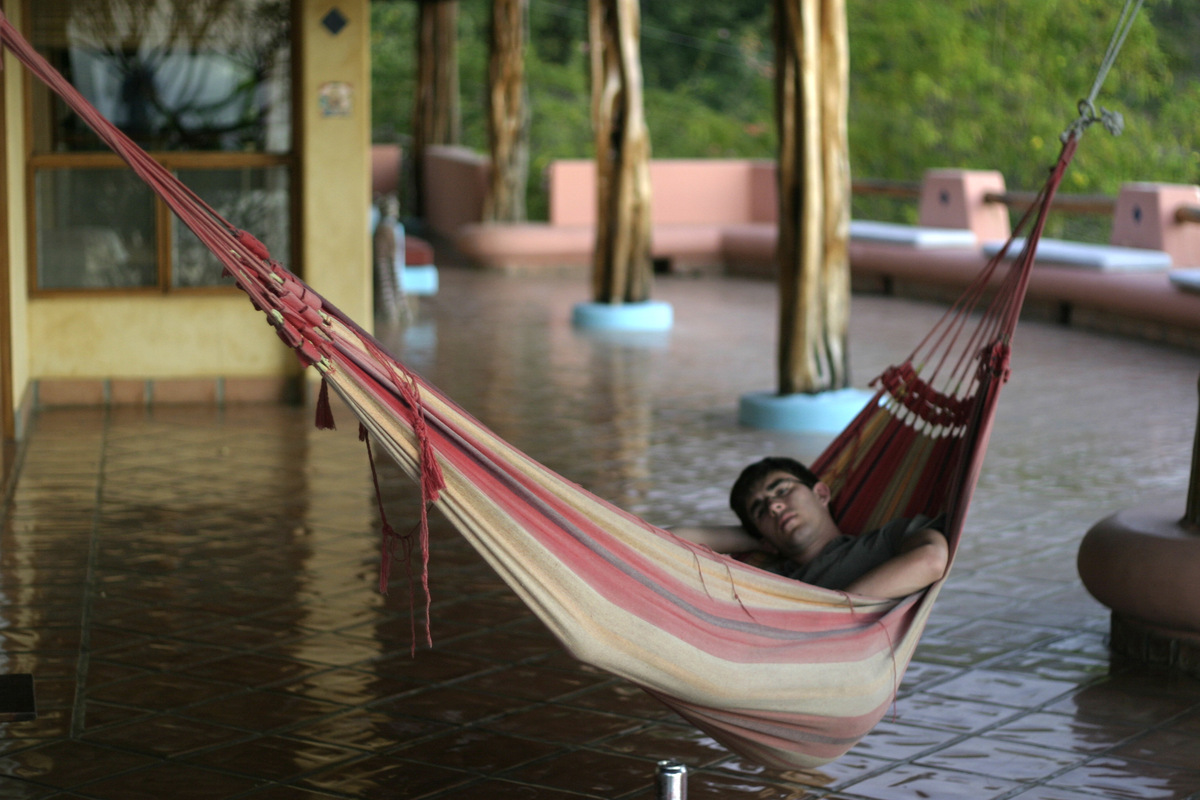
Now that you’ve added the finishing touches to your macrame hammock chair, all that’s left to do is enjoy it. Take some time to relax, unwind, and soak up the beauty of nature from the cozy comfort of your handmade masterpiece.
We hope this guide has been helpful in creating your own macrame hammock chair. Enjoy your new outdoor haven!
Note: Remember to always follow safety precautions when using your hammock chair and ensure that it is properly secured and capable of supporting the weight put on it.
Happy hammocking!
Conclusion
Congratulations on completing your macrame hammock chair! You’ve taken a journey into the world of knots and creativity, and now you have a beautiful and comfortable spot to relax in your outdoor space.
Macrame, with its intricate patterns and timeless charm, adds a touch of bohemian elegance to any setting. By making your own hammock chair, you’ve not only created a unique and personalized piece but also gained a sense of accomplishment and pride in your craftsmanship.
Remember, the key to a successful macrame project is patience and attention to detail. Take your time to measure, cut, and tie the ropes precisely. Each knot you create contributes to the overall strength and beauty of your hammock chair.
As you enjoy your macrame hammock chair, take a moment to appreciate the craftsmanship and effort that went into its creation. Let it be a constant reminder to slow down, unwind, and appreciate the beauty of nature all around you.
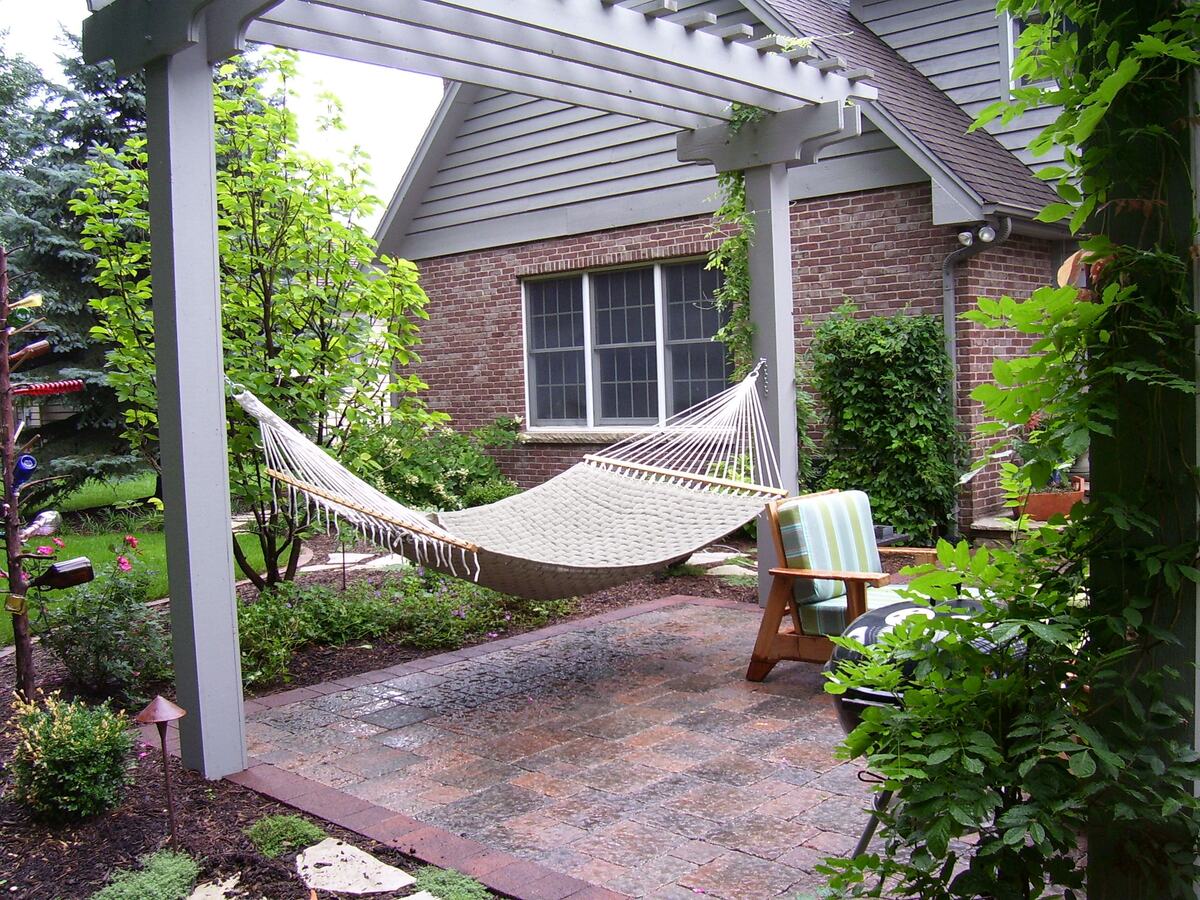
Whether you choose to hang your hammock chair in a tranquil garden, on a sunny patio, or in a cozy corner of your home, it will undoubtedly become a cherished spot for relaxation, reflection, and rejuvenation.
So, grab your favorite book, a refreshing drink, and let yourself be gently rocked by the breeze as you immerse yourself in the blissful comfort of your macrame hammock chair.
Thank you for joining us on this creative macrame journey. We hope you’ve enjoyed learning how to make your own hammock chair and that it brings you endless moments of peace and serenity. Happy hanging!
Additional Tips and Tricks
As you embark on your macrame hammock chair project, here are some additional tips and tricks to help you along the way:
- Practice Makes Perfect: If you’re new to macrame, consider practicing basic knots on a smaller project before diving into your hammock chair. This will help you get comfortable with the techniques and build your confidence.
- Use Quality Materials: Ensure you use high-quality rope and sturdy hardware for your hammock chair. This will ensure its durability and longevity.
- Consider the Location: Before hanging your macrame hammock chair, think about the location and how it will be used. Make sure there’s enough space for the chair to swing and that it’s positioned away from any potential hazards.
- Care and Maintenance: Protect your macrame hammock chair from weather elements by taking it down during harsh weather conditions. Clean the ropes gently with mild soap and water if needed, and make any necessary repairs promptly.
- Get Creative: Feel free to experiment with different knot patterns, rope colors, or even adding other elements like wooden beads or metal accents. Let your creativity run wild to make your hammock chair truly unique.
- Invite Friends and Family: Share the joy of macrame with your loved ones by inviting them to create their own hammock chairs. It can be a fun and rewarding group activity, allowing everyone to express their creativity.
- Personalize with Accessories: Consider decorating your macrame hammock chair with accessories like fairy lights, tassels, or hanging planters to further personalize the space and add a touch of whimsy.
- Upgrade Over Time: As you become more confident in your macrame skills, you can try different designs, add more intricate patterns, or even create hammock swings or variations of the chair.
Remember, the beauty of macrame is that it allows you to create something truly unique and reflective of your personal style. Embrace the process, enjoy the journey, and have fun bringing your vision to life.
We hope these tips and tricks serve as useful guidance throughout your macrame hammock chair project. May your creation bring you many blissful moments of relaxation and enjoyment in the great outdoors!
Frequently Asked Questions about How To Macrame A Hammock Chair
Was this page helpful?
At Storables.com, we guarantee accurate and reliable information. Our content, validated by Expert Board Contributors, is crafted following stringent Editorial Policies. We're committed to providing you with well-researched, expert-backed insights for all your informational needs.

0 thoughts on “How To Macrame A Hammock Chair”