Home>Furniture>Outdoor Furniture>How To Remove A Patio

Outdoor Furniture
How To Remove A Patio
Modified: September 1, 2024
Learn how to remove a patio and effectively clean your outdoor furniture. Take a step-by-step approach to have your patio looking brand new!
(Many of the links in this article redirect to a specific reviewed product. Your purchase of these products through affiliate links helps to generate commission for Storables.com, at no extra cost. Learn more)
Introduction
Having a patio is a wonderful addition to any outdoor space. It provides a comfortable area for relaxation, entertaining, and enjoying the fresh air. However, there may come a time when you need to remove your patio for various reasons. Whether you want to replace it with a new patio design, repurpose the space, or make repairs to the existing foundation, removing a patio can seem like a daunting task.
But fear not! With the right tools, equipment, and a systematic approach, removing a patio can be a manageable project. In this article, we will guide you through the step-by-step process of removing a patio, ensuring you do it safely and effectively.
Before we begin, it’s important to note that the specific steps involved in removing a patio may vary depending on the type of patio you have and its construction materials. We will provide general guidelines that can be applied to most patio removal projects, but it’s always a good idea to consult any documentation or seek professional advice if you have any doubts or concerns.
Now, let’s get started on this exciting journey of patio removal!
Key Takeaways:
- Removing a patio requires the right tools, safety gear, and a systematic approach. Clear the area, disconnect utilities, and dispose of debris responsibly for a successful project.
- Assess the foundation and plan for a new patio or alternate use. Prioritize safety, aesthetics, and functionality to create a space that brings joy and relaxation outdoors.
Read more: How To Remove Patio Sealer
Step 1: Gather the necessary tools and equipment
Before you begin removing your patio, it’s essential to gather all the necessary tools and equipment. Having the right tools will not only make the process easier but also ensure your safety throughout the project. Here are the tools and equipment you’ll need:
- Safety gear: Start by prioritizing your safety. Wear protective gear, including goggles, gloves, and sturdy shoes or boots.
- Demolition tools: Depending on the construction material of your patio, you may need tools such as a sledgehammer, pickaxe, pry bar, or jackhammer to break up the surface.
- Shovel: A sturdy shovel will be handy for digging and removing debris.
- Wheelbarrow or heavy-duty bags: You’ll need a way to transport and dispose of the broken pieces of the patio. A wheelbarrow or heavy-duty bags will come in handy for this task.
- Protective covering: If you have any delicate or valuable items nearby, consider using a protective covering or tarp to prevent damage during the removal process.
- Dumpster or disposal service: Contact your local waste management authorities to inquire about proper disposal methods for your patio debris. Renting a dumpster or arranging a pickup service may be necessary.
- Power tools (optional): If you have a large patio or need to remove stubborn fasteners, consider using power tools such as a reciprocating saw or angle grinder.
By ensuring you have these tools and equipment ready before you start, you’ll be well-prepared for the patio removal process. Safety should be your top priority, so don’t forget to wear your protective gear throughout the project.
Step 2: Clear the patio area
Once you have gathered all the necessary tools and equipment, it’s time to clear the patio area of any movable items or obstructions. This step will not only make the removal process easier but also protect your belongings from potential damage. Follow these steps to clear the patio area:
- Remove any outdoor furniture, plants, or decorations: Start by taking out any furniture, potted plants, or decorative items that may be on or around the patio. This will create more space and prevent them from getting damaged during the removal process.
- Trim any overhanging vegetation: If there are any bushes, trees, or vines hanging over the patio, trim them back to allow easier access and prevent the foliage from interfering with the removal process.
- Clear the area of debris: Sweep or rake the patio area to remove loose debris such as leaves, sticks, and dirt. Dispose of this debris in a suitable manner.
- Protect delicate or valuable items: If you have any delicate items nearby or valuable features that cannot be moved, consider covering them with a tarp or protective covering to prevent damage during the removal process.
Clearing the patio area ensures that you have a clean and organized space to work in. It also helps prevent any accidents or damage that could occur if items or vegetation were left in place during the removal process.
Once you have completed these steps, you are ready to move on to the next phase of removing your patio.
Step 3: Disconnect any utilities or lighting fixtures
Before diving into the actual removal process, it’s important to ensure the safety of your project by disconnecting any utilities or lighting fixtures that may be attached to your patio. Failure to properly disconnect these connections can lead to accidents or damage to the utilities themselves. Follow these guidelines to safely disconnect utilities and lighting fixtures:
- Turn off the main power supply: If your patio is equipped with electrical outlets or lighting fixtures, locate the main power breaker and switch it off. This will cut off the power supply to the patio area, ensuring your safety during the removal process.
- Disconnect electrical connections: Carefully unplug any electrical devices or lighting fixtures from the outlets or extension cords attached to your patio. If there are any exposed wires, use electrical tape to secure and cover them to prevent any accidental contact.
- Turn off the water supply: If your patio includes a water feature, such as a fountain or sprinkler system, locate the shut-off valve and turn it off. This will prevent any water flow during the removal process and protect the water feature from damage.
- Drain the water feature (if applicable): If there is water present in the water feature, such as a pond or pool, drain it properly before proceeding with the removal. Follow the manufacturer’s instructions or seek professional advice if necessary.
- Disconnect gas connections (if applicable): If you have a gas-powered grill or firepit connected to your patio, consult a professional to safely disconnect the gas line. Improper handling of gas connections can be dangerous, so it’s best to seek expert assistance.
By taking the time to disconnect utilities and lighting fixtures, you will minimize the risk of accidents and damage during the patio removal process. Safety should always be a top priority when working with electrical, water, or gas connections.
Once you have safely disconnected all utilities and lighting fixtures, you can proceed to the next step of removing your patio.
Step 4: Remove any furniture or decorations
With the utilities and lighting fixtures disconnected, the next step in removing your patio is to remove any remaining furniture or decorations. This step will ensure that these items are safely out of the way and won’t impede the removal process. Follow these guidelines to efficiently remove any furniture or decorations:
- Clear the area around the patio: Create a clear path by moving any obstacles or items that are in close proximity to the patio. This will make it easier to transport the furniture and decorations to a safe location.
- Empty any storage units or cabinets: If your patio has built-in storage units, empty them out and move the contents to a different location. This includes removing items such as cushions, outdoor cooking utensils, or gardening tools.
- Disassemble furniture, if possible: If your patio furniture can be disassembled, take the time to do so. This will make it easier to transport and store the furniture pieces, as well as save space during the removal process.
- Protect and store delicate items: If you have any delicate or fragile decorations, such as glass vases or ceramic statues, carefully wrap them in protective materials and store them in a safe place until the patio removal is complete.
- Label and organize items for reassembly: If you plan on using the furniture or decorations once the patio is removed, label and organize the components for easy reassembly later. Take photos or create a diagram to reference when putting everything back together.
By following these steps, you will ensure that your furniture and decorations are safely removed from the patio area, reducing the risk of damage during the removal process.
With the patio area clear of furniture and decorations, you are now ready to move on to the next step of breaking up the patio surface.
Read more: How Much To Remove A Concrete Patio
Step 5: Begin breaking up the patio surface
Now that the patio area is cleared of furniture and decorations, it’s time to start breaking up the surface. Depending on the construction material of your patio, this step may require different tools and techniques. Follow these guidelines to effectively break up the patio surface:
- Evaluate the patio construction: Take a moment to assess the construction material of your patio. Common materials include concrete, pavers, bricks, or stone. Understanding the composition of your patio will help you determine the best approach to breaking it up.
- Choose the right tools: Select the appropriate tools based on the construction material. For concrete patios, a sledgehammer or jackhammer may be necessary. For paver or brick patios, a pickaxe or pry bar might be more suitable.
- Start at the edges: Begin breaking up the patio surface by focusing on the edges. Use your chosen tool to strike the outer edges or joints, gradually loosening the material. This will provide leverage and make it easier to break up the rest of the patio.
- Work in sections: Divide the patio into manageable sections and work on one section at a time. Use your tool to break up the surface and create smaller, more manageable pieces. Aim for pieces that are easily transportable without risking injury or strain.
- Be mindful of underlying utilities: As you break up the patio surface, be cautious of any underlying utilities, such as gas lines, water pipes, or electrical conduits. Avoid damaging or compromising these utilities to prevent any safety hazards.
- Take breaks as needed: Breaking up a patio can be physically demanding, so don’t hesitate to take breaks when necessary. Stay hydrated and listen to your body to avoid overexertion or injuries.
Remember to work patiently and methodically, paying attention to any specific instructions or guidelines for the construction material of your patio. Breaking up the surface may take time, but with perseverance, you will successfully disassemble your patio piece by piece.
Once the patio surface is broken up into manageable pieces, it’s time to move on to the next step of removing the broken pieces.
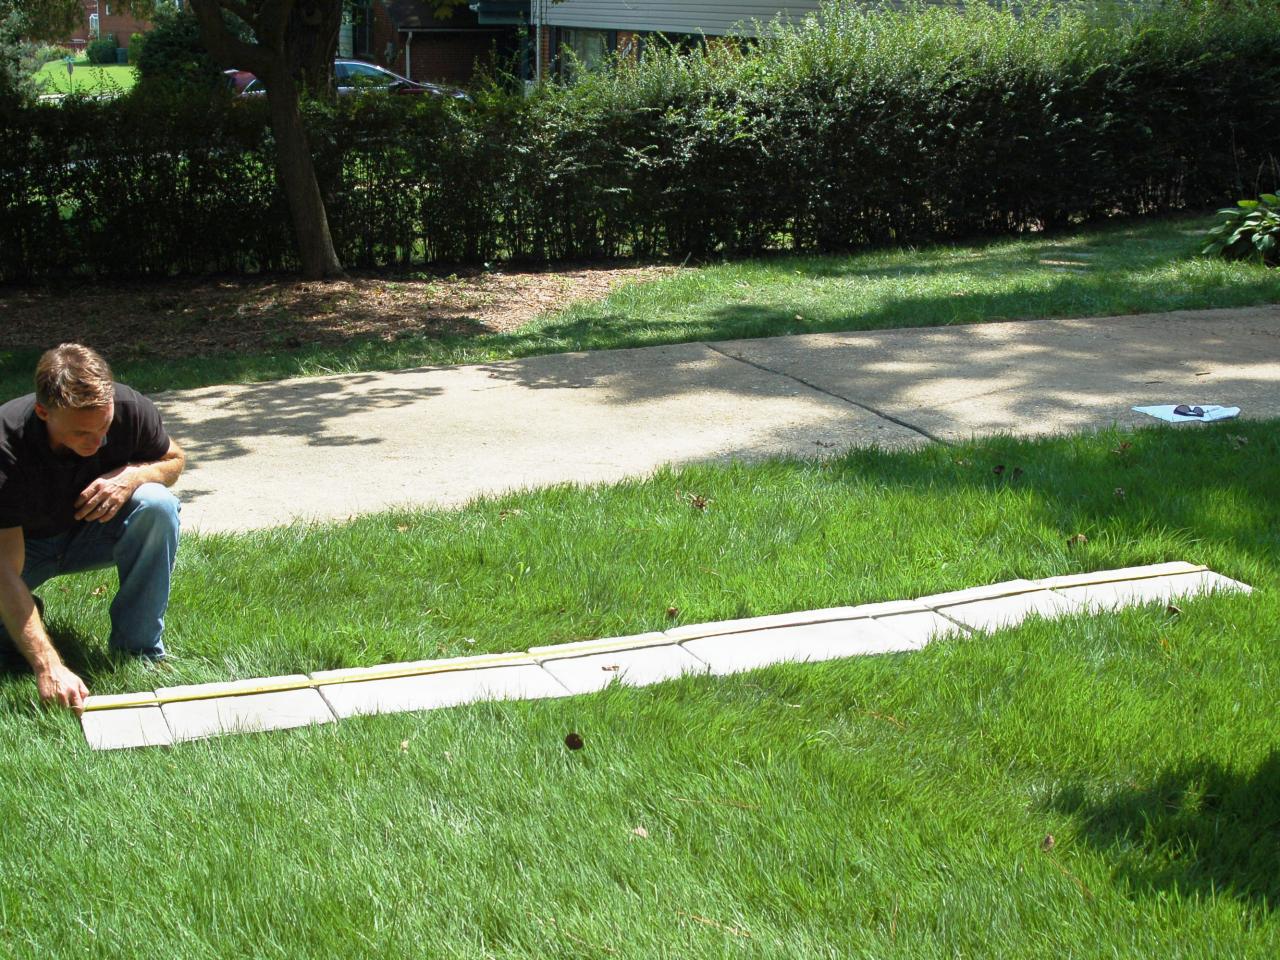
Use a pry bar to lift and remove the patio pavers. Then, use a shovel to dig up the sand or gravel base underneath. Dispose of the materials responsibly.
Step 6: Remove the broken pieces of the patio
With the patio surface successfully broken up, it’s time to remove the broken pieces and clear the area. This step requires careful handling and proper disposal of the debris. Follow these guidelines to effectively remove the broken pieces of the patio:
- Start with the larger pieces: Begin by removing the larger broken pieces of the patio surface. Use a shovel, wheelbarrow, or heavy-duty bags to transport these larger pieces to a designated disposal area.
- Work systematically: Take a systematic approach to remove the broken pieces section by section, ensuring that you clear the area completely before moving on to the next section. This will help prevent any tripping hazards or accidents.
- Exercise caution: Broken pieces of patio surface can be sharp and jagged. Exercise caution when handling the debris to avoid cuts or injuries. Consider wearing protective gloves or using tools, such as a pry bar, to safely lift and remove the broken pieces.
- Dispose of the debris properly: Depending on the size and quantity of the debris, you may need to arrange for a dumpster or disposal service to get rid of the broken pieces. Check with your local waste management authorities for the appropriate disposal methods.
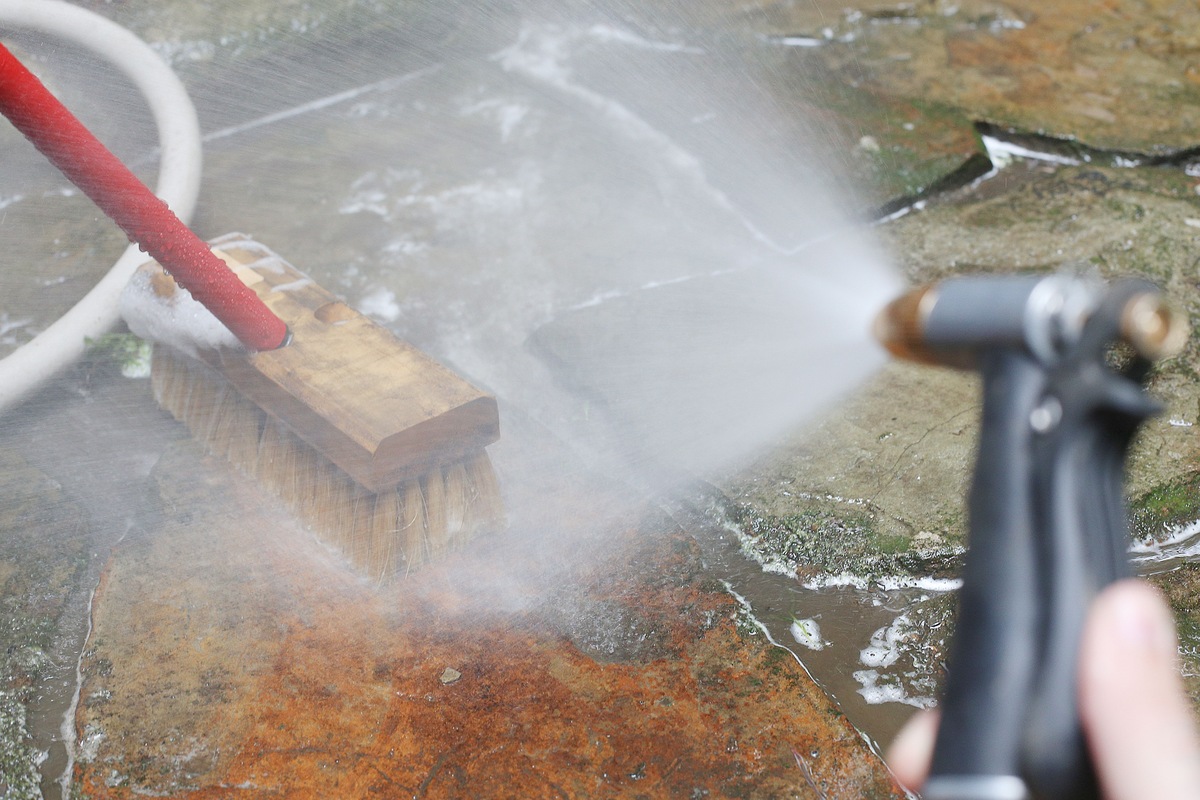
- Clean the area: Once all the broken pieces have been removed, thoroughly clean the area by sweeping or hosing it down to clear away any remaining debris or dust.
Removing the broken pieces of the patio requires attention to detail and adherence to proper disposal methods. By following these steps, you can ensure a clean and safe removal process.
With the broken pieces removed and the area cleaned, you are one step closer to completing this patio removal project.
Step 7: Dispose of the debris properly
Now that the broken pieces of the patio have been removed, it’s important to dispose of the debris in an environmentally friendly and responsible manner. Proper disposal of the debris will help keep your surroundings clean and protect the environment. Follow these guidelines to dispose of the debris properly:
- Separate recyclable materials: Sort through the debris and separate any recyclable materials, such as concrete, bricks, or stones. These can often be recycled or repurposed, so consider contacting local recycling centers or companies that accept construction materials.
- Check local regulations: Familiarize yourself with your local regulations regarding the disposal of construction debris. Some areas have specific guidelines or restrictions on the types of materials that can be disposed of in regular trash or recycling bins.
- Rent a dumpster: If you have a significant amount of debris that cannot be recycled or disposed of in regular bins, consider renting a dumpster. This allows for efficient and convenient disposal of the debris in one go.
- Hire a disposal service: Another option is to hire a professional disposal service. They will have the necessary equipment and knowledge to dispose of the debris properly, ensuring compliance with local regulations.
- Avoid illegal dumping: It’s important to refrain from illegal dumping or disposing of the debris in unauthorized areas. Not only is this harmful to the environment, but it can also result in fines or legal consequences.
By following these guidelines, you can ensure that the debris from your patio removal is disposed of in a responsible and sustainable manner.
Remember, proper disposal of debris is not only beneficial for the environment but also promotes a clean and healthy community. Take the necessary steps to dispose of the debris properly, and you can be proud of your efforts in completing this project.
Step 8: Assess the condition of the foundation
After removing the debris from your patio, it’s important to assess the condition of the foundation beneath. The foundation provides stability and support for your outdoor space. By examining its condition, you can address any potential issues before proceeding with any further plans. Follow these guidelines to assess the condition of the foundation:
- Inspect for damage: Carefully examine the exposed foundation for any signs of damage, such as cracks, shifting, or erosion. Note the extent and severity of any issues you discover.
- Check for levelness: Use a level tool to check if the foundation is still level. Uneven or sloping areas may indicate underlying problems that need attention.
- Assess stability: Gently push against the foundation to assess its stability. Any significant movement or shifting could indicate a weakened or compromised foundation that requires repairs.
- Consult a professional: If you notice any significant damage or instability, it’s best to consult a professional, such as a contractor or engineer, to assess the foundation thoroughly. They can provide expert advice on repairs or further actions needed.
- Consider future plans: Depending on the condition of the foundation, you may need to adjust your future plans. For example, if there are severe issues with the foundation, you may need to consult professionals for repair or reconsider your plans for a new patio in the same location.
Assessing the condition of the foundation is crucial in ensuring the stability and longevity of your outdoor space. By taking the time to carefully evaluate any potential issues, you can make informed decisions moving forward.
If you encounter any significant problems during the assessment, it’s important to address them promptly to maintain the integrity of your outdoor area.
Once you have assessed the condition of the foundation, you can move on to preparing the area for a new patio or considering alternate uses for the space.
Read more: How To Remove A Patio Screen Door
Step 9: Prepare the area for a new patio or alternate use
Now that you have removed the patio, cleared the area, and assessed the condition of the foundation, it’s time to prepare the space for a new patio or consider alternate uses for the area. Follow these guidelines to effectively prepare the area:
- Determine the purpose of the space: Decide how you want to utilize the area going forward. Do you want to install a new patio with a different design or material? Or would you prefer to repurpose the space for a garden, outdoor seating area, or play area?
- Plan the layout: If you’re installing a new patio, plan the layout of the area. Consider factors such as the size, shape, and materials needed to create the desired outdoor space. Take measurements and draw a rough layout to guide you during the installation process.
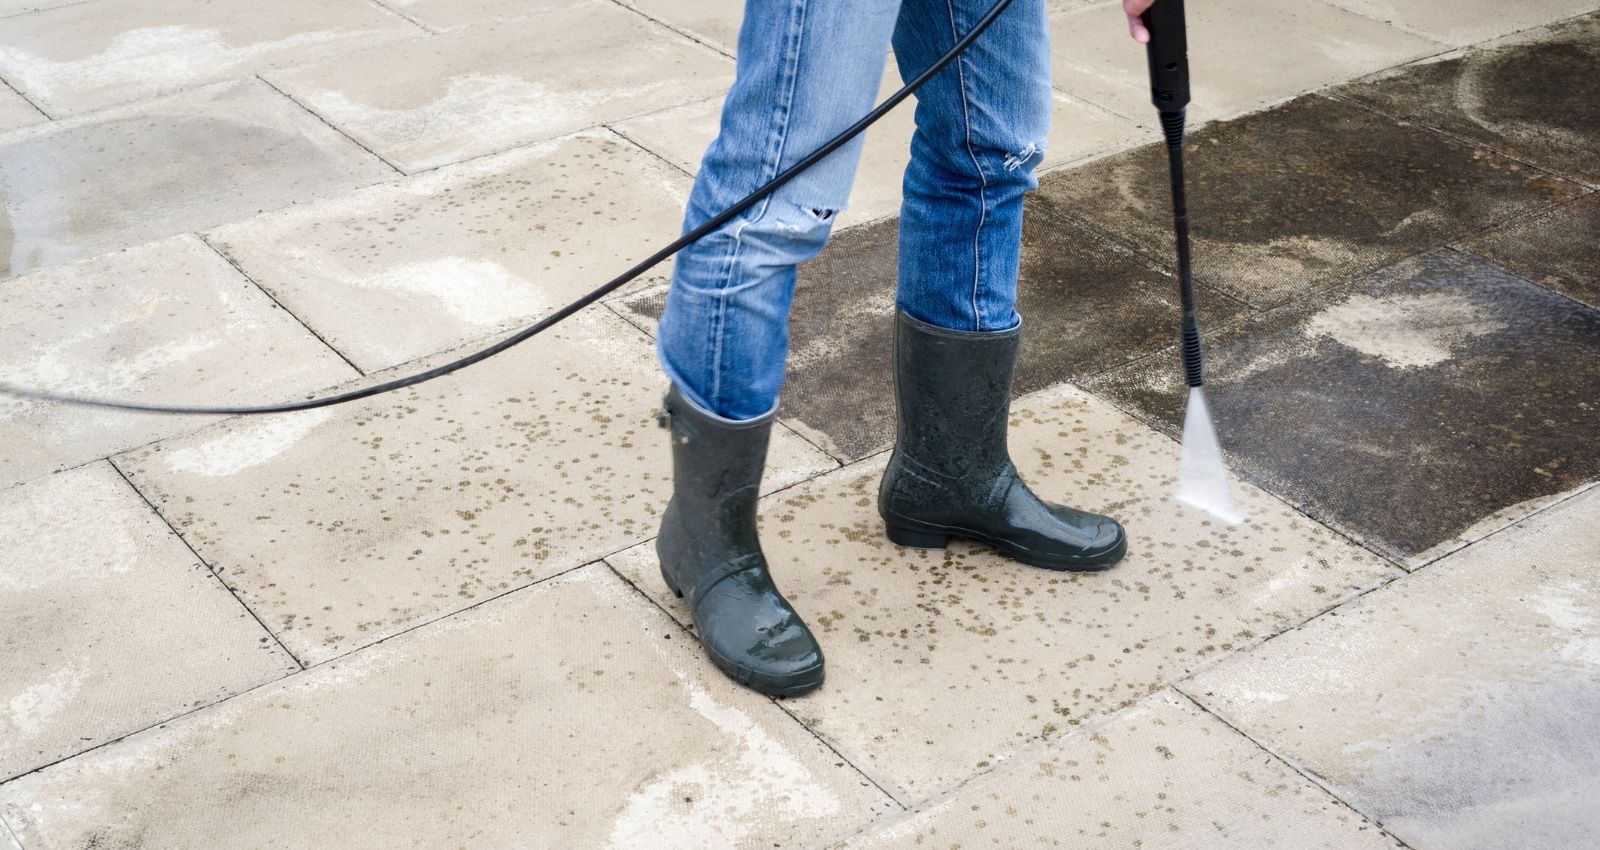
- Prepare the foundation: If the existing foundation is in good condition, you can proceed with preparing it for the new patio. Clean the foundation surface thoroughly, removing any debris, dirt, or remnants of the previous patio. If repairs are needed, consult a professional to ensure a stable and secure foundation for your new patio.
- Choose the materials and design: Select the materials and design that align with your vision for the outdoor space. Consider factors such as durability, aesthetics, and functionality. Research different options, such as concrete, pavers, or natural stones, and choose the best fit for your needs and preferences.
- Install the new patio (if applicable): If you’ve decided to install a new patio, carefully follow the manufacturer’s instructions or seek professional assistance for the installation. Pay attention to proper techniques and ensure the patio is securely and accurately laid.
- Consider alternate uses: If you’ve chosen not to install a new patio, explore alternate uses for the space. This could include creating a garden with plants, installing outdoor seating and dining areas, creating an outdoor play space, or experimenting with other ideas that align with your interests and needs.
Preparing the area for a new patio or considering alternate uses allows you to transform the space into something that enhances your outdoor living experience. Take the time to plan and execute this step carefully, ensuring that the end result aligns with your vision.
Remember, whether you choose to install a new patio or repurpose the area, always prioritize safety, aesthetics, and functionality to create a space that brings you joy and relaxation in the great outdoors.
By completing this final step, you have successfully removed your patio and taken the necessary measures to prepare the area for its next chapter.
Conclusion
Removing a patio is a significant undertaking, but with the right tools, equipment, and systematic approach, it can be a manageable and rewarding project. By following the step-by-step process outlined in this guide, you can successfully remove your patio and prepare the area for a new patio or consider alternate uses.
Starting with gathering the necessary tools and equipment, you ensure that you have everything you need to safely and effectively remove your patio. Clearing the patio area of furniture and decorations creates a clean and organized workspace, while disconnecting utilities and lighting fixtures ensures your safety during the removal process.
Breaking up the patio surface and removing the broken pieces can be physically demanding tasks, but by taking your time, working systematically, and exercising caution, you can accomplish these steps efficiently. Proper disposal of the debris is essential to maintain a clean environment and protect the surroundings.
Assessing the condition of the foundation provides insight into any potential problems and allows you to address them before moving forward. Finally, preparing the area for a new patio or considering alternate uses allows you to create a space that suits your needs and preferences.
Remember, throughout the entire process, prioritize safety and seek professional assistance if needed. Whether you’re installing a new patio or repurposing the area, take pride in your efforts and enjoy the transformation of your outdoor space.
Now that you have all the knowledge and steps required, it’s time to seize the opportunity and embark on the journey of removing your patio. Embrace the challenge, have fun with the process, and soon enough, you’ll have a brand-new outdoor area to enjoy for years to come.
Frequently Asked Questions about How To Remove A Patio
Was this page helpful?
At Storables.com, we guarantee accurate and reliable information. Our content, validated by Expert Board Contributors, is crafted following stringent Editorial Policies. We're committed to providing you with well-researched, expert-backed insights for all your informational needs.


0 thoughts on “How To Remove A Patio”