Home>Furniture>Outdoor Furniture>How To Remove A Patio Door Slider

Outdoor Furniture
How To Remove A Patio Door Slider
Modified: March 15, 2024
Learn how to remove a patio door slider to update your outdoor-furniture easily. Follow our step-by-step guide for a hassle-free process.
(Many of the links in this article redirect to a specific reviewed product. Your purchase of these products through affiliate links helps to generate commission for Storables.com, at no extra cost. Learn more)
Introduction
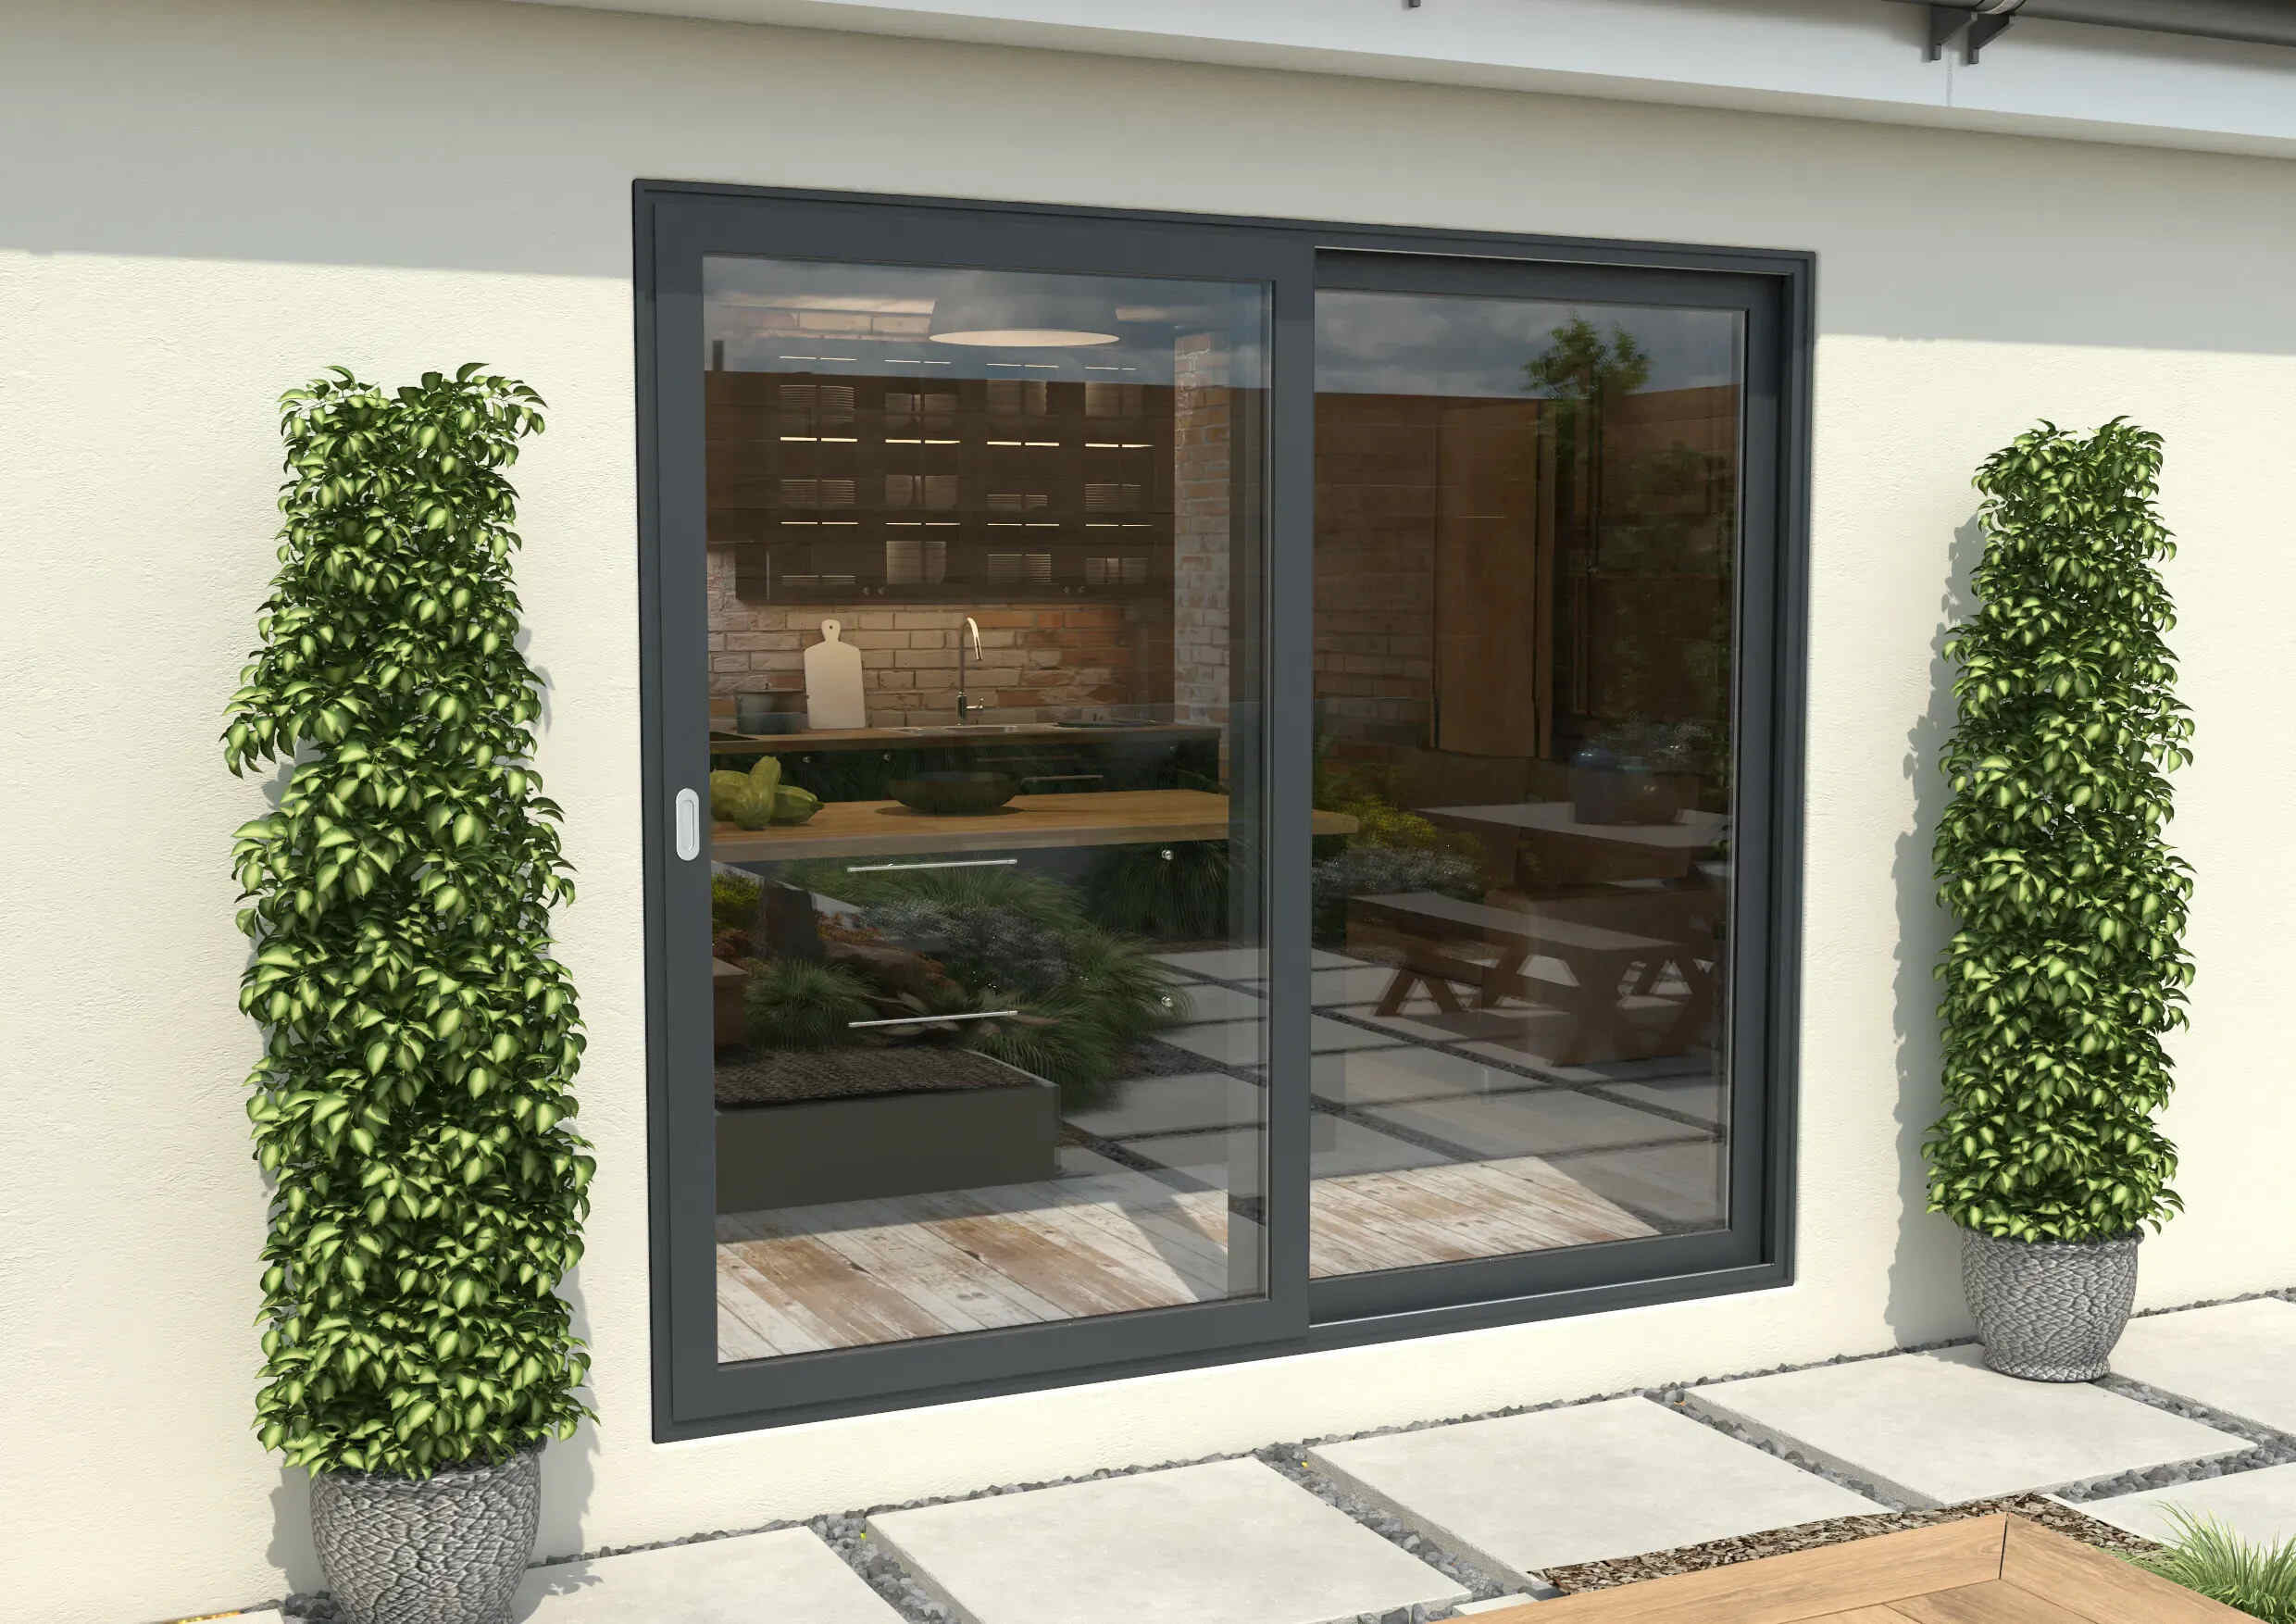
Welcome to our comprehensive guide on how to remove a patio door slider. Whether you’re looking to replace your existing patio door or need to make repairs, removing the slider is the first step in the process. This task may seem daunting, but with the right tools and knowledge, you can successfully remove the door without any fuss.
Before we dive into the step-by-step instructions, let’s briefly discuss the importance of proper maintenance for patio doors. Over time, wear and tear can occur, affecting the functionality and aesthetic appeal of your patio door. Regular maintenance, such as cleaning tracks, lubricating rollers, and fixing any loose components, can help extend the lifespan of your patio door.
However, there are instances where the door needs to be completely removed, either for replacement or more extensive repairs. This guide will walk you through the necessary steps to safely and efficiently remove a patio door slider.
Before we begin, it’s essential to highlight the significance of safety precautions. When working with tools and heavy objects, always prioritize your safety and wear appropriate safety gear, such as gloves and safety glasses. Additionally, make sure to follow any instructions provided by the manufacturer of your patio door slider.
Now that we have covered the basics, let’s move on to the tools and materials you’ll need for this project.
Key Takeaways:
- Removing a patio door slider is a manageable DIY project with the right tools and precautions. Clear the area, label door panels, and clean the tracks for a successful removal process.
- Prioritize safety, gather tools, and prepare the area before removing the patio door slider. Follow step-by-step instructions to safely and efficiently complete the removal process.
Read more: How To Remove A Patio Screen Door
Tools and Materials Needed
Before getting started, gather the following tools and materials:
- Flathead screwdriver
- Phillips screwdriver
- Putty knife
- Adjustable wrench
- Hammer
- Utility knife
- Caulk
- Tape measure
- Safety glasses
- Gloves
- Dust mask
- Vacuum cleaner
Additionally, depending on the specific patio door slider you have, you may need other specialized tools or materials. Some door sliders may require a pry bar or a socket wrench, so check the manufacturer’s instructions or consult a professional if needed.
Once you have gathered all the necessary tools and materials, you’re ready to move on to the preparations before removing the patio door slider.
Preparations before Removing the Patio Door Slider
Before you start removing the patio door slider, it is important to take a few preparatory steps to ensure a smooth and successful process. Follow these guidelines:
- Clear the area: Remove any furniture or obstacles near the patio door to create a safe and unobstructed workspace. This will give you ample room to maneuver and prevent any damage to nearby objects.
- Protect the flooring: Place a drop cloth or plastic sheeting over the floor to protect it from any debris or potential damage during the removal process. It’s also a good idea to have a broom or vacuum nearby to clean up any dust or debris that may accumulate.
- Inspect the door: Take a close look at the patio door to identify any visible damage, such as broken glass, worn-out rollers, or loose hardware. This inspection will help you determine if any additional repairs or replacements are necessary during the removal process. If you notice any significant damage or issues, it might be wise to consult a professional for assistance.
- Turn off utilities: If your patio door has an electrical connection or alarm system, make sure to turn off the power or disconnect any wiring before proceeding with the removal. This will help prevent any accidents or damage to the electrical components.
- Read the manufacturer’s instructions: Carefully review the manufacturer’s instructions and guidelines specific to your patio door slider. Each product may have its own unique requirements, and it’s important to follow the recommended steps to ensure proper removal without voiding any warranties.
- Take measurements: Measure the dimensions of your existing patio door opening. This information will be useful when selecting a new patio door slider or any necessary replacement parts.
By taking these preparatory steps, you’ll be well-prepared and equipped to begin the process of removing your patio door slider. With the right tools and a clear plan in mind, you’ll be on your way to successfully completing this DIY project.
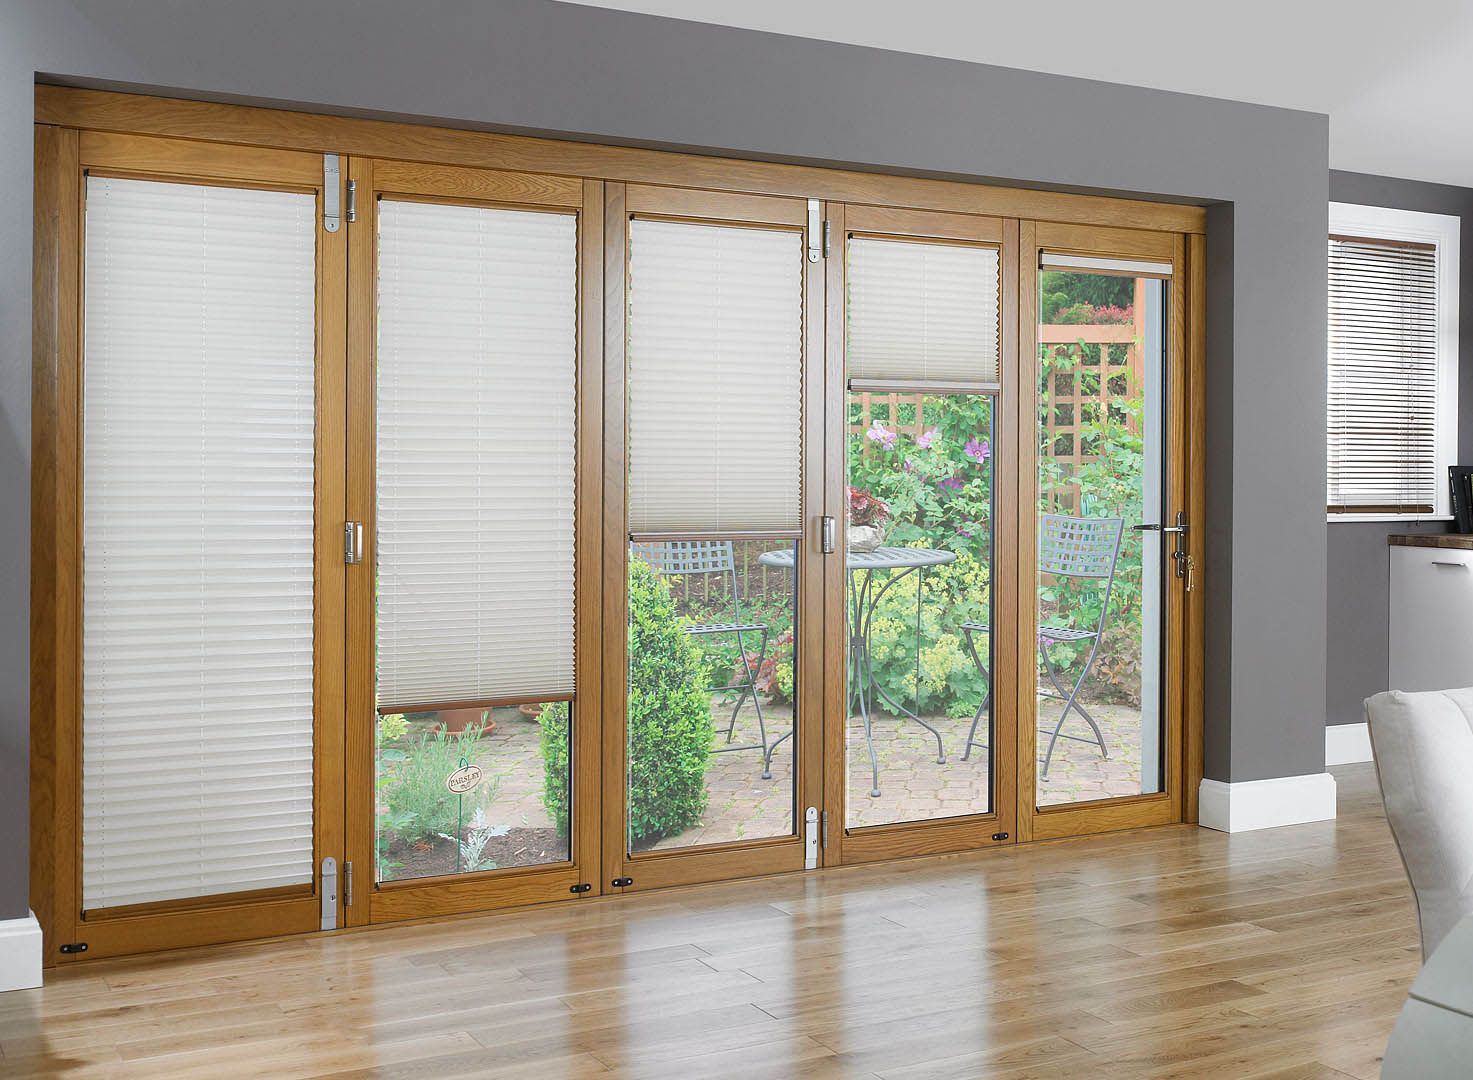
Step 1: Remove the Door Panels
Once you’ve completed the necessary preparations, it’s time to start removing the door panels. Here’s how:
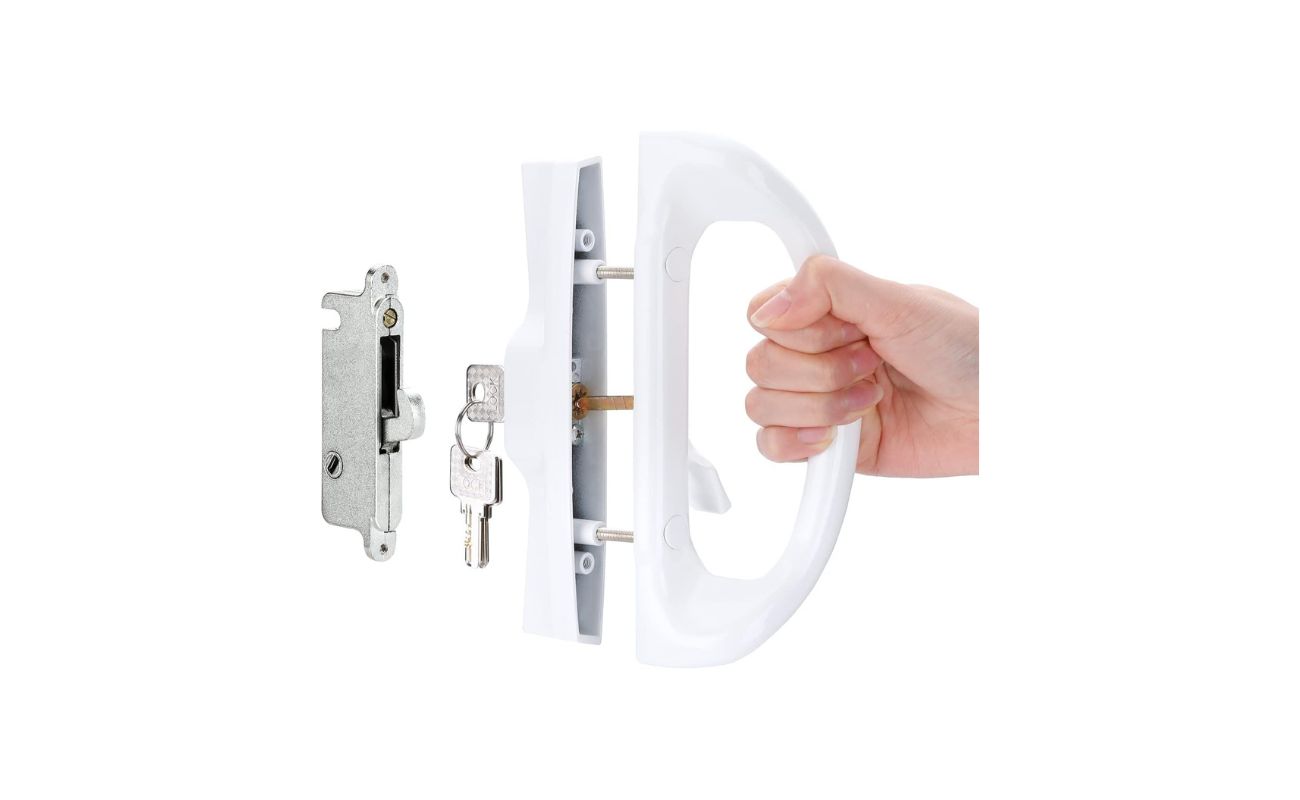
- Locate the screws: Most patio door sliders have screws holding the door panels in place. Look for any visible screws on the interior and exterior sides of the door frame. Use a Phillips screwdriver to unscrew and remove them. Keep all screws in a safe place for reinstallation later.
- Check for trim pieces: Some door panels may have decorative trim pieces that need to be removed before the panels can be taken out. Gently pry away any trim pieces using a flathead screwdriver or putty knife. Take care not to damage the surrounding areas.
- Remove the door panel stops: Door panel stops are small plastic or metal pieces that prevent the door from sliding out of the tracks. Locate these stops on the top or bottom track of the door frame and carefully remove them using a flathead screwdriver or your fingers.
- Take out the stationary panel: Start by removing the stationary panel, also known as the fixed panel. This panel is typically on one side of the patio door and does not move. Gently lift it up and tilt it towards you, using caution as it may be heavy. Once the panel is free from the frame, carefully set it aside in a safe area.
- Detach the sliding panel: The sliding panel is the one that moves along the tracks. To remove it, lift it up slightly and tilt it towards you. Then, pull the bottom of the panel towards you to disengage it from the bottom track. Slowly angle the panel outwards and lower it down. Be careful to avoid any damage to the frame or glass.
- Label or mark the door panels: It’s a good idea to label or mark the door panels as you remove them. This will help you remember which panel goes where during reinstallation. You can use a piece of tape or a marker to indicate their position.
By following these steps, you will successfully remove the door panels of your patio door slider. Set them aside safely as you move on to the next stage of removing the remaining components.
Step 2: Take out the Fixed Panel
Now that the door panels have been removed, it’s time to focus on removing the fixed panel of the patio door slider. Follow these steps:
- Examine the fixed panel: Take a close look at the fixed panel to identify any screws or fasteners that may be securing it to the frame. Use a Phillips screwdriver to remove any screws you find. Keep these screws in a safe place for reinstallation later.
- Check for adhesive or caulk: In some cases, the fixed panel may have been attached to the frame with adhesive or caulk. Use a putty knife or utility knife to carefully cut through any caulk or adhesive. Be cautious not to damage the surrounding areas or the panel itself.
- Release the fixed panel: Once any fasteners or adhesives are removed, the fixed panel should be ready for removal. Depending on the design, you may need to lift the panel upwards to release it from the top track. Apply gentle pressure as you lift, taking care not to cause any damage to the panel or the frame.
- Secure and set aside the fixed panel: Once the fixed panel is free from the frame, secure it safely to prevent any accidental damage or injuries. Place it in a designated area away from the workspace, ensuring it is stable and protected.
Following these steps will allow you to successfully remove the fixed panel of your patio door slider. As you move forward, the next step will focus on removing the sliding panel.
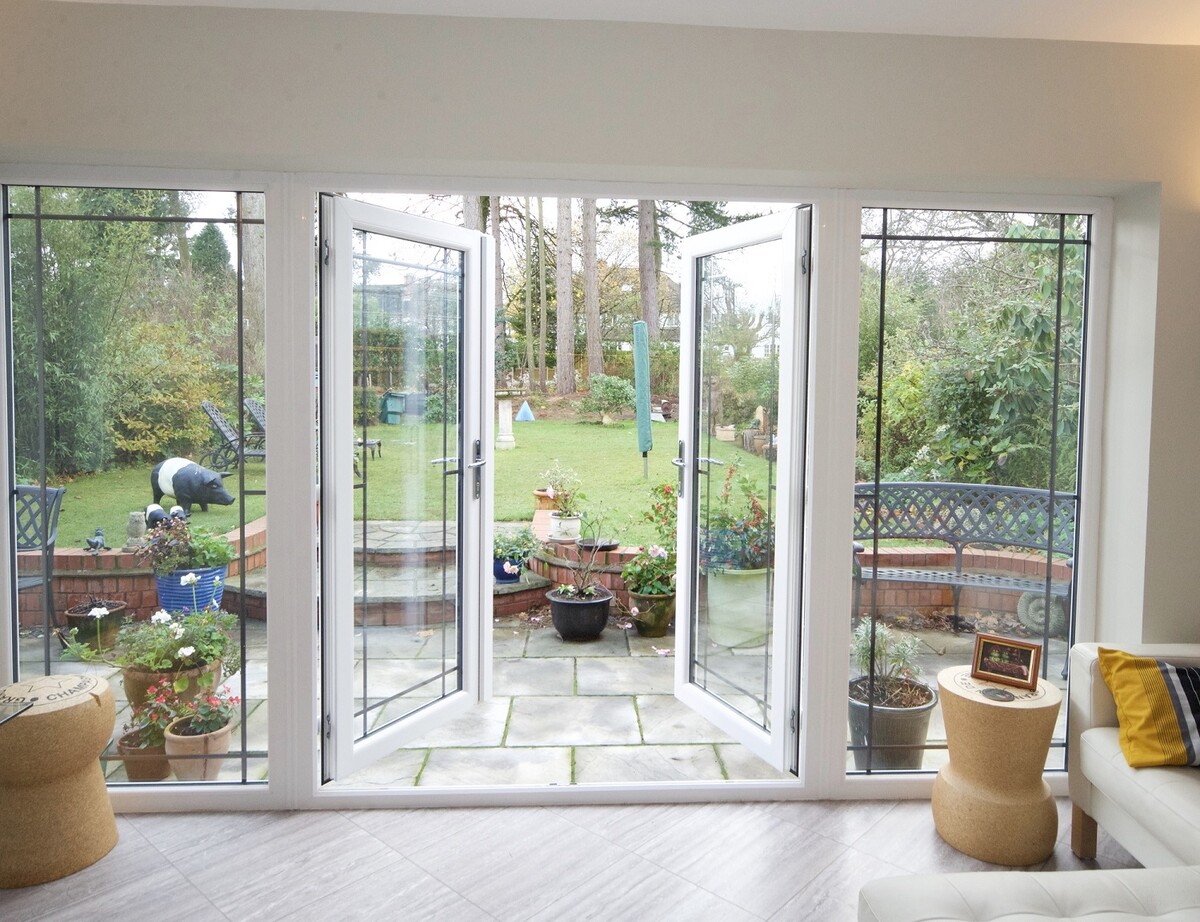
Before removing a patio door slider, make sure to carefully remove the trim and any screws holding it in place. Then, lift the door up and out of the track to remove it. Be sure to have someone help you as patio doors can be heavy.
Read also: 13 Amazing Slider Door Lock For 2024
Step 3: Remove the Sliding Panel
With the fixed panel removed, it’s time to tackle the sliding panel of your patio door slider. Follow these steps:
- Inspect the sliding panel: Take a moment to inspect the sliding panel for any screws or fasteners that may be securing it to the frame. Make sure to check both the top and bottom edges of the panel. If you find any screws, use a Phillips screwdriver to remove them and keep them in a safe place for later.
- Release the sliding panel from the top track: The sliding panel is held in place by the top track. To release it, locate the adjustment screws or tabs on the track. Use a screwdriver or your fingers to loosen or retract them. This will allow the panel to disengage from the track.
- Remove the sliding panel from the bottom track: Once the sliding panel is free from the top track, focus on the bottom track. Depending on the design of your patio door slider, you may need to lift the sliding panel slightly to disengage it from the bottom track. Apply gentle upward pressure and carefully tilt the panel towards you. Slowly guide the sliding panel out of the bottom track.
- Set the sliding panel aside safely: Once the sliding panel is removed, set it aside in a secure area away from your workspace. Be mindful of protecting the glass and other vulnerable parts of the panel.
By following these steps, you’ll successfully remove the sliding panel of your patio door slider. This brings us one step closer to completing the removal process and preparing for the installation of a new patio door slider.
Step 4: Take out the Bottom Track
With the door panels removed, it’s time to focus on taking out the bottom track of your patio door slider. Follow these steps:
- Clean the track: Before removing the bottom track, it’s a good idea to clean it thoroughly. Use a vacuum cleaner or a broom to remove any debris, dust, or dirt that may have accumulated in the track. This will make the removal process easier and allow for a clean installation later on.
- Inspect the track: Take a close look at the bottom track to identify any screws, fasteners, or clips that may be securing it to the floor or frame. Use a flathead screwdriver or utility knife to remove any visible screws or release any clips that are holding the track in place.
- Apply pressure and lift: With the fasteners removed, apply gentle pressure to the bottom track to lift it off the floor. If the track seems stuck or difficult to remove, use a hammer and a wooden block to tap on the track gently. This can help loosen any adhesive or caulk that may be holding it down.
- Remove the bottom track: Once the bottom track is loose, lift it up and away from the floor. Be cautious of any sharp edges or protruding nails. If the track is in good condition, you may choose to save it for future use. Otherwise, dispose of it safely.
Following these steps will guide you in successfully removing the bottom track of your patio door slider. Be sure to exercise caution and take your time to prevent any damage to the floor or surrounding areas during the removal process.
Step 5: Clean and Prepare the Opening
Now that you’ve removed the door panels and bottom track, it’s time to clean and prepare the opening for the installation of a new patio door slider. Follow these steps:
- Clear out debris: Begin by removing any debris, dust, or dirt that may have accumulated in the opening. Use a broom or vacuum cleaner to thoroughly clean the area. This will ensure a clean and smooth surface for the new patio door installation.
- Inspect the frame and tracks: Take a close look at the frame and tracks for any signs of damage or wear. Check for any loose screws, cracked wood, or rusted metal. Address any necessary repairs or replacements before proceeding with the installation of the new patio door slider.
- Measure dimensions: Measure the width and height of the opening to ensure a proper fit for the new patio door slider. Use a tape measure to accurately measure the dimensions. Take note of these measurements for reference when purchasing the new door.
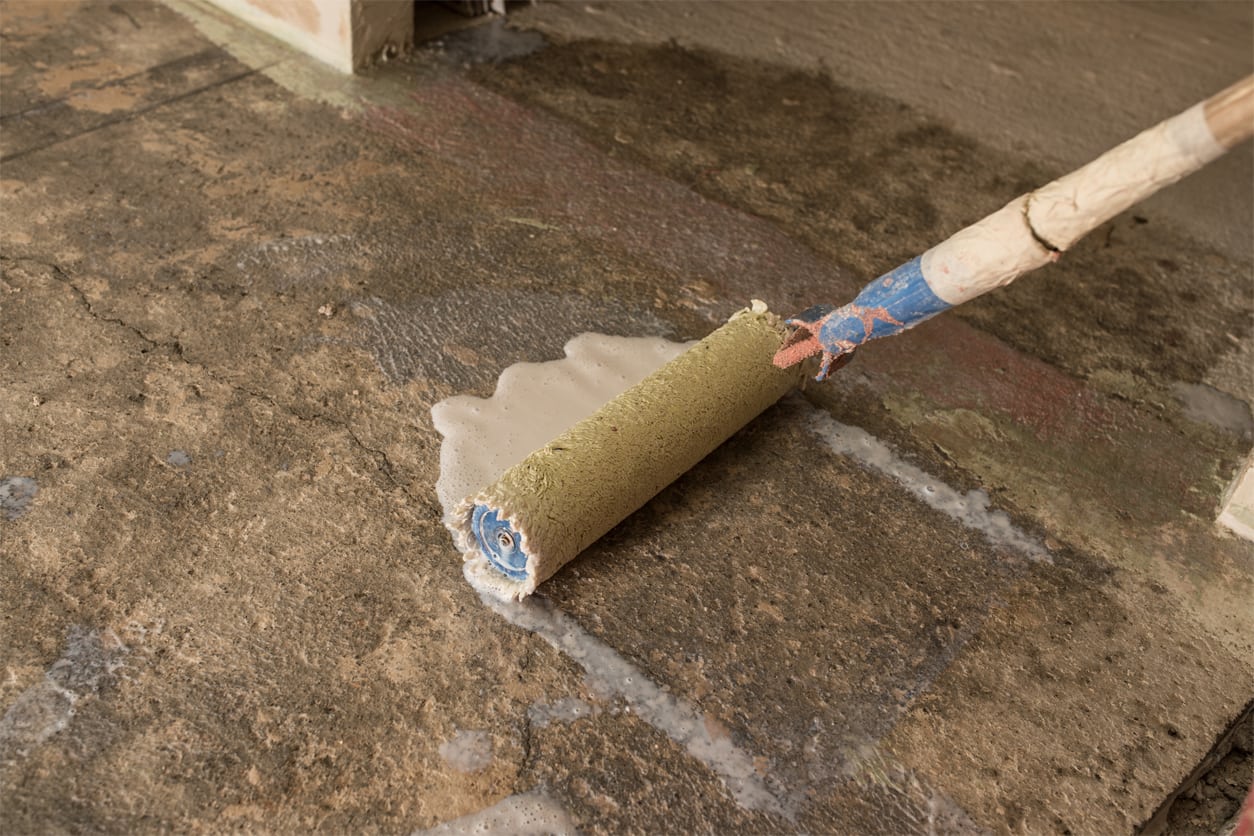
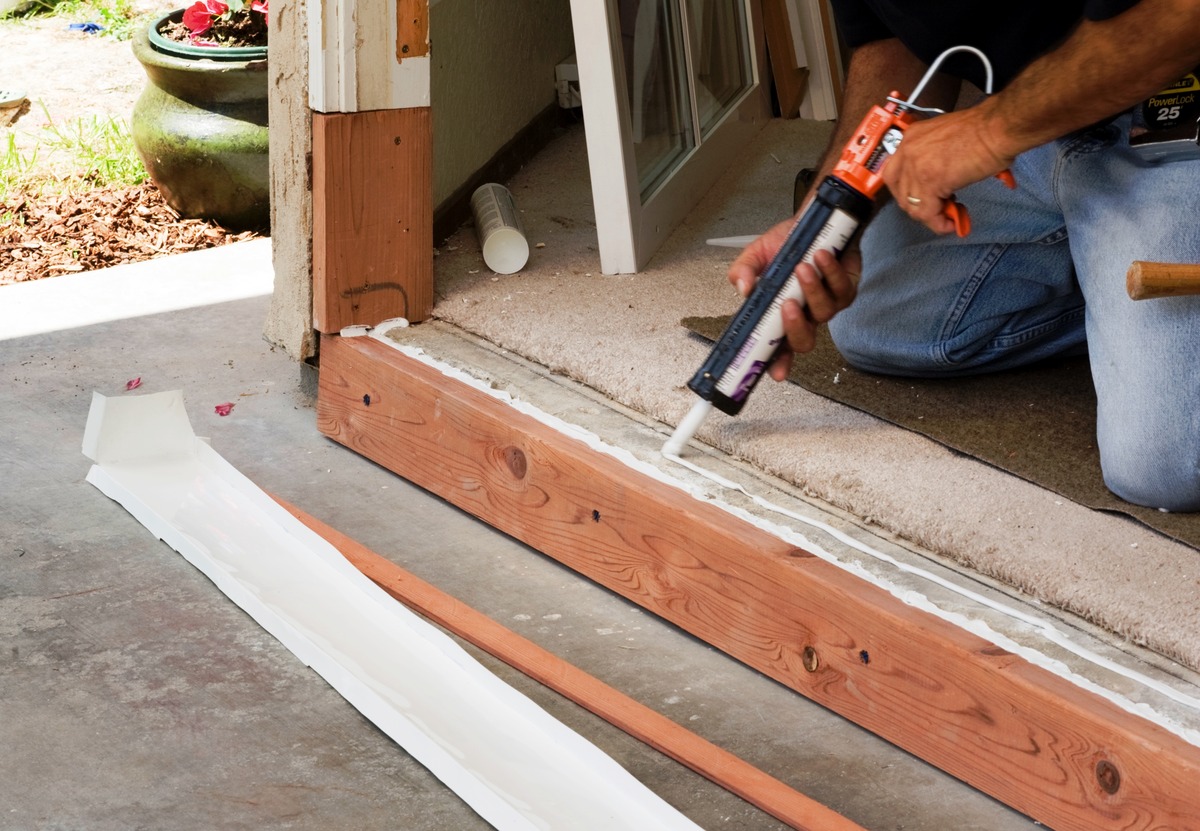
- Apply caulk or sealant: If needed, use caulk or a sealant to fill in any gaps or cracks in the frame. Apply the caulk in a smooth and even manner, ensuring a tight seal. This will prevent drafts and water intrusion once the new patio door is installed.
- Clean the tracks: Pay special attention to cleaning the tracks where the door panels will slide. Use a damp cloth or brush to remove any dirt or debris that may hinder the smooth movement of the new patio door slider.
By following these steps, you’ll properly clean and prepare the opening for the installation of your new patio door slider. Taking the time to ensure a clean and well-maintained opening will contribute to a successful and long-lasting installation.
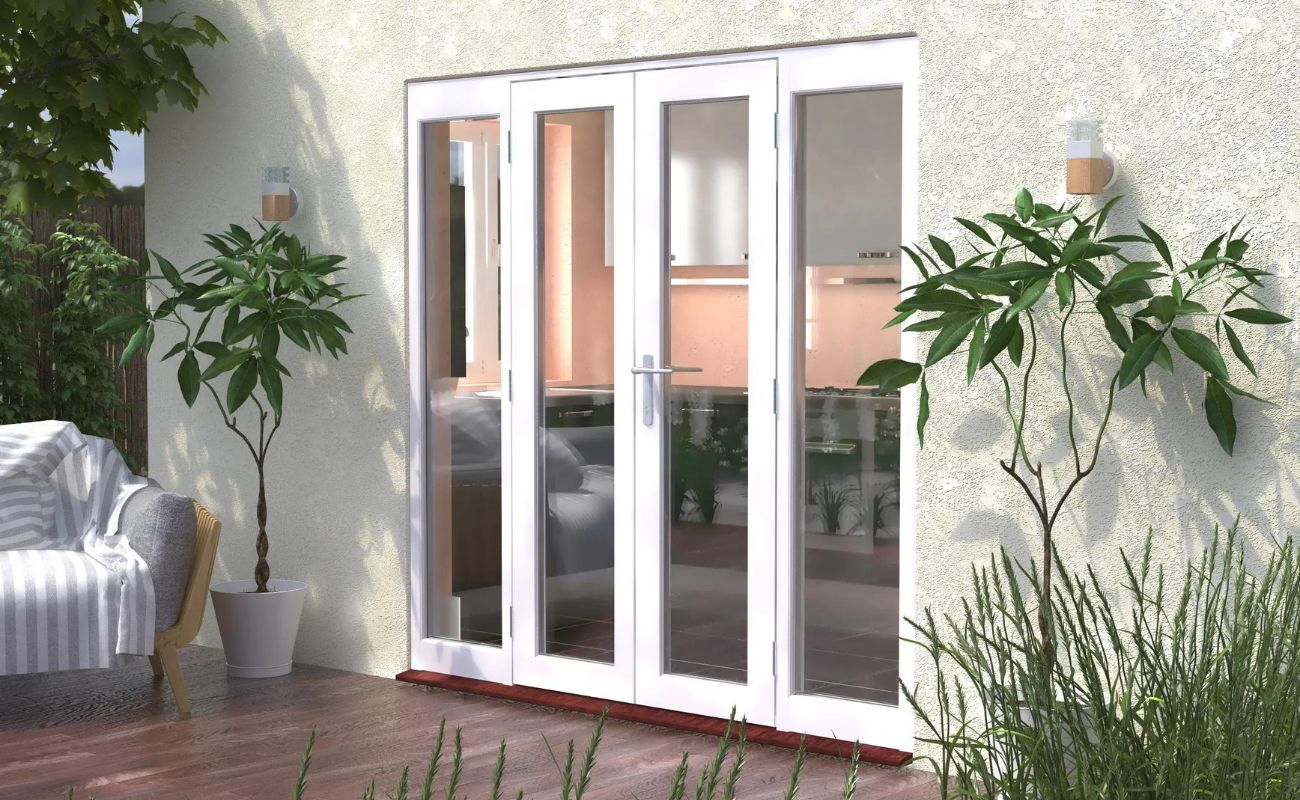
Step 6: Install the New Patio Door Slider
After cleaning and preparing the opening, it’s time to install the new patio door slider. Follow these steps:
- Read the manufacturer’s instructions: Begin by carefully reviewing the manufacturer’s instructions that came with your new patio door slider. Familiarize yourself with the specific installation guidelines and any recommended tools or materials.
- Position the new door: With the help of a friend or family member, position the new patio door slider at the opening. Make sure it is centered and level. You may need shims to ensure a proper fit.
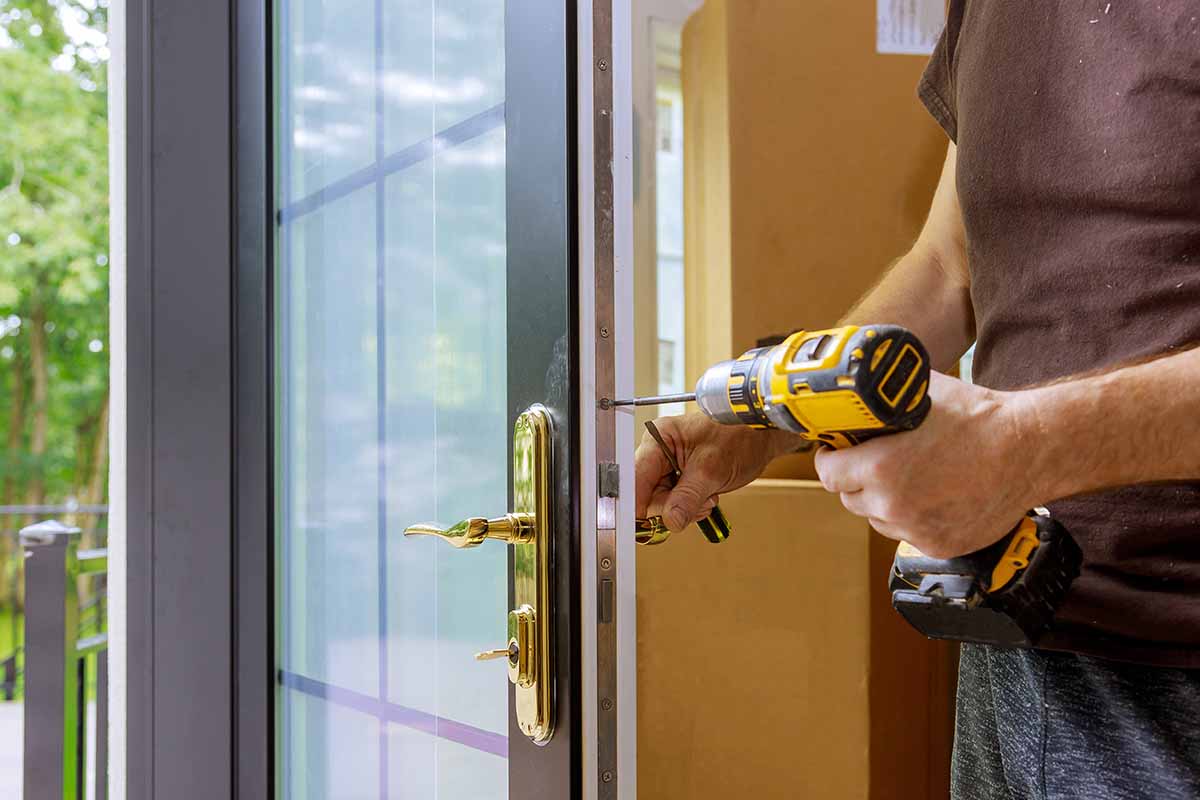
- Screw it into place: Using the provided screws or fasteners, secure the door frame to the opening. Start with the top and bottom corners, then work your way along the sides. Be careful not to overtighten the screws, as this could damage the frame or affect the door’s functionality.
- Adjust the rollers: If your patio door slider has adjustable rollers, use the manufacturer’s instructions to adjust them as necessary. This will ensure smooth and easy opening and closing of the door. Test the door’s movement to ensure it glides seamlessly along the track.
- Install any additional components: Depending on the specific design of your patio door slider, you may need to install additional components, such as handles, locks, or weatherstripping. Follow the manufacturer’s instructions to properly install these components for optimal functionality and security.
- Test the door: Once the installation is complete, thoroughly test the new patio door slider. Open and close it several times to ensure smooth operation. Check for any gaps, drafts, or alignment issues that may need further adjustments or modifications.
By following these steps, you’ll successfully install your new patio door slider. Take your time, double-check your work, and consult the manufacturer’s instructions as needed to ensure a proper and professional installation.
Read more: How To Remove A Patio
Conclusion
Removing a patio door slider may seem like a challenging task, but with the right tools and guidance, it can be a straightforward and rewarding DIY project. By following the step-by-step instructions in this guide, you can safely and efficiently remove a patio door slider to either replace it or make necessary repairs.
Throughout the process, it’s important to prioritize safety and take the necessary precautions. Remember to wear appropriate safety gear, such as gloves and safety glasses, and follow any instructions provided by the manufacturer.
Before starting the removal process, make sure to prepare the area and gather all the necessary tools and materials. Clear the workspace, protect the flooring, and inspect the door for any visible damage or issues that might require additional repairs or replacements.
When removing the door panels, take care to locate and remove any screws or trim pieces, and label each panel for easy reinstallation later. The fixed panel and sliding panel should be removed carefully, paying attention to any fasteners or adhesives that may be holding them in place.
Once the door panels are removed, proceed to take out the bottom track. Clean the track, inspect the frame and tracks for any damage or wear, and measure the dimensions of the opening for a proper fit of the new patio door slider. Apply caulk or sealant where necessary to ensure a tight seal and clean the tracks for smooth operation.
Finally, following the manufacturer’s instructions, install the new patio door slider. Position it correctly, secure it with screws or fasteners, adjust the rollers if needed, and install any additional components such as handles or locks. Test the door’s movement and functionality to ensure a successful installation.
By following these steps and guidelines, you can confidently remove a patio door slider and either replace it or make necessary repairs. Remember to consult professionals or seek assistance if needed, especially when dealing with more extensive damage or complex installations.
Now that you have the knowledge and understanding of how to remove a patio door slider, you can embark on your home improvement journey with confidence. Enjoy the process and the enhanced functionality and beauty that a new patio door can bring to your outdoor living space.
Frequently Asked Questions about How To Remove A Patio Door Slider
Was this page helpful?
At Storables.com, we guarantee accurate and reliable information. Our content, validated by Expert Board Contributors, is crafted following stringent Editorial Policies. We're committed to providing you with well-researched, expert-backed insights for all your informational needs.


0 thoughts on “How To Remove A Patio Door Slider”