Home>Furniture>Outdoor Furniture>How To Remove Patio Sealer
Outdoor Furniture
How To Remove Patio Sealer
Modified: March 7, 2024
Learn how to effectively remove patio sealer from your outdoor furniture with these simple steps. Preserve the beauty and longevity of your patio seating with our expert tips and techniques.
(Many of the links in this article redirect to a specific reviewed product. Your purchase of these products through affiliate links helps to generate commission for Storables.com, at no extra cost. Learn more)
Introduction
Welcome to our comprehensive guide on how to remove patio sealer. Over time, patio sealers can degrade, become discolored, or simply lose their effectiveness. Removing the old sealer is an essential step in maintaining the beauty and longevity of your outdoor space. Whether you’re planning to reseal your patio or want to refresh its appearance, this guide will walk you through the step-by-step process of removing the existing sealant.
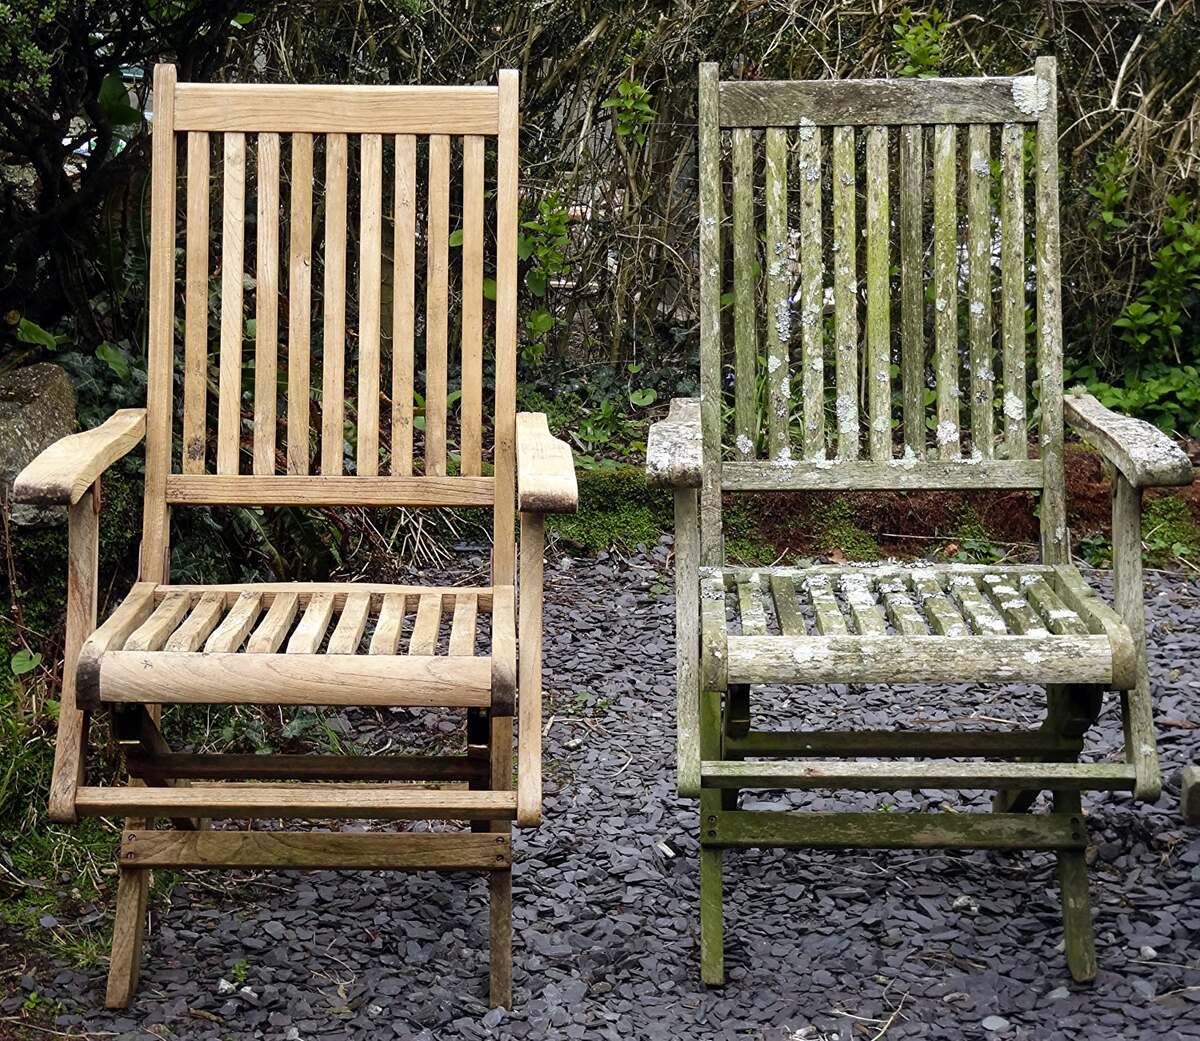
Before we dive into the specific steps, it’s important to understand the purpose and benefits of patio sealers. A patio sealer acts as a protective layer that shields your patio from various external elements like UV rays, moisture, stains, and dirt. By creating a barrier on the surface, the sealer enhances the longevity of your patio, prevents color fading, and makes it easier to clean. However, over time, these sealers can deteriorate or become damaged, requiring removal and reapplication.
Removing patio sealer may seem like a daunting task, but with the right tools and techniques, it can be done efficiently and effectively. We will take you through the entire process, from gathering the necessary materials to assessing the results. By following these steps, you’ll be able to remove the old sealer and prepare your patio for a fresh application or any other desired improvements.
Now, let’s gather our materials and get started!
Key Takeaways:
- Removing patio sealer involves gathering materials, preparing the surface, applying a sealer removal product, and carefully scraping off the old sealer. It’s a step-by-step process that requires attention to detail and safety precautions.
- After removing the old sealer, cleaning the patio surface is crucial for achieving a pristine foundation. Assessing the results and optionally applying a new sealer can further enhance the patio’s appearance and longevity.
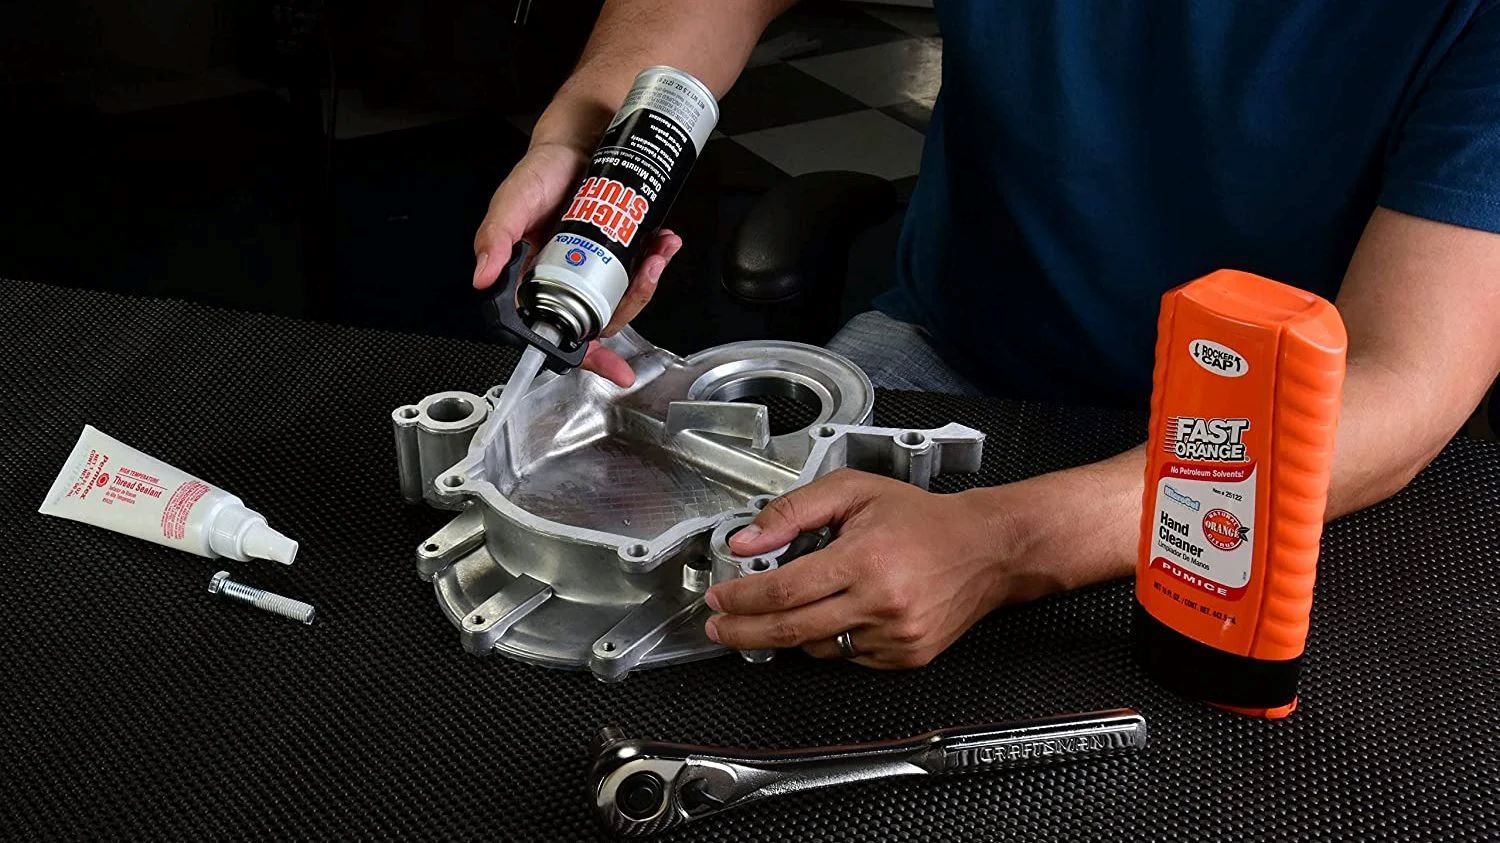
Step 1: Gathering the necessary materials
Before you begin the process of removing patio sealer, it’s essential to gather all the necessary materials. Having everything ready beforehand will ensure a smooth and efficient process. Here are the items you’ll need:
- Protective gear: It’s crucial to prioritize your safety during this project. Wear protective gloves, safety goggles, and a face mask to shield yourself from any potential chemicals or debris.
- Sealer removal product: Look for a high-quality sealer removal product specifically designed for the type of sealer you’re removing. Different sealers require different removal methods, so choose the product accordingly.
- Scraper or putty knife: A scraper or putty knife will be your main tool for physically removing the old sealer. Make sure you have a sturdy and sharp one to effectively scrape away the sealant without damaging the surface.
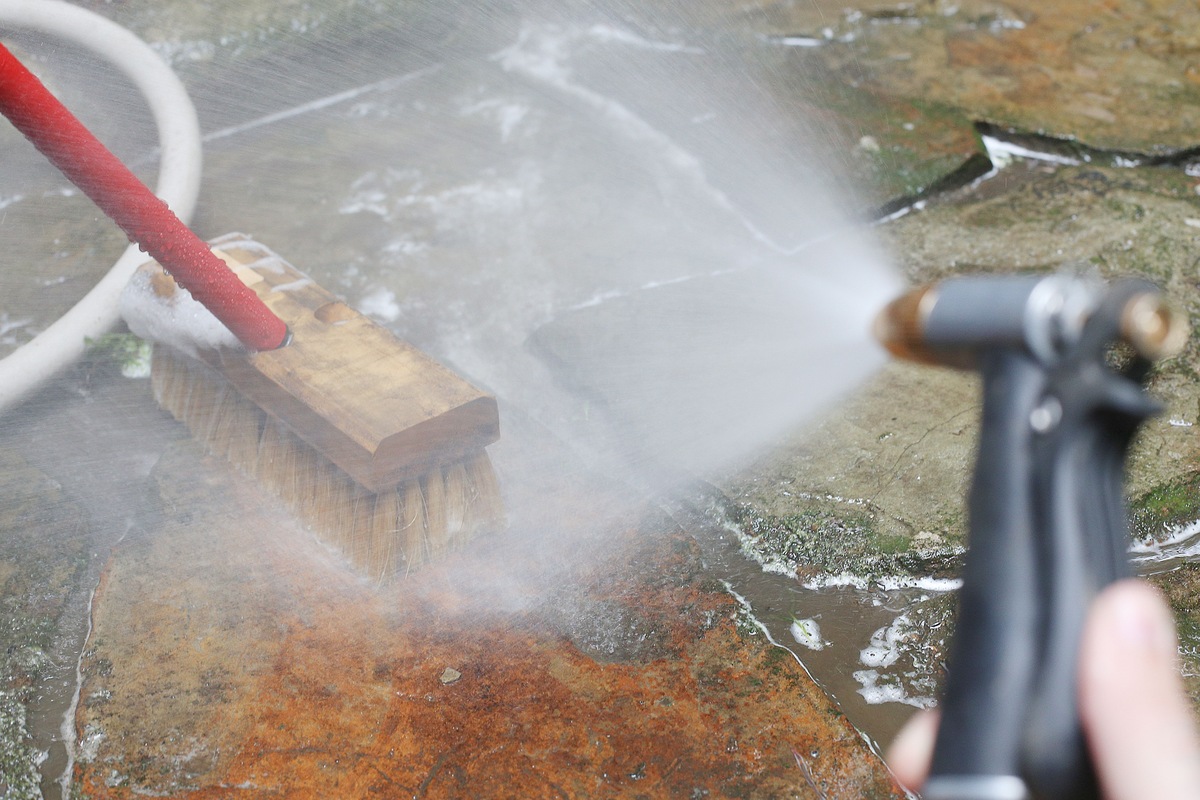
- Pressure washer: A pressure washer is an efficient tool for deep cleaning and rinsing the patio surface after removing the sealer. If you don’t have a pressure washer, you can also use a garden hose with a spray nozzle attachment.
- Hot water and mild detergent: This mixture will help in loosening and removing any residual sealer or dirt from the patio surface. Having some buckets and a scrub brush handy will be useful for this step.
- Plastic sheeting or drop cloths: To protect any adjacent areas or furniture from the sealer removal product or debris, cover them with plastic sheeting or drop cloths. This will prevent any accidental damage or stains.
Once you have gathered all these materials, you’ll be well-prepared to proceed with the patio sealer removal process. It’s important to note that some additional tools or materials may be required depending on your specific patio and sealer type. Refer to the instructions provided by the sealer removal product manufacturer for any additional recommendations.
With everything ready, let’s move on to the next step: preparing the patio surface.
Step 2: Preparing the patio surface
Properly preparing the patio surface before starting the sealer removal process is crucial for achieving the best results. Follow these steps to ensure your patio is ready:
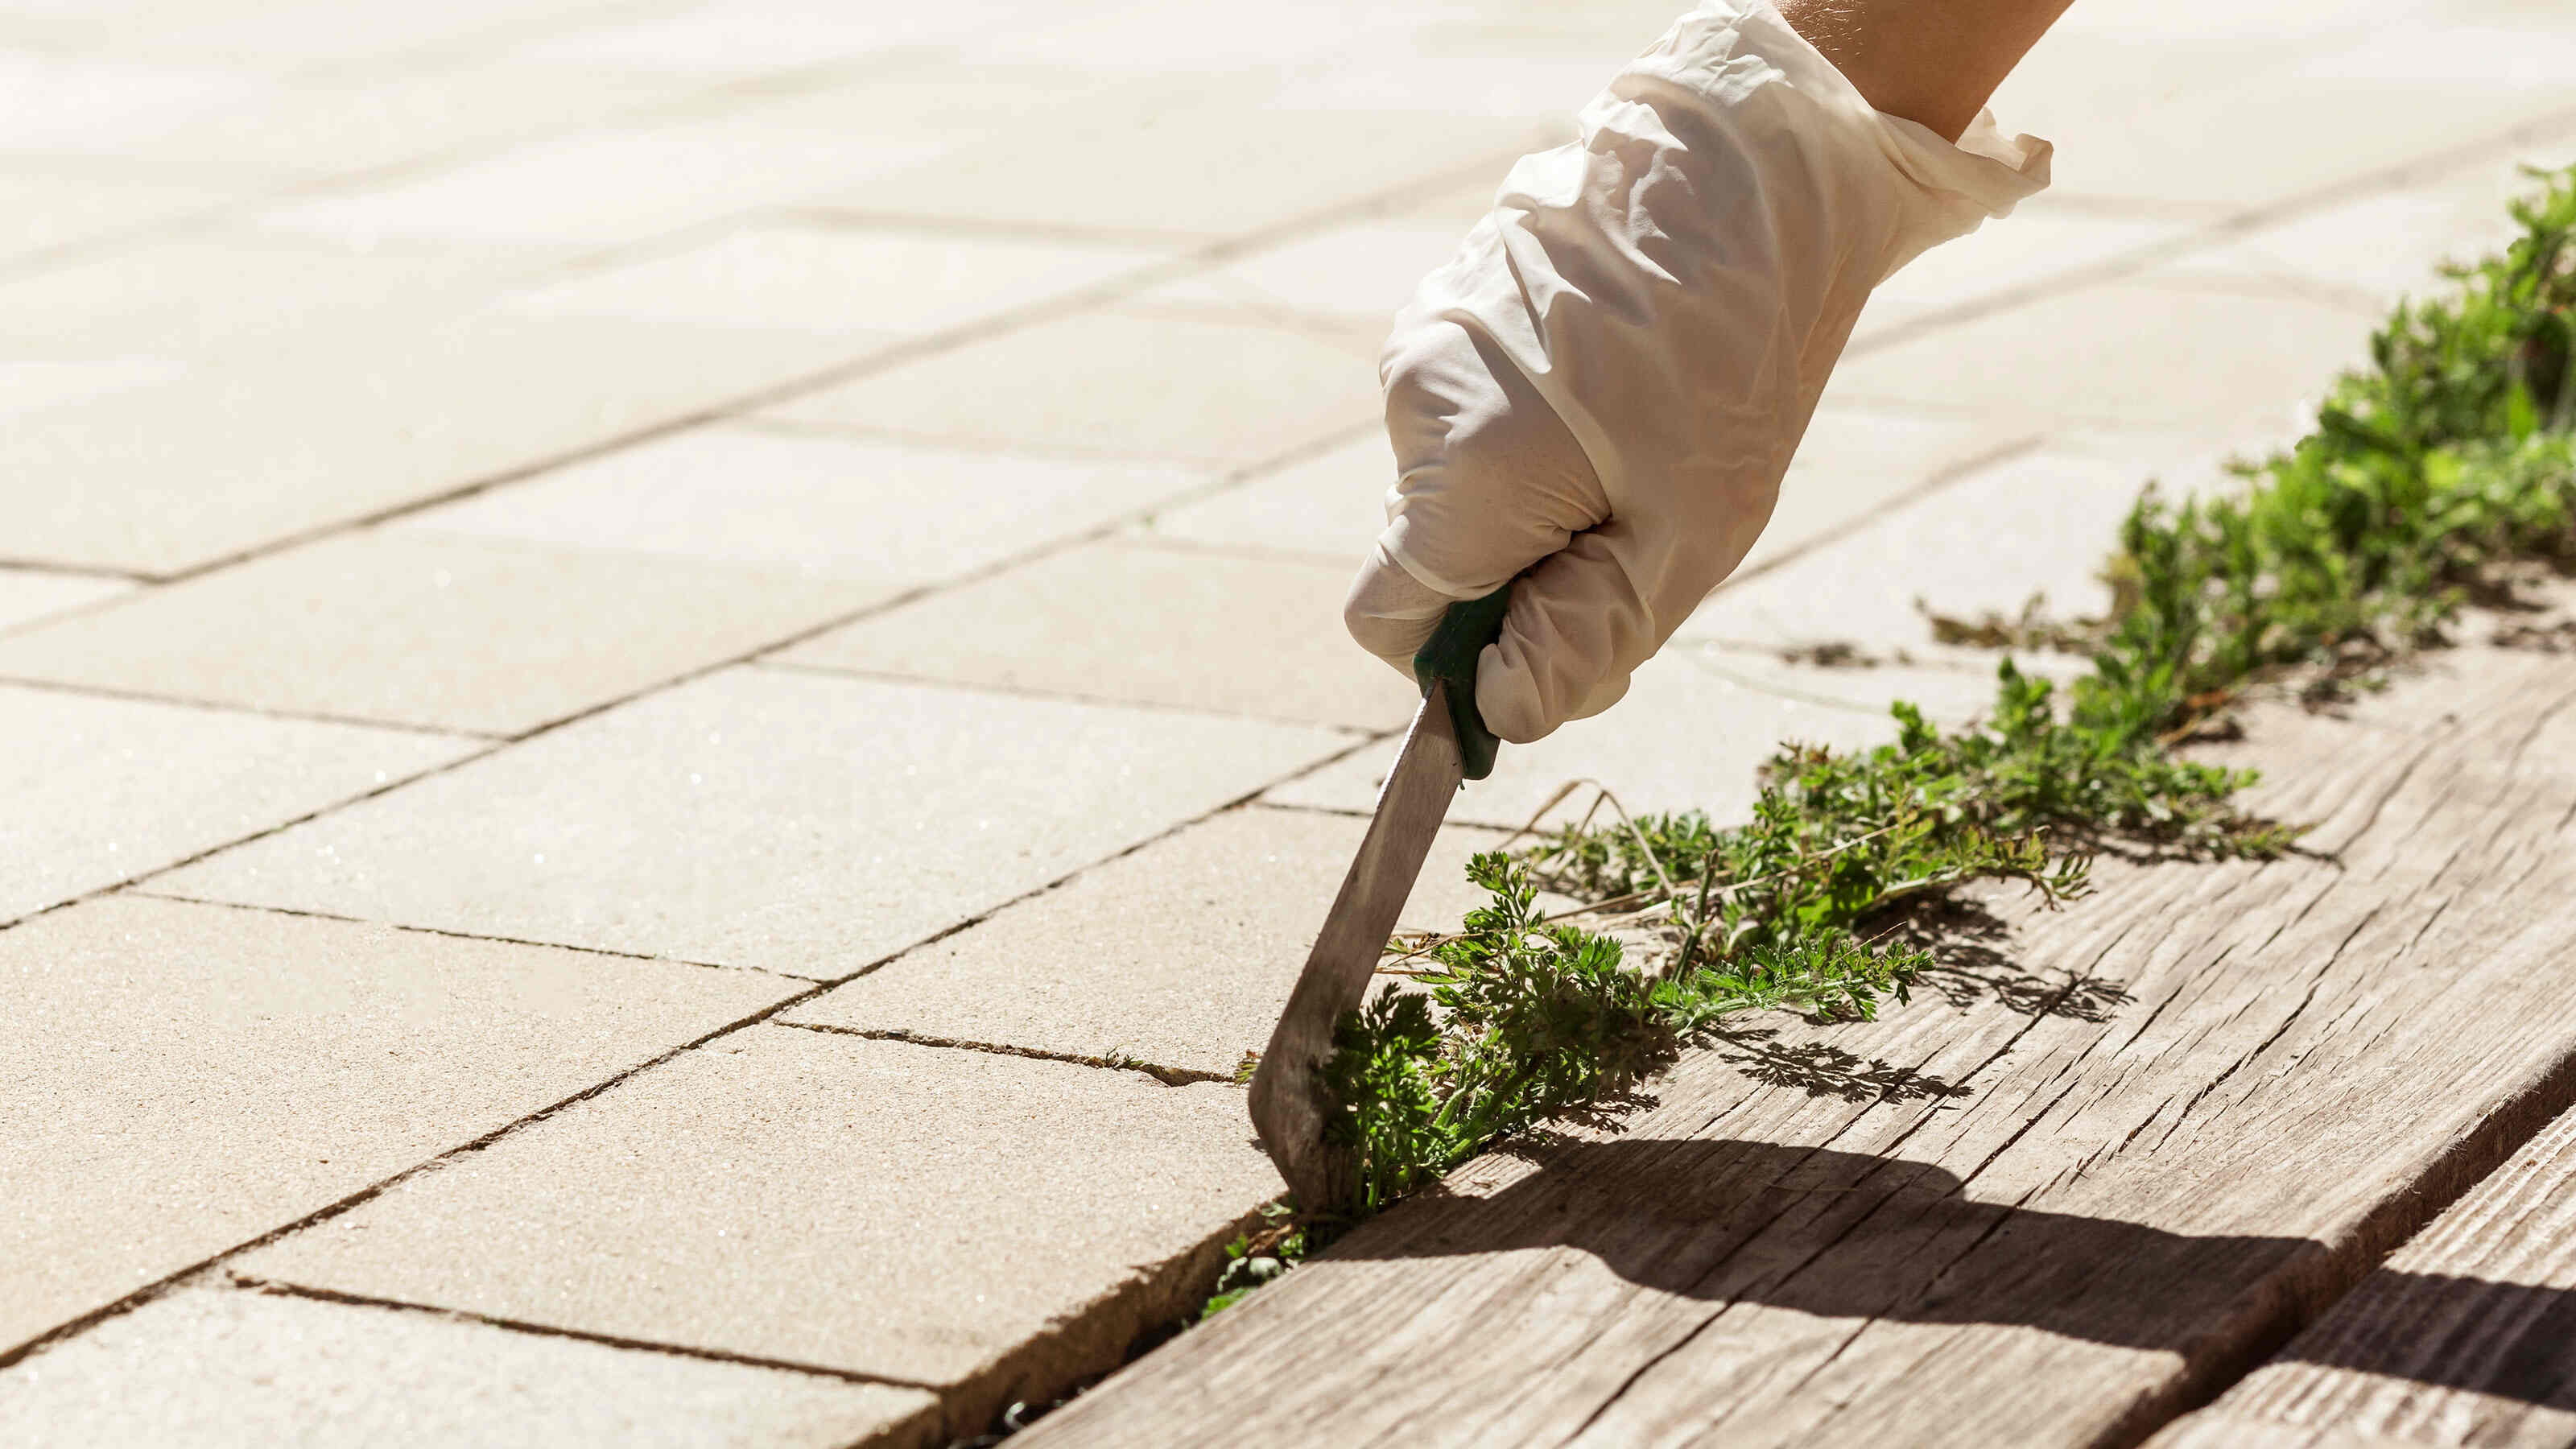
- Clean the surface: Start by thoroughly cleaning the entire patio surface. Remove any loose dirt, debris, or organic matter using a broom or a leaf blower. Sweep away any stubborn dirt or stains using a stiff bristle brush.
- Protect adjacent areas: Use plastic sheeting or drop cloths to cover any adjacent areas, plants, or furniture that you want to protect from the sealer removal product or debris. This will prevent any accidental damage or staining during the process.
- Test an inconspicuous area: Before applying the sealer removal product to the entire patio surface, it’s important to perform a patch test on a small, inconspicuous area. This will help ensure that the product doesn’t cause any adverse reactions or damage to the surface.
- Follow product instructions: Read and follow the instructions provided by the sealer removal product manufacturer. Different products may have specific application methods, required waiting times, or recommended tools. Adhering to these instructions will help you achieve the best possible results.
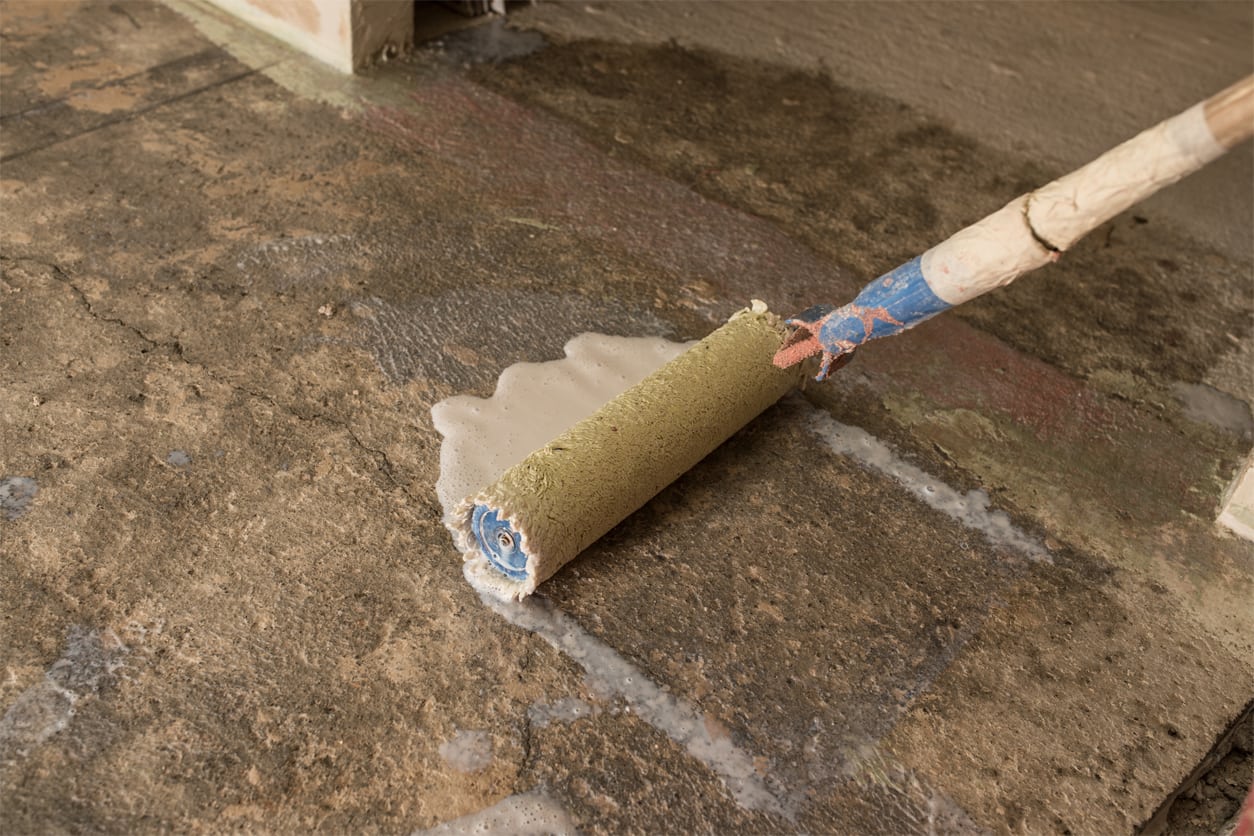
- Apply the sealer removal product: Using a brush or a roller, apply the sealer removal product to the patio surface according to the manufacturer’s instructions. Ensure a uniform coverage and avoid applying excessive amounts of the product.
- Let it sit: Allow the sealer removal product to dwell on the surface for the recommended amount of time. This will give it enough time to penetrate and break down the old sealer effectively.
- Scrub the surface: After the recommended dwell time, use a stiff-bristle brush or a scrub brush to agitate the surface. Scrub in circular motions to loosen the old sealer. Pay extra attention to any stubborn or hard-to-reach areas.
By properly preparing the patio surface, you’ll ensure that the sealer removal process goes smoothly and effectively. Once you have completed these preparation steps, you’re ready to move on to the next step: applying the sealer removal product.
Step 3: Applying the sealer removal product
Now that your patio surface is prepared, it’s time to apply the sealer removal product. Follow these steps to ensure proper application:
- Read the instructions: Carefully read and understand the instructions provided by the sealer removal product manufacturer. Different products may have specific application techniques and waiting times, so it’s important to follow them closely.
- Start with a small section: Begin by applying the sealer removal product to a small section of the patio. This will allow you to assess its effectiveness and ensure there are no adverse reactions or damages to the surface.
- Apply evenly: Using a brush or a roller, apply the sealer removal product evenly over the surface. Make sure to cover all areas where the old sealer is present.
- Avoid puddling: Be mindful not to apply the product too heavily, as it may create puddles or excessive runoff. Puddling can lead to uneven removal or even damage to the patio surface.
- Allow dwell time: Give the sealer removal product enough time to work. The instructions will specify the recommended dwell time, which typically ranges from 10 to 30 minutes. During this time, the product will penetrate and break down the old sealer.
- Test a small area: After the dwell time, test a small area to see if the old sealer is ready for removal. Use a scraper or a putty knife to check if the sealer easily lifts off the surface. If it does, you can proceed with removing the old sealer. If not, give the sealer removal product some more time to work.
Remember, it’s important to follow the instructions provided by the sealer removal product manufacturer to ensure safe and effective removal. By applying the sealer removal product correctly, you’ll be one step closer to achieving a refreshed and rejuvenated patio surface. When you’re satisfied with the results, it’s time to move on to the next step: removing the old sealer.
Step 4: Removing the old sealer
With the sealer removal product applied and given enough time to work, it’s now time to remove the old sealer from your patio surface. Follow these steps for effective removal:
- Start in a small area: Begin the removal process in a small, inconspicuous area of the patio to ensure that your chosen method is suitable and doesn’t cause any damage.
- Use a scraper or putty knife: Take a scraper or putty knife and start gently scraping away the loosened sealer from the surface. Work in small sections, applying moderate pressure to remove the residue.
- Be careful not to damage the surface: While scraping, be cautious not to damage the underlying patio material. Use gentle, controlled motions and keep the tool at a shallow angle to minimize the risk of causing any scratches or gouges.
- Repeat in larger sections: Once you’re comfortable with the scraping technique, gradually move on to larger sections of the patio. Work systematically and methodically, making sure to remove all traces of the old sealer.
- Take breaks: Depending on the size of your patio and the extent of the old sealer, this can be a physically demanding task. Take regular breaks to rest and avoid straining yourself.
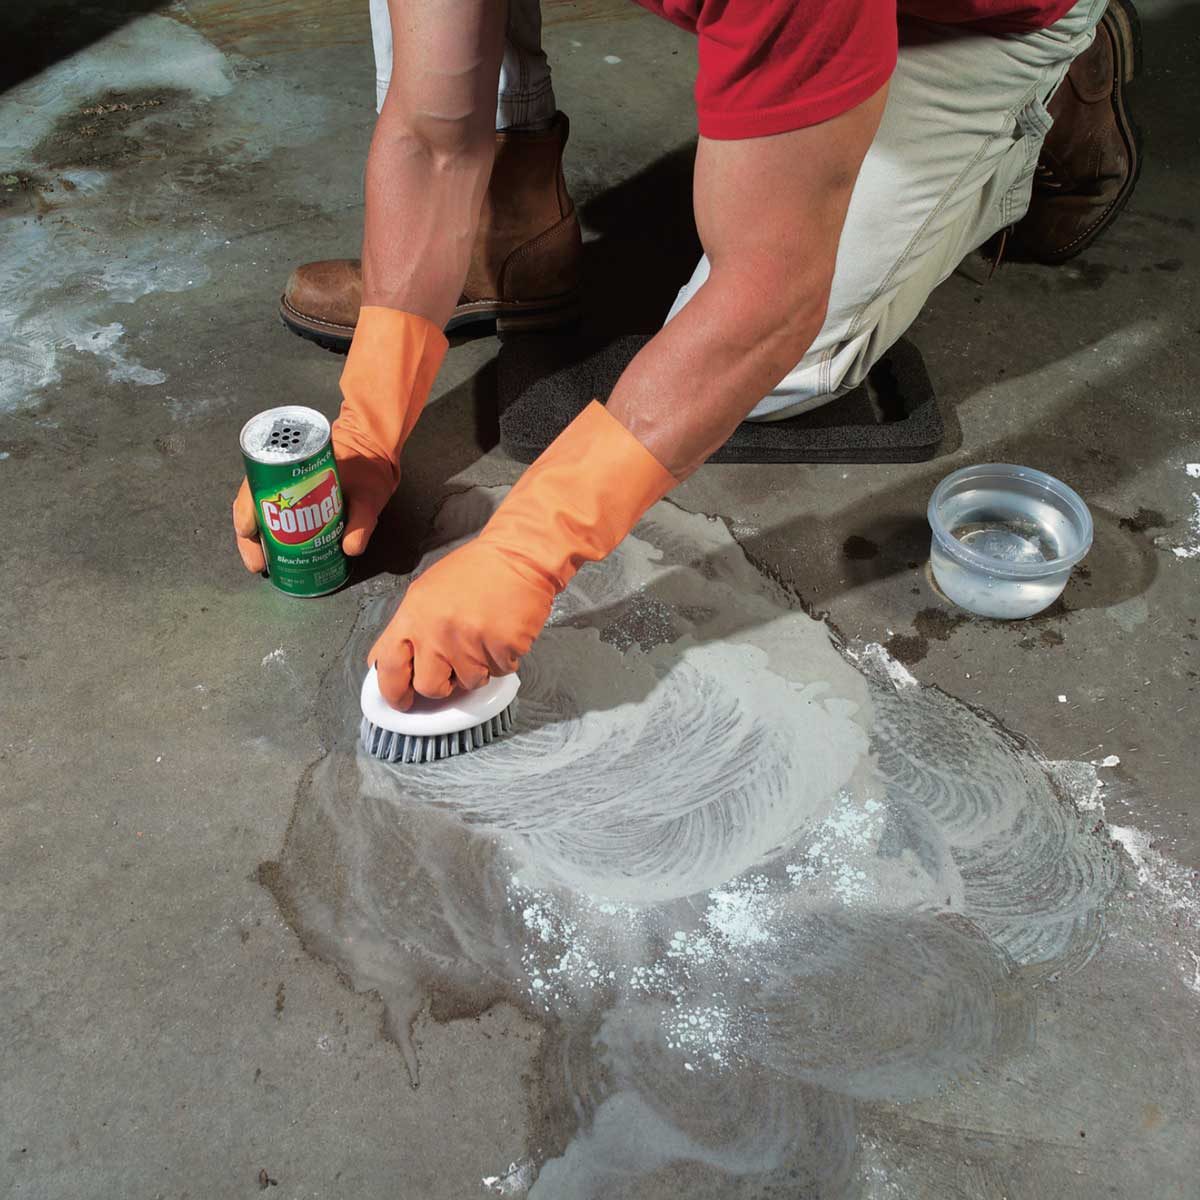
- Remove residue: After scraping off the majority of the old sealer, there may still be some residue left on the surface. Use a scrub brush dipped in hot water and mild detergent to scrub away any remaining sealer.
It’s important to note that the removal process can vary depending on the type of sealer and the patio surface. Some sealers may require additional techniques, such as chemical stripping or mechanical grinding, for complete removal. Refer to the guidelines provided by the sealer removal product manufacturer for specific instructions tailored to your situation.
When you’re satisfied with the removal of the old sealer and all residue is cleaned off, it’s time to proceed to the next step: cleaning the patio surface.
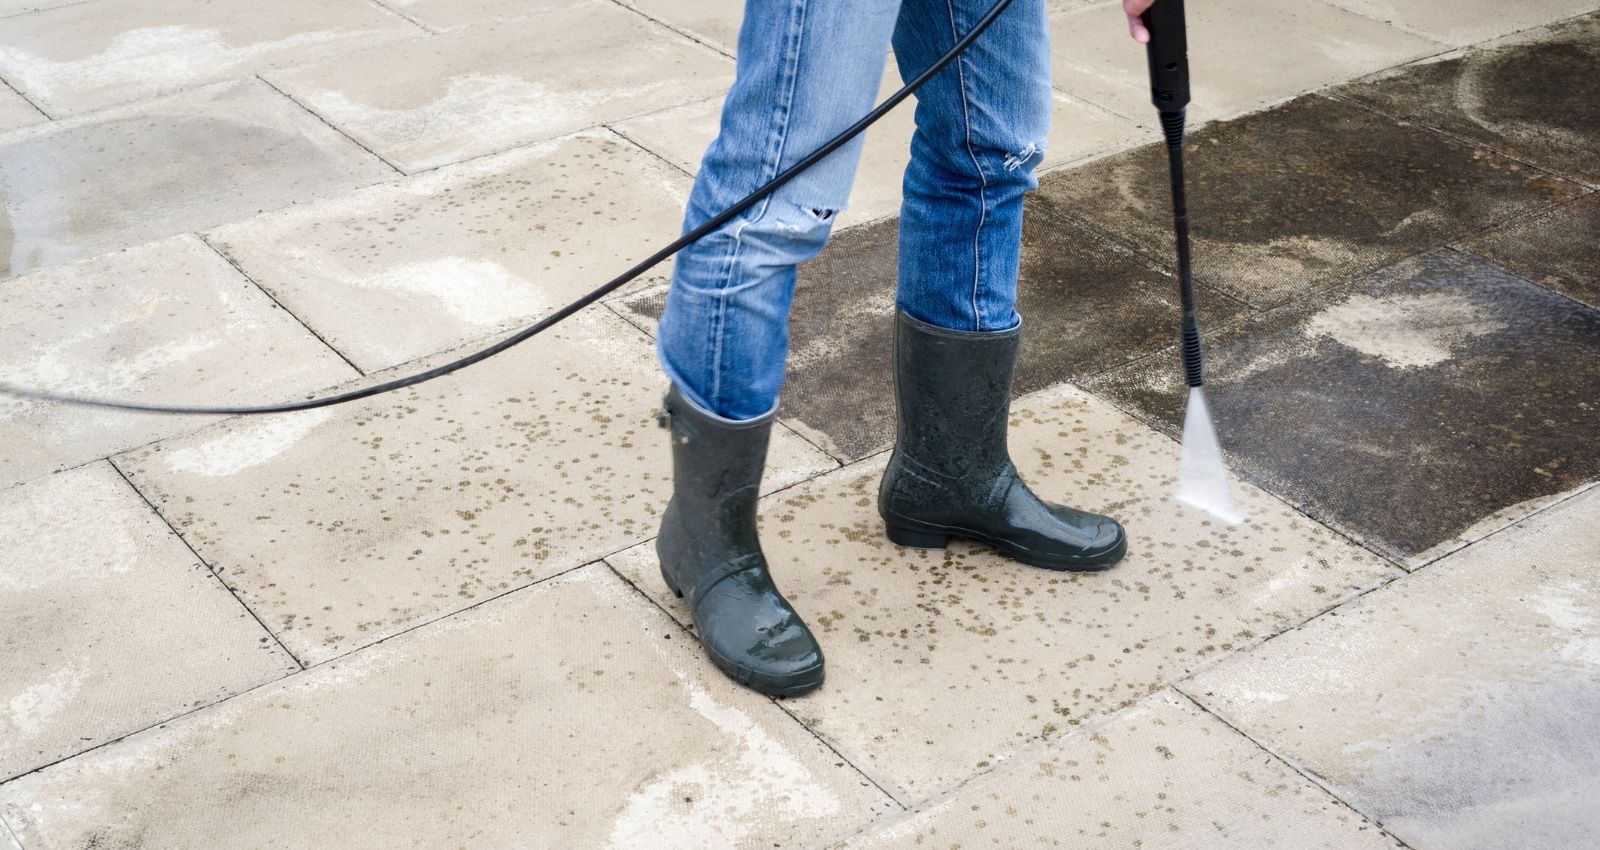
Use a chemical sealer stripper to remove patio sealer. Apply the stripper according to the manufacturer’s instructions, then scrub the surface with a stiff brush and rinse thoroughly. Repeat if necessary.
Read more: How Long Does Patio Sealer Take To Dry
Step 5: Cleaning the patio surface
After successfully removing the old sealer from your patio surface, it’s essential to thoroughly clean the area to prepare it for any further treatments or improvements. Follow these steps to ensure your patio is clean and ready for the next step:
- Remove debris: Start by clearing any loose debris, dust, or residue left from the sealer removal process. Use a broom or a leaf blower to sweep away any loose particles.
- Scrub the surface: Mix hot water with a mild detergent and use a scrub brush to thoroughly scrub the patio surface. Pay extra attention to any stained or dirty areas and scrub until the surface is clean and free of residue.
- Rinse with water: Rinse the patio surface with clean water to remove the soapy solution and any remaining dirt or debris. Using a pressure washer with a gentle spray setting can help ensure a thorough rinse.
- Allow drying time: Allow the patio surface to fully dry before proceeding with any additional treatments or improvements. This may take several hours or even overnight, depending on the weather conditions.
- Inspect for any missed spots: Once the patio is dry, carefully inspect the surface for any missed spots or areas that still have remnants of the old sealer. If necessary, repeat the cleaning process or spot-treat the affected areas as needed.
By thoroughly cleaning the patio surface, you’ll ensure a clean and pristine foundation for any future treatments, such as resealing or refinishing. Taking the time to properly clean the surface will help enhance the overall appearance and longevity of your patio.
After completing the cleaning process, it’s time to move on to the next step: assessing the results of the sealer removal.
Step 6: Assessing the results
Now that you have gone through the process of removing the old sealer and cleaning the patio surface, it’s important to take a moment to assess the results. Evaluating the outcome will help you determine if any additional steps are necessary before moving forward. Here’s what you should consider:
- Examine the surface: Carefully inspect the entire patio surface to check for any remaining traces of the old sealer. Look for areas that may still have a glossy or shiny appearance, indicating the presence of sealer residue.
- Check for uniformity: Ensure that the sealer removal process was executed consistently across the entire patio. Check for any uneven patches or areas that may require additional attention.
- Assess the condition of the patio: Evaluate the overall condition of the patio surface. If you notice any cracks, chips, or other signs of damage, it might be necessary to address those issues before considering resealing or other improvements.
- Consider your desired outcome: Think about your desired result for the patio. Do you want to reseal it, or are you considering other options, such as staining or refinishing? Determine how the current condition aligns with your goals.
Based on your assessment, you can make an informed decision on whether to proceed with the next steps. If you’re satisfied with the results and your patio is in good condition, you may choose to move forward with resealing or other desired improvements. On the other hand, if you notice any areas that require touch-ups or repairs, consider addressing those first before proceeding.
Remember, it’s important to take the time to assess the results and make any necessary adjustments before moving forward. This will help ensure that you achieve the best possible outcome for your patio.
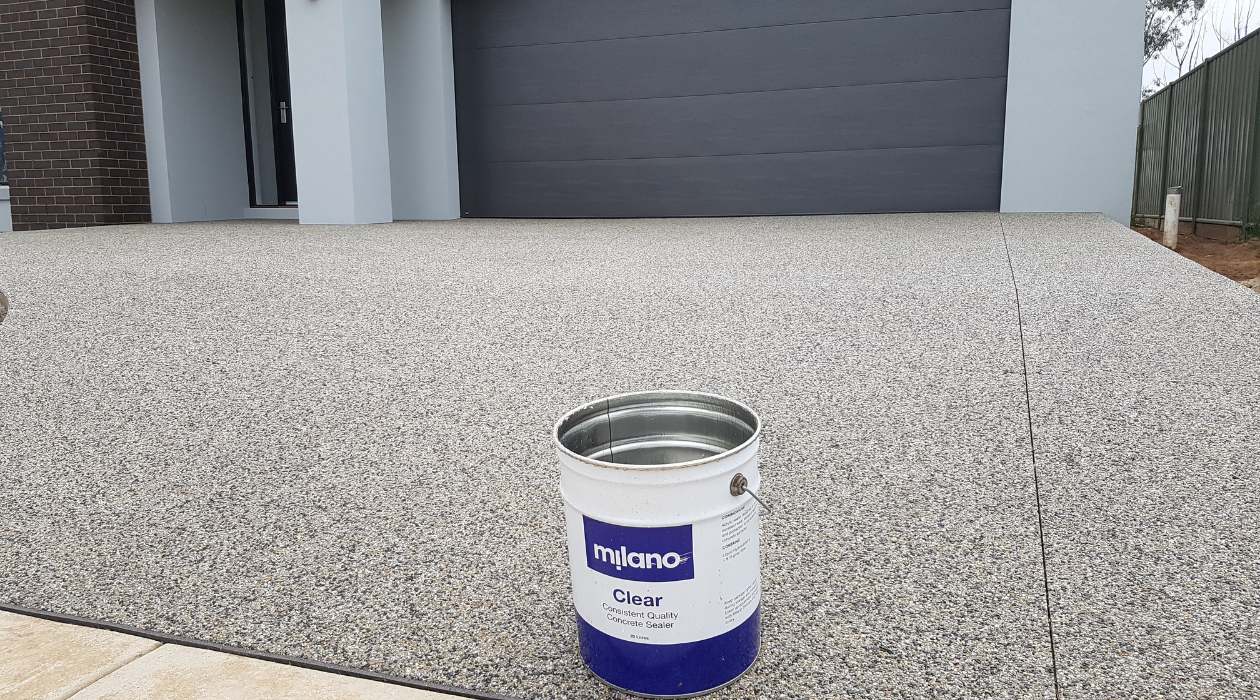
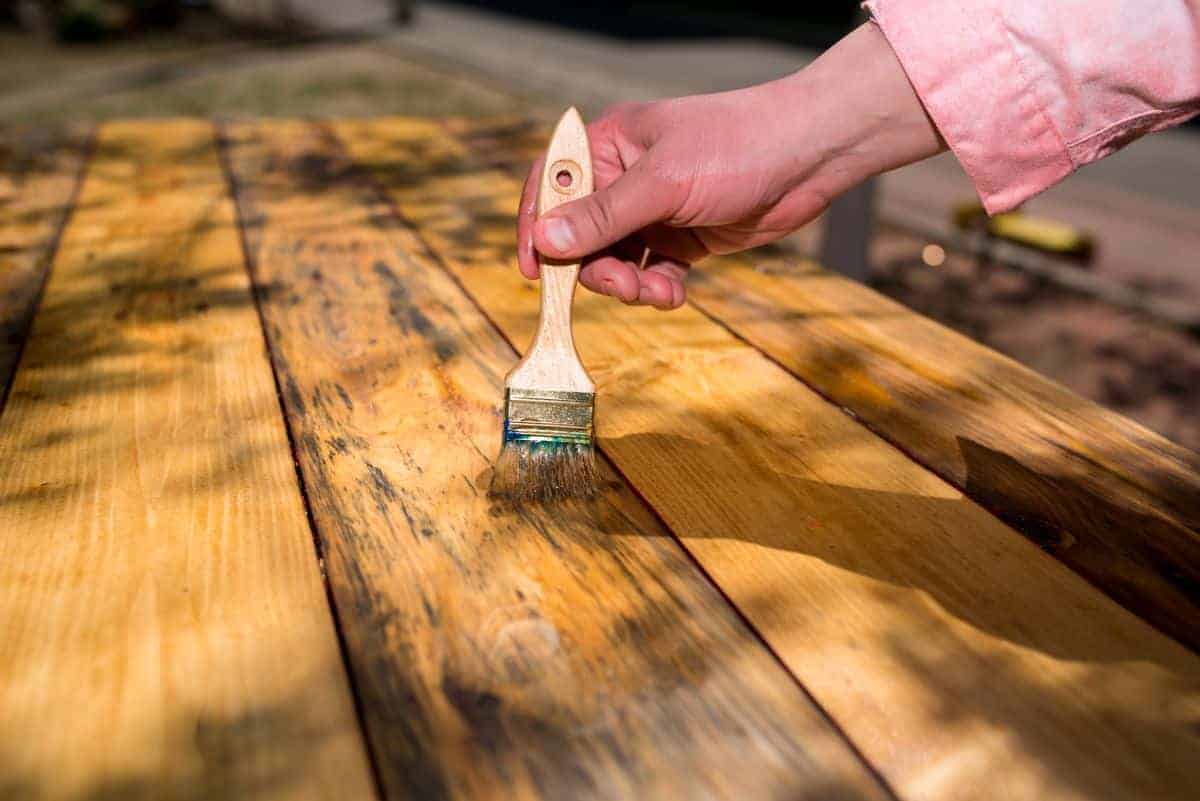
Step 7: Applying a new sealer (optional)
If you have decided to reseal your patio after removing the old sealer, this step will guide you through the process of applying a new sealer. Applying a fresh coat of sealer helps protect your patio surface and enhance its appearance. Here’s how to proceed:
- Choose the right sealer: Select a high-quality sealer that is suitable for your specific patio material and desired level of protection. Consider factors such as UV resistance, water repellency, and durability.
- Read the instructions: Carefully read and understand the instructions provided by the sealer manufacturer. Different sealers may have specific application methods, drying times, and other requirements.
- Prepare the surface: Ensure that the patio surface is clean, dry, and free from any debris or residue. If necessary, you may need to repeat the cleaning process to ensure optimal adhesion of the new sealer.
- Apply the sealer: Using a brush or a roller, apply the sealer evenly to the patio surface. Follow the manufacturer’s instructions for the recommended number of coats, drying times, and any other specific guidelines.
- Allow proper drying time: After applying the sealer, allow it to dry completely before using the patio. The drying time can vary depending on the type of sealer and weather conditions, so be sure to follow the manufacturer’s recommendations.
- Maintain the sealer: Once the new sealer is applied and cured, take proactive measures to maintain its effectiveness. Regularly clean the patio surface and consider reapplying the sealer as recommended by the manufacturer.
Keep in mind that applying a new sealer is an optional step and may not be necessary in all cases. If you’re satisfied with the current condition of your patio or if you have other plans for its improvement, you can skip this step.
By following these guidelines, you can successfully apply a new sealer to enhance the protection and visual appeal of your patio.
Conclusion
Congratulations! You have now completed the comprehensive process of removing patio sealer. By following the steps outlined in this guide, you have successfully prepared your patio surface for a new sealer or any other desired improvements. Here’s a quick recap of the steps we covered:
- Gathering the necessary materials
- Preparing the patio surface
- Applying the sealer removal product
- Removing the old sealer
- Cleaning the patio surface
- Assessing the results
- Applying a new sealer (optional)
By taking the time to go through each step carefully and following the recommended guidelines, you have restored your patio to a clean and rejuvenated state. Removing the old sealer helps maintain the beauty and longevity of the patio surface, while applying a new sealer offers protection and enhances its appearance.
Remember, it’s important to prioritize safety throughout the process by wearing protective gear and following the instructions provided by the sealer removal and sealer product manufacturers. Additionally, always test any products or techniques in a small, inconspicuous area before applying them to the entire patio surface.
Now that your patio is refreshed and ready, you can enjoy spending time in your outdoor space with the confidence that it is well-maintained and protected. Regular maintenance and cleaning will help extend the life of your patio and keep it looking its best for years to come.
Thank you for following this guide on how to remove patio sealer. We hope you found it informative and helpful in achieving your patio maintenance goals. Happy patio revitalizing!
Frequently Asked Questions about How To Remove Patio Sealer
Was this page helpful?
At Storables.com, we guarantee accurate and reliable information. Our content, validated by Expert Board Contributors, is crafted following stringent Editorial Policies. We're committed to providing you with well-researched, expert-backed insights for all your informational needs.

0 thoughts on “How To Remove Patio Sealer”