Home>Furniture>Outdoor Furniture>How To Remove Sealer From A Stamped Concrete Patio
Outdoor Furniture
How To Remove Sealer From A Stamped Concrete Patio
Modified: August 24, 2024
Learn how to remove sealer from a stamped concrete patio to restore its natural beauty. Protect your outdoor furniture with this essential maintenance tip.
(Many of the links in this article redirect to a specific reviewed product. Your purchase of these products through affiliate links helps to generate commission for Storables.com, at no extra cost. Learn more)
Introduction
Welcome to our comprehensive guide on how to remove sealer from a stamped concrete patio. Stamped concrete is a popular choice for outdoor areas like patios due to its durability, versatility, and aesthetic appeal. However, over time, the sealer used to protect the concrete can wear down or become discolored, making it necessary to remove and reapply the sealer.
Removing sealer from a stamped concrete patio may seem like a daunting task, but with the right knowledge and tools, it can be a manageable project. In this article, we will walk you through the step-by-step process of sealer removal and provide tips for a successful outcome.
But before we delve into the details of the removal process, it’s important to understand the basics of stamped concrete and sealers.
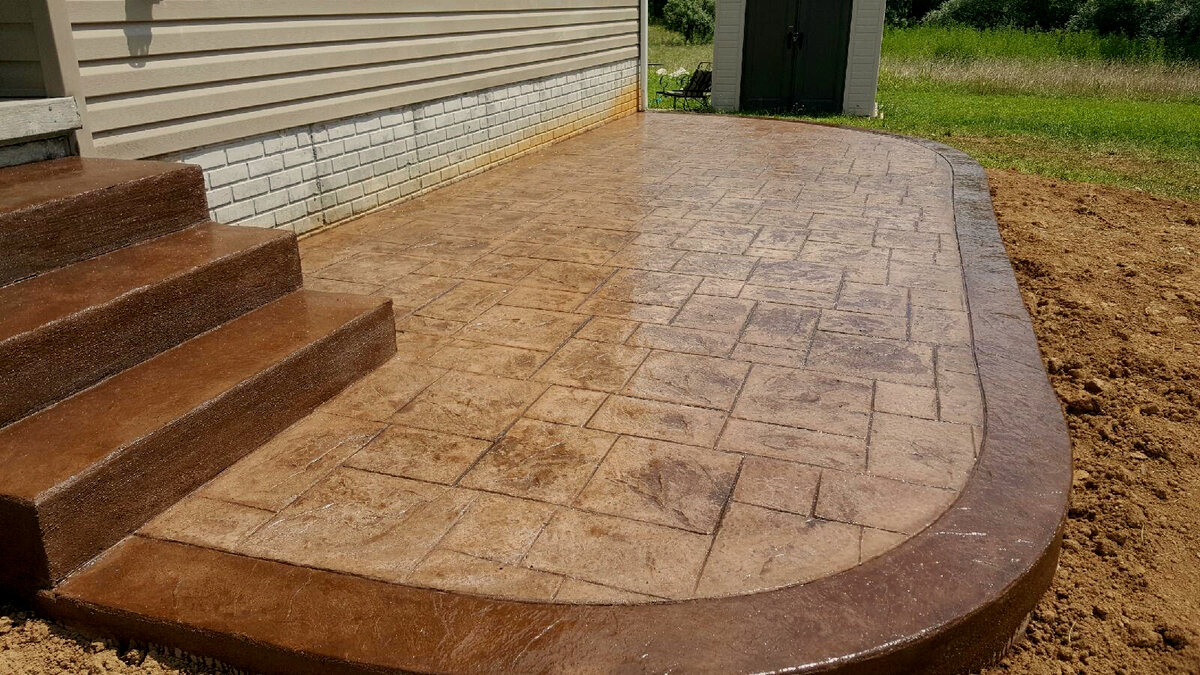
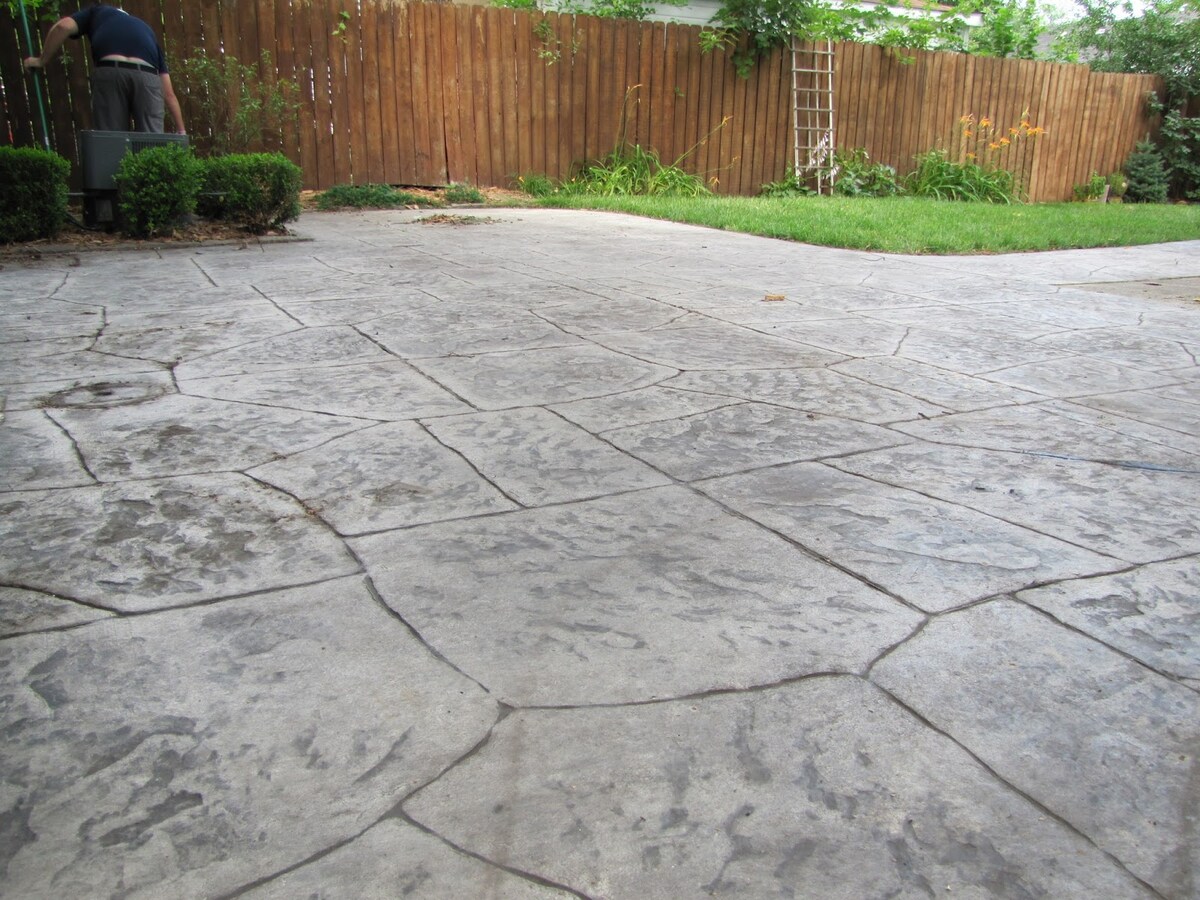
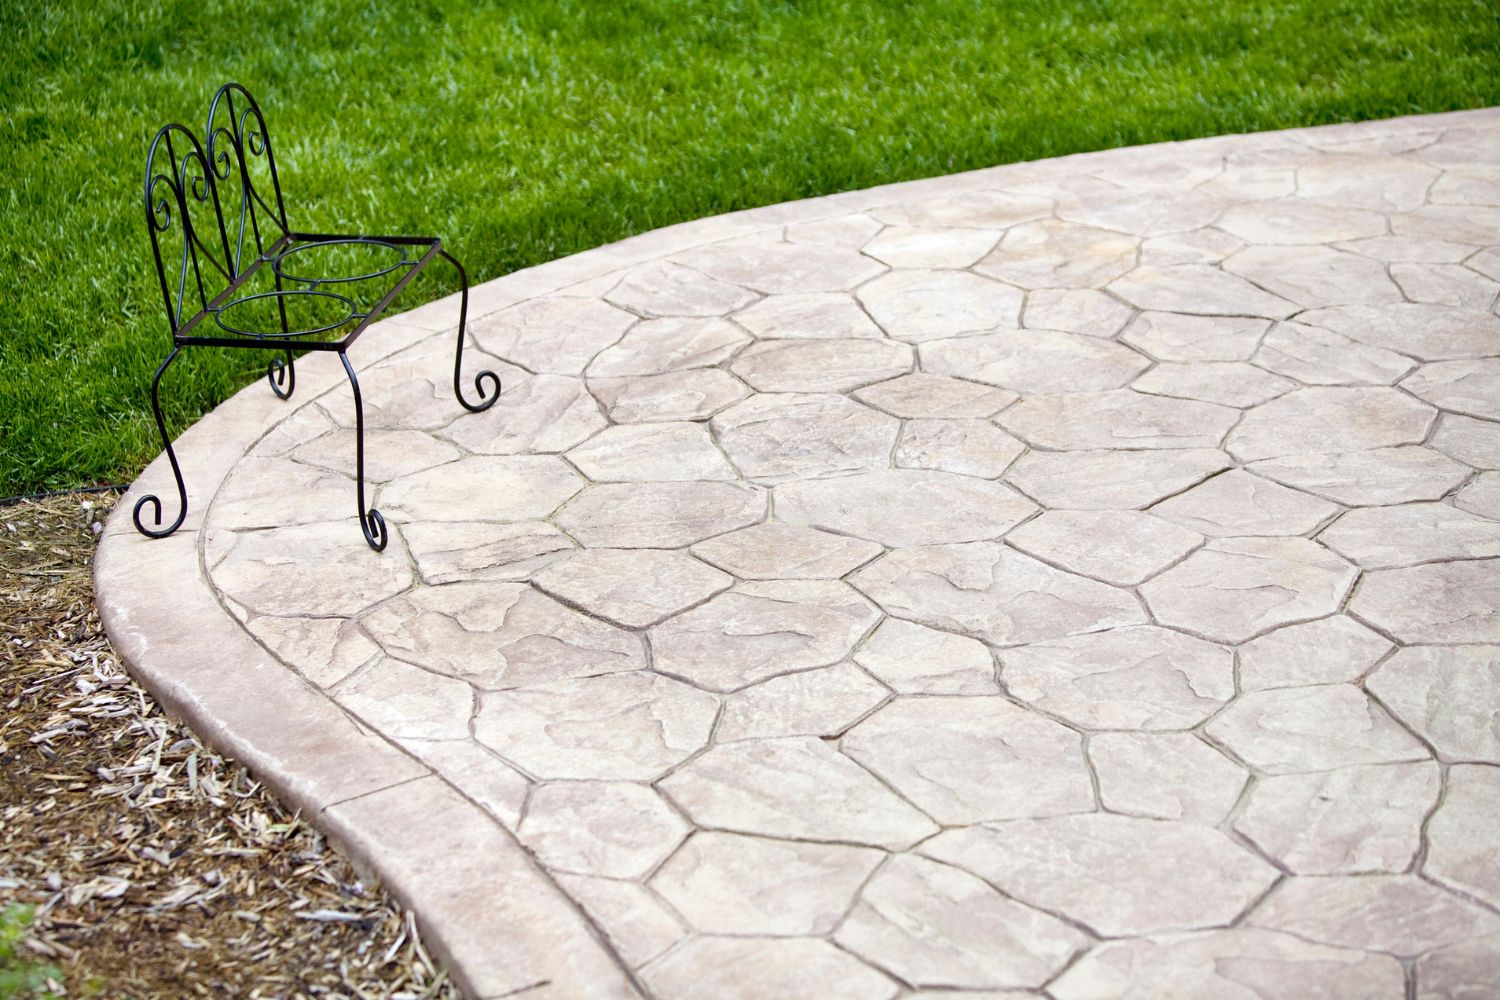
Stamped concrete refers to the process of adding patterns or textures to freshly poured concrete to mimic the appearance of materials such as stone, brick, or tile. This decorative technique offers a cost-effective alternative to the real thing while still providing a visually striking result.
To protect the stamped concrete and enhance its color, a sealer is applied. Sealers create a protective layer that helps prevent water damage, UV fading, and stains. However, like any protective coating, sealers can degrade over time due to exposure to the elements, foot traffic, or harsh cleaning chemicals. Eventually, the sealer may become discolored, flaky, or worn down, necessitating its removal and re-application.
There are several reasons why you might need to remove the sealer from your stamped concrete patio. For instance, if the current sealer has deteriorated and is no longer providing adequate protection, it’s essential to remove it before applying a new coat. Additionally, if you wish to change the appearance of your patio by altering the sealer type or color, stripping off the existing sealer is necessary.
Before diving into the sealer removal process, it’s important to prepare your patio and gather the necessary tools and materials. In the next section, we will discuss the steps you should take to ensure a successful sealer removal project on your stamped concrete patio.
Key Takeaways:
- Properly preparing your stamped concrete patio by cleaning the surface, protecting surrounding areas, and gathering the right tools and materials is crucial before embarking on the sealer removal process.
- When removing the sealer, work in small sections, use controlled pressure, and be patient. Thoroughly rinse the patio and assess the surface for any remaining residue or repairs to achieve a successful sealer removal.
Read more: How To Remove Driveway Sealer From Concrete
Understanding Stamped Concrete and Sealers
Stamped concrete is a popular choice for patios, walkways, and other outdoor areas due to its ability to mimic the look of more expensive materials like stone or brick at a fraction of the cost. The process involves pouring concrete and then applying patterns or textures on its surface using specialized stamping tools.
This technique allows homeowners to achieve a custom, high-end look without the need for extensive construction or expensive materials. Stamped concrete offers various design options, including patterns that resemble cobblestone, slate, wood, or even abstract designs.
After the stamping process, a sealer is applied to the surface of the concrete. Sealers play a crucial role in protecting the stamped concrete and enhancing its appearance. They act as a barrier against moisture, sunlight, stains, and other elements that can damage or degrade the concrete.
Sealers come in different types, such as acrylic, epoxy, or penetrating sealers. Acrylic sealers provide a glossy finish and are suitable for both interior and exterior applications. Epoxy sealers are more durable and can withstand heavy foot traffic and harsh chemicals, making them ideal for commercial or high-traffic areas.
Penetrating sealers, on the other hand, soak into the concrete and create a protective barrier from within. They are often used for outdoor applications and offer excellent protection against moisture and freeze-thaw cycles.
While sealers provide excellent protection, they are not invincible. Over time, exposure to UV rays, foot traffic, weather conditions, and other factors can cause the sealer to deteriorate. This can result in discoloration, flaking, or an uneven appearance on the stamped concrete patio.
Knowing when to remove the sealer is essential for maintaining the longevity and appearance of your stamped concrete patio. It’s generally recommended to remove and reapply the sealer every 3-5 years, or when you notice signs of wear and tear.
Removing the sealer allows you to start with a clean surface and apply a fresh coat that will effectively protect the stamped concrete and rejuvenate its appearance. The process may seem intimidating, but with the right tools and techniques, it can be accomplished efficiently and effectively.
Next, we will explore the reasons why you might need to remove the sealer from your stamped concrete patio and how to prepare for the removal process.
Reasons for Removing Sealer
There are several reasons why you might need to remove the sealer from your stamped concrete patio. Understanding these reasons can help you determine if it’s time to embark on a sealer removal project.
1. Deterioration: Over time, sealers can deteriorate due to exposure to the elements, foot traffic, or harsh cleaning chemicals. This can lead to discoloration, flaking, or an uneven appearance on the surface of your stamped concrete patio. Removing the old sealer allows you to start fresh and apply a new protective coating.
2. Inadequate Protection: If the current sealer on your patio is no longer providing adequate protection against moisture, UV rays, stains, or other elements, it’s essential to remove it before applying a new coat. A worn-down or ineffective sealer can leave your stamped concrete vulnerable to damage and deterioration.
3. Change of Appearance: Perhaps you want to update the look of your stamped concrete patio by changing the color or type of sealer used. In this case, removing the existing sealer is necessary to create a clean surface for the application of a new sealer. A fresh coat of sealer can give your patio a whole new look and refresh its overall aesthetic appeal.
4. Repair or Renovation: If you are planning to repair or renovate your stamped concrete patio, you will likely need to remove the old sealer. Whether you’re fixing cracks, reapplying color, or making other changes, starting with a clean slate will ensure the best results for your patio project.
Before removing the sealer from your stamped concrete patio, it’s important to assess the condition of the sealer and the concrete itself. If you’re unsure whether the sealer needs to be removed, a simple test can help. Sprinkle a few drops of water on the patio’s surface and observe what happens:
– If the water beads up and does not penetrate the concrete, the sealer is still intact and effective, and you may not need to remove it at this time.
– If the water soaks into the concrete rather than beading up, it indicates that the sealer has worn down or become porous, and it’s time to remove and reapply the sealer.
Once you’ve determined that sealer removal is necessary, it’s important to prepare your patio and gather the appropriate tools and materials for the task. In the next section, we will guide you through the essential steps to prepare for sealer removal from your stamped concrete patio.
Preparing for Sealer Removal
Before you begin the process of removing the sealer from your stamped concrete patio, proper preparation is essential. Taking the time to prepare your patio and gather the necessary tools and materials will help ensure a successful and efficient sealer removal project.
Follow these steps to prepare for sealer removal:
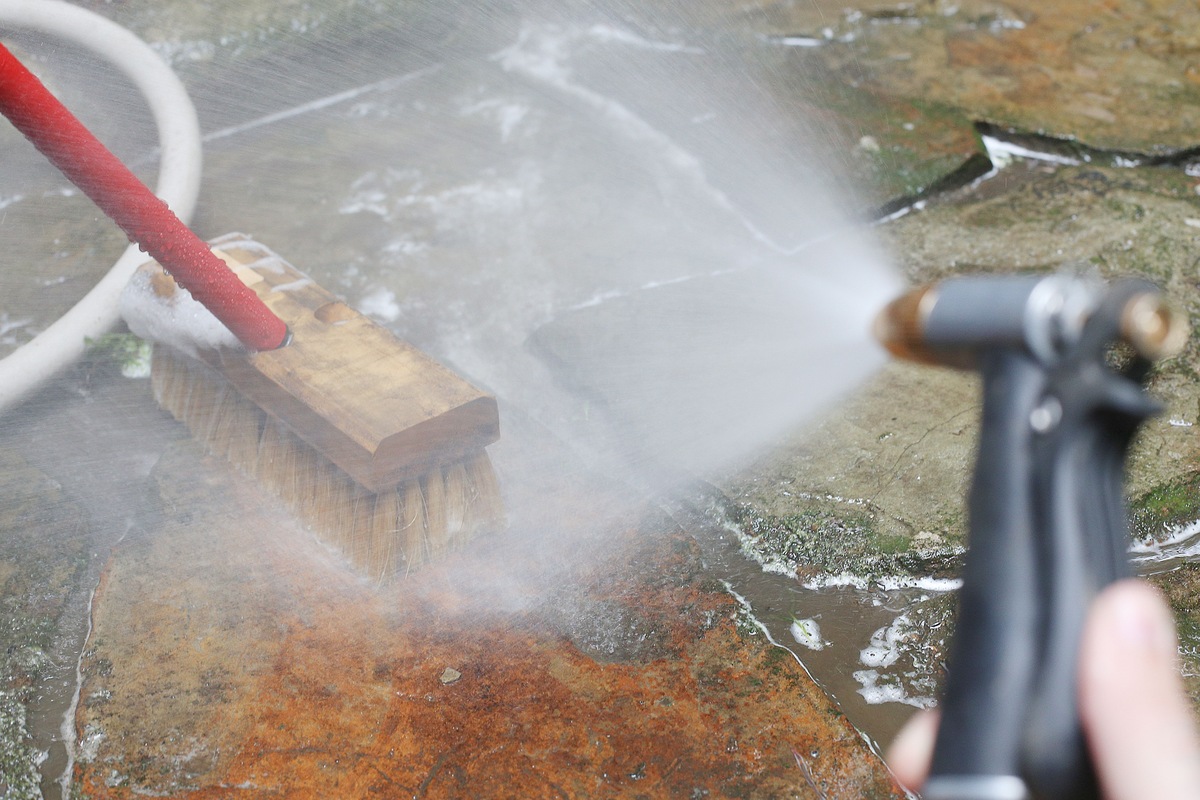
- Clean the Patio: Start by thoroughly cleaning the surface of your stamped concrete patio. Remove any debris, dirt, or loose particles using a broom or a leaf blower. You can also use a pressure washer to remove stubborn stains or dirt build-up. Cleaning the patio beforehand will ensure that the sealer remover can penetrate effectively.
- Protect the Surrounding Areas: Take the time to protect any nearby plants, furniture, or other surfaces that you don’t want to get damaged during the sealer removal process. Use plastic sheets or tarps to cover and shield these areas from the sealer remover.
- Gather the Tools and Materials: Collect all the necessary tools and materials for the sealer removal process. Here are some items you will likely need:
- Sealer remover: Choose a high-quality sealer remover that is specifically formulated for the type of sealer you are removing.
- Safety equipment: Wear gloves, protective eyewear, and a respirator to protect yourself from any harmful fumes or chemicals.
- Scrub brush or broom: For scrubbing the sealer remover into the concrete surface.
- Scrapers or putty knives: Use these to scrape off the old sealer after it has softened.
- Pressure washer: Optional but helpful for rinsing off the sealer remover and residue.
- Read the Instructions: Familiarize yourself with the instructions provided by the manufacturer of the sealer remover. Different products may have specific application and removal methods, so it’s important to follow the guidelines for the best results.
- Check the Weather: Ensure that you choose a suitable day for the sealer removal process. Avoid excessively hot or cold temperatures, as extreme weather conditions can affect the effectiveness of the sealer remover. Ideally, aim for a mild, dry day to carry out the task.
By following these preparation steps, you will create a clean and protected environment for the sealer removal process. This will help ensure that the sealer remover can effectively penetrate the stamped concrete and facilitate the removal of the old sealer.
Next, we will guide you through the step-by-step process of removing the sealer from your stamped concrete patio.
Tools and Materials Needed
Removing the sealer from a stamped concrete patio requires the use of specific tools and materials to ensure a successful and efficient process. Here are the essential items you will need:
1. Sealer Remover: Choose a high-quality sealer remover that is appropriate for the type of sealer you are removing. Different sealers may require specific formulas or solvents for effective removal. Read the instructions provided by the manufacturer to ensure you select the right product for your stamped concrete patio.
2. Safety Equipment: Protecting yourself during the sealer removal process is crucial. Wear gloves, safety goggles, and a respirator to shield your hands, eyes, and respiratory system from any harmful fumes or chemicals.
3. Scrub Brush or Broom: A scrub brush or broom with stiff bristles will be necessary for applying the sealer remover solution to the concrete surface. This tool will help you work the remover into the stamped concrete and loosen the old sealer.
4. Scrapers or Putty Knives: You will need scrapers or putty knives to remove the softened sealer from the concrete surface. These tools allow you to scrape away the old sealer without damaging the stamped concrete underneath. Choose scrapers with a wide and flat blade for efficient and effective removal.
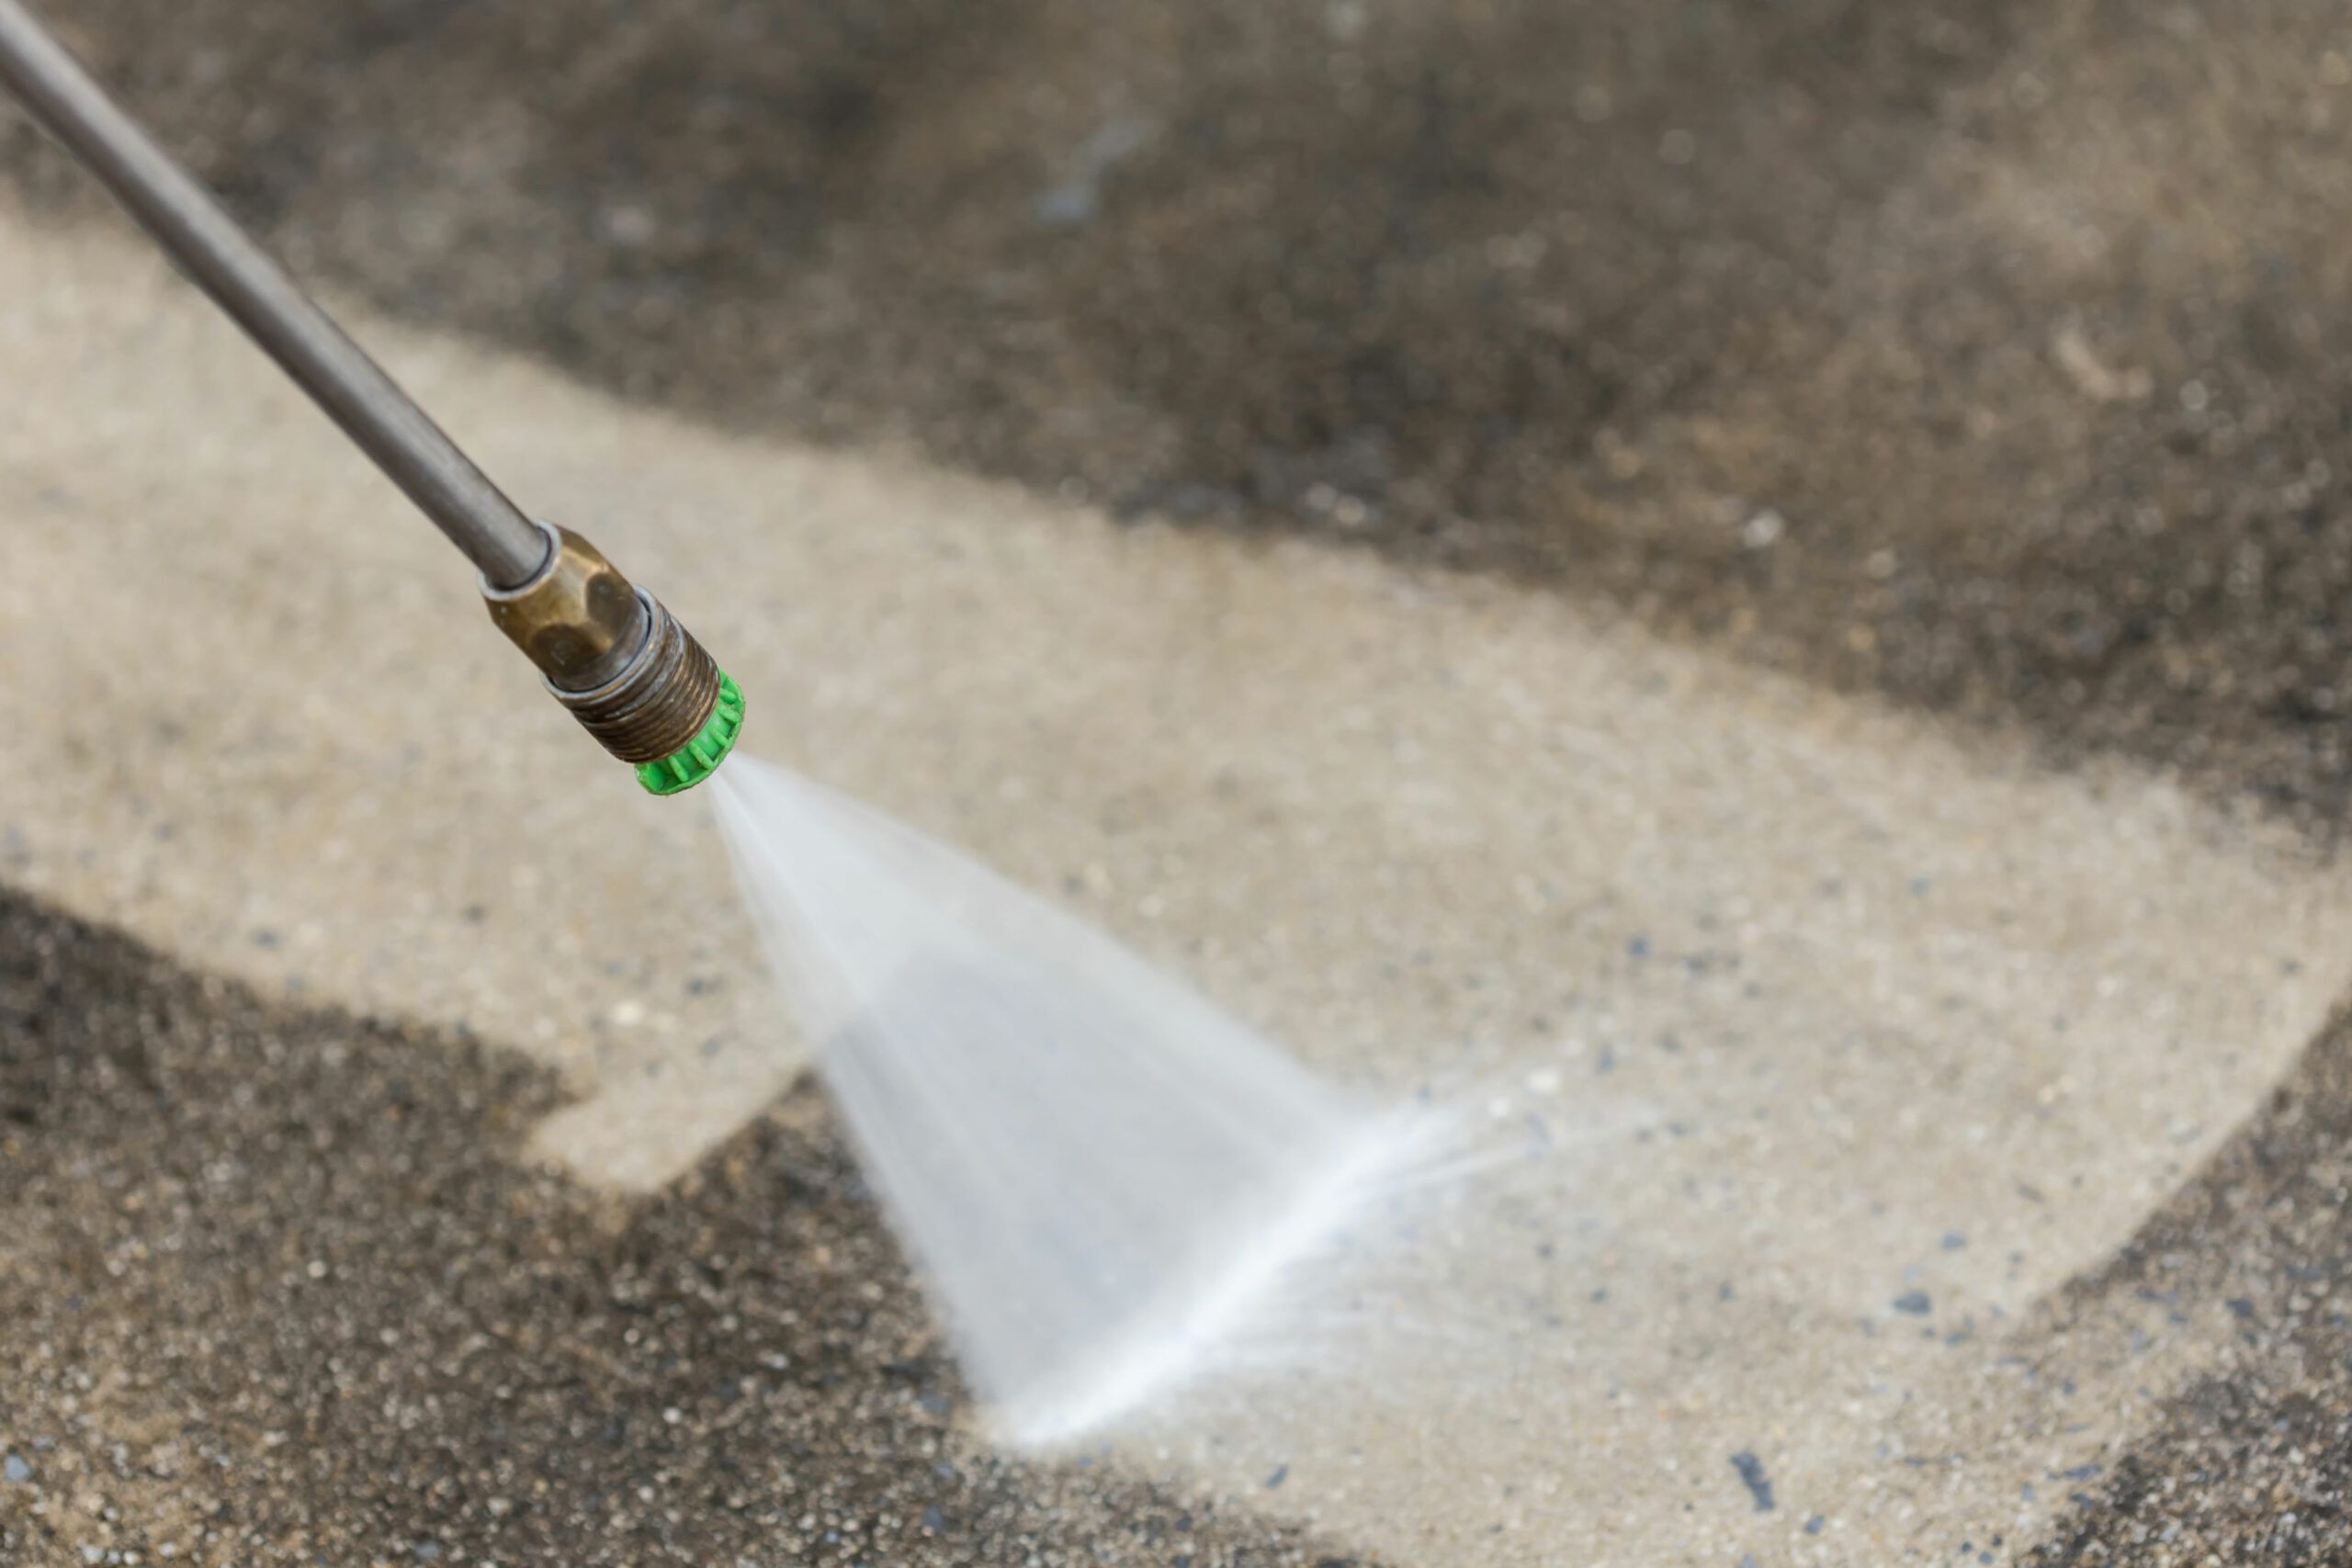
5. Pressure Washer (Optional): While not necessary, a pressure washer can be useful for rinsing off the sealer remover and any residue. It can help ensure that all traces of the sealer and the remover are thoroughly washed away from the surface of the stamped concrete patio. If you don’t have a pressure washer, a regular garden hose with a nozzle attachment can also work.
6. Plastic Sheets or Tarps: Use plastic sheets or tarps to protect any nearby plants, furniture, or other surfaces that you don’t want to get damaged during the sealer removal process. Covering and shielding these areas will prevent any accidental contact with the sealer remover solution.
7. Water Source: You will need a water source nearby to rinse off the sealer remover and residue. Make sure you have access to a hose or other water supply during the sealer removal process.
8. Clean Containers and Mixing Tools: If the sealer remover requires dilution or mixing with water, ensure you have clean containers and appropriate mixing tools on hand. Follow the instructions provided by the manufacturer for the correct dilution ratio.
Having these tools and materials readily available will make the sealer removal process more efficient and effective. Remember to always follow the safety guidelines provided by the manufacturer and take the necessary precautions to protect yourself and your surroundings.
Now that you have gathered the tools and materials, we can move on to the step-by-step process of removing the sealer from your stamped concrete patio.
Read more: How To Remove Patio Sealer
Step 1: Cleaning the Patio
Before you begin the sealer removal process, it’s crucial to clean the surface of your stamped concrete patio thoroughly. This initial cleaning will remove any dirt, debris, or loose particles that could inhibit the effectiveness of the sealer remover solution.
Follow these steps to properly clean your patio:
- Sweep or Use a Leaf Blower: Start by sweeping the patio with a broom or using a leaf blower to remove loose dirt, leaves, or other debris. Pay special attention to corners, cracks, and crevices where debris can accumulate.
- Rinse with Water: Use a garden hose or pressure washer to rinse the patio thoroughly. This will help remove any remaining debris or dirt and prepare the surface for the sealer remover solution.
- Scrub Tough Stains: If there are any stubborn stains on your stamped concrete patio, use a scrub brush and a mild cleaning solution to tackle them. Avoid harsh chemicals that could damage the concrete or interfere with the sealer removal process.
- Rinse Again: After scrubbing, rinse the patio once more to ensure complete removal of dirt and cleaning solution residue. Make sure the surface is clean and free from any traces of cleaning products.
Once the patio is clean and free from debris and stains, allow it to dry completely before moving on to the next step. Depending on the weather conditions, this may take a few hours or longer.
It’s crucial to start with a clean surface to ensure that the sealer remover can penetrate and work effectively. Any dirt or debris left on the patio can hinder the sealer removal process and affect the overall results.
After completing this step, you are ready to move on to the next stage of the sealer removal process: applying the sealer remover solution. Follow the remaining steps in our guide to achieve successful sealer removal from your stamped concrete patio.
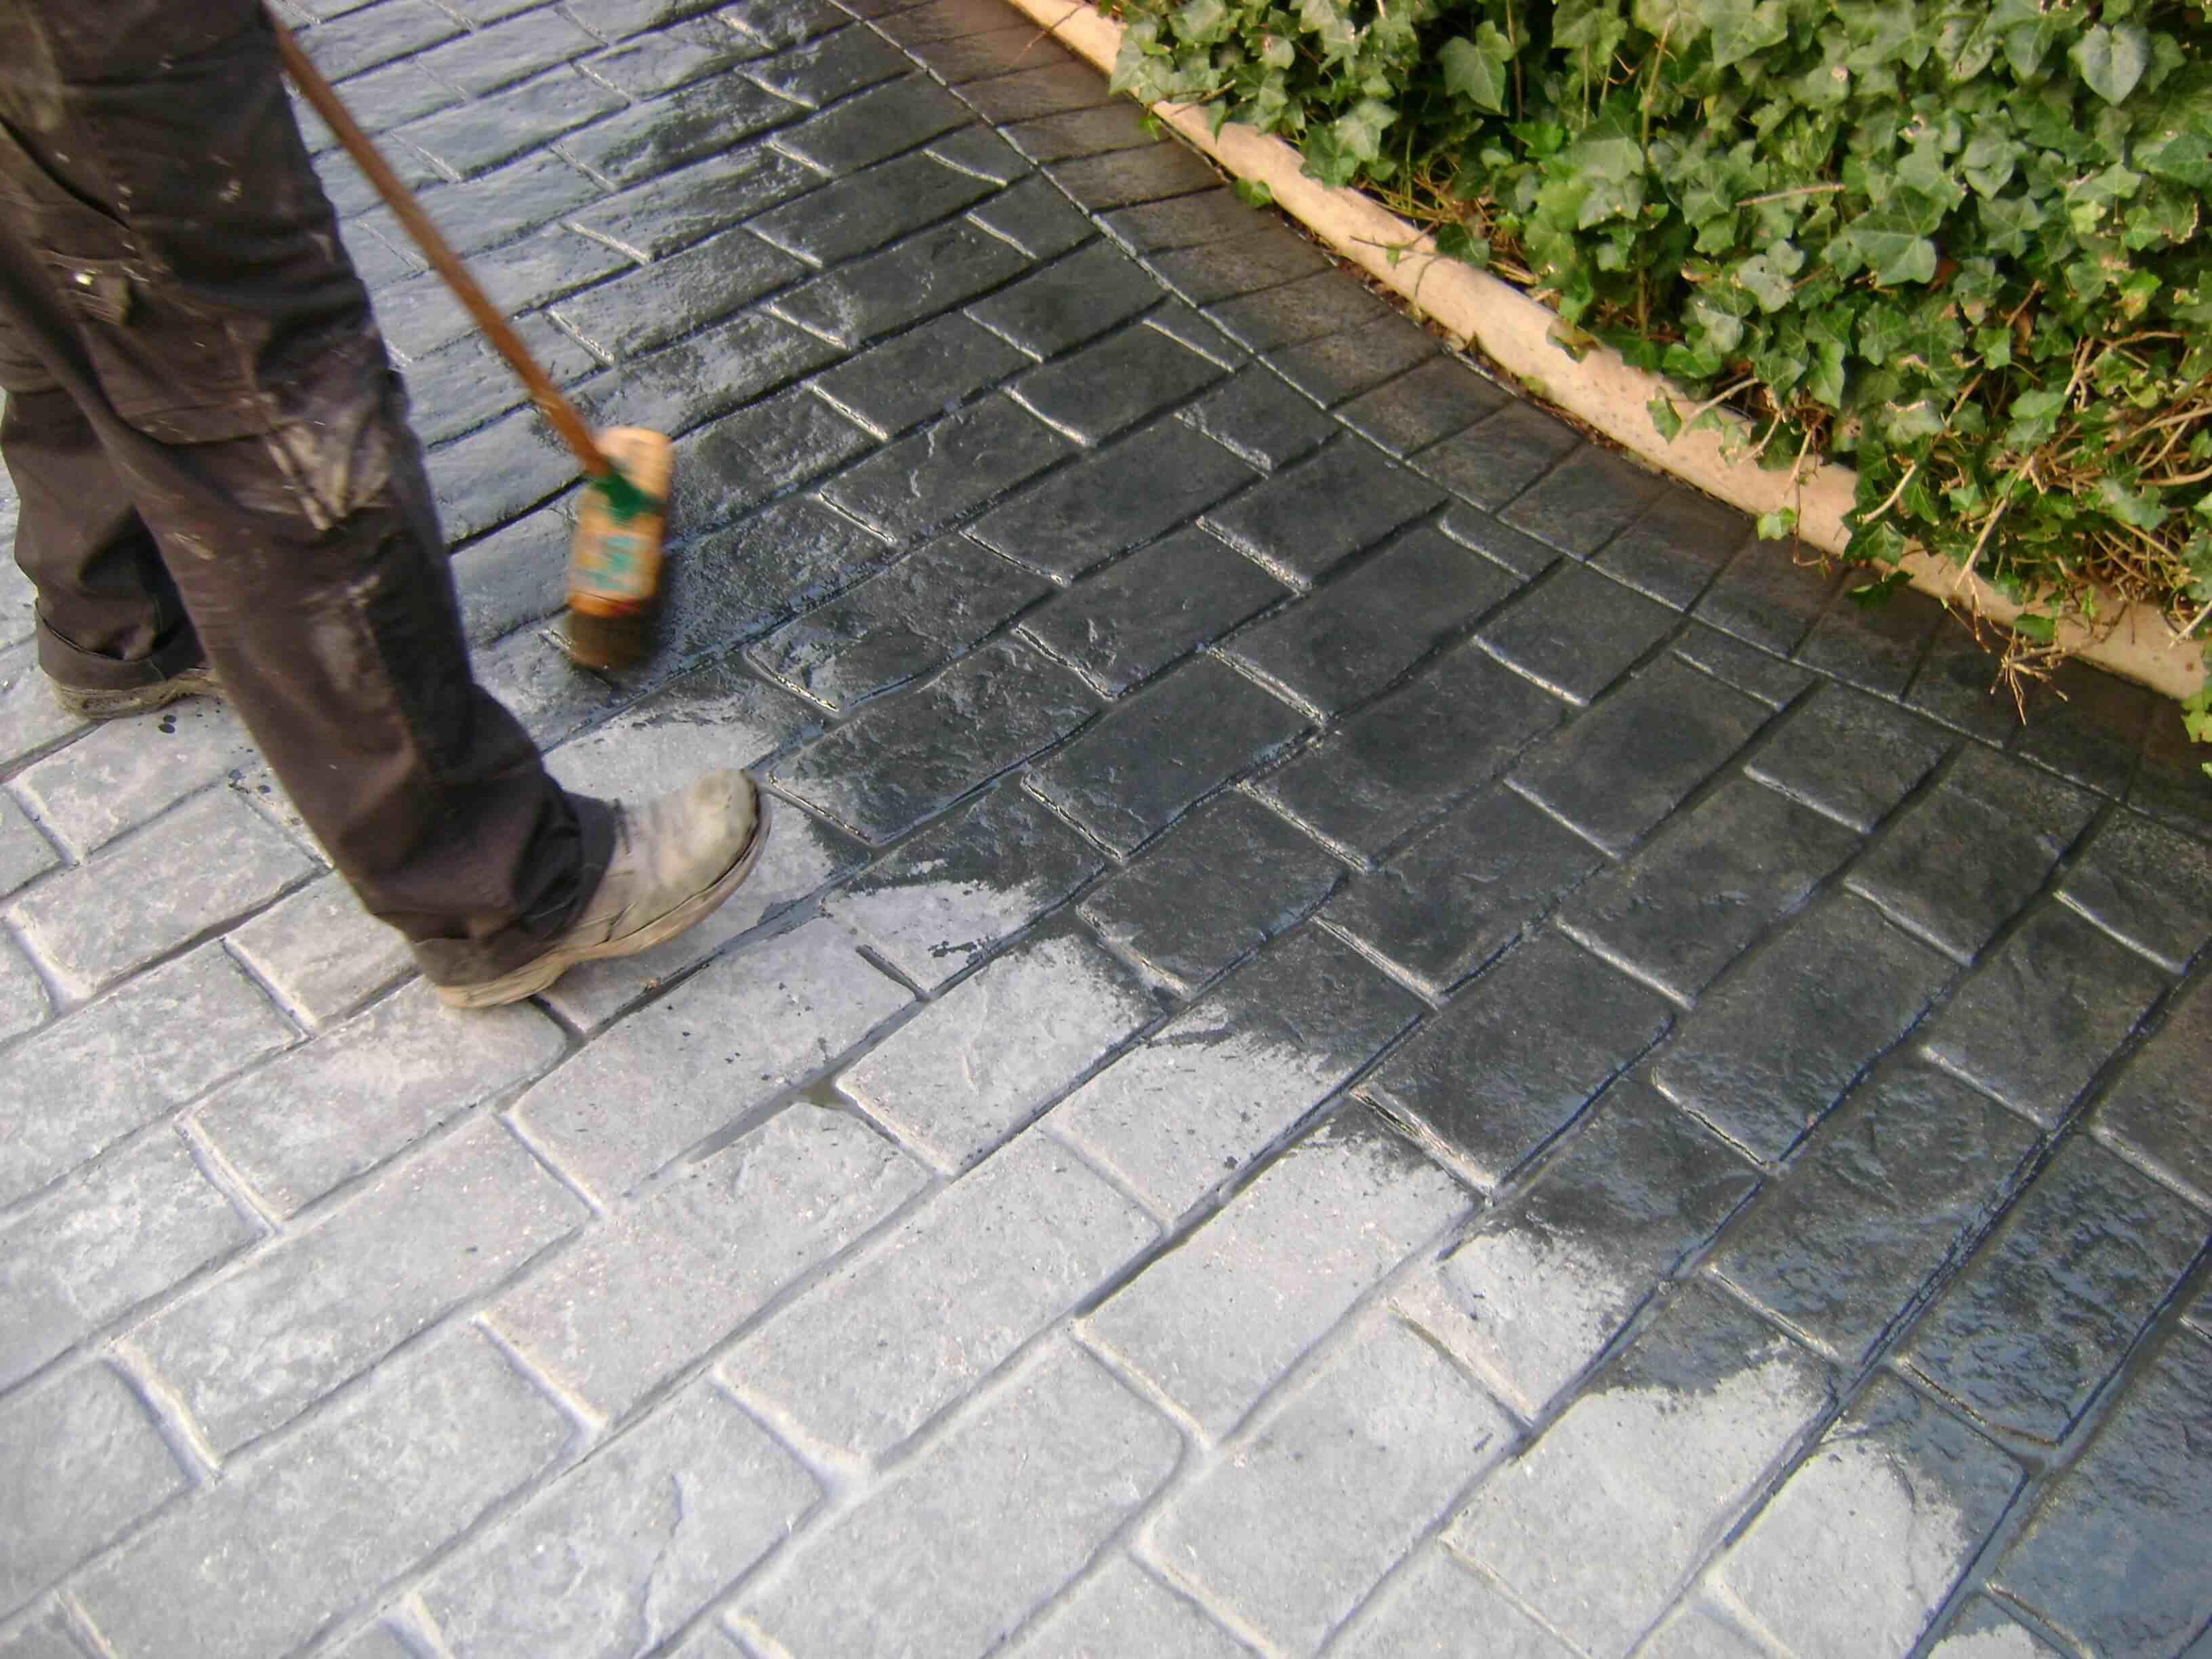
Step 2: Applying Sealer Remover
After preparing your stamped concrete patio by cleaning it thoroughly, it’s time to apply the sealer remover. This solution will penetrate the old sealer and soften it for easier removal.
Follow these steps to apply the sealer remover:
- Read the Instructions: Start by carefully reading the instructions provided by the manufacturer of the sealer remover. Different products may have specific application methods, dilution ratios, or recommended waiting times. Following the instructions will ensure the best results.
- Protect Yourself: Put on the appropriate safety equipment, including gloves, safety goggles, and a respirator. This will protect your skin, eyes, and respiratory system from any potential contact with the sealer remover or its fumes.
- Prepare the Sealer Remover Solution: If the sealer remover needs to be diluted or mixed with water, follow the instructions to prepare the solution. Use clean containers and mixing tools to ensure accurate measurements and proper mixing.
- Apply the Sealer Remover: Using a scrub brush or a broom with stiff bristles, apply the sealer remover solution to the surface of your stamped concrete patio. Work in small sections to ensure thorough coverage.
- Saturate the Surface: Make sure to saturate the surface with the sealer remover solution, ensuring that all areas are adequately coated. This will allow the remover to penetrate the old sealer and soften it for easier removal.
- Wait and Allow the Remover to Work: Follow the recommended waiting time provided by the manufacturer. This will typically range from 10 to 30 minutes, depending on the product you are using. During this time, the sealer remover will work to break down the old sealer.
- Keep the Surface Wet: To prevent the sealer remover solution from drying out, periodically mist the surface with water or use a garden hose with a fine spray nozzle. This will keep the surface moist and allow the sealer remover to continue working effectively.
Properly applying the sealer remover is essential for successful sealer removal. Make sure to follow the manufacturer’s instructions and take the necessary precautions to protect yourself and your surroundings during this step.
Once the recommended waiting time has passed, and the sealer remover has had a chance to soften the old sealer, you’re ready to move on to the next step: removing the softened sealer from the surface of your stamped concrete patio. Continue following our guide to complete the sealer removal process effectively.
Use a chemical sealer stripper specifically designed for stamped concrete. Apply it according to the manufacturer’s instructions, then scrub the surface with a stiff brush and rinse thoroughly.
Step 3: Letting the Remover Work
After applying the sealer remover solution to your stamped concrete patio, it is crucial to allow the remover to work and penetrate the old sealer. This step allows the remover to break down and soften the sealer, making it easier to remove in the next steps.
Here are the essential steps for letting the sealer remover work on your patio:
- Follow the Recommended Waiting Time: Refer to the instructions provided by the manufacturer of the sealer remover to determine the recommended waiting time. This waiting period typically ranges from 10 to 30 minutes, though it may vary depending on the specific product you are using. Adhering to the waiting time is crucial, as it allows the remover to effectively break down the old sealer.
- Keep the Surface Moist: During the waiting period, it is essential to keep the surface of your stamped concrete patio moist. This can be achieved by periodically misting the surface with water or using a garden hose with a fine spray nozzle. Keeping the surface wet ensures that the sealer remover remains active and continues to penetrate the old sealer.
- Observe the Remover’s Effectiveness: While waiting, observe the effects of the sealer remover on the old sealer. You should notice visible changes, such as the softening or bubbling of the sealer. This indicates that the remover is working as intended.
- Do Not Let the Remover Dry Out: It is crucial to prevent the sealer remover from drying out during this step. If the solution dries out, it may become less effective in breaking down the sealer. To maintain moisture, continue misting the surface with water or use a garden hose throughout the waiting period.
- Be Patient: Patience is key during this step of the sealer removal process. It may be tempting to rush to the next step, but allowing the sealer remover to work for the recommended time will yield better results. Properly softened sealer will be easier to remove in the following steps.
By giving the sealer remover sufficient time to work on the old sealer, you increase the chances of successfully removing the sealer from your stamped concrete patio. Be sure to follow the instructions provided by the manufacturer and exercise patience during this step.
Once the waiting period is over and the sealer has sufficiently softened, you’re ready to move on to the next step: physically removing the softened sealer from the surface of your stamped concrete patio. Continue following our guide to complete the sealer removal process effectively.
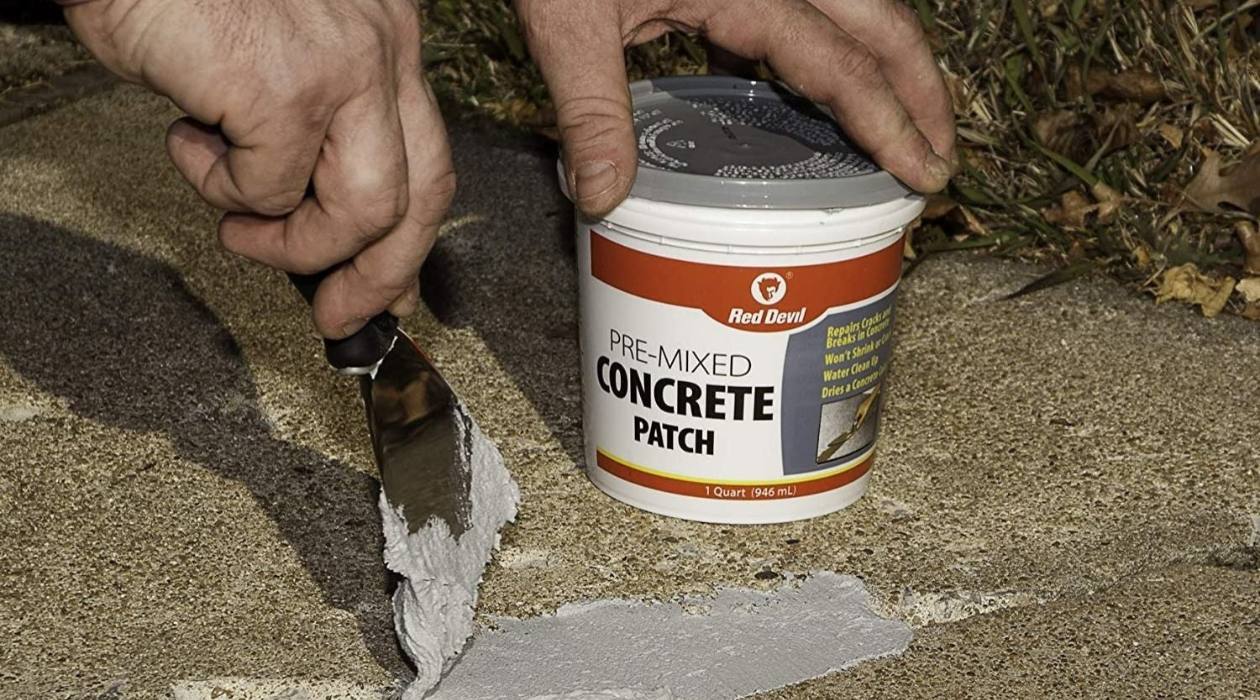
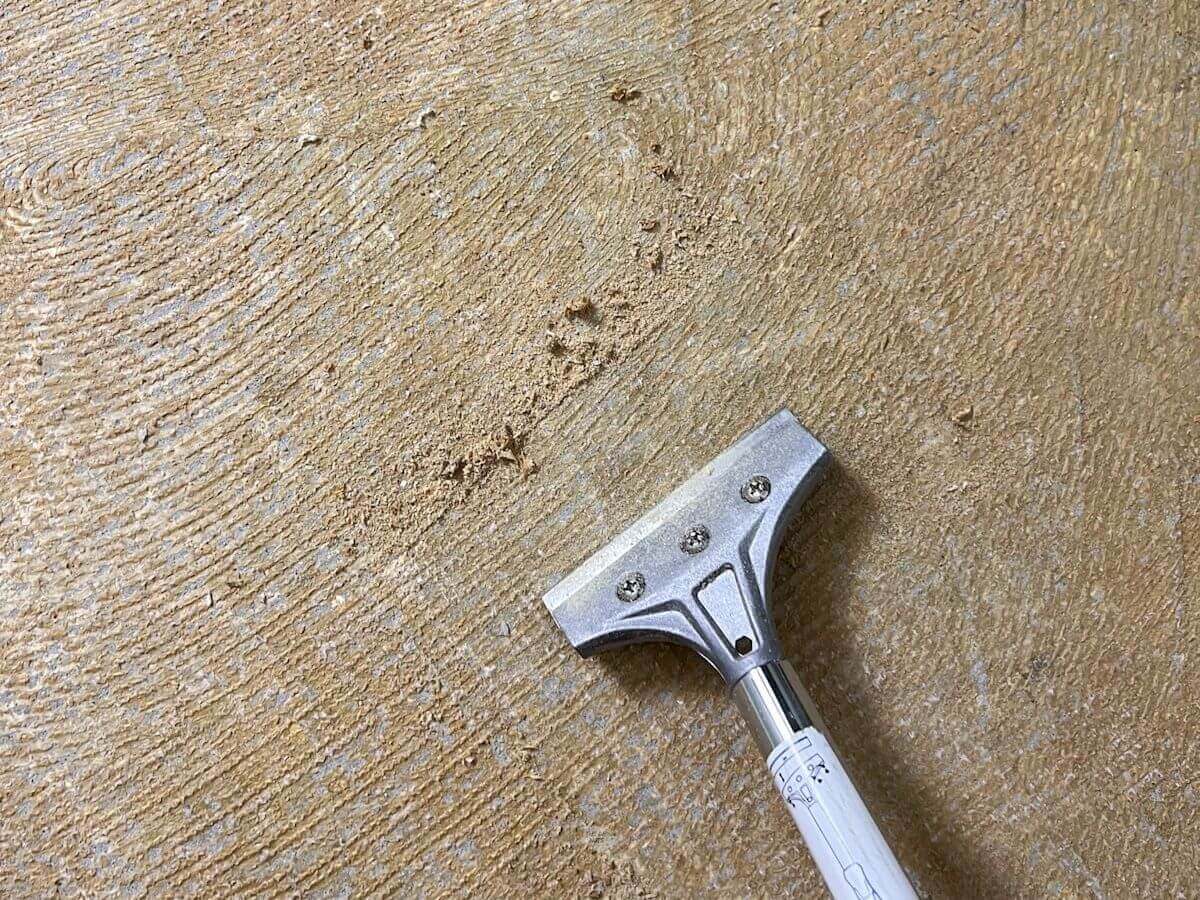
Step 4: Removing the Sealer
Now that the sealer remover has had time to work and soften the old sealer on your stamped concrete patio, it’s time to remove the softened sealer. This step involves physically scraping or scrubbing the surface to eliminate the sealer and reveal the fresh concrete underneath.
Follow these steps to effectively remove the sealer:
- Prepare Your Tools: Gather the scrapers or putty knives you will be using to remove the sealer. Ensure that the tools are clean and in good condition. A wide and flat blade scraper is typically the most effective for this task.
- Start Scraping: Begin scraping the softened sealer from the surface of your stamped concrete patio. Use firm but controlled strokes, applying sufficient pressure to remove the softened sealer without damaging the concrete underneath. Work in small sections, focusing on one area at a time.
- Scrubbing Option: In some cases, using a scrub brush or broom with stiff bristles can be an alternative or supplementary method for removing the sealer. Scrubbing can help loosen any remaining sealer bits and ensure a thorough removal. Use the same controlled pressure as when scraping to avoid damaging the concrete.
- Collect the Removed Sealer: As you scrape or scrub, collect the removed sealer and dispose of it properly, following local regulations. You can use a dustpan or a tarp to gather the debris for easy disposal.
- Inspect the Surface: After removing the sealer from a section, inspect the surface of your stamped concrete patio. Ensure that the old sealer has been effectively removed and there are no visible traces left. Continue to the next section until you have removed the sealer from the entire patio.
- Repeat if Necessary: In some cases, there may be stubborn areas or thicker layers of sealer that require additional attention. If needed, reapply the sealer remover to the troublesome spots and repeat the scraping or scrubbing process until the sealer is fully removed.
When removing the sealer, it’s important to maintain a balance between effective removal and protecting the integrity of the stamped concrete underneath. Avoid applying excessive force that may cause damage to the surface.
Remember to stay patient during this step, as it may take some time and effort to remove all the old sealer. With persistence and the right techniques, you’ll achieve a clean and refreshed surface for your stamped concrete patio.
Once you have successfully removed the sealer from your patio, proceed to the next step: rinsing and repeating the process if necessary. Follow our guide for a seamless sealer removal project on your stamped concrete patio.
Read more: How Much For A Stamped Concrete Patio
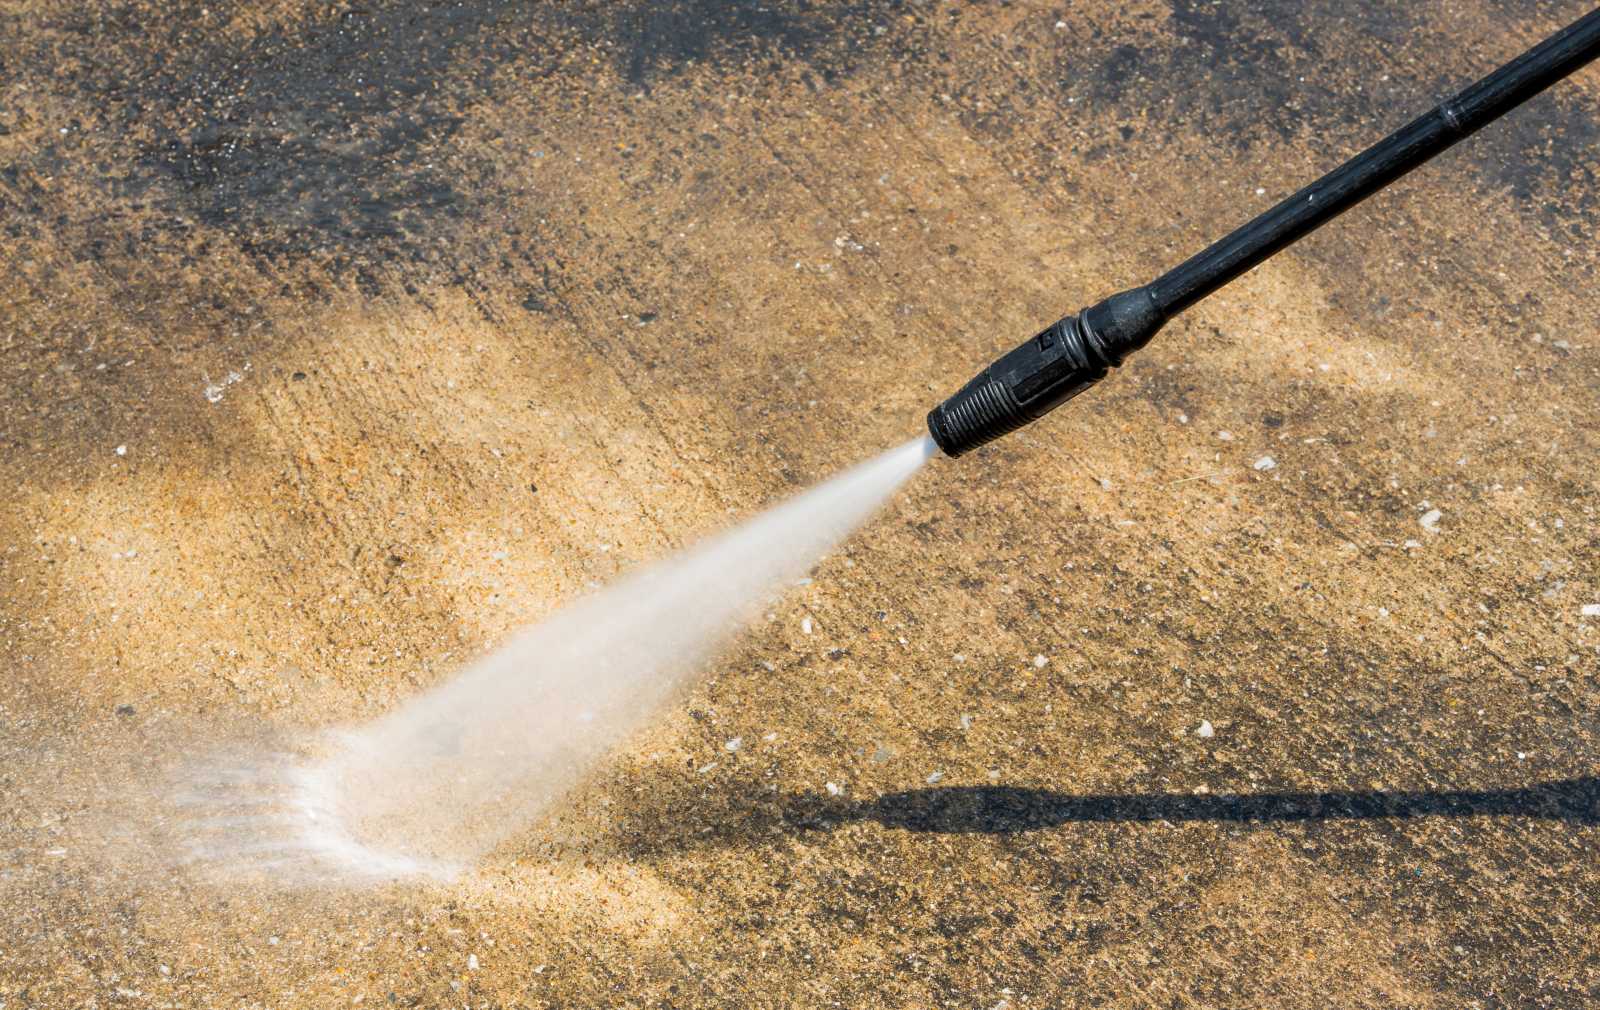
Step 5: Rinse and Repeat
After you have removed the old sealer from your stamped concrete patio, it’s important to thoroughly rinse the surface to remove any remaining sealer residue and sealer remover solution. This step ensures that your patio is clean and ready for the next stage of the process.
Follow these steps to rinse and repeat the sealer removal process if necessary:
- Rinse with Water: Use a garden hose or pressure washer to thoroughly rinse the surface of your stamped concrete patio. This will help remove any remaining sealer residue, sealer remover solution, and debris. Pay close attention to corners, edges, and cracks where residue can accumulate.
- Inspect for Residue: After rinsing, inspect the surface of your patio for any remaining sealer residue. Look for areas where the sealer may not have been fully removed or spots where residue may still be present. If you notice any, you may need to repeat the sealer removal process in those specific areas.
- Repeat if Necessary: If there are areas with stubborn residue or spots where sealer remains, reapply the sealer remover to those specific sections. Follow the previous steps of letting the remover work, scraping or scrubbing, and collecting the removed sealer. Be sure to rinse the surface afterward to remove any residual product.
- Rinse Thoroughly: After re-treating specific areas, rinse the entire surface of your stamped concrete patio once again. Ensure that you remove all remnants of the sealer remover and sealer residue. Thorough rinsing will leave your patio clean and ready for the final steps.
By rinsing the surface of your patio and repeating the sealer removal process if necessary, you ensure that all traces of the old sealer and sealer remover are thoroughly eliminated. This step is crucial for preparing the surface for the next stage of the project, such as resealing or other treatments.
Once you have rinsed and ensured the removal of all residue, proceed to the next step in the process: drying and assessing the patio. Follow our guide for a successful sealer removal project on your stamped concrete patio.
Step 6: Drying and Assessing the Patio
After completing the sealer removal process and rinsing off any residue, the next step is to allow your stamped concrete patio to dry completely. This will ensure that the surface is ready for any further treatments or applications.
Follow these steps to dry and assess your patio:
- Allow Sufficient Drying Time: Depending on the weather conditions and the extent of the rinsing, it may take several hours or even a full day for your patio to dry completely. It’s important to be patient and allow sufficient time for the surface to dry thoroughly.
- Monitor the Drying Process: Keep an eye on the patio as it dries. Look for any remaining wet spots or areas where water may be pooling. If you notice any, use a mop, squeegee, or absorbent material to remove the excess moisture and promote faster drying.
- Assess the Surface: Once the patio is completely dry, carefully inspect the surface to ensure that the old sealer has been effectively removed. Look for any remaining sealer residue or spots that might require further attention.
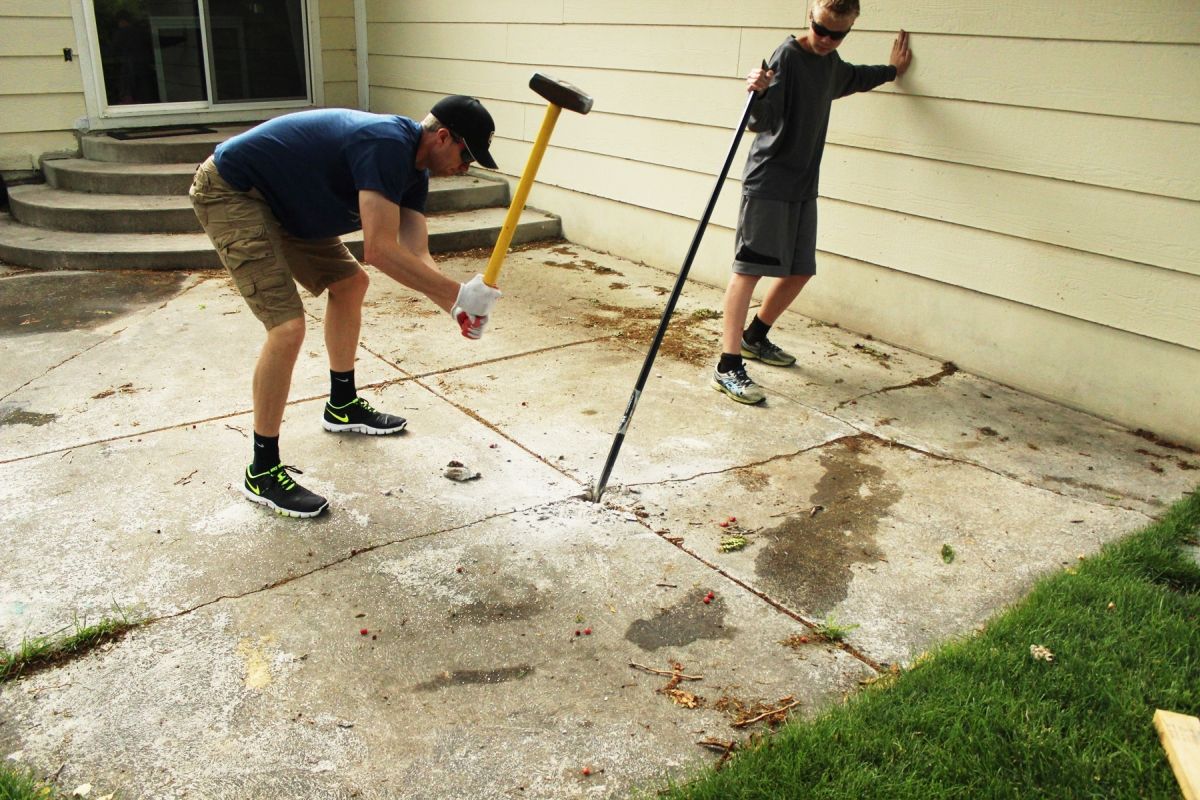
- Make Necessary Repairs: If you notice any cracks, chips, or other damage to the stamped concrete during the assessment, now is the time to address them. Consider making any necessary repairs before moving on to the next phase of your project.
- Determine Next Steps: Based on your assessment, decide on the next steps for your stamped concrete patio. If you are planning to reseal the surface, make sure the area is clean and free from any debris or residue. If you have other treatments or renovations in mind, coordinate your next actions accordingly.
Properly drying and assessing your stamped concrete patio is essential for achieving the desired results and ensuring a successful project. It allows you to identify any remaining issues and address them before proceeding further.
By following these steps, you can confidently move forward with the next stage of your patio project, whether it’s resealing, applying a new treatment, or simply enjoying the refreshed appearance of your clean stamped concrete surface.
Remember to regularly maintain and care for your stamped concrete patio to extend its lifespan and keep it looking its best.
Congratulations! You have now successfully completed the sealer removal process for your stamped concrete patio. We hope this guide has been helpful, and we wish you the best of luck with your outdoor project!
Tips for Successful Sealer Removal
Removing sealer from a stamped concrete patio can be a challenging task, but with the right approach and some helpful tips, you can achieve successful results. Here are some tips to keep in mind during the sealer removal process:
- Choose the right sealer remover: Select a high-quality sealer remover that is specifically designed to remove the type of sealer used on your stamped concrete patio. Using the appropriate product will optimize the effectiveness of the remover and simplify the removal process.
- Read and follow the instructions: Always carefully read the instructions provided by the manufacturer before applying the sealer remover. Pay attention to the recommended waiting time, application methods, and safety guidelines. Following the instructions will ensure the best possible outcome.
- Protect yourself and the surrounding areas: Wear appropriate safety gear, such as gloves, safety goggles, and a respirator, to protect yourself from any harmful fumes or chemicals. Take the time to cover nearby plants, furniture, or other surfaces that you don’t want to get damaged during the sealer removal process.
- Thoroughly clean the patio beforehand: Before applying the sealer remover, make sure to clean the patio surface thoroughly to remove any dirt, debris, or loose particles. This will help the sealer remover penetrate the old sealer more effectively.
- Work in small sections: Focus on working in small sections at a time when applying the sealer remover and removing the softened sealer. This allows you to have better control and ensures thorough coverage. It also prevents the sealer remover from drying out before you can remove the sealer.
- Scrape or scrub with controlled pressure: When removing the softened sealer, use scrapers or putty knives with controlled pressure to avoid damaging the stamped concrete. If using a scrub brush or broom, maintain a steady but gentle scrubbing motion to prevent any unnecessary wear and tear on the surface.
- Be patient: The sealer removal process may take time, especially if there are multiple layers of sealer or stubborn areas. Stay patient and avoid rushing. Allow the sealer remover sufficient time to work, and take breaks if needed to avoid fatigue.
- Rinse thoroughly: After removing the sealer and cleaning the surface, make sure to rinse the patio thoroughly to remove any residue or sealer remover solution. Thorough rinsing ensures that the surface is clean and ready for any further treatments or applications.
- Assess the surface and make necessary repairs: Take the time to assess the surface of your stamped concrete patio after the sealer removal process. Look for any remaining sealer residue or areas that may require additional attention. Make any necessary repairs before proceeding with resealing or other treatments.
- Maintain the patio: Once you have successfully removed the sealer and completed any additional treatments, make sure to regularly maintain and care for your stamped concrete patio. This includes proper cleaning, periodic resealing, and avoiding abrasive substances or harsh chemicals that can damage the surface.
By following these tips, you will increase your chances of achieving a successful sealer removal project for your stamped concrete patio. Remember to stay safe, be patient, and take the necessary precautions throughout the process.
Good luck with your sealer removal and enjoy the refreshed appearance of your stamped concrete patio!
Conclusion
Removing sealer from a stamped concrete patio is a task that requires careful planning, proper preparation, and the right techniques. By following the steps outlined in this guide and implementing the tips provided, you can achieve successful sealer removal and revitalize the appearance of your outdoor space.
Understanding the nature of stamped concrete and the purpose of sealers is essential before diving into the removal process. Recognizing the signs that indicate the need for sealer removal, such as deterioration or a desire for a change in appearance, will help you make informed decisions.
Proper preparation, including cleaning the patio and gathering the necessary tools and materials, sets the stage for a smooth sealer removal process. Taking the time to protect surrounding areas and familiarize yourself with the instructions for the chosen sealer remover will ensure a safe and effective workflow.
The step-by-step process of removing the sealer involves applying the sealer remover, allowing it to work on the old sealer, and then physically removing the softened sealer from the surface. It is important to maintain patience, work in small sections, and use controlled pressure to prevent damage to the stamped concrete.
Rinsing the patio thoroughly and assessing the surface for any remaining residue or repairs ensures a clean and fresh starting point for any additional treatments or applications. Proper drying and maintenance will help extend the longevity and beauty of your stamped concrete patio in the long run.
By implementing the tips provided, you can navigate the sealer removal process with confidence. Choosing the right sealer remover, wearing the necessary safety gear, and regularly maintaining your patio will contribute to the success of your project.
Remember that while sealer removal can be a challenging task, it is a vital part of maintaining the integrity and appearance of your stamped concrete patio. Take your time, follow the instructions, and don’t hesitate to seek professional assistance if needed.
With careful planning, proper execution, and ongoing maintenance, you can enjoy a beautiful and well-protected outdoor space for years to come. So roll up your sleeves, gather your tools, and embark on the journey of removing the sealer from your stamped concrete patio!
Frequently Asked Questions about How To Remove Sealer From A Stamped Concrete Patio
Was this page helpful?
At Storables.com, we guarantee accurate and reliable information. Our content, validated by Expert Board Contributors, is crafted following stringent Editorial Policies. We're committed to providing you with well-researched, expert-backed insights for all your informational needs.

0 thoughts on “How To Remove Sealer From A Stamped Concrete Patio”