Articles
How Do You Install A Showerhead
Modified: October 19, 2024
Learn how to install a showerhead with our informative articles. Get step-by-step instructions and make your bathroom upgrade a breeze.
(Many of the links in this article redirect to a specific reviewed product. Your purchase of these products through affiliate links helps to generate commission for Storables.com, at no extra cost. Learn more)
Introduction
Installing a new showerhead is a simple yet rewarding task that can greatly enhance your showering experience. Whether you’re looking to upgrade your current showerhead or replace a worn-out one, this step-by-step guide will walk you through the process. With a few tools and materials, you can easily install a new showerhead and enjoy a refreshing spray of water.
Not only does installing a new showerhead allow you to customize your showering experience, but it can also help conserve water and save money on your water bills. Many modern showerheads are designed to provide a satisfying shower while using less water than older models. So not only will you enjoy a more invigorating shower, but you’ll also contribute to water efficiency.
Before diving into the installation process, it’s important to gather the necessary tools and materials. Being well-prepared will ensure a smooth and efficient installation process. Once you have everything you need, it’s time to remove the existing showerhead and make way for the new one.
Whether you’re a DIY enthusiast or simply enjoy tackling home improvement projects, installing a showerhead is a manageable task that requires minimal time and effort. So, let’s dive into the steps required to install a showerhead and transform your showering experience.
Key Takeaways:
- Upgrade your showering experience by easily installing a new showerhead with minimal time and effort. Enjoy a refreshing spray of water while contributing to water efficiency and saving on utility bills.
- Follow the step-by-step guide to replace your old showerhead, from gathering tools to testing the installation. Choose a showerhead that suits your preferences and bathroom aesthetic for a satisfying outcome.
Read more: How Do You Change A Showerhead?
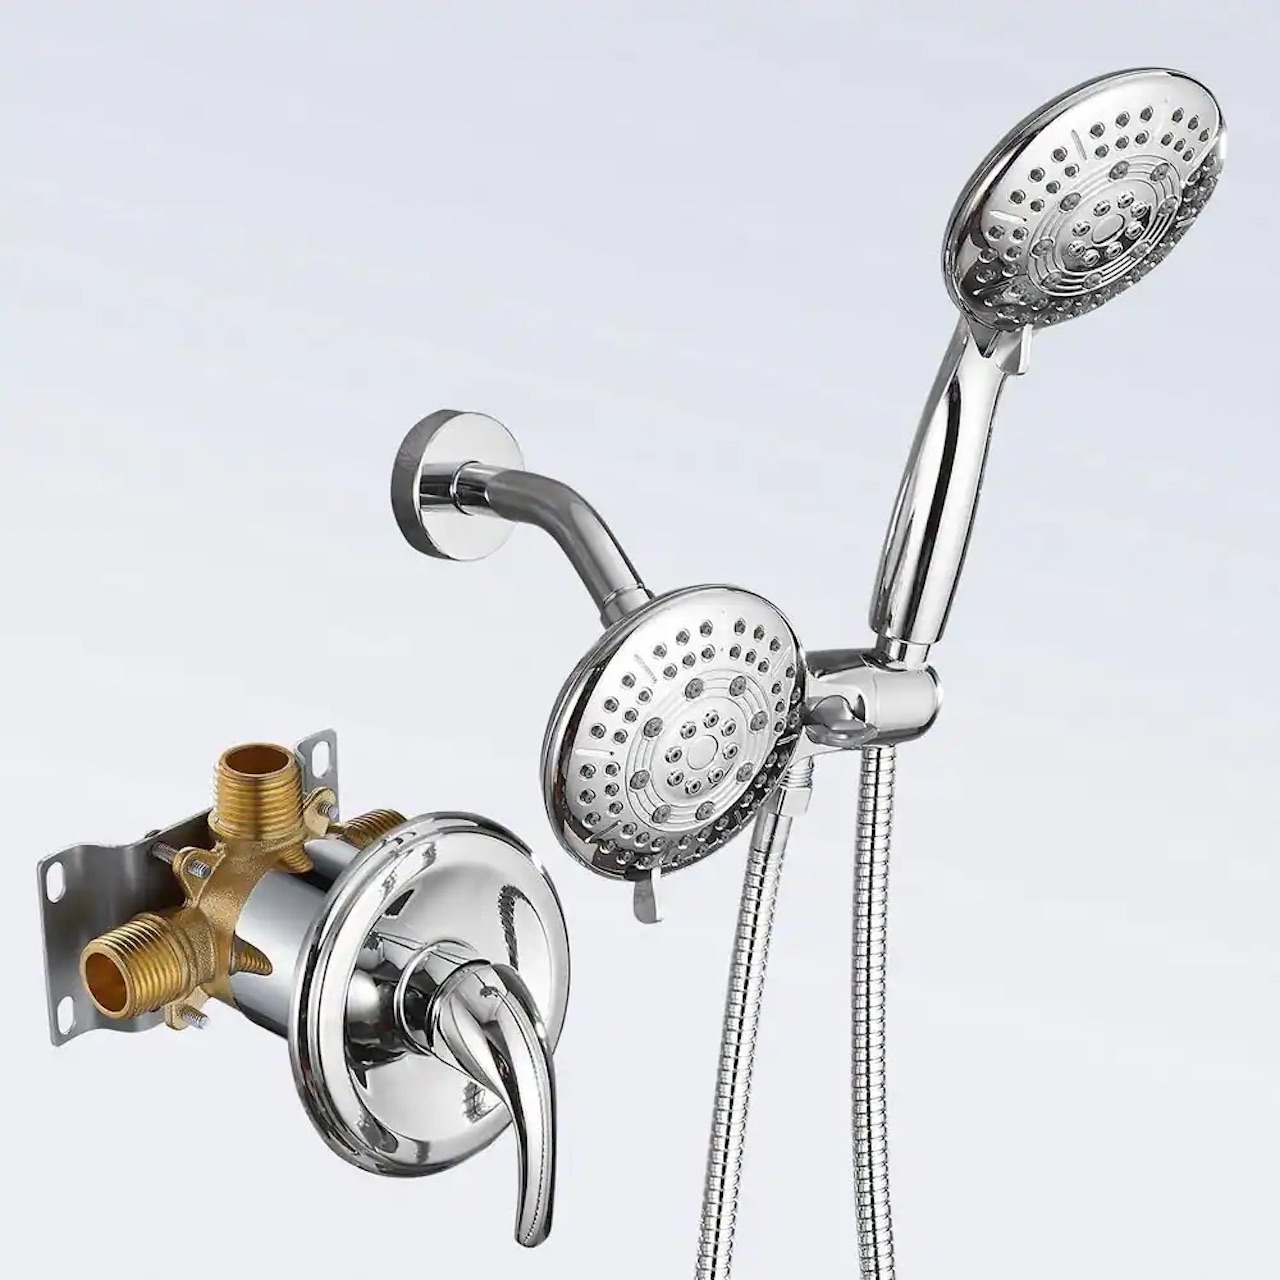
Step 1: Gather Tools and Materials
Before you begin installing your new showerhead, make sure you have all the necessary tools and materials on hand. Having everything prepared will save time and ensure a hassle-free installation process. Here are the tools and materials you’ll need:
- Adjustable wrench
- Teflon tape
- New showerhead
- Old towels or rags
An adjustable wrench will be essential for removing the existing showerhead and tightening the new one. Teflon tape, also known as plumber’s tape, is used to create a watertight seal when attaching the new showerhead. Make sure you have enough of it to wrap around the shower arm threads.
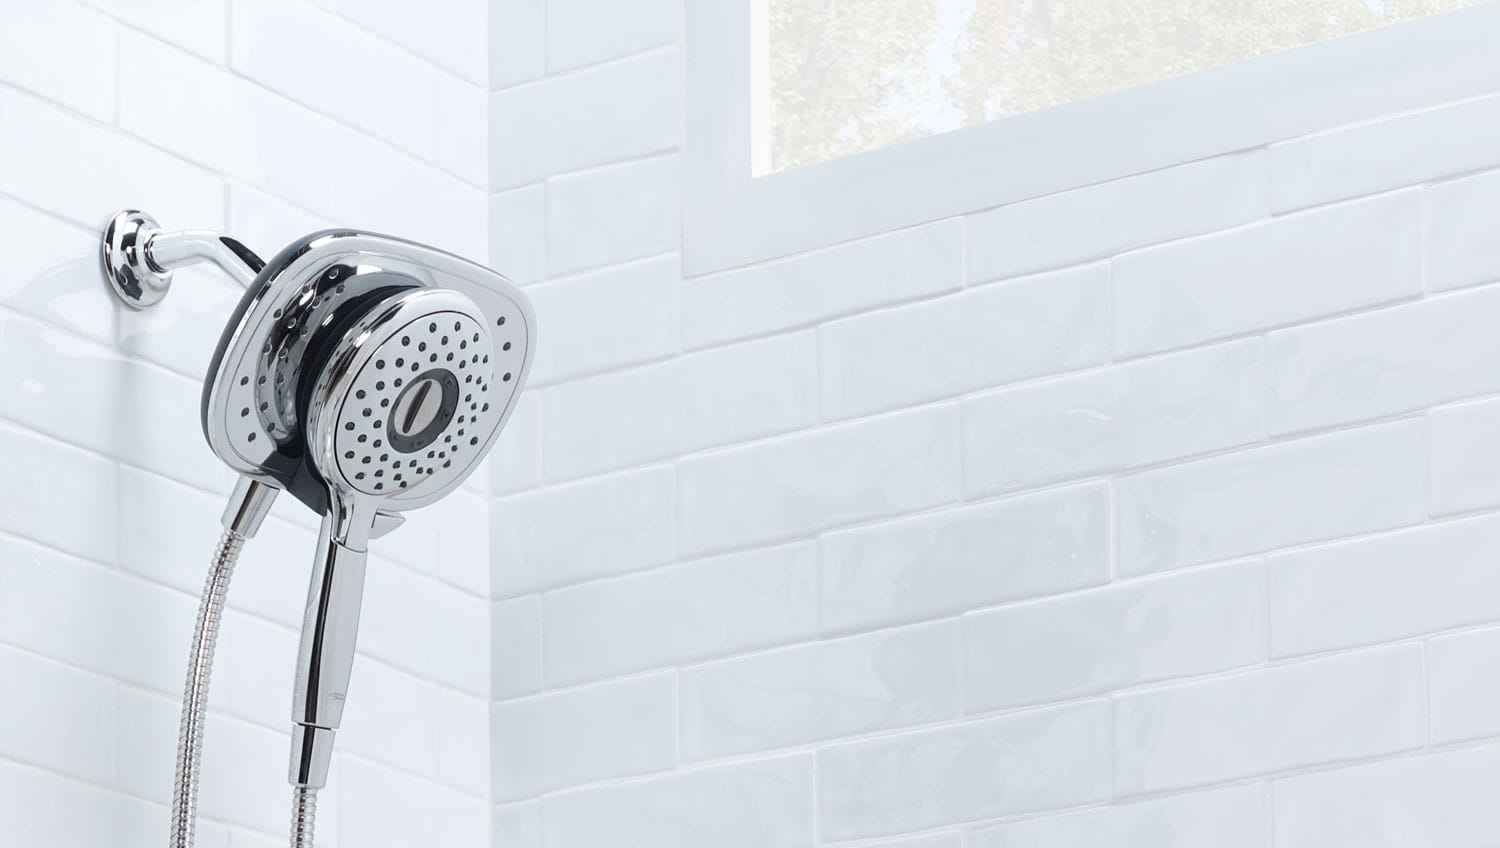
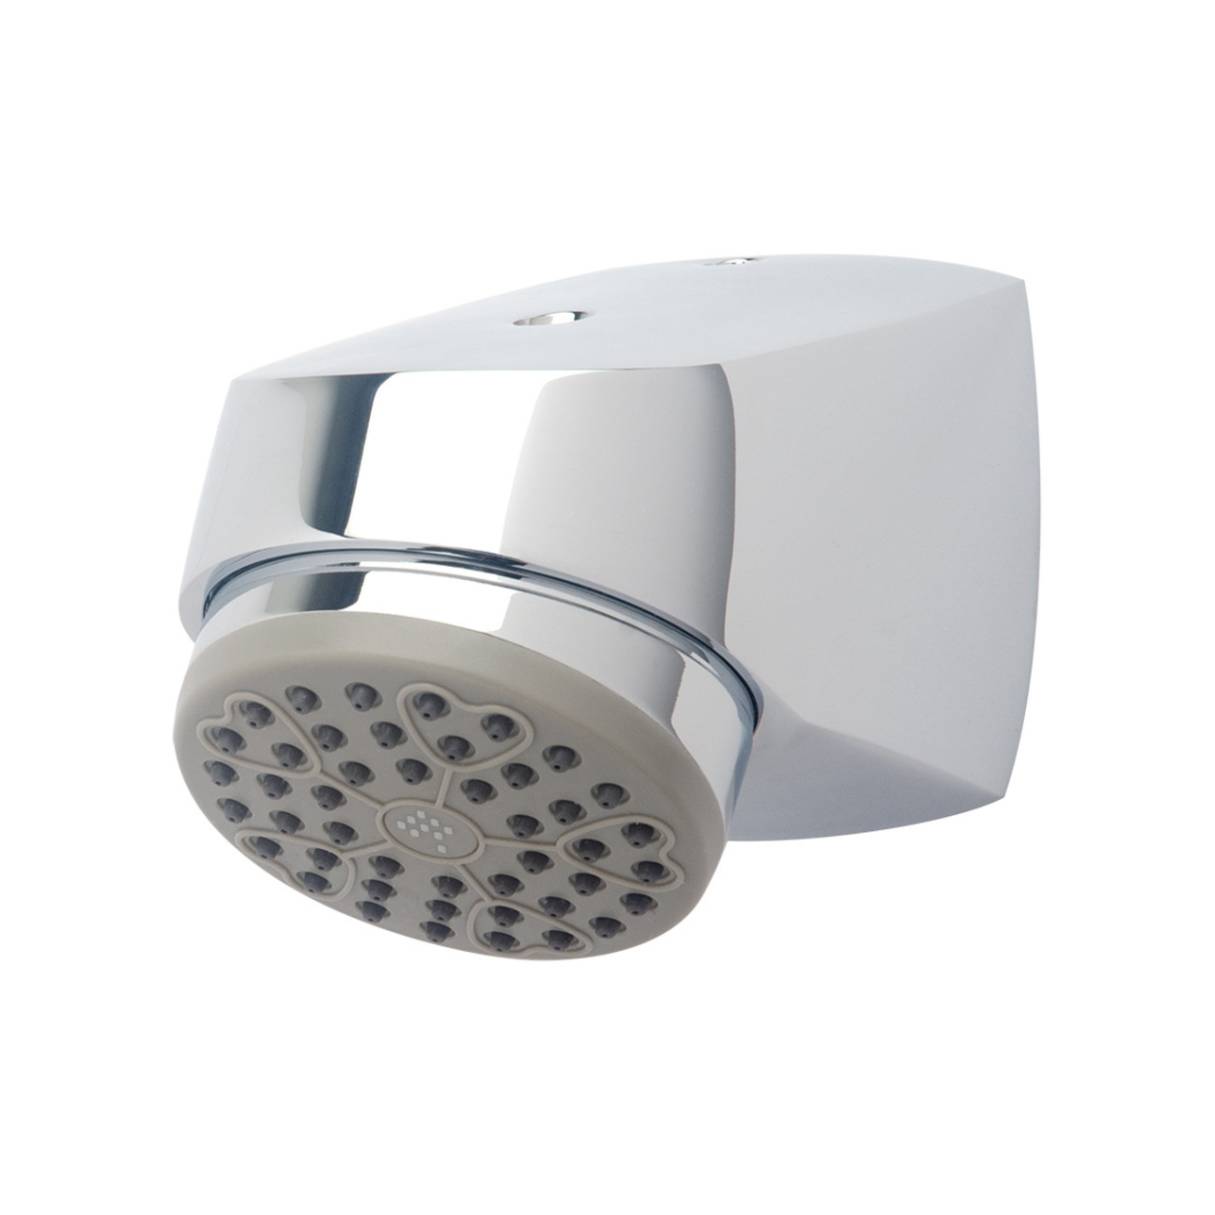
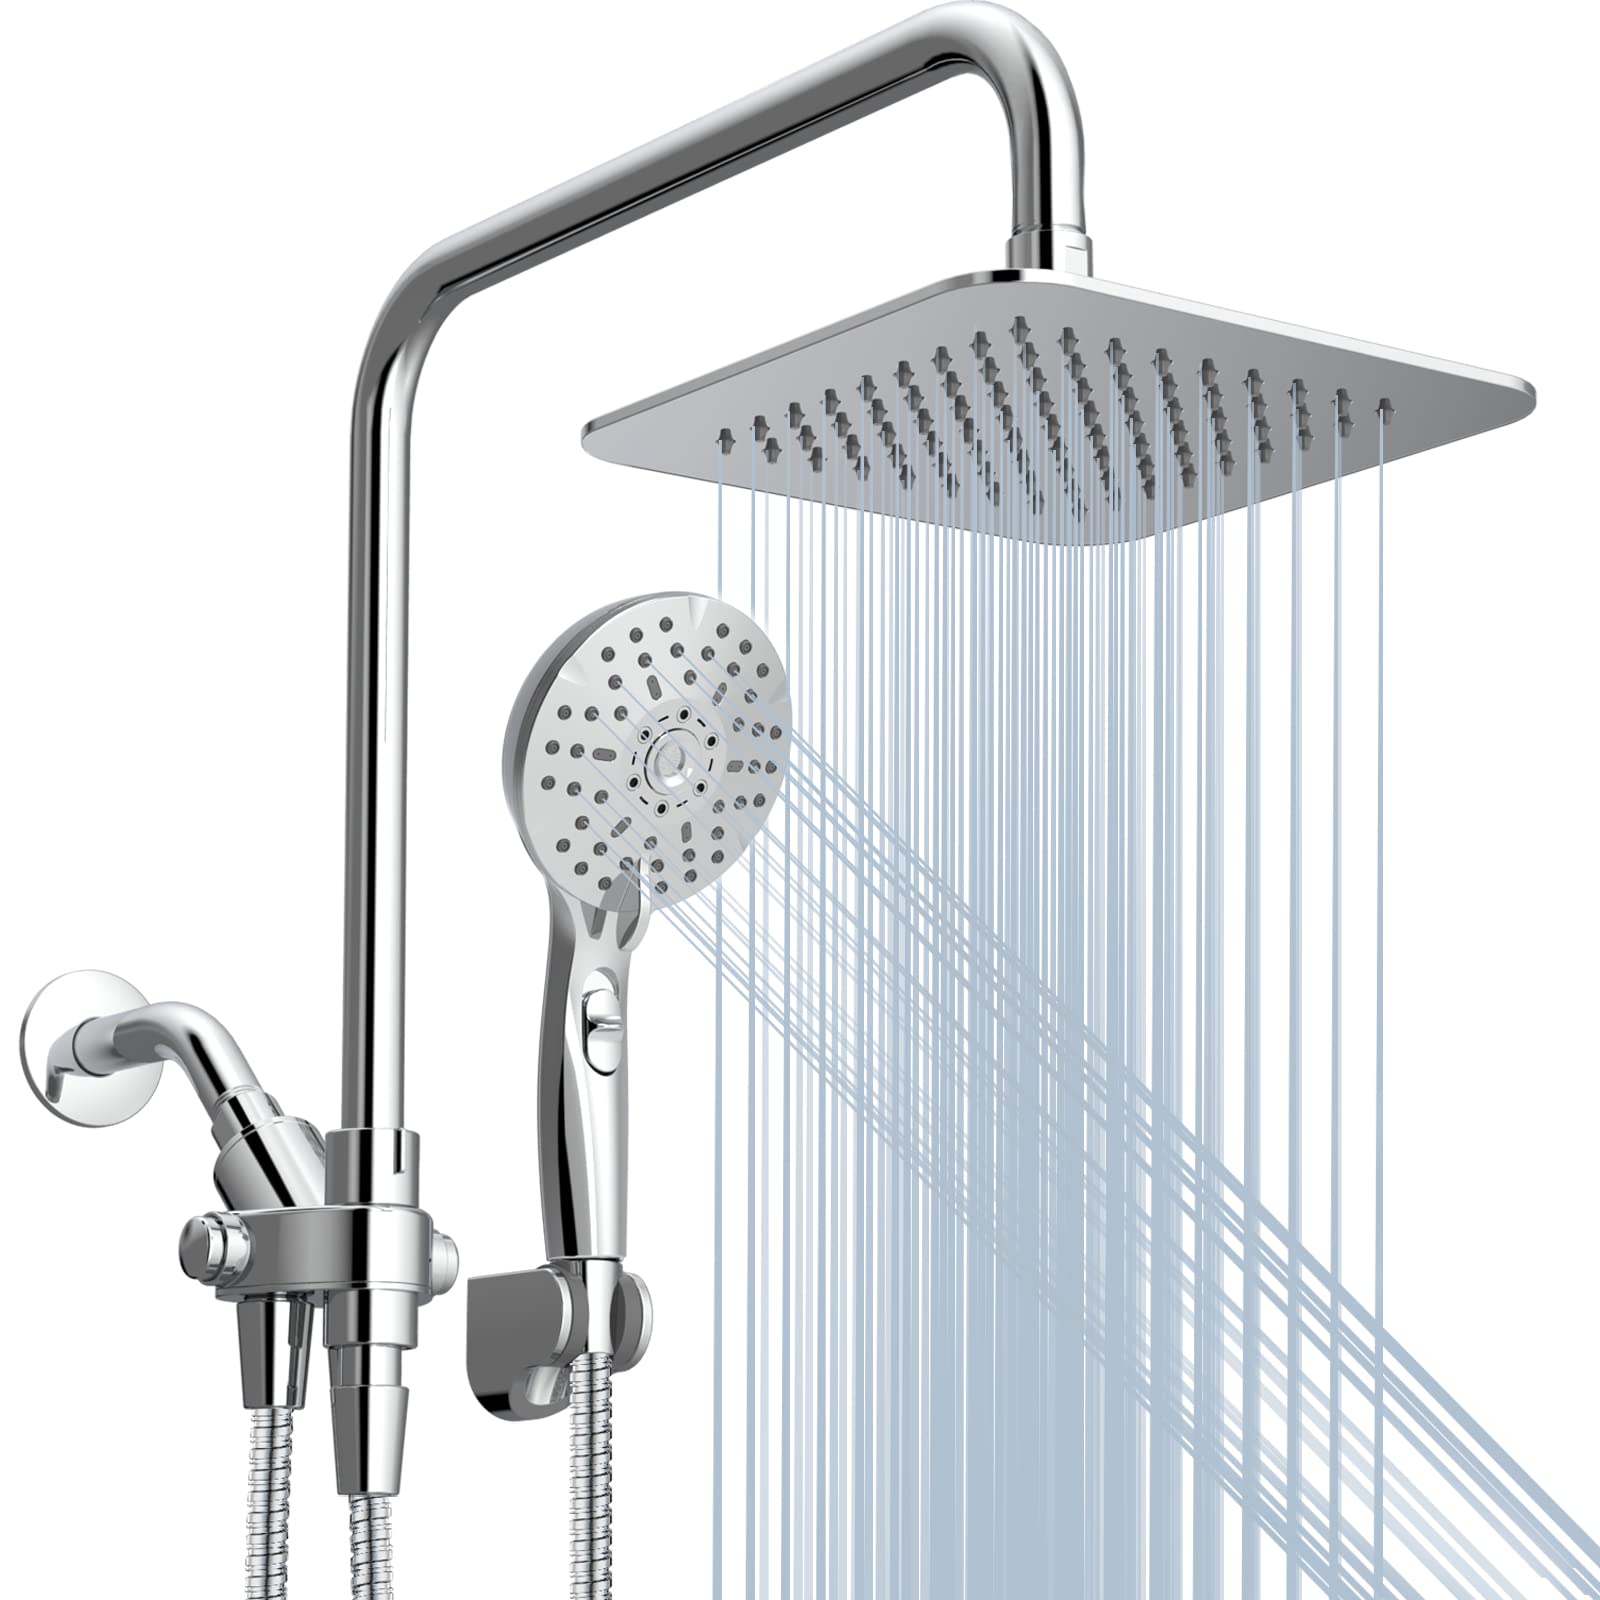
When selecting a new showerhead, consider your preferences and the desired water flow. There are numerous types of showerheads available, including rain showerheads, handheld showerheads, and massaging showerheads. Choose one that suits your needs and complements your bathroom’s aesthetic.
Finally, it’s a good idea to have some old towels or rags on hand to catch any water that may drip during the installation process. This will help keep your bathroom clean and prevent any water damage.
Once you have all the necessary tools and materials gathered, you’re ready to proceed to the next step: removing the existing showerhead.
Step 2: Remove the Existing Showerhead
Now that you have all the tools and materials ready, it’s time to remove the existing showerhead. Follow these steps to safely and effectively remove it:
- Start by turning off the water supply to the shower. This can usually be done by shutting off the main water valve or using the shut-off valve located near the shower.
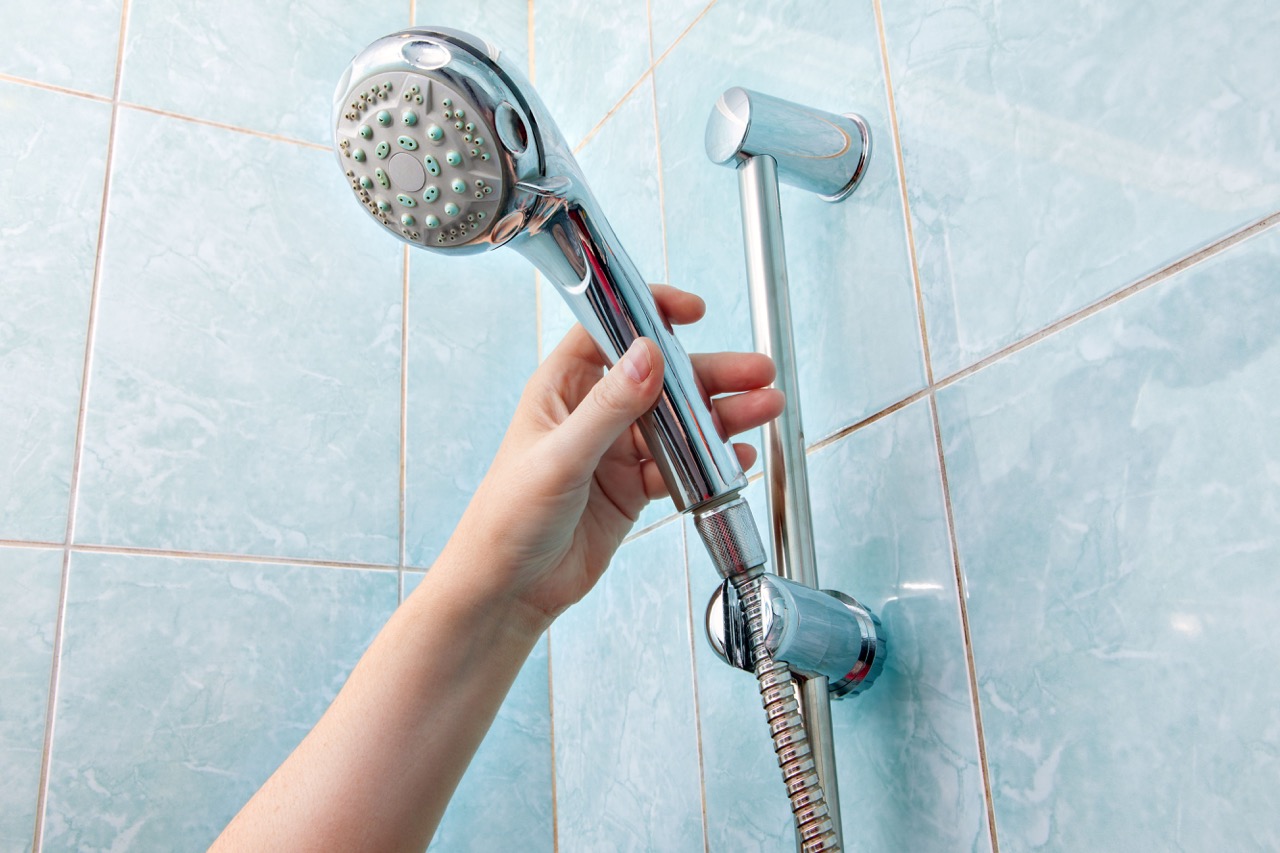
- Once you’ve turned off the water supply, use an adjustable wrench to loosen and remove the old showerhead. Grip the showerhead firmly with the wrench and turn it counterclockwise until it comes off. If the showerhead is stuck, you may need to apply some gentle pressure or use a pair of pliers to help loosen it.
- As you remove the showerhead, be careful not to damage the shower arm, which is the pipe that extends from the wall and connects to the showerhead. If the showerhead is stuck or difficult to remove, you can wrap a cloth around it to provide better grip and prevent scratching.
- Once the old showerhead is removed, inspect the shower arm for any debris or old plumber’s tape. Use a cloth or rag to clean the shower arm, ensuring that it is clean and free from any obstructions.
By following these steps, you can safely remove the existing showerhead without causing any damage to the shower arm or the surrounding area. With the old showerhead removed, you’re now ready to clean the shower arm in preparation for the installation of the new showerhead.
Step 3: Clean the Shower Arm
Now that you have removed the old showerhead, it’s important to clean the shower arm before proceeding with the installation of the new one. Cleaning the shower arm will prevent any debris or residue from affecting the performance of the new showerhead. Follow these steps to clean the shower arm:
- Take a damp cloth or rag and wipe down the surface of the shower arm. Remove any dirt, grime, or soap scum that may have accumulated over time.
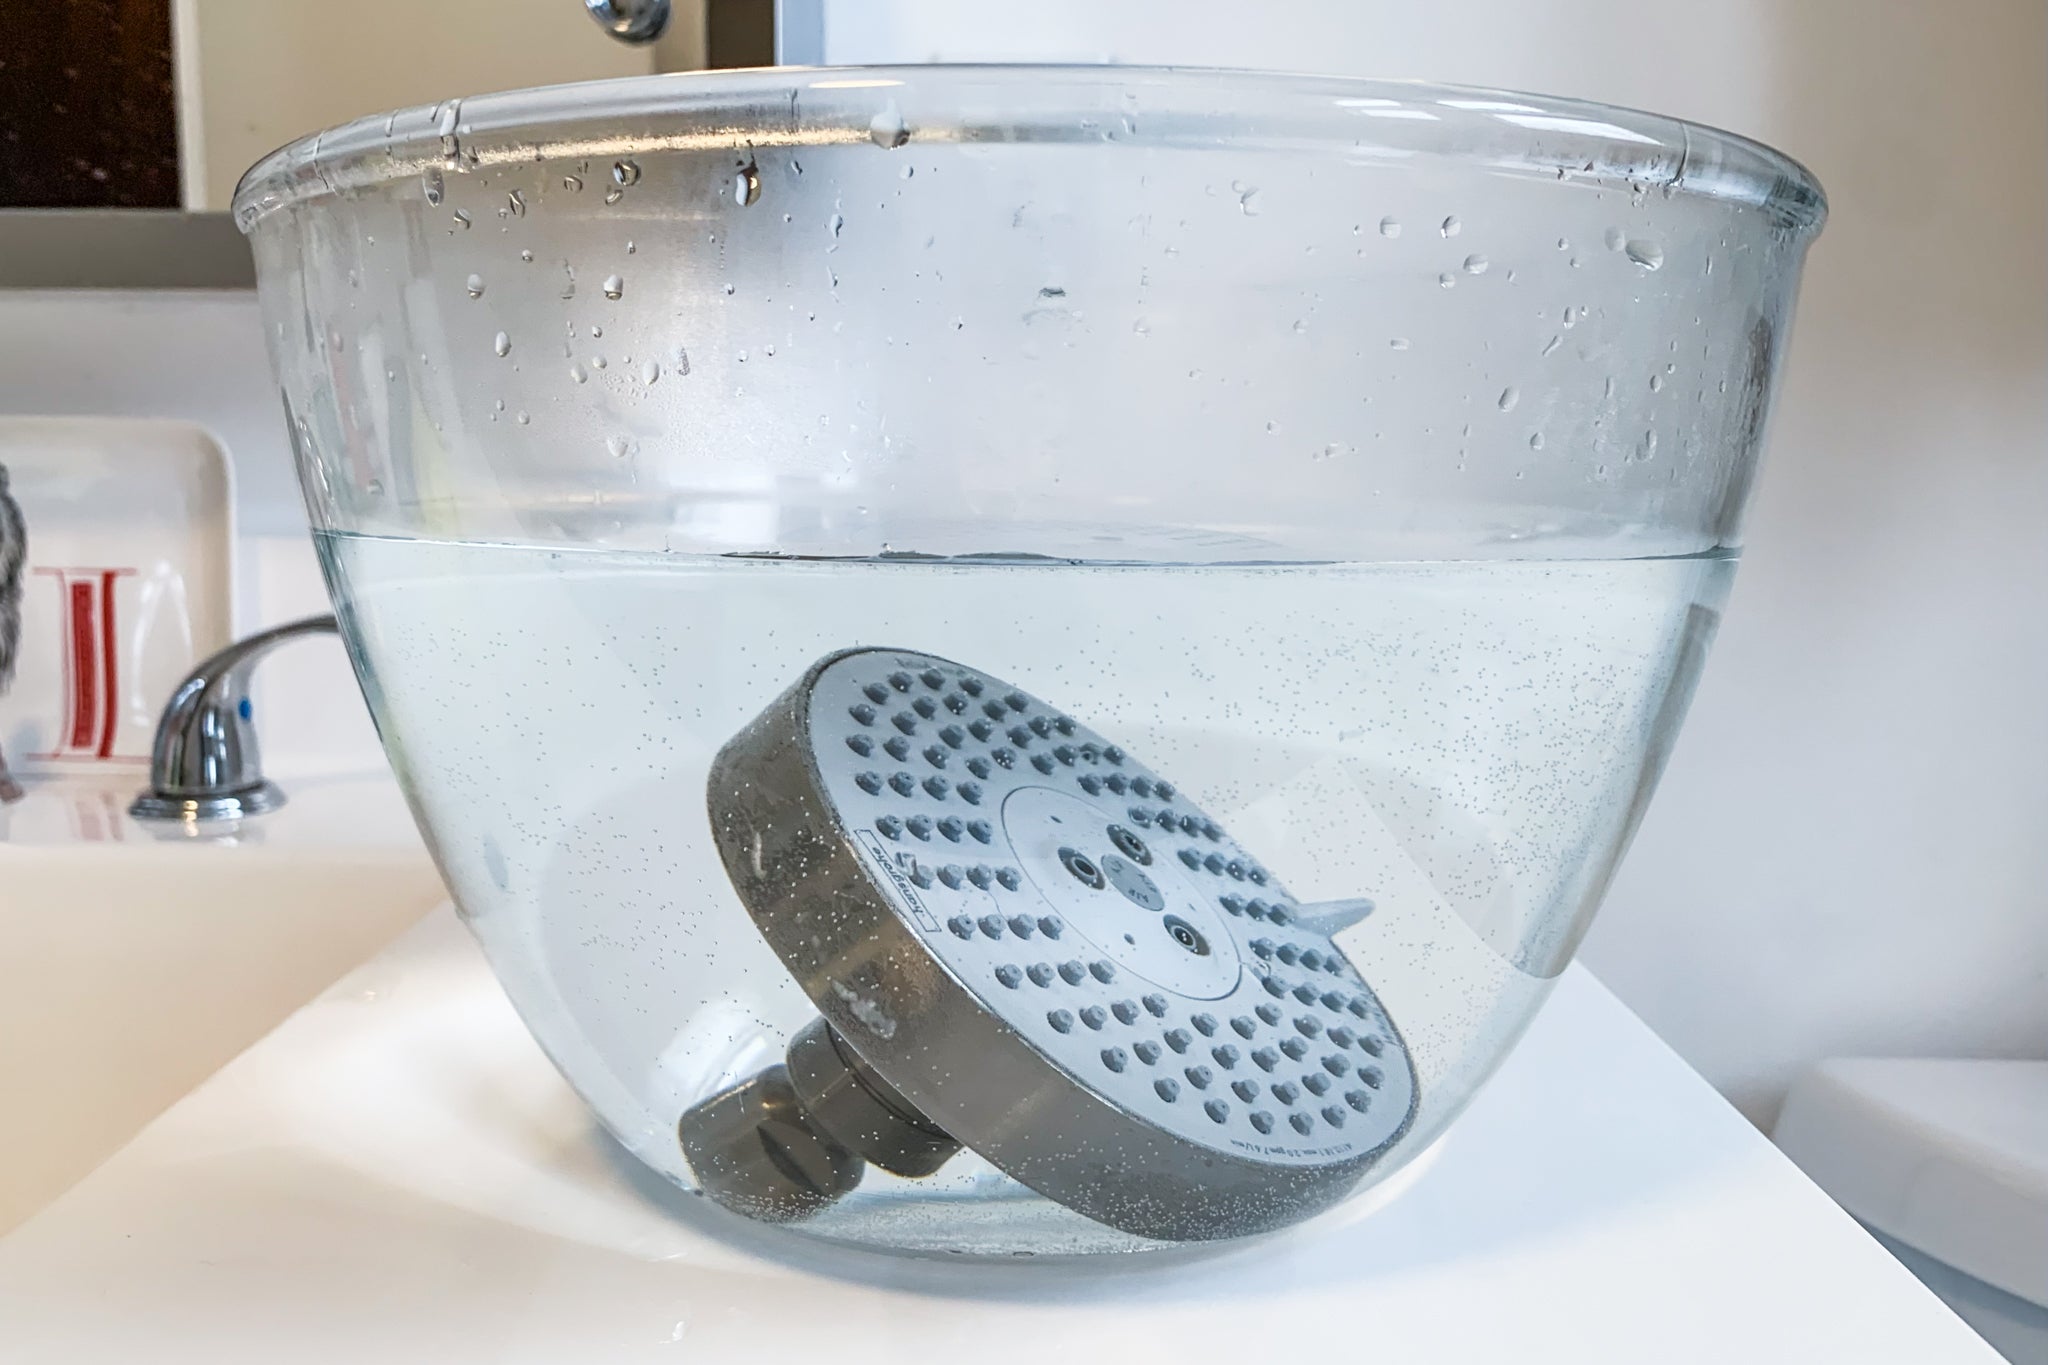
- Inspect the shower arm for any mineral deposits or buildup. Hard water can cause mineral deposits to form, which can affect water flow and reduce the efficiency of the new showerhead. If you notice any deposits, you can use a vinegar solution to dissolve them.
- Prepare a mixture of equal parts vinegar and water in a small bowl or container. Dip a cloth or rag into the vinegar solution and wrap it around the shower arm. Allow the solution to sit for a few minutes to break down the mineral deposits.
- Gently scrub the shower arm with the vinegar-soaked cloth, paying attention to areas with visible deposits. Use circular motions to loosen the buildup and ensure a thorough cleaning.
- Rinse the shower arm with clean water to remove any remaining vinegar or residue. Use a clean, dry cloth to wipe down the shower arm and ensure it is completely dry before proceeding.
By cleaning the shower arm, you’ll remove any impurities that may interfere with the performance of the new showerhead. This step ensures that you’ll experience optimal water flow and achieve the best results from your showerhead installation.
With the shower arm clean and ready, it’s time to move on to the next step: applying Teflon tape to the shower arm.
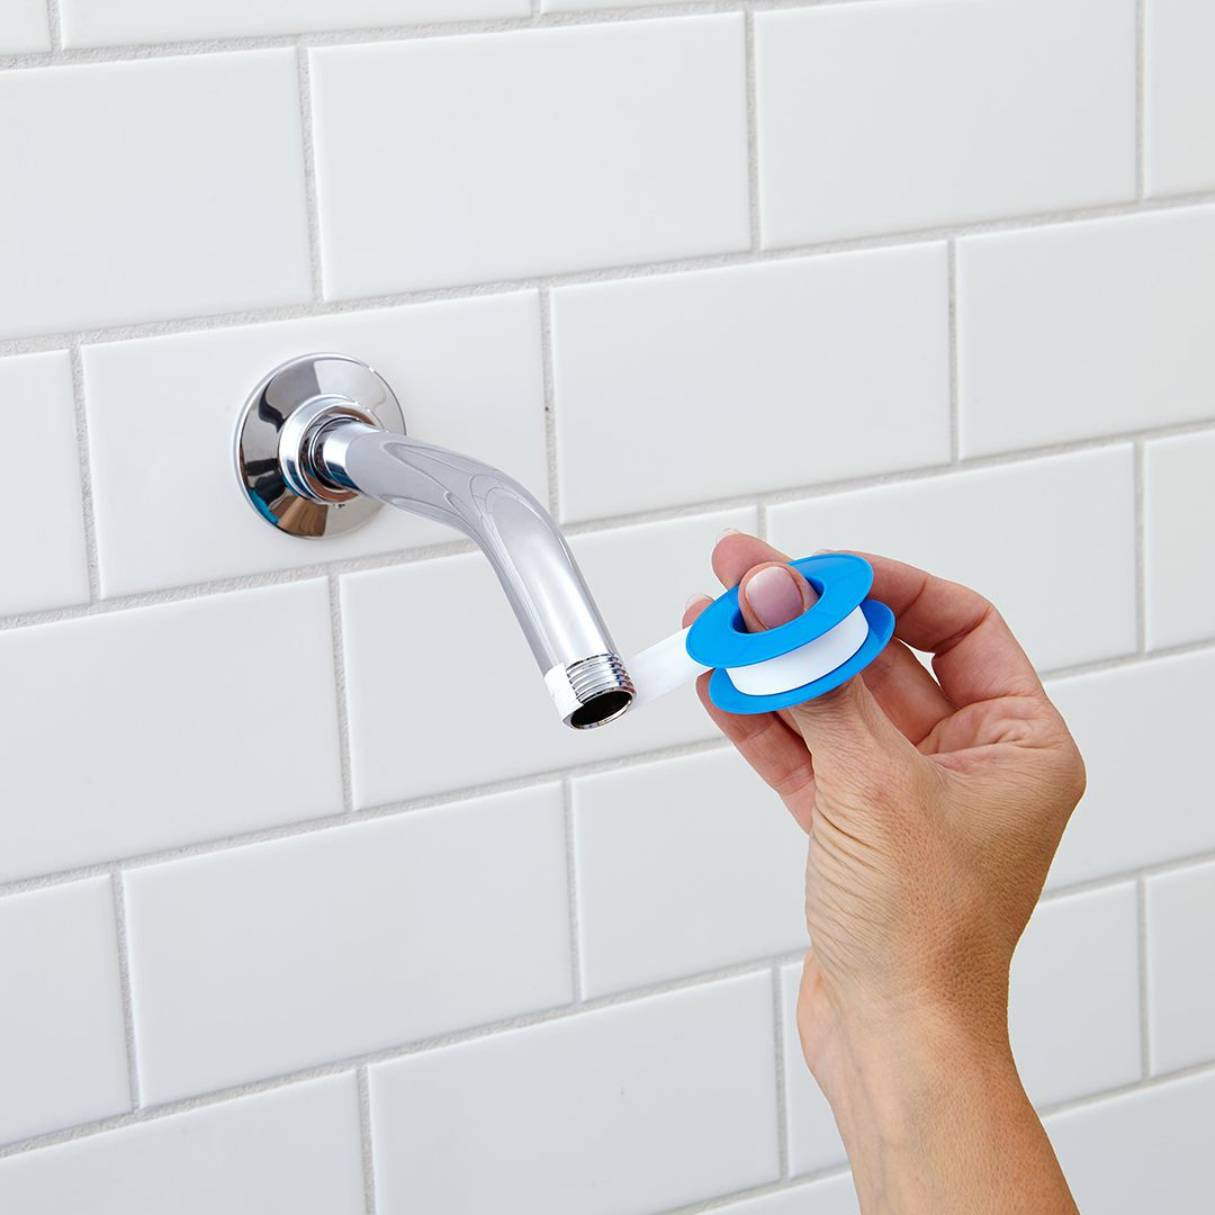
When installing a showerhead, use plumber’s tape to ensure a tight seal and prevent leaks. Wrap the tape around the threaded end of the shower arm before attaching the new showerhead.
Step 4: Apply Teflon Tape to the Shower Arm
Before installing the new showerhead, it’s important to apply Teflon tape to the shower arm threads. Teflon tape, also known as plumber’s tape, creates a tight seal and prevents leaks when the showerhead is attached. Follow these steps to apply Teflon tape to the shower arm:
- Hold one end of the Teflon tape against the base of the shower arm where the threads begin.
- Wrap the Teflon tape around the shower arm threads in a clockwise direction. Ensure that the tape is applied evenly and covers all the threads.
- Continue wrapping the Teflon tape around the shower arm until you have covered the entire threaded portion. Leave a small section of the tape hanging at the end to prevent it from unraveling.
- Once you have wrapped the Teflon tape, use your fingers to press it firmly against the threads, smoothing out any wrinkles or gaps.
Applying Teflon tape to the shower arm will create a secure and leak-free connection when you attach the new showerhead. The tape acts as a lubricant, allowing for smooth tightening and preventing water from seeping out.
After applying the Teflon tape, it’s important to ensure that the tape does not interfere with the installation of the new showerhead. Make sure the tape is evenly wrapped and does not obstruct the opening where the showerhead will be attached.
With the Teflon tape in place, you’re now ready to move on to the next step: attaching the new showerhead.
Step 5: Attach the New Showerhead
With the shower arm prepared and Teflon tape applied, it’s time to attach the new showerhead. Follow these steps to securely attach the new showerhead:
- Take the new showerhead and remove any protective covers or packaging.
- Hold the showerhead in one hand and gently thread it onto the shower arm in a clockwise direction. Start by aligning the threads of the showerhead with the Teflon tape on the shower arm.
- Continue tightening the showerhead by hand until it is snug against the shower arm. Be careful not to over-tighten the showerhead, as this can potentially damage the threads or cause leaks.
- Once the showerhead is hand-tightened, use an adjustable wrench to give it a final quarter turn to ensure a secure connection. Be cautious not to overtighten and risk damaging the showerhead or the shower arm.
When attaching the new showerhead, it’s crucial to maintain steady pressure and ensure that the threads are properly aligned. This will help create a watertight seal and prevent any leaks from occurring.
If your new showerhead requires additional components, such as a shower arm extender or a wall mount, refer to the manufacturer’s instructions for proper installation. Some showerheads may have specific alignment requirements, so it’s important to follow their guidelines to achieve the best results.
Once the new showerhead is securely attached, you’re almost done! The final step is to test the showerhead installation to verify that everything is functioning properly.
Step 6: Test the Showerhead Installation
After successfully attaching the new showerhead, it’s important to test the installation to ensure that everything is working correctly. Follow these steps to test the showerhead:
- Turn on the water supply to the shower by either opening the main water valve or using the shower’s individual shut-off valve.
- Check for any leaks around the base of the showerhead and the connection to the shower arm. Inspect the area closely for any signs of water dripping or seeping out.
- If you notice any leaks, use an adjustable wrench to tighten the connections slightly. Be careful not to overtighten, as it can damage the plumbing or cause leaks in other areas.
- Once you’ve confirmed that there are no leaks, turn on the shower and test the water flow. Ensure that the water is flowing smoothly through the new showerhead.
- Adjust the showerhead settings if applicable, such as changing the spray pattern or water pressure, to find your desired showering experience.
- Step into the shower and enjoy the rejuvenating flow of water from your new showerhead. Take a moment to appreciate the difference it makes in your showering experience.
By testing the showerhead installation, you can identify and address any issues before they become larger problems. Checking for leaks and ensuring proper water flow will give you peace of mind knowing that your new showerhead is installed correctly and functioning as intended.
It’s worth noting that depending on your showerhead’s design, you may need to adjust the water flow or settings according to your preferences. Some showerheads offer different spray patterns, adjustable water pressure, or other customizable features. Take the time to explore and select the settings that best suit your needs and preferences.
Congratulations! You have successfully installed your new showerhead and can now enjoy a refreshing and invigorating shower experience.
Conclusion
Installing a new showerhead is a relatively simple and gratifying DIY project that can instantly upgrade your showering experience. By following the step-by-step guide provided, you can easily replace your old showerhead and enjoy the benefits of a new, refreshing spray of water.
Throughout the installation process, we have covered the key steps involved, including gathering the necessary tools and materials, removing the existing showerhead, cleaning the shower arm, applying Teflon tape, attaching the new showerhead, and testing the installation.
Remember to choose a showerhead that suits your preferences and bathroom aesthetic. There are various options available, from rain showerheads to handheld showerheads, so you can find the perfect fit for your needs.
Additionally, be mindful of water efficiency when selecting a new showerhead. Many modern models are designed to provide an invigorating shower experience while conserving water and reducing your utility bills.
By following our step-by-step guide and testing the installation for any leaks or issues, you can ensure a successful and satisfying outcome. So, don’t hesitate to embark on this home improvement project and transform your shower into a sanctuary of relaxation.
Now that you have gained the knowledge and confidence to install a showerhead, it’s time to enjoy the benefits of this simple yet impactful upgrade. Say goodbye to your old, worn-out showerhead and embrace the revitalizing spray of your new one!
Frequently Asked Questions about How Do You Install A Showerhead
Was this page helpful?
At Storables.com, we guarantee accurate and reliable information. Our content, validated by Expert Board Contributors, is crafted following stringent Editorial Policies. We're committed to providing you with well-researched, expert-backed insights for all your informational needs.


0 thoughts on “How Do You Install A Showerhead”