Home>Garden Essentials>How To Dry Peas For Seed
Garden Essentials
How To Dry Peas For Seed
Modified: August 27, 2024
Learn how to dry peas for seed in your garden and ensure a successful harvest. Follow our step-by-step guide for proper drying techniques.
(Many of the links in this article redirect to a specific reviewed product. Your purchase of these products through affiliate links helps to generate commission for Storables.com, at no extra cost. Learn more)
Introduction
Welcome to our comprehensive guide on how to dry peas for seed. If you’re an avid gardener looking to save and grow your own pea seeds, you’ve come to the right place. Drying pea seeds is not only economically advantageous, but it also allows you to preserve the characteristics of your favorite pea varieties for future planting seasons.
Peas are a popular legume in home gardens, valued for their delicious taste and high nutritional content. When it comes to drying peas for seed, it’s essential to follow the correct methods to ensure the seeds remain viable and disease-free.
Throughout this article, we will walk you through the entire process, from selecting the peas to storing the dried seeds. So, let’s dig in and discover how you can successfully dry peas for seed preservation.
Key Takeaways:
- Save and grow your own pea seeds by selecting healthy, mature pods and using open-pollinated or heirloom varieties. Proper drying methods and storage ensure future successful pea harvests.
- Whether oven drying, air drying, or using a dehydrator, thorough drying and proper storage are essential for preserving the viability of pea seeds. Experiment, learn, and enjoy the benefits of seed saving!
Read more: How Fast Do Peas Germinate
Selecting the Peas for Drying
When it comes to selecting peas for drying, it is important to choose varieties that are well-suited for seed saving. Look for open-pollinated or heirloom pea varieties as they tend to produce seeds that are true to type. Hybrids, on the other hand, may not produce seeds with the same characteristics as the parent plant.
Opt for healthy and mature pea pods for drying. Avoid using peas that are damaged, discolored, or shriveled. Peas that are fully ripe will have a dry and hard feel to them. Additionally, select the best plants with desirable characteristics, such as disease resistance, vigor, and taste, to ensure the future success of your pea crop.
It’s important to note that if you are saving seeds from pea plants that were grown near other varieties of peas, there is a possibility of cross-pollination. To minimize the risk, you can isolate different pea varieties by a distance of at least 50 feet or use physical barriers like mesh netting to prevent the bees and other pollinators from cross-pollinating the plants.
By carefully selecting the peas for drying, you are paving the way for a successful seed-saving endeavor and ensuring the quality of your future pea harvest.
Preparing the Peas for Drying
Once you have selected the pea pods for drying, it is important to properly prepare them to ensure optimal drying and seed viability. Follow these steps to prepare your peas for drying:
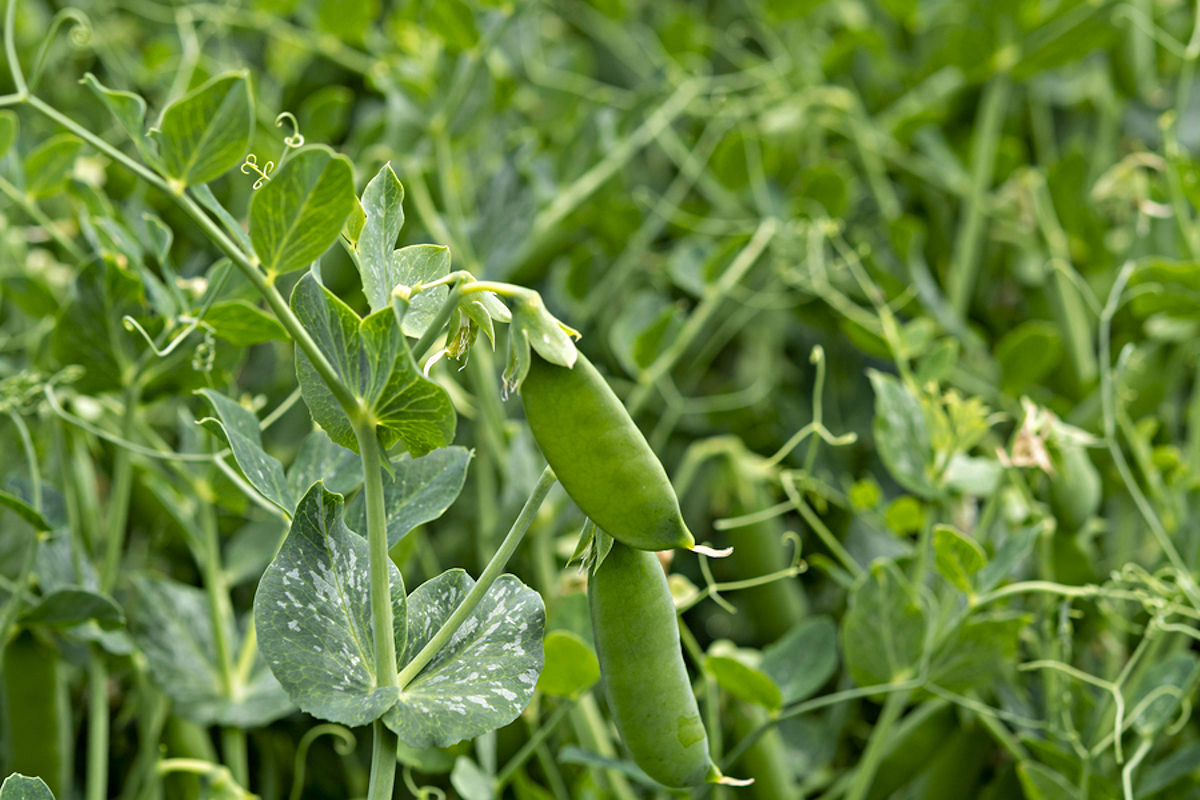
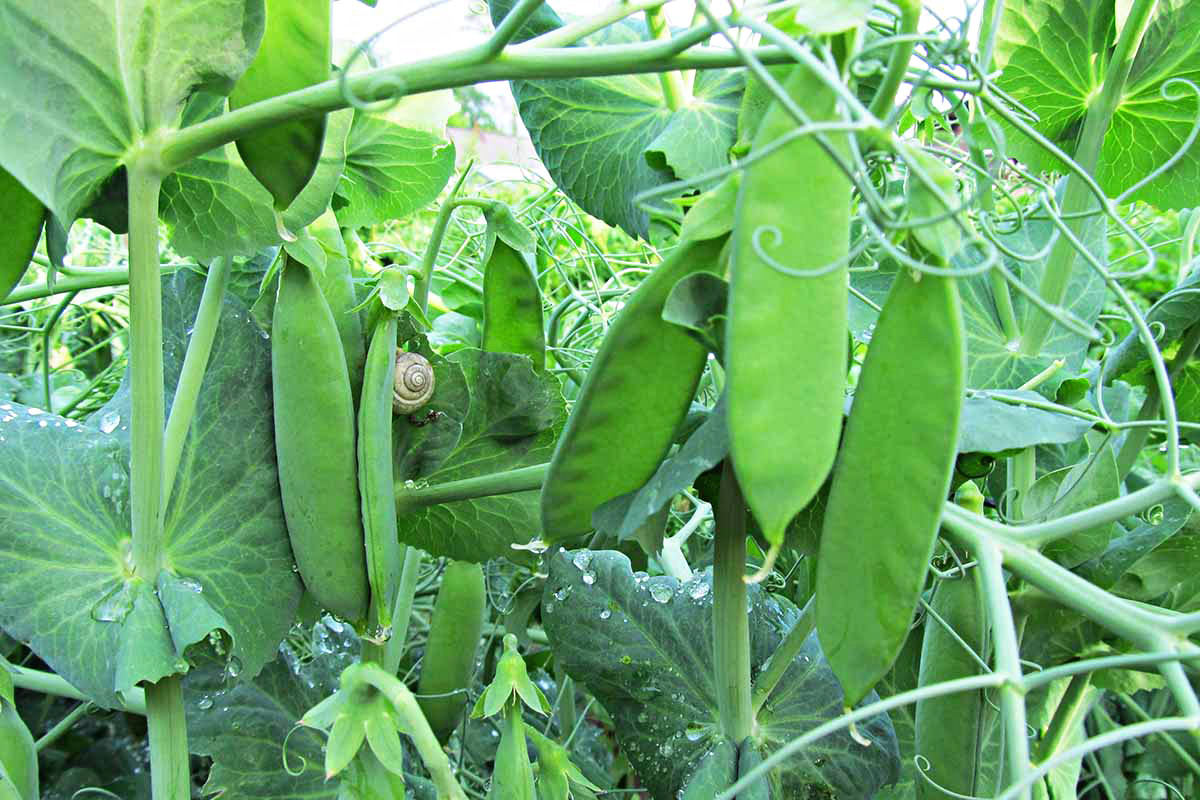
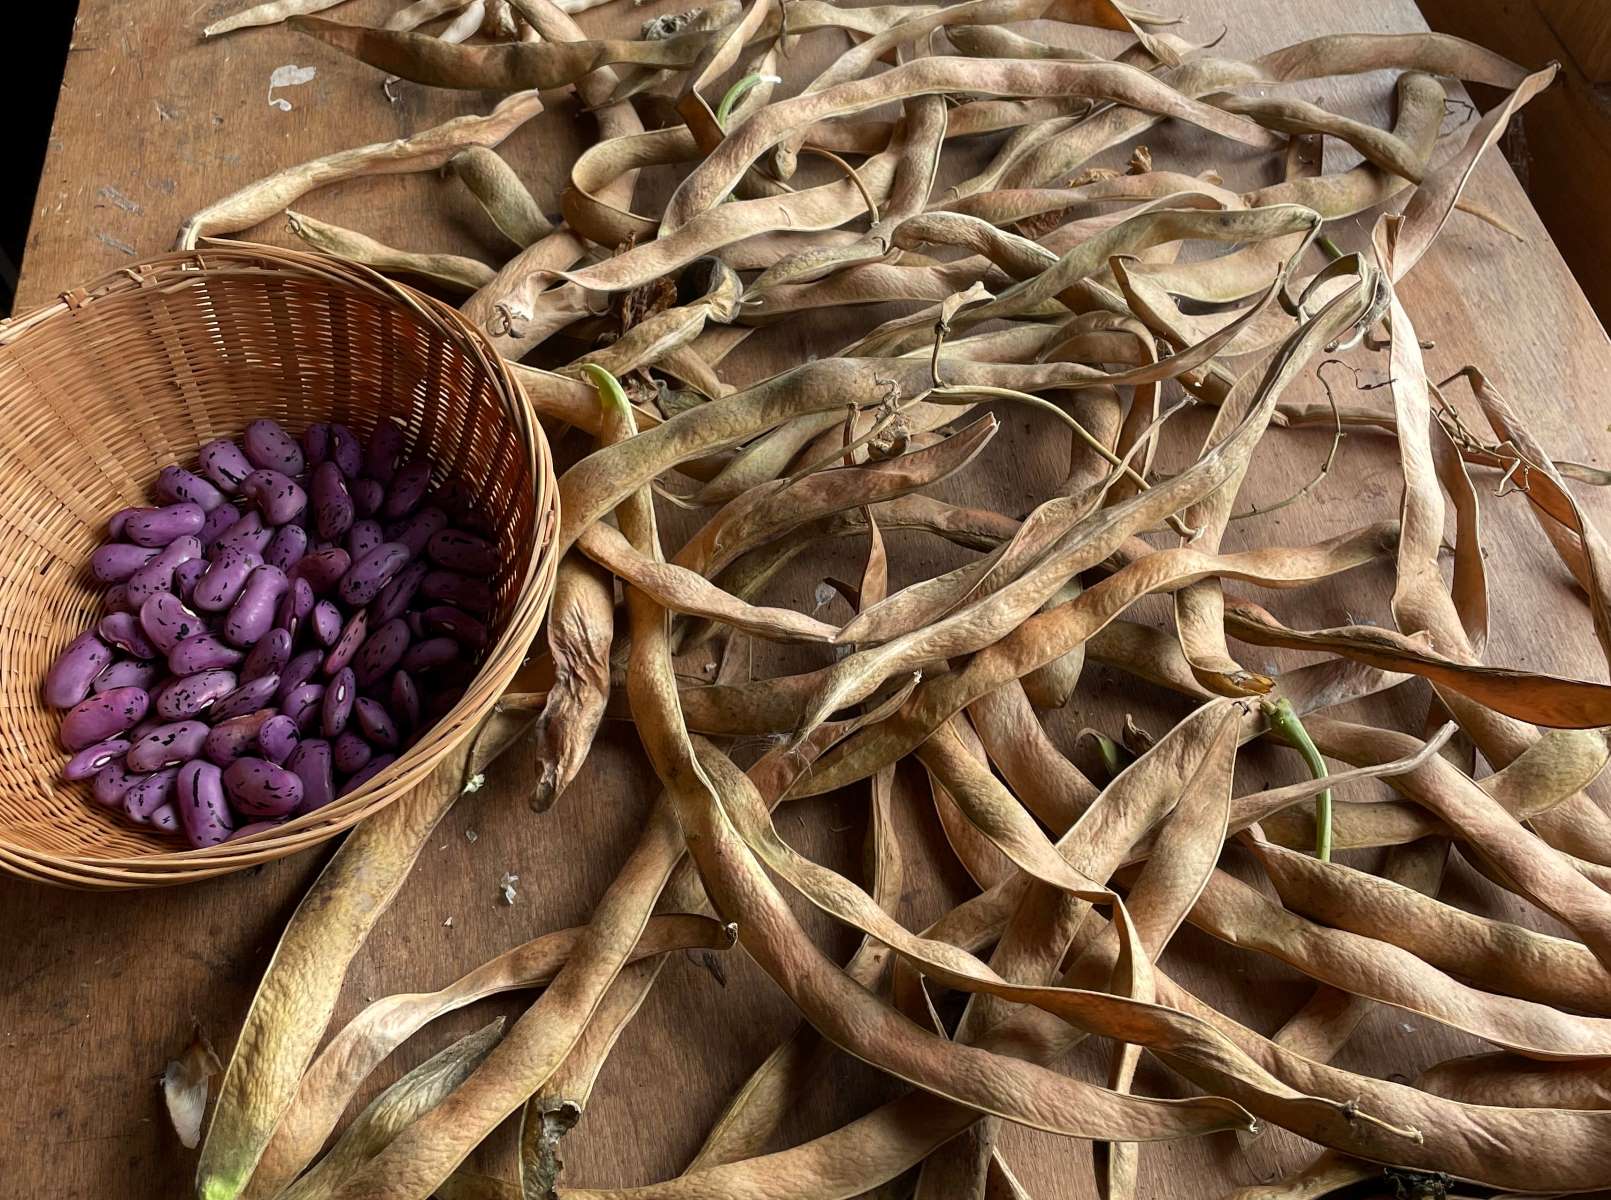
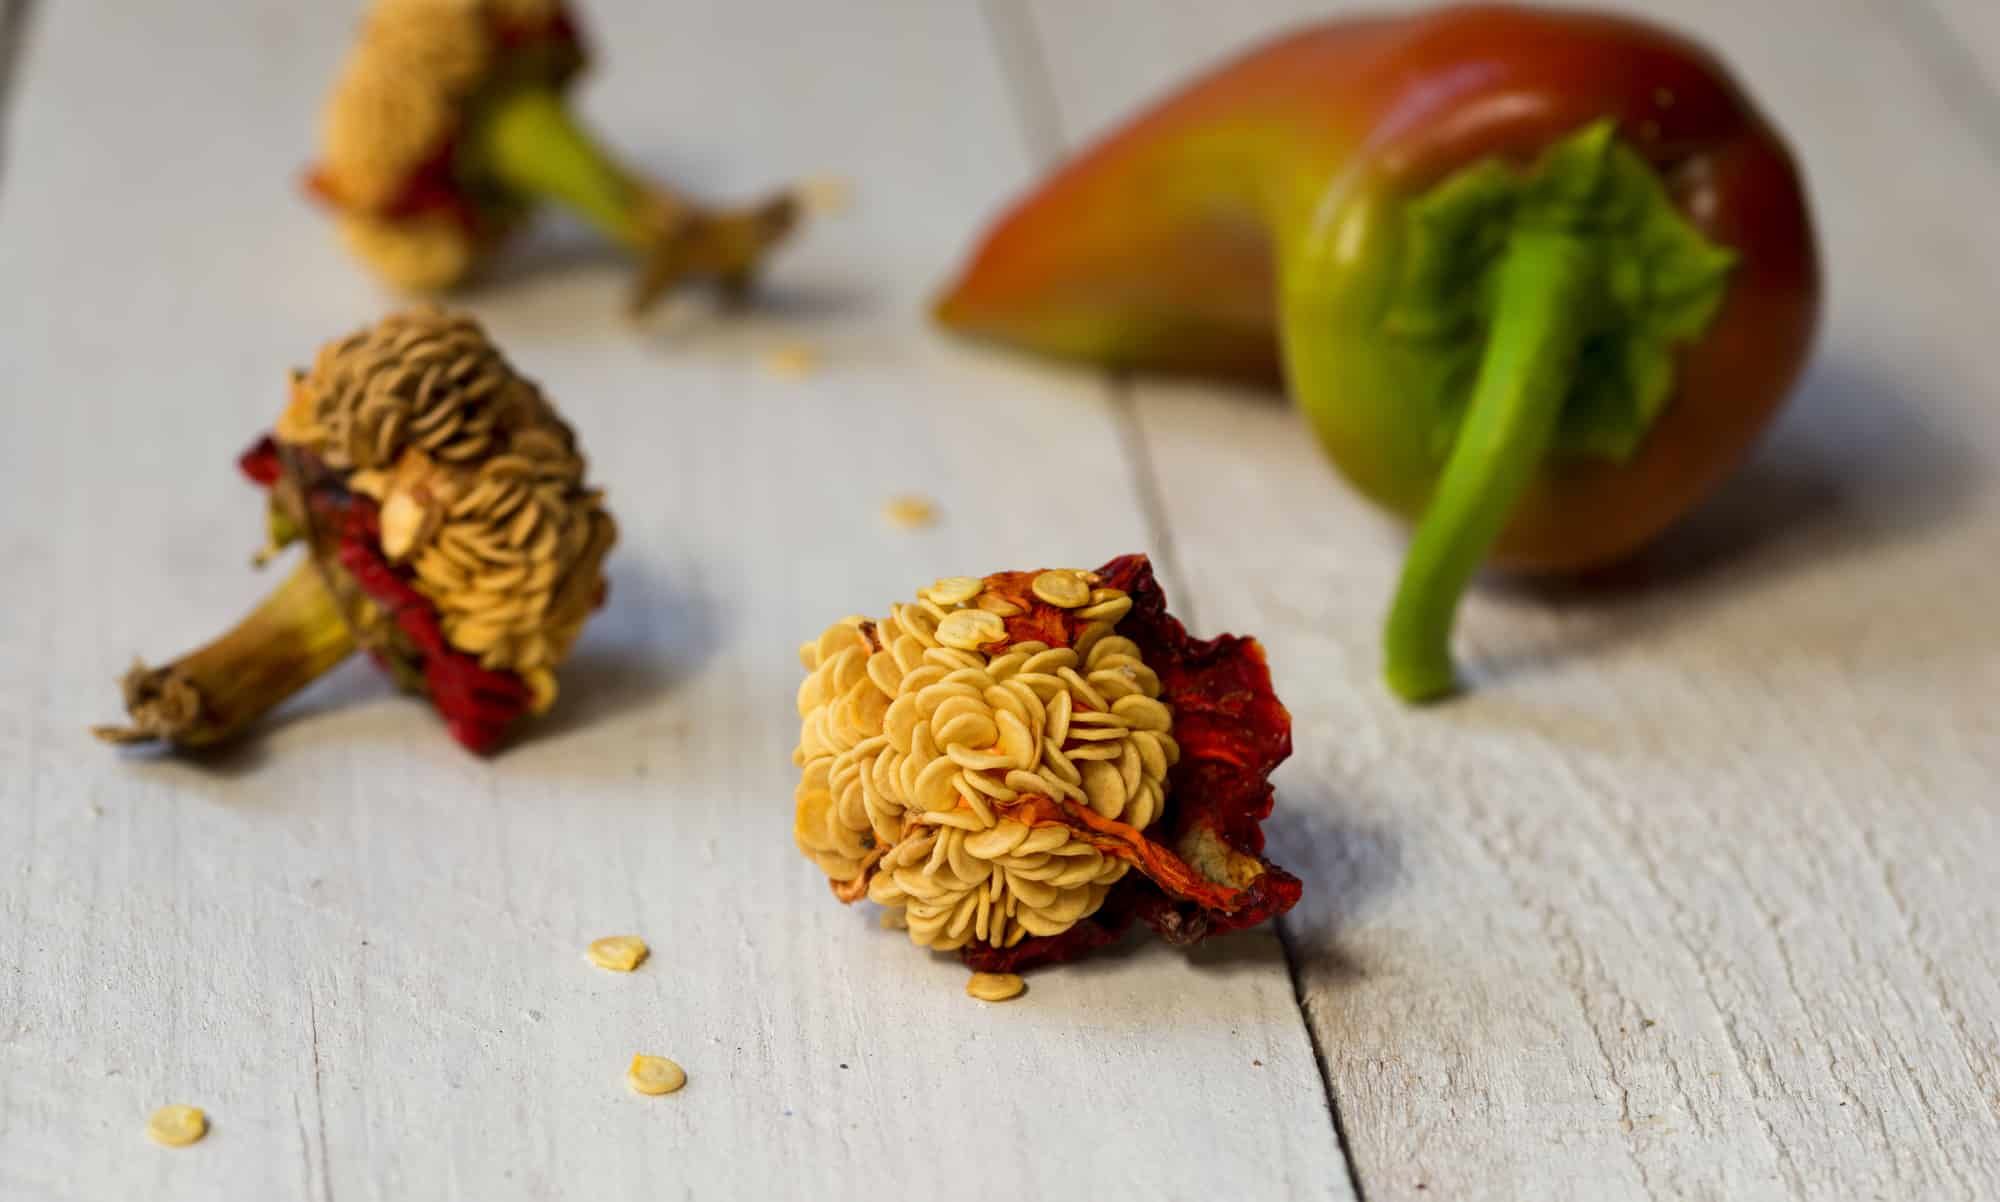
- Harvest the Pea Pods: Harvest the pea pods when they have fully matured on the vine. This is typically when the pods have turned light brown or tan in color and are dry to the touch.
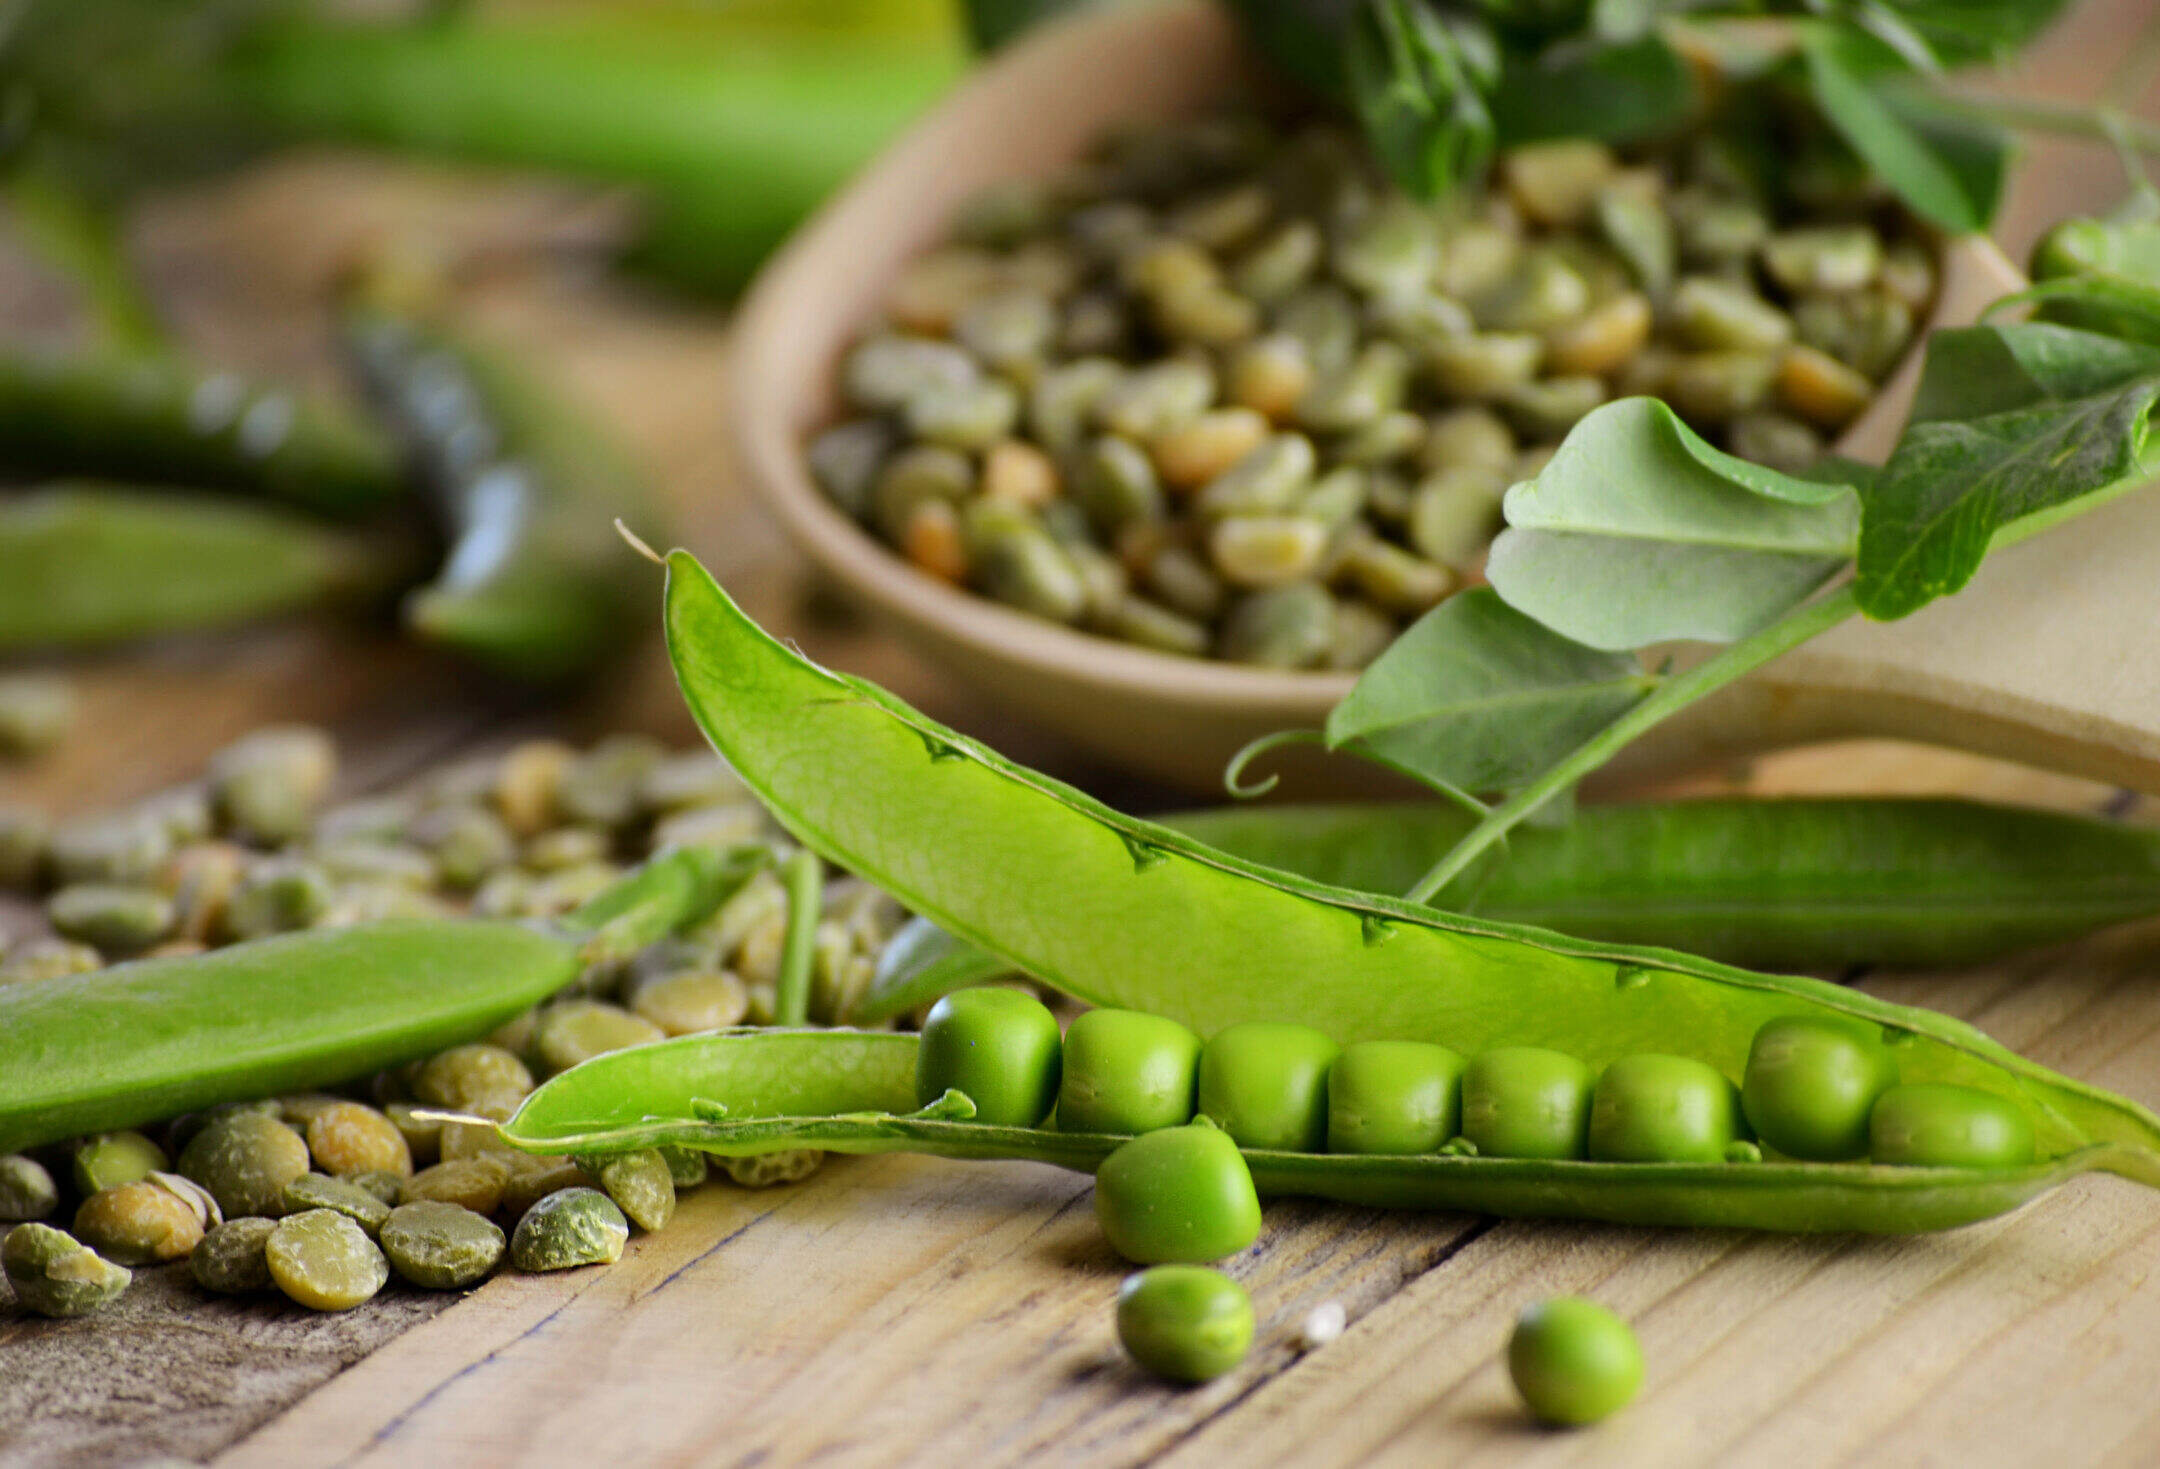
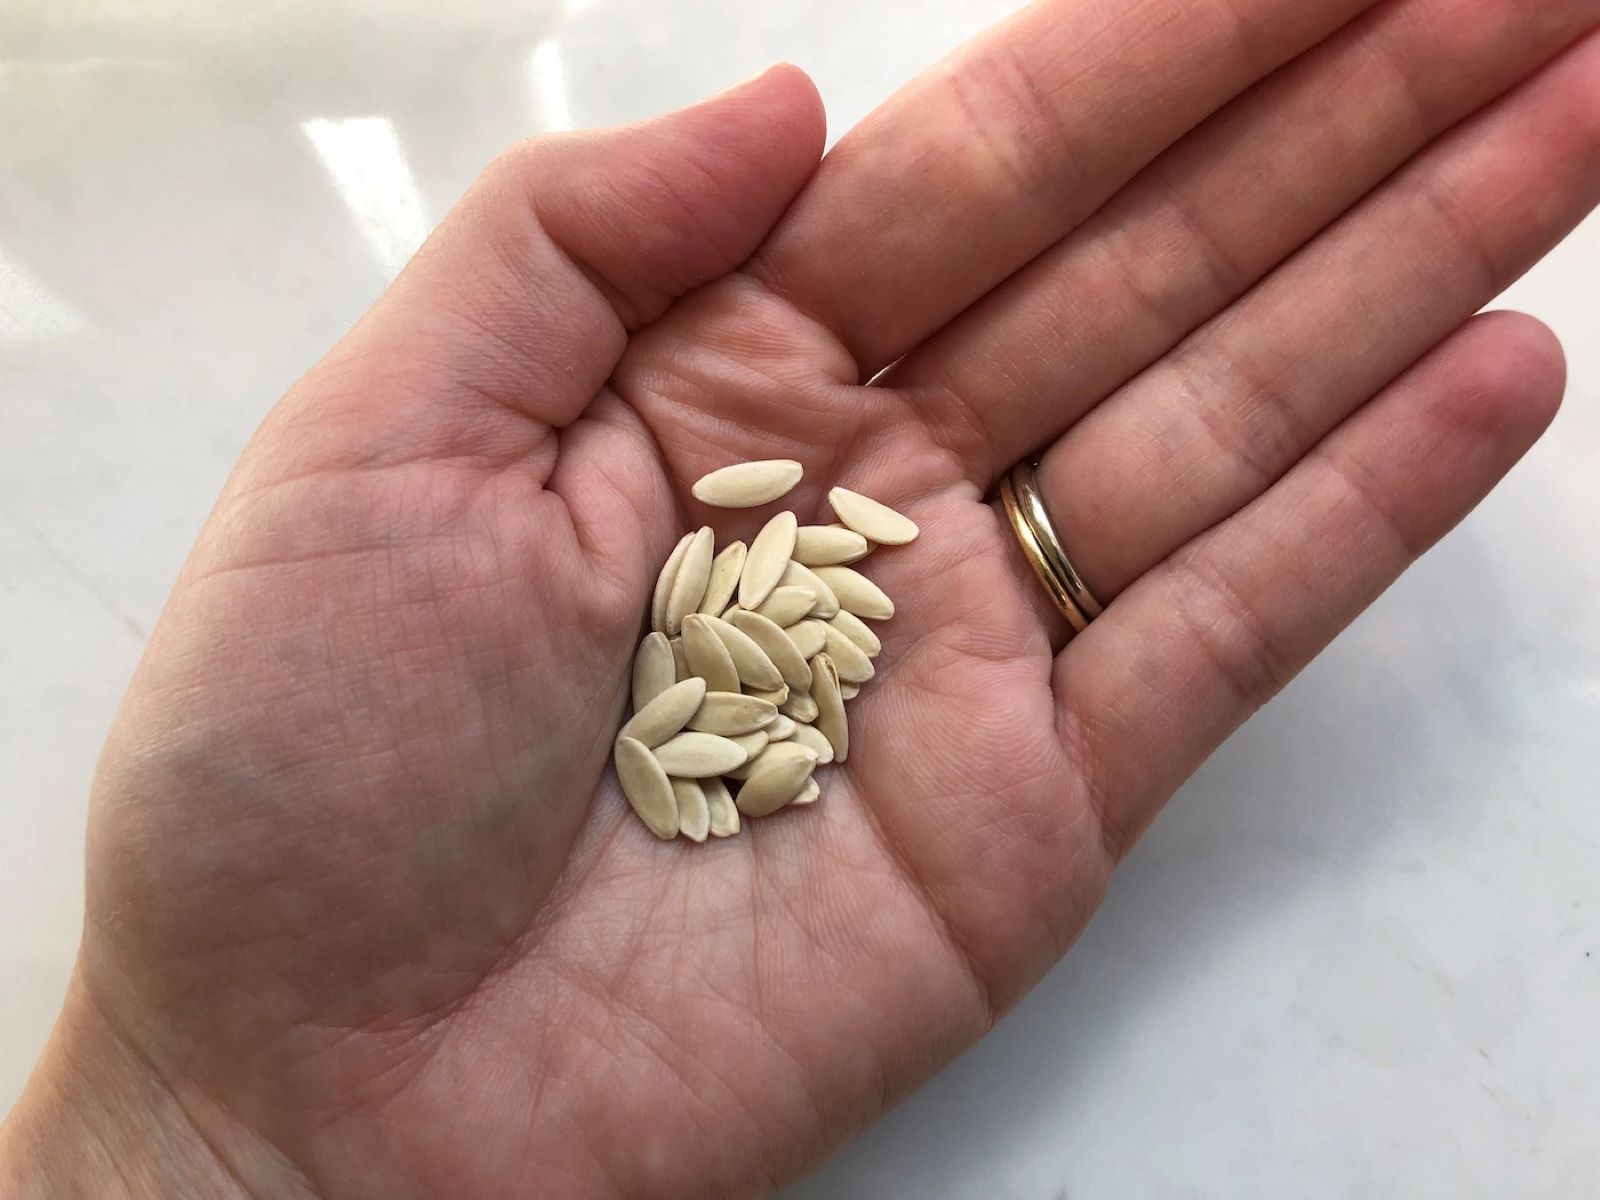
- Remove the Peas from the Pods: Carefully remove the peas from the pods. You can do this by cracking open the pods and using your fingers to separate the peas. Discard any peas that appear damaged or discolored.
- Separate the Good Seeds: Place the peas in a bowl of water. Vigorously stir the water to help separate the good seeds from any remaining pulp or debris. The good seeds will sink to the bottom, while the pulp and debris will float to the top. Carefully pour off the water and floating debris, being careful not to lose any good seeds.
- Dry the Seeds: Spread the cleaned pea seeds in a single layer on a clean and dry surface, such as a tray or a screen. Allow the seeds to air dry for about a week or until they are completely dry and no longer feel moist to the touch.
It is important to ensure that the pea seeds are thoroughly dry before proceeding to the next step. Moisture can lead to mold or fungal growth, which can affect the viability of the seeds. Properly dried seeds will have a hard and firm texture.
By following these simple steps, you are preparing your peas for optimal drying and increasing the chances of successful seed saving. Now that your peas are ready, let’s explore different drying methods that you can use.
Drying Methods for Peas
There are several methods you can use to dry peas for seed preservation. Each method has its advantages and considerations. Let’s explore three popular drying methods: oven drying, air drying, and dehydrator drying.
Oven Drying
Oven drying is a fast and efficient method for drying peas. Here’s how you can dry peas in the oven:
- Preheat your oven to the lowest temperature setting, typically around 150°F (65°C).
- Spread the prepared pea seeds in a single layer on a baking sheet.
- Place the baking sheet in the preheated oven and leave the oven slightly ajar to allow moisture to escape.
- Rotate the peas every hour to ensure even drying.
- Continue drying until the peas are completely dry and no longer feel moist. This process typically takes 6-12 hours.
- Once dry, remove the peas from the oven and allow them to cool before storing.
Remember to keep a close eye on the peas during the drying process to prevent burning.
Read more: How To Grow Snap Peas From Seed
Air Drying
Air drying is a traditional and straightforward method for drying peas. Here’s how you can air dry your pea seeds:
- Ensure the pea seeds are thoroughly dried and free from moisture.
- Securely tie the pea pods or bunches together using twine or string, with around 6-8 pea pods per bunch.
- Hang the bunches upside down in a dry and well-ventilated area, away from direct sunlight.
- Allow the peas to air dry for several weeks or until the pods are papery and the seeds are fully dry.
- Once dry, carefully remove the peas from the pods and store them in a cool, dry place.
Dehydrator Drying
If you have a dehydrator, it can be a convenient option for drying peas. Follow these steps to dry peas in a dehydrator:
- Spread the prepared pea seeds in a single layer on the dehydrator trays.
- Set the dehydrator to a low temperature, around 95°F (35°C).
- Allow the peas to dehydrate for several hours, checking regularly for dryness.
- Once the peas are fully dry and crunchy, remove them from the dehydrator and let them cool before storing.
Keep in mind that drying times may vary depending on the dehydrator model and the moisture content of the peas.
Choose the drying method that suits your preferences and equipment availability. Regardless of the method you choose, proper drying is crucial for preserving the viability of the pea seeds. In the next sections, we will discuss how to store the dried pea seeds for future use.
Oven Drying
Oven drying is a popular method for drying peas because it offers a quick and efficient way to remove moisture from the seeds. Here’s a step-by-step guide on how to oven dry your peas for seed preservation:
- Preheat your oven to the lowest temperature setting, usually around 150°F (65°C). It’s important not to use a higher temperature as it may cause the peas to cook instead of drying them.
- Spread the prepared pea seeds in a single layer on a baking sheet. Be sure to leave some space between the seeds to promote even airflow and drying.
- Place the baking sheet in the preheated oven and leave the oven door slightly ajar. This allows moisture to escape and helps maintain the ideal drying conditions.
- Rotate the peas every hour to ensure even drying. This step is crucial as it prevents any side of the peas from becoming overly dry or burnt.
- Continue drying until the peas are completely dry and no longer feel moist to the touch. The drying process typically takes anywhere from 6 to 12 hours, depending on the moisture content and size of the peas.
- Once the peas are fully dried, remove them from the oven and allow them to cool completely before storing.
It’s important to monitor the peas closely during the drying process to avoid over-drying or charring. If you notice any signs of discoloration or a burnt smell, reduce the oven temperature or adjust the drying time accordingly.
Once the peas are dry and cooled, they are ready for long-term storage. Keep in mind that proper storage is essential to maintain the viability of the seeds. We will discuss the storage options for dried pea seeds in the next section.
Oven drying provides a convenient way to dry peas for seed preservation. It ensures the removal of moisture and allows the peas to maintain their quality for future planting. If you’re looking for an efficient and accessible method to dry your pea seeds, oven drying is a great option to consider.
Air Drying
Air drying is a traditional and straightforward method for drying peas. It is a simple process that requires minimal equipment and relies on natural airflow to remove moisture from the seeds. Here’s a step-by-step guide on how to air dry your peas for seed preservation:
- Ensure that the pea seeds are thoroughly dried and free from any excess moisture. This step is crucial as any remaining moisture can lead to mold or fungal growth.
- Gather the pea pods and securely tie them together in bunches using twine or string. Aim to group 6 to 8 pea pods per bunch.
- Hang the bunches upside down in a dry and well-ventilated area, away from direct sunlight. The ideal location for air drying peas is a cool and dark space, such as a garage or a well-ventilated room.
- Allow the pea pods to air dry for several weeks. It’s important to check the progress regularly to ensure that the peas are drying properly.
- Once the pods are papery and the seeds are fully dry, carefully remove the peas from the pods. Gently crack open the pods and separate the seeds by hand.
- Store the dried pea seeds in a cool, dry place in airtight containers or seed envelopes. Be sure to label the containers with the variety and date for easy identification in the future.
During the air drying process, it’s essential to maintain proper air circulation to prevent the development of mold or mildew. If you notice any signs of moisture or mold on the pea pods or seeds, discard them to avoid compromising the quality of the remaining seeds.
Air drying is a simple and cost-effective method for drying peas. It allows the seeds to naturally reach their desired moisture level, ensuring their viability for future planting. By following these steps, you can successfully air dry your peas and store the seeds for the next growing season.
Read more: When To Plant Sweet Peas Seeds
Dehydrator Drying
If you have a dehydrator, it can be a convenient and efficient option for drying peas. Dehydrators provide controlled airflow and temperature, allowing for thorough and consistent drying. Here’s a step-by-step guide on how to use a dehydrator to dry your peas for seed preservation:
- Ensure that the pea seeds are thoroughly dried and free from any excess moisture. Properly dried seeds are essential for successful dehydration.
- Spread the prepared pea seeds in a single layer on the dehydrator trays. Make sure not to overcrowd the seeds, as it can hinder airflow and drying.
- Set the dehydrator to a low temperature, typically around 95°F (35°C). Follow the manufacturer’s instructions for your specific dehydrator model.
- Allow the peas to dehydrate for several hours, checking regularly for dryness. The drying time can vary depending on the moisture content of the peas and the efficiency of your dehydrator.
- Once the peas are fully dry and crunchy, remove them from the dehydrator trays. Let them cool completely before storing.
It’s important to note that the drying time may vary, so it’s essential to monitor the peas closely. Some dehydrators have adjustable temperature settings, so you can experiment with different temperatures to find the optimal drying level for your peas.
When it comes to storing the dried pea seeds, transfer them to airtight containers or seed envelopes. Label the containers with the variety and date for future reference. Store the seeds in a cool, dry place away from sunlight to maintain their viability and quality.
Drying peas in a dehydrator offers a convenient and controlled method for preserving their seeds. It ensures consistent drying and allows for easy storage. If you have a dehydrator on hand, take advantage of this efficient drying method for your peas.
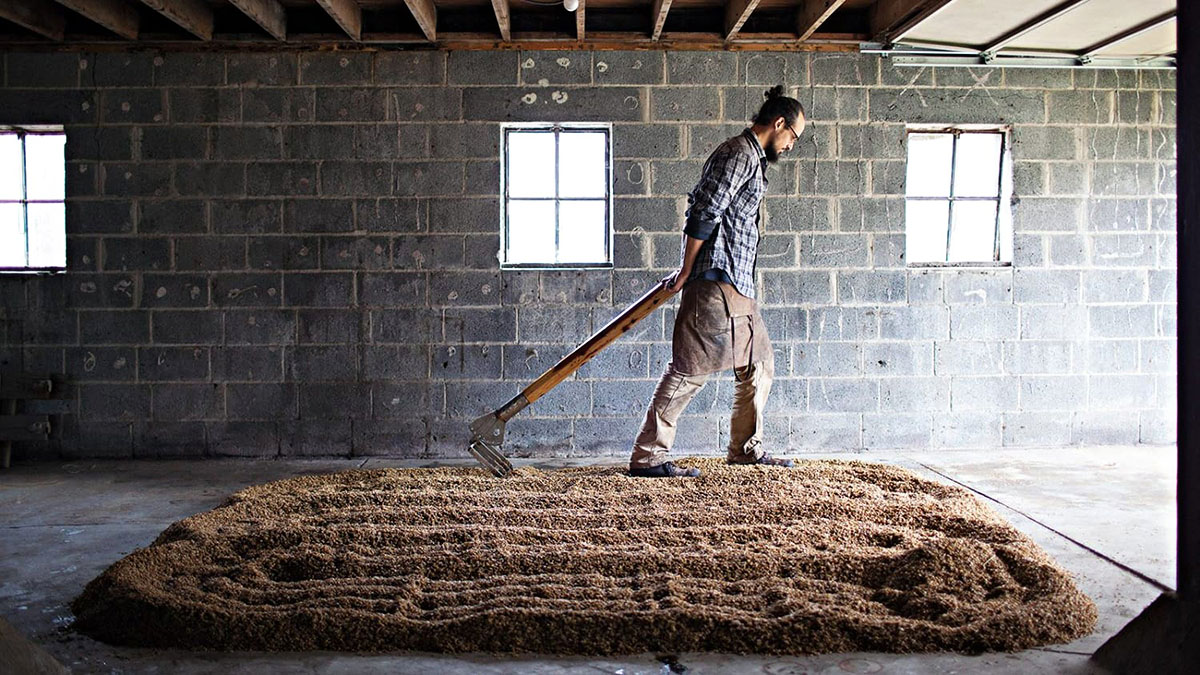
After harvesting, spread the peas in a single layer on a screen or tray in a warm, well-ventilated area. Stir them occasionally to ensure even drying. Once fully dry, store in a cool, dry place for future planting.
Storing Dried Pea Seeds
Proper storage is crucial to maintain the viability and quality of dried pea seeds. When stored correctly, pea seeds can remain viable for several years, allowing you to use them for future planting. Follow these guidelines to ensure optimal storage for your dried pea seeds:
- Ensure that the dried pea seeds are completely cool before storing them. Moisture and warmth can decrease the viability of the seeds, so it’s essential to prevent any residual heat from causing condensation inside the storage container.
- Transfer the dried pea seeds to airtight containers, such as glass jars or seed envelopes. Label the containers with important information, including the pea variety and the date of seed collection. Proper labeling will help you keep track of the seeds and their age.
- Store the dried pea seeds in a cool, dark, and dry place. A temperature range of 32-41°F (0-5°C) is ideal for long-term seed storage. Avoid storing the seeds in areas that are prone to temperature fluctuations, high humidity, or exposure to sunlight.
- Consider using moisture-absorbing packets or desiccant packs in the storage containers to help maintain low humidity levels and prevent moisture buildup.
- Regularly check on your stored pea seeds to ensure that no moisture or signs of mold are present. If you notice any issues, remove and discard the affected seeds to prevent the spread of fungal diseases.
- If you plan to store the seeds for an extended period, periodically check their viability by performing a germination test. This test will help you determine if the seeds are still viable and if their germination rates meet your expectations.
By following these storage guidelines, you can maximize the shelf life of your dried pea seeds and ensure their viability for future plantings. Remember to properly label and organize your seed storage area, making it easy to locate and access the seeds when needed.
With the proper storage conditions, you can enjoy successful germination and healthy pea plants year after year, allowing you to continue growing your favorite pea varieties.
Tips for Successful Pea Seed Drying
Drying pea seeds for seed preservation requires careful attention to detail to ensure optimal results. Here are some helpful tips to ensure successful pea seed drying:
- Harvest at the Right Time: Harvest pea pods for seed drying when they have fully matured and turned light brown or tan in color. Timing is crucial to ensure that the seeds have reached their maximum maturity and are ready for drying.
- Thoroughly Dry the Peas: Before drying, make sure that the pea seeds are completely dry to prevent mold or fungal growth. Spread them in a single layer and allow them to air dry for about a week or until they are no longer moist.
- Avoid Excessive Heat: Be cautious when using heat sources for drying, such as ovens or dehydrators. Using low temperatures and regular monitoring will prevent overheating and ensure that the peas dry evenly without losing their viability.
- Proper Air Circulation: Whether air drying or using a dehydrator, ensuring proper airflow is essential. This helps distribute the heat evenly and promotes consistent drying throughout the seeds.
- Rotate and Stir: Regularly rotate the pea pods or stir the seeds during the drying process to prevent any areas from becoming overly dried or burnt. This will help maintain an even drying rate and prevent uneven moisture content.
- Test for Dryness: To check if the pea seeds are fully dry, perform a simple test. Squeeze a few peas between your fingers – if they feel hard and do not leave any moisture residue, they are ready for storage.
- Store in Moisture-Free Environment: Once the pea seeds are dry, store them in airtight containers or seed envelopes to protect them from moisture. Keep them in a cool, dark, and dry place to maintain their viability.
- Regularly Monitor Storage: Check on your stored seeds periodically to ensure they remain dry and free from mold. If any signs of moisture or deterioration are detected, remove and discard the affected seeds immediately to prevent the spread of issues to other seeds.
- Keep Track of Seed Age: Properly label your seed containers with the variety name and date of collection. This will help you keep track of the age of your seed stock and inform decisions for future planting.
- Perform Germination Tests: For long-term storage, periodically perform germination tests to assess the viability of your pea seeds. This will help determine their germination rates and guide your planting strategies accordingly.
By following these tips, you can ensure successful drying and storage of your pea seeds, preserving their viability and ensuring healthy seedlings for future plantings. With proper care and attention, you can enjoy a bountiful harvest of your favorite pea varieties year after year.
Conclusion
Drying peas for seed preservation is a rewarding endeavor for any avid gardener. By following the proper methods and techniques, you can ensure the longevity and viability of pea seeds for future planting seasons. Whether you choose to oven dry, air dry, or use a dehydrator, each method offers its own benefits and considerations.
Selecting the right pea pods, preparing them properly, and employing the appropriate drying method are crucial steps in the process. Timing is key when it comes to harvesting the pods at their peak maturity. Thoroughly drying the seeds and ensuring proper airflow during the drying process helps to maintain their quality and viability.
Storing the dried pea seeds in a moisture-free environment is essential for preserving their viability. Keep them in a cool, dark, and dry place, taking care to regularly monitor for any signs of moisture or deterioration. Properly labeling the containers with the variety name and date of collection will help you keep track of your seed stock’s age and maintain an organized seed storage area.
With the right knowledge and attention to detail, you can enjoy the satisfaction of growing your own pea plants from saved seeds. Not only does saving and drying pea seeds provide economic benefits, but it also allows you to preserve the desirable characteristics of your favorite pea varieties for generations to come.
Remember to experiment, learn from your experiences, and adapt the methods to suit your specific conditions. With patience and practice, you will become a proficient pea seed dryer and seed saver.
Happy pea seed drying, and may your future pea harvests be abundant and delicious!
Frequently Asked Questions about How To Dry Peas For Seed
Was this page helpful?
At Storables.com, we guarantee accurate and reliable information. Our content, validated by Expert Board Contributors, is crafted following stringent Editorial Policies. We're committed to providing you with well-researched, expert-backed insights for all your informational needs.


0 thoughts on “How To Dry Peas For Seed”