Home>Garden Essentials>How To Grow Snap Peas From Seed
Garden Essentials
How To Grow Snap Peas From Seed
Modified: August 17, 2024
Learn how to grow snap peas from seed in your garden and enjoy delicious homegrown veggies. Step-by-step guide for a bountiful harvest!
(Many of the links in this article redirect to a specific reviewed product. Your purchase of these products through affiliate links helps to generate commission for Storables.com, at no extra cost. Learn more)
Introduction
Gardening is a rewarding and enjoyable hobby that allows you to connect with nature and grow your own food. If you’re looking to add some delicious and nutritious vegetables to your garden, snap peas are an excellent choice. Snap peas, also known as sugar snap peas, are a cool-season vegetable that is easy to grow from seed. Not only are they delicious and crispy, but they also provide a great source of vitamins, minerals, and fiber.
In this article, we will guide you through the process of growing snap peas from seed. We’ll cover everything from preparing the soil to harvesting the delicious pods. Whether you’re a seasoned gardener or just starting out, growing snap peas will bring joy and abundance to your garden.
Before we dive into the steps of growing snap peas, let’s learn a bit more about this amazing vegetable. Snap peas are a variety of edible podded peas that are harvested and consumed before the peas inside fully develop. Unlike shelling peas, which require the pods to be discarded, snap peas can be eaten whole, including the sweet and crunchy pod.
Snap peas are not only tasty but also packed with nutritional benefits. They are a good source of vitamin C, vitamin K, folate, and dietary fiber. These nutrients contribute to a healthy immune system, improved digestion, and overall well-being.
Now that we know why snap peas are a great addition to your garden and diet, let’s get started on how to grow them from seed. The process is simple and straightforward, and with a little bit of care, you’ll be enjoying a bountiful harvest in no time.
Key Takeaways:
- Growing snap peas from seed is a simple and rewarding process. Prepare the soil, choose quality seeds, and provide support and care to enjoy a bountiful harvest of delicious and nutritious snap peas.
- Harvesting snap peas at the right time is crucial for optimal flavor and texture. Enjoy the satisfaction of growing your own fresh produce and savor the sweet, crunchy goodness straight from your garden.
Read more: How Long For Snap Peas To Germinate
Step 1: Prepare the Soil
Before planting snap pea seeds, it’s important to prepare the soil to create a favorable environment for their growth. Snap peas prefer well-drained soil that is rich in organic matter. Follow these steps to ensure your soil is ready for planting:
- Choose the right location: Snap peas thrive in full sun, so select a spot in your garden that receives at least 6-8 hours of direct sunlight per day. Avoid areas with heavy shade or competition from large trees or plants.
- Clear the area: Remove any weeds, rocks, or debris from the planting area. This will help prevent competition for nutrients and give the snap peas a clean space to grow.
- Loosen the soil: Use a garden fork or tiller to loosen the soil to a depth of about 8-10 inches. This improves drainage and allows the roots to penetrate easily.
- Amend the soil: Add compost or well-rotted manure to the soil to enrich its fertility. This will provide essential nutrients to support the growth of the snap peas.
- Test the soil pH: Snap peas prefer slightly acidic soil with a pH between 6.0 and 7.0. Use a soil testing kit to determine the pH level of your soil. If it is below the optimal range, you can add lime to raise the pH, or if it is above the range, you can add sulfur to lower the pH.
- Work the amendments into the soil: Mix the compost or manure thoroughly into the soil, ensuring it is evenly distributed. This will prevent nutrient imbalances and promote healthy root development.
- Rake the soil: Smooth out the soil surface with a rake, removing any large clumps or rocks. This will create a level bed for planting the snap pea seeds.
By preparing the soil properly, you provide the snap peas with the best possible growing environment. The enriched soil will provide the necessary nutrients for the plants to thrive, leading to a successful harvest.
Step 2: Selecting Snap Pea Seeds
Choosing the right snap pea seeds is a crucial step in your gardening journey. Here are some factors to consider when selecting snap pea seeds:
- Variety: Snap peas come in different varieties, each with its own characteristics. Consider the size, color, and flavor you prefer. Some popular snap pea varieties include Sugar Ann, Sugar Lace, and Cascadia.
- Seed quality: It’s important to choose high-quality, fresh snap pea seeds to ensure good germination rates. Look for seeds that are free from damage, mold, or discoloration.
- Open-pollinated or hybrid: Decide if you want open-pollinated or hybrid snap pea seeds. Open-pollinated seeds are pollinated naturally, allowing you to save seeds for future plantings. Hybrid seeds, on the other hand, result from cross-breeding two different varieties to produce desirable traits.
- Seed packet information: Read the information on the seed packet carefully. It typically includes details about planting depth, spacing, and days to maturity. This information will help you plan your gardening schedule and space your plants appropriately.
- Organic or non-organic: Consider whether you prefer organic or non-organic snap pea seeds. Organic seeds are produced without the use of synthetic fertilizers or pesticides and are certified by an organic authority.
You can find snap pea seeds at your local garden center or order them online from reputable seed suppliers. Make sure to choose seeds that are suitable for your climate and growing conditions to maximize your chances of success.
Remember, selecting the right snap pea seeds is just the first step. The quality of the seeds will greatly influence the growth and productivity of your snap pea plants. So, take your time, do your research, and choose the best snap pea seeds for your garden.
Step 3: Planting Snap Pea Seeds
Now that you have prepared the soil and selected the perfect snap pea seeds, it’s time to get your hands dirty and plant them. Follow these steps to ensure successful planting:
- Timing: Snap peas are cool-season crops that prefer cooler temperatures for germination and growth. Plant them in early spring, once the soil temperature reaches about 45-65°F (7-18°C). You can also plant them in the fall for a second harvest.
- Spacing: Space your snap pea plants properly to provide them with ample room to grow and access to sunlight. Plant the seeds in rows, with each row spaced 18-24 inches apart. Space the seeds within the row about 1-2 inches apart.
- Planting depth: Plant snap pea seeds about 1 inch deep into the soil. This will ensure that they are adequately covered, but not buried too deeply.
- Watering: After planting, give the soil a thorough watering to provide moisture for germination. Be careful not to overwater, as soggy soil can lead to seed rot.
- Mulching: Consider applying a layer of organic mulch around the base of the snap pea plants. This helps conserve moisture, suppress weeds, and regulate soil temperature.
Ensure the planted area is well-marked or use plant markers to identify the rows. This will help you keep track of the seeds and provide support if necessary.
As the snap pea plants grow, it’s important to monitor their progress and provide them with proper care and maintenance. Check the soil regularly to ensure it remains moist but not waterlogged. Water deeply when necessary, especially during dry periods.
Additionally, keep an eye out for any signs of pests or diseases. Early intervention can help prevent any damage to your snap pea plants and ensure a healthy harvest.
By following these planting guidelines, you’ll give your snap pea seeds the best chance to germinate, grow, and produce an abundance of delicious pods. Patience and care will soon be rewarded as you see your snap pea seedlings emerge from the soil.
Step 4: Watering and Maintaining Snap Peas
Proper watering and maintenance are essential for the healthy growth and productivity of your snap pea plants. Follow these guidelines to ensure your plants thrive:
- Watering: Snap peas require consistent moisture to support their growth. Water deeply, providing about 1 inch of water per week, especially during dry periods. Aim to keep the soil evenly moist, but avoid overwatering, as it can lead to root rot and other fungal diseases.
- Mulching: Apply a layer of organic mulch around the base of the snap pea plants to help retain moisture and suppress weed growth. This will also regulate the soil temperature and prevent fluctuations that can stress the plants.
- Fertilization: Snap peas are light feeders and generally do not require heavy fertilization. However, you can apply a balanced organic fertilizer once or twice during the growing season to provide additional nutrients. Follow the package instructions for application rates.
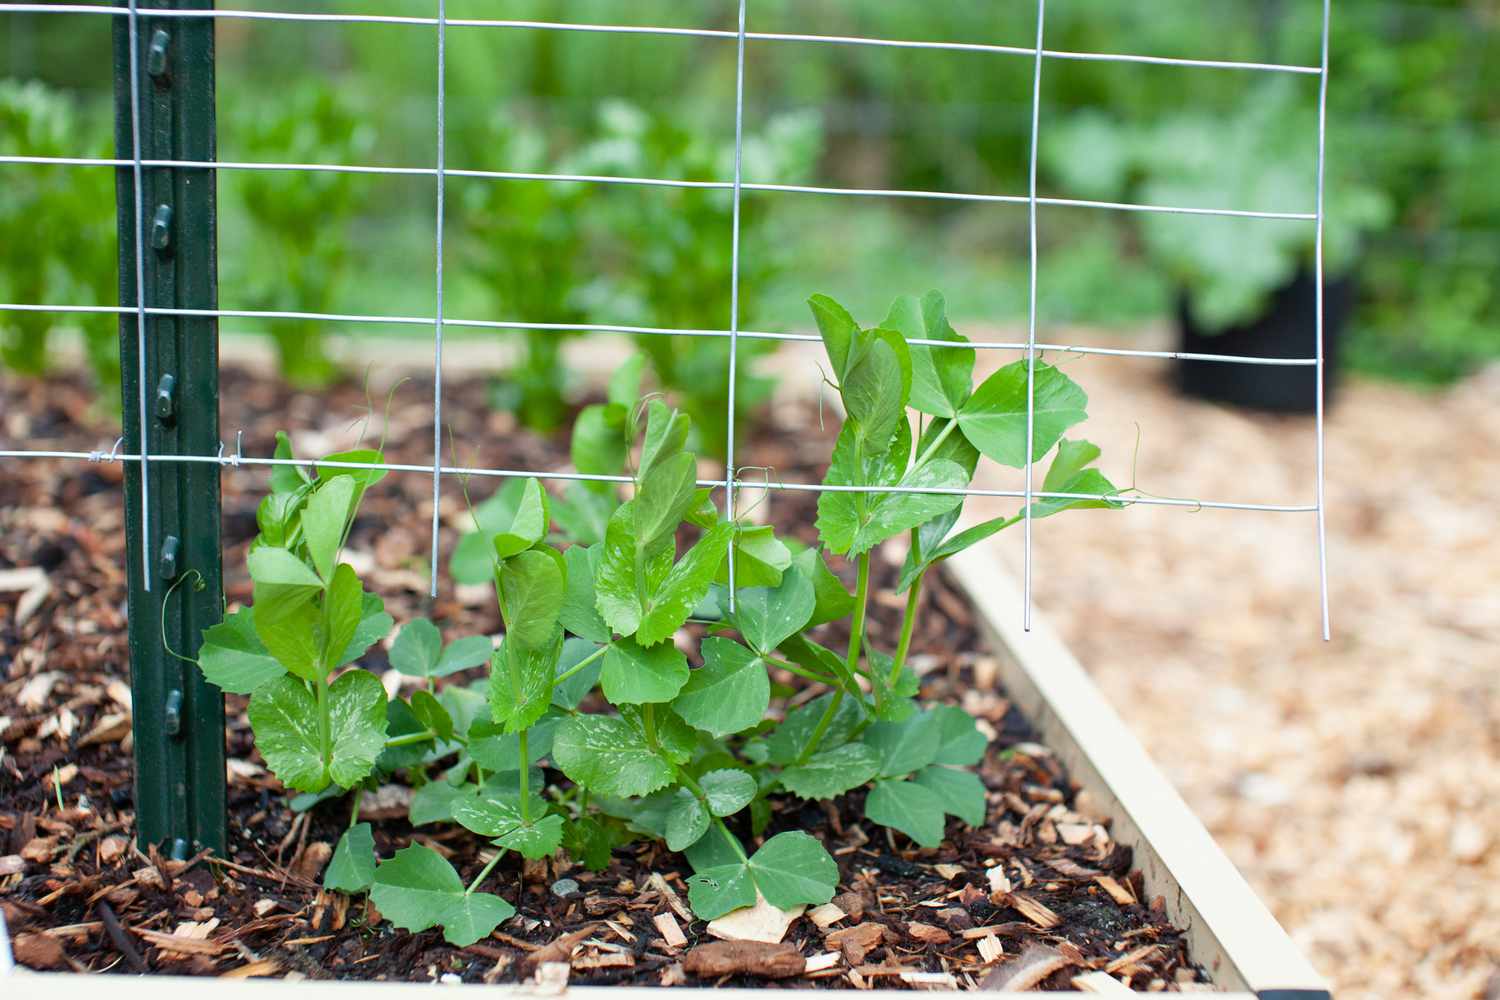
- Support: Snap pea vines are climbers and require support to grow vertically. Install a trellis, fence, or stakes for the plants to climb on. This will keep the plants upright, improve air circulation, and make harvesting easier.
- Weeding: Regularly remove weeds from the snap pea beds to reduce competition for nutrients and water. Be careful not to disturb the shallow root system of the snap peas while weeding.
- Pruning: Snap peas generally do not require extensive pruning. However, you can pinch off any yellow or diseased leaves to promote better air circulation and prevent the spread of diseases.
- Pest and disease control: Monitor your snap pea plants for any signs of pests, such as aphids or powdery mildew. If infestations occur, employ organic pest control methods, such as handpicking, spraying with insecticidal soap, or introducing beneficial insects.
- Harvesting: Regularly harvest the snap peas once the pods are plump and crisp. This encourages more pod production and prevents the pods from becoming tough and stringy.
By providing adequate water, support, and care, you’ll ensure that your snap pea plants thrive and produce a bountiful harvest. Regular maintenance and observation will also allow you to address any issues promptly and keep your plants healthy throughout the growing season.
Plant snap pea seeds in well-draining soil, 1 inch deep and 2 inches apart. Water regularly and provide support for the vines to climb. Harvest when pods are plump.
Read more: How To Store Snap Peas In Fridge
Step 5: Providing Support for Snap Peas
Supporting your snap pea plants is essential for their vertical growth, proper air circulation, and ease of harvesting. Here are some methods to provide support for your snap peas:
- Trellis: One common method is to install a trellis for the snap pea plants to climb. A trellis can be made from bamboo poles, stakes, or wire mesh. Ensure the trellis is securely anchored into the ground to withstand the weight of the climbing plants.
- Fencing: If you have a garden fence, you can train the snap pea vines to grow along the fence. Use garden ties or twine to gently secure the vines to the fence, giving them support as they grow.
- Cages: Another option is using wire cages or tomato cages to support the snap pea plants. Place the cages around the plants and gently guide the vines to grow through the openings. This will help keep the plants upright and prevent them from sprawling.
- Natural supports: If you prefer a more natural look, you can use branches, bamboo canes, or other sturdy materials as supports for the snap pea plants. Sink the supports into the ground near the plants and train the vines to climb up them.
Regardless of the support method you choose, it’s important to start providing support early in the plants’ growth. This will prevent the vines from sprawling on the ground, reducing the risk of disease and making harvesting difficult.
Gently train the snap pea vines onto the support structure, using soft ties or twine. Avoid applying too much pressure or pulling on the vines, as this can damage them. As the plants grow, continue to guide the vines, wrapping them around the support to encourage upward growth.
Proper support for your snap pea plants not only improves their overall health and yield but also creates an organized and visually appealing garden space. With a bit of effort in providing support, you’ll enjoy the sight of your snap pea vines climbing and producing an abundance of delicious pods.
Step 6: Protecting Snap Peas from Pests
Protecting your snap peas from pests is crucial to ensure a successful harvest. Here are some methods to keep common pests at bay:
- Aphids: These small insects can cluster on the new growth of snap pea plants, sucking sap and causing damage. To control aphids, you can spray the plants with a mixture of water and insecticidal soap or use a strong stream of water to physically dislodge them from the plants.
- Slugs and snails: These slimy pests can munch on the leaves and young shoots of snap pea plants. Create barriers around your plants using copper tape or diatomaceous earth to deter them. You can also handpick these pests and dispose of them in a bucket of soapy water.
- Squirrels and birds: These critters are notorious for stealing the ripening pods of snap peas. To protect your plants from squirrels, you can use deterrents like motion-activated sprinklers or place netting over the plants to keep birds away.
- Powdery mildew: This fungal disease can affect the foliage of snap pea plants, causing a whitish, powdery coating. To prevent powdery mildew, ensure proper air circulation by spacing your plants adequately and avoid overhead watering. If the disease appears, you can use organic fungicides or make a homemade solution of baking soda and water to spray on the affected areas.
- Root nematodes: These microscopic worms can damage the roots of snap pea plants, leading to stunted growth and poor yields. Rotating crops annually and planting marigolds or other nematode-resistant plants in the area can help reduce nematode populations.
Regularly inspect your snap pea plants for signs of pests or diseases. Early detection and prompt action can prevent infestations and limit damage to your plants. It’s also beneficial to maintain a clean garden by removing any fallen debris or diseased plant material that may harbor pests or pathogens.
By implementing these pest control measures, you’ll ensure healthy and thriving snap pea plants. Your efforts will be rewarded with a pest-free harvest of delicious and nutritious snap peas.
Step 7: Harvesting Snap Peas
The moment you’ve been waiting for has arrived – it’s time to harvest your snap peas! Harvesting snap peas at the right time will ensure optimal flavor and texture. Here’s what you need to know:
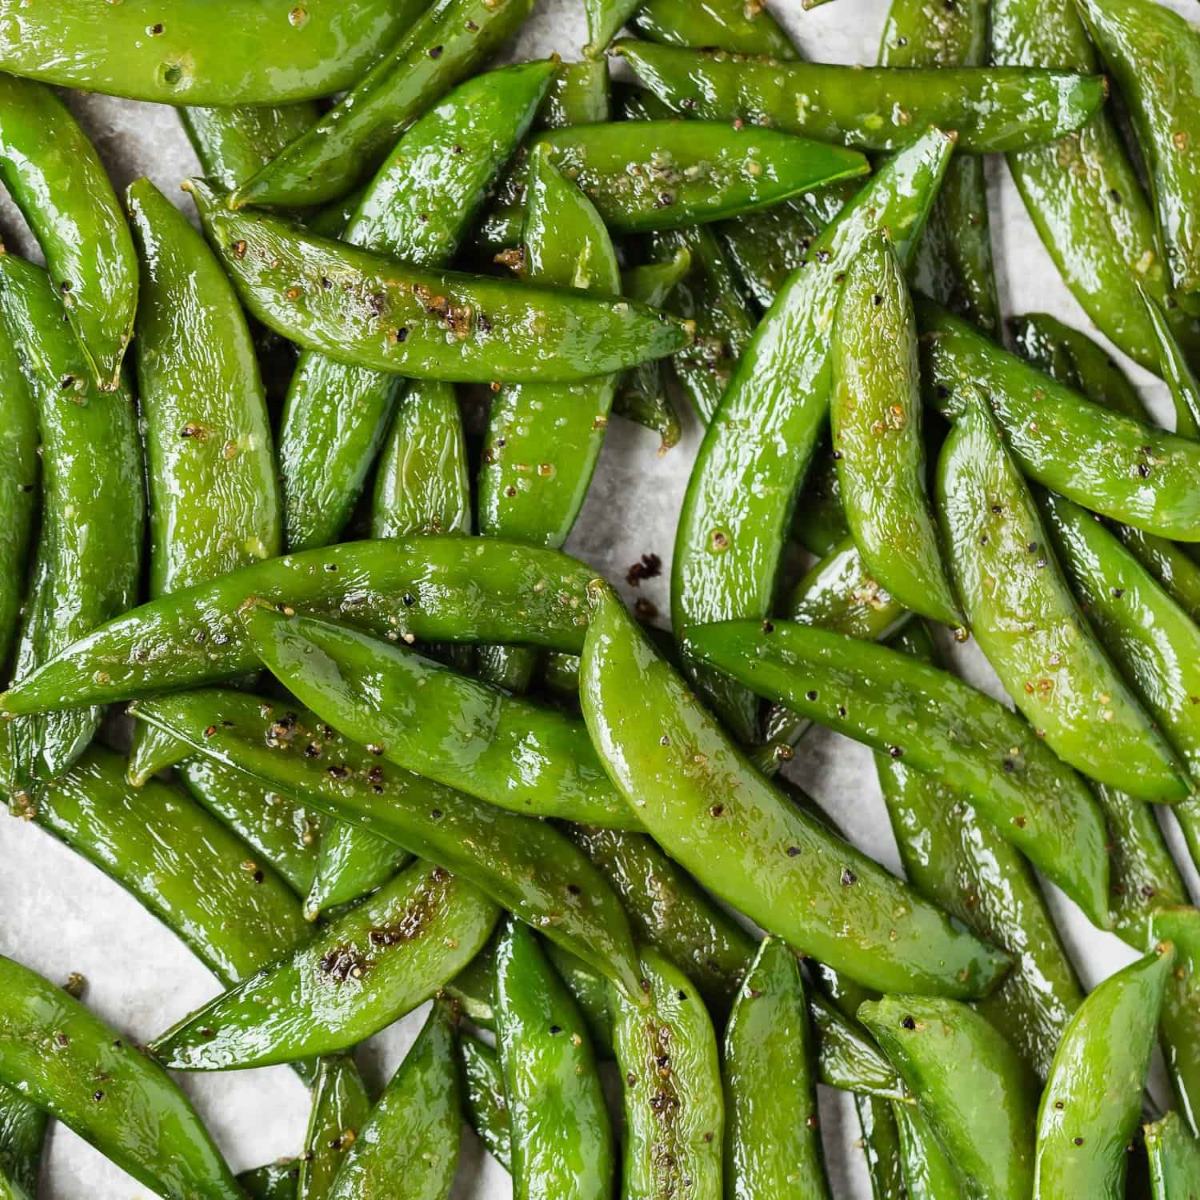
- Timing: Snap peas are ready to be harvested when the pods are plump, firm, and bright green in color. The ideal harvesting time is when the peas inside the pods have reached their full size, but before the pods become tough and fibrous.
- Frequency: Regularly harvest snap peas to encourage continuous pod production. Pick the pods every few days, as they reach maturity. Leaving ripe pods on the plants for too long can signal the plant to stop producing new pods.
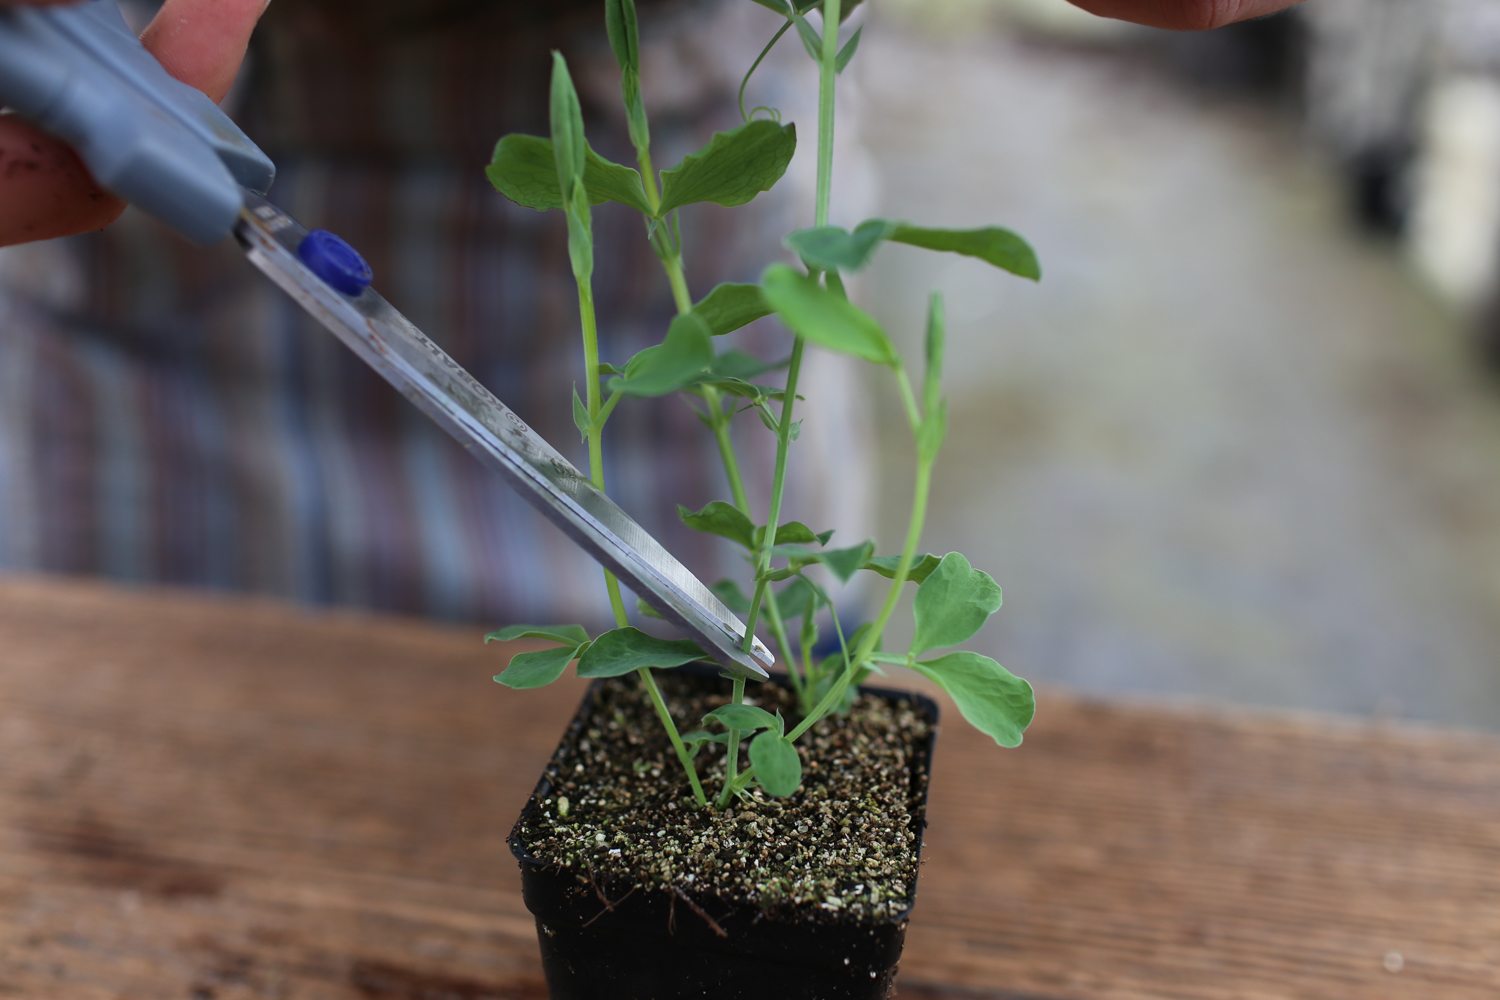
- Harvesting technique: Grasp the snap pea pod firmly and use your other hand to gently pull the pod off the vine. Alternatively, you can use a pair of garden scissors or shears to cut the stem just above the pod. Avoid damaging the plant or neighboring pods during the harvest.
- Post-harvest care: After harvesting, handle the snap pea pods carefully to avoid bruising or crushing them. Place the freshly harvested pods in a breathable container, such as a perforated plastic bag or a vegetable storage container, and store them in the refrigerator to maintain their freshness and crispness.
Remember that snap peas are best enjoyed soon after harvesting when their flavor and crunch are at their peak. They can be enjoyed raw as a tasty snack or added to salads, stir-fries, pasta dishes, or steamed alongside other vegetables.
Continue to monitor your snap pea plants for any remaining pods as the season progresses. Once the plants have given their all and stop producing new pods, you can remove the plants and compost them to enrich your garden for the next growing season.
Harvesting your own homegrown snap peas is a satisfying experience that rewards you with the freshest and most flavorful produce. Enjoy the fruits of your labor and savor the taste of delicious snap peas straight from your garden.
Conclusion
Congratulations! You have successfully learned how to grow snap peas from seed. By following the steps outlined in this guide, you have gained the knowledge and skills to cultivate your own abundant supply of crisp and nutritious snap peas.
From preparing the soil to selecting the right seeds, planting, providing support, and protecting your plants from pests, each step is vital to the success of your snap pea garden. By paying attention to watering, fertilizing, and maintaining your plants, you have provided them with optimal growing conditions.
As you watch your snap pea plants climb and flourish, soon you’ll be rewarded with a bountiful harvest. The delight of carefully plucking those vibrant green pods and savoring the sweet, crunchy goodness will make all your efforts worthwhile.
Remember to enjoy snap peas in various culinary creations – they can be a delightful addition to salads, stir-fries, and more. Don’t forget to save some for snacking straight from the garden – there’s something truly satisfying about eating fresh produce that you’ve nurtured from seed to plate.
So, put your green thumb to work and make snap peas a staple in your garden. Not only will you enjoy their delicious taste and nutritional benefits, but you’ll also experience the joy and fulfillment that comes with growing your own food.
Happy gardening and bon appétit!
Frequently Asked Questions about How To Grow Snap Peas From Seed
Was this page helpful?
At Storables.com, we guarantee accurate and reliable information. Our content, validated by Expert Board Contributors, is crafted following stringent Editorial Policies. We're committed to providing you with well-researched, expert-backed insights for all your informational needs.


0 thoughts on “How To Grow Snap Peas From Seed”