Home>Garden Essentials>How To Germinate A Chinquapin Nut
Garden Essentials
How To Germinate A Chinquapin Nut
Modified: March 16, 2024
Learn the best techniques for germinating a Chinquapin nut in your garden. Discover step-by-step instructions and expert tips to ensure successful growth.
(Many of the links in this article redirect to a specific reviewed product. Your purchase of these products through affiliate links helps to generate commission for Storables.com, at no extra cost. Learn more)
Introduction
Welcome to the world of gardening! If you have a passion for growing your own plants and exploring the wonders of nature, then you’re in for a treat. In this article, we’ll be diving into the fascinating process of germinating a Chinquapin nut.
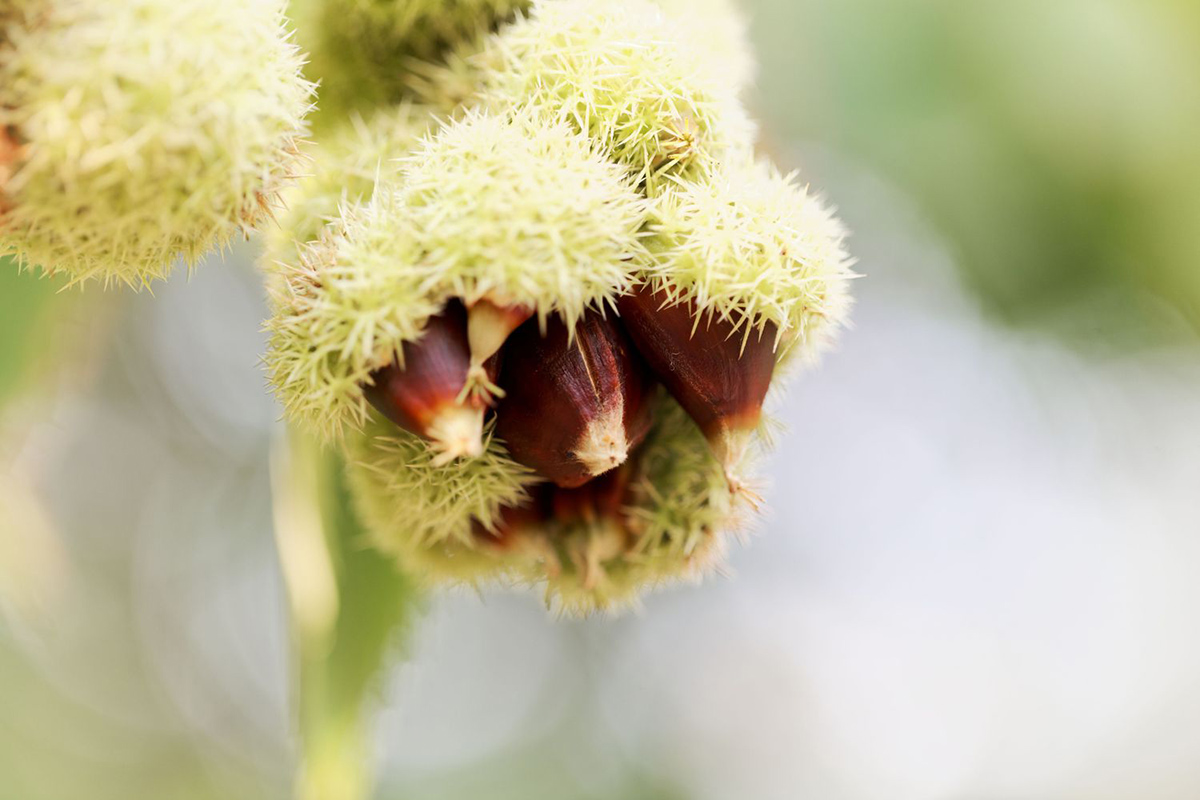
The Chinquapin nut, also known as the Golden Chinquapin, is a delightful tree nut that belongs to the Castanea genus. It is native to North America and is loved for its delicious flavor and nutritional value. By germinating Chinquapin nuts, you can grow your own tree and enjoy the beauty and bounty it brings.
Germination is the process by which a seed sprouts and develops into a young plant. It involves providing the right conditions of moisture, warmth, and oxygen to encourage the seed to awaken and sprout its first roots and leaves. Germinating Chinquapin nuts is an exciting and rewarding experience that allows you to witness the miracle of life unfolding.
In this guide, we will walk you through the step-by-step process of germinating Chinquapin nuts and share tips on how to provide proper care for the seedlings. So, let’s get started on this exciting journey of plant growth and discovery!
Key Takeaways:
- Select a healthy Chinquapin nut for germination by choosing a plump, firm nut with a smooth shell. Prepare the nut by gently cleaning, scarifying, and soaking it to create optimal conditions for successful germination.
- After germination, provide proper care for the Chinquapin seedling by maintaining consistent moisture, temperature, and light. Transplant the seedling into a suitable container or outdoor location and continue to nurture it with regular watering, fertilization, and protection against pests and diseases.
Read more: How To Germinate Hickory Nuts
Step 1: Selecting a Chinquapin Nut
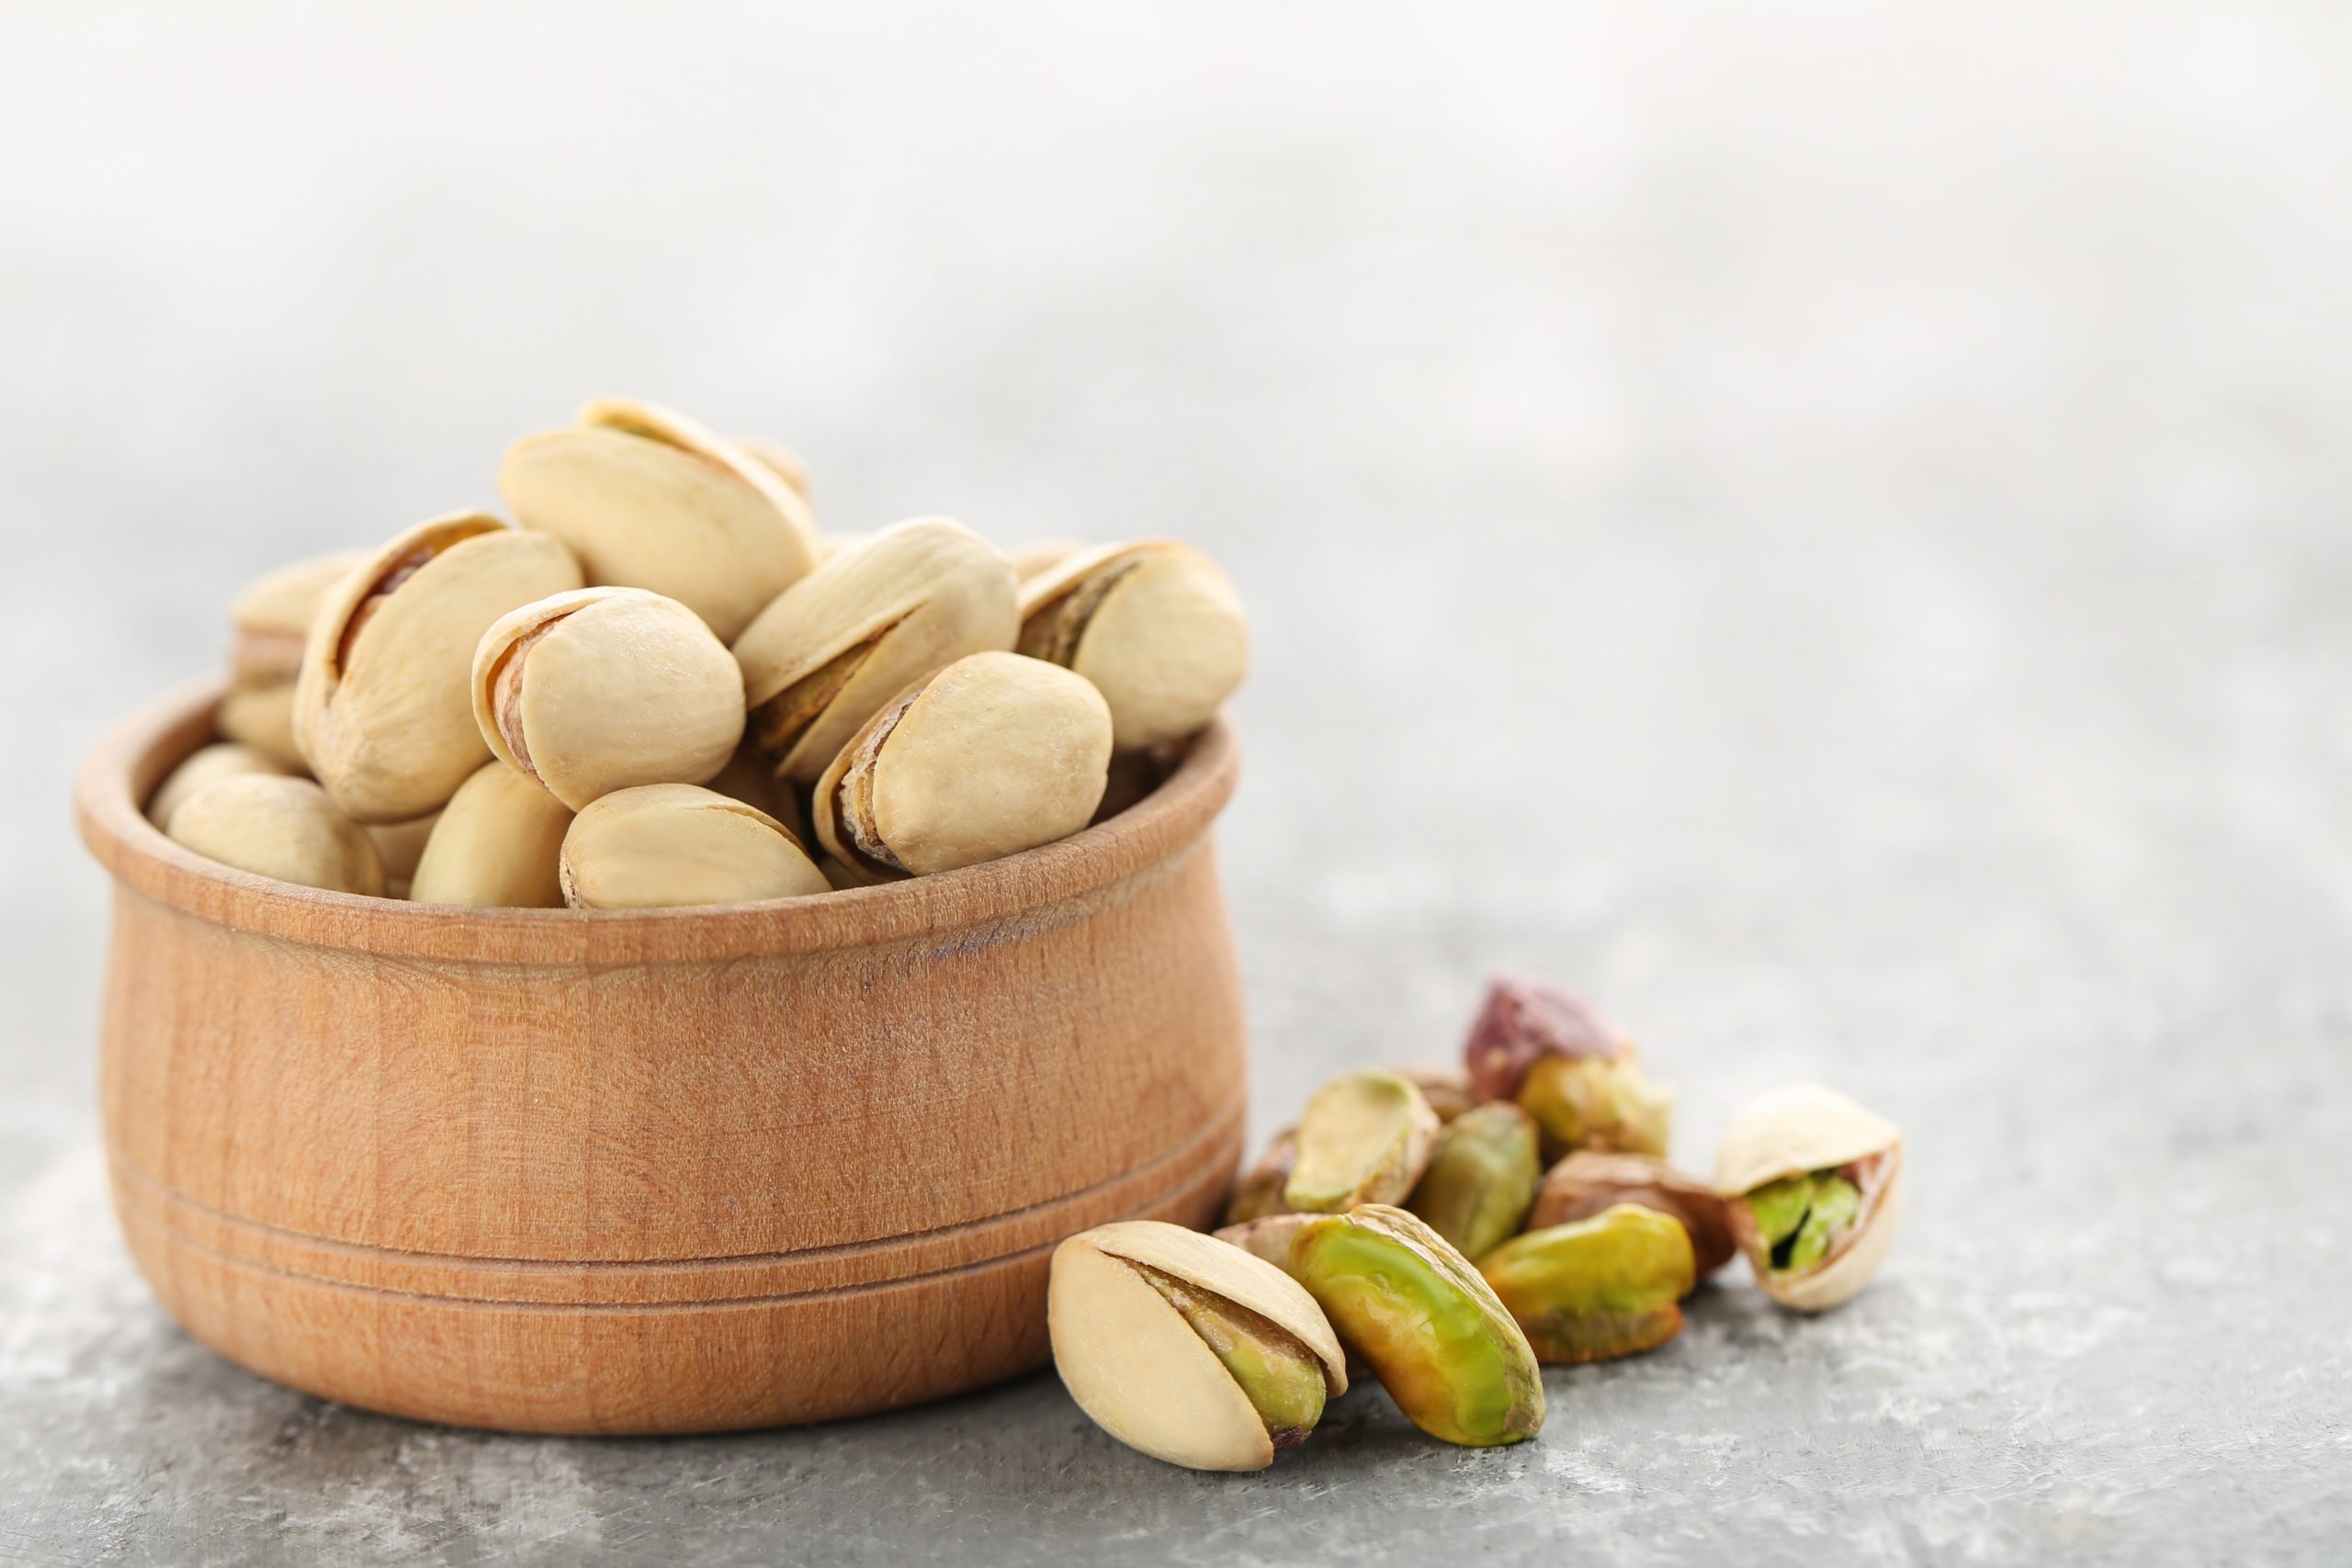
The first step in germinating a Chinquapin nut is to carefully select a healthy and viable nut. Choose a nut that is plump, firm, and free from any visible damage or signs of decay. Look for nuts with a smooth, glossy shell and avoid those with wrinkles or blemishes.
It’s important to select a fresh nut that hasn’t been sitting around for too long. This ensures that the nut is still capable of germinating and has a higher chance of success. If possible, source your Chinquapin nuts from a reputable nursery or supplier.
When selecting a Chinquapin nut, also consider the size and weight. A larger, heavier nut is generally a good indication of a healthy and well-developed seed inside. However, keep in mind that smaller nuts can still produce viable seeds, so don’t completely disregard them.
Additionally, take note of the nut’s color. Chinquapin nuts typically have a light to medium brown color. Avoid nuts that are significantly darker or lighter, as they may indicate poor quality or improper ripening.
Once you have selected your Chinquapin nut, handle it with care to prevent any damage to the delicate outer shell. Avoid dropping or applying excessive pressure on the nut, as this can hinder germination.
By taking the time to select a healthy and viable Chinquapin nut, you are setting the foundation for successful germination and the growth of a strong and vibrant seedling.
Step 2: Preparing the Nut for Germination
Once you have selected a healthy Chinquapin nut, it’s important to properly prepare it before initiating the germination process. This step ensures that the nut has the best possible chance of sprouting and developing into a seedling.
Start by gently washing the Chinquapin nut under lukewarm water to remove any dirt or debris. Use a soft brush or cloth to scrub the nut’s surface, being careful not to apply too much pressure that could damage the shell.
After cleaning the nut, it’s time to prepare it for optimal moisture absorption. This can be done through a process called scarification, which involves creating tiny breaks or scratches on the nut’s hard outer shell. These breaks allow water to penetrate the shell more easily, stimulating germination.
To scarify a Chinquapin nut, you have a few options. One method is to gently file or sand down one side of the nut, creating small scratches or abrasions. Alternatively, you can carefully tap the nut with a hammer or use a sharp knife to make small cuts or punctures.
Keep in mind that the purpose of scarification is to create small openings on the shell without causing extensive damage. Be cautious not to crush or break the nut during this process, as it can interfere with successful germination.
After scarifying the Chinquapin nut, it’s recommended to soak it in water for a period of time. This step, known as stratification, imitates the natural conditions the nut would experience during the winter dormant period. Fill a bowl with room temperature water and submerge the nut for 24 to 48 hours.
During this time, the nut will absorb water and gradually soften, preparing it for germination. Remember to change the water every 12 hours or so to maintain cleanliness and prevent the growth of mold or bacteria.
By properly preparing the Chinquapin nut through cleaning, scarification, and stratification, you are creating the ideal conditions for successful germination and the emergence of a healthy seedling.
Step 3: Choosing the Germination Method
Once you have prepared the Chinquapin nut, it’s time to decide on the germination method that best suits your preferences and resources. There are several options to choose from, each with its own advantages and considerations.
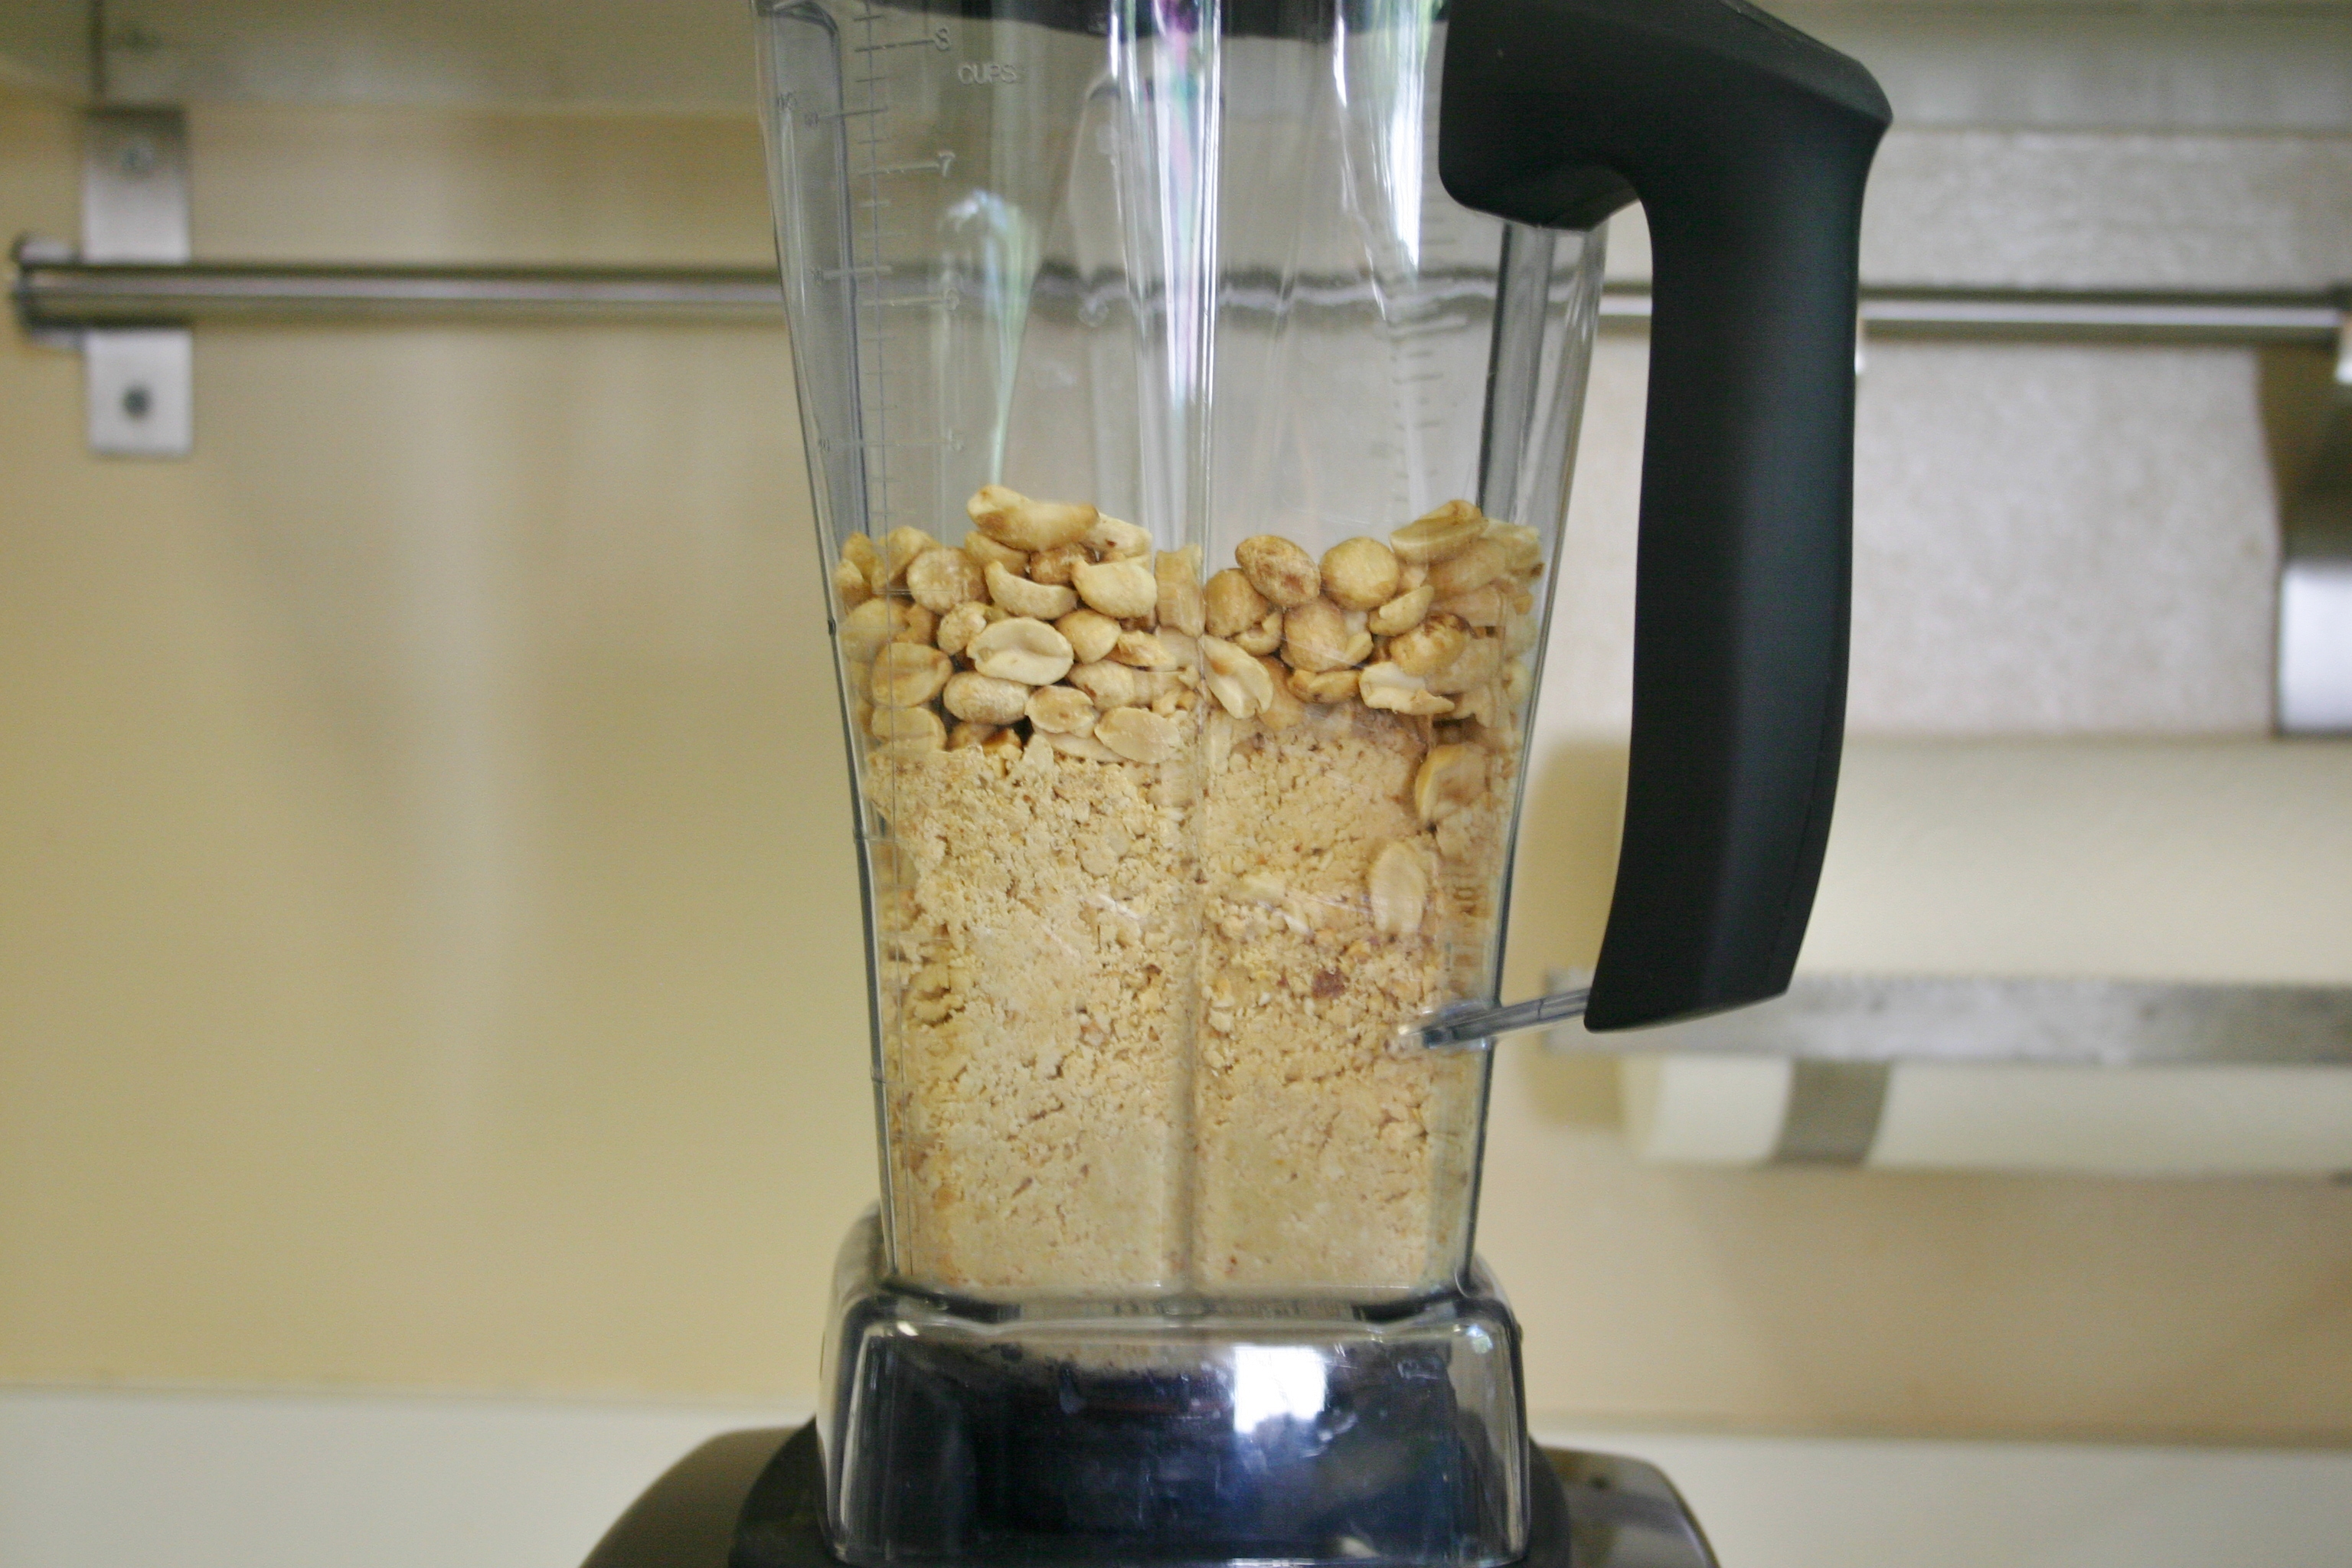
1. Paper Towel Method: This is a popular and straightforward method for germinating Chinquapin nuts. Start by moistening a paper towel with water and wringing out any excess moisture. Place the scarified nut in the center of the damp paper towel and fold it over to cover the nut completely. Transfer the paper towel and nut to a plastic bag or a sealed container, and place it in a warm and well-ventilated area. Check the towel regularly to make sure it stays damp but not soaked. Within a few weeks, you should start to see the nut sprouting roots.
2. Potting Soil Method: If you prefer a more traditional approach, you can germinate your Chinquapin nut directly in potting soil. Fill a small pot or seed tray with a well-draining soil mix, leaving enough space for the nut to be partially covered. Place the nut in the soil with the scarified side facing down, and cover it with a layer of soil. Water the soil gently, ensuring that it is evenly moist but not saturated. Place the pot or tray in a warm location with indirect sunlight, and keep the soil consistently moist. In a few weeks, you should observe the emergence of a tiny seedling.
3. Hydroponic Method: For a more advanced and controlled approach, you can opt for hydroponic germination. This method involves using a nutrient-rich water solution instead of soil. Soak the Chinquapin nut in water for a few hours to further soften it, then transfer it to a container filled with the hydroponic solution. Ensure that the nut is partially submerged and that the container is placed in a warm and well-lit area. Monitor the water level and nutrient concentration regularly, making adjustments as necessary. This method allows for precise control over the growing conditions and can result in faster germination.
When choosing a germination method, consider factors such as time, space, and available resources. Each method has its own advantages and considerations, so choose the one that aligns with your gardening style and goals.
Now that you have chosen the germination method, it’s time to start the exciting process of germinating the Chinquapin nut and watching it transform into a seedling.
Step 4: Germinating the Chinquapin Nut
With the preparation and germination method in place, it’s time to initiate the germination process for your Chinquapin nut.
If you have chosen the paper towel method, simply place the scarified nut in the center of a moistened paper towel, fold it over to cover the nut completely, and transfer it to a sealed container or plastic bag. Place the container or bag in a warm area with good air circulation, such as near a window or on top of a refrigerator. Check the paper towel regularly to make sure it remains damp but not soggy. Within a few weeks, you should start to see roots emerging from the nut.
For those who opted for the potting soil method, plant the scarified nut in a small pot or seed tray filled with a well-draining soil mix. Make sure the nut is partially covered with soil, leaving its top exposed. Place the pot or tray in a warm location with indirect sunlight and keep the soil moist but not waterlogged. Monitor the soil moisture regularly and water as needed. In a few weeks, you should observe the nut germinating and the emergence of a small seedling.
If you decided to go with the hydroponic method, soak the scarified nut in water for a few hours to further soften it. Then, transfer the nut to a container filled with a nutrient-rich water solution, ensuring that the nut is partially submerged. Place the container in a warm and well-lit area, such as a greenhouse or a sunny window. Monitor the water level and nutrient concentration regularly, adjusting as needed. With the optimal conditions provided, the nut should start germinating within a few weeks.
Regardless of the germination method you chose, it’s essential to maintain consistent moisture, temperature, and proper air circulation throughout the germination process. This allows the nut to absorb water, activate its internal processes, and begin sprouting.
Be patient and keep a close eye on the progress of the germinating nut. It’s an exciting time as you witness the miracle of life taking place right before your eyes. Soon, you’ll have a budding Chinquapin seedling ready to be nurtured into a healthy tree.
Soak the chinquapin nut in water for 24 hours to soften the shell. Plant the nut in well-draining soil, and keep it moist. Place in a warm, sunny spot and wait for germination.
Read more: How To Store Nuts Long Term
Step 5: Providing Proper Care for Germinating Seeds
Once your Chinquapin nut has started to germinate and tiny roots or a seedling has emerged, it’s crucial to provide proper care to ensure its healthy growth and development. Here are some essential care tips:
1. Moisture: Maintain adequate moisture levels throughout the germination process. For the paper towel and potting soil methods, regularly check the moisture content and ensure it remains damp but not overly wet. Avoid allowing the growing medium to dry out completely, as this can impede or halt the germination process. In the hydroponic method, monitor the water level and nutrient concentration, making adjustments as necessary.
2. Temperature: Chinquapin nuts prefer warm temperatures for successful germination. Aim to keep the germination environment around 70-80°F (21-27°C). Avoid extreme temperature fluctuations, as they can stress the emerging seedling.
3. Light: While the Chinquapin seedling doesn’t require intense sunlight at this stage, it does need some indirect light for photosynthesis. Place the germinating nuts or seedlings in a location with bright, indirect light. Avoid placing them in direct sunlight, as it can cause overheating or scorching.
4. Air Circulation: Good air circulation is essential to prevent the growth of mold or fungus. Ensure that the germination containers have proper ventilation or openings for fresh air exchange. Avoid placing them in stagnant or overly humid environments.
5. Avoid Disturbance: Once the germination process has begun, avoid moving or disturbing the germinating nuts or seedlings unless necessary. Transferring or disturbing them can disrupt the delicate roots or sprouts. Handle them with extreme care if transplantation is required.
6. Patience: Remember that germination is a gradual process, and it may take several weeks for the seedling to fully develop. Be patient and resist the urge to intervene or give up too soon.
By providing the proper care and attentiveness, you are giving your Chinquapin nut or seedling the best chance of thriving and growing into a healthy and robust tree. Keep monitoring their progress and get ready for the next step of the journey: transplanting the germinated Chinquapin nut.
Step 6: Transplanting the Germinated Chinquapin Nut
Once your Chinquapin nut has successfully germinated and grown into a seedling with well-developed roots, it’s time to transplant it into a larger container or the desired outdoor location. Follow these steps to ensure a smooth transition:
1. Choose the Right Container: Select a container that provides ample space for the growing root system. It should have drainage holes at the bottom to prevent waterlogging. If you plan to transplant the seedling directly into the ground, prepare the planting hole in advance.
2. Prepare the Soil: For container transplantation, use a well-draining potting mix that is rich in organic matter. For outdoor planting, prepare the soil by loosening it and improving drainage, if necessary. Chinquapin trees thrive in slightly acidic soil with a pH range of 4.5 to 6.5.
3. Transplantation Process: Carefully remove the seedling from its current container or germination medium, being mindful not to damage the delicate roots. Gently tease apart any tangled or crowded roots to promote healthy growth. Place the seedling into the new container or planting hole, ensuring that the root collar is level with the soil surface.
4. Backfill and Water: Fill the container or planting hole with the prepared soil mixture, gently firming it around the seedling’s roots. Make sure there are no air pockets around the roots. Water the newly transplanted seedling thoroughly to settle the soil and provide hydration. Avoid overwatering, as excessive moisture can lead to root rot.
5. Mulching: Apply a layer of organic mulch, such as wood chips or straw, around the base of the seedling. This helps conserve moisture, suppress weed growth, and regulate soil temperature.
6. Aftercare: Place the transplanted seedling in a location with partial shade and gradually expose it to increasing amounts of sunlight over a few weeks. Regularly water the seedling, ensuring the soil remains moist but not waterlogged. Monitor the plant for any signs of stress or disease and take appropriate action if needed.
Transplanting the germinated Chinquapin nut allows the tree to establish deeper roots and provides more space for healthy growth. With the right care and attention, your Chinquapin seedling will flourish and develop into a magnificent tree, ready to bless you with its beauty and the delightful taste of its nuts.
Step 7: Continued Care for the Chinquapin Seedling
After transplanting the germinated Chinquapin nut, it’s important to continue providing proper care to ensure the seedling’s healthy growth and longevity. Here are some essential care practices to follow:
1. Watering: Chinquapin seedlings require regular watering, especially during the first year. Provide deep, thorough waterings to encourage deep root growth. Monitor the moisture levels in the soil and avoid overwatering or allowing the soil to dry out completely. Adjust the watering frequency depending on weather conditions and soil moisture levels.
2. Fertilization: Feed the Chinquapin seedling with a balanced, slow-release organic fertilizer in early spring to promote healthy growth. Follow the manufacturer’s instructions for proper dosage and application. Avoid over-fertilizing, as it can lead to excessive foliage growth at the expense of nut production.
3. Pruning: As the seedling grows, prune any damaged or crossing branches to maintain a well-shaped tree. Pruning also helps improve airflow through the foliage, reducing the risk of diseases. Prune during the dormant season to minimize stress on the plant.
4. Weed Control: Regularly remove weeds around the base of the seedling to minimize competition for nutrients and water. Mulching with organic mulch can help suppress weed growth and conserve moisture.
5. Protection: Chinquapin seedlings are susceptible to various pests and diseases. Monitor the seedling for signs of insect infestation or disease, such as leaf discoloration or wilting. Take appropriate measures to control pests or consult a professional if needed.
6. Winter Protection: In regions with freezing temperatures, protect the Chinquapin seedling during the winter months. Apply a layer of mulch around the base to insulate against the cold and prevent frost damage. Avoid excessive pruning in late summer, as it can stimulate new growth that is susceptible to cold damage.
7. Observation and Enjoyment: Take the time to observe and appreciate the growth and development of your Chinquapin seedling. Witnessing the transformation from a small nut to a thriving tree is a rewarding experience. Enjoy the beautiful foliage, and anticipate the harvest of the tasty Chinquapin nuts in the future.
By providing proper care and attention to your Chinquapin seedling, you are setting the stage for a healthy and productive tree that will bring years of joy and satisfaction. Stay vigilant, adapt your care practices as needed, and watch your Chinquapin tree flourish.
Conclusion
In this comprehensive guide, we have explored the exciting journey of germinating a Chinquapin nut and nurturing it into a thriving seedling. From selecting a healthy nut to providing proper care, each step is essential to ensure successful germination and the growth of a strong and vibrant tree.
The process begins with carefully selecting a Chinquapin nut, ensuring it is plump, firm, and free from any damage. Preparing the nut through gentle cleaning, scarification, and stratification sets the stage for optimal germination. Choosing the right germination method, whether it’s the paper towel method, potting soil method, or hydroponic method, allows you to customize the process according to your preferences and available resources.
Once the Chinquapin nut germinates and a seedling emerges, providing proper care becomes crucial. Consistent moisture, the right temperature, adequate light, and good air circulation all contribute to the healthy growth of the seedling. Transplanting the germinated nut into a suitable container or outdoor location ensures ample space for the root system and sets the foundation for the tree’s long-term growth.
Continued care for the Chinquapin seedling involves watering, fertilization, pruning, weed control, and protection against pests and diseases. Monitoring the seedling’s progress, adapting care practices as necessary, and taking time to appreciate the growth and development of the tree are all key aspects of ensuring its longevity and productivity.
Throughout this process, remember to stay patient and dedicated. Germinating a Chinquapin nut and nurturing it into a mature tree is a rewarding journey that connects you to the marvels of nature and provides the joy of growing your own food.
So, embrace this journey, enjoy the process, and get ready to witness the beauty and taste the deliciousness of your very own Chinquapin tree. Happy gardening!
Frequently Asked Questions about How To Germinate A Chinquapin Nut
Was this page helpful?
At Storables.com, we guarantee accurate and reliable information. Our content, validated by Expert Board Contributors, is crafted following stringent Editorial Policies. We're committed to providing you with well-researched, expert-backed insights for all your informational needs.

0 thoughts on “How To Germinate A Chinquapin Nut”