Home>Garden Essentials>How To Germinate A Coconut
Garden Essentials
How To Germinate A Coconut
Modified: August 17, 2024
Learn the step-by-step process of germinating a coconut in your garden and enjoy the satisfaction of growing your own tropical tree.
(Many of the links in this article redirect to a specific reviewed product. Your purchase of these products through affiliate links helps to generate commission for Storables.com, at no extra cost. Learn more)
Introduction
Welcome to the wonderful world of gardening! If you have ever dreamt of having your own tropical paradise right in your backyard, growing a coconut tree might be the perfect way to make that dream a reality. The coconut tree, also known as Cocos nucifera, is not only a symbol of tropical beauty but also a source of delicious and nutritious coconuts.
Germinating a coconut and growing your own coconut tree may seem like a daunting task, but with the right knowledge and a little patience, it can be a rewarding and enjoyable experience. In this article, we will guide you through the step-by-step process of germinating a coconut and caring for the newly sprouted seedling until it is ready to be transplanted into the ground.
Before we dive into the details, it’s important to note that growing a coconut tree requires a warm and tropical climate. If you live in an area with cold winters or a climate that is not suitable for coconut trees, don’t fret! You can still follow the germination process and grow your coconut tree indoors as a beautiful houseplant.
Now that we’ve set the stage, let’s get started on our coconut-growing adventure!
Key Takeaways:
- Choose a mature, heavy coconut with intact eyes for successful germination. Soak the coconut, then plant it in soil or a pot, providing warmth and moisture for sprouting.
- Care for the germinated coconut by watering, providing sunlight, and fertilizing. Transplant the seedling into well-draining soil, and troubleshoot issues like pests and diseases for healthy growth.
Read more: How To Store Coconut Macaroons
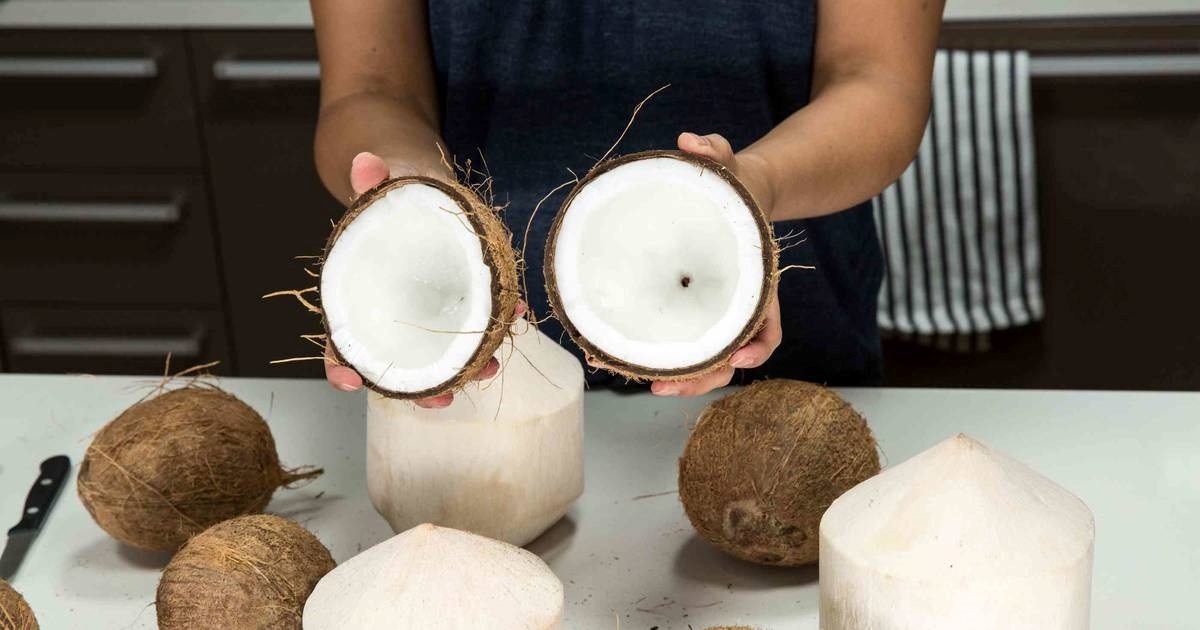
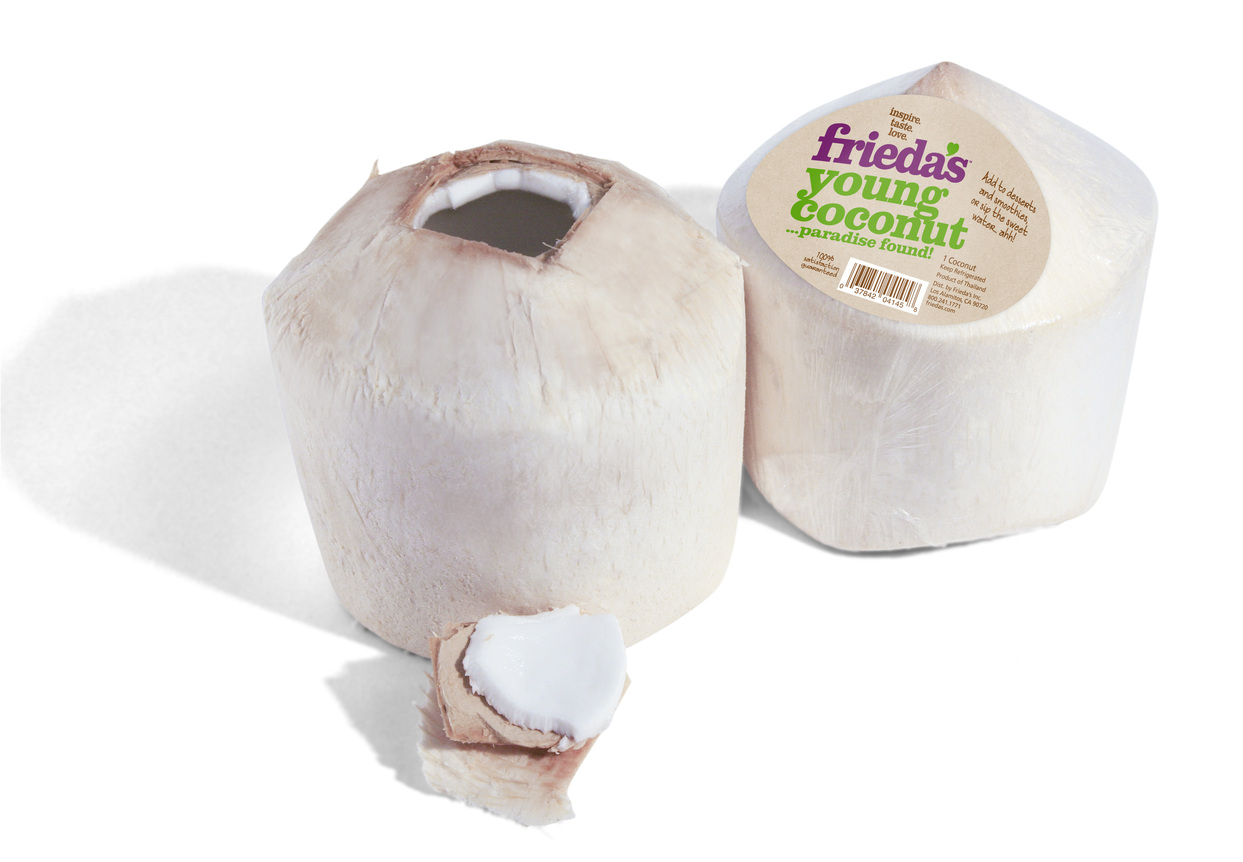
Step 1: Selecting a Fresh Coconut
The first and most crucial step in the coconut germination process is selecting a fresh and viable coconut. Choosing the right coconut will greatly increase the chances of successful germination and healthy growth of your coconut tree. Here are some tips to help you select a fresh coconut:
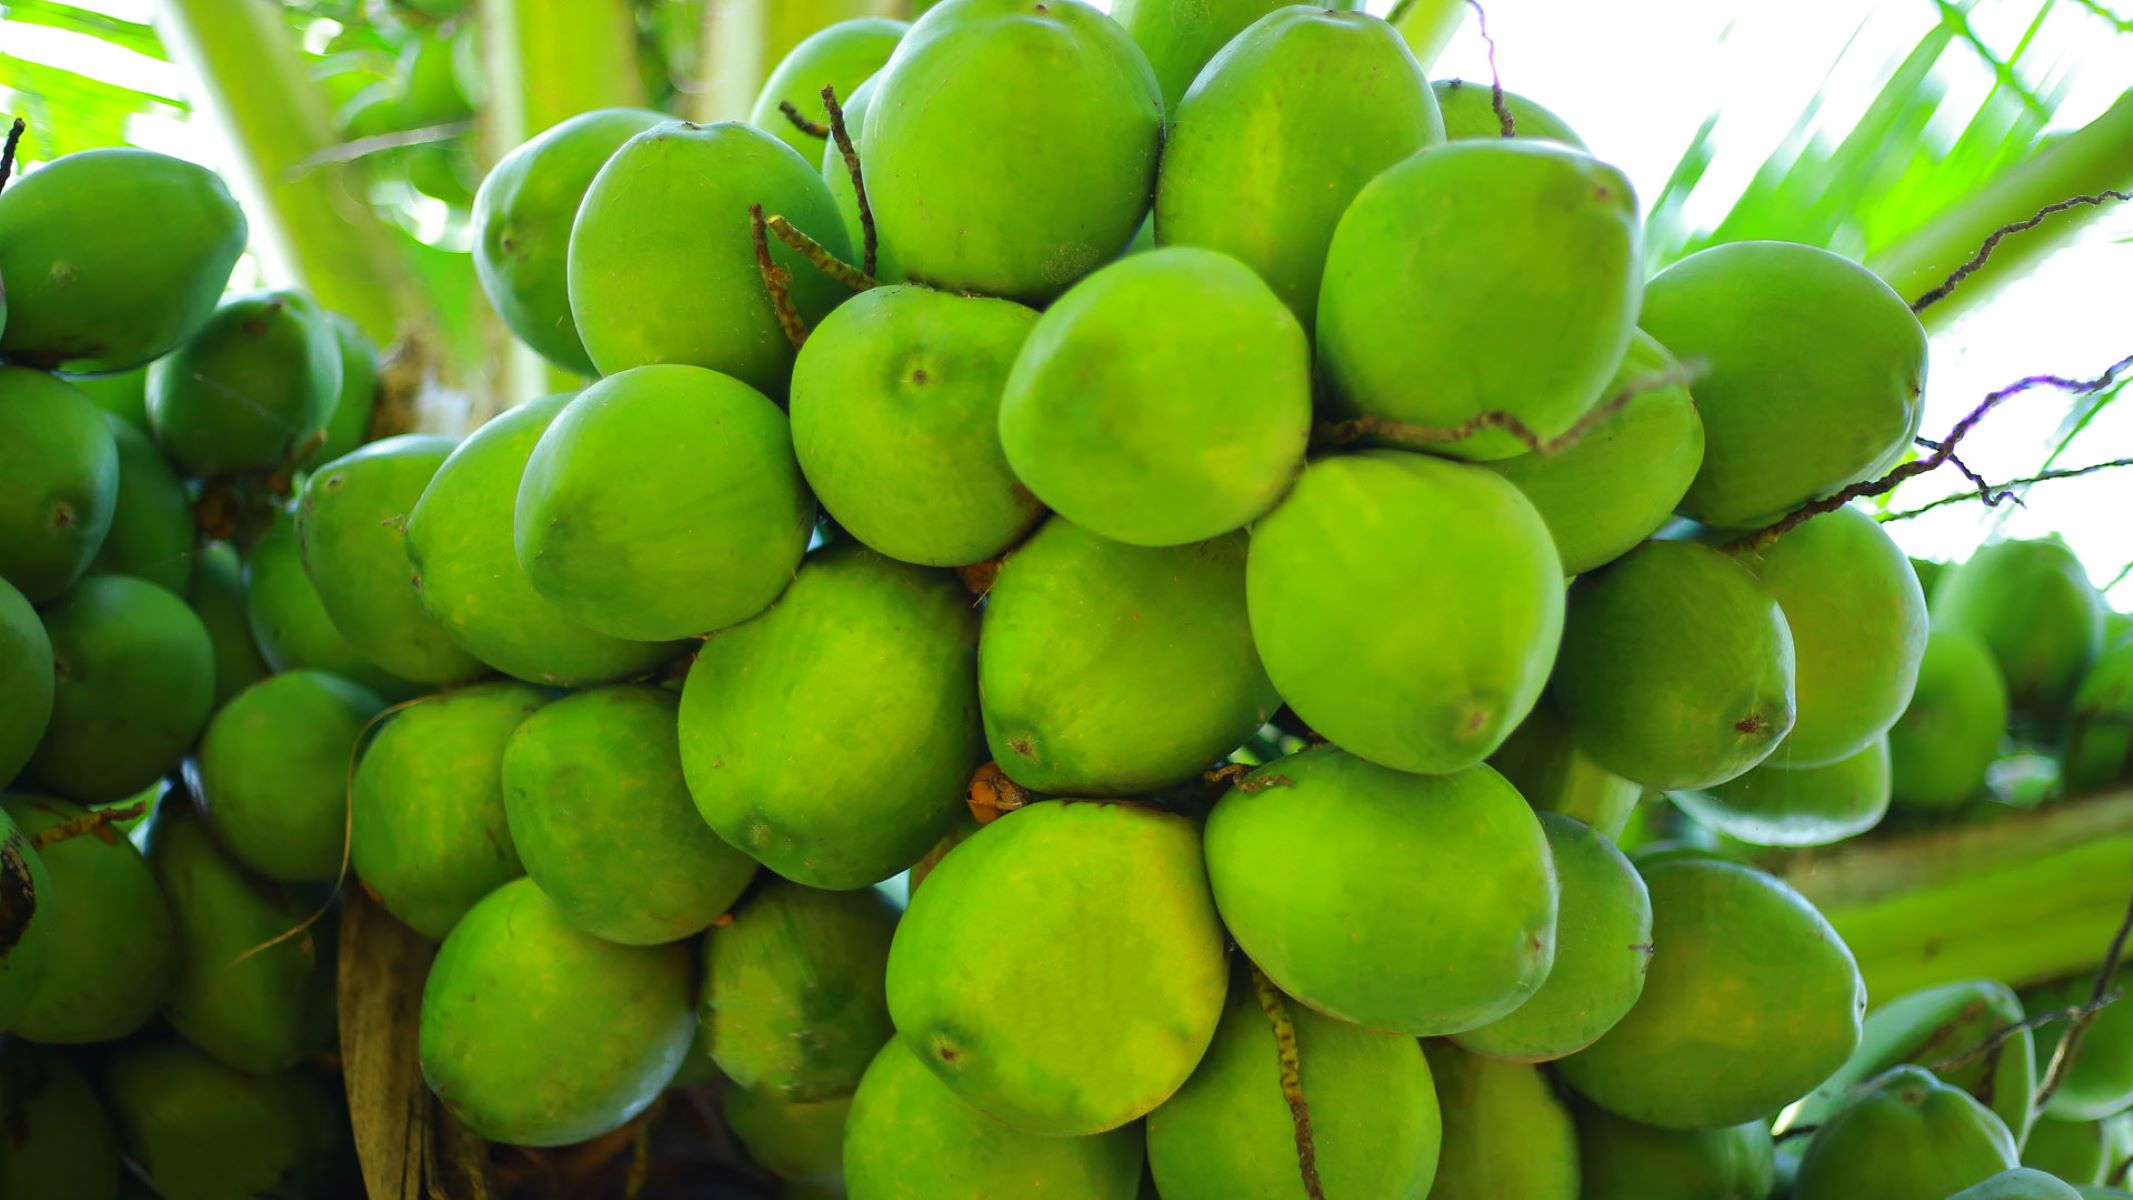
- Look for a mature coconut: A mature coconut will usually have a husk that is brown in color. Avoid green or immature coconuts, as they may not contain a fully developed seed inside.
- Shake the coconut: Give the coconut a gentle shake. If you can hear the liquid sloshing inside, it is a good sign that the coconut is still fresh and has not dried out.
- Inspect the coconut’s eyes: The eyes of a coconut are the indentations on the husk. Look for three “eyes” that are intact and not damaged. These are the points where the coconut sprout will emerge.
- Check for mold or cracks: Avoid coconuts that have mold growth or are cracked. These may indicate that the coconut is spoiled or damaged, making it less likely to successfully germinate.
- Consider the weight: A fresh coconut should feel relatively heavy for its size. If it feels light or hollow, it may be an indication that the coconut is dried out and not suitable for germination.
Once you have selected a fresh coconut, you are ready to move on to the next step: preparing the coconut for germination. Taking the time to choose a quality coconut will set the foundation for a successful germination process and the growth of a healthy coconut tree.
Step 2: Preparing the Coconut for Germination
Now that you have a fresh and viable coconut, it’s important to properly prepare it for the germination process. Preparing the coconut will create the ideal conditions for the seed to sprout and take root. Here’s how you can prepare the coconut:
- Remove the outer husk: Using a sturdy knife or a machete, carefully remove the outer husk of the coconut. Start by making an incision along the seam of the coconut and then pry off the husk piece by piece. Be cautious and avoid injuring yourself while removing the husk.
- Clean the coconut: Once the husk is removed, you may notice some fibers or residue clinging to the coconut shell. Rinse the coconut under running water to remove any dirt or debris.
- Inspect the coconut again: Take a closer look at the coconut’s eyes and make sure they are free from any obstruction or fibers. If necessary, gently remove any loose fibers using a brush or your fingers.
- Soak the coconut: To help speed up the germination process and soften the seed inside, it’s recommended to soak the coconut in water for 24 to 48 hours. Place the coconut in a container with enough water to fully submerge it. Make sure the container is in a warm location, such as near a window or in a heated room.
During the soaking period, you may notice bubbles rising from the coconut. This is a natural process as the water penetrates the outer shell and hydrates the seed inside. After the soaking period is complete, the coconut is ready for the germination process.
By carefully preparing the coconut, you are ensuring that the seed has the ideal conditions to sprout and grow. Now that the coconut is prepared, let’s move on to the next step: choosing the germination method.
Step 3: Choosing the Germination Method
When it comes to germinating a coconut, there are a few different methods you can choose from. The method you select will depend on your preference, available resources, and the specific conditions of your environment. Here are three common germination methods:
- Traditional Method: The traditional method involves planting the coconut directly in the ground. This method is suitable if you live in a tropical climate with a long growing season. Dig a small hole in a sunny spot with well-draining soil, and bury the coconut about halfway or slightly deeper. Make sure the eye of the coconut is facing upward. Water the coconut regularly and provide adequate sunlight for optimal growth.
- Pot Method: The pot method is ideal if you are growing the coconut tree indoors or in a cooler climate. Fill a large pot with a well-draining potting mix, leaving enough space for the coconut to be partially buried. Place the coconut with the eye facing upward and cover it with about an inch of soil. Keep the soil moist but not waterlogged, and provide sufficient sunlight or use grow lights to promote healthy growth.
- Hanging Method: If you have limited space or want to add a decorative touch to your coconut germination, you can opt for the hanging method. Take a clean cloth or mesh bag and insert the coconut inside, with the eye facing outward. Hang the bag in a warm and well-lit location, ensuring that it is securely fastened. Mist the coconut regularly to maintain moisture, and check for signs of sprouting.
Each germination method has its own advantages and considerations, so choose the one that best suits your needs. Regardless of the method you choose, remember to provide warmth, adequate moisture, and proper light for successful germination.
Now that you have selected a germination method, let’s move on to the next step: germinating the coconut!
Step 4: Germinating the Coconut
Now comes the exciting part – germinating the coconut! This step is where you’ll witness the magical transformation of the coconut into a sprouted seedling. Here’s how you can germinate the coconut:
- Plant the coconut: Depending on the method you chose in the previous step, plant the coconut either in the ground, in a pot, or in a hanging bag. Ensure that the eye of the coconut is facing upward and the seed is partially buried.
- Provide warmth: Coconut seeds need warmth to germinate. If you live in a colder climate, consider placing a heating mat or using a propagation dome to create a warm and humid environment around the coconut.
- Maintain moisture: It’s essential to keep the soil or growing medium consistently moist during the germination process. However, avoid waterlogging the coconut as it can lead to rotting. Check the moisture levels regularly and adjust your watering accordingly.
- Patience is key: Germinating a coconut can take anywhere from a few weeks to several months. Be patient and check the coconut regularly for signs of sprouting. Depending on the variety of coconut and the germination conditions, you may see a small shoot emerging from one of the eyes of the coconut.
- Protect from extreme weather: If you planted the coconut outside, protect it from extreme weather conditions such as heavy rain, frost, or strong winds. Consider using a temporary barrier, such as a small plastic tent or a cloche, to shield the coconut from unfavorable conditions.
During the germination process, it’s important to monitor the coconut closely and make any necessary adjustments to ensure its healthy growth. Once the coconut has successfully germinated and the seedling has grown, you can move on to the next step: caring for the germinated coconut.
Stay patient and attentive, and soon you’ll have your very own coconut seedling ready to flourish into a majestic coconut tree!
Soak the coconut in water for 2-3 days to soften the outer husk. Then, place it in a warm, moist environment to sprout. Keep the soil consistently moist and wait for the coconut to germinate.
Read more: How To Store Coconut Sugar
Step 5: Caring for the Germinated Coconut
Congratulations on successfully germinating your coconut! Now, it is time to provide proper care to ensure the healthy growth and development of your germinated coconut seedling. Here are some essential care tips to follow:
- Watering: Ensure that the soil or growing medium around the germinated coconut remains consistently moist, but not overly saturated. Water the coconut regularly, especially during dry periods, maintaining a balance to prevent the roots from becoming waterlogged.
- Sunlight: Coconut trees thrive in full sunlight. Place your germinated coconut seedling in a location where it receives at least 6-8 hours of direct sunlight each day. If growing indoors, use grow lights to provide adequate light for healthy growth.
- Fertilization: As the coconut seedling grows, it will benefit from regular fertilization. Use a balanced, slow-release fertilizer or organic compost to provide the necessary nutrients. Follow the instructions on the fertilizer packaging, and apply it around the base of the coconut tree according to the recommended frequency.
- Temperature: Coconut trees prefer warm and tropical climates. Maintain a temperature range of around 75-90°F (24-32°C) for optimal growth. In cooler climates, ensure that the germinated coconut is protected from cold drafts or extreme temperatures.
- Pruning: As the coconut tree grows, it may develop dead or damaged fronds. Regularly inspect the tree and trim any brown or yellowed fronds to maintain its health and appearance. Be careful not to remove too many fronds, as they are essential for photosynthesis.
- Pests and diseases: Keep an eye out for common pests such as mealybugs, spider mites, or scales. If you notice any signs of infestation, treat the coconut tree promptly using organic pest management methods or appropriate insecticides. Additionally, monitor the tree for signs of diseases such as root rot or fungal infections, and take necessary measures to prevent or treat them.
- Support: As the coconut tree grows taller, it may require support to prevent it from toppling over in strong winds. Use stakes or tie the tree to a support structure to keep it stable and upright.
By providing proper care to your germinated coconut, you are giving it the best chance to grow into a healthy and robust coconut tree. Stay vigilant and responsive to the needs of your tree, and enjoy watching it thrive and flourish in its new environment.
Now that you know how to care for your germinated coconut, let’s move on to the next step: transplanting the coconut seedling.
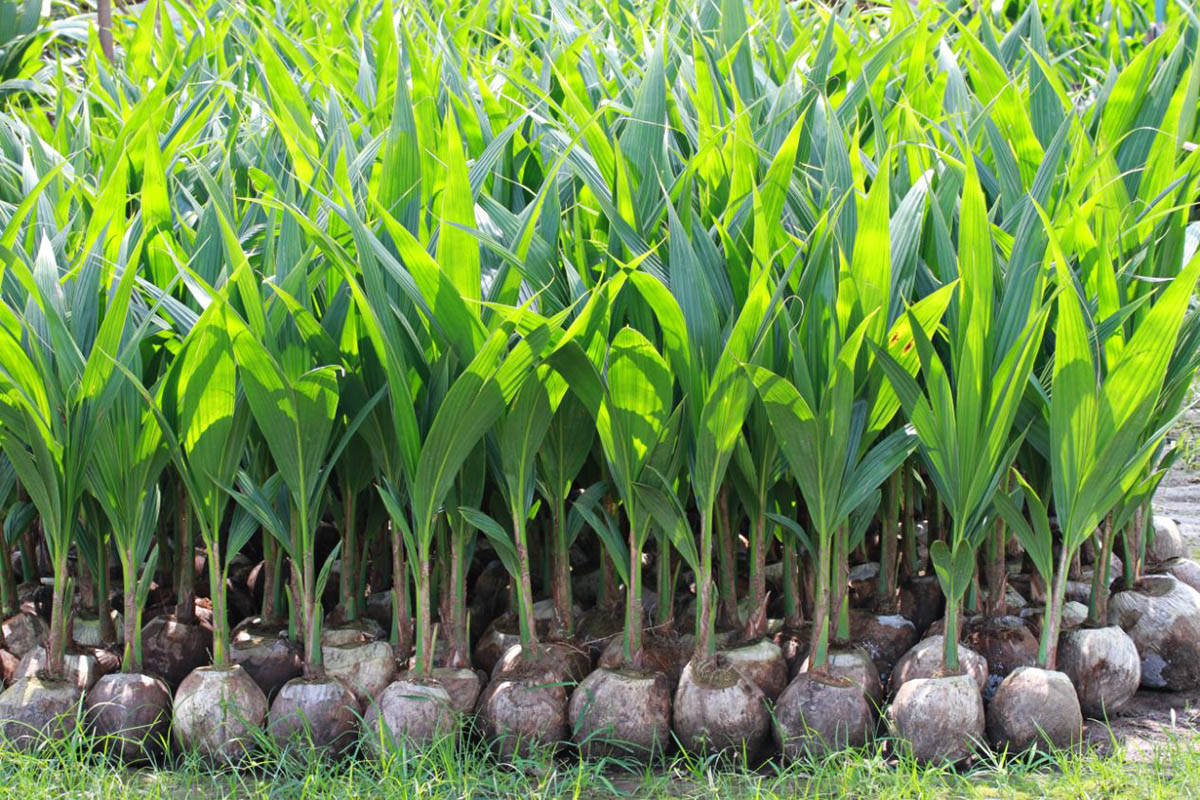
Step 6: Transplanting the Germinated Coconut
Once your germinated coconut has grown into a healthy seedling and has established a strong root system, it is time to transplant it into its permanent growing location. Transplanting ensures that the coconut tree has enough space to spread its roots and continue growing. Here’s how you can successfully transplant your germinated coconut:
- Select the planting location: Choose a sunny spot in your garden or landscape with well-draining soil for transplanting. Coconut trees thrive in tropical and subtropical regions, so ensure that the location provides the necessary warmth and sunlight for optimal growth.
- Prepare the planting hole: Dig a hole in the planting location that is large enough to accommodate the root ball of the seedling. The hole should be slightly wider and deeper than the root system to allow for proper root expansion.
- Remove the germinated coconut: Carefully lift the germinated coconut seedling from its original planting container, taking care to disturb the roots as little as possible. Gently loosen any compacted soil or growing medium around the roots.
- Place the coconut seedling in the hole: Position the germinated coconut seedling in the planting hole, making sure the root ball is level with or slightly above the ground level. Avoid planting the seedling too deep, as it can rot or experience poor growth.
- Backfill and firm the soil: Fill the hole with the soil mixture, gently firming it around the roots of the seedling. Ensure that the soil is firmly packed but not excessively compacted to allow for proper aeration and root growth.
- Water thoroughly: After transplanting, water the coconut seedling thoroughly to settle the soil and eliminate air pockets. Provide ample water to ensure that the roots establish contact with the surrounding soil.
- Continue care: Once transplanted, continue to provide proper care to the coconut tree, following the care instructions mentioned in the previous step. Monitor its growth, water it regularly, and maintain proper nutrition to support its overall health and development.
Transplanting your germinated coconut is an important step to provide it with the necessary space and resources for continued growth. With proper care and attention, your coconut tree will thrive in its new location and reward you with its beauty and the promise of future coconuts!
Now that you’ve successfully transplanted your coconut seedling, let’s move on to the final step: tips and troubleshooting to ensure the best possible outcomes.
Step 7: Tips and Troubleshooting
As you embark on your coconut-growing journey, it’s helpful to keep in mind some valuable tips and troubleshoot any issues that may arise along the way. Here are essential tips and troubleshooting advice to ensure the success of your coconut tree:
- Patience is key: Growing a coconut tree from germination to maturity takes time. Coconut trees are known for their slow growth, so be patient and allow your tree to develop at its own pace.
- Protect from extreme temperatures: Coconut trees prefer warm tropical climates, so if you live in a region with cold winters, consider growing your coconut tree in a greenhouse or as a container plant that can be moved indoors during the colder months.
- Provide proper drainage: Ensure that the soil or growing medium has adequate drainage to prevent waterlogged roots. Poor drainage can lead to root rot and hinder the growth of your coconut tree.
- Watch out for nutrient deficiencies: Coconut trees require essential nutrients, including nitrogen, phosphorus, and potassium. Monitor the leaves for any signs of yellowing or discoloration, which could indicate nutrient deficiencies. Adjust fertilization accordingly to provide the necessary nutrients.
- Protect from pests and diseases: Common pests that can affect coconut trees include mealybugs, aphids, and spider mites. Inspect your tree regularly and take prompt action at the first signs of infestation. Implement cultural pest control practices or use organic insecticides as necessary. Additionally, ensure good air circulation around the tree to discourage fungal diseases.
- Prune strategically: Regular pruning helps maintain the size and shape of your coconut tree, as well as removes damaged or dead fronds. However, avoid excessive pruning, as coconut trees rely on their fronds for photosynthesis.
- Provide support as it grows: As your coconut tree grows taller, it may require additional support to prevent it from bending or toppling over in strong winds. Use stakes or tie it to a sturdy structure to ensure stability.
- Be mindful of location: When selecting a planting location, consider the eventual size of a mature coconut tree. Coconut trees can grow quite tall, so ensure there is enough space for it to grow without posing any issues to nearby structures or plants.
- Learn from experience: Gardening is a continuous learning process, and each coconut tree you grow will provide valuable insights for future cultivation. Pay attention to what works well and what doesn’t, and adapt your approach accordingly.
By following these tips and troubleshooting advice, you’ll be well-equipped to address any challenges that may arise while cultivating your coconut tree. Remember, gardening is a journey, and the joy lies in the process as much as in the end result.
With determination, care, and a touch of patience, you’ll soon enjoy the beauty and rewards of your very own flourishing coconut tree.
Now that you’ve learned these valuable tips and troubleshooting advice, you are fully prepared to embark on your coconut-growing adventure. Good luck and happy gardening!
Conclusion
Congratulations! You have now reached the end of your coconut-growing journey. With the knowledge and steps outlined in this guide, you are well-equipped to successfully germinate and care for your very own coconut tree. From selecting a fresh coconut to transplanting the germinated seedling, you have learned the essential steps and tips to ensure a healthy and thriving coconut tree.
Remember, growing a coconut tree requires patience and dedication. It is a process that unfolds over time, and each stage brings its own rewards and challenges. Enjoy the journey, observe the growth of your coconut tree, and marvel at the transformation from a humble seed to a majestic tree with lush fronds.
Throughout your coconut-growing adventure, be mindful of providing the necessary care – watering consistently, providing sufficient sunlight, and offering proper nutrition. Keep an eye out for pests and diseases, and take proactive measures to maintain the health and vitality of your coconut tree.
Indulge in the satisfaction of growing your own tropical paradise, even if you are not in a tropical region. With the right conditions indoors or in a greenhouse, you can bring the beauty and exoticism of a coconut tree to your home. Imagine the joy of harvesting your own fresh coconuts and enjoying their sweet, refreshing taste.
Remember, gardening is a continuous learning process. Each plant has its unique characteristics and requirements, so remain curious and open to experimentation. Share your experiences with other gardening enthusiasts, join online forums, and learn from their wisdom.
Now, it’s time to roll up your sleeves, put your garden gloves on, and begin your coconut-growing adventure. Plant your coconut seed, nurture it with love and care, and watch as it grows into a magnificent tree that will bring beauty and tropical vibes to your surroundings.
May your coconut tree flourish and bring you countless moments of joy and fulfillment. Happy gardening!
Frequently Asked Questions about How To Germinate A Coconut
Was this page helpful?
At Storables.com, we guarantee accurate and reliable information. Our content, validated by Expert Board Contributors, is crafted following stringent Editorial Policies. We're committed to providing you with well-researched, expert-backed insights for all your informational needs.


0 thoughts on “How To Germinate A Coconut”