Home>Garden Essentials>How To Germinate Kidney Beans
Garden Essentials
How To Germinate Kidney Beans
Modified: March 15, 2024
Learn the best techniques for germinating kidney beans in your garden and enjoy a bountiful harvest. Follow our step-by-step guide.
(Many of the links in this article redirect to a specific reviewed product. Your purchase of these products through affiliate links helps to generate commission for Storables.com, at no extra cost. Learn more)
Introduction
Welcome to the world of gardening! If you’re looking to start your own garden and grow some nutritious and delicious plants, germinating kidney beans is a fantastic place to begin. Kidney beans, also known as red beans, are not only a great source of protein, but they also add a burst of color to any garden. Germinating kidney beans is a simple and exciting process that will allow you to witness the magic of plant life firsthand.
In this article, we will guide you through the steps of germinating kidney beans successfully. From gathering the necessary materials to caring for the sprouting beans, you’ll learn everything you need to know to nurture your own mini bean farm. Get ready to embark on a journey filled with growth, discovery, and of course, a bountiful harvest!
Before we dive into the germination process, let’s take a look at the materials you’ll need to get started.
Key Takeaways:
- Germinating kidney beans is a simple and exciting process that involves soaking, planting, and caring for the sprouting beans. With patience and care, you can witness the magic of plant life firsthand and enjoy a bountiful harvest of fresh kidney beans.
- By providing the right conditions such as moisture, temperature, light, and airflow, you can successfully germinate kidney beans and transfer the sprouted beans to soil for continued growth. Enjoy the rewarding journey of nurturing these amazing plants and reaping the delicious rewards!
Read more: How To Germinate A Bean
Materials Needed
Before you begin germinating kidney beans, it’s important to gather all the necessary materials. Fortunately, you won’t need anything fancy or expensive. Here’s what you’ll need:
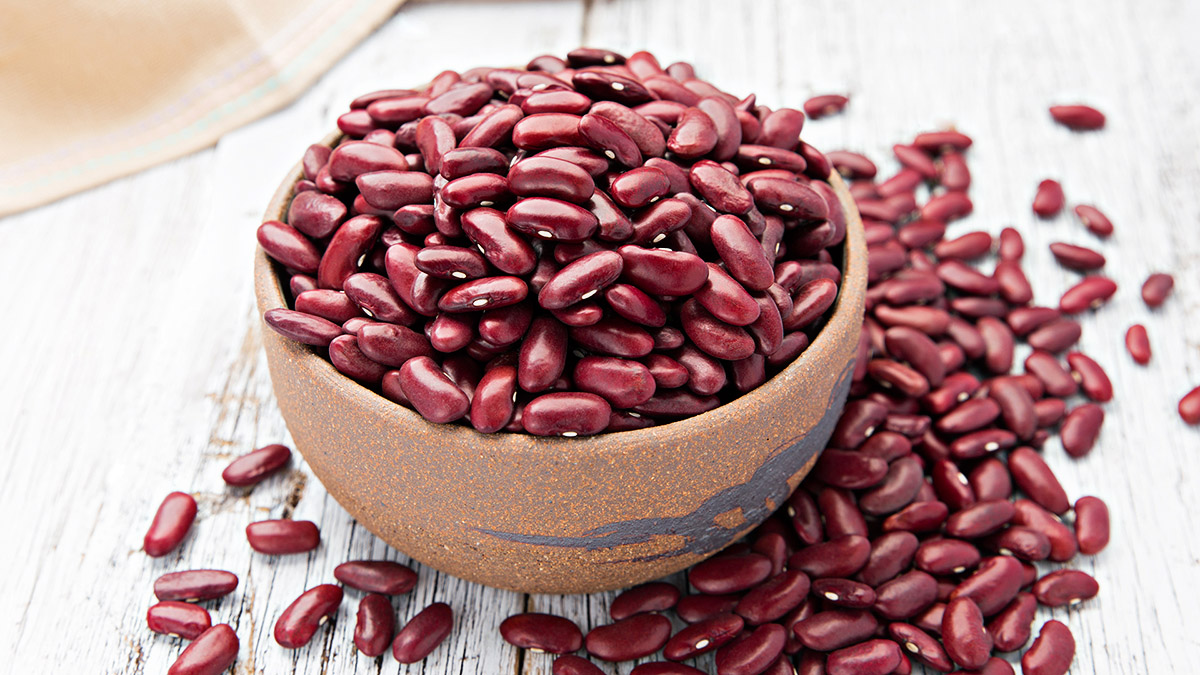
- Raw kidney beans: Purchase fresh, raw kidney beans from your local grocery store or seed supplier. Make sure they are not cooked or treated with any chemicals.
- Container: Find a suitable container to germinate the beans. This can be a mason jar, a plastic container with a lid, or even a small seed tray.
- Water: You’ll need clean, room temperature water for soaking the kidney beans and providing them with moisture during germination.
- Light source: While not necessary for germination, providing your sprouting beans with indirect sunlight or a grow light can promote healthier growth.
- Strainer or colander: To drain the soaking water and rinse the beans during the germination process.
- Paper towel or damp cloth: This will be used to cover the germination container and maintain the ideal level of moisture.
- Marker or label: It’s helpful to label your container with the date of planting to keep track of the progress.
Once you have gathered these materials, you’re ready to proceed with the germination process. Let’s move on to the first step: soaking the kidney beans.
Step 1: Soaking the Kidney Beans
The first step in germinating kidney beans is to soak them, which helps to soften the bean seed coat and kickstart the germination process. Follow these simple steps:
- Take the raw kidney beans and place them in a strainer or colander.
- Rinse the beans thoroughly under cool water to remove any dirt or debris.
- Transfer the washed beans to a clean container.
- Add enough room temperature water to fully submerge the beans.
- Cover the container with a lid or a clean cloth and let the beans soak overnight, or for a minimum of 8 to 10 hours.
During the soaking process, the beans will absorb water and begin to expand. This will help to soften the outer seed coat and initiate the germination process. Once the beans have soaked for the appropriate amount of time, it’s time to move on to the next step – preparing the germination container.
Tip: It’s essential to use room temperature water for soaking, as hot or cold water can damage the beans’ internal structures.
Step 2: Preparing the Germination Container
Now that your kidney beans have soaked overnight, it’s time to get them ready for germination. Follow these steps to prepare the germination container:
- Drain the soaked kidney beans using a strainer or colander. Make sure to remove any remaining water.
- Take the container you have chosen for germination and clean it thoroughly to ensure it is free from any dirt or contaminants.
- If using a mason jar or a container with a lid, ensure there are small drainage holes or perforations to allow excess water to escape.
- Line the bottom of the container with a damp paper towel or a damp cloth. This will provide moisture for the beans during germination.
- Transfer the drained kidney beans onto the damp cloth, spreading them out evenly.
- Place a damp paper towel or another layer of cloth on top of the beans to cover them gently.
- If using a container without a lid, cover it with a clean cloth or plastic wrap and secure it with a rubber band or a lid. This will help to create a humid environment for the beans.
By creating a moist and humid environment, you are providing the ideal conditions for the kidney beans to germinate. The damp cloth or paper towel helps to regulate moisture levels and encourages the sprouting process. Now that the germination container is prepared, it’s time to move on to the next step – planting the kidney beans.
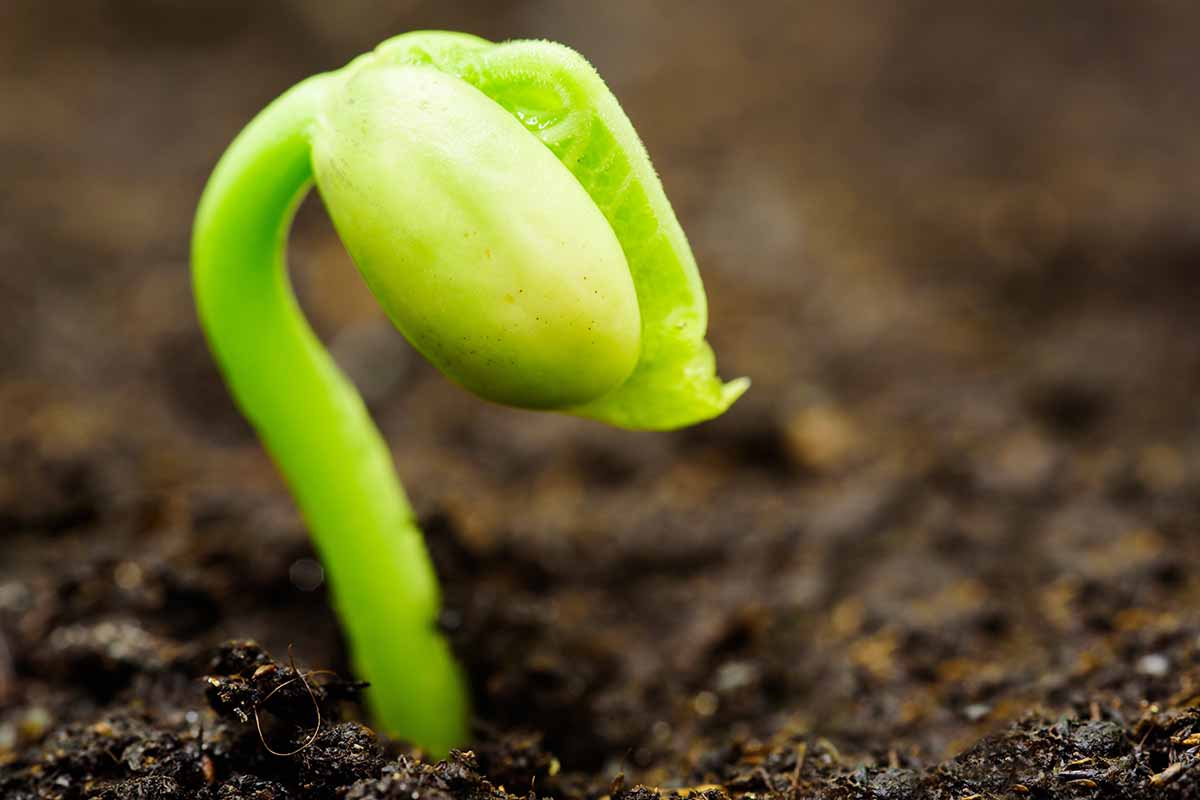
Step 3: Planting the Kidney Beans
With your germination container ready, it’s time to plant the sprouting kidney beans. Follow these steps to ensure proper planting:
- Carefully remove the top layer of damp cloth or paper towel from the germination container.
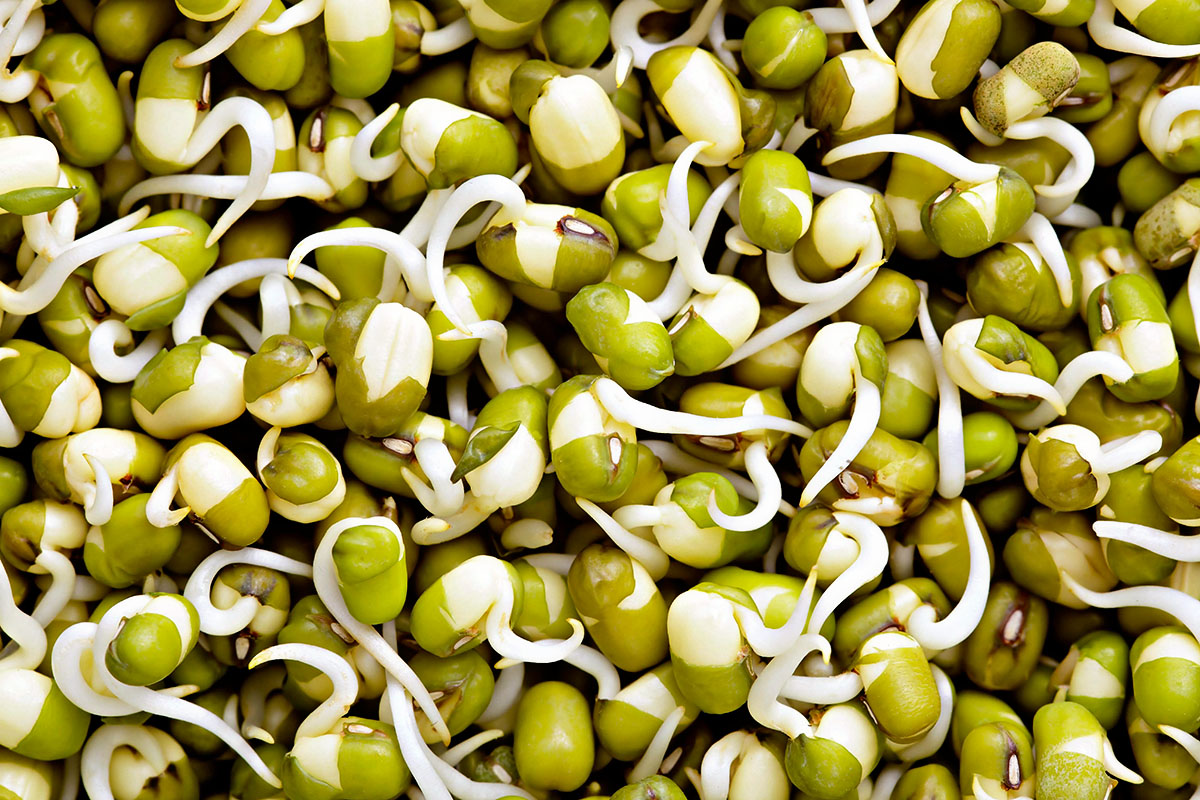
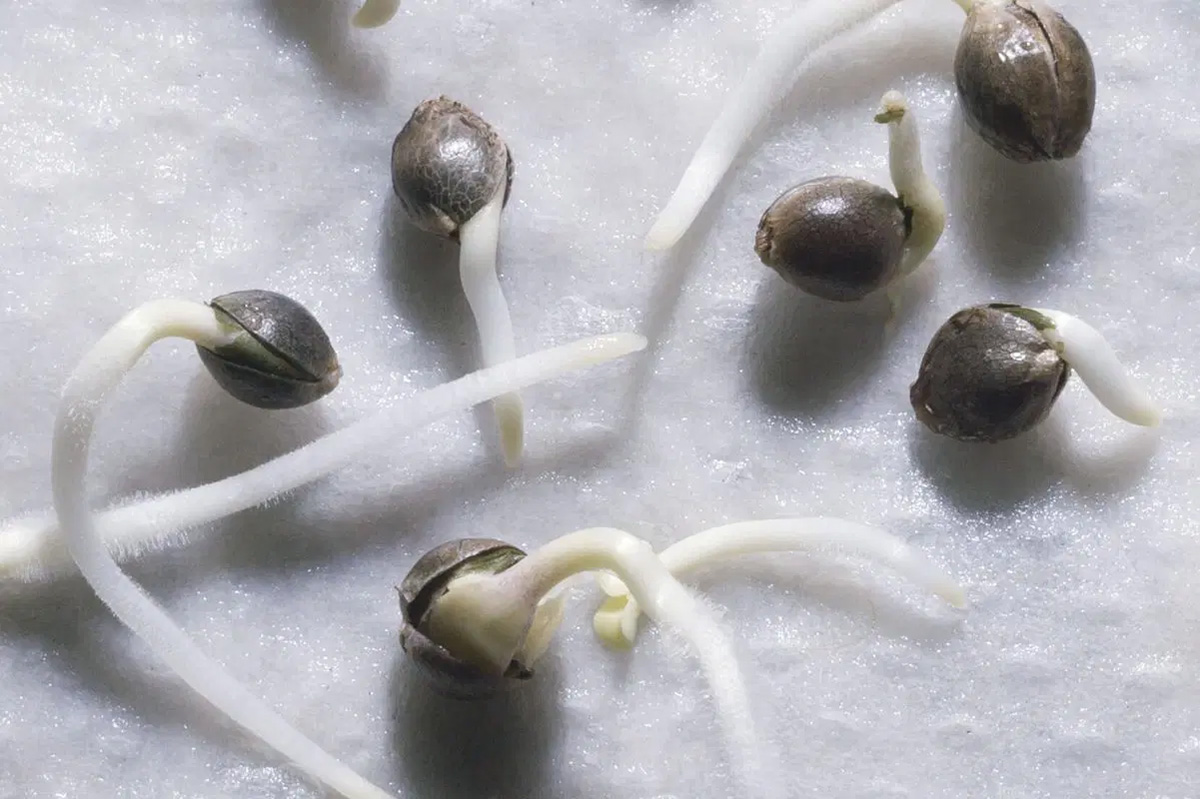
- Inspect the kidney beans for any signs of sprouting. Look for tiny root tips emerging from the beans.
- Choose the beans that have sprouted and discard any that haven’t shown signs of germination.
- Take the sprouted kidney beans and gently place them on the damp cloth or paper towel in the germination container.
- Space the beans evenly and make sure they are not touching each other to allow room for growth.
It’s important to note that not all kidney beans will sprout at the same time. Some beans may take longer to germinate, while others may sprout more quickly. Be patient and give them time.
Now that you have planted the sprouted kidney beans, it’s time to provide them with the optimal conditions for germination. Let’s move on to the next step – providing optimal conditions for germination.
Soak kidney beans in water for 8-12 hours, then place them in a damp paper towel in a plastic bag. Keep the bag in a warm, dark place and check daily for sprouting. Transplant sprouted beans into soil once they have roots.
Read more: How To Germinate Wax Beans
Step 4: Providing Optimal Conditions for Germination
Now that your kidney beans are planted, it’s crucial to create the optimal environment for germination. By providing the right conditions, you can help the beans grow strong and healthy. Follow these guidelines to ensure the best chances of successful germination:
- Light: Place the germination container in a location where it will receive indirect sunlight. If natural light is not readily available, you can use a fluorescent grow light placed a few inches above the container. Avoid exposing the beans to direct sunlight, as it can cause them to dry out quickly.
- Temperature: The ideal temperature range for kidney bean germination is between 70°F and 80°F (21°C to 27°C). Ensure that the area where the beans are placed maintains a consistent temperature within this range.
- Humidity: Beans prefer a humid environment for germination. If the cloth or towel lining the container begins to dry out, lightly mist it with water to keep the humidity levels stable. Avoid oversaturating or drenching the beans, as excessive moisture can lead to fungal growth.
- Air Circulation: While humidity is important, proper air circulation is equally crucial. Ensure that there is adequate airflow around the germination container to prevent the growth of mold or fungal diseases on the beans.
It’s important to monitor the conditions regularly and make any necessary adjustments. Germination can take anywhere from a few days to a couple of weeks, depending on various factors such as temperature, moisture, and bean quality. During this time, you can observe the progress of the sprouting beans and watch as they develop into seedlings.
Now that you have set up the optimal conditions for germination, let’s move on to the next step – caring for the germinating kidney beans.
Step 5: Caring for the Germinating Kidney Beans
As your kidney beans continue to germinate and sprout, it’s important to provide them with proper care to ensure their healthy growth. Here are some essential tips to follow:
- Moisture: Check the damp cloth or paper towel in the germination container regularly to ensure it remains moist but not waterlogged. If it starts to dry out, lightly mist it with water to maintain the desired moisture level.
- Avoid Overwatering: While maintaining moisture is crucial, overwatering can lead to rot or fungal diseases. Ensure that the container has proper drainage to prevent excess water from pooling at the bottom.
- Lighting: Continue to provide the germinating beans with indirect sunlight or a grow light. Rotate the container every few days to ensure even exposure to light, promoting straight growth.
- Monitor Temperature: Ensure the temperature remains within the ideal range of 70°F to 80°F (21°C to 27°C). Extreme temperature fluctuations can stress the seedlings, so avoid placing them near drafts or heat sources.
- Inspect Regularly: Keep an eye on the progress of the sprouting beans. Look for signs of healthy growth, such as lengthening roots and emerging shoots. Remove any beans that haven’t sprouted after a reasonable amount of time.
- Patience and Care: Remember that each bean may germinate at its own pace. Be patient and avoid disturbing the germinating beans unnecessarily. Handle them gently to prevent any damage to the emerging roots and shoots.
By following these care guidelines, you are providing the germinating kidney beans with the optimal conditions they need to thrive. As they continue to grow, you’ll notice the seedlings developing and becoming stronger each day.
Now that you have nurtured the germinating beans, it’s time to transfer them to soil. Let’s proceed to the final step – transferring the sprouted kidney beans to soil.
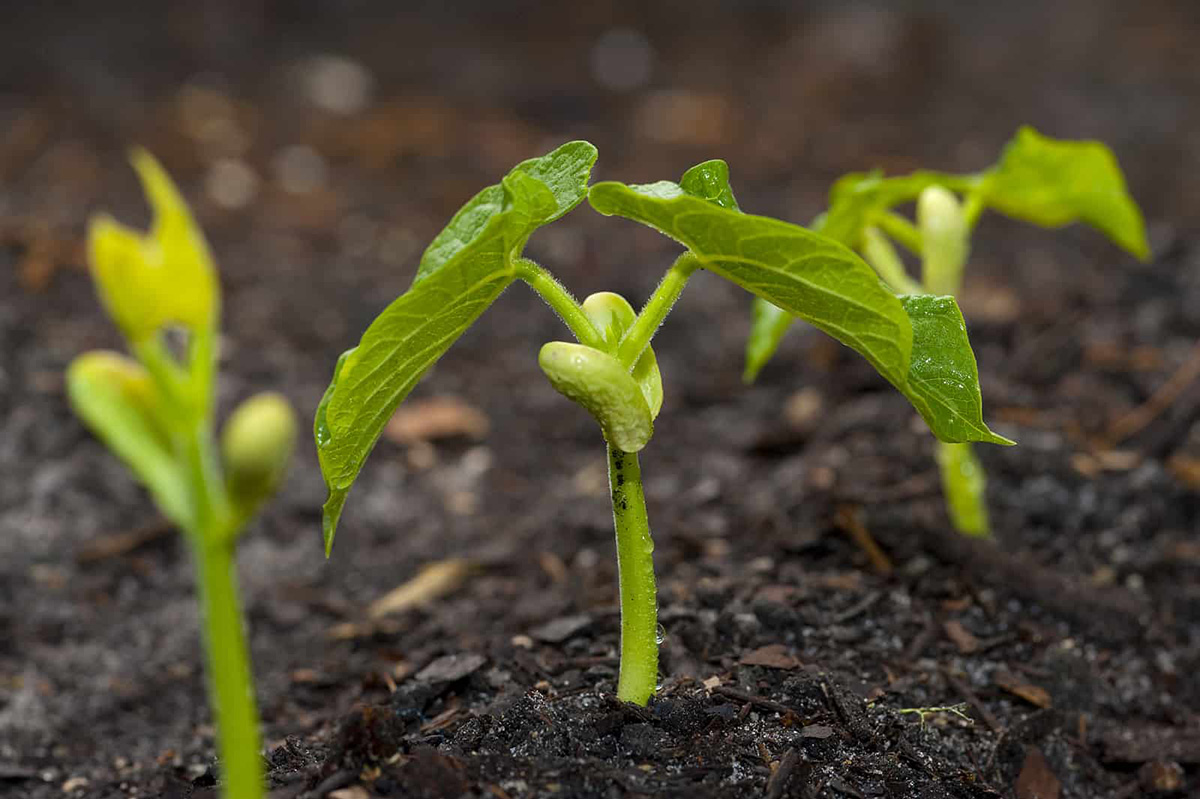
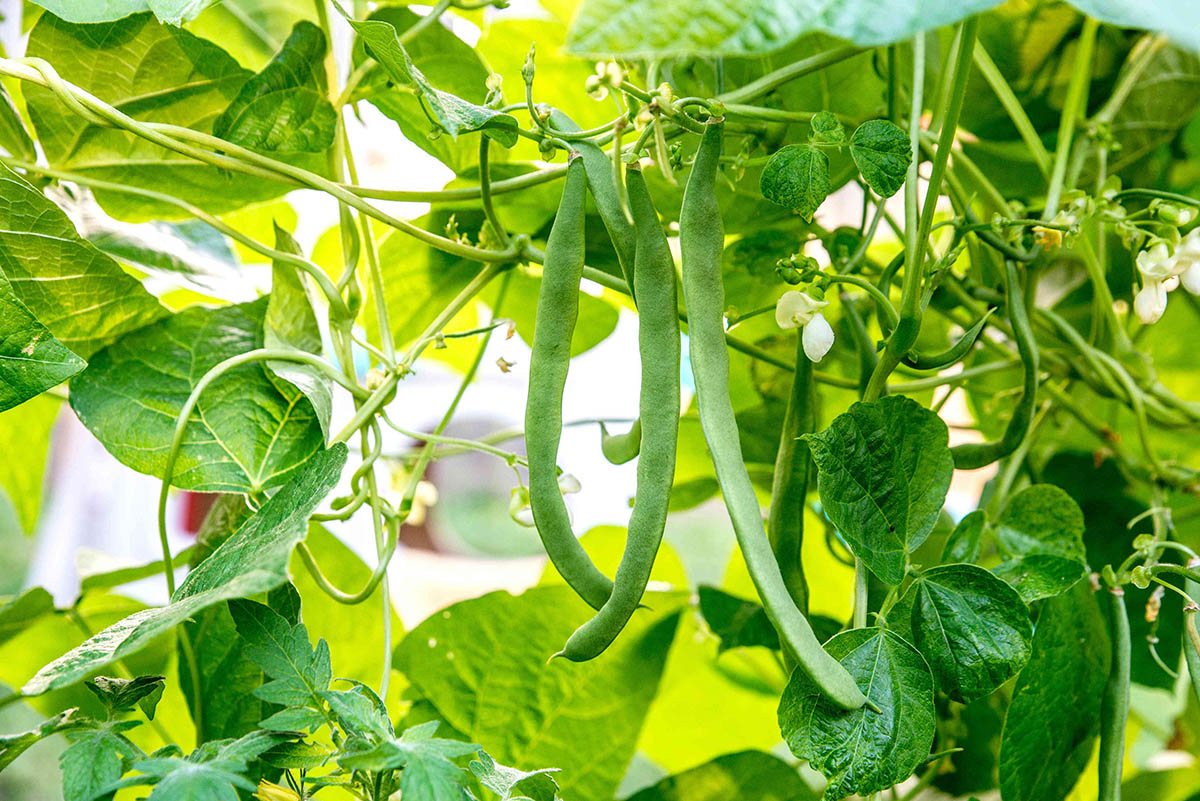
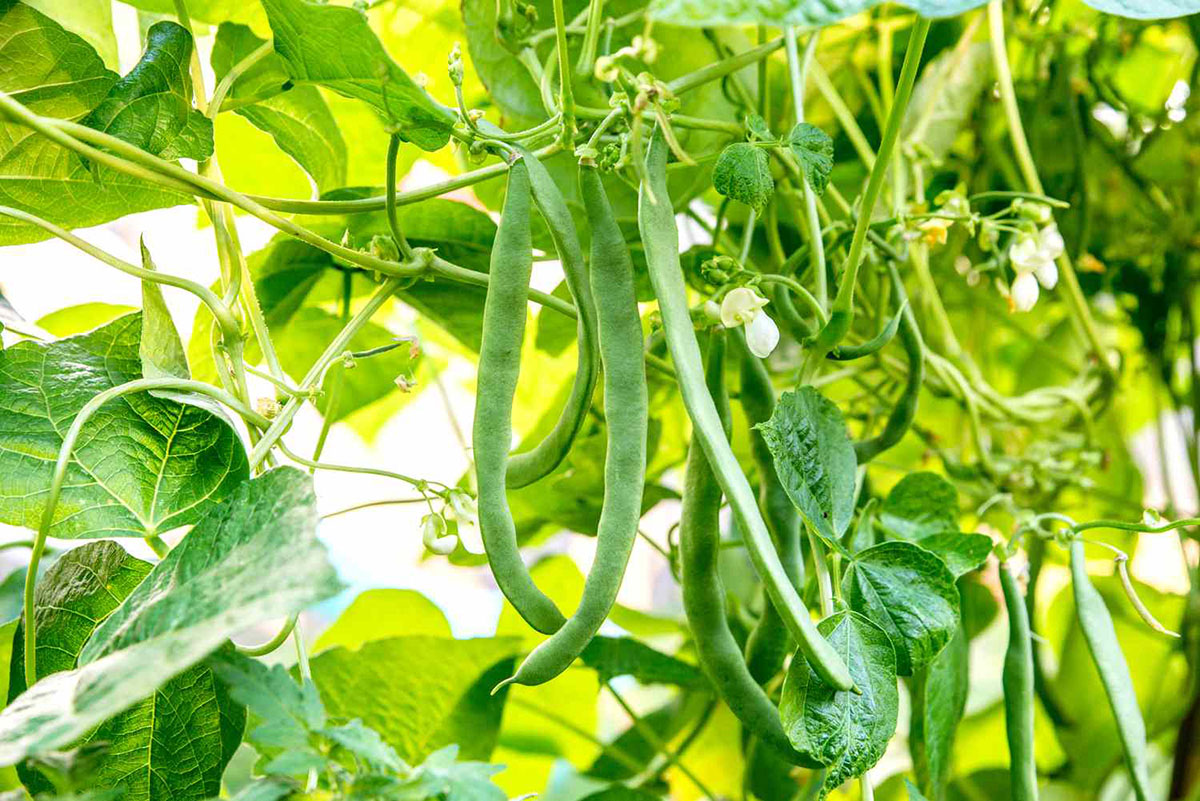
Step 6: Transferring the Sprouted Kidney Beans to Soil
Congratulations on successfully germinating your kidney beans! Now it’s time to transplant the sprouted beans into a suitable soil medium to allow them to continue growing and developing. Follow these steps for a smooth transition:
- Prepare the planting area: Choose a well-draining location in your garden or a large pot if you’re planning to grow them indoors. Ensure that the soil is loose, well-aerated, and enriched with organic matter.
- Dig holes: Dig holes in the soil about 2-3 inches deep and space them at least 4-6 inches apart to provide enough room for the kidney bean seedlings to grow.
- Transplant the seedlings: Gently remove the sprouted kidney beans from the germination container, being careful not to damage the delicate roots and shoots. Place each seedling into a hole and cover it with soil, ensuring the roots are well-covered.
- Water thoroughly: After planting, water the seedlings thoroughly, making sure the soil is evenly moist. Avoid overwatering, as it can lead to root rot. Maintain consistent moisture levels as the seedlings establish in their new environment.
- Provide support (optional): If you’re growing kidney beans that are pole or climbing varieties, install support structures like trellises or poles to help the plants climb and thrive.
- Maintain care and provide support: As the kidney bean plants grow, continue to monitor their development and provide support if necessary. Water the plants regularly, ensuring the soil remains consistently moist but not waterlogged.
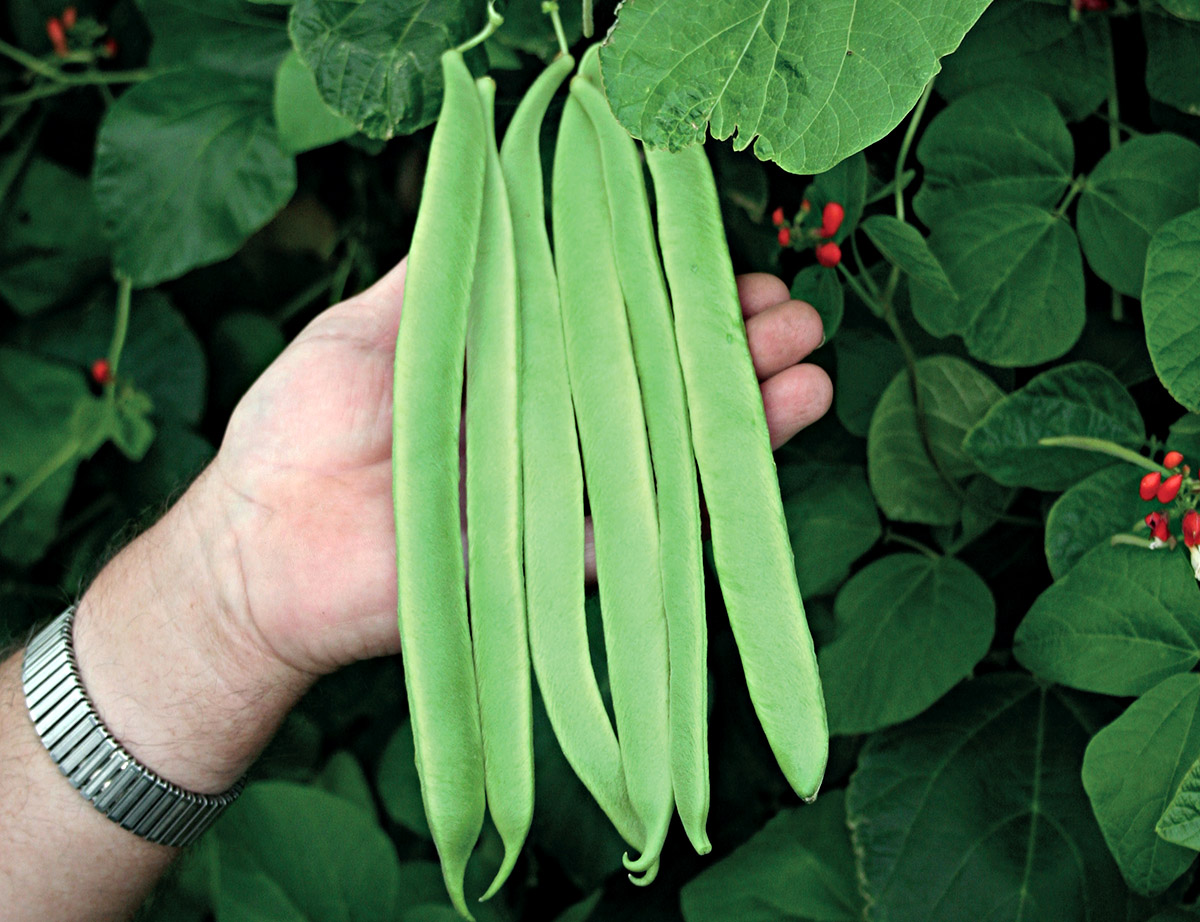
With proper care and regular maintenance, your sprouted kidney beans will continue to grow and flourish. Keep an eye out for pests and diseases, and treat any issues promptly to ensure the health of your plants.
Before you know it, you’ll be enjoying a bountiful harvest of fresh kidney beans, ready to incorporate into your favorite recipes. Happy gardening!
As a garden expert, always remember to regularly research and stay updated on the best practices for growing kidney beans or any other plants in specific climates or regions.
By following these steps, you can successfully germinate kidney beans and have the pleasure of watching them grow and flourish. Enjoy the journey of nurturing these amazing plants and reap the rewards of a bountiful harvest!
Remember to have fun, be patient, and enjoy the process of gardening. With a little time and effort, you can create a beautiful and productive garden filled with vibrant kidney beans and an abundance of fresh produce.
Happy gardening!
Conclusion
Congratulations, you have now learned how to germinate kidney beans and embark on a rewarding gardening adventure. By following the simple steps outlined in this guide, you can successfully germinate kidney beans and witness the magic of plant life firsthand.
From soaking the kidney beans to preparing the germination container, planting the beans, and providing optimal conditions for germination, you have gained the knowledge and skills to nurture these legumes from seed to sprout. Transferring the sprouted kidney beans to soil ensures that they continue to grow and thrive, eventually leading to a bountiful harvest.
Throughout the germination process, remember to provide the beans with adequate moisture, temperature, light, and airflow. Regularly check on the progress of the sprouting beans and make any necessary adjustments to maintain an ideal environment for their growth.
Gardening is not only a rewarding hobby but also a source of fresh and nutritious produce. Growing your own kidney beans allows you to have a hands-on experience, connect with nature, and enjoy the satisfaction of harvesting your own homegrown food.
Remember to research and adapt the practices to suit your specific climate and region. Each gardening journey is unique, and through observation, care, and patience, you will develop your own techniques and knowledge along the way.
So why wait? Grab your kidney beans, gather the materials, and start germinating! With a little effort and a lot of love, you’ll soon have a beautiful garden filled with thriving kidney bean plants.
Happy gardening and enjoy the fruits of your labor!
Frequently Asked Questions about How To Germinate Kidney Beans
Was this page helpful?
At Storables.com, we guarantee accurate and reliable information. Our content, validated by Expert Board Contributors, is crafted following stringent Editorial Policies. We're committed to providing you with well-researched, expert-backed insights for all your informational needs.


0 thoughts on “How To Germinate Kidney Beans”