Home>Garden Essentials>How To Get Azalea Seeds
Garden Essentials
How To Get Azalea Seeds
Modified: August 17, 2024
Learn how to get azalea seeds for your garden and start growing beautiful flowers. Expert tips and techniques to ensure successful seed germination.
(Many of the links in this article redirect to a specific reviewed product. Your purchase of these products through affiliate links helps to generate commission for Storables.com, at no extra cost. Learn more)
Introduction
Welcome to our comprehensive guide on how to get azalea seeds! If you’re a garden enthusiast looking to add some vibrant and beautiful azaleas to your collection, growing them from seeds is a rewarding and cost-effective option. Not only will you have the satisfaction of nurturing these lovely plants from their earliest stages, but you’ll also have the opportunity to select specific varieties and create a truly unique garden.
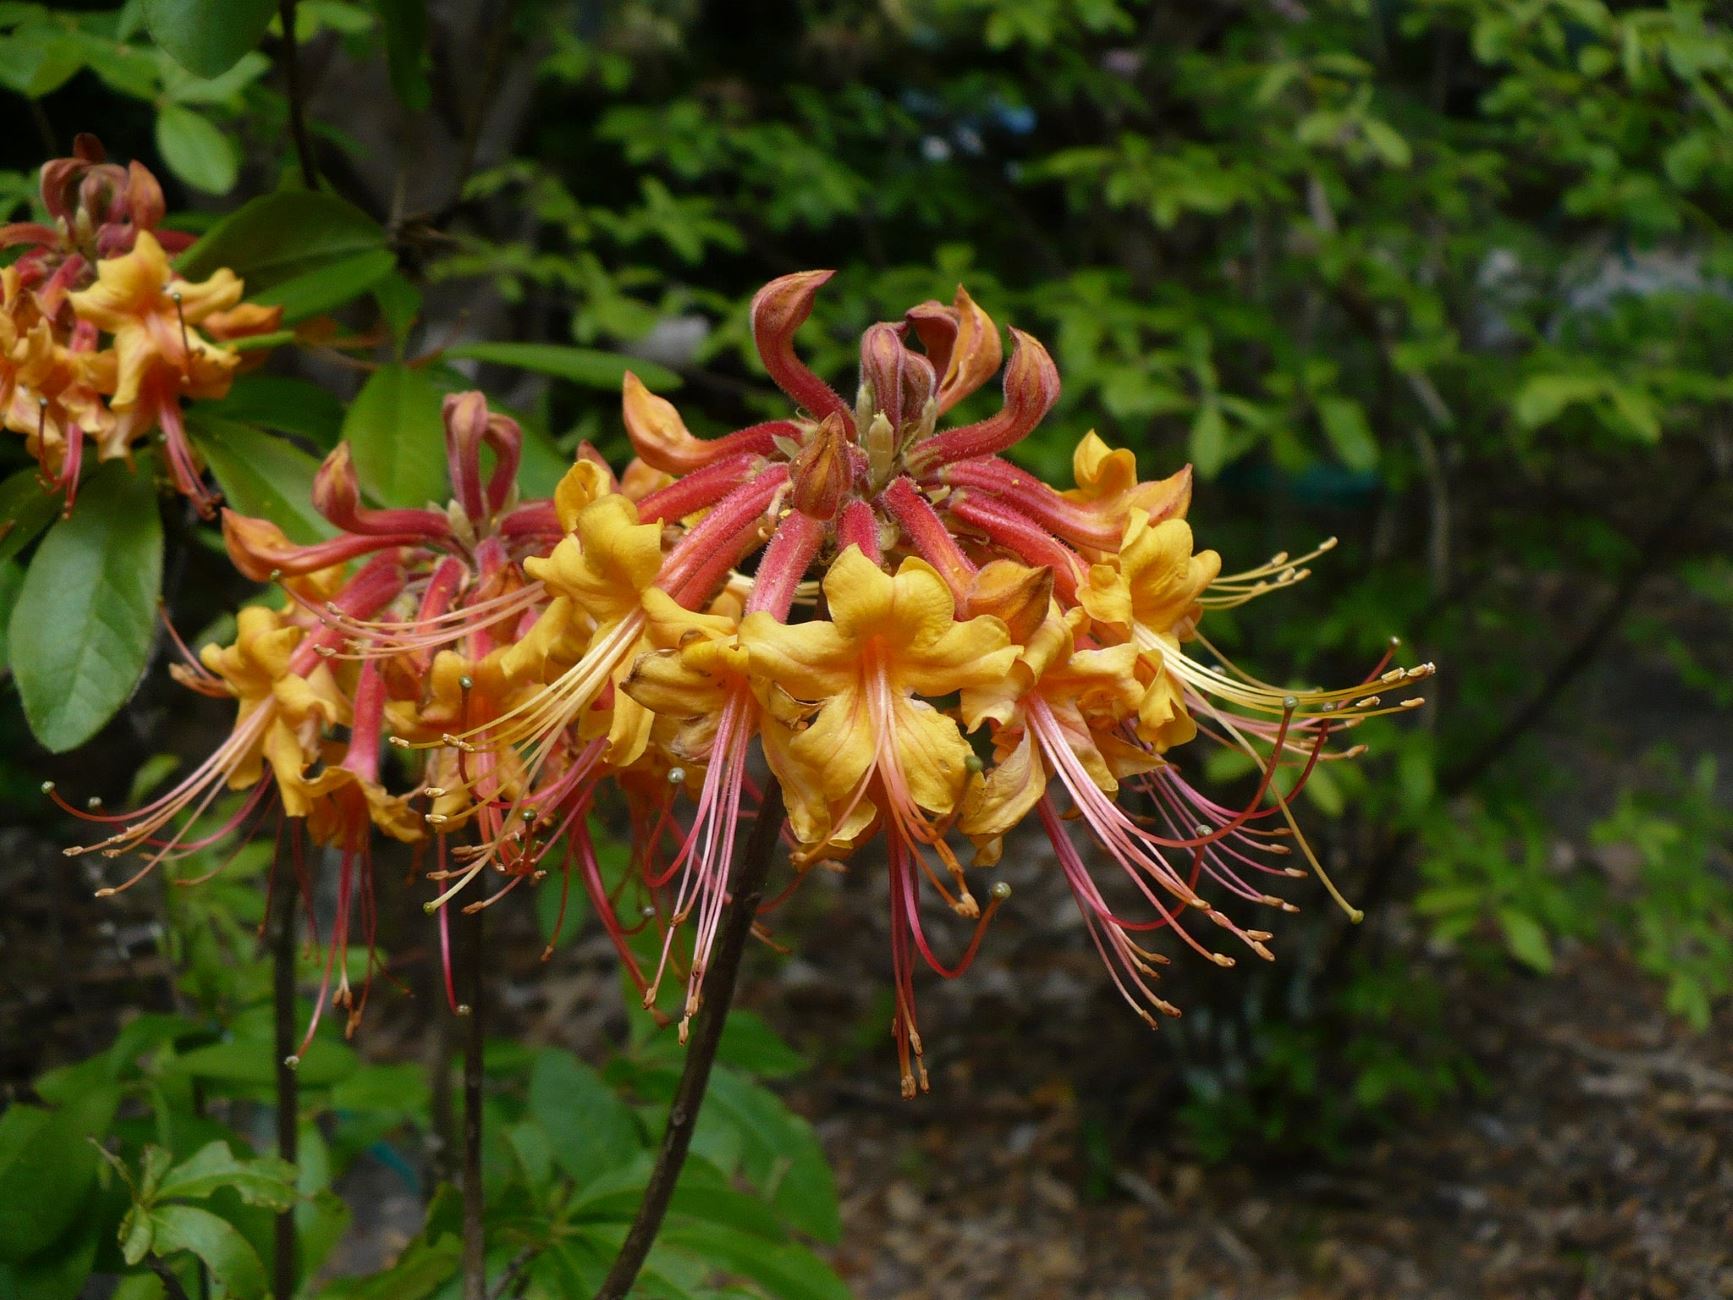
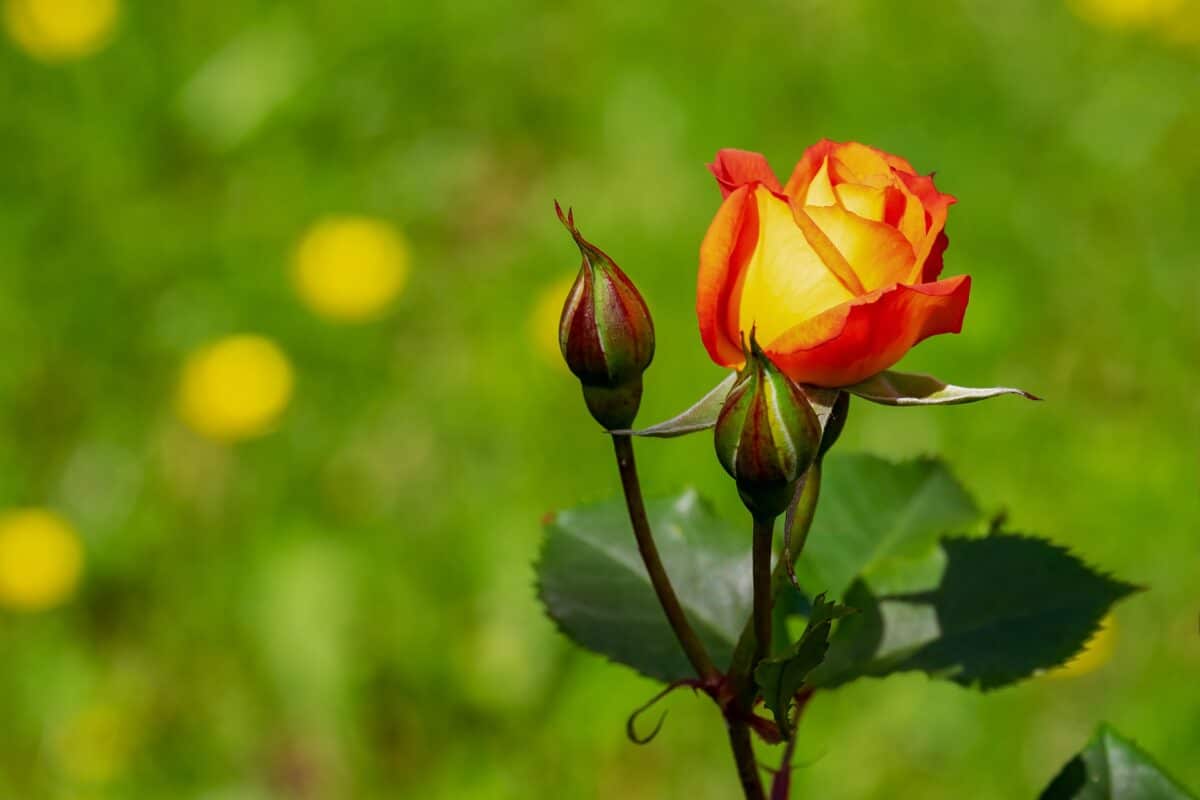
Azaleas are popular flowering shrubs that belong to the Rhododendron genus. They are known for their abundant, colorful blooms that come in a wide range of shades, including pink, red, purple, orange, and white. These versatile plants can thrive in various climates, making them a popular choice for gardeners worldwide.
In this guide, we will walk you through the process of obtaining azalea seeds, preparing them for planting, nurturing the seedlings, troubleshooting common issues, and even harvesting seeds for future propagation. By following these steps and tips, you’ll be well on your way to growing your own azaleas and creating a stunning garden display.
So, let’s dive into the world of azaleas and learn how to get started with growing these enchanting plants from seeds!
Key Takeaways:
- Choose the right azalea variety based on climate, bloom time, size, color, and appearance to ensure thriving plants in your garden. Seek advice from local resources and experienced gardeners for the best selection.
- Harvest and store azalea seeds carefully to preserve genetic diversity and create new plants. Enjoy the process of propagating these stunning flowering shrubs and share the joy of growing them with fellow gardeners.
Read more: How To Get Seeds
Choosing the Right Azalea Variety
One of the first steps in growing azaleas from seeds is choosing the right variety that suits your preferences and growing conditions. With a wide range of azalea cultivars available, each with its own unique characteristics and requirements, it’s essential to select the variety that will thrive in your garden.
Here are a few factors to consider when choosing the right azalea variety:
- Climate: Azaleas have specific temperature and humidity requirements. Before selecting a variety, determine whether your climate is compatible with the specific azalea species or cultivar. Some azaleas are better suited to warmer climates, while others can withstand cold temperatures.
- Bloom Time: Azaleas offer blooms in various seasons, including spring, summer, and fall. Consider when you’d like your azaleas to bloom and choose a variety that matches your desired bloom time. Keep in mind that some varieties bloom once a year, while others may have multiple blooming cycles.
- Size and Growth Habit: Azaleas come in a range of sizes, from dwarf varieties that stay compact to larger types that can reach several feet in height. Consider the available space in your garden and select a variety that fits well in terms of size and growth habit.
- Flower Color: Azaleas offer a stunning array of colors, including vibrant pinks, rich reds, and elegant whites. Choose a color that complements your existing garden color palette or go for a stand-out shade that will make a statement.
- Overall Appearance: Pay attention to the foliage and overall appearance of the azalea variety. Some azaleas have glossy leaves, while others have a more matte texture. Consider whether you prefer a compact, bushy form or a more open and airy growth habit.
When researching azalea varieties, consult local gardening resources, visit nurseries, and seek advice from experienced gardeners. They will provide valuable insights into the best azalea varieties for your specific location and growing conditions.
By carefully considering these factors, you can choose the perfect azalea variety that will thrive in your garden and bring beauty and charm to your outdoor space.
Gathering Azalea Seeds
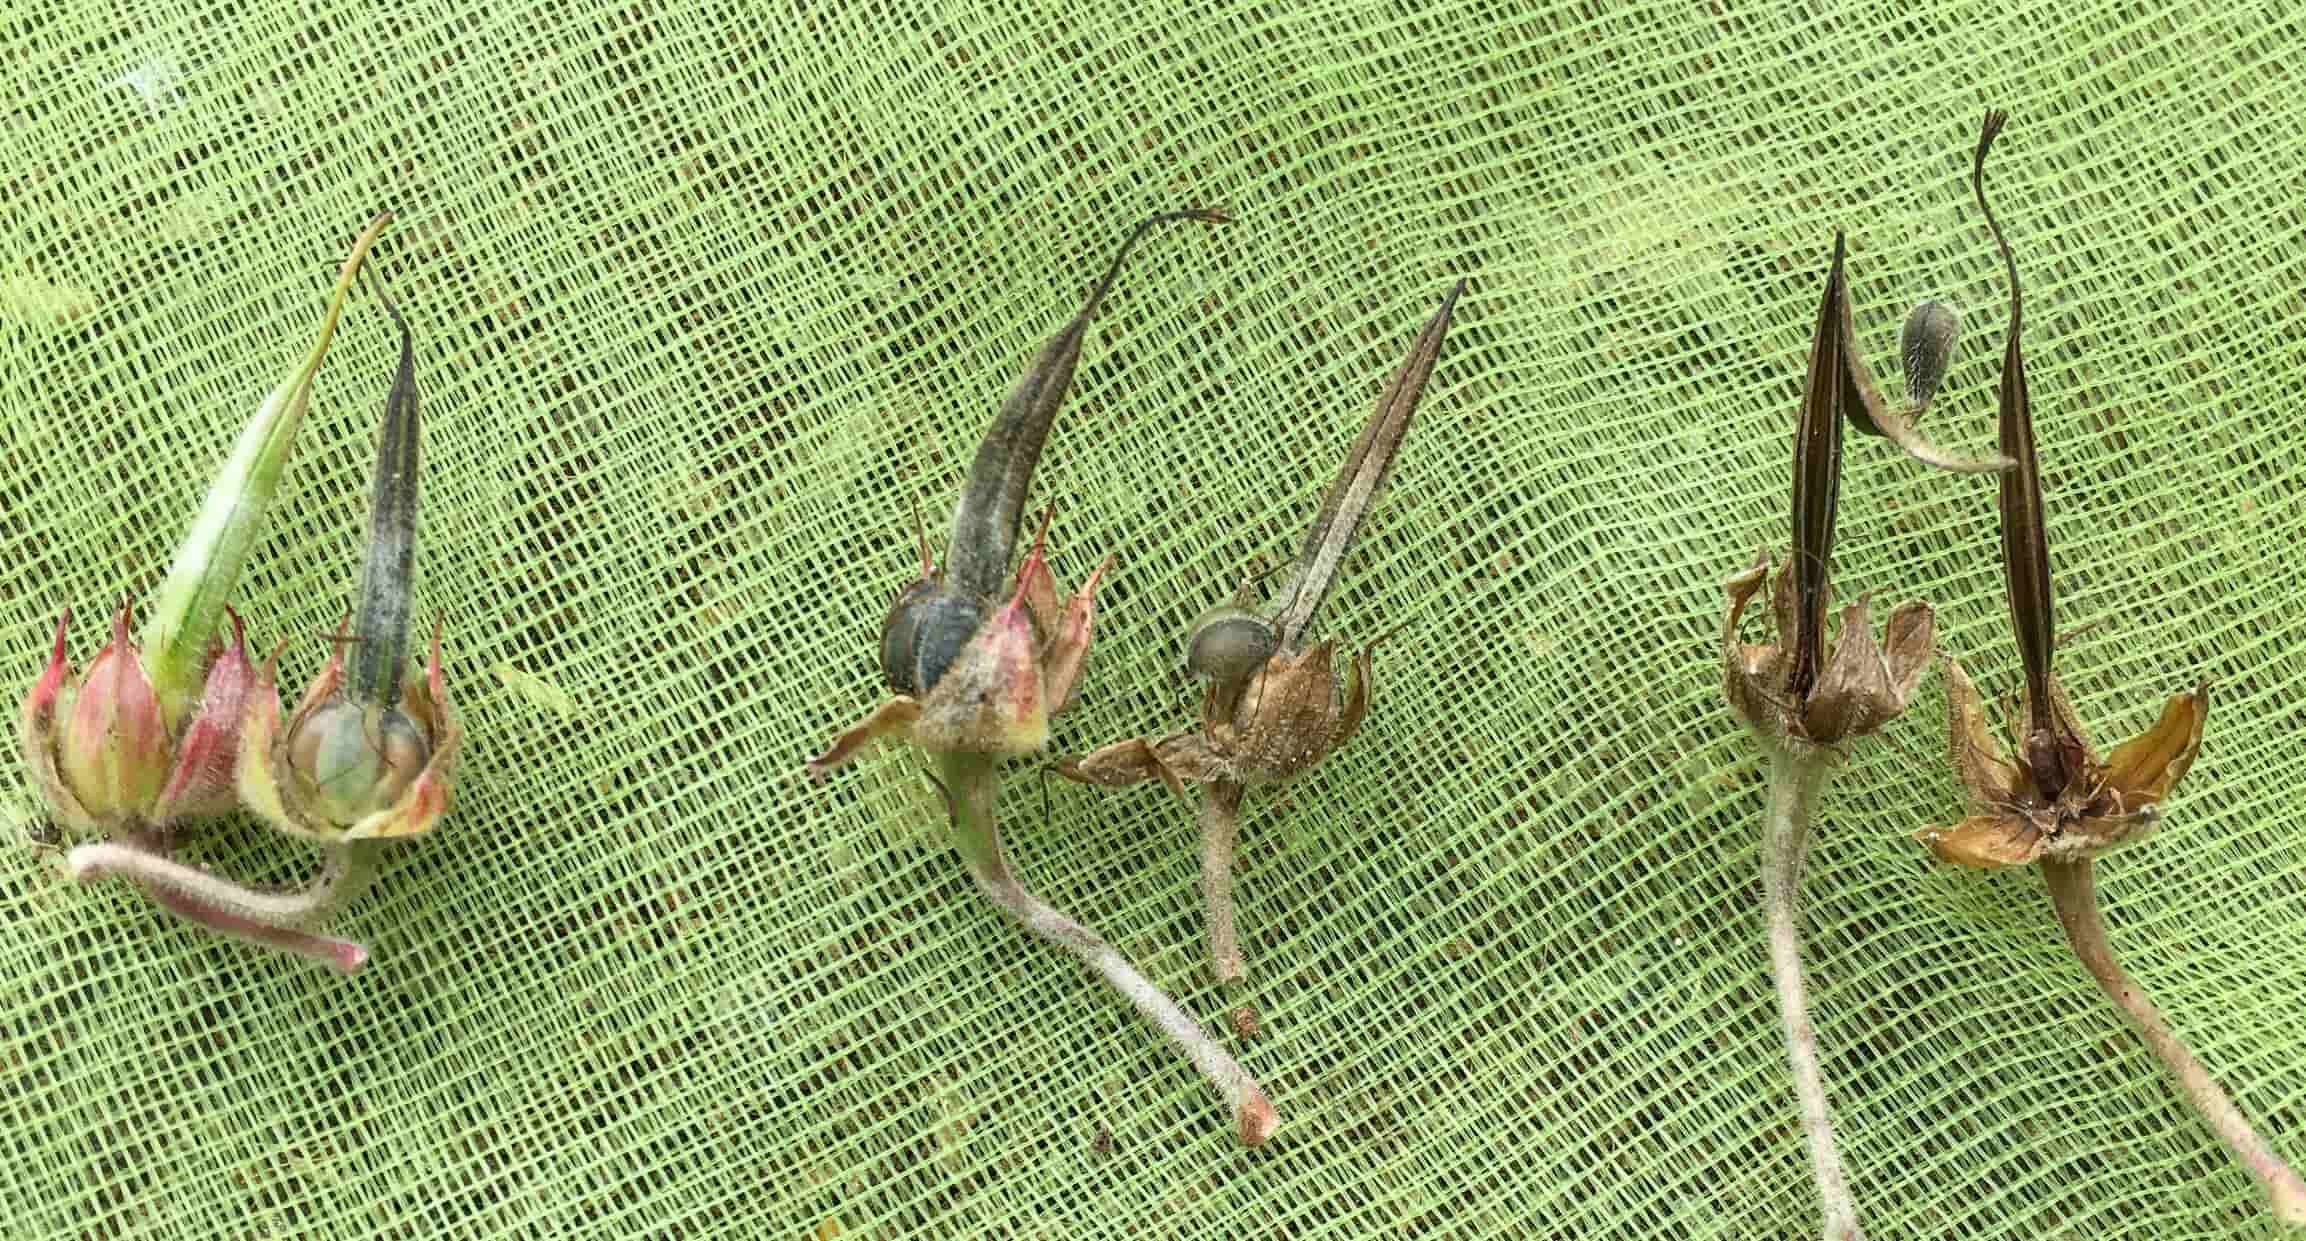
Gathering azalea seeds is an exciting part of the process, as it allows you to propagate new plants and expand your azalea collection. Azaleas produce seed pods, known as capsules or fruits, after they have finished blooming. These seed pods contain the seeds that can be collected and planted to grow new azaleas. Here’s how to gather azalea seeds:
- Timing: Wait until the azalea seed pods have ripened and turned brown in color. This usually occurs in the late summer or early fall, depending on the specific azalea variety and your region’s climate.
- Seed Pod Inspection: Examine the seed pods to ensure they are fully developed. Gently squeeze the pod to check for firmness. If it feels soft or unripe, leave it on the plant for a little longer. Only collect seed pods that are fully mature.
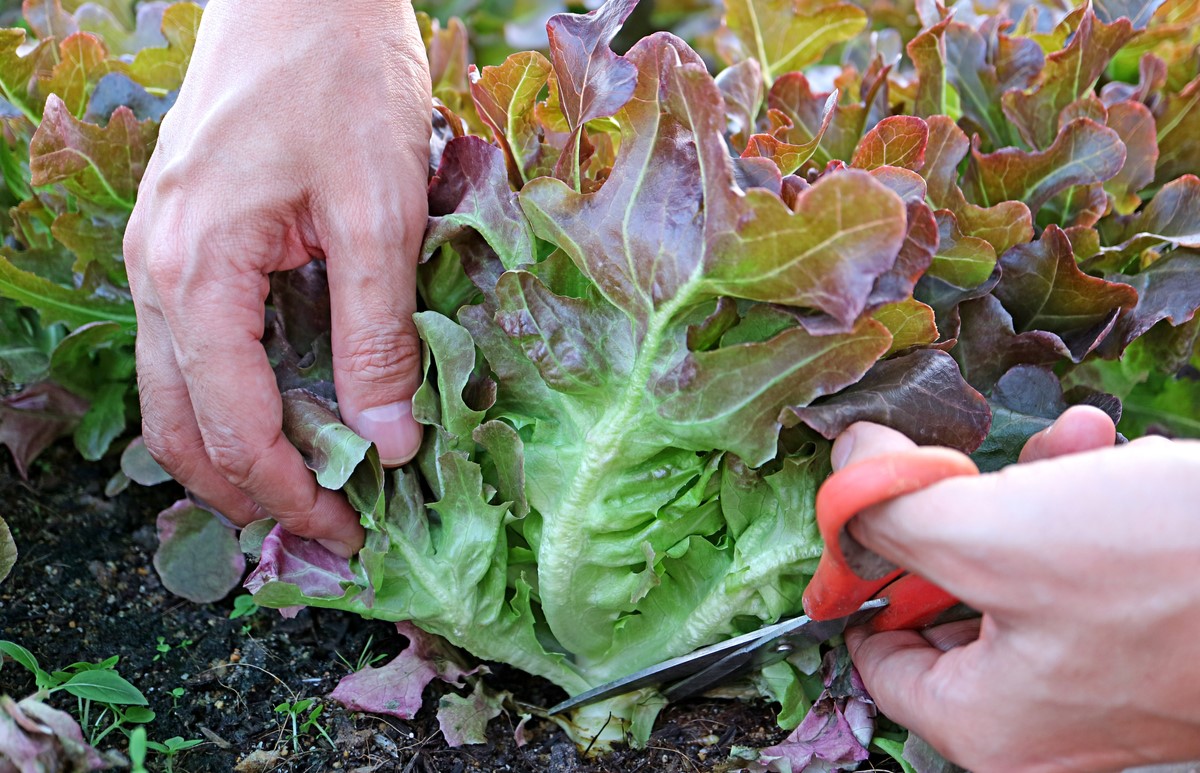
- Seed Pod Harvesting: Using clean and sharp pruning shears or scissors, carefully remove the seed pods from the azalea plant. Place them in a clean container or envelope, making sure to label them with the variety name or any relevant information. This will help you keep track of the seeds and their respective varieties.
- Drying the Seed Pods: Allow the seed pods to dry in a well-ventilated area for a few weeks. This will ensure that the seeds inside are completely dry before you extract them. Shake the seed pods occasionally to help loosen the seeds.
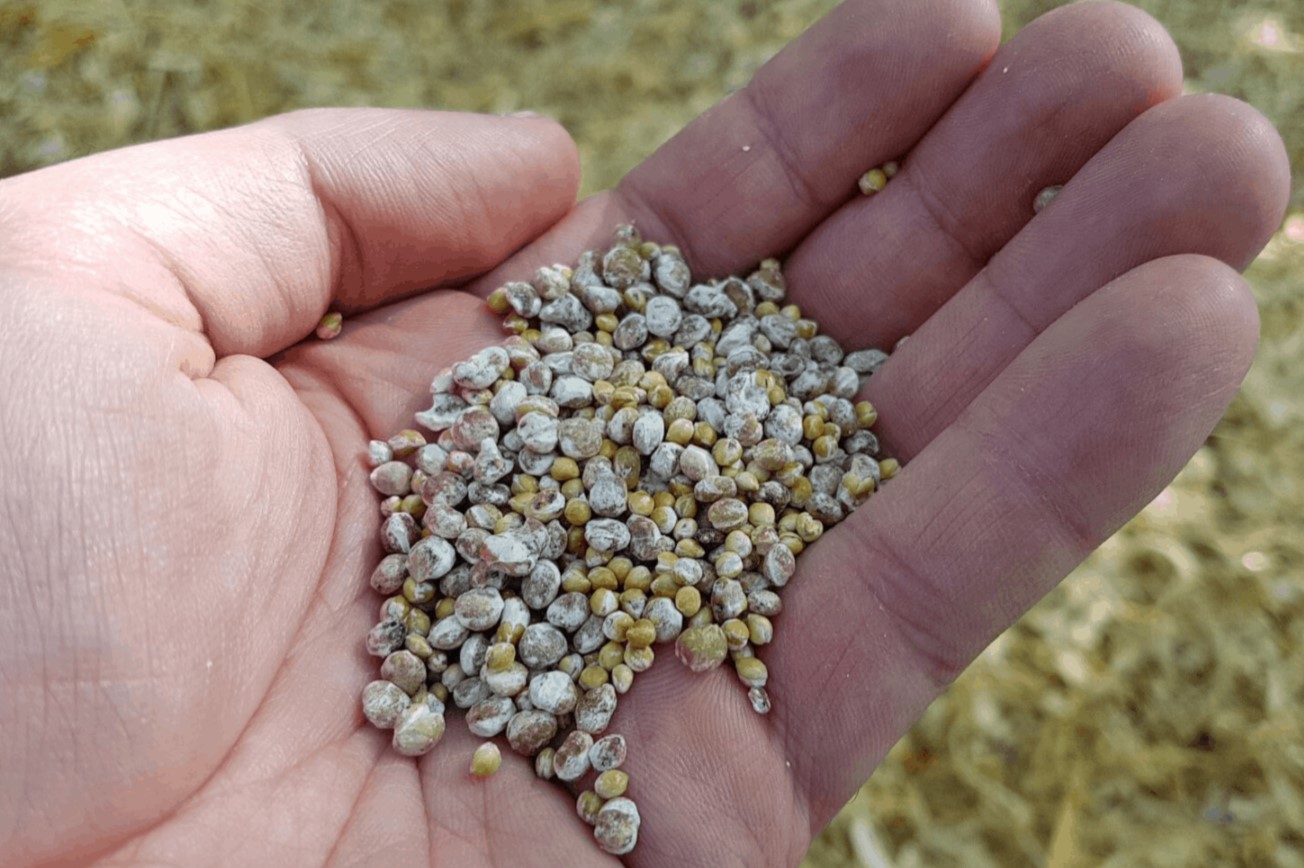
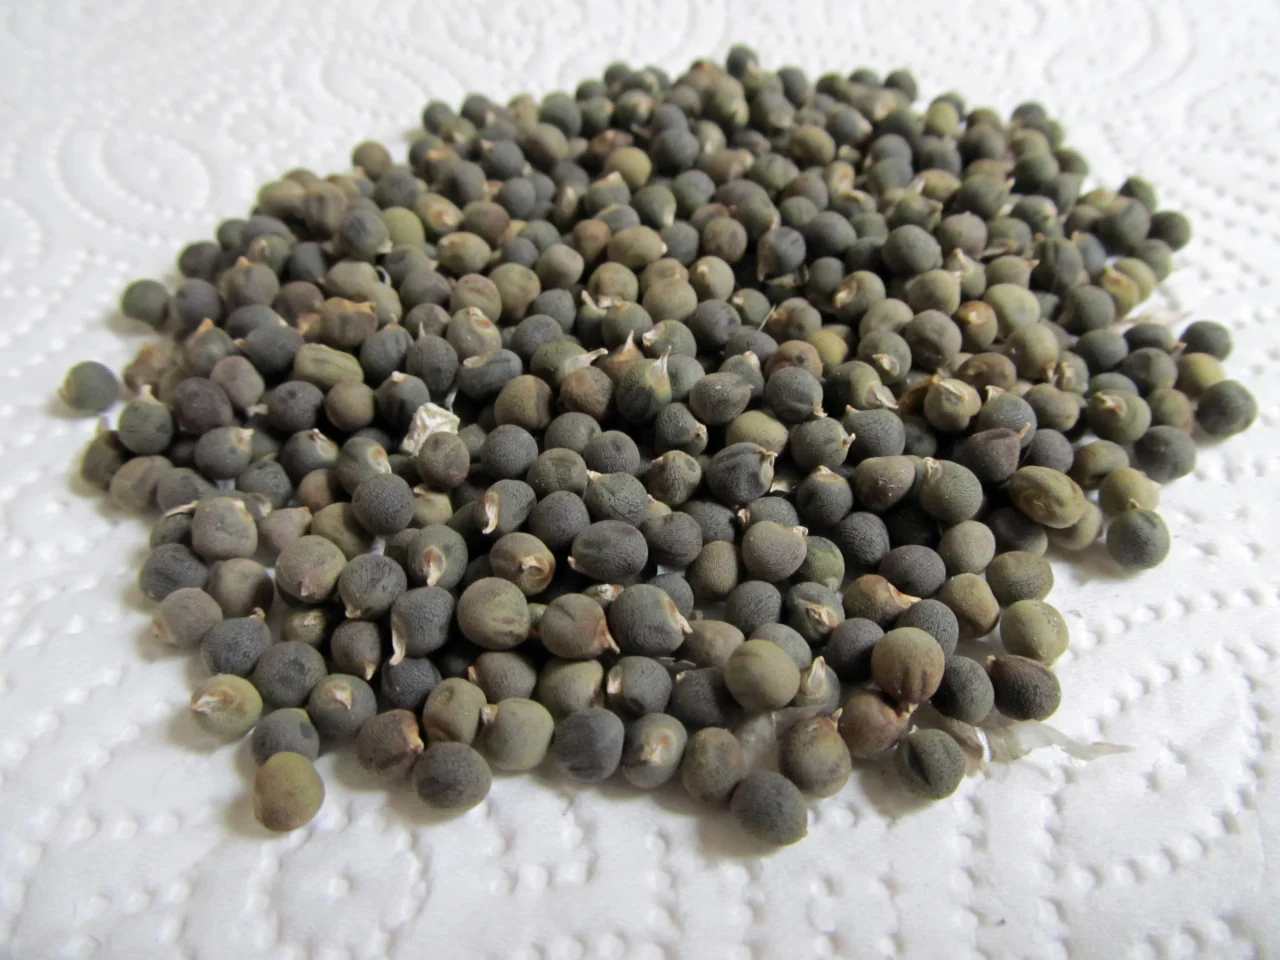
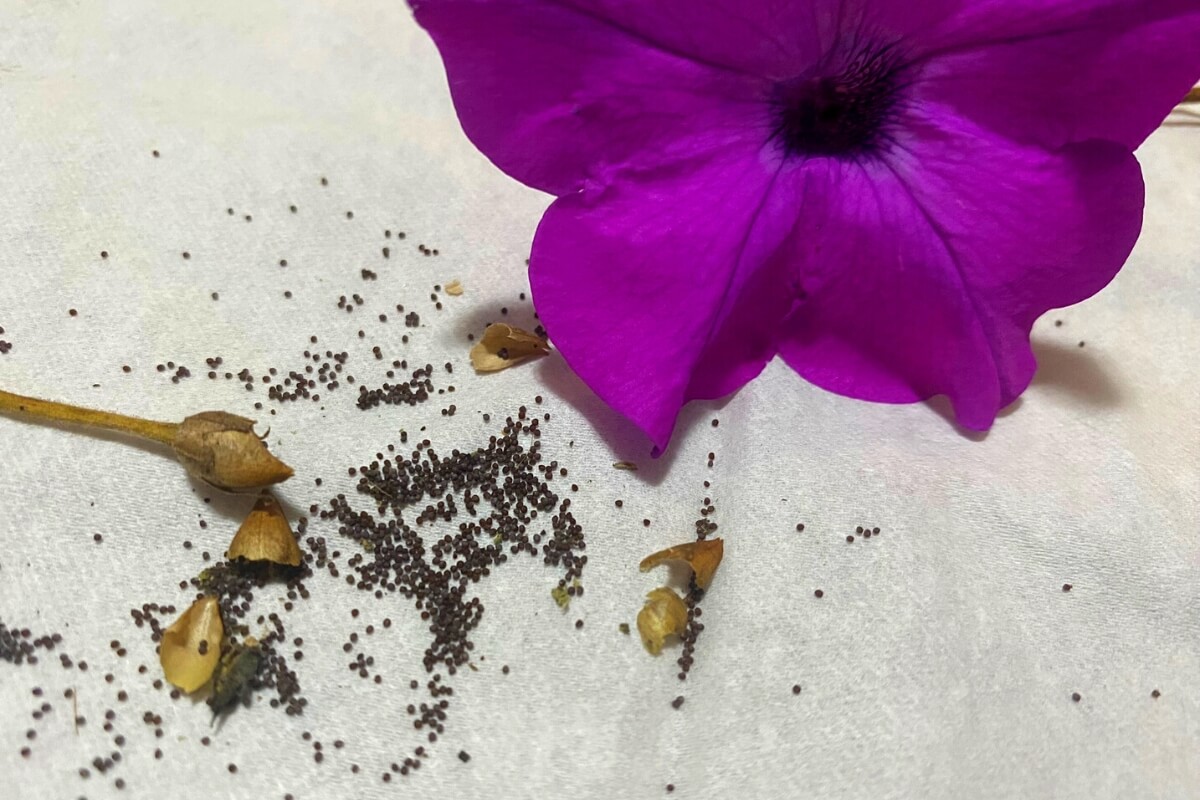
- Extracting the Seeds: Once the seed pods are dry, gently open them to reveal the small, black or brown seeds inside. It’s important to be gentle to avoid damaging the seeds. Use your fingers or tweezers to extract the seeds and place them in a labeled envelope or airtight container for storage.
It’s worth noting that not all azaleas produce an abundance of seeds, and some varieties may produce more viable seeds than others. Don’t be discouraged if you have a limited number of seeds to work with. With proper care and cultivation, even a few seeds can lead to beautiful azalea plants.
Remember to store the extracted seeds in a cool, dry place until you are ready to plant them. Proper storage will help maintain seed viability and increase the chances of successful germination when it’s time to plant your azalea seeds.
Now that you have gathered your azalea seeds, it’s time to prepare them for planting and embark on the journey of growing your own azaleas from seed.
Preparing the Seeds for Planting
Before you can sow your gathered azalea seeds, it’s important to properly prepare them to maximize their chances of germination and successful growth. Preparing the seeds involves a few simple steps that will ensure the best possible start for your azalea seedlings. Here’s how to prepare your azalea seeds for planting:
- Cleaning the Seeds: Start by cleaning the seeds to remove any debris or residue that may be clinging to them. You can gently rinse the seeds in clean water and pat them dry with a soft cloth. Alternatively, you can use a fine mesh sieve to sift through the seeds and remove any impurities.
- Seed Stratification: Azalea seeds often benefit from a period of stratification, which mimics the natural conditions they would experience in the wild. Stratification involves simulating cold temperatures to break the seed dormancy and stimulate germination. To stratify your seeds, place them in a plastic bag or container with some moistened peat moss or vermiculite. Seal the bag/container and refrigerate it for 4-6 weeks. This chilling period is necessary for many azalea seeds to germinate successfully.
- Scarification: Some azalea seeds have hard seed coats that can inhibit germination. To overcome this, you can lightly scarify the seed coats to help water penetrate and promote germination. Gently rub the seeds with sandpaper or nick them with a sharp blade. Be careful not to damage the internal seed structure while doing this.
- Soaking the Seeds: After stratification and scarification, you can further enhance the germination rate by soaking the azalea seeds in water overnight. This softens the seed coats and helps trigger the germination process.
- Optional Fungicide Treatment: If you are concerned about potential fungal issues during germination, you can treat the azalea seeds with a fungicide. Follow the instructions provided with the fungicide and ensure it is safe for use on seeds. This step is not essential but can help prevent damping-off and other fungal diseases.
By following these steps, you’ll be preparing your azalea seeds for optimal germination and growth. Once the seeds are properly prepared, it’s time to move on to the exciting phase of planting them and watching them sprout into beautiful azalea seedlings.
Planting Azalea Seeds
Now that you’ve properly prepared your azalea seeds, it’s time to plant them and kickstart their journey to becoming beautiful azalea plants. Planting azalea seeds requires careful attention to detail and providing the ideal growing conditions for successful germination. Follow these steps to plant your azalea seeds:
- Choose the Right Container: Select a container that has drainage holes to prevent waterlogging. Use a sterilized seed tray, small pots, or seedling trays filled with a well-draining seed starting mix. The container should be clean and free from any potential disease or pathogens.
- Moisten the Soil: Before sowing the seeds, moisten the seed starting mix with water. Ensure that it is evenly moist but not waterlogged. Excess water can lead to rot and hinder seed germination.
- Sow the Seeds: Place the seeds on top of the soil mix, spacing them at least an inch apart. Gently press them into the soil surface, making sure they are in good contact with the soil but not buried too deep. Cover the seeds with a thin layer of the seed starting mix, about 1/4 inch deep.
- Provide the Right Temperature: Azalea seeds typically germinate best at temperatures between 60-70°F (15-21°C). You can place the seed tray or pots in a warm location or use a heating mat to maintain the desired temperature. Keep in mind that consistent temperature is crucial for successful germination.
- Proper Watering: Water the planted seeds gently using a misting spray or a watering can with a fine rose attachment. Ensure that the soil remains moist throughout the germination period. Avoid overwatering, as it can lead to fungal issues and rot.
- Provide Indirect Light: Place the planted seeds in an area with indirect sunlight or provide them with fluorescent grow lights. Direct sunlight can be too intense for the delicate seedlings and can cause them to dry out or suffer from sunburn.
- Patience and Monitoring: Germination can take several weeks, so be patient and continue to provide the right temperature, moisture, and light conditions. Monitor the seedlings regularly for any signs of growth or issues such as damping-off disease.
As the azalea seedlings emerge and grow, they will develop their first set of true leaves. At this point, you can start providing a weak, balanced fertilizer to support their growth. Transplant the seedlings into individual pots once they have developed a few sets of true leaves and are strong enough to handle the process.
By following these steps and providing the necessary care, you’ll soon see your azalea seeds transform into vibrant seedlings, ready to be nurtured further on their journey to becoming mature azalea plants.
To get azalea seeds, wait until the flowers fade and the seed pods form. Collect the pods when they turn brown and split open. Remove the seeds and plant them in a well-draining soil mix. Keep the soil moist and the seeds should germinate in a few weeks.
Read more: Where To Plant A Native Azalea
Caring for Azalea Seedlings
Once your azalea seedlings have emerged and are ready to be transplanted into individual pots, it’s important to provide them with the proper care to ensure healthy growth and development. Azalea seedlings require specific growing conditions and regular maintenance to thrive. Here are some essential tips for caring for your azalea seedlings:
- Transplanting: Carefully transplant your seedlings into individual pots filled with a well-draining potting mix. Ensure that the seedlings are planted at the same depth as they were in the seed tray to avoid burying the stems too deeply.
- Light Requirements: Place your azalea seedlings in a location that receives bright, indirect light. Avoid exposing them to harsh, direct sunlight as it can scorch the delicate leaves. If growing indoors, consider using fluorescent grow lights to provide adequate lighting.
- Watering: Keep the soil evenly moist, but not sodden, throughout the growing season. Water the seedlings when the top inch of soil feels slightly dry. Avoid overwatering as it can lead to root rot. Using a watering can with a fine rose attachment or misting spray will help prevent damaging the fragile seedlings.
- Humidity: Azalea seedlings prefer a humid environment. Increase humidity around the seedlings by placing the pots on a tray filled with water and pebbles. As the water evaporates, it creates a humid microclimate around the plants.
- Fertilizing: Start feeding your azalea seedlings with a diluted, balanced liquid fertilizer once they have established a few sets of true leaves. Follow the instructions provided on the fertilizer label and avoid over-fertilization, as it can damage the seedlings.
- Temperature: Consistent temperature is crucial for healthy growth. Maintain a temperature between 60-70°F (15-21°C) during the day and slightly cooler at night. Avoid exposing the seedlings to extreme temperature fluctuations.
- Pruning: Regularly pinch or trim back the tips of the seedlings to encourage bushier growth. This practice will help create a more compact and full-looking plant in the future.
- Pest and Disease Control: Keep an eye out for common pests such as aphids, spider mites, and whiteflies. Treat any infestations promptly using organic insecticides or insecticidal soaps. Additionally, ensure good air circulation around the seedlings and avoid overwatering to prevent fungal diseases like root rot and powdery mildew.
Continue to monitor your azalea seedlings regularly, adjusting their care as needed. As they grow, they may require repotting into larger containers to accommodate their expanding root system. With proper care and attention, your azalea seedlings will develop into robust young plants, ready to be planted in your desired garden location.
Remember, each variety of azalea may have specific care requirements, so research the specific needs of your chosen variety to ensure the best results.
Troubleshooting Common Issues
While caring for azalea seedlings, you may encounter some common issues that can affect their growth and overall health. Understanding and addressing these issues promptly will help ensure the success of your azalea seedlings. Here are some common problems and their solutions:
- Damping-Off: Damping-off is a fungal disease that causes seedlings to rot at the base and collapse. To prevent damping-off, ensure proper air circulation, avoid overwatering, and use sterilized seed starting mix. If damping-off occurs, remove the affected seedlings and improve growing conditions to prevent further spread.
- Poor Growth or Leggy Seedlings: If your seedlings are stretching or growing tall and spindly, it’s a sign of insufficient light. Provide brighter light or adjust the placement of the grow lights to encourage compact, healthy growth.
- Wilting: Wilting can be caused by underwatering, overwatering, or root rot. Check the soil moisture levels and adjust your watering accordingly. Ensure proper drainage in the pots and avoid waterlogged conditions. If root rot is suspected, carefully remove the affected plant and repot it in fresh, well-draining soil.
- Yellowing Leaves: Yellowing leaves can indicate various issues, including nutrient deficiencies, overwatering, or poor drainage. Check the soil moisture levels and adjust the watering accordingly. If necessary, feed the seedlings with a balanced fertilizer to correct nutrient deficiencies.
- Pest Infestations: Keep an eye out for common pests such as aphids, spider mites, and whiteflies. If pests are present, treat them with appropriate organic insecticides or insecticidal soaps. Regularly inspect the seedlings for signs of pest activity.
- Leaf Spot or Blight: Leaf spot or blight can be caused by fungal infections. To prevent these diseases, ensure good air circulation, avoid overhead watering, and remove any infected leaves. Treat the seedlings with a fungicide if necessary.
- Poor Root Development: If your seedlings are not developing a healthy root system, they may be overcrowded or suffering from poor soil conditions. Thin out overcrowded seedlings and repot them in fresh, well-draining soil to encourage healthy root development.
- Environmental Stress: Extreme temperature fluctuations, high winds, or sudden changes in light conditions can stress azalea seedlings. Provide a stable environment with moderate temperatures, protection from strong winds, and consistent lighting to minimize environmental stress.
By identifying and addressing these common issues promptly, you can help your azalea seedlings overcome challenges and thrive in their early growth stages.
Remember, prevention is key when it comes to maintaining the health of your azaleas. Regularly monitor your seedlings, provide optimal growing conditions, and take prompt action if any issues arise. With proper care and attention, your azalea seedlings will grow into beautiful, resilient plants that will bring vibrancy to your garden.
Harvesting Azalea Seeds
Harvesting azalea seeds allows you to collect and preserve the genetic diversity of your favorite varieties while creating new plants for your garden or sharing them with fellow gardeners. Harvesting azalea seeds requires careful timing and proper techniques to ensure successful propagation. Here’s how to harvest azalea seeds:
- Timing: Wait for the azalea flowers to fade and the seed capsules to form. This typically occurs in late summer or early fall, depending on the specific azalea variety and your location. The seed capsules will turn brown and dry when they are ready for harvest.
- Seed Capsule Inspection: Inspect the seed capsules to ensure they are fully mature and that the seeds inside are developed. Gently squeeze the capsules to check their firmness. If they feel soft or unripe, leave them on the plant for a little longer. Only harvest seed capsules that are fully developed and firm to the touch.
- Harvesting the Seeds: Using clean and sharp pruning shears or scissors, carefully cut the seed capsules from the azalea plants. Place them in a clean container or envelope, and label them with the variety name or any relevant information for future reference.
- Drying the Seed Capsules: Allow the seed capsules to dry in a well-ventilated area for a few weeks. This will ensure that the seeds inside are completely dry before extraction. Shake the capsules occasionally to help loosen the seeds and allow for proper airflow.
- Extracting the Seeds: Once the seed capsules are dry, gently break them open to release the small, dark-colored seeds. Handle them carefully to avoid damaging the seeds. Use your fingers or tweezers to extract the seeds and place them in a labeled envelope or airtight container for storage.
- Seed Storage: Store the extracted azalea seeds in a cool, dry place until you are ready to plant or share them. Proper storage conditions are essential for maintaining seed viability. Keep the seeds in an airtight container or envelope, and consider adding a desiccant packet to absorb any excess moisture.
It’s important to note that not all azalea plants produce an abundance of seeds, and some varieties may have lower seed viability. Don’t be discouraged if you have a limited quantity of seeds to work with. With patience and proper care, even a few seeds can yield beautiful azalea plants.
Harvesting azalea seeds allows you to preserve the unique characteristics of your favorite varieties and create future generations of these stunning flowering shrubs. Enjoy the process of harvesting, storing, and propagating azalea seeds, and share the joy of growing these remarkable plants with fellow gardeners.
Conclusion
Growing azaleas from seeds is a rewarding and fulfilling experience that allows you to create a diverse and vibrant garden. From choosing the right variety to harvesting and caring for the seeds, every step in the process is a labor of love that culminates in the beauty of blooming azalea plants. By following the steps outlined in this guide, you can successfully grow azaleas from seeds and enjoy the satisfaction of nurturing these enchanting plants from their earliest stages.
Remember to select the right azalea variety that suits your climate, bloom time preferences, size requirements, and overall aesthetics. Take the time to gather the seeds properly, ensuring they are fully mature and dry before extraction. Preparing the seeds through stratification, scarification, and soaking will enhance their chances of germination. Plant the seeds in well-draining soil, provide the right temperature, light, water, and nutrient conditions to encourage healthy growth.
While caring for your azalea seedlings, be vigilant in monitoring and promptly addressing any issues that may arise, such as damping-off, poor growth, or pest infestations. With proper care and attention, your azalea seedlings will develop into strong, vigorous plants ready to be planted in the garden or shared with others.
Lastly, don’t forget to enjoy the beauty and splendor of your azaleas as they mature and bloom. These stunning flowering shrubs will add vibrant colors and a touch of elegance to your garden landscape, creating a truly captivating display.
We hope this comprehensive guide has provided you with valuable insights and the knowledge to successfully grow azaleas from seeds. With patience, dedication, and a green thumb, you will be rewarded with the joy of seeing your azaleas flourish and thrive. Happy gardening!
Frequently Asked Questions about How To Get Azalea Seeds
Was this page helpful?
At Storables.com, we guarantee accurate and reliable information. Our content, validated by Expert Board Contributors, is crafted following stringent Editorial Policies. We're committed to providing you with well-researched, expert-backed insights for all your informational needs.

0 thoughts on “How To Get Azalea Seeds”