Home>Garden Essentials>How To Get Rose Seeds
Garden Essentials
How To Get Rose Seeds
Modified: August 27, 2024
Learn how to successfully grow and harvest rose seeds in your garden. Discover tips and techniques for creating a beautiful rose garden.
(Many of the links in this article redirect to a specific reviewed product. Your purchase of these products through affiliate links helps to generate commission for Storables.com, at no extra cost. Learn more)
Introduction
Welcome to the world of roses! The beauty and fragrance of these beloved flowers have captivated garden enthusiasts for centuries. While many people are familiar with purchasing rose plants from nurseries, did you know that you can also grow roses from seeds? It’s a rewarding process that allows you to witness the entire lifecycle of this magnificent flower, from tiny seed to blooming beauty.
In this article, we will guide you through the process of obtaining rose seeds and provide you with the necessary steps to successfully grow them into thriving rose plants. Whether you’re a seasoned gardener looking to add variety to your collection or a beginner eager to embark on a new gardening adventure, the information shared here will help you get started on your journey of growing roses from seeds.
Before we dive into the details, it’s important to note that growing roses from seeds requires patience and dedication. Unlike propagating roses through cuttings or grafting, which produce clones of the parent plant, growing roses from seeds allows for the possibility of new and unique varieties. However, this also means that the characteristics of the resulting plants may vary, and it may take a couple of years for them to reach maturity and produce their first blooms.
Are you ready to discover the wonders of growing roses from seeds? Let’s get started by learning how to choose the right rose variety.
Key Takeaways:
- Growing roses from seeds offers the excitement of discovering new and unique varieties, but requires patience and dedication due to the unpredictable nature of seed-grown plants.
- Proper care, including watering, fertilizing, pruning, and disease prevention, is essential for nurturing healthy and vibrant rose plants grown from seeds.
Read more: How To Start Roses From Seed
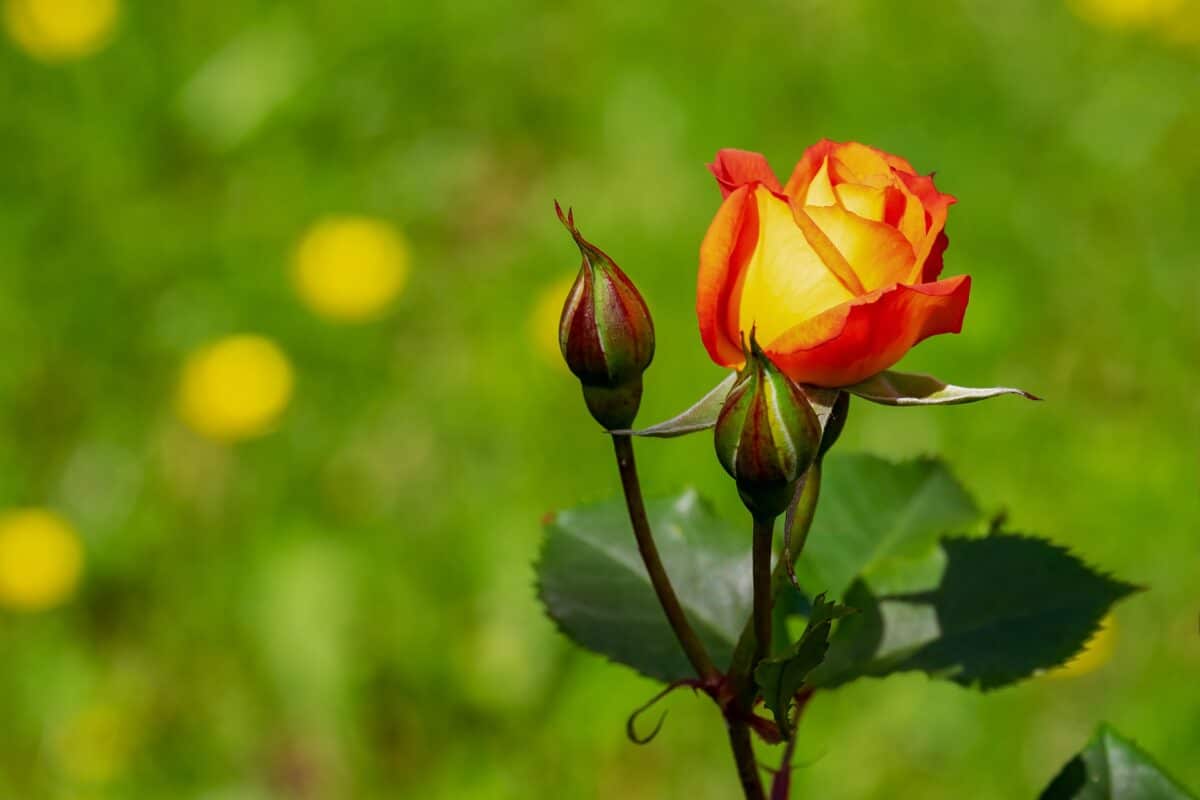
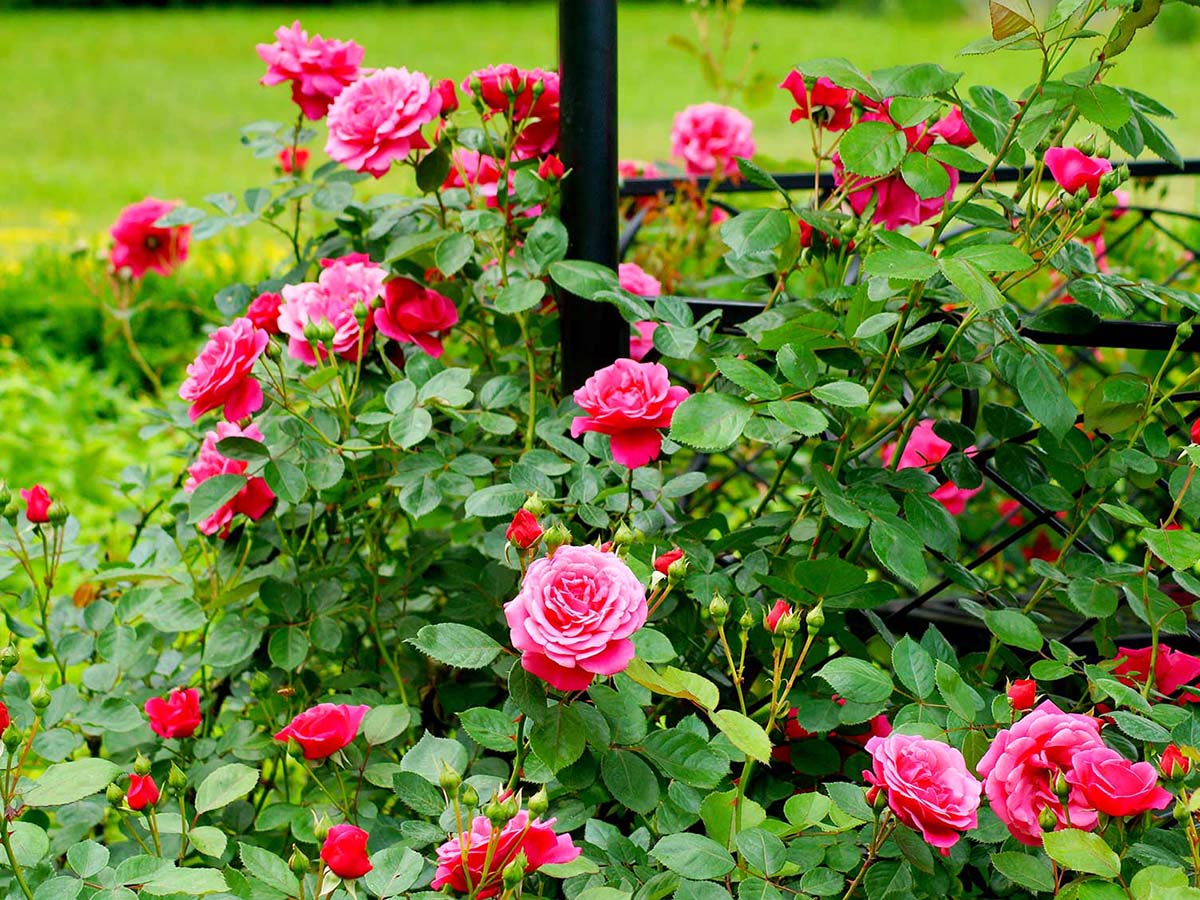
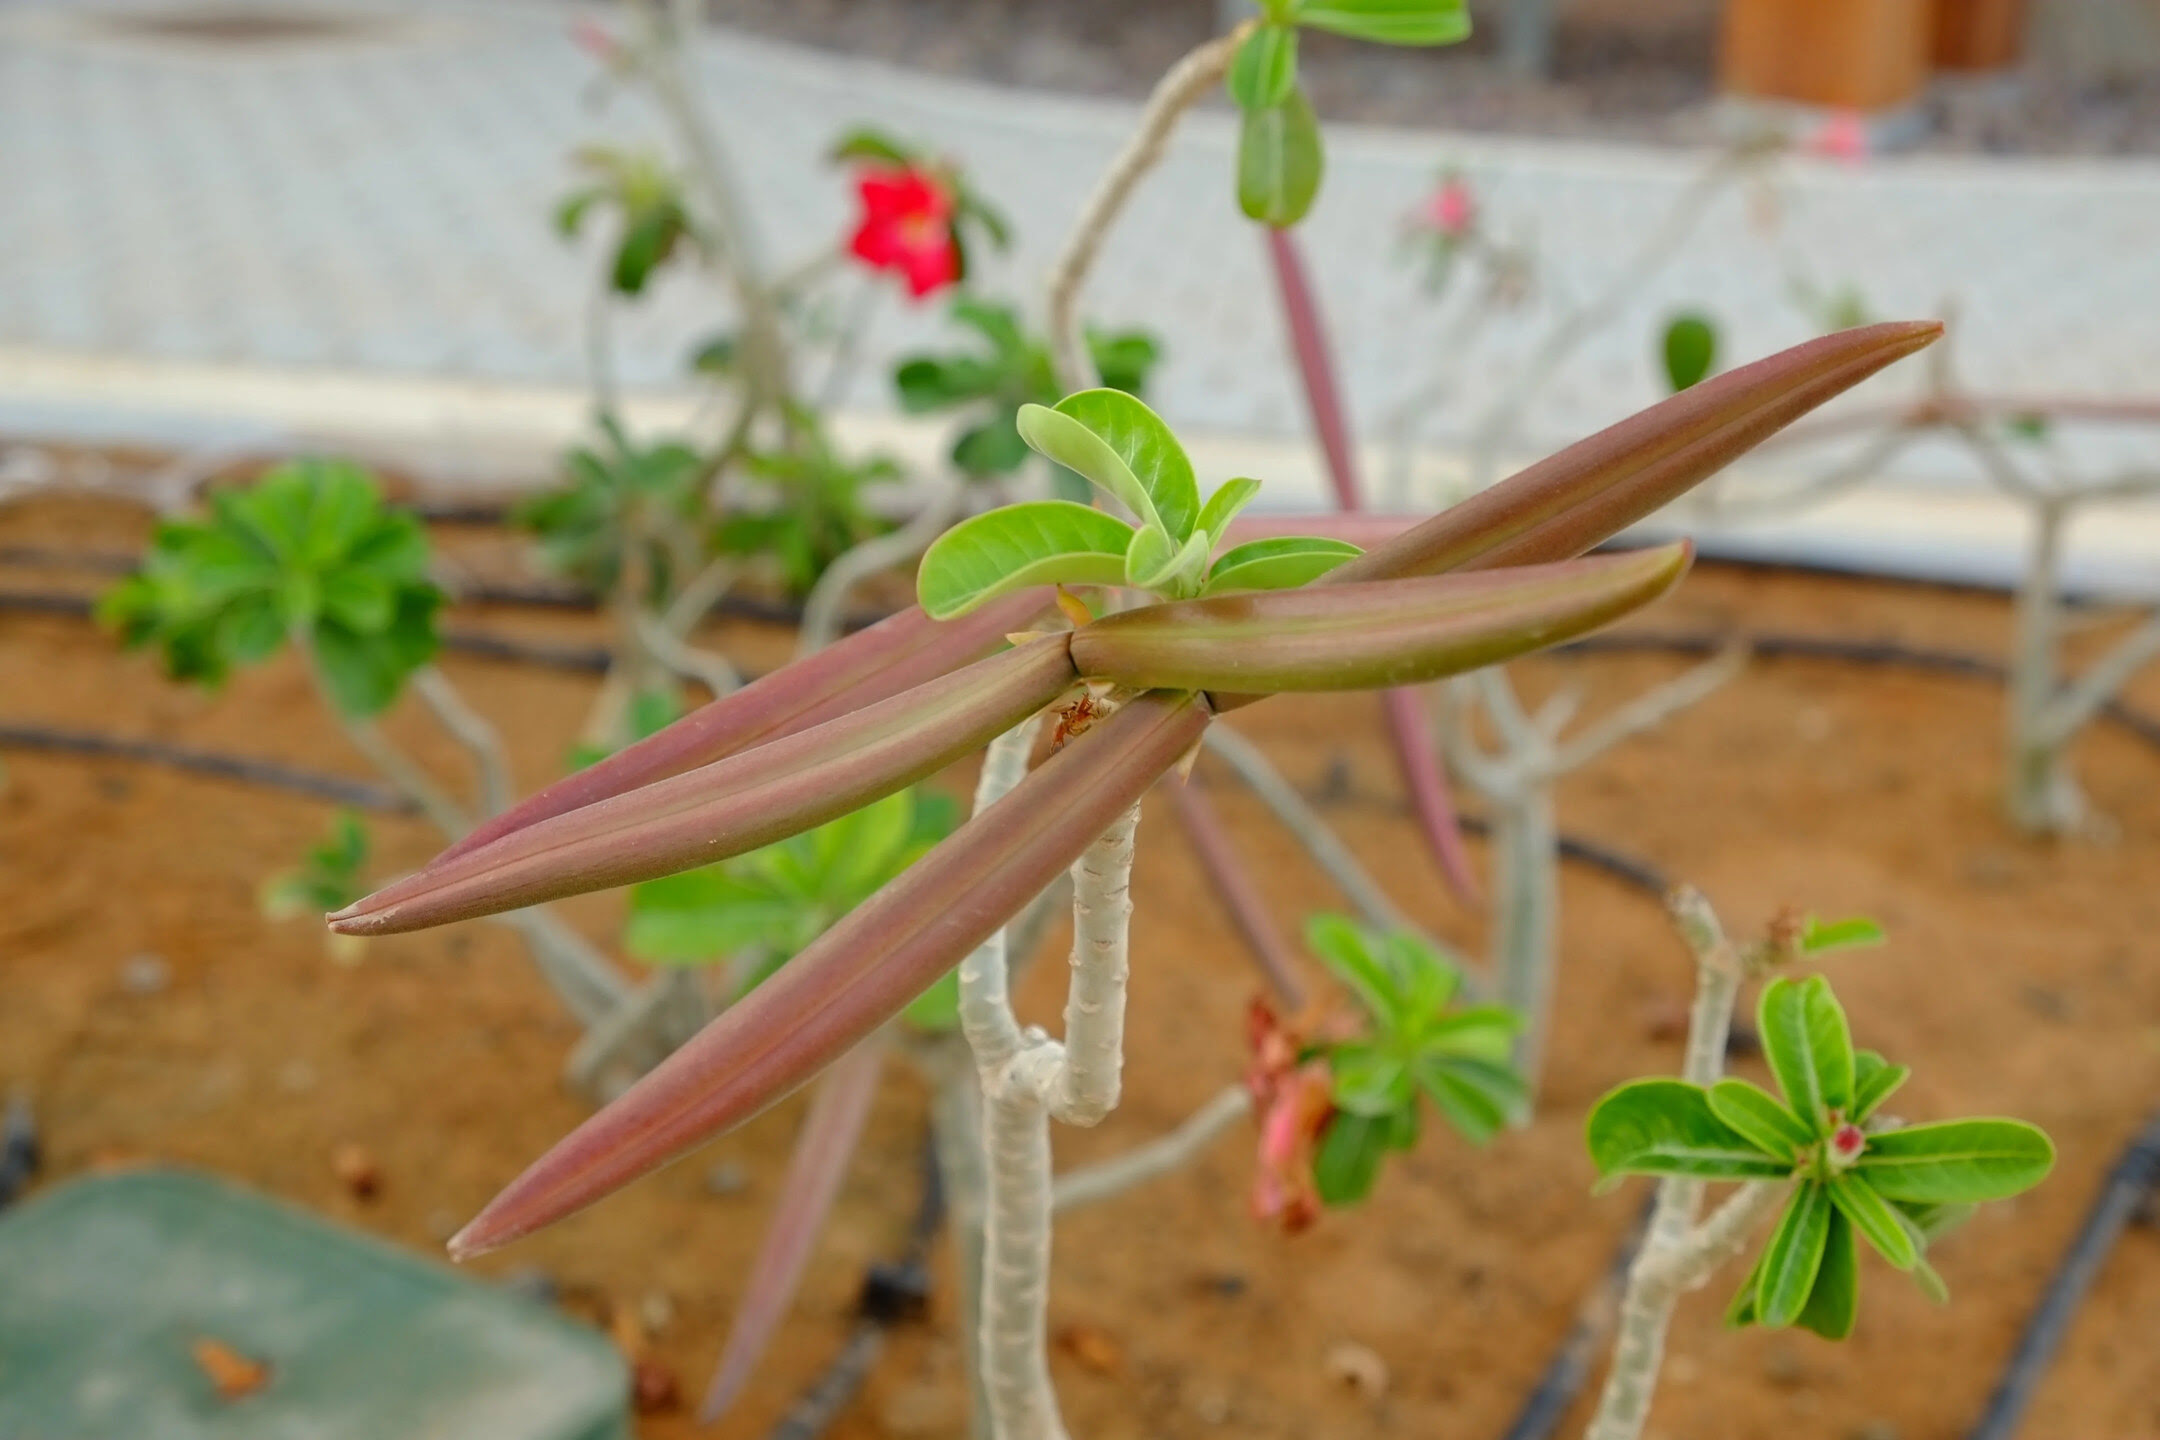
Choosing the Right Rose Variety
When it comes to selecting the right rose variety to grow from seeds, the options are nearly endless. There are countless types and cultivars available, each with its own unique characteristics and beauty. Here are a few factors to consider when choosing the right rose variety for your garden:
Climate: Roses come in different varieties that thrive in various climates. Some roses prefer cooler temperatures, while others are more suited to warmer regions. Research the specific climate requirements of the rose variety you are interested in to ensure it will flourish in your area.
Growth Habit: Roses can have different growth habits, ranging from compact bushes to climbing vines. Consider the available space in your garden and choose a rose variety that will fit and complement your existing landscape.
Flower Type: Roses come in a wide variety of flower types, including hybrid teas, floribundas, grandifloras, climbers, and shrubs. Each type has its own unique bloom structure and appearance. Consider the colors, shapes, and fragrance of the roses you prefer, and select a variety that aligns with your preferences.
Disease Resistance: Some rose varieties are bred to be more disease-resistant than others. If you live in an area prone to common rose diseases like blackspot or powdery mildew, consider choosing a variety that has a good track record of resistance to ensure your plants stay healthy and vibrant.
Special Features: Some rose varieties have special features that make them particularly appealing. This could include roses with unique color patterns, double blooms, or certain growth habits. Consider if there are any specific features or characteristics that you are drawn to, and search for varieties that possess those attributes.
Once you have identified the characteristics you desire in a rose variety, you can begin researching specific cultivars that meet your criteria. Look for reputable nurseries or rose breeders that offer a wide selection of quality seeds to ensure you are starting with the best possible genetic material.
Remember that growing roses from seeds is an exciting and unpredictable process. Each seed is a genetic wildcard, and the resulting plants may vary in color, size, and other characteristics. Embrace the sense of adventure and be open to the surprises that nature has in store for you.
Now that you have chosen the right rose variety, it’s time to prepare the soil for planting. Read on to learn how to create the optimal growing conditions for your rose seeds.
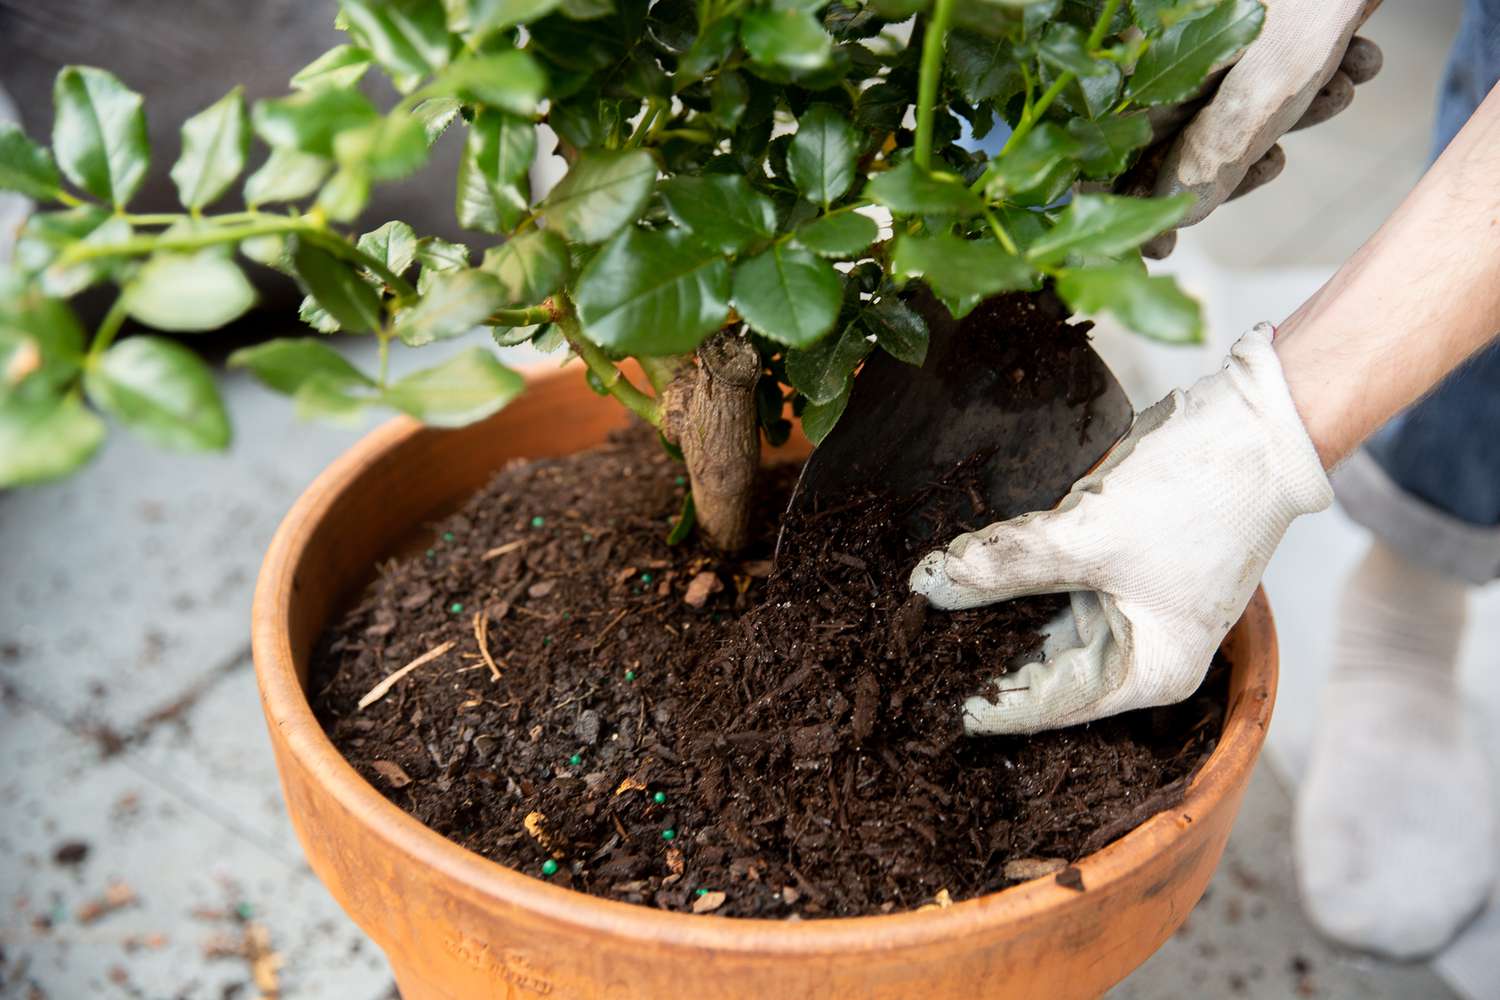
Preparing the Soil
The success of growing roses from seeds starts with preparing the soil. Roses thrive in well-draining soil that is rich in organic matter and nutrients. Follow these steps to create the optimal growing conditions for your rose seeds:
1. Choose the right location: Select a sunny spot in your garden for your rose plants. Roses generally require at least six hours of direct sunlight each day to thrive. Ensure that the location has good air circulation to prevent the development of fungal diseases.
2. Clear the area: Remove any weeds, rocks, or debris from the planting area. This will prevent competition for nutrients and space, allowing your rose seeds to grow without interference.
3. Test the soil: Conduct a soil test to determine its pH level and fertility. Roses prefer slightly acidic soil with a pH range of 6.0 to 6.5. If your soil is too acidic or alkaline, you can make necessary amendments to adjust the pH level.
4. Improve drainage: If your soil tends to retain too much water, it may lead to root rot and other diseases. Improve drainage by adding organic matter such as compost or well-rotted manure to the soil. This will help create a looser, more porous soil structure that allows excess water to drain away.
5. Add nutrients: Roses are heavy feeders, so it’s essential to provide them with the necessary nutrients for healthy growth. Mix in a slow-release organic fertilizer or incorporate well-balanced compost into the soil before planting. This will provide a steady supply of nutrients for your rose plants throughout their growth.
6. Loosen the soil: Use a garden fork or a tiller to loosen the soil in the planting area. This will improve aeration and allow the rose roots to penetrate easily. Avoid compacting the soil, as it can hinder root growth and nutrient uptake.
7. Mulch the soil: After planting your rose seeds, apply a layer of organic mulch around the base of the plants. This will help conserve moisture, suppress weed growth, and maintain a more consistent soil temperature.
By preparing the soil properly, you are creating a fertile and hospitable environment for your rose seeds to grow. With the soil ready, it’s time to proceed to the next step: planting the rose seeds.
Planting Rose Seeds
Planting rose seeds is an exciting step towards growing your own beautiful roses. While it may require a bit of patience and care, the process is relatively straightforward. Follow these guidelines to ensure successful germination and healthy seedling development:
1. Stratify the seeds: Many rose seeds have a natural dormancy period and need a process called stratification to break their dormancy. Stratification involves subjecting the seeds to a period of cold temperatures to simulate winter conditions. You can stratify seeds by placing them in a damp paper towel or peat moss and sealing them in a plastic bag. Store the bag in the refrigerator for 4-6 weeks before proceeding to the next step.
2. Prepare the containers: Choose small pots or seed trays with drainage holes for planting your rose seeds. Fill the containers with a well-draining potting mix or seed-starting mix. Moisten the soil lightly before sowing the seeds.
3. Sow the seeds: Carefully place the stratified rose seeds on the soil surface, spacing them about an inch apart. Gently press the seeds into the soil, but do not bury them too deep. Aim for a depth of about 1/4 inch (6mm) to promote healthy germination.
4. Provide warmth and moisture: Place the containers in a warm location, ideally around 70-75°F (21-24°C). To retain moisture and create a greenhouse-like environment, cover the containers with a clear plastic dome or plastic wrap. This will help maintain high humidity and promote germination. However, it’s essential to check the moisture levels regularly and avoid excess humidity, as it can lead to fungal diseases.
5. Water carefully: Keep the soil moist but not waterlogged. Use a spray bottle or a gentle watering can to avoid displacing the seeds or causing damage to the delicate seedlings. Ensure that the bottom of the containers drains excess water to prevent waterlogging.
6. Be patient: Rose seeds can take anywhere from a few weeks to a few months to germinate, so patience is key. Keep an eye on the containers and monitor the moisture levels regularly. Once the seedlings emerge, remove the plastic cover and provide them with bright, indirect light to encourage healthy growth.
7. Thin and transplant: As the rose seedlings grow, they will need space to spread their roots and develop properly. Once they have at least two sets of true leaves, thin them by removing the weaker seedlings. Transplant the remaining seedlings into larger containers or a prepared garden bed, ensuring they have adequate spacing and access to sunlight.
8. Continue proper care: After transplanting, continue to provide your rose seedlings with proper care. Water them regularly, ensuring the soil is evenly moist but not waterlogged. Protect them from extreme temperatures, pests, and diseases. As the seedlings grow, gradually acclimate them to outdoor conditions before planting them in their permanent location.
By following these steps, you can successfully plant and grow rose seeds into healthy seedlings. As they continue to mature, you can look forward to the day when these seeds transform into beautiful rose plants, ready to grace your garden with their blooms.
Now that your rose seeds are planted, it’s time to provide them with the care and maintenance they need to thrive. We will explore this in the next section.
To get rose seeds, wait until the rose hips are fully developed and turn red. Then, collect the hips, remove the seeds, and plant them in a well-draining soil mix. Keep the soil moist and wait for the seeds to germinate.
Providing Proper Care and Maintenance
Once your rose seedlings are planted and growing, it’s important to provide them with proper care and maintenance to ensure their health and vigor. Here are some essential tips to help your rose plants thrive:
1. Watering: Roses require a consistent supply of moisture, especially during their early growth stages. Water your rose plants deeply, providing enough water to ensure the entire root zone is moist. Avoid overwatering, as it can lead to root rot and other diseases. It’s best to water in the morning to allow the foliage to dry throughout the day.
2. Fertilizing: Roses are heavy feeders and benefit from regular fertilization. Use a balanced rose fertilizer or a slow-release granular fertilizer specifically formulated for roses. Apply the fertilizer according to the package instructions, taking care not to over-fertilize, as it can result in weak growth and susceptible to diseases.
3. Pruning: Regular pruning is essential to maintain the shape and health of your rose plants. Prune your roses in early spring before new growth emerges. Remove any dead, damaged, or crossing branches, and cut back any weak or spindly growth. Pruning stimulates new growth and encourages the production of more blooms.
4. Disease and pest control: Roses are susceptible to various diseases and pests, including blackspot, powdery mildew, aphids, and thrips. Monitor your rose plants regularly and take proactive measures to prevent and control these issues. Use organic pesticides or fungicides as necessary, following the instructions carefully.
5. Mulching: Apply a layer of organic mulch around the base of your rose plants. This helps conserve moisture, suppresses weed growth, and maintains a more consistent soil temperature. Use materials such as wood chips, straw, or compost, and replenish the mulch layer as needed throughout the growing season.
6. Supporting and training: Depending on the variety, some roses may require support or training to grow upright. Use stakes, trellises, or a support system to keep the plants upright and prevent them from flopping over under the weight of their blooms. Regularly tie or train the branches to encourage a more organized growth pattern.
7. Regular inspections: Take the time to inspect your rose plants regularly for any signs of diseases, pests, or other issues. Catching problems early allows for quicker intervention and better control. Remove any affected or infected plant parts immediately to prevent the spread of diseases.
8. Winter protection: Depending on your climate, winter protection may be necessary to ensure the survival of your rose plants. In colder regions, consider mulching around the base of the plants and wrapping them in burlap to protect them from freezing temperatures and harsh winds.
By providing proper care and maintenance, you can help your rose plants reach their full potential. With dedication and attention, you’ll be rewarded with lush foliage, abundant blooms, and the satisfaction of nurturing these magnificent flowers from seeds.
Next, let’s explore the process of harvesting rose seeds and preserving them for future use.
Read more: How To Plant Desert Rose Seeds
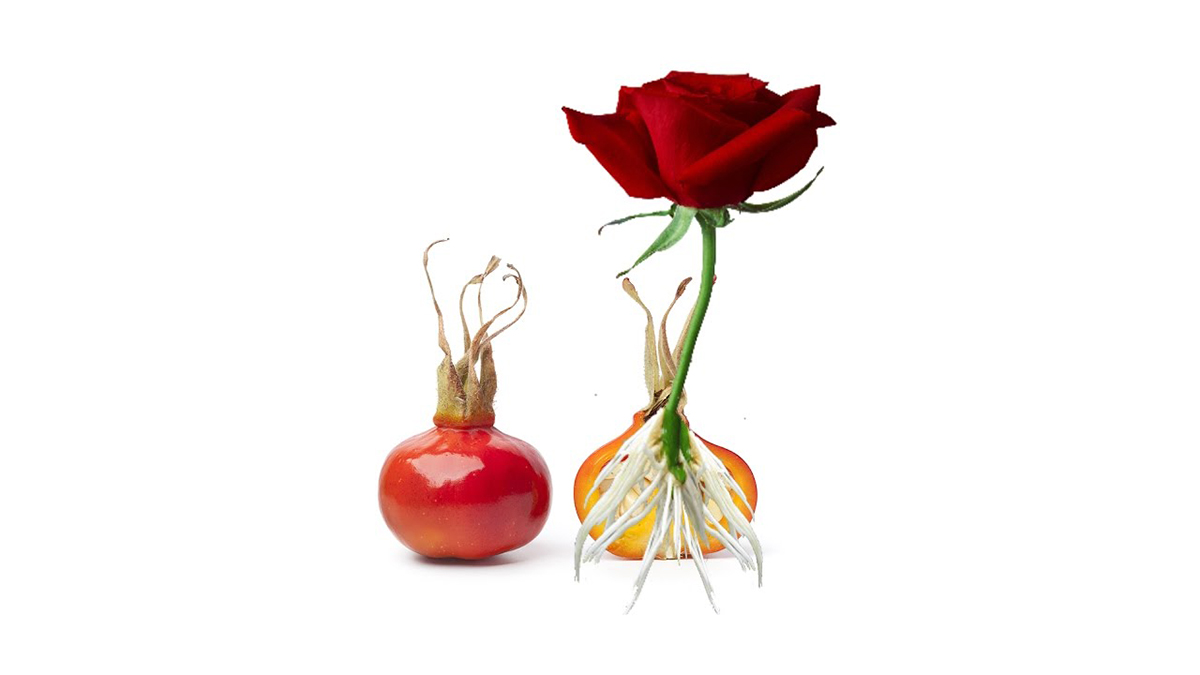
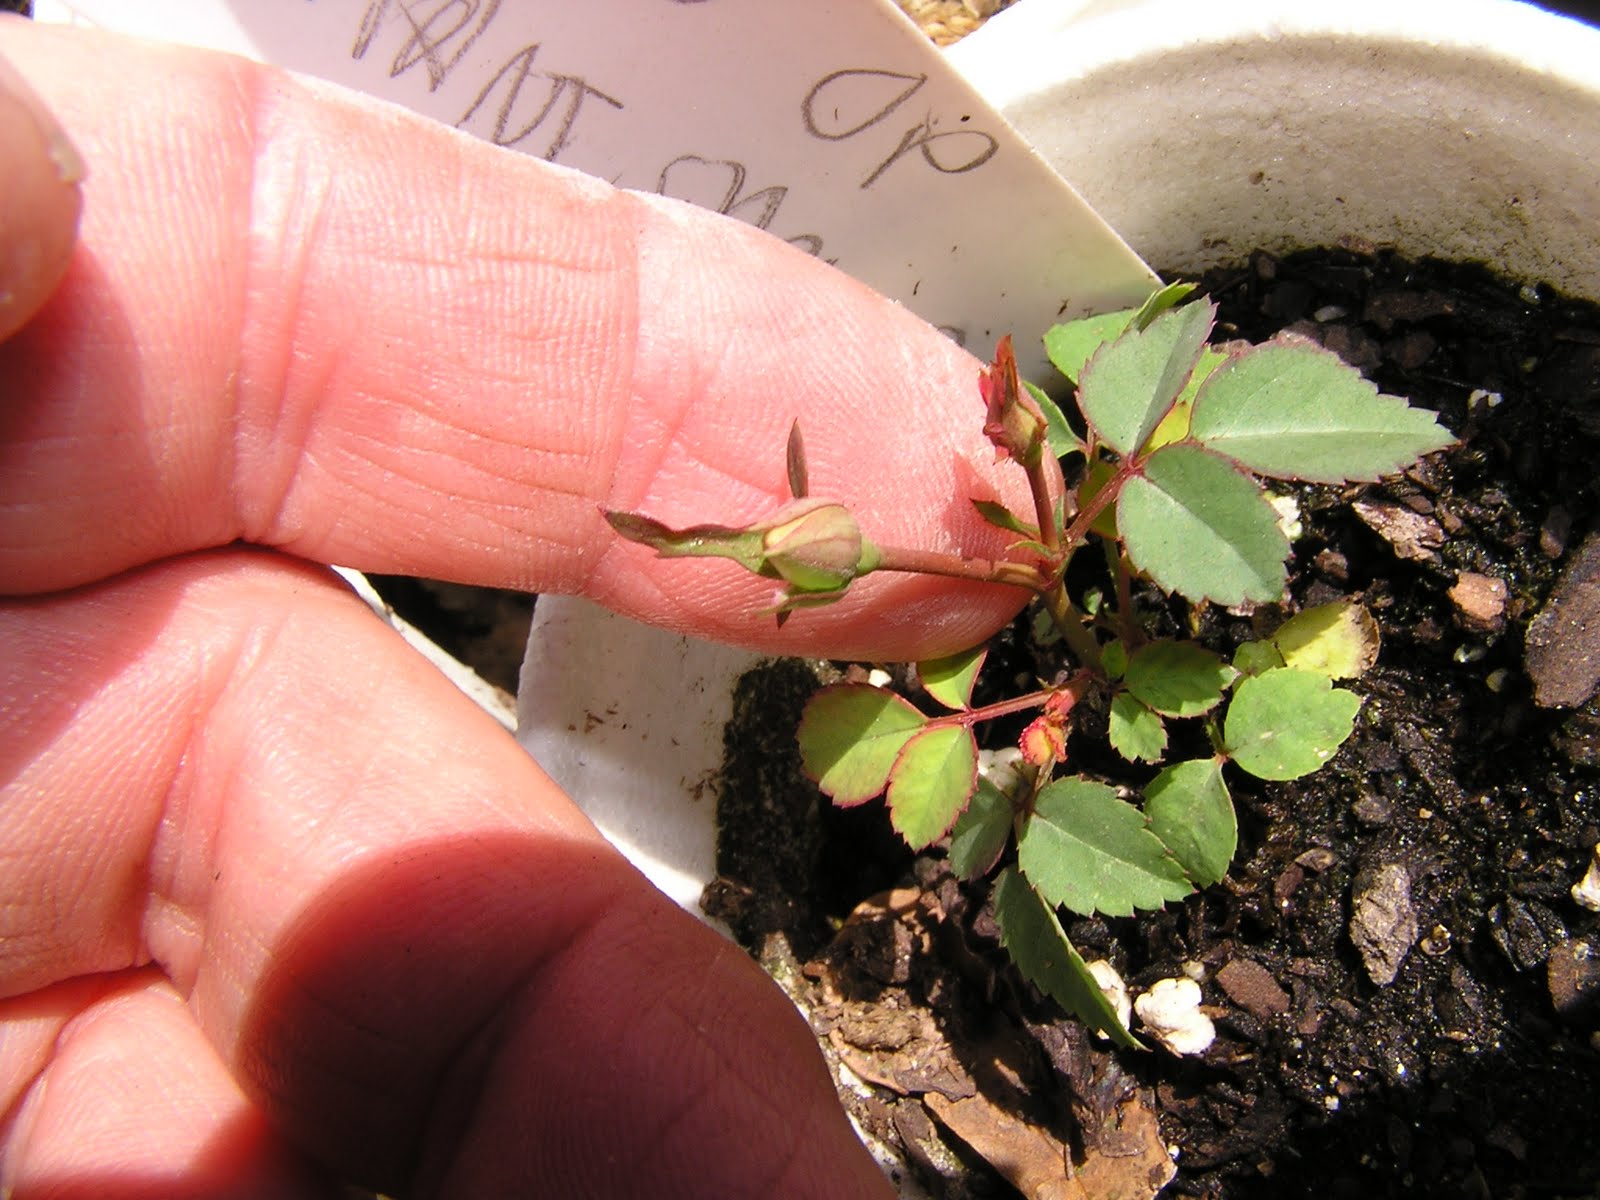
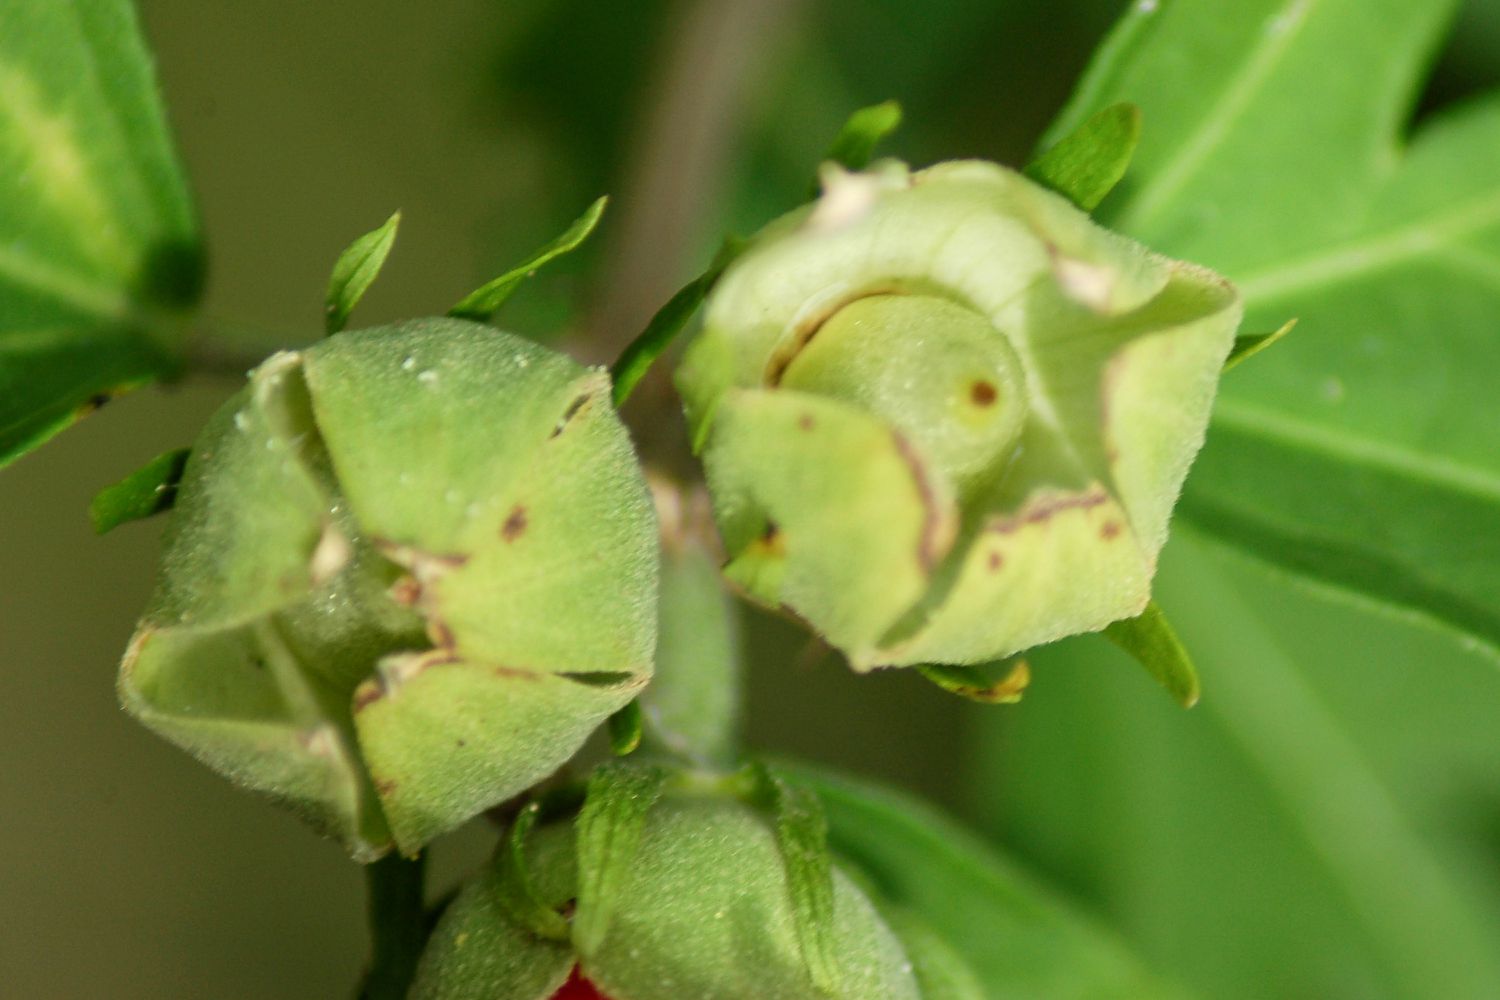
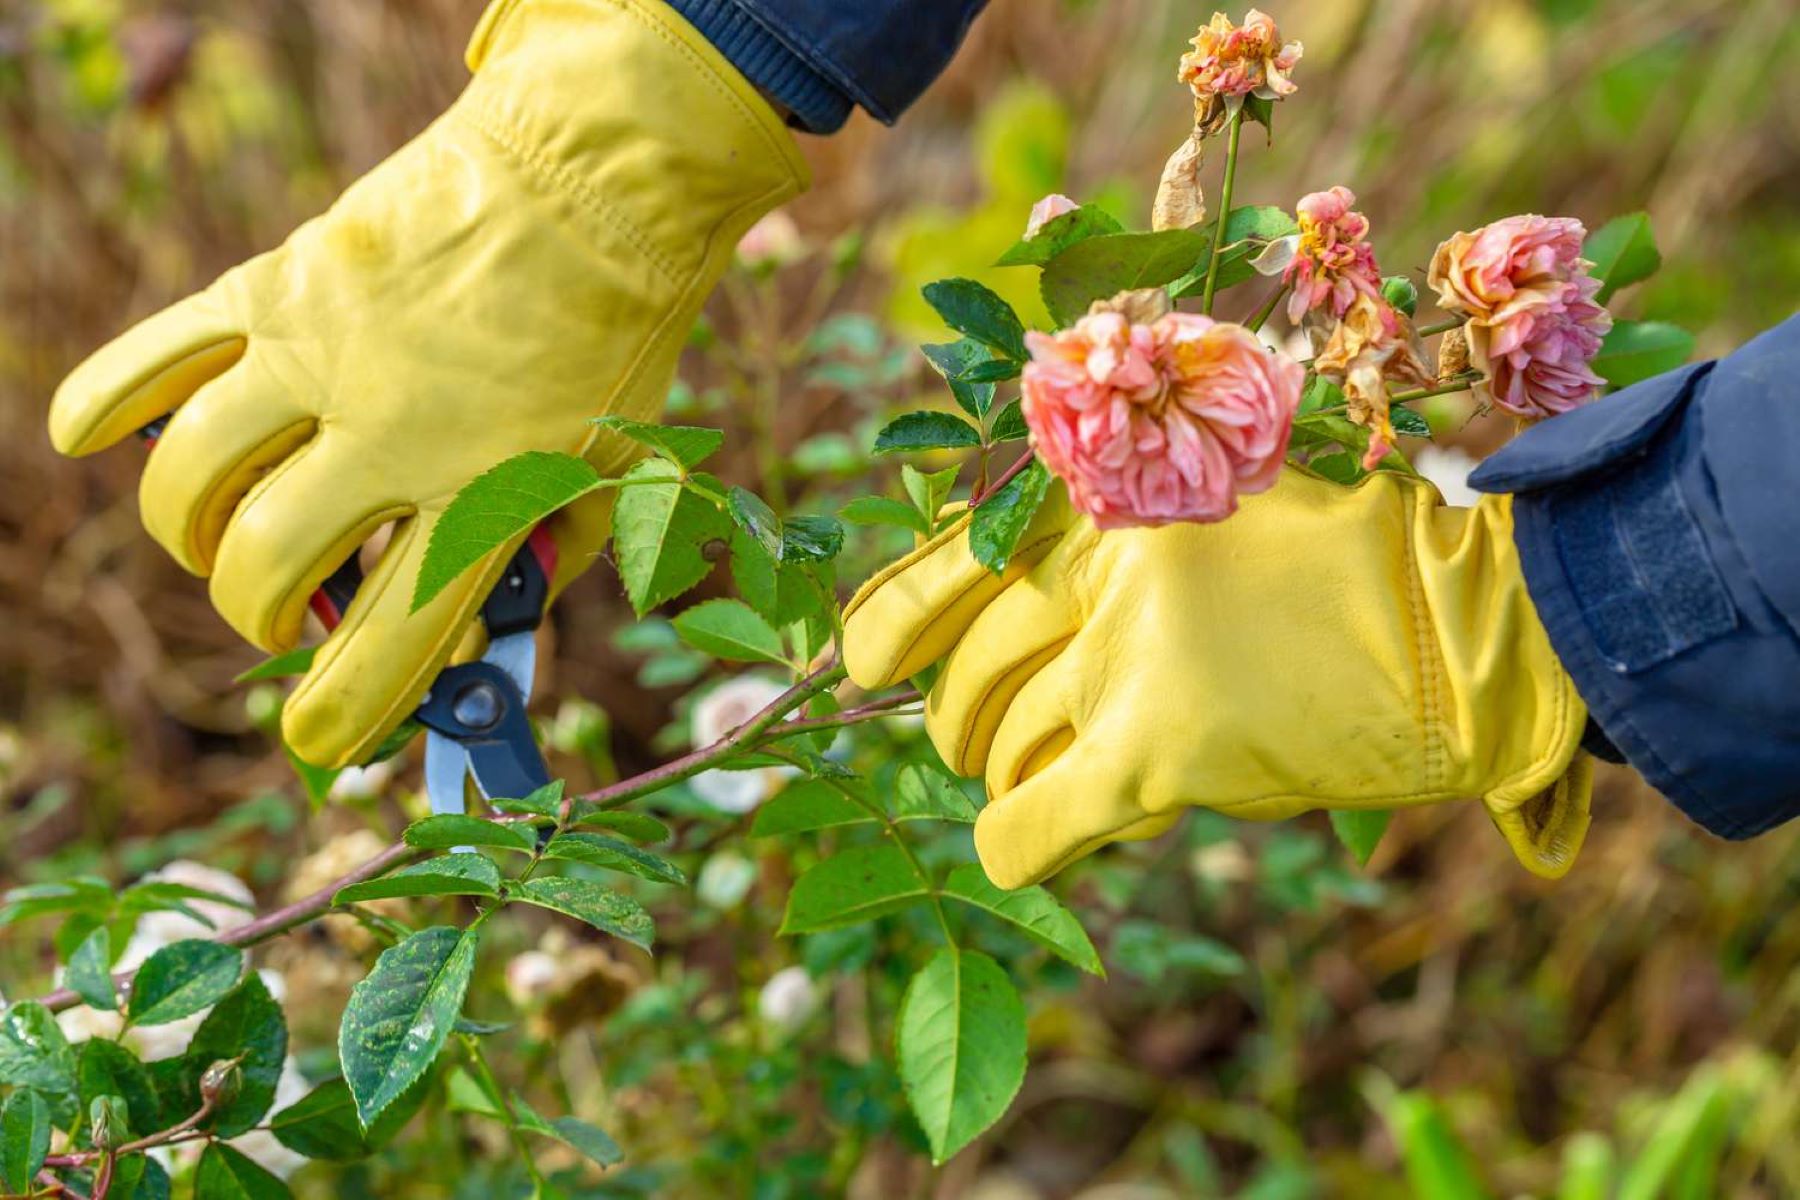
Harvesting Rose Seeds
Harvesting rose seeds is a fascinating process and allows you to collect the seeds for future planting. While roses are commonly propagated through cuttings, harvesting seeds offers an opportunity for new and unique varieties. Here are the steps to harvest rose seeds:
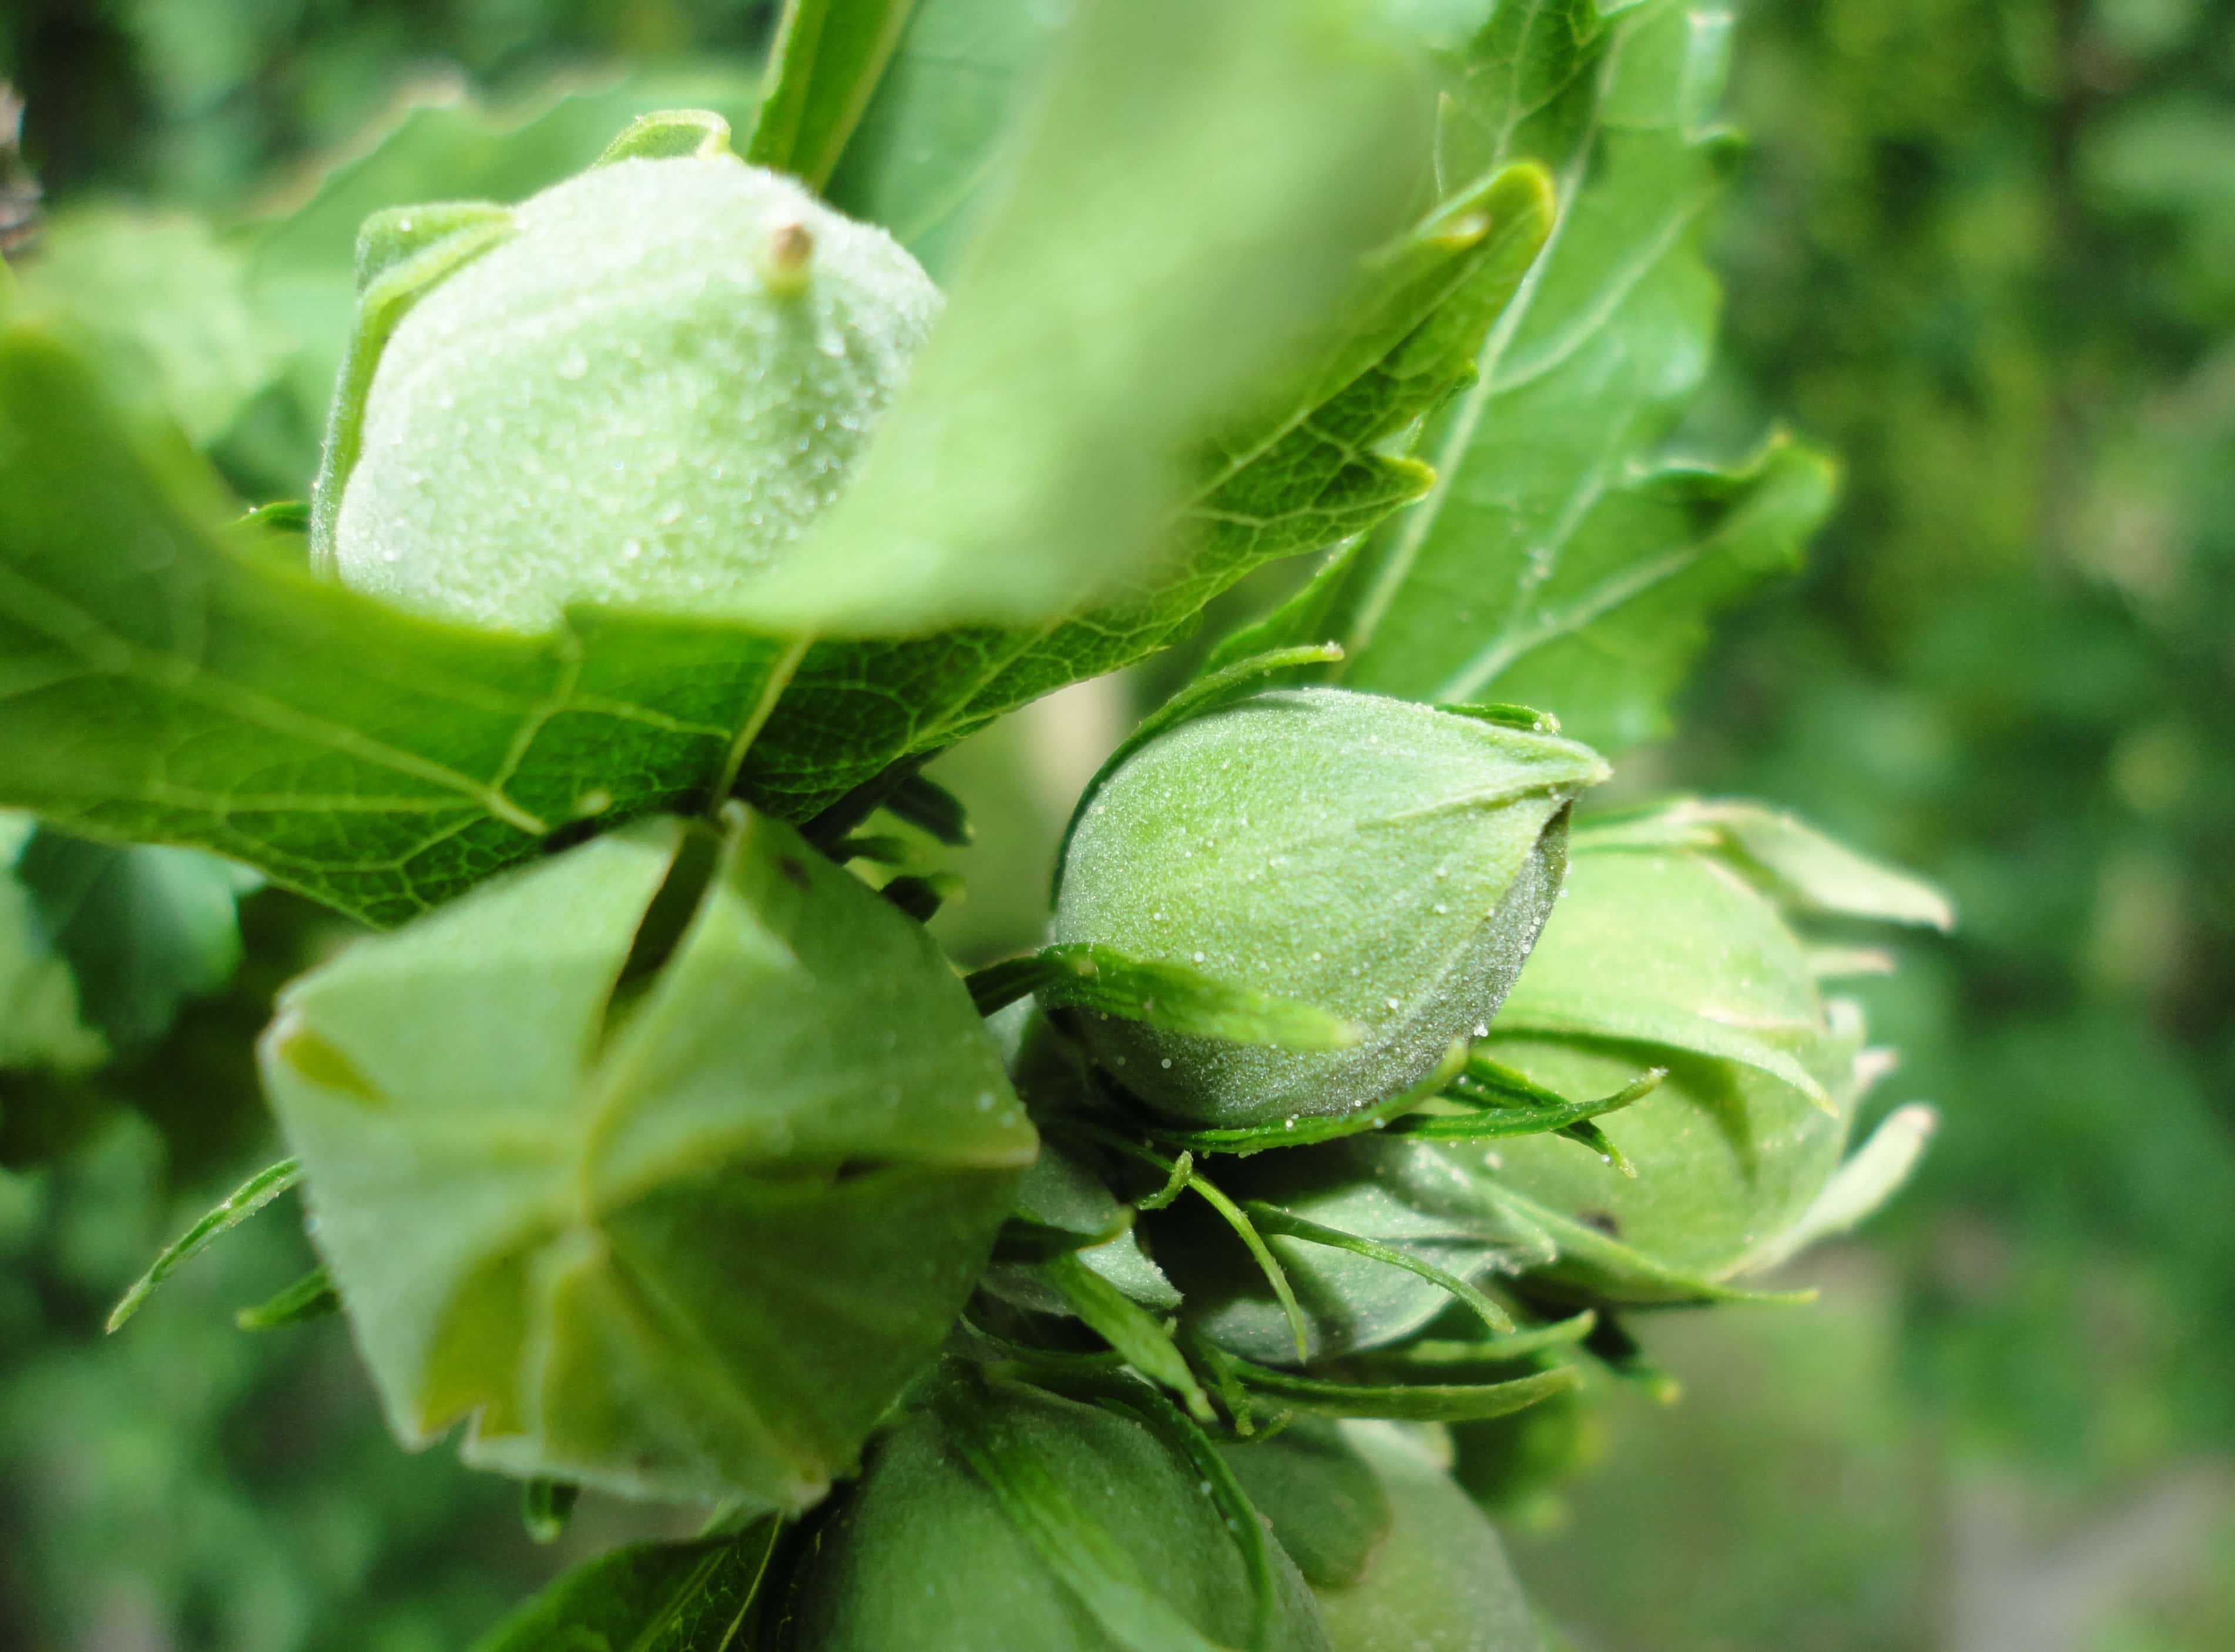
1. Selecting mature rose hips: Rose seeds are contained within the fruit-like structures known as rose hips. Wait until the rose hips have fully ripened and turned bright red or orange in color. This indicates that they are mature and the seeds inside are ready for harvesting.
2. Preparing the rose hips: Once you have identified ripe rose hips, gently cut or twist them off the plant. Remove any remaining petals or debris from the hip, as they can interfere with seed extraction. Rinse the rose hips in water to further clean them, if necessary.
3. Extracting the seeds: To extract the seeds from the rose hips, carefully cut them open with a sharp knife or scissors. Inside, you will find numerous small seeds surrounded by hairs or fleshy material. Separate the seeds from the surrounding material and discard the non-seed parts.
4. Cleaning the seeds: After removing the seeds, it’s important to clean them to remove any remaining debris. You can rinse the seeds in water and gently rub them between your fingers to remove any clinging material. Allow the seeds to dry completely before storing them.
5. Stratification: Just like with purchased rose seeds, harvested rose seeds may require stratification to break their dormancy. Place the cleaned and dried seeds in a damp paper towel or peat moss, and seal them in a plastic bag. Store the bag in the refrigerator for 4-6 weeks to simulate the cold winter conditions needed for germination.
6. Labeling and storing: It’s crucial to label your harvested rose seeds to keep track of the variety and other important information. Use small envelopes or containers and write the name of the rose variety, date of harvesting, and any relevant details. Store the labeled seeds in a cool, dark, and dry place until you’re ready to plant them.
7. Testing germination: Before planting your harvested rose seeds, it’s a good idea to test their germination rate. Moisten a paper towel or a small container of potting soil and place the seeds inside. Keep the testing environment warm and moist, and check regularly for signs of germination. This will give you an idea of how many seeds are viable and will help determine the success of your future plantings.
8. Planting the seeds: After stratification, you can plant the germinated or ungerminated rose seeds in pots or directly in the garden. Follow the same planting process outlined earlier, ensuring proper soil preparation, adequate moisture, and sunlight.
By harvesting rose seeds, you can discover new and unique variations of this beloved flower. It’s an exciting and rewarding process that allows you to explore the possibilities of creating your own rose varieties. Remember to be patient and enjoy the journey of growing roses from your own harvested seeds.
Now, let’s move on to the final topic: storing rose seeds for future use.
Storing Rose Seeds
Properly storing rose seeds is essential to maintain their viability and ensure successful germination in the future. Follow these guidelines to store your rose seeds effectively:
1. Clean and dry the seeds: Before storing rose seeds, make sure they are fully cleaned and dried. Remove any debris or remaining plant material and allow the seeds to air dry completely. Moisture can lead to mold or fungal growth, so ensure the seeds are thoroughly dry before proceeding.
2. Choose suitable containers: Select small envelopes, glass jars, or airtight plastic containers for storing your rose seeds. Ensure the containers you choose are clean, dry, and have secure lids or closures to prevent moisture or air from entering.
3. Label the containers: It’s crucial to label each storage container with the name of the rose variety, the harvest date, and any other relevant information. Clear labeling will help you keep track of the seeds and ensure you know the specifics when you’re ready to plant them in the future.
4. Store in a cool, dark, and dry place: Proper storage conditions are key to maintaining seed viability. Choose a location that is cool, preferably between 32°F (0°C) and 50°F (10°C). Avoid areas that are exposed to direct sunlight or fluctuating temperatures. Additionally, keep the seeds away from moisture and humidity, as excessive moisture can cause mold or premature germination.
5. Consider using desiccant packets: To further protect your stored rose seeds, you can include desiccant packets in the containers. Desiccant packets help absorb any residual moisture and maintain the dryness of the seeds.
6. Check periodically: Even when properly stored, it’s important to periodically check on your stored rose seeds. Inspect the containers for any signs of moisture, mold, or pests. If any issues are detected, take immediate action to address them and ensure the seed viability is not compromised.
7. Test germination regularly: Over time, seed viability can decline. To gauge the viability of your stored rose seeds, perform germination tests periodically. Place a sample of the seeds in a moist paper towel or potting soil and monitor them for signs of germination. This will help you determine the percentage of viable seeds and plan your future plantings accordingly.
By following these storage guidelines, you can preserve the viability of your rose seeds for an extended period. This allows you to save seeds from your favorite rose varieties or share them with fellow gardening enthusiasts.
As we conclude our guide to growing roses from seeds, we hope you’ve found the information helpful and are inspired to embark on your own rose-growing journey. Enjoy the rewards of cultivating these majestic flowers and marvel at the beauty they bring to your garden.
Conclusion
Growing roses from seeds is a fulfilling and rewarding experience for any gardener. It allows you to witness the entire life cycle of these stunning flowers, from the humble beginnings of a seed to the breathtaking blooms they eventually produce. While it requires patience, care, and dedication, the process of growing roses from seeds offers endless possibilities and the opportunity to discover new and unique varieties.
In this comprehensive guide, we’ve covered crucial steps and considerations for successfully growing roses from seeds. We began by discussing how to choose the right rose variety, considering factors such as climate, growth habit, flower type, disease resistance, and special features. We then delved into preparing the soil, highlighting the importance of well-draining soil enriched with organic matter and nutrients.
Next, we explored the process of planting rose seeds, from stratifying the dormant seeds to providing the ideal growing conditions, such as warmth and moisture. We emphasized the significance of watering, fertilizing, pruning, and disease prevention to ensure the health and vitality of your rose plants through providing proper care and maintenance.
We then moved onto the exciting process of harvesting rose seeds, guiding you through selecting mature rose hips, extracting the seeds, cleaning them, and storing them appropriately for future use. Proper storage techniques, such as using labeled containers in cool, dark, and dry locations, were highlighted to maintain seed viability.
As we conclude, we want to emphasize the joy and satisfaction that comes with growing roses from seeds. It is a journey of discovery, patience, and nurturing that allows you to connect intimately with these beautiful flowers. Whether you’re a seasoned gardener or a budding enthusiast, growing roses from seeds offers a unique opportunity to create and appreciate the diversity of rose varieties.
We hope this guide has equipped you with the knowledge and inspiration to embark on your own rose-growing adventure. Remember to embrace the process, learn from each experience, and find joy in every stage of growth. May your journey of growing roses from seeds be filled with beauty, fragrance, and the fulfillment that comes from connecting with nature in such a personal and rewarding way.
Frequently Asked Questions about How To Get Rose Seeds
Was this page helpful?
At Storables.com, we guarantee accurate and reliable information. Our content, validated by Expert Board Contributors, is crafted following stringent Editorial Policies. We're committed to providing you with well-researched, expert-backed insights for all your informational needs.


0 thoughts on “How To Get Rose Seeds”