Home>Garden Essentials>How To Plant Rose Of Sharon Seeds
Garden Essentials
How To Plant Rose Of Sharon Seeds
Modified: March 15, 2024
Learn how to plant Rose of Sharon seeds in your garden for beautiful blooms. Follow our step-by-step guide and enjoy a stunning addition to your outdoor space.
(Many of the links in this article redirect to a specific reviewed product. Your purchase of these products through affiliate links helps to generate commission for Storables.com, at no extra cost. Learn more)
Introduction
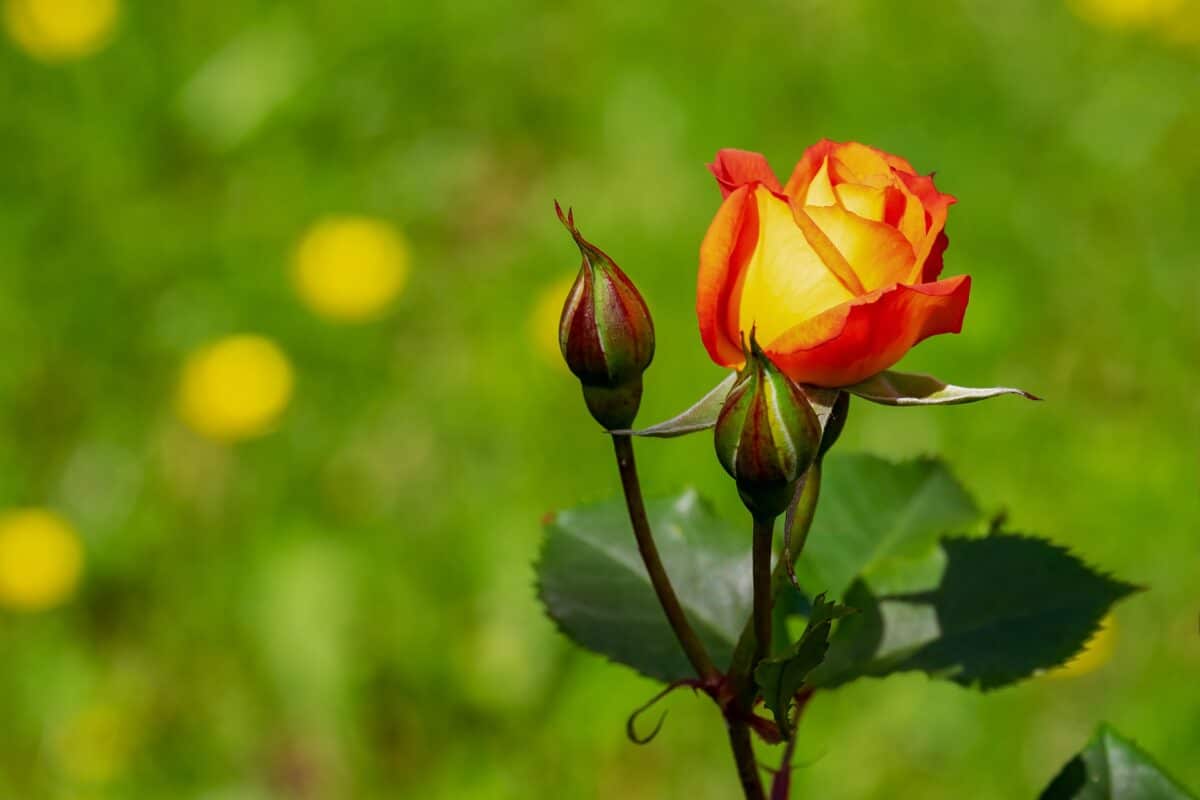
Welcome to the wonderful world of gardening! If you have a green thumb or simply enjoy spending time outdoors, planting flowers and cultivating a beautiful garden can be a rewarding and fulfilling experience. One flower that can add beauty and elegance to any garden is the Rose of Sharon. Known for its stunning blooms and hardy nature, this flowering shrub is a must-have for any avid gardener.
In this article, we will guide you through the process of planting Rose of Sharon seeds. Whether you are a beginner or seasoned gardener, these steps will help you successfully grow and care for these beautiful plants. So, let’s get started and turn your garden into a haven of blooming Rose of Sharon flowers!
Key Takeaways:
- Prepare the soil by choosing a sunny spot, clearing the area, loosening the soil, adding organic matter, and testing the pH. This sets the stage for successful Rose of Sharon seed growth.
- Obtain quality Rose of Sharon seeds from reputable sources, and consider collecting seeds from existing plants or exchanging with fellow gardeners. Proper stratification and sowing lead to healthy seedling development.
Read more: What Does Rose Of Sharon Seeds Look Like
Step 1: Preparing the Soil
Before you start planting Rose of Sharon seeds, it is important to prepare the soil properly. This will create an ideal growing environment for the seeds and ensure their successful germination and growth. Here are some steps to follow:
- Choose the right location: Select a location in your garden that receives ample sunlight. Rose of Sharon plants thrive in full sun, so look for an area that gets at least six to eight hours of direct sunlight each day.
- Clear the area: Remove any grass, weeds, or other vegetation from the planting site. This will prevent competition for nutrients and ensure that the Rose of Sharon seeds have the best chance of establishing themselves.
- Loosen the soil: Use a garden fork or tiller to loosen the soil in the planting area. This will help improve drainage and allow the roots of the Rose of Sharon plants to penetrate deep into the soil.
- Amend the soil: If your soil is heavy or poor in nutrients, consider adding organic matter such as compost or well-rotted manure. This will enrich the soil and provide essential nutrients for the growing plants.
- Test the soil pH: Rose of Sharon plants prefer slightly acidic to neutral soil with a pH range of 6.0 to 7.0. Test the soil using a pH testing kit available at garden centers. If the pH is too high or too low, adjust it accordingly using the appropriate soil amendments.
By following these steps, you will create a fertile and well-draining soil bed for your Rose of Sharon seeds. This will give them the best chance of thriving and producing beautiful blooms in the future.
Step 2: Obtaining Rose of Sharon Seeds
Once you have prepared the soil, the next step is to obtain Rose of Sharon seeds. There are a few different methods you can use to acquire the seeds:
- Buy seeds: Visit your local garden center or nursery and look for Rose of Sharon seeds. They are often available in packets or small containers. Make sure to choose a reputable source to ensure the quality of the seeds.
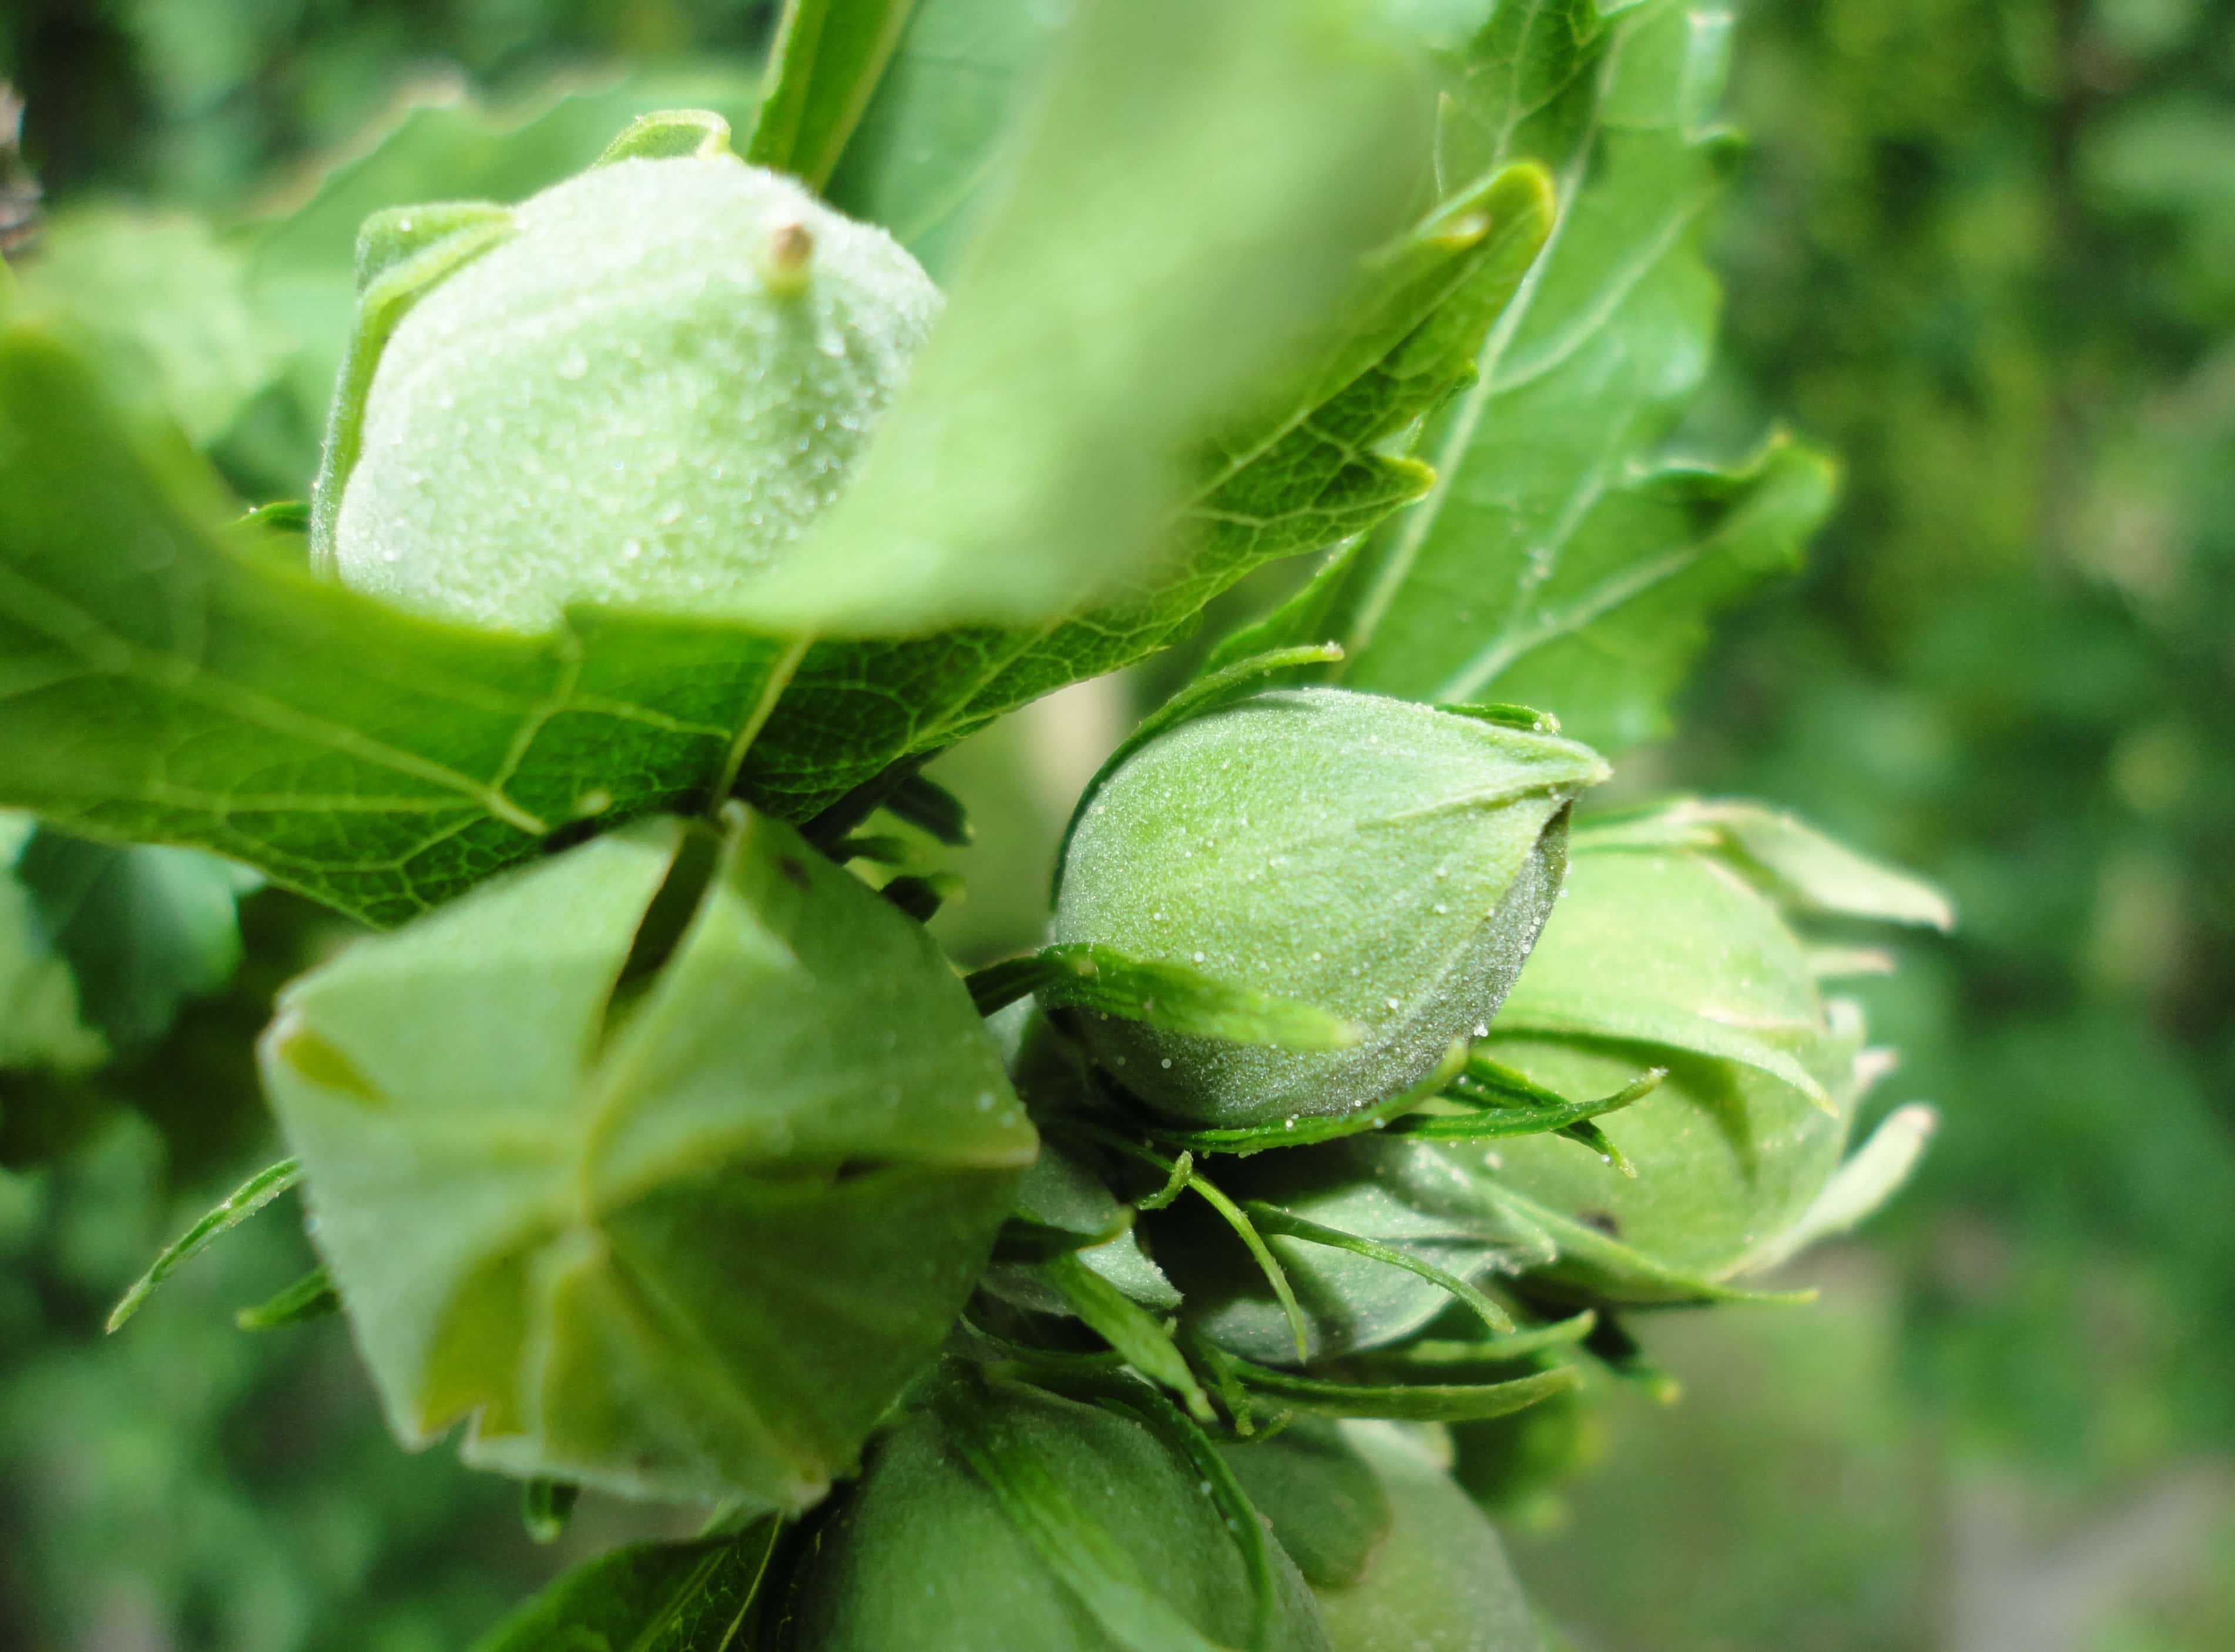
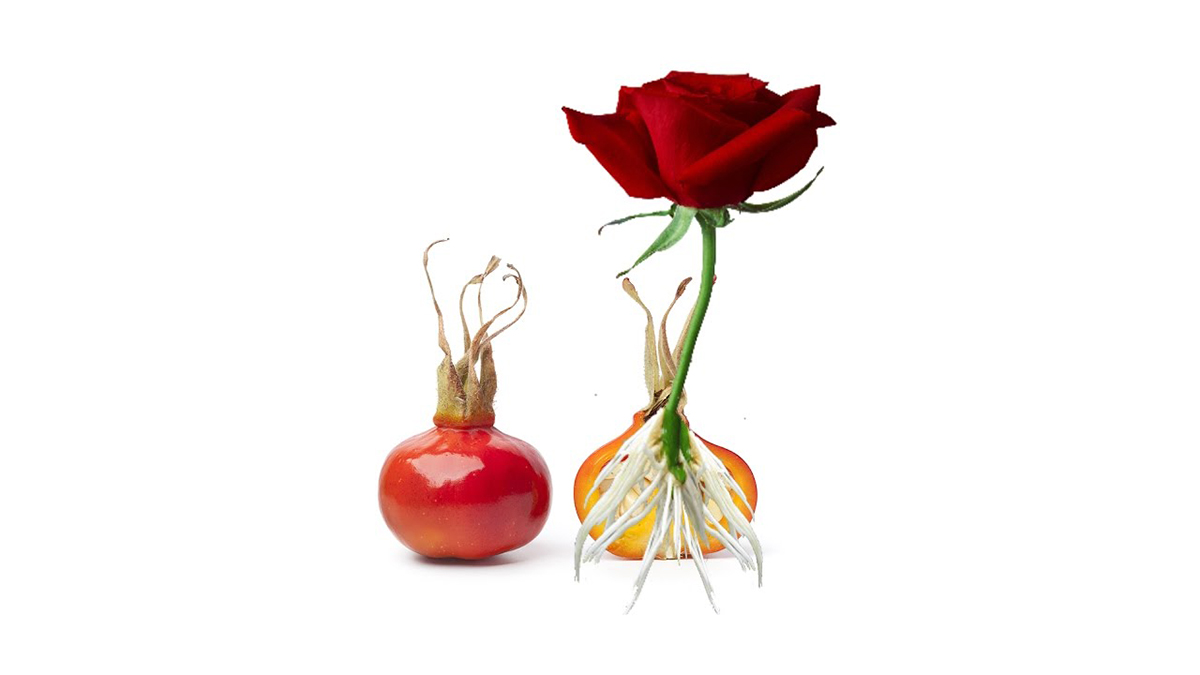
- Collect seeds from existing plants: If you already have Rose of Sharon plants in your garden, you can collect seeds from the dried seed pods. Wait until the pods have turned brown and are fully matured. Gently remove the pods and extract the seeds.
- Exchange seeds with fellow gardeners: Join local gardening groups or forums where you can exchange seeds with other garden enthusiasts. This is not only a cost-effective method but also gives you the opportunity to discover unique varieties of Rose of Sharon.
- Harvest seeds from wild Rose of Sharon plants: If Rose of Sharon plants grow naturally in your area, you can collect seeds from wild plants. However, be mindful of any regulations or permissions required for seed collection.
Once you have obtained your Rose of Sharon seeds, make sure to store them in a cool, dry place until you are ready to plant them. Proper storage will maintain the viability of the seeds and increase the chance of successful germination.
Remember, the quality of the seeds will greatly influence the growth and health of your Rose of Sharon plants. So, choose carefully and make sure you are using fresh and viable seeds for the best results.
Step 3: Stratification Process
Stratification is an important step in the germination process for Rose of Sharon seeds. This process mimics the natural conditions that the seeds would go through in the wild, helping to break their dormancy and initiate germination. Here’s how to stratify Rose of Sharon seeds:
- Clean the seeds: Before stratifying the seeds, remove any remaining debris or pulp from them. Rinse the seeds gently with water, ensuring they are clean and free from any contaminants.
- Soak the seeds: Fill a small container with room temperature water and place the Rose of Sharon seeds in it. Allow them to soak for 24-48 hours. This will help to soften the seed coat and prepare the seeds for stratification.
- Prepare the stratification medium: You can use different mediums for stratification, such as peat moss, vermiculite, or damp paper towels. Spread the medium in a plastic bag or container, ensuring it is moist but not waterlogged.
- Place the seeds in stratification medium: Remove the soaked seeds from water and gently pat them dry. Place the seeds onto the stratification medium, spreading them out evenly. Make sure they are not touching each other.
- Seal and store: Seal the plastic bag or container that holds the stratification medium and seeds. Store it in the refrigerator at a temperature between 35-40°F (2-4°C). This cold stratification process typically lasts for 60-90 days.
During the stratification period, check the seeds occasionally to ensure the medium remains moist. Avoid overwatering, as it can lead to mold or fungal growth. After the recommended stratification period, the seeds are ready for sowing.
By stratifying Rose of Sharon seeds, you are providing them with the necessary conditions to overcome dormancy and improve germination rates. This extra step will increase your chances of successful seedling establishment and growth.
Step 4: Sowing the Seeds
Now that you have stratified the Rose of Sharon seeds and they are ready for planting, it’s time to sow them. Follow these steps to ensure proper sowing and give your seeds the best chance of germination:
- Select the planting containers: Use small pots or seed trays with drainage holes. Fill the containers with a well-draining seed starting mix or a mixture of potting soil and vermiculite.
- Moisten the planting medium: Before sowing the seeds, moisten the planting medium slightly to provide a suitable environment for germination.
- Sow the seeds: Make small indentations (about ¼ inch deep) in the planting medium using your finger or a small tool. Place one Rose of Sharon seed in each indentation and cover it lightly with the planting medium.
- Label the containers: To keep track of different varieties or planting dates, label the containers with the name of the Rose of Sharon variety and the date of sowing. This will help you stay organized throughout the growing process.
- Provide optimal conditions: Place the containers in a warm and well-lit area, preferably near a sunny windowsill. Keep the soil moist but not waterlogged. Consider covering the containers with plastic wrap or a clear plastic dome to create a greenhouse-like environment and retain moisture.
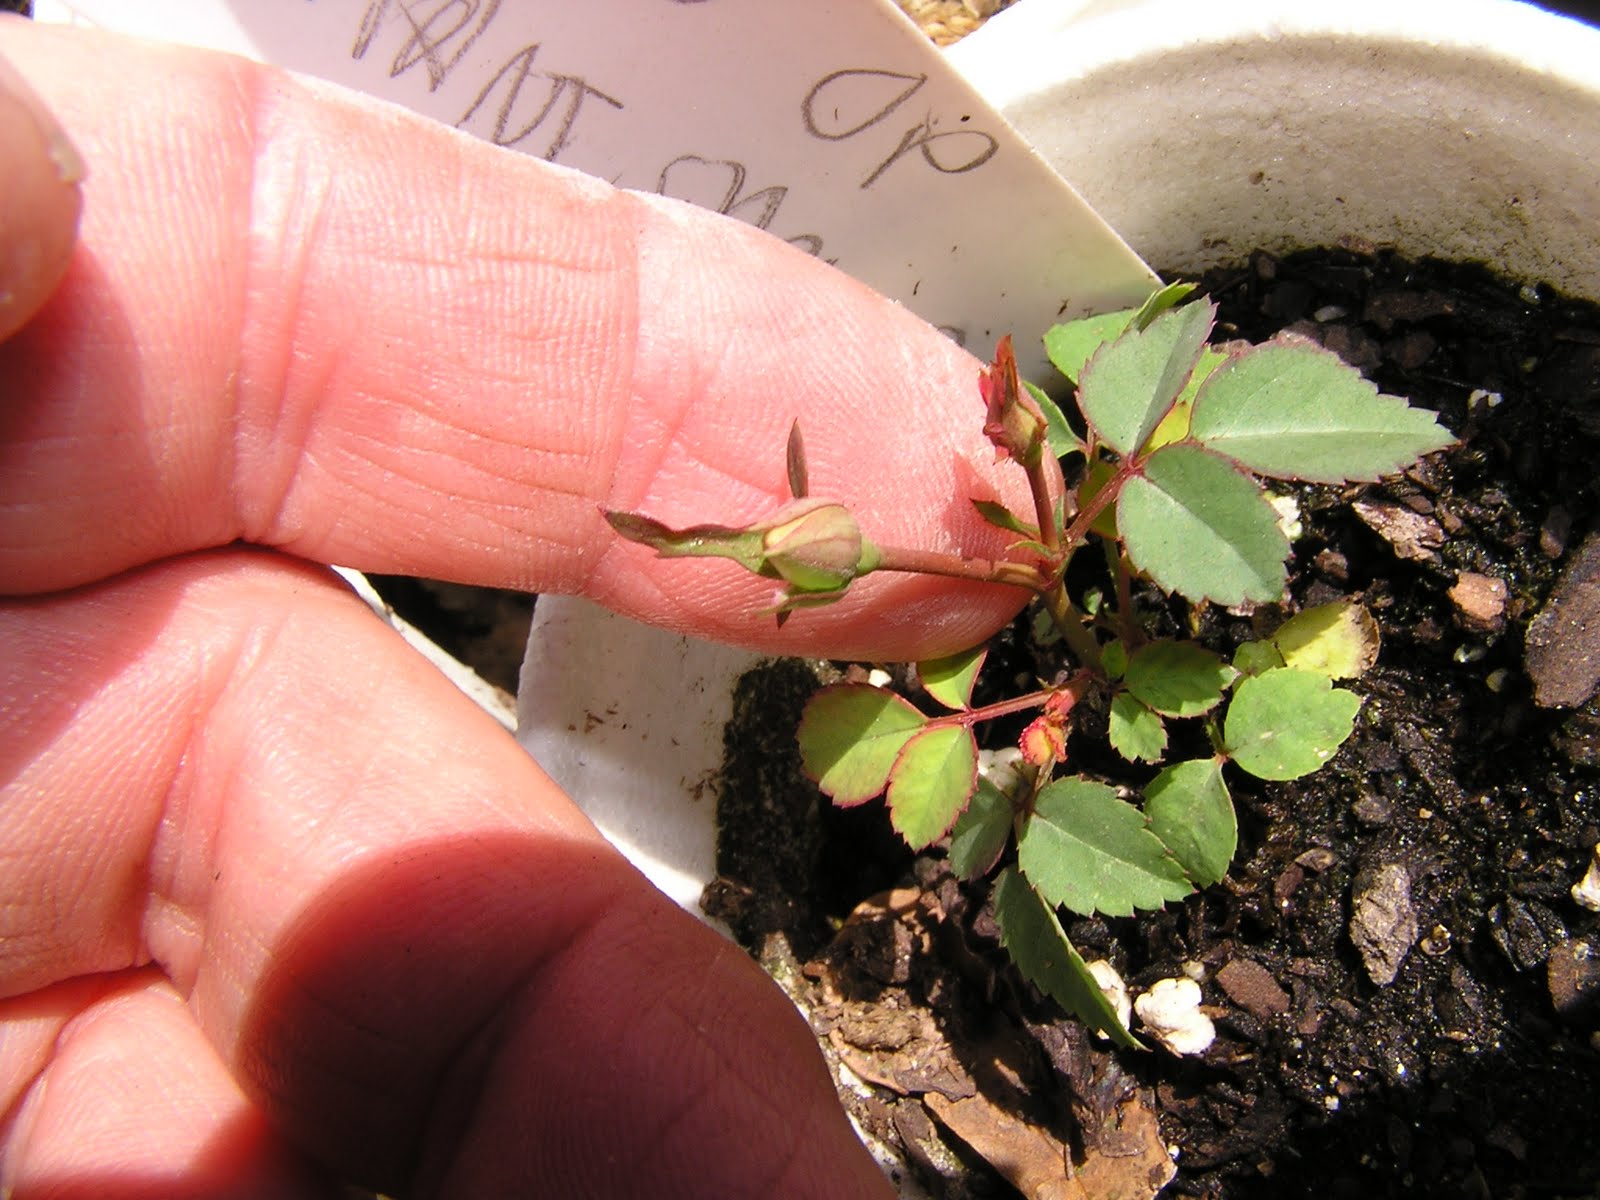
- Germination and seedling care: Rose of Sharon seeds typically germinate within 2-4 weeks, although it can take longer for some varieties. Once the seedlings emerge, remove the plastic covering and provide ample light. Thin out the weaker seedlings if multiple seeds have germinated in one container, allowing the strongest ones to grow.
Remember to monitor the soil moisture regularly, as seedlings are delicate and require consistent watering. Avoid letting the soil dry out completely or become waterlogged.
By sowing the Rose of Sharon seeds in appropriate containers and providing favorable growing conditions, you are setting the stage for successful germination and healthy seedling development.
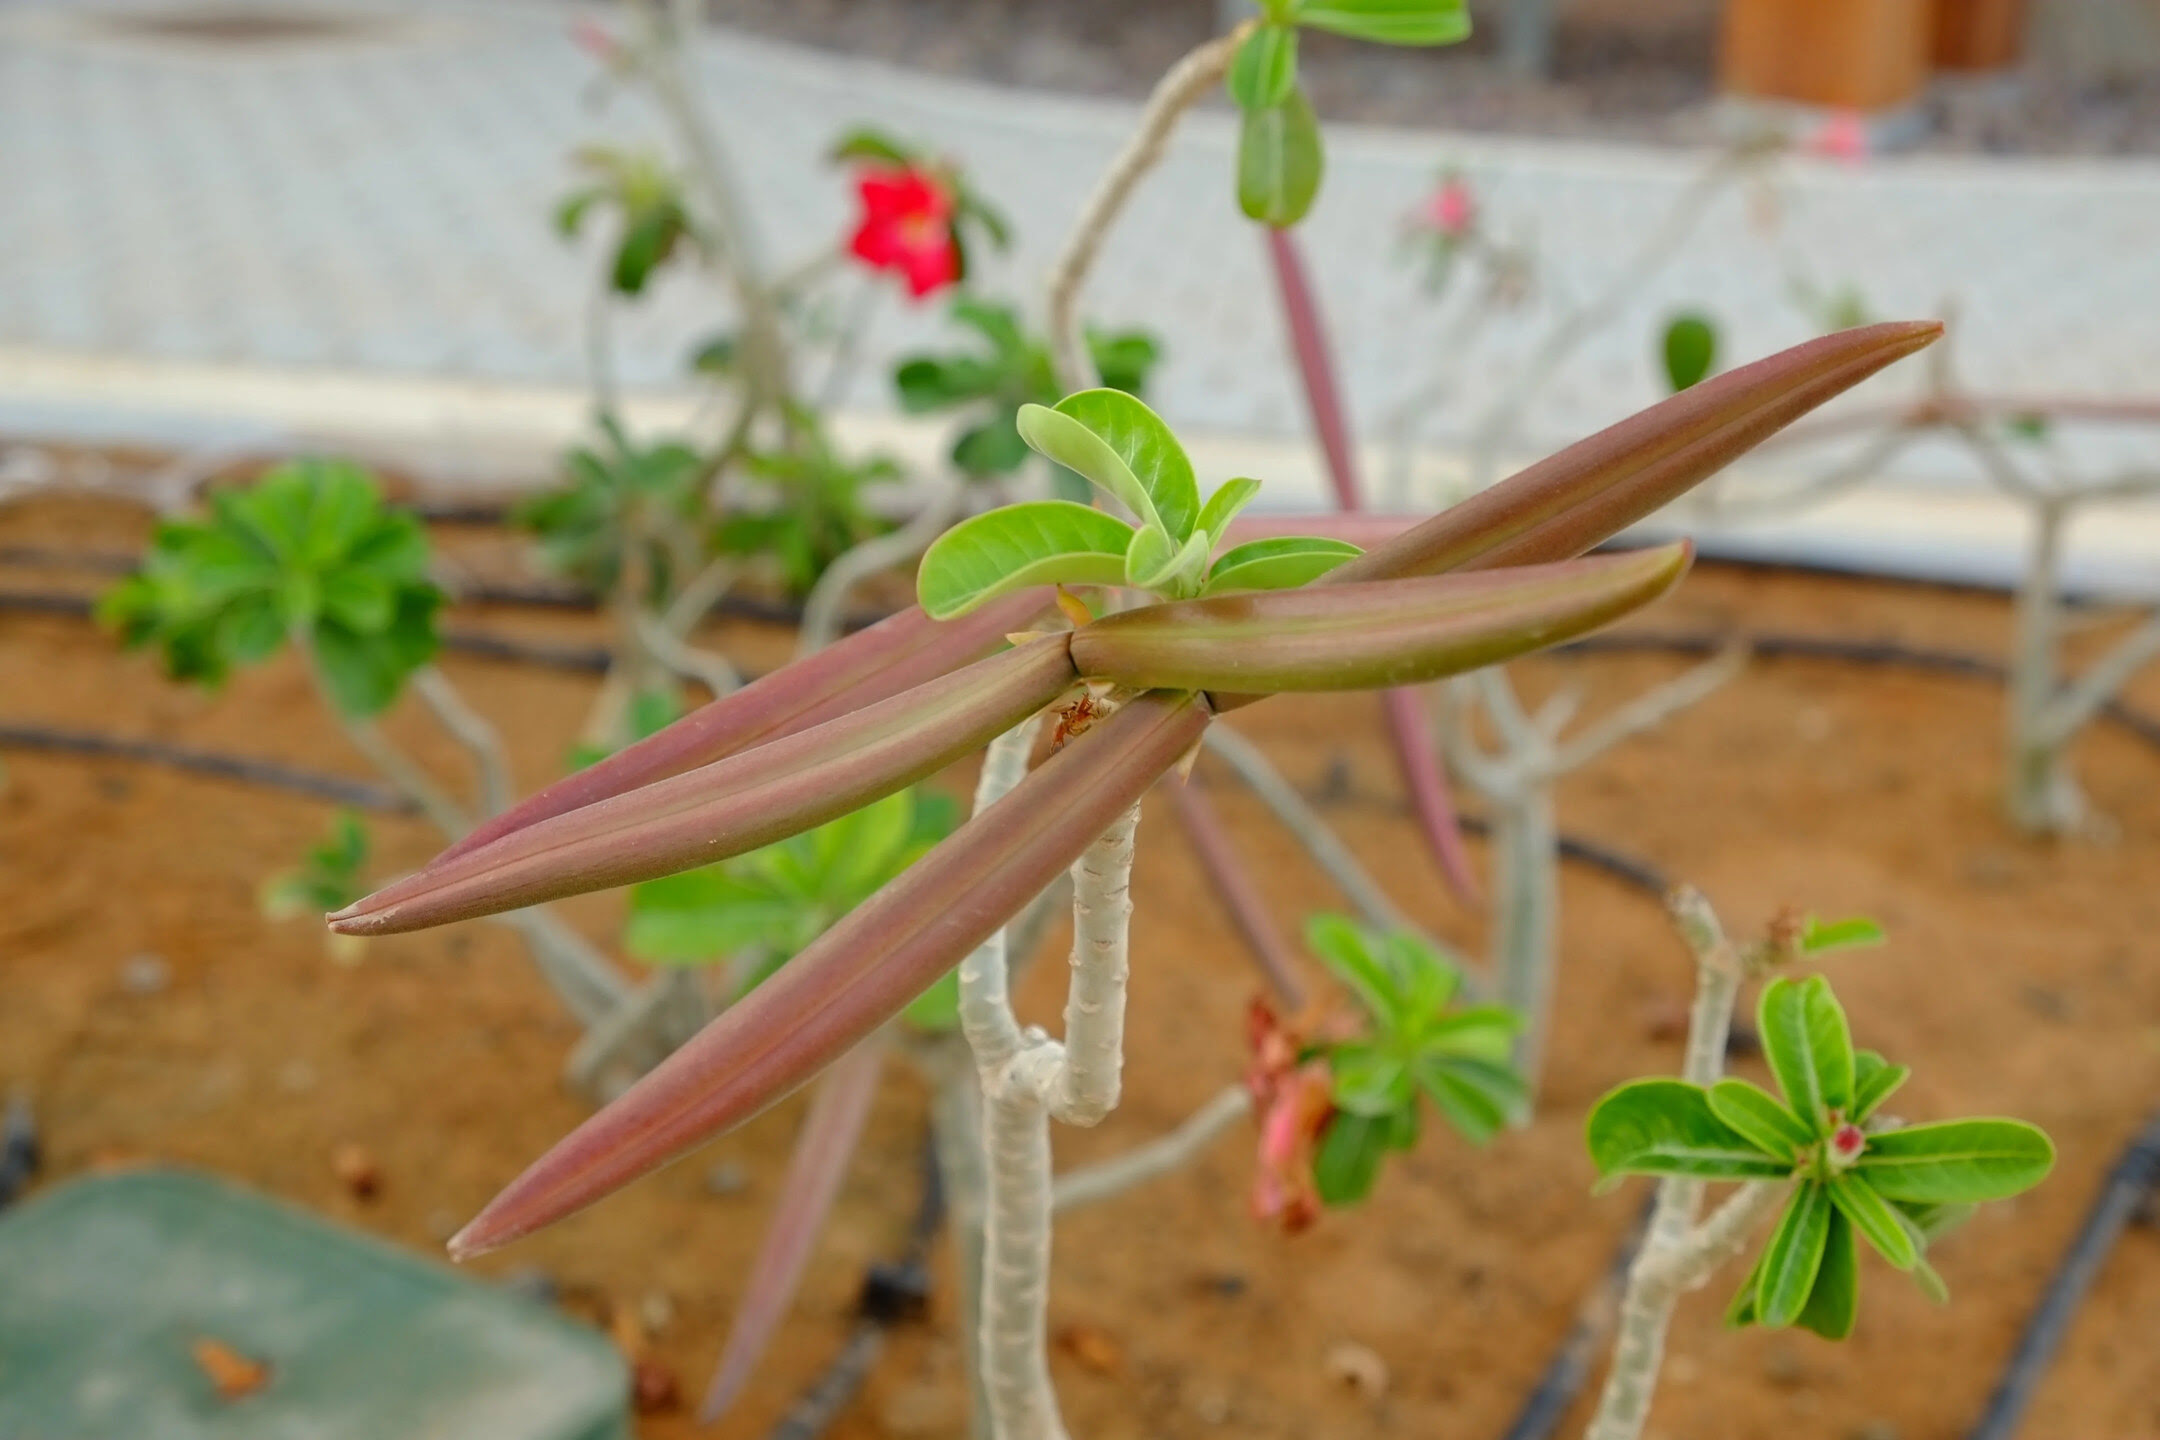
Plant Rose of Sharon seeds in well-draining soil, 1/4 inch deep. Keep soil moist but not waterlogged. Place in a sunny spot and expect germination in 2-4 weeks.
Read more: How To Plant Desert Rose Seeds
Step 5: Providing Optimal Growing Conditions
Once the Rose of Sharon seeds have germinated and the seedlings have emerged, it’s crucial to provide them with optimal growing conditions to foster healthy growth and development. Here are some key factors to consider:
- Sunlight: Place the seedlings in a location that receives full sun for at least 6-8 hours a day. Rose of Sharon plants thrive in bright sunlight, which promotes strong and abundant flowering.
- Temperature: Rose of Sharon plants prefer moderate temperatures, ideally between 65-75°F (18-24°C). Protect them from extreme heat or cold, as it can stress the young seedlings. If necessary, provide shade during the hottest part of the day.
- Watering: Keep the soil consistently moist but not overly saturated. Water the seedlings at the base, preferably in the morning, allowing the soil to dry slightly between waterings. Avoid overhead watering, as it can promote fungal diseases.
- Fertilization: Once the seedlings have developed their first set of true leaves, you can start fertilizing them. Use a balanced, water-soluble fertilizer and follow the recommended dosage instructions to avoid over-fertilization. Apply the fertilizer every 2-3 weeks during the growing season.
- Weed control: Keep the area around the seedlings free from weeds, as they can compete for nutrients and water. Regularly remove any weeds that appear, being careful not to disturb the delicate roots of the Rose of Sharon seedlings.
- Pruning: As the seedlings develop, you may need to prune them to encourage a bushier growth and shape the plants. Prune any weak or crossing branches, and pinch off the tips of the stems to promote branching.
Remember to observe the seedlings closely and address any issues promptly. Watch out for signs of pests or diseases, such as aphids or powdery mildew, and take appropriate measures to control them.
By providing the optimal growing conditions, you are giving your Rose of Sharon seedlings the best chance to establish themselves and grow into healthy, vibrant plants.
Step 6: Caring for Seedlings
As your Rose of Sharon seedlings grow and mature, it is crucial to provide them with proper care to ensure their health and vigor. Follow these guidelines to care for your seedlings:
- Thinning: If multiple seedlings have germinated in one container, thin them out once they have developed their first true leaves. Space the strongest and healthiest seedlings about 6-12 inches apart to give them room to grow.
- Watering: Continue to water the seedlings regularly, keeping the soil evenly moist. Be mindful not to overwater, as excessive moisture can lead to root rot. Aim to water at the base of the plants, avoiding leaves to prevent fungal diseases.
- Staking: As the seedlings grow taller, provide support by gently staking them to prevent leaning or toppling in strong winds. Use soft ties or twine to secure the stems to the stakes, ensuring not to constrict their growth.
- Mulching: Mulching helps conserve soil moisture and suppresses weed growth. Apply a layer of organic mulch, such as wood chips or straw, around the base of the seedlings, keeping the mulch about an inch away from the stems.
- Protection from pests: Monitor your seedlings for any signs of pest damage, such as chewed leaves or holes. If pests are present, take appropriate measures, such as using insecticidal soap or organic pest control methods, to protect your plants.
- Regular observation: Keep a close eye on your seedlings for any signs of stress, disease, or nutrient deficiencies. Address any issues promptly to prevent them from worsening.
Remember to adapt your care routine based on the specific needs of your Rose of Sharon seedlings. Every garden and climate may have different requirements. As the seedlings continue to grow, their care will transition into maintaining mature plants, which we will cover in the next step.
By providing proper care and attention to your seedlings, you are setting the foundation for robust and healthy Rose of Sharon plants in your garden.
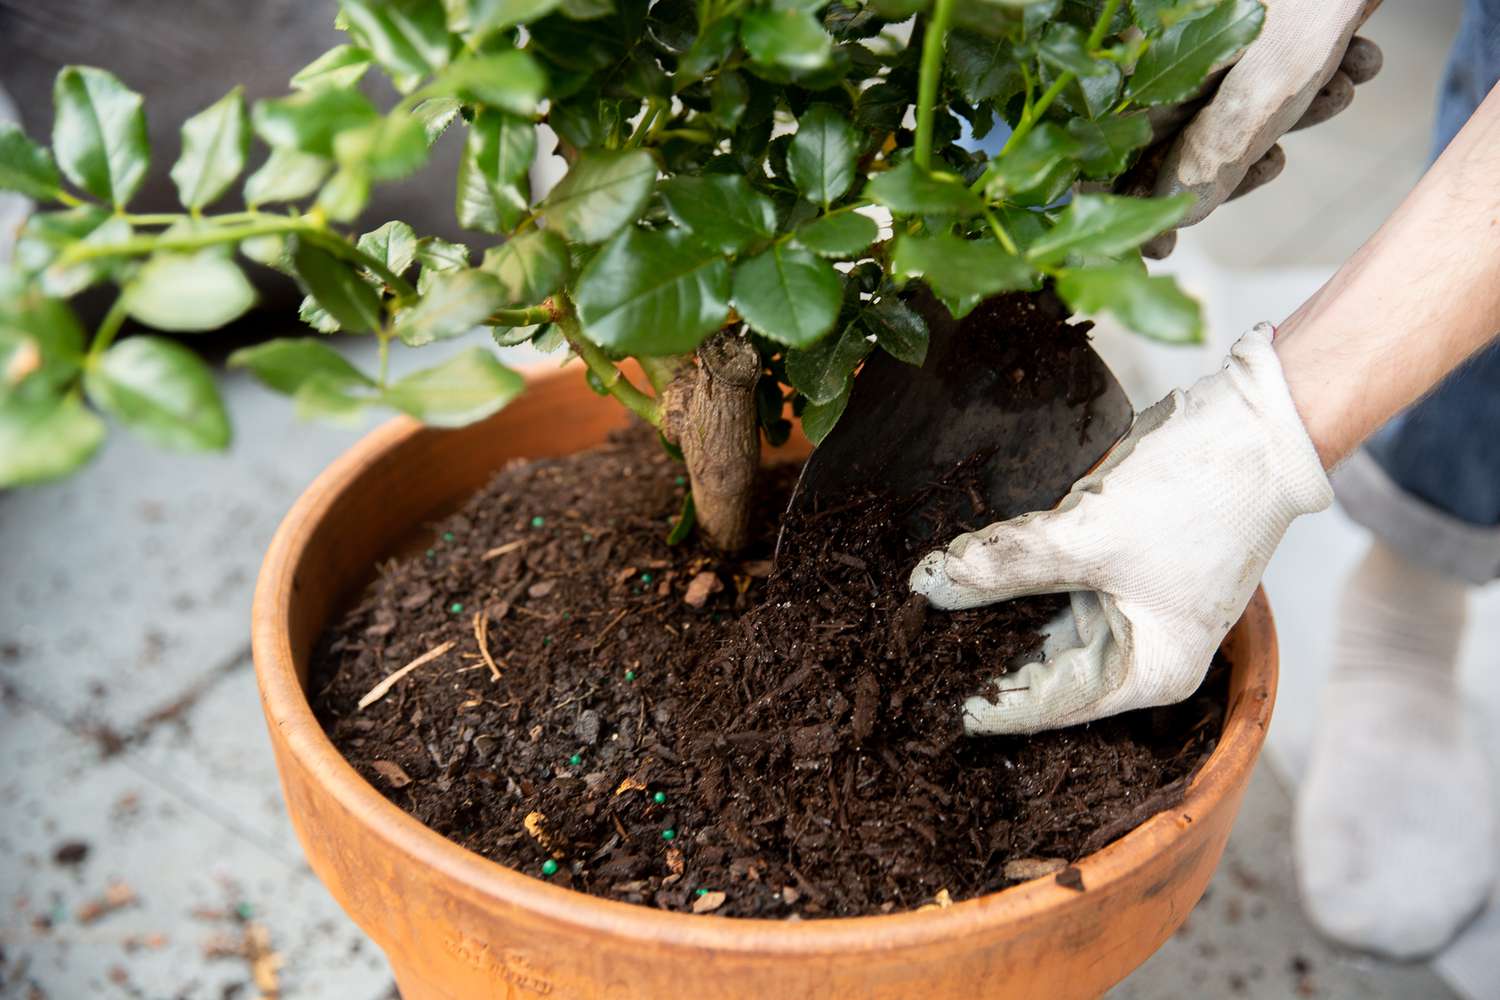
Step 7: Transplanting Seedlings
As your Rose of Sharon seedlings grow in size and strength, there will come a time when they need to be transplanted into their permanent spots in the garden. Follow these steps to successfully transplant your seedlings:
- Choose the right time: Wait until the seedlings have developed several sets of true leaves and are at least 6-8 inches tall before transplanting them. The best time to transplant is during the early spring or fall when the weather is mild.
- Prepare the transplant site: Select a location in your garden that receives full sun and has well-draining soil. Dig a hole that is slightly larger than the root ball of the seedling, ensuring the hole is deep enough to accommodate the roots without bending or crowding them.
- Water the seedlings: Before transplanting, water the seedlings thoroughly. This will help ease their removal from the containers and prevent dehydration during the transplantation process.
- Remove the seedlings: Gently loosen the soil around the seedlings in their containers. Carefully lift the seedlings from the containers, taking care not to damage the roots. If the seedlings have become root-bound, tease the roots apart slightly to encourage outward growth.
- Plant the seedlings: Place each seedling in the prepared hole, ensuring that the top of the root ball is level with the surrounding soil surface. Backfill the hole with soil, gently firming it around the roots. Water the newly transplanted seedlings well to help settle the soil.
- Provide aftercare: Mulch around the base of the transplanted seedlings to help conserve moisture and suppress weed growth. Water the newly transplanted seedlings regularly, keeping the soil evenly moist during the establishment period.
- Maintain regular care: Continue to monitor and care for the transplanted seedlings, ensuring they receive adequate sunlight, water, and nutrients. Prune any damaged or overly long branches to encourage bushier growth.
Transplanting can be a stressful process for seedlings, so it’s important to handle them gently and minimize any disturbances to the root system. By following these steps, you can successfully transplant your Rose of Sharon seedlings and help them thrive in their new garden home.
Step 8: Continued Care for Mature Plants
Now that your Rose of Sharon seedlings have been transplanted and have grown into mature plants, it’s time to shift your focus towards their continued care and maintenance. Here are essential steps to ensure the longevity and health of your Rose of Sharon plants:
- Watering: While established Rose of Sharon plants are relatively drought-tolerant, it’s crucial to provide them with regular watering during dry periods. Water deeply at the base of the plants to encourage root growth and help them withstand periods of drought.
- Fertilization: Feed your Rose of Sharon plants with a balanced slow-release fertilizer in early spring, following the package instructions. You can also top-dress with compost or well-rotted manure to provide additional organic nutrients throughout the growing season.
- Pruning: Pruning is essential to maintain the shape, size, and overall health of your Rose of Sharon plants. Prune in late winter or early spring before new growth emerges. Remove dead, damaged, or diseased branches, as well as any suckers or crossing branches that can hinder air circulation and promote disease.
- Pest and disease control: Regularly inspect your Rose of Sharon plants for signs of pests, such as aphids or spider mites. Treat any infestations promptly using organic or chemical control methods. Additionally, monitor for common diseases like powdery mildew and treat accordingly.
- Support and training: As the plants mature, they may benefit from staking or support to prevent them from becoming top-heavy or leaning. Use stakes or a trellis system to provide support and train the plants to grow in the desired direction.
- Mulching: Maintain a layer of organic mulch around the base of your Rose of Sharon plants, keeping it a few inches away from the stems. Mulching helps conserve moisture, regulate soil temperature, and suppress weed growth.
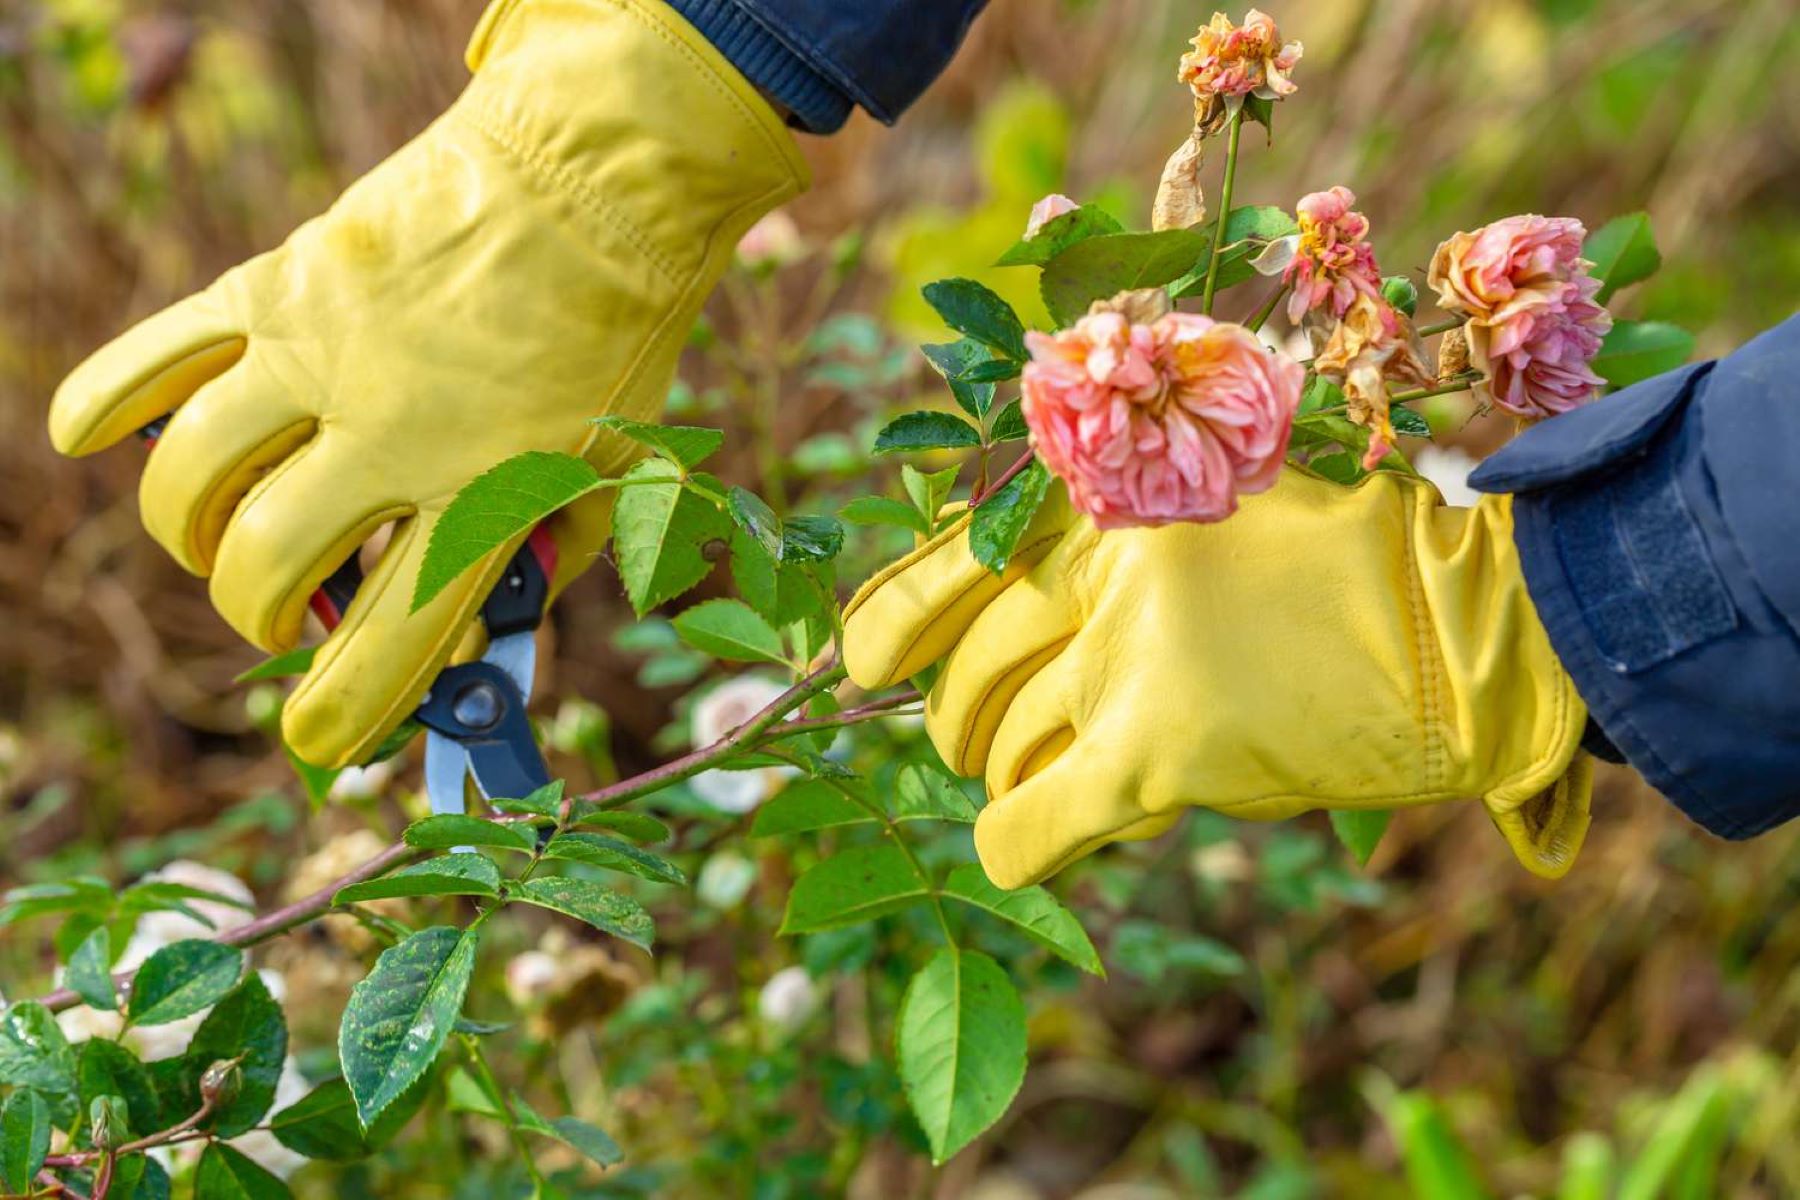
- Remove spent blooms: Deadhead or remove spent blooms regularly to promote continuous flower production and prevent self-seeding. This encourages the plant to redirect its energy towards new growth and future blossoms.
- Winter protection: In colder climates, provide winter protection for your Rose of Sharon plants. Apply a layer of mulch around the base of the plants in late fall to insulate the roots. Consider covering the plants with burlap or a protective wrap to shield them from harsh winter winds.
By providing continued care, your mature Rose of Sharon plants will reward you with beautiful blooms and a thriving presence in your garden year after year. Regular maintenance, attentive watering, and timely interventions will ensure their long-term health and vitality.
Read more: How To Start Roses From Seed
Conclusion
Congratulations on successfully mastering the art of planting Rose of Sharon seeds! By following the steps outlined in this guide, you have learned how to prepare the soil, obtain quality seeds, stratify them, sow them, and provide optimal growing conditions for the seedlings. As they matured into beautiful plants, you also discovered how to transplant them and care for them throughout their lifecycle.
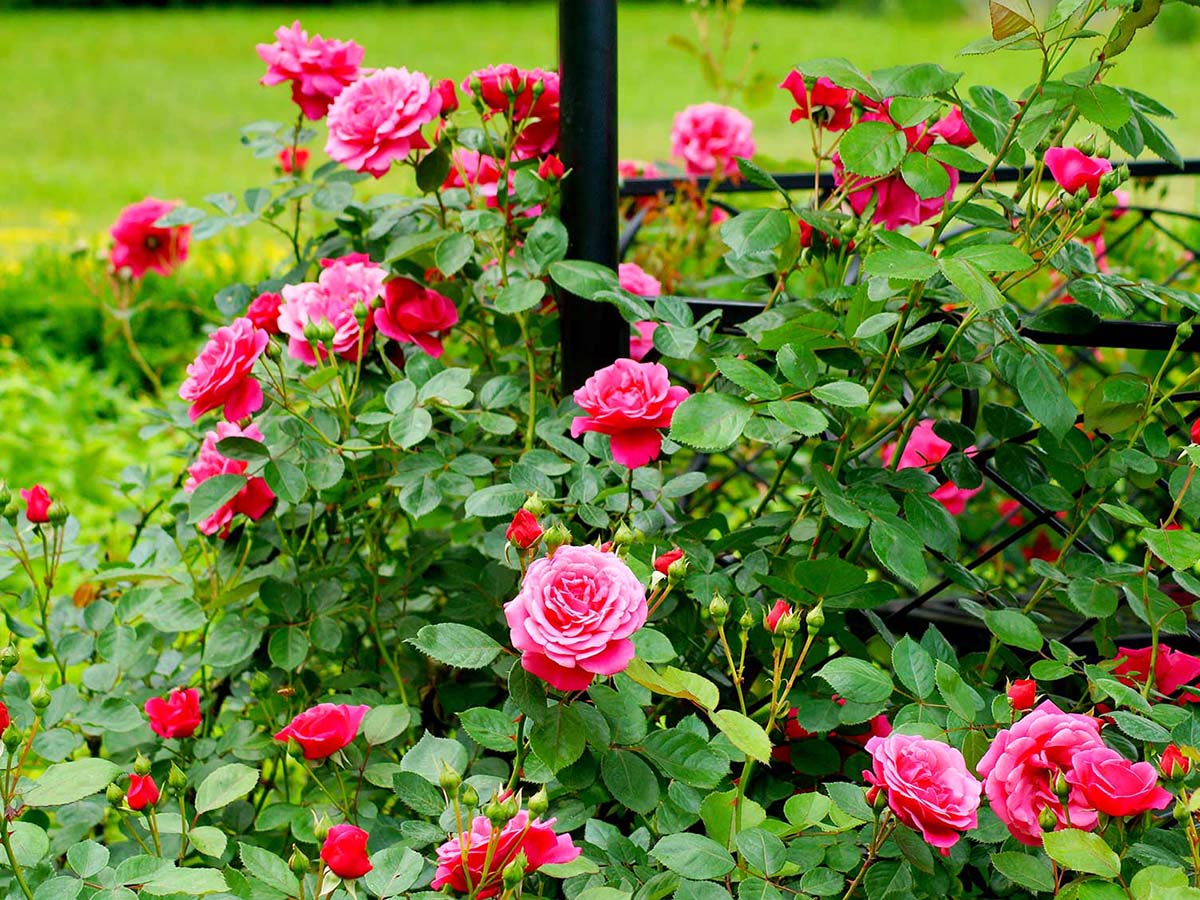
Rose of Sharon, with its stunning blooms and hardy nature, will continue to bring beauty and elegance to your garden for many years to come. By prioritizing their needs for sunlight, well-draining soil, proper watering, and regular care, you have set the stage for their success.
Remember to adjust your care routine based on your specific growing conditions and climate. Regular observation, pruning, pest control, and providing winter protection will ensure the continued health and vitality of your Rose of Sharon plants.
As your garden flourishes with these delightful and resilient flowers, take the time to enjoy the beauty they bring and the satisfaction of watching them thrive under your care. With your green thumb and newfound knowledge, your garden will become a sanctuary of Rose of Sharon blossoms, creating a haven for both you and nature.
So go ahead, plant those Rose of Sharon seeds, and embark on this rewarding gardening journey. Happy gardening!
Frequently Asked Questions about How To Plant Rose Of Sharon Seeds
Was this page helpful?
At Storables.com, we guarantee accurate and reliable information. Our content, validated by Expert Board Contributors, is crafted following stringent Editorial Policies. We're committed to providing you with well-researched, expert-backed insights for all your informational needs.


0 thoughts on “How To Plant Rose Of Sharon Seeds”