Home>Garden Essentials>How To Start Roses From Seed
Garden Essentials
How To Start Roses From Seed
Modified: August 27, 2024
Learn how to start roses from seed in your garden. Follow our step-by-step guide and enjoy the beauty of growing your own roses.
(Many of the links in this article redirect to a specific reviewed product. Your purchase of these products through affiliate links helps to generate commission for Storables.com, at no extra cost. Learn more)
Introduction
Welcome to the world of rose gardening! There’s something truly magical about growing your own roses from seed. Not only does it allow you to witness the entire lifecycle of these beautiful flowers, but it also provides a sense of accomplishment and pride. Starting roses from seed may seem daunting at first, but with the right knowledge and techniques, it can be a rewarding and fulfilling experience.
In this article, we will guide you through the process of starting roses from seed. We will cover everything from choosing the right rose seeds to caring for the seedlings as they grow. So, let’s dive in and unlock the secrets of successfully starting roses from seed!
Key Takeaways:
- Starting roses from seed is a magical and rewarding experience, but it requires patience and attention to detail. Choosing the right seeds, preparing the soil, and providing proper care are essential for successful germination.
- Providing the ideal growing conditions, transplanting seedlings, and ongoing care are crucial for nurturing healthy and thriving rose plants. With dedication and proper care, you can enjoy the beauty of your own homegrown roses.
Read more: How To Start Rose Seeds
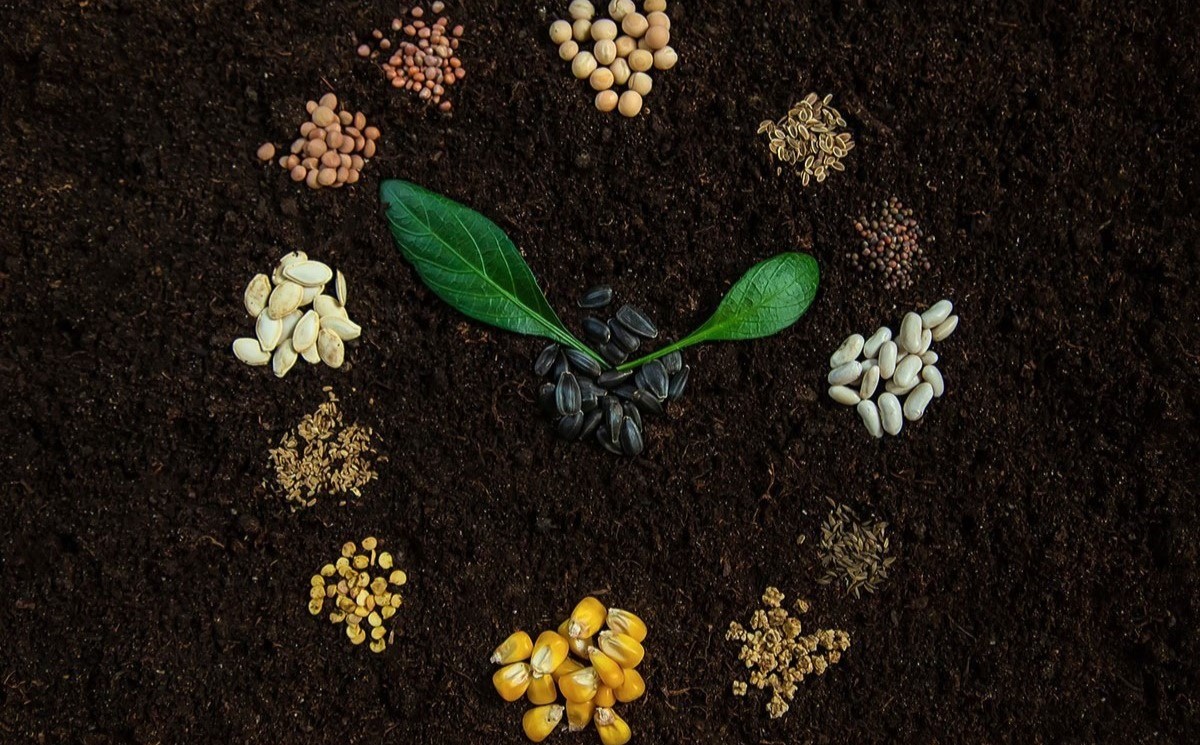
Choosing the Right Rose Seeds
When it comes to starting roses from seed, the first step is to select the right seeds. There are a wide variety of rose seeds available on the market, each offering unique colors, fragrances, and growth habits. Here are some key factors to consider when choosing rose seeds:
- Hybrid or Heirloom: Decide whether you want to grow hybrid roses or heirloom roses. Hybrid roses are a cross between two different varieties, resulting in new and improved characteristics. Heirloom roses, on the other hand, are varieties that have been passed down through generations and have established traits.
- Hardiness: Consider the climate in which you live and choose rose seeds that are suitable for your specific hardiness zone. This ensures that the roses will thrive in your garden and withstand the local weather conditions.
- Colours and Fragrances: Think about the colors and fragrances you prefer in roses. Whether you’re drawn to vibrant reds, soft pinks, or delicate whites, there are rose seeds available to suit every preference. Additionally, roses can emit different scents, ranging from sweet and floral to spicy and musky.
- Growth Habit: Take into account the growth habit of the roses you want to grow. Consider factors such as bushy or climbing, compact or sprawling, and whether they are suitable for container gardening or landscape planting.
- Care Requirements: Some rose varieties require more care and attention than others. Consider your level of gardening experience and the amount of time and effort you are willing to invest in caring for the roses.
By considering these factors, you can choose rose seeds that align with your preferences and the specific conditions of your garden. Remember, starting with high-quality seeds increases the likelihood of successful germination and healthy plant growth.
Preparing the Growing Medium
Creating the right growing medium is essential for the successful germination and healthy growth of your rose seeds. The growing medium provides the necessary nutrients, moisture retention, and aeration for the seeds to develop into strong seedlings. Here are the steps to prepare the ideal growing medium:
- Choose a Well-Draining Soil: Select a well-draining soil mix that is rich in organic matter. Avoid heavy clay soils that may lead to waterlogging and hinder root development. A balanced soil mix with good drainage ensures proper oxygen flow to the roots.
- Add Organic Matter: Enhance the soil’s fertility and water-holding capacity by incorporating organic matter such as compost, well-rotted manure, or peat moss. This improves the overall health of the plants and helps retain moisture around the roots.
- Adjust pH Level: Roses prefer slightly acidic to neutral soil with a pH range of 6.0 to 7.0. Test the pH level of your growing medium and make necessary adjustments using amendments like lime (to raise pH) or sulfur (to lower pH).
- Ensure Good Drainage: To prevent waterlogged conditions, ensure proper drainage in your growing containers or garden beds. Use containers with drainage holes or create a raised bed with well-draining soil.
- Prevent Soil Contamination: Sterilize the growing medium by baking it in the oven at a temperature of 180°F (82°C) for around 30 minutes. This kills any weed seeds, pests, or diseases that may be present, reducing the risk of problems later on.
Remember, providing a healthy and fertile growing medium sets the foundation for robust growth and development of your rose seedlings. Taking the time to prepare the right soil mix will greatly increase your chances of success in growing beautiful roses from seed.
Scarifying the Rose Seeds
Scarifying rose seeds is an important step to enhance germination rates. Rose seeds have a hard seed coat that can hinder water absorption and prevent germination. Scarifying is the process of breaking, scratching, or softening this tough outer layer to promote quicker and more successful seed germination. Here’s how to scarify rose seeds:
- Nicking the Seed Coat: Gently nick the seed coat with a sharp blade or sandpaper. Make a small, shallow cut on one side of the seed, being careful not to damage the embryo inside. This allows water to penetrate through the seed coat and initiate germination.
- Soaking the Seeds: After nicking the seed coats, soak the rose seeds in room temperature water for 24 hours. This softens the seed coat further and helps to hydrate the embryo inside.
- Stratifying the Seeds: After soaking, it’s recommended to stratify the seeds. Stratification involves subjecting the seeds to a period of cold, moist conditions mimicking winter. Place the scarified seeds in a moist paper towel or a damp vermiculite-filled container and refrigerate for 4-8 weeks. This process breaks seed dormancy and prepares the seeds for germination.
Scarifying rose seeds is an essential step to improve germination rates, especially for species roses and wild rose varieties. By breaking the seed coat and providing the necessary conditions for stratification, you can significantly increase the chances of successful rose seed germination.
Stratifying the Rose Seeds
Stratification is a process that simulates the cold and moist conditions that rose seeds naturally experience during winter. This step is crucial for breaking seed dormancy and preparing the seeds for germination. Here’s how to stratify rose seeds:
- Prepare the Seeds: Start by scarifying the rose seeds, as mentioned in the previous section. Nick the seed coat and soak the seeds in room temperature water for 24 hours to soften the outer layer.
- Moist Stratification: For moist stratification, you will need a clean, dampened paper towel or a container filled with moist vermiculite or peat moss. Place the scarified seeds on the moist medium, making sure they are evenly spaced and not touching each other.
- Label and Seal: To avoid mix-ups, label the container or the paper towel with the seed variety and the date of stratification. Cover the seeds with a plastic wrap or place them in a sealed plastic bag to retain moisture.
- Refrigerate: Place the container or bag in the refrigerator for a period of 4 to 8 weeks. The optimal temperature for stratification is around 32-41°F (0-5°C), which is typically found in the vegetable crisper drawer of the refrigerator.
- Check for Moisture: Regularly check the moisture levels during stratification. The medium should remain moist but not soggy. If needed, mist the paper towel or add a small amount of water to the container to maintain the moisture level.
By providing the necessary cold and moist conditions through stratification, you are breaking seed dormancy and triggering the germination process. After the stratification period, the rose seeds are ready to move on to the next step: sowing.
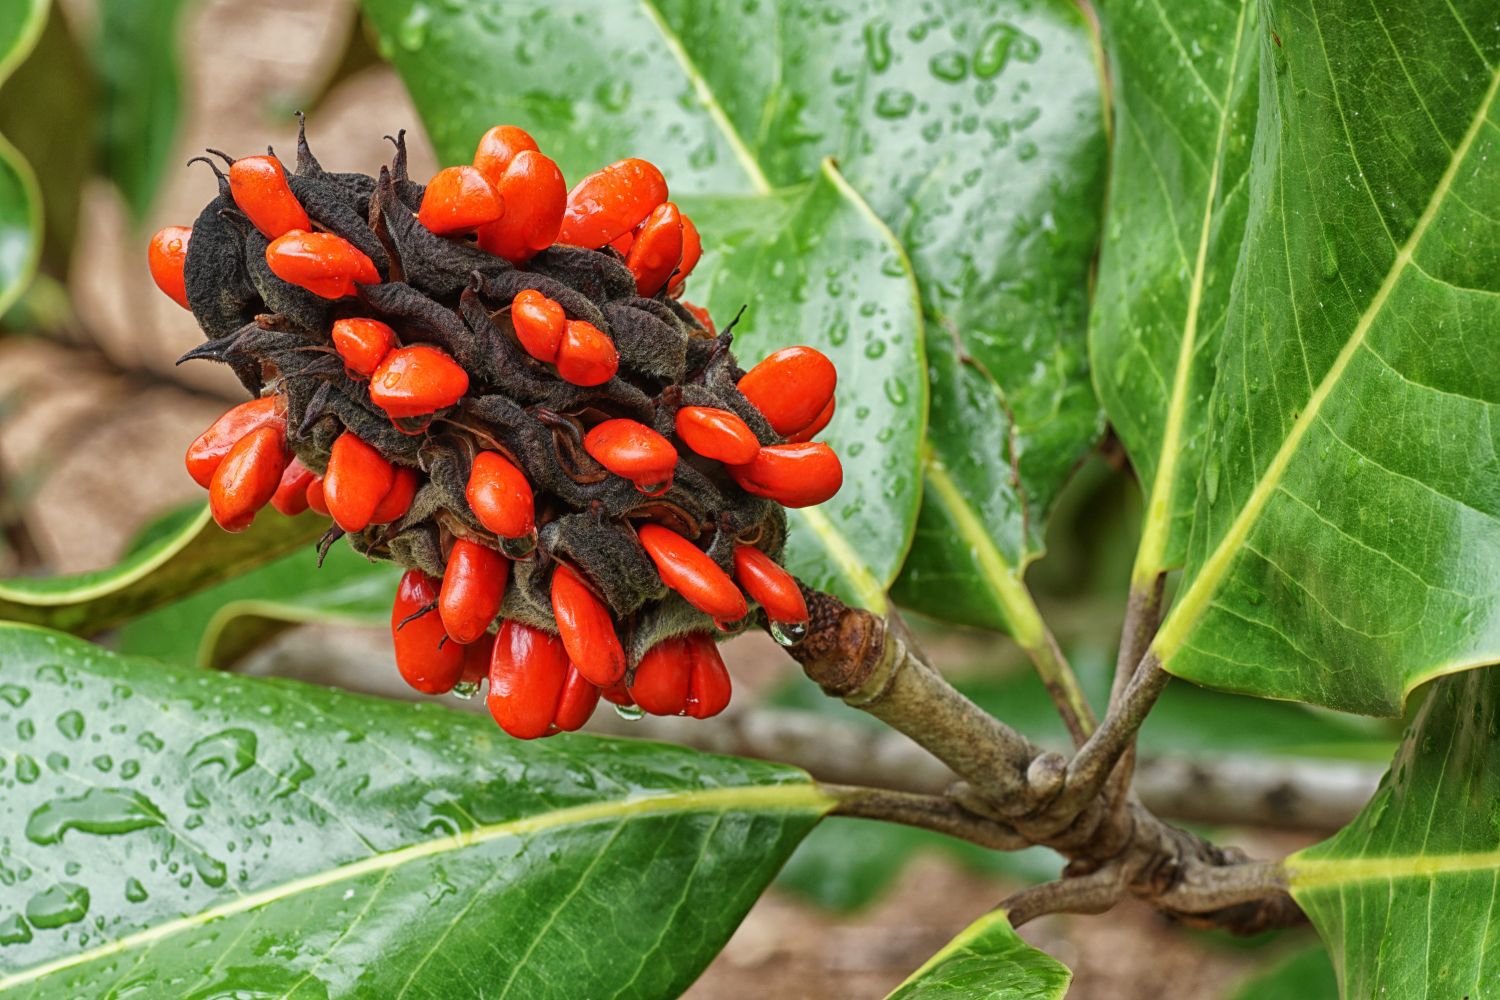
To start roses from seed, collect ripe rose hips in the fall, remove the seeds, and plant them in a well-draining soil mix. Keep the soil consistently moist and provide plenty of sunlight for the seeds to germinate.
Read more: How To Grow Rainbow Roses From Seeds
Sowing the Rose Seeds
Now that you’ve scarified and stratified your rose seeds, it’s time to sow them and start the germination process. Sowing rose seeds can be done in pots, seed trays, or directly in the garden. Here’s how to sow rose seeds:
- Select Containers: Choose containers with drainage holes if sowing indoors. You can also use seed trays or biodegradable pots that can be later transplanted. Ensure the containers are clean and have been sterilized to prevent diseases.
- Prepare the Growing Medium: Use a well-draining soil mix that is moist but not overly wet. Fill the containers or seed trays with the growing medium, leaving a little space at the top for watering.
- Sow the Seeds: Place 1-2 rose seeds on top of the soil in each container, spacing them evenly. Gently press the seeds into the soil, but do not bury them too deep. As a general rule, sow the seeds at a depth of approximately twice the diameter of the seed.
- Light Covering: Lightly cover the seeds with a thin layer of soil or vermiculite. This helps maintain moisture and protect the seeds while still allowing them to receive light for germination.
- Water Gently: Use a fine mist or a gentle watering can to moisten the soil. Avoid soaking it, as excessive moisture can lead to rotting of the seeds. Keep the soil consistently moist but not waterlogged.
- Provide Proper Lighting: Place the containers in a bright location where the seeds can receive 6-8 hours of sunlight each day. If sowing indoors, you can use fluorescent grow lights to provide the necessary light for germination.
- Maintain Temperature: Rose seeds usually germinate best when the temperature is around 70-75°F (21-24°C). Keep the seeds in a warm area, avoiding extreme fluctuations in temperature.
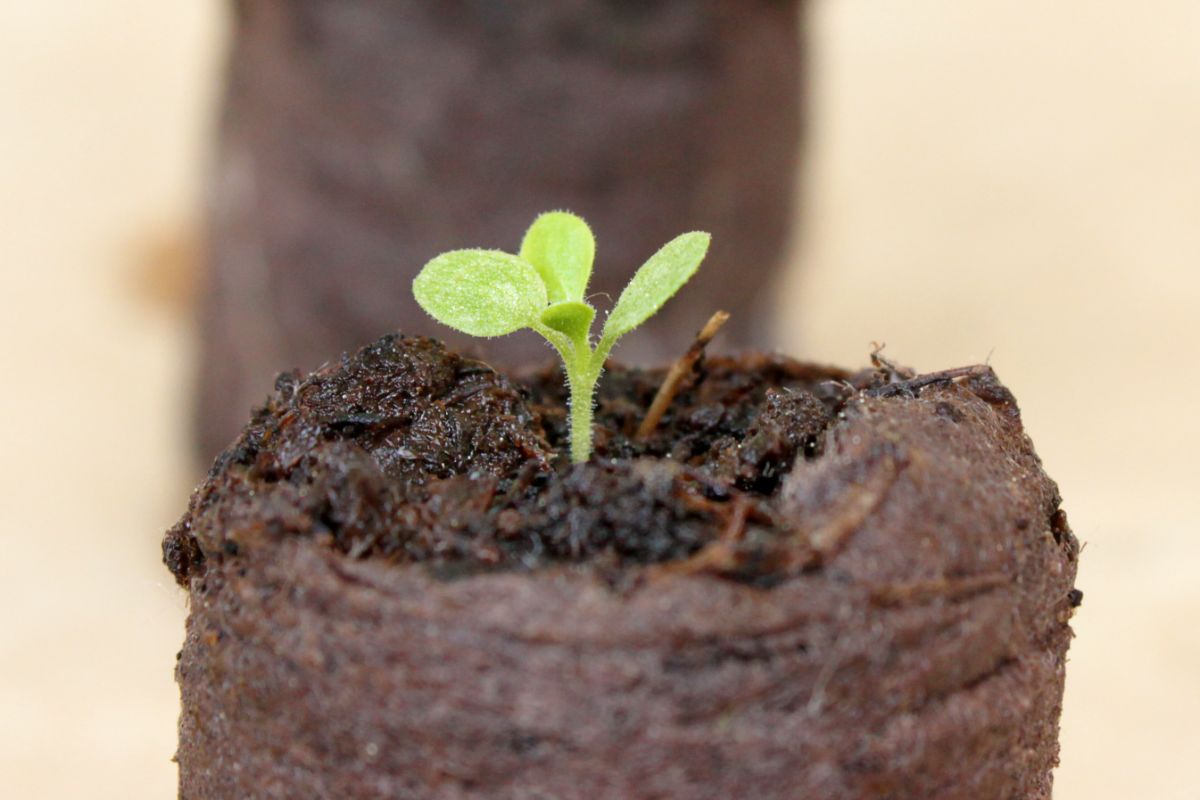
- Be Patient: Germination time can vary for rose seeds and may take anywhere from a few weeks to a few months. Be patient and monitor the progress of your seedlings.
Remember to label your containers with the variety and date of sowing. With proper care and the right conditions, you will soon see tiny rose seedlings emerge, a delightful sign of successful germination!
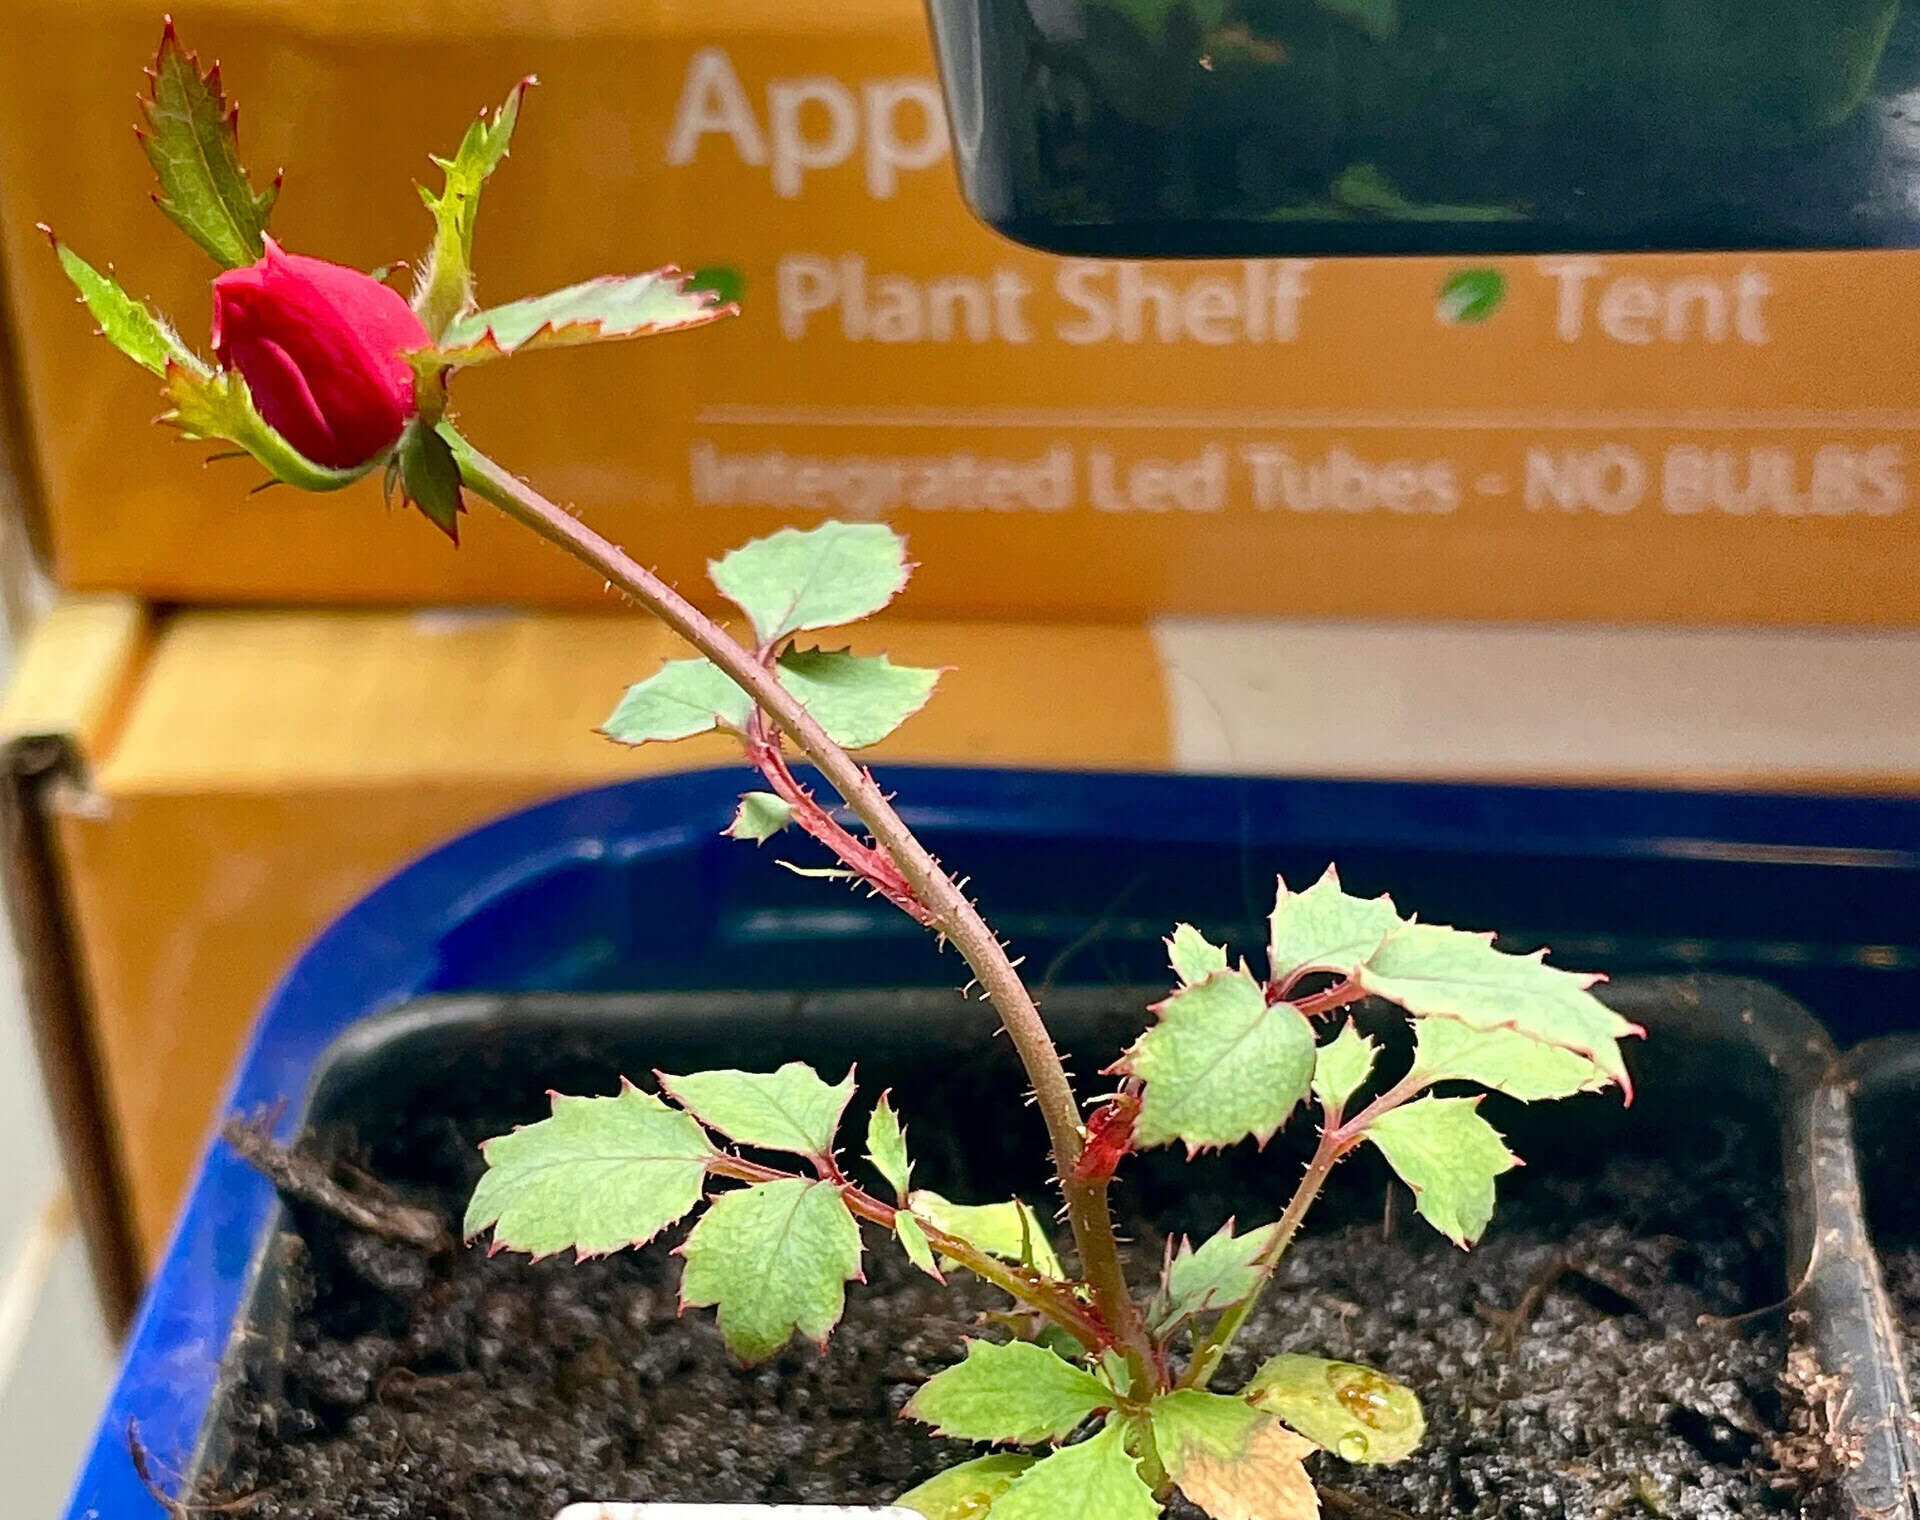
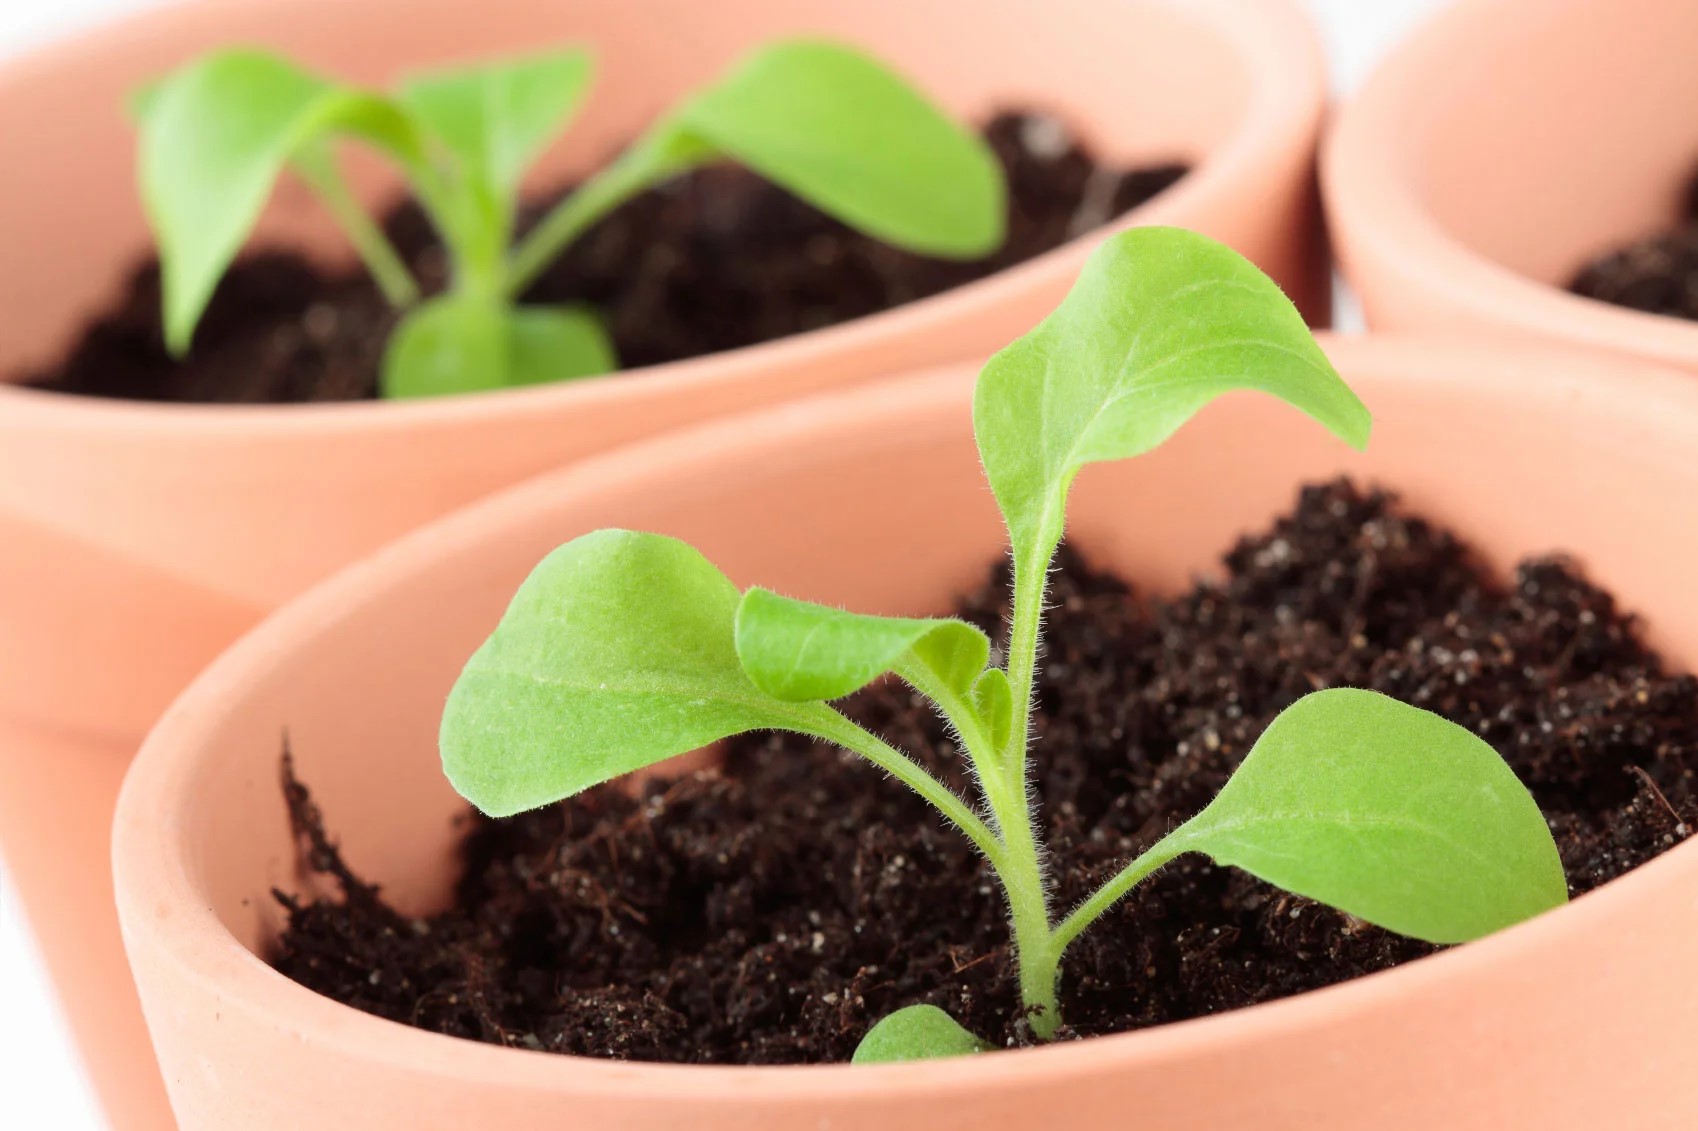
Providing the Ideal Growing Conditions
Once your rose seedlings have emerged, it’s important to provide them with the ideal growing conditions to ensure their healthy development. Here are some key factors to consider:
- Light: Rose seedlings require ample sunlight to grow into sturdy plants. Place them in a location where they can receive at least 6-8 hours of direct sunlight each day. If growing indoors, supplement the natural light with fluorescent grow lights to ensure they get enough light.
- Temperature: Maintain a favorable temperature range for your rose seedlings. Most roses prefer temperatures between 60-75°F (15-24°C). Avoid exposing them to extreme fluctuations in temperature as it can cause stress and hinder growth.
- Watering: Water the seedlings regularly, keeping the soil consistently moist but not waterlogged. Use a gentle watering technique to avoid displacing the delicate roots. Allow the top inch of soil to dry out between waterings to prevent root rot.
- Fertilizing: Once the seedlings develop their true leaves, start fertilizing them with a balanced liquid fertilizer or a slow-release granular fertilizer specially formulated for roses. Follow the package instructions for the correct application rate and frequency.
- Spacing: If you started multiple seedlings in the same container, eventually they will need to be transplanted into individual pots or spaced out in the garden. Provide adequate spacing to allow each rose plant to establish its root system and grow without overcrowding.
- Weeding and Pest Control: Keep the area around your rose seedlings free from weeds, as they can compete for nutrients and hinder growth. Monitor the seedlings regularly for pests such as aphids or spider mites. Employ organic pest control methods if necessary.
- Support: As your rose seedlings grow, they may require support to prevent them from bending or breaking. Use stakes or small trellises to gently guide the plants, ensuring they grow upright and develop proper structure.
- Hardening Off: Before transplanting the seedlings into the garden, gradually expose them to outdoor conditions. This process, known as hardening off, helps the seedlings acclimate to the outdoor environment and reduces the risk of transplant shock.
By providing the ideal growing conditions, you will give your rose seedlings the best chance to flourish into healthy, vigorous plants that will eventually reward you with beautiful blooms.
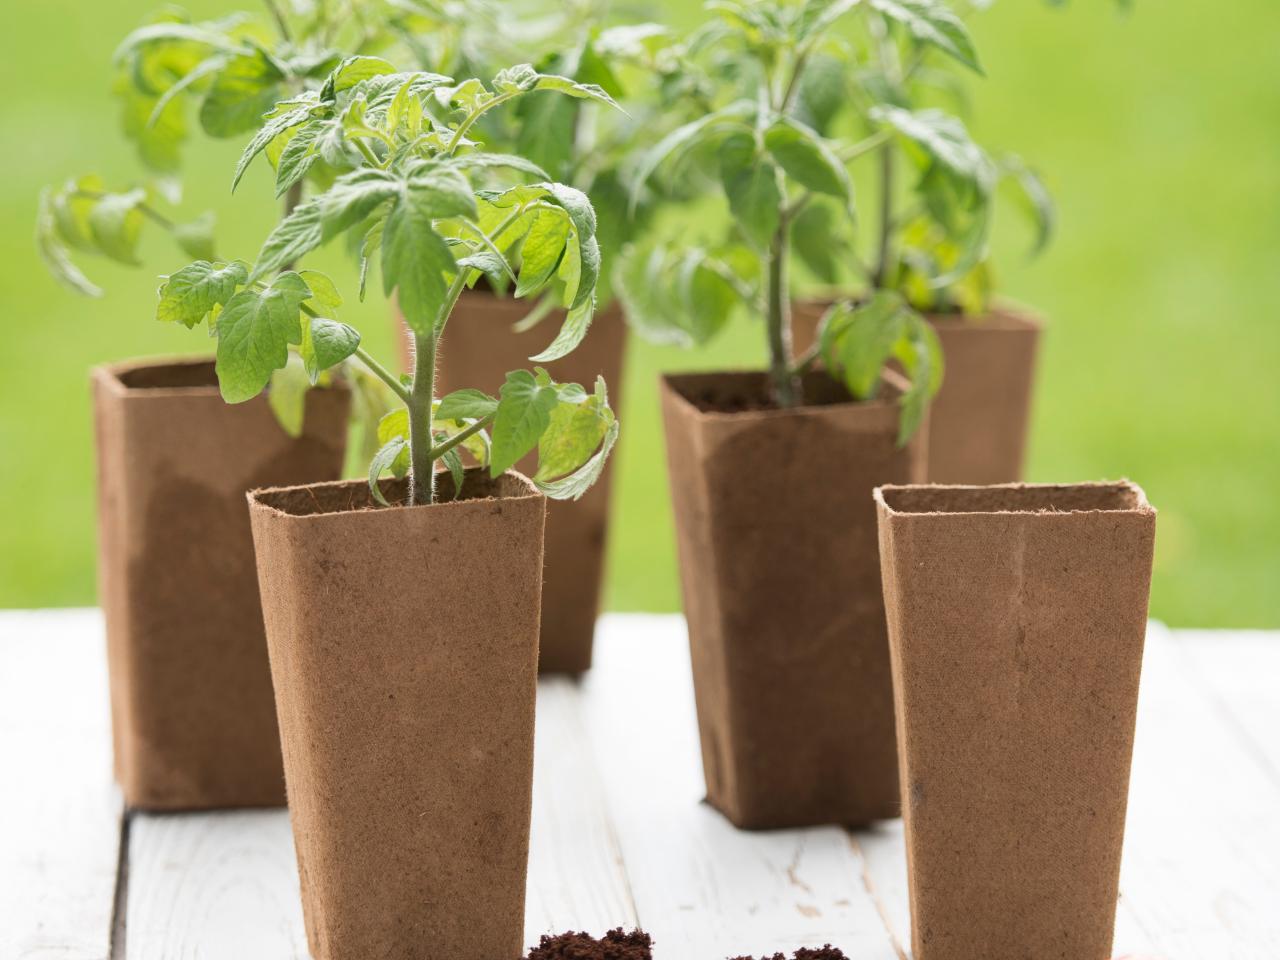
Transplanting Rose Seedlings
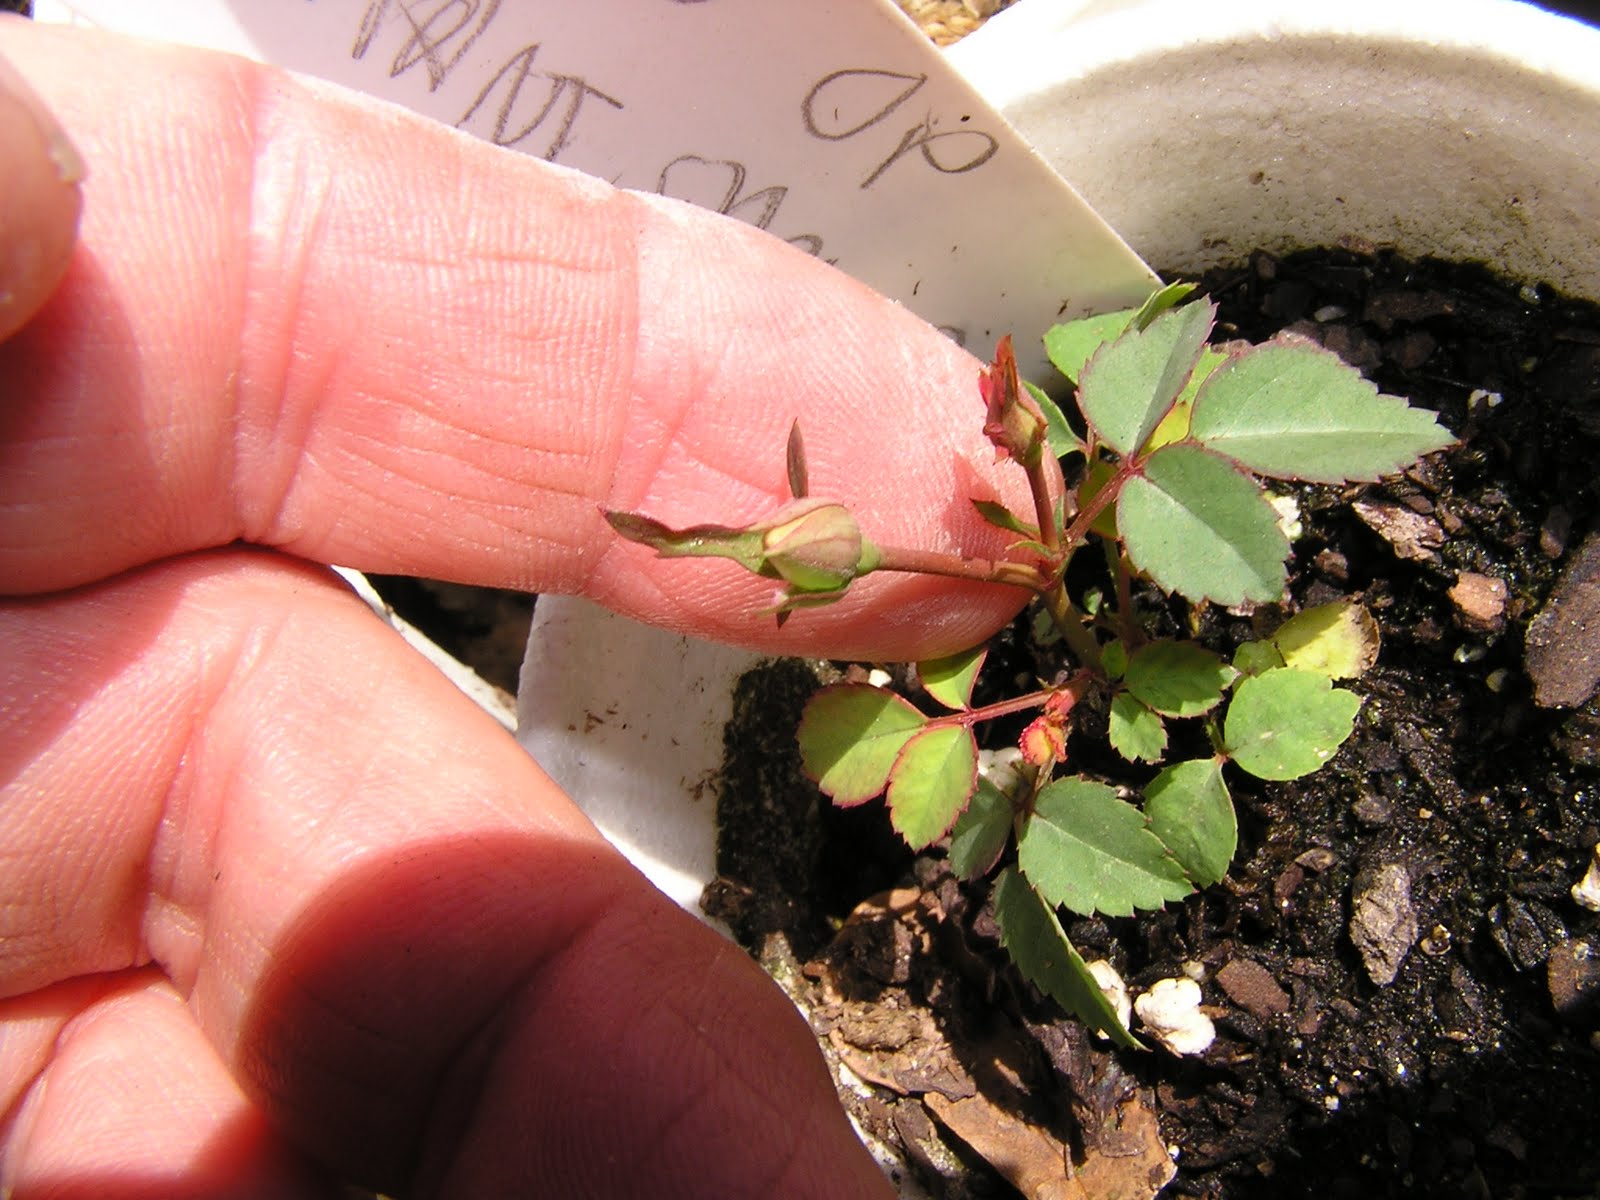
Once your rose seedlings have grown stronger and developed a few sets of true leaves, it’s time to transplant them into their permanent growing location. Transplanting rose seedlings allows them to establish a stronger root system and provides more space for growth. Follow these steps for a successful transplant:
- Choose the Right Time: The ideal time to transplant rose seedlings is when they are in the dormant or semi-dormant stage, typically in early spring or late fall. Avoid transplanting during hot summer months or when the seedlings are actively growing.
- Prepare the Planting Hole: Dig a hole that is wide and deep enough to accommodate the root system of the seedling. Loosen the soil in the planting area and amend it with well-rotted compost or organic matter to improve fertility and drainage.
- Remove Seedlings from Containers: Gently tap the sides of the container or use a trowel to loosen the root ball of the seedling. Carefully lift the seedling, holding it by the leaves or the root ball, being cautious not to damage the delicate roots.
- Place Seedlings in the Hole: Set the seedling in the planting hole, making sure the top of the root ball is level with or slightly above the soil surface. Position it in a way that allows the bud union (the swollen area where the rose cultivar is grafted onto the rootstock) to be just above the soil line.
- Backfill and Tamp: Gradually backfill the hole with the amended soil, gently firming it around the roots as you go. Avoid compacting the soil too tightly, as it can impede water and air circulation. Water the seedling thoroughly after planting to settle the soil around the roots.
- Mulch: Apply a layer of organic mulch around the base of the seedling, leaving a small space around the stem to prevent rotting. The mulch helps retain moisture, suppresses weeds, and regulates soil temperature.
- Water and Monitor: Give the freshly transplanted seedlings adequate water immediately after planting. Check the moisture level regularly and water deeply as needed. Monitor the seedlings for any signs of stress or pest/disease issues and take appropriate action.
- Provide Support (if necessary): If the seedlings are tall or have a tendency to sway, provide support with stakes or small trellises to keep them upright and protected from strong winds.
Transplanting rose seedlings can be an exciting step in the journey of growing roses from seed. By following these guidelines, you will help ensure that your seedlings have a smooth transition and establish themselves in their new growing environment.
Caring for Rose Seedlings
Once your rose seedlings have been transplanted into their permanent growing location, it’s crucial to provide them with proper care to promote healthy growth and development. Here are some essential tips for caring for your rose seedlings:
- Watering: Rose seedlings require consistent moisture to establish a strong root system. Water them regularly, ensuring the soil remains evenly moist but not waterlogged. Avoid overwatering, as it can lead to root rot. Mulching around the seedlings helps retain moisture and reduce evaporation.
- Fertilizing: Feed your rose seedlings with a balanced fertilizer formulated specifically for roses. Follow the package instructions for the appropriate application rate. Start fertilizing once the seedlings have established a few sets of true leaves, and continue throughout the growing season at regular intervals, usually every 4-6 weeks.
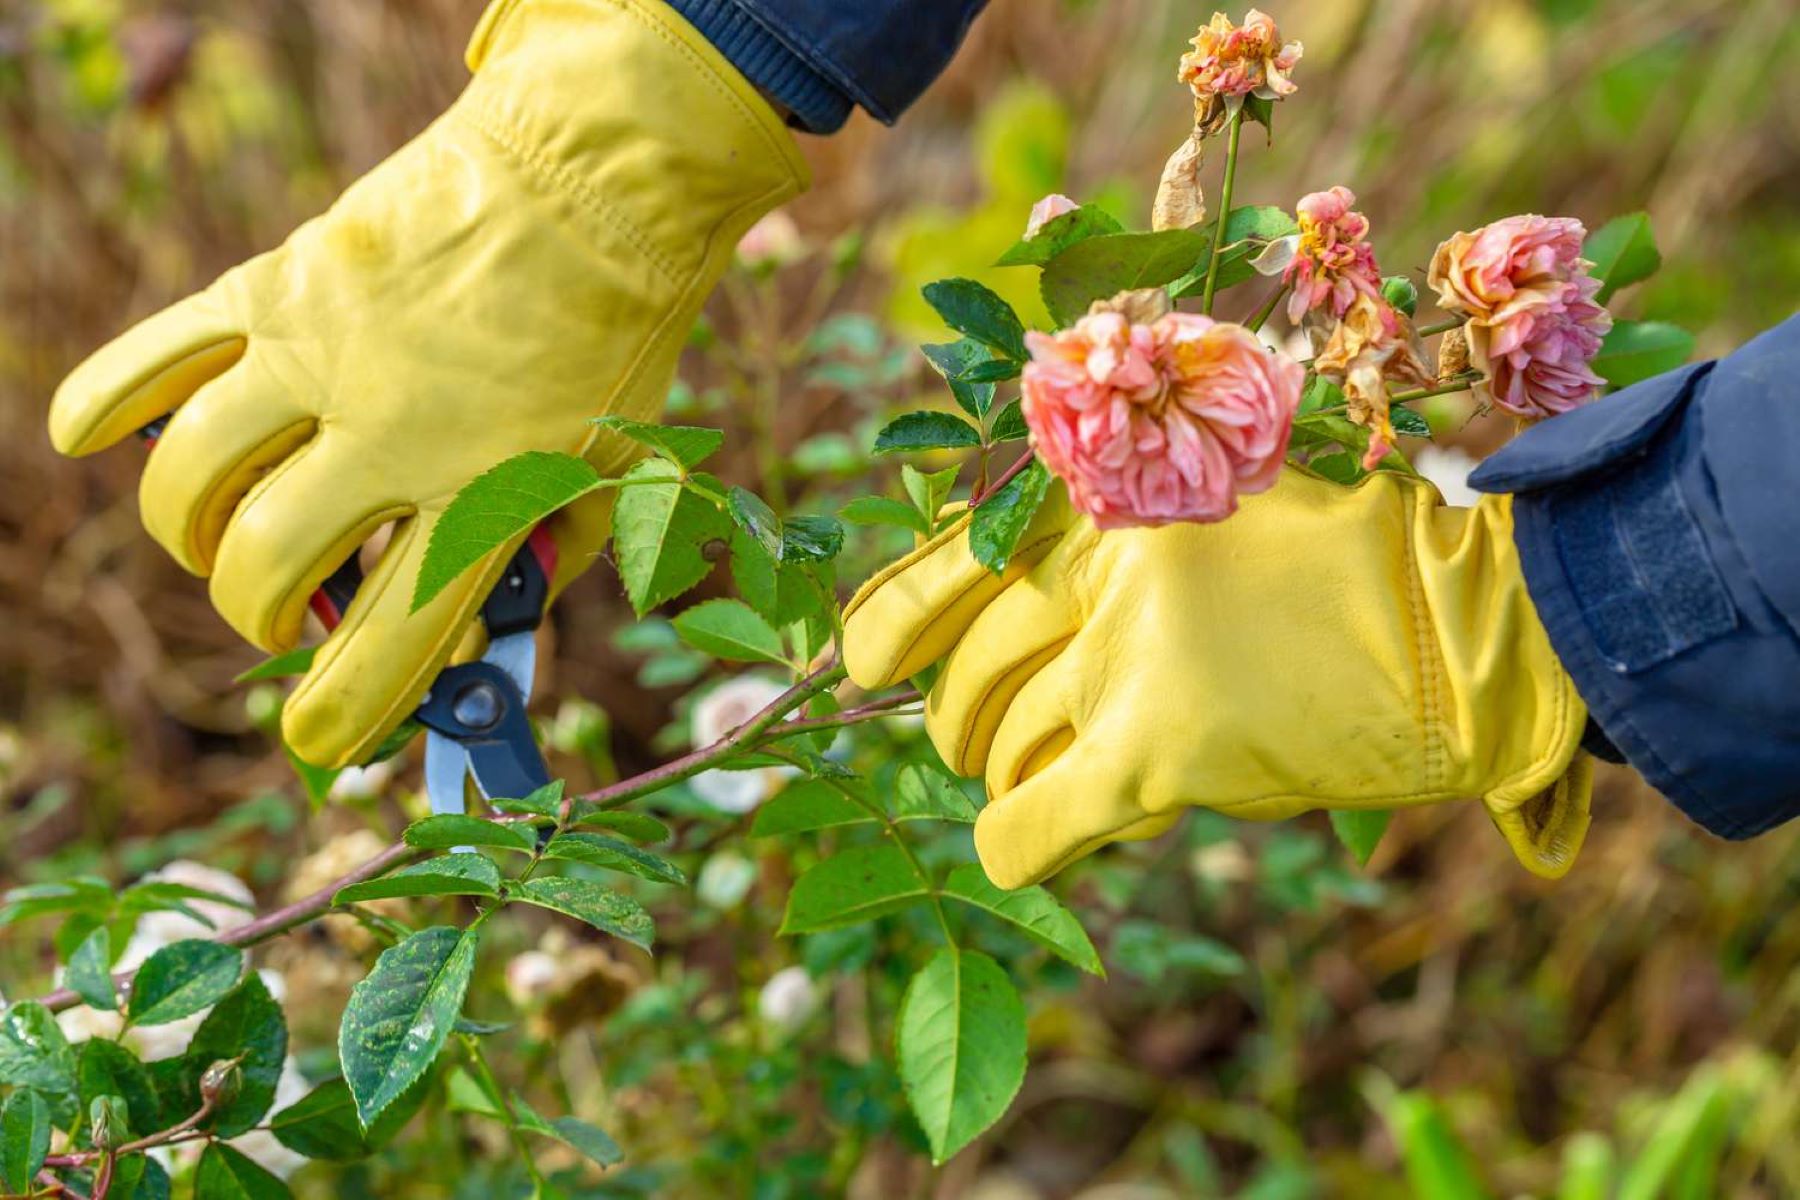
- Pruning: Although pruning is not necessary for young seedlings, you can pinch back the tips of the main stem and lateral branches to encourage bushier growth. Pruning can be done once the seedlings have established themselves and are in their second year of growth.
- Protect from Pests and Diseases: Keep a close eye on your rose seedlings for any signs of pests or diseases. Common problems include aphids, spider mites, black spot, and powdery mildew. Employ organic pest control methods or consult a professional if necessary.
- Staking: If your rose seedlings have tall and thin stems, provide support with stakes or small trellises to prevent them from bending or breaking. Secure the stems loosely with garden twine, allowing room for expansion as the seedlings grow.
- Monitor for Weeds: Regularly check the area around your rose seedlings for weeds. Weeds compete for nutrients and water, which can hinder the growth of your seedlings. Remove weeds by hand or employ mulching to suppress weed growth.
- Monitor for Suckers: Pay attention to the base of your rose seedlings for any signs of suckers. Suckers are shoots that emerge from the rootstock and should be promptly removed, as they divert energy away from the desired rose variety.
- Protect from Extreme Weather: Shield your rose seedlings from extreme weather conditions such as heavy winds, intense heat, or severe frost. Use protective covers or provide shade during hot summer days and shelter from harsh winds in exposed locations.
By following these care tips, you will be nurturing your rose seedlings and setting them up for success as they grow into mature and thriving rose plants. With patience, dedication, and proper care, you’ll soon enjoy the beauty of your own homegrown roses!
Read more: How To Start Coneflower From Seed
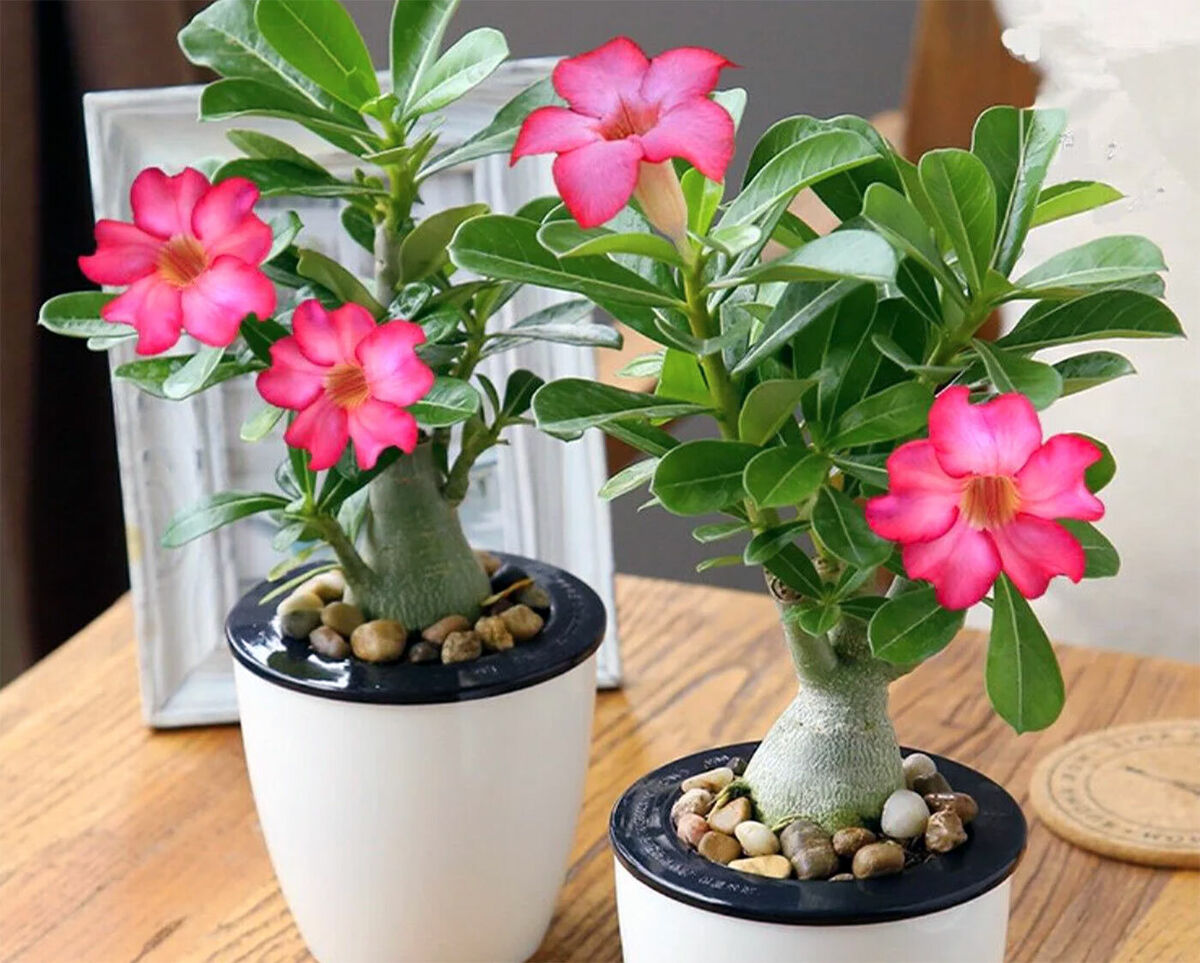
Conclusion
Starting roses from seed can be a rewarding and fulfilling experience for any garden enthusiast. It allows you to witness the remarkable journey from a tiny seed to a beautiful blooming rose plant. While it may require some patience and effort, the process is well worth it. In this article, we have covered the essential steps to help you successfully start roses from seed.
Choosing the right rose seeds, preparing a suitable growing medium, scarifying and stratifying the seeds, and sowing them with care are the initial steps that lay the foundation for successful germination. Once your rose seedlings emerge, providing them with the ideal growing conditions, transplanting them when necessary, and providing ongoing care are crucial for their health and development.
Remember to consider factors such as light, temperature, watering, fertilizing, and pest control as you care for your rose seedlings. Regular monitoring, attentiveness to their needs, and prompt action in response to any issues will ensure their well-being and maximize their growth potential.
With time and dedication, your rose seedlings will grow into robust plants with beautiful blooms, filling your garden with color and fragrance. So, grab your gardening tools, select your favorite rose seeds, and embark on this exciting journey of growing roses from seed. Soon, you’ll be rewarded with the joy of nurturing and witnessing the beauty of your own homegrown roses.
Happy gardening and may your rose garden be filled with blooming success!
Frequently Asked Questions about How To Start Roses From Seed
Was this page helpful?
At Storables.com, we guarantee accurate and reliable information. Our content, validated by Expert Board Contributors, is crafted following stringent Editorial Policies. We're committed to providing you with well-researched, expert-backed insights for all your informational needs.
0 thoughts on “How To Start Roses From Seed”