Home>Garden Essentials>How To Get Clove Seeds
Garden Essentials
How To Get Clove Seeds
Modified: March 16, 2024
Learn how to get clove seeds for your garden. Find out the best methods and tips to ensure a successful harvest.
(Many of the links in this article redirect to a specific reviewed product. Your purchase of these products through affiliate links helps to generate commission for Storables.com, at no extra cost. Learn more)
Introduction
Welcome to the world of gardening! If you have ever dreamed of having a lush garden filled with aromatic and flavorful plants, then you’re in the right place. In this article, we will dive into the fascinating world of clove seeds and how you can obtain and grow them to enhance your garden and culinary adventures.
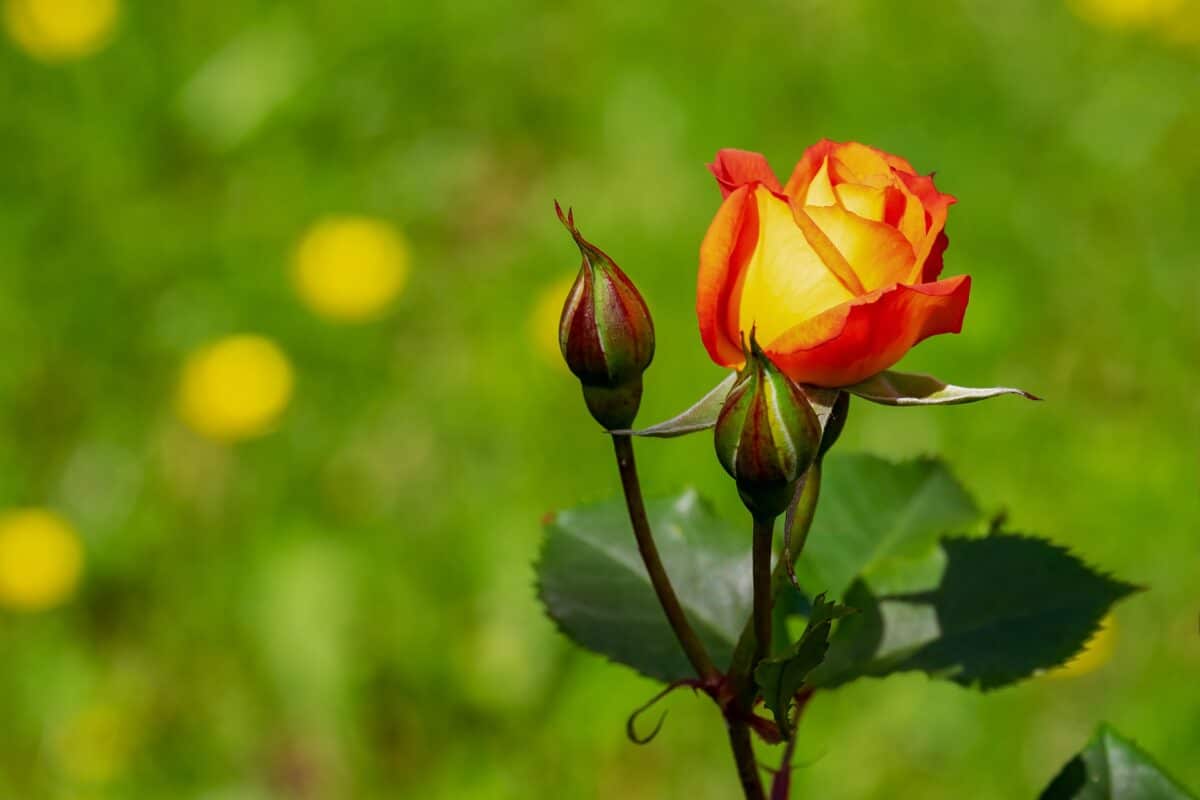
Clove seeds are a magical ingredient found in nature that offers both ornamental and practical benefits. Not only do they add beauty to your garden with their vibrant colors and delicate blooms, but they also provide a rich flavor to your cooking and have medicinal properties.
But before we explore the process of obtaining and growing clove seeds, let’s take a moment to understand more about these fascinating seeds. Clove seeds, scientifically known as Syzygium aromaticum, are the dried flower buds of the clove tree. Native to the Moluccas, or Spice Islands, in Indonesia, clove seeds have been used for centuries in various cuisines and traditional medicine.
Known for their distinct warm and spicy flavor, clove seeds are a staple in many dishes, especially in Asian and Middle Eastern cuisines. They are commonly found in spice blends, teas, desserts, and savory dishes. Aside from their culinary uses, clove seeds also have potent medicinal properties, including having antioxidant, anti-inflammatory, and antimicrobial effects.
Now that we have a basic understanding of clove seeds, let’s dive into the exciting journey of obtaining and growing these wonderful seeds. Whether you’re a seasoned gardener or a beginner, this comprehensive guide will equip you with the knowledge and techniques needed to successfully grow your own clove seeds.
Key Takeaways:
- Growing clove seeds can bring magic to your garden and kitchen. Whether buying or harvesting, nurturing the seeds into thriving plants requires patience, care, and a touch of adventure.
- Harvesting and storing clove seeds is a rewarding process. Proper drying and storage ensure the seeds’ freshness and viability, allowing you to enjoy their aromatic flavor for years to come.
Read more: How To Store Garlic Cloves In Fridge
Understanding Clove Seeds
Before you start growing clove seeds, it’s important to have a deeper understanding of these fascinating plants. Clove seeds are obtained from the clove tree, a tropical evergreen that belongs to the Myrtaceae family. The scientific name for the clove tree is Syzygium aromaticum.
Clove trees are native to the Moluccas, also known as the Spice Islands, in Indonesia. They are also grown in other parts of Asia, as well as in Africa and South America. These trees can reach a height of up to 30 feet and have shiny, dark green leaves.
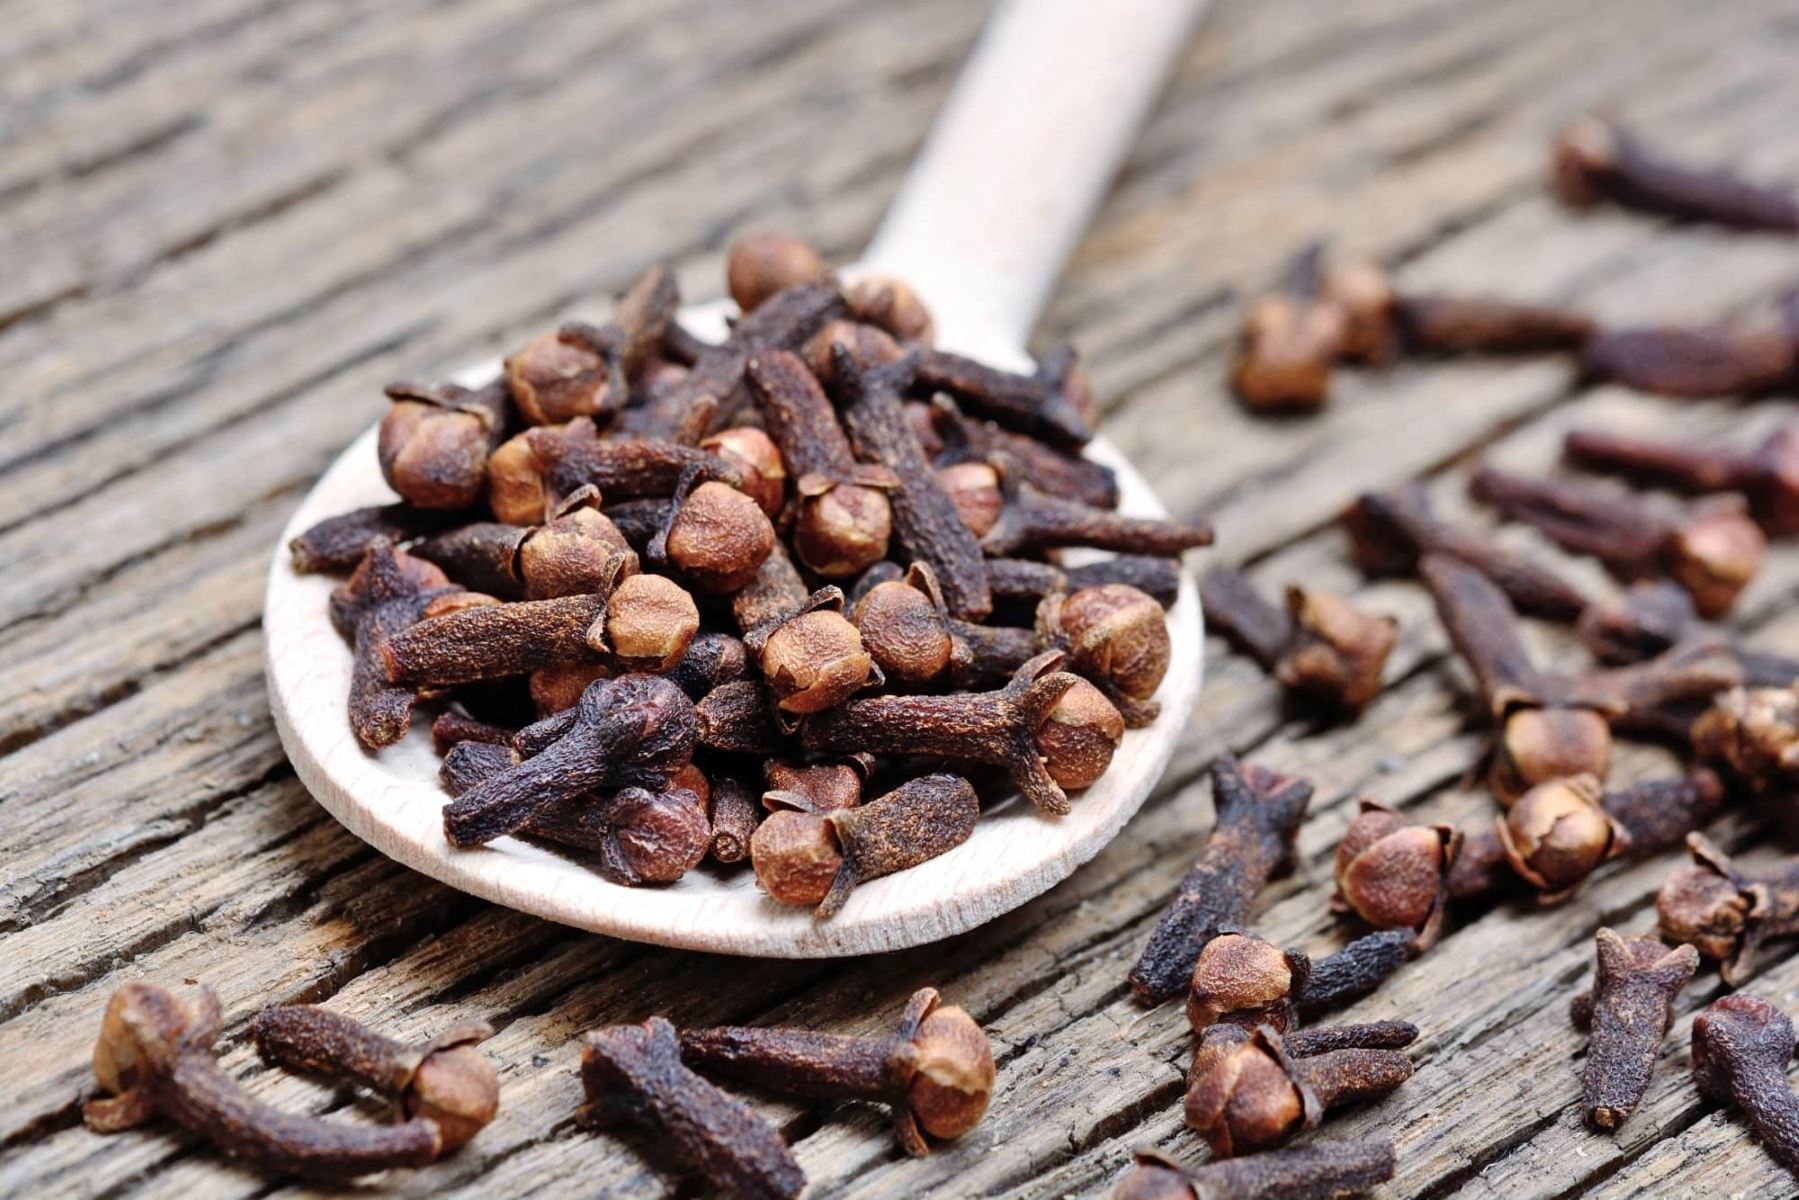
What makes clove seeds so special is that they are actually the dried flower buds of the clove tree. The buds are harvested before they open and are then dried, which intensifies their flavor and aroma. The dried buds are then used as a spice in various cuisines around the world.
Clove seeds have a rich history and have been used for centuries for their medicinal and culinary properties. They are known for their warm and spicy flavor, with a hint of sweetness. In traditional medicine, clove seeds have been used to alleviate toothaches, aid digestion, and relieve respiratory issues.
In addition to their flavor and medicinal benefits, clove seeds also have antimicrobial and antioxidant properties. They contain a compound called eugenol, which is responsible for their distinct aroma and many of their health benefits.
When it comes to gardening, growing clove seeds can be a rewarding experience. They are typically grown in tropical and subtropical regions, as they prefer warm and humid climates. However, with proper care and attention, they can also be grown in containers indoors.
Now that you have a better understanding of clove seeds, let’s move on to the next step: obtaining these seeds and getting ready to grow them. Whether you choose to buy clove seeds or harvest them yourself, we’ll guide you through the process so you can begin your clove seed growing adventure.
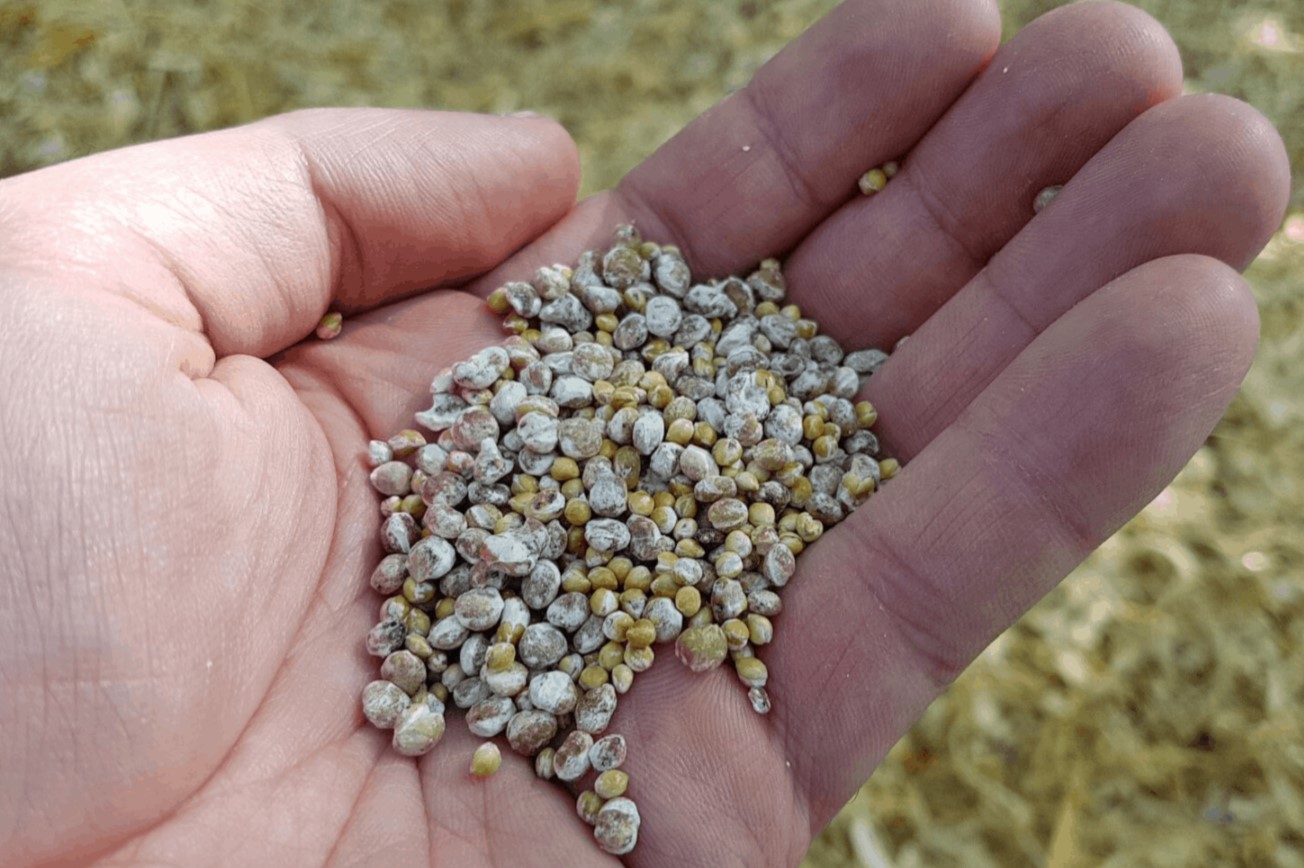
How to Obtain Clove Seeds
Obtaining clove seeds can be done in two ways: buying them or harvesting them yourself. Let’s explore both options.
Buying Clove Seeds
If you’re looking for convenience and a guaranteed source of quality clove seeds, buying them is the way to go. You can find clove seeds at local nurseries or online seed stores. Here are some tips to keep in mind when buying clove seeds:
- Choose a reputable supplier: Look for trusted nurseries or online stores that specialize in seeds. Read reviews and check their reputation to ensure you’re getting high-quality seeds.
- Check seed viability: Make sure the seeds you’re purchasing are fresh and viable. Look for a “packaged on” or “expiration” date on the seed packet, and choose ones that are within the recommended timeframe for planting.
- Consider organic options: If you prefer organic gardening, look for organic clove seeds. These are grown without the use of synthetic pesticides or fertilizers.
- Quantity: Determine how many seeds you need based on your garden size and growing plans. Some seed packets come in smaller quantities, while others offer bulk options.
Harvesting Clove Seeds
If you’re up for a more adventurous gardening experience, you can try harvesting clove seeds yourself. Keep in mind that this method requires a mature and established clove tree. Here’s how you can harvest clove seeds:
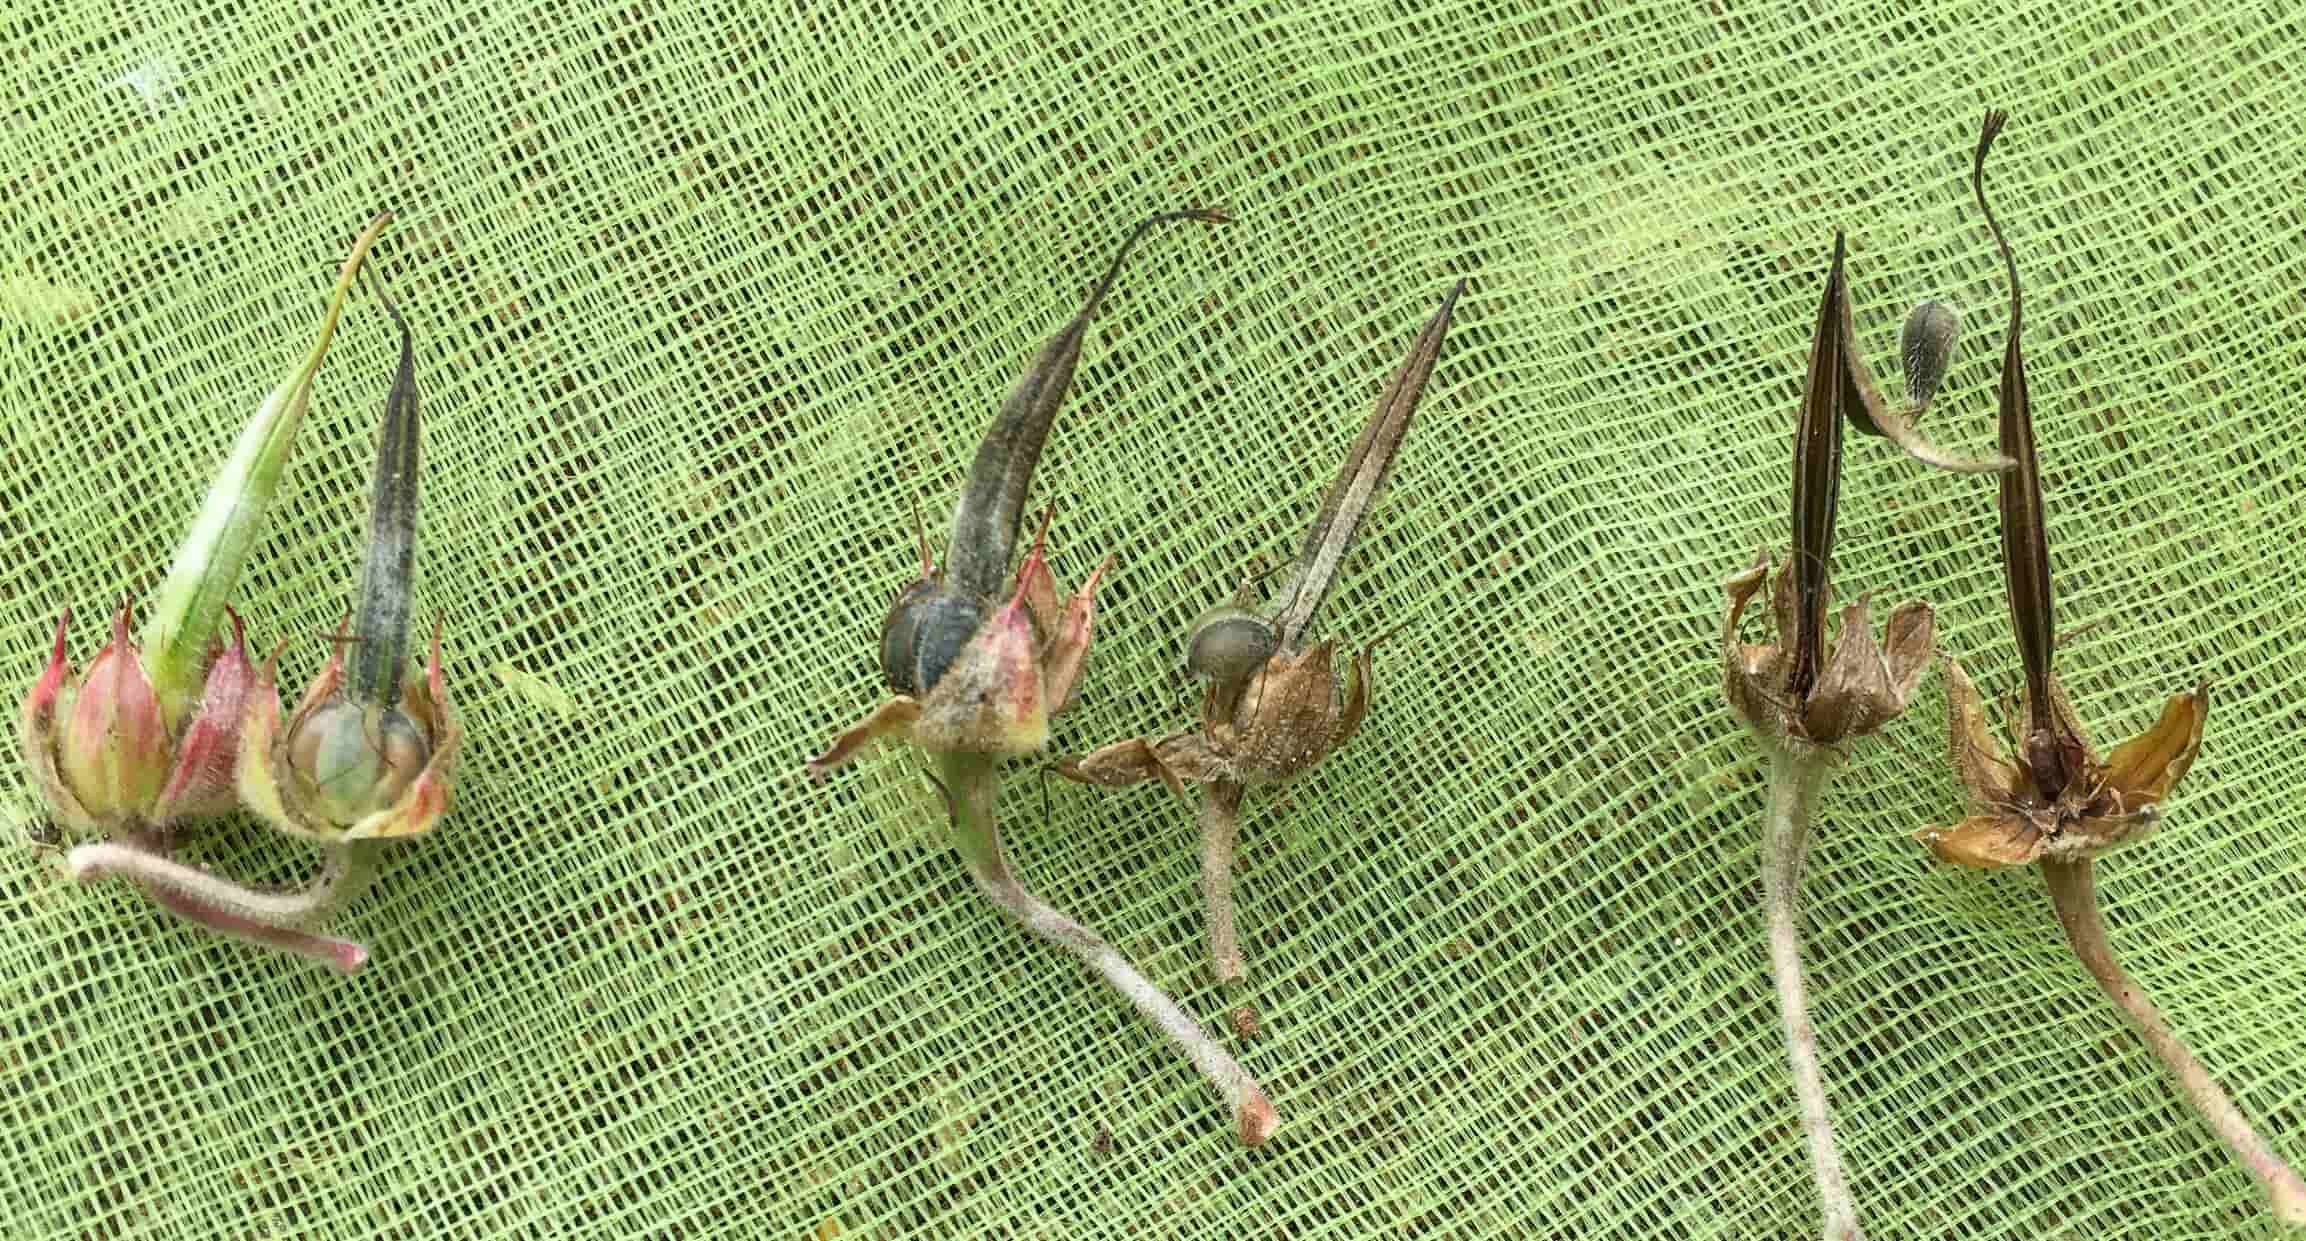
- Wait for the right time: Clove seeds are ready for harvest when the flower buds have turned a deep red color. This indicates that the buds have reached their maximum flavor and aroma.
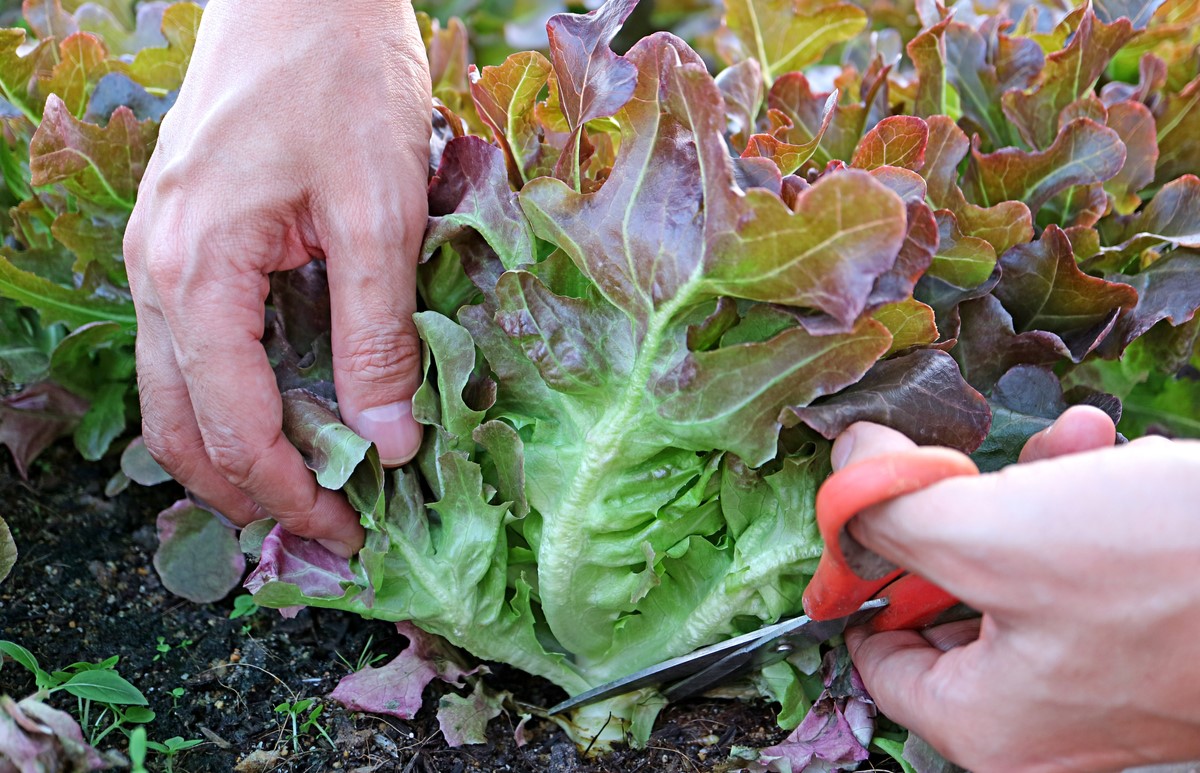
- Use sharp scissors or pruning shears: Carefully cut the flower buds from the tree. Make sure to leave a small portion of the stem attached to the bud.
- Collect the buds: Place the harvested flower buds in a clean and dry container. Avoid overcrowding them to prevent bruising or damage.
- Dry the buds: To dry the clove buds, spread them out in a well-ventilated area away from direct sunlight. Allow them to dry for several weeks until they are completely dry and crispy.
- Store the seeds: Once the cloves are thoroughly dried, store them in an airtight container in a cool, dark place.
By following these steps, you can obtain clove seeds either by buying them or harvesting them yourself. Now that you have the seeds in your hands, it’s time to move on to the exciting part: growing and caring for your clove seedlings. We’ll cover all the necessary steps to help you successfully nurture your plants and enjoy a bountiful harvest.
Read more: How To Get Seeds
Buying Clove Seeds
If you’re looking to grow clove seeds in your garden, one option is to buy the seeds from a reputable supplier. Here are some tips to help you make the best purchasing decision:
- Research reputable suppliers: Look for nurseries or online stores that specialize in selling high-quality seeds. Read reviews and check their reputation to ensure you’re dealing with a reliable source.
- Choose the right variety: Clove seeds come in different varieties, each offering its own unique flavor and characteristics. Determine what type of clove seeds you’re interested in growing and make sure the supplier offers that specific variety.
- Check for seed quality: It’s important to choose seeds that are fresh and of good quality. Look for seeds that have been recently harvested and packaged. Avoid seeds that are discolored, damaged, or past their expiration date.
- Consider organic options: If you prefer organic gardening, look for suppliers that offer organic clove seeds. These seeds are produced without the use of synthetic pesticides or fertilizers.
- Check the quantity: Determine how many seeds you need based on your garden size and planting plans. Some suppliers offer seed packets in different quantities, so choose the one that suits your needs.
- Compare prices: Take the time to compare prices from different suppliers to ensure you’re getting the best value for your money. However, keep in mind that quality should be the priority over price.
- Read the product description: Before making a purchase, carefully read the product description to ensure you understand what you’re buying. Look for details such as seed viability, germination requirements, and any special instructions provided by the supplier.
- Consider customer reviews: If available, read customer reviews of the product or supplier. This can give you valuable insights into the quality and performance of the seeds.
Once you have purchased your clove seeds, follow the supplier’s instructions regarding storage and planting. It’s important to handle the seeds with care and provide them with the optimum conditions for germination.
Buying clove seeds from a trusted supplier ensures that you start your gardening journey with high-quality seeds that have a higher chance of successful germination and growth. So take the time to choose the right supplier and enjoy the rewards of growing your own clove plants.
Growing Clove Seeds
Now that you have obtained your clove seeds, it’s time to start growing them into thriving plants. Here is a step-by-step guide on how to grow clove seeds:
- Prepare the soil: Clove seeds grow best in well-draining soil that is rich in organic matter. Mix compost or aged manure into the soil to improve its fertility. Ensure the pH level of the soil is slightly acidic, around 5.5 to 6.5.
- Choose the planting location: Clove seeds require a warm and humid environment to germinate and grow. Select a location that receives full sun to partial shade. If you are growing clove seeds in a container, ensure the container has drainage holes.
- Sow the seeds: Plant the clove seeds about half an inch deep into the soil. Space the seeds at least 6 inches apart to allow for proper growth. If you are growing them in containers, it’s recommended to plant one seed per container.
- Water regularly: Keep the soil consistently moist but not overly saturated. Water the seeds gently to prevent them from being washed away. Monitor the soil moisture and adjust your watering schedule accordingly.
- Provide warmth: Clove seeds require warmth to germinate successfully. Maintain a temperature of around 70 to 85°F (21 to 29°C) throughout the germination period. You can use a heat mat or place the containers in a warm location to provide the necessary warmth.
- Be patient: Clove seeds can take anywhere from two weeks to a couple of months to germinate. Be patient and continue to care for your seeds with regular watering and providing them with the right conditions.
- Transplanting seedlings: Once the seedlings have grown to a height of around 6 inches, they can be transplanted to their permanent location. Choose a well-draining area with enough space for the plants to grow to their full potential.
- Maintain proper care: Water the plants consistently to keep the soil moist but not waterlogged. Mulch around the base of the plants to retain moisture and suppress weed growth. Fertilize the plants regularly with a balanced organic fertilizer to promote healthy growth.
- Pruning: As your clove plants grow, you may need to prune them to maintain their shape and promote air circulation. Remove any dead or diseased branches and thin out crowded areas to allow sunlight to reach all parts of the plant.
With proper care and attention, your clove seeds will grow into healthy and robust plants. Remember to be patient and enjoy the process of watching them thrive and flourish. Soon enough, you will be rewarded with beautiful blooms and the delightful aroma of clove in your garden.
Now that you know how to grow clove seeds into plants, it’s time to learn how to care for the young clove seedlings so they continue to thrive. Let’s dive into the essential tips for nurturing your growing plants.
Caring for Clove Seedlings
Once your clove seedlings have emerged and are growing, it’s essential to provide them with proper care to ensure their continued health and development. Here are some key tips for caring for your clove seedlings:
- Watering: Clove seedlings require consistent moisture to thrive. Water them regularly, keeping the soil evenly moist but not waterlogged. Avoid overwatering, as excessive moisture can cause root rot. Mulching around the base of the plants can help retain soil moisture and suppress weed growth.
- Light and Temperature: Clove seedlings prefer bright, indirect sunlight. Place them in a location where they receive partial sun or filtered light. Maintain a warm temperature between 70°F to 85°F (21°C to 29°C) for optimal growth. Protect seedlings from extreme temperatures or cold drafts.
- Soil Fertility: Ensure that the soil remains fertile by supplementing with organic matter, such as compost or aged manure. Additionally, feed the seedlings with a balanced organic fertilizer to provide them with necessary nutrients for healthy growth.
- Pruning: As your clove seedlings grow, you may need to prune them to maintain their shape and encourage branching. Remove any dead or damaged leaves or stems to prevent the spread of diseases and improve air circulation. Pruning can also help promote a bushier growth habit.
- Pest and Disease Control: Monitor your clove seedlings for any signs of pests such as aphids, spider mites, or scale insects. If you notice any infestations, use organic methods such as insecticidal soaps or neem oil to control them. Similarly, keep an eye on potential diseases such as fungal infections, and take appropriate measures, such as improving air circulation and avoiding overwatering.
- Support: As the clove seedlings grow taller, they may require support to prevent them from bending or breaking. Use stakes or plant supports to keep the plants upright and prevent damage from strong winds or heavy rainfall.
- Weeding: Regularly weed around your clove seedlings to eliminate competition for nutrients and reduce the risk of diseases. Gently remove weeds by hand to avoid disturbing the roots of the seedlings.
By providing proper care to your clove seedlings, you will ensure their healthy growth and development over time. Regular watering, providing appropriate light and temperature conditions, maintaining soil fertility, and addressing pests and diseases will help your seedlings thrive and prepare them for eventual harvest.
As your clove seedlings continue to grow, you will eventually reach the exciting stage of harvesting your own clove seeds. Let’s explore the next steps of the process: harvesting and storing clove seeds.
To get clove seeds, harvest the mature flower buds when they turn from green to pink. Dry them in a well-ventilated area until they turn brown, then remove the seeds from the buds.
Harvesting Clove Seeds
Harvesting clove seeds is a rewarding and exciting step in the gardening process. Patience is key, as it takes time for the clove buds to mature and be ready for harvest. Here’s a step-by-step guide on how to harvest clove seeds:
- Monitor the buds: Keep a close eye on your clove plants as they flower. Clove buds are ready for harvest when they turn a deep, vibrant shade of red. The color change indicates that the buds have reached their peak flavor and aroma.
- Gently pluck the buds: Use your fingers or a small pair of scissors to carefully pluck the mature clove buds from the tree. It’s important to handle the buds with care to avoid damaging them.
- Leave a small stem: When harvesting the clove buds, make sure to leave a small portion of the stem attached to the bud. This helps with drying and storing the seeds effectively.
- Collect the harvested buds: Place the harvested buds in a clean and dry container. Avoid overcrowding them to prevent bruising or damage during storage and transportation.
- Dry the buds: To prepare the harvested clove buds for storage, you need to dry them. Spread the buds out in a single layer on a clean surface. Choose a well-ventilated area away from direct sunlight. Allow the buds to dry for several weeks until they are fully dried and crispy. You can test for dryness by gently squeezing a bud – it should break apart easily.
- Store the seeds: Once the clove buds are thoroughly dried, transfer them to an airtight container. Make sure the container is clean and completely dry to prevent moisture from causing spoilage. Store the container in a cool, dark place to maintain the quality of the clove seeds.
- Label and date the container: To keep track of the harvesting time and ensure freshness, label the container with the date of when the clove seeds were harvested. This will help you determine their viability in future planting seasons.
By following these steps, you can successfully harvest clove seeds from your plants. Remember that drying and storing the seeds properly is essential to maintain their flavor and viability for future use.
Now that you have harvested your clove seeds, you may be wondering how to store them to maintain their freshness. Let’s explore the best practices for storing clove seeds.
Read more: How To Store Clove Water For Hair
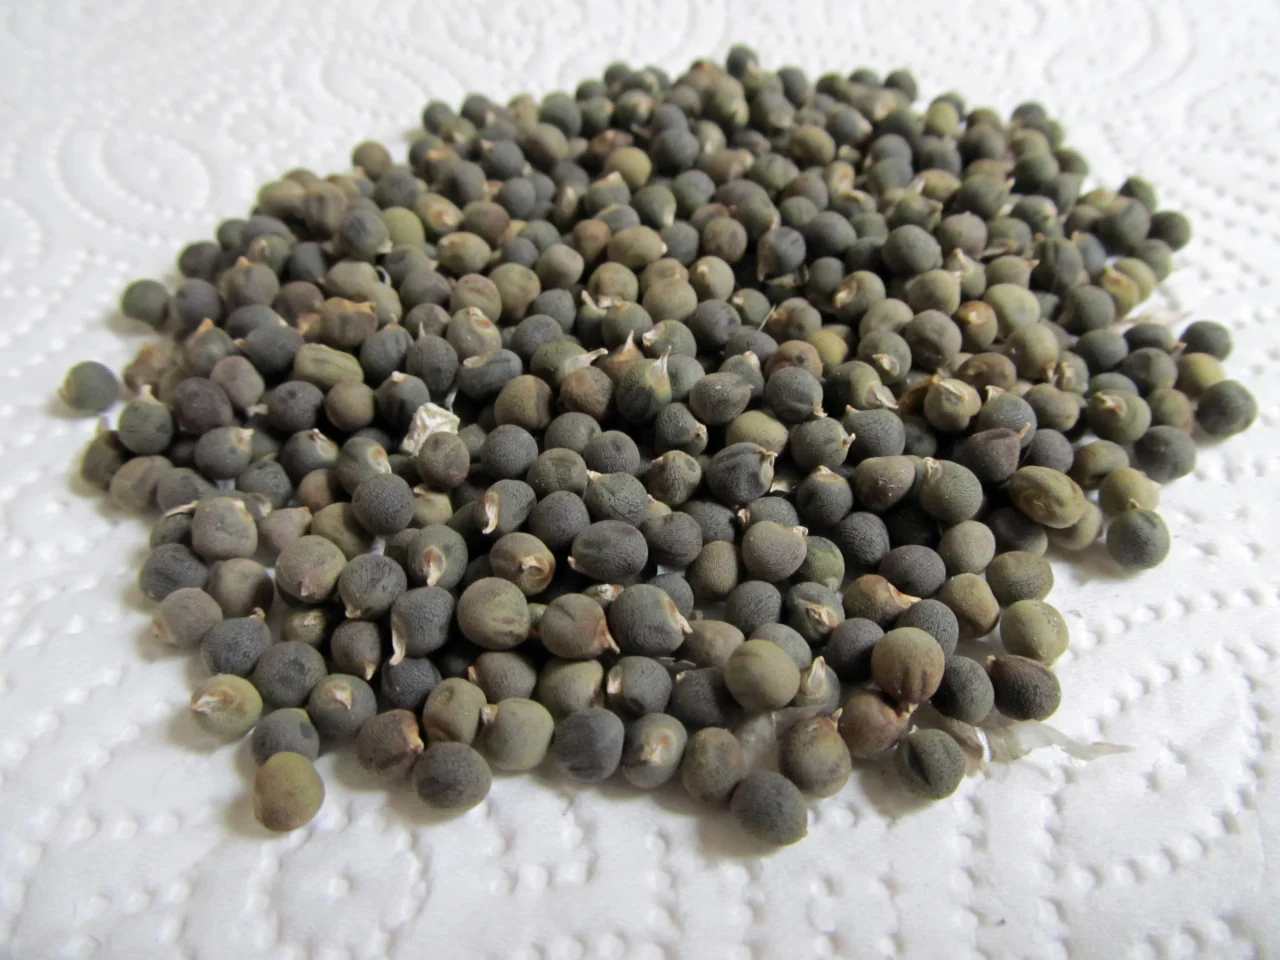
Storing Clove Seeds
Properly storing clove seeds is crucial to maintain their freshness and viability for future use. Here are some essential tips for storing your harvested clove seeds:
- Ensure dryness: Before storing the clove seeds, make sure they are completely dry. Moisture can lead to mold and spoilage. If needed, allow the harvested seeds to dry for an additional few days before storing them.
- Use airtight containers: Transfer the dried clove seeds into airtight containers to protect them from exposure to air, moisture, and pests. Use glass jars or plastic containers with tight-fitting lids. Ensure the containers are clean and dry before adding the seeds.
- Cool and dark storage: Store the containers of clove seeds in a cool, dark place. Clove seeds are sensitive to heat and light, which can compromise their quality. Temperature fluctuations can also affect their viability, so choose a storage location with a consistent temperature.
- Add desiccant packets: To further protect the stored clove seeds from moisture, you can include desiccant packets in the containers. These packets help absorb excess moisture and maintain dry conditions within the container.
- Label and date: Clearly label the containers with the date of seed harvest and variety. This will help you keep track of their freshness and ensure you use them within the recommended time frame.
- Store in the refrigerator (optional): If you live in a region with high humidity or warm temperatures, consider storing the clove seed containers in the refrigerator. The cool and controlled environment will help extend the shelf life of the seeds.
- Regularly check for and remove any damaged seeds: Over time, it’s possible for clove seeds to degrade or become damaged. Regularly inspect the stored seeds and discard any that show signs of mold, rot, or insect infestation. This helps prevent the spread of damage to other seeds.
By following these storage practices, you can preserve the freshness and viability of your clove seeds for an extended period. Properly stored clove seeds can retain their germination capability for up to one to two years.
Remember to store extra seeds for future planting or sharing with fellow gardeners. The joy of growing your own clove plants and savoring their aromatic flavor will continue for years to come!
With this comprehensive guide, you are now equipped with the knowledge to obtain, grow, and care for clove seeds. From purchasing or harvesting the seeds to nurturing them into healthy seedlings, harvesting the mature buds, and storing the seeds, you have all the tools to embark on your clove seed growing adventure. Enjoy the process and the flavorful rewards that await you in your garden and kitchen.
Conclusion
Clove seeds are not just ordinary seeds; they are a gateway to transforming your garden and culinary experiences. With their vibrant blooms and rich, warm flavor, growing clove seeds can bring a touch of magic to your garden and elevate your cooking to new heights.
In this article, we explored the process of obtaining clove seeds, whether through purchasing them from reputable suppliers or harvesting them from mature clove trees. We delved into the importance of understanding clove seeds, their origins, and their versatile uses in both cuisine and traditional medicine.
We then took a journey through the steps of growing clove seeds, from preparing the soil, sowing the seeds, and providing them with proper care. We discussed essential aspects such as watering, light and temperature requirements, pruning, and pest management to ensure healthy and thriving clove seedlings.
Next, we learned about the exciting process of harvesting clove seeds, waiting patiently for the buds to reach their full potential, and carefully plucking them from the tree. We then explored the significance of drying the buds and storing the seeds properly to maintain their flavor and viability.
By now, you should feel confident in your ability to embark on your clove seed growing journey. Whether you choose to buy clove seeds or harvest them yourself, the rewards of growing your own clove plants are boundless. From the delight of watching the vibrant buds bloom to the aromatic and flavorful delights they bring to your kitchen, you are now equipped with the knowledge to make it happen.
Remember to embrace the process, experiment with different culinary creations using your homegrown cloves, and share the joy with fellow gardeners and food enthusiasts. Gardening is not just a hobby; it’s a journey of discovery, growth, and connection to nature.
So, grab your gardening tools, procure your clove seeds, and let your green thumbs work their magic. Happy growing and may your garden be filled with the enchanting beauty and delightful aroma of clove seeds!
Frequently Asked Questions about How To Get Clove Seeds
Was this page helpful?
At Storables.com, we guarantee accurate and reliable information. Our content, validated by Expert Board Contributors, is crafted following stringent Editorial Policies. We're committed to providing you with well-researched, expert-backed insights for all your informational needs.
0 thoughts on “How To Get Clove Seeds”