Home>Garden Essentials>How To Start Rose Seeds

Garden Essentials
How To Start Rose Seeds
Modified: March 16, 2024
Learn how to start rose seeds in your garden and grow beautiful roses from scratch. Follow these step-by-step instructions for successful seed starting.
(Many of the links in this article redirect to a specific reviewed product. Your purchase of these products through affiliate links helps to generate commission for Storables.com, at no extra cost. Learn more)
Introduction
Starting a garden from scratch can be an exciting and rewarding endeavor. While many gardeners opt for purchasing nursery-grown plants, there is something incredibly satisfying about growing plants from seeds. If you have a passion for roses and want to dive into the world of rose gardening, starting rose seeds is a great option.
Growing roses from seeds allows you to have a wider variety of rose cultivars to choose from, as well as the potential to create your own unique rose hybrids. Although it requires a bit more patience and effort compared to buying pre-grown plants, the process of starting rose seeds can be incredibly rewarding.
In this article, we will guide you through the steps of how to start rose seeds successfully. From understanding rose seeds to germinating and caring for your rose seedlings, we will provide you with the knowledge and tips you need to successfully grow your own beautiful rose plants from seeds.
Key Takeaways:
- Starting rose seeds allows you to grow unique rose varieties and experience the joy of nurturing them from the very beginning. It’s a rewarding journey that requires patience and care, but the results are worth it!
- Understanding the needs of rose seeds, providing proper preparation, and caring for the seedlings are essential for successful growth. With dedication and a bit of troubleshooting, you can overcome challenges and watch your rose garden bloom beautifully.
Read more: How To Start Roses From Seed
Understanding Rose Seeds
Before you embark on starting rose seeds, it is important to have a basic understanding of what rose seeds are and how they work. Rose seeds are the result of cross-pollination between different rose varieties. Each seed contains the genetic material of both parent plants, which means that the resulting rose plant will display a combination of their traits.
It is important to note that not all rose seeds will produce viable plants. Some seeds may not germinate at all, while others may produce rose plants with undesirable traits. When it comes to starting rose seeds, patience and experimentation are key.
There are two main types of rose seeds: open-pollinated seeds and hybrid seeds. Open-pollinated seeds are produced when roses are pollinated by insects or the wind. These seeds have the potential to produce offspring that resemble the parent plant but may also display some variation.
Hybrid seeds, on the other hand, are the result of intentional crossbreeding by rose breeders. These seeds are carefully hand-pollinated, ensuring that specific traits from different parent plants are combined. Hybrid seeds are known for their potential to create new and improved rose varieties.
It is worth mentioning that growing roses from seeds can result in a wide range of outcomes. The resulting plants can exhibit a variety of characteristics, including different colors, growth habits, and disease resistance. This unpredictability is part of the excitement and allure of starting rose seeds.
Obtaining Rose Seeds
Once you have a good understanding of rose seeds, the next step is obtaining them for planting. There are a few different ways you can obtain rose seeds:
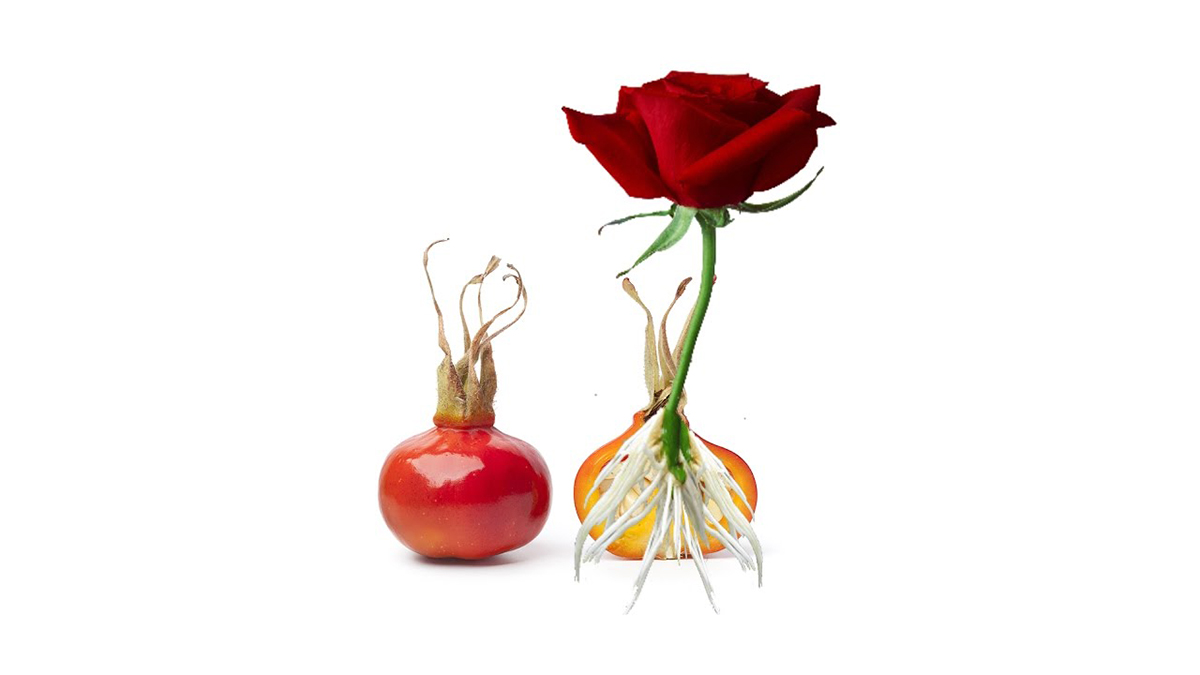
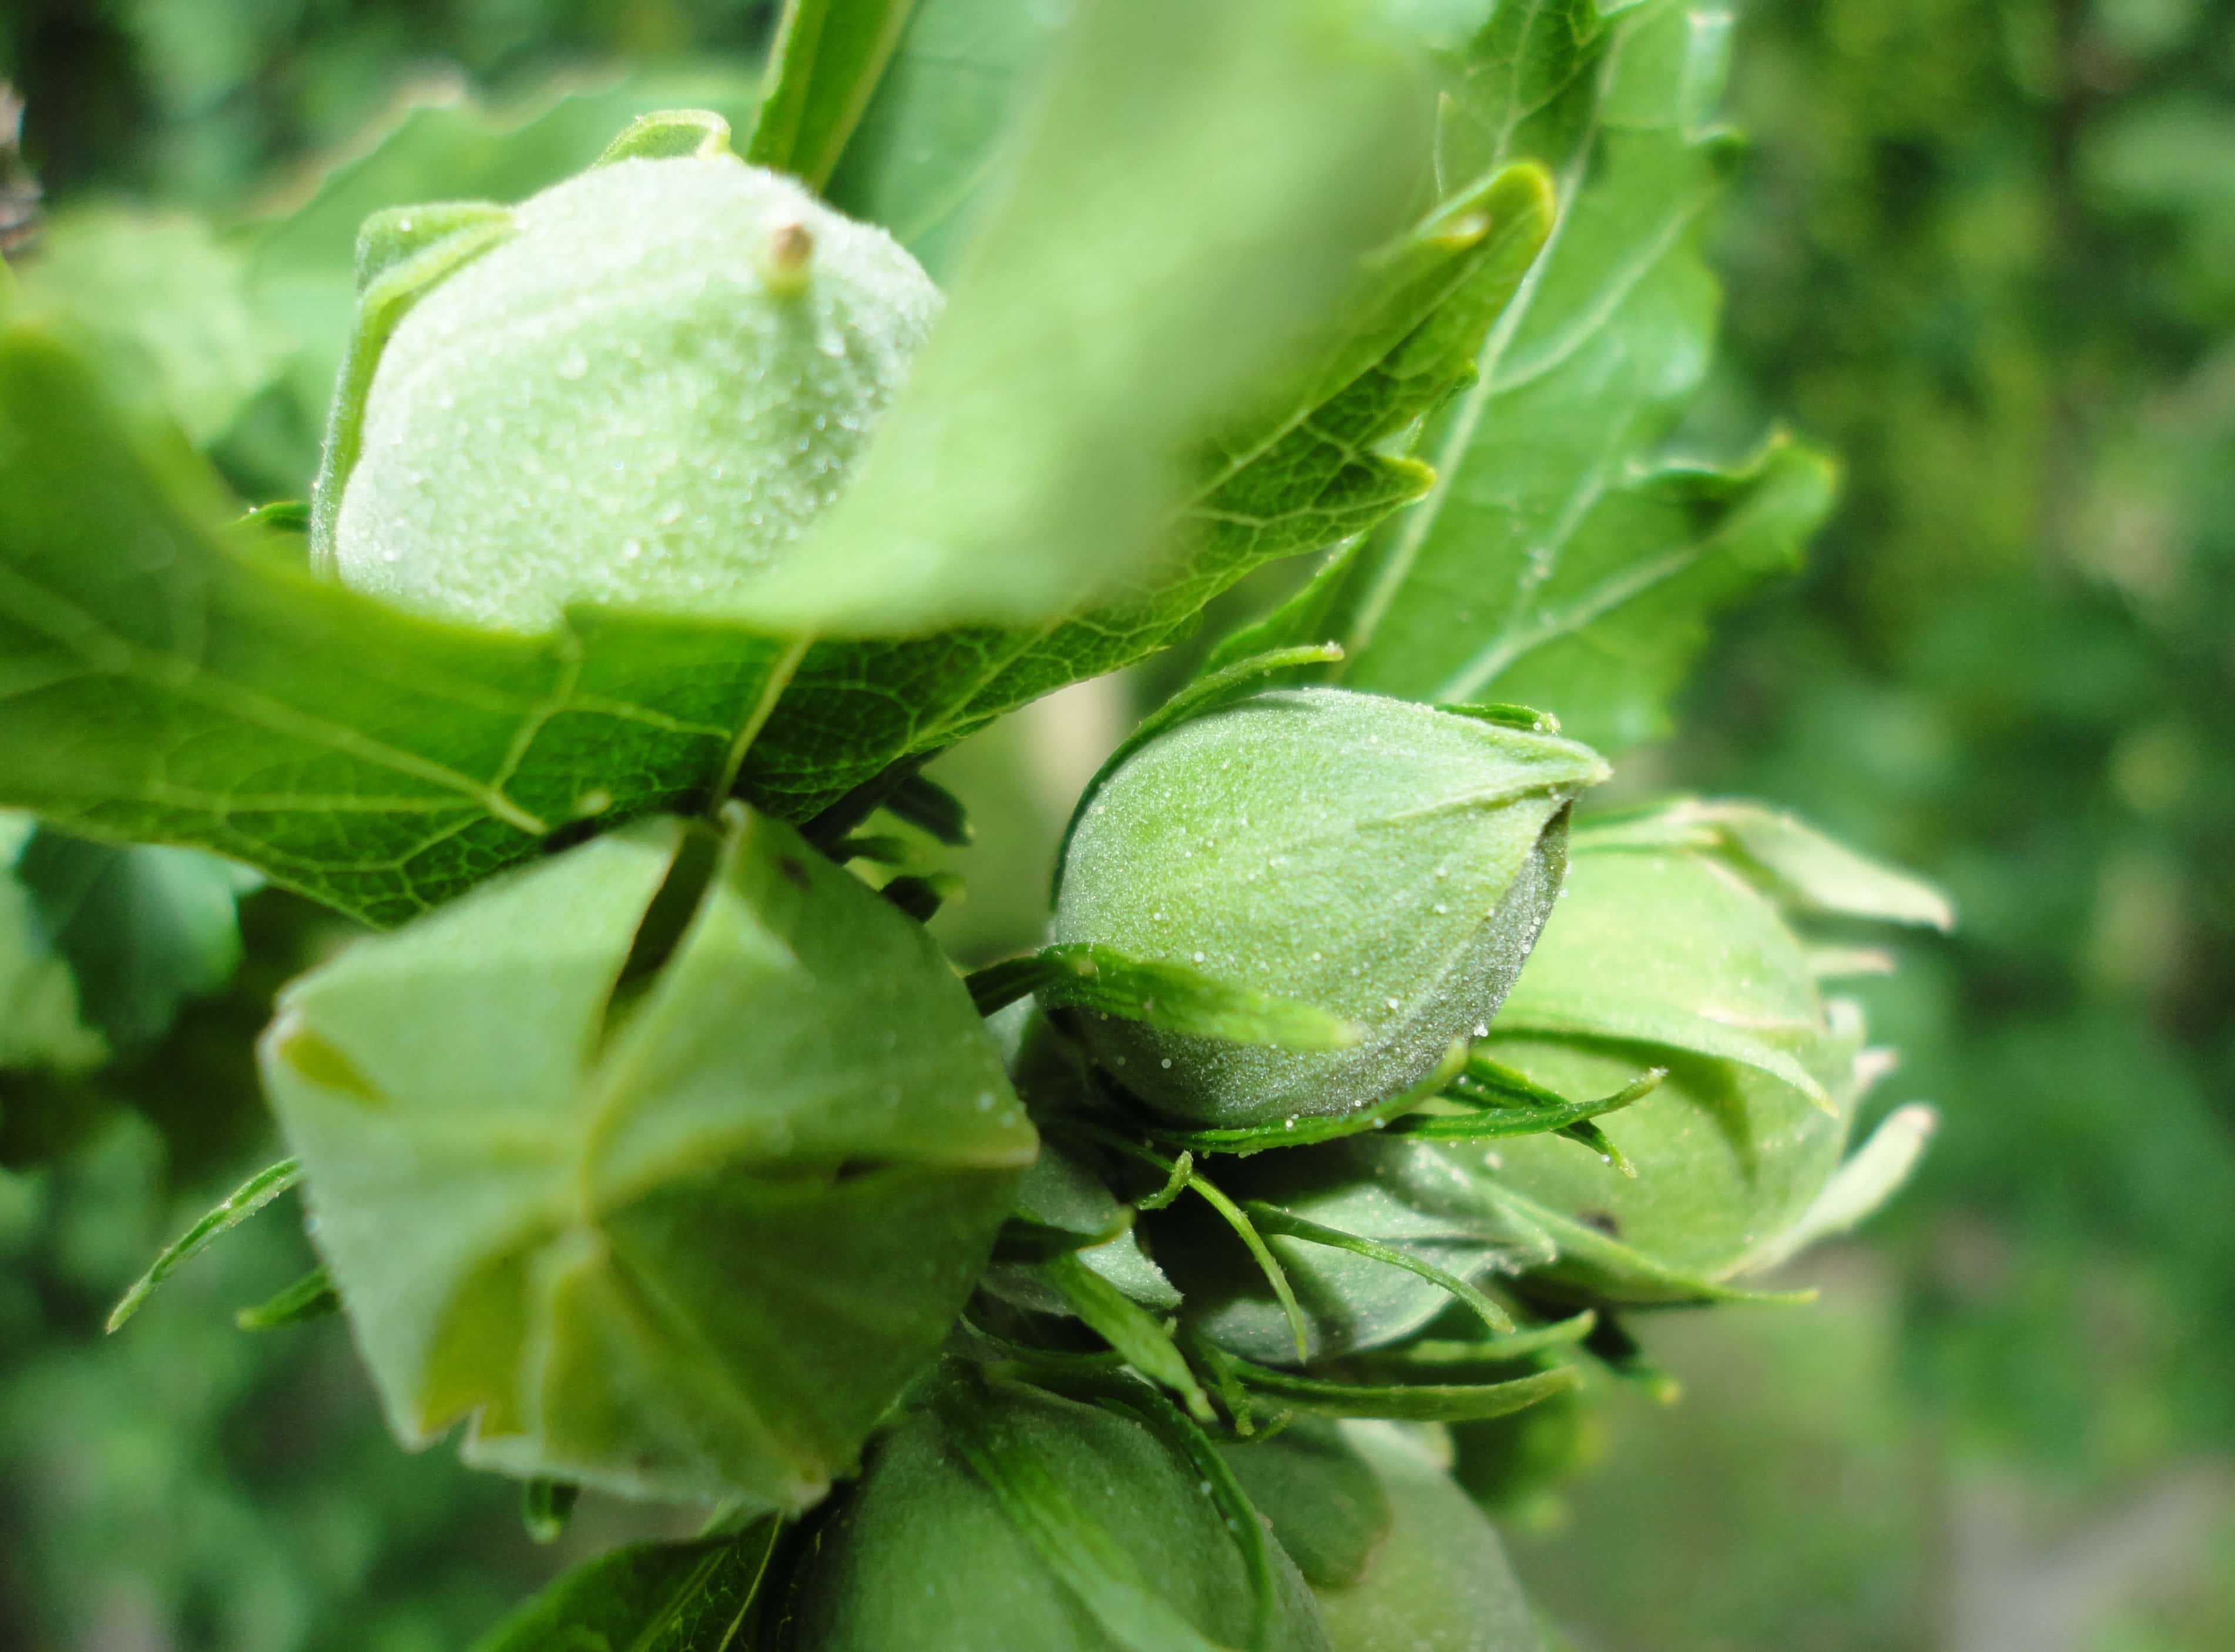
- Collecting Seeds from Rose Hips: Rose hips are the fruit that develops after a rose has finished blooming. They contain the seeds of the rose plant. Wait until the rose hips have turned a bright red or orange color before harvesting them. Cut open the rose hip and collect the small, brown seeds inside. Clean the seeds by removing any remaining pulp or debris.
- Purchasing Rose Seeds: If you do not have access to rose hips or want a wider variety of rose seeds, you can purchase them from reputable seed suppliers. Look for suppliers that specialize in roses and offer a wide selection of hybrid or heirloom rose seeds.
When obtaining rose seeds, it’s important to choose varieties that are suitable for your climate and growing conditions. Consider factors such as hardiness, disease resistance, and the environmental requirements of the rose plants.
Once you have obtained rose seeds, it is important to store them properly until you are ready to plant. Place the seeds in a cool and dry location, such as an airtight container in the refrigerator. This will help to maintain their viability and ensure successful germination when the time comes.
Remember, not all rose seeds will germinate, and sometimes it may take a bit of trial and error to find success. Don’t be discouraged if some seeds don’t sprout, and always keep an eye out for new and interesting rose varieties to add to your collection.
Preparing for Germination
Before you can start germinating your rose seeds, it is important to properly prepare them to increase their chances of successful germination. Follow these steps to ensure optimal conditions for your rose seeds:
- Scarification: Most rose seeds have a hard outer shell that can inhibit germination. To overcome this, you can scarify the seeds by gently rubbing them with sandpaper or nicking the seed coat with a sharp knife. This process helps to break through the protective layer and allows moisture to penetrate the seed more easily.
- Stratification: Many rose seeds require a period of cold stratification to simulate the natural winter dormancy process. Place the scarified seeds in a moist paper towel and seal them in a plastic bag. Store the bag in the refrigerator for about 6-8 weeks. This cold treatment mimics the conditions the seeds would experience in nature, triggering them to break dormancy and readying them for germination.
- Soaking: Some rose seeds may benefit from soaking before planting to further promote germination. Fill a small container with warm water and place the seeds in it. Let them soak for 24 hours before proceeding to the next step.
While scarification and stratification can enhance germination rates, not all rose seeds require these treatments. Some hybrid varieties have been bred to have softer seed coats that do not need scarification, while others may not require cold stratification. It is best to research the specific requirements of the rose variety you are planting to ensure success.
After preparing your rose seeds, it’s time to move on to the germination process. Get ready to see your rose seeds sprout into seedlings, bringing you one step closer to growing your own beautiful roses from scratch.
Germinating Rose Seeds
Now that your rose seeds are properly prepared, it’s time to begin the germination process. Follow these steps to increase your chances of successfully germinating your rose seeds:
- Select a Germination Container: Choose a container that is at least 3-4 inches deep and has drainage holes at the bottom. Fill the container with a well-draining seed-starting mix or a mixture of peat moss and vermiculite.
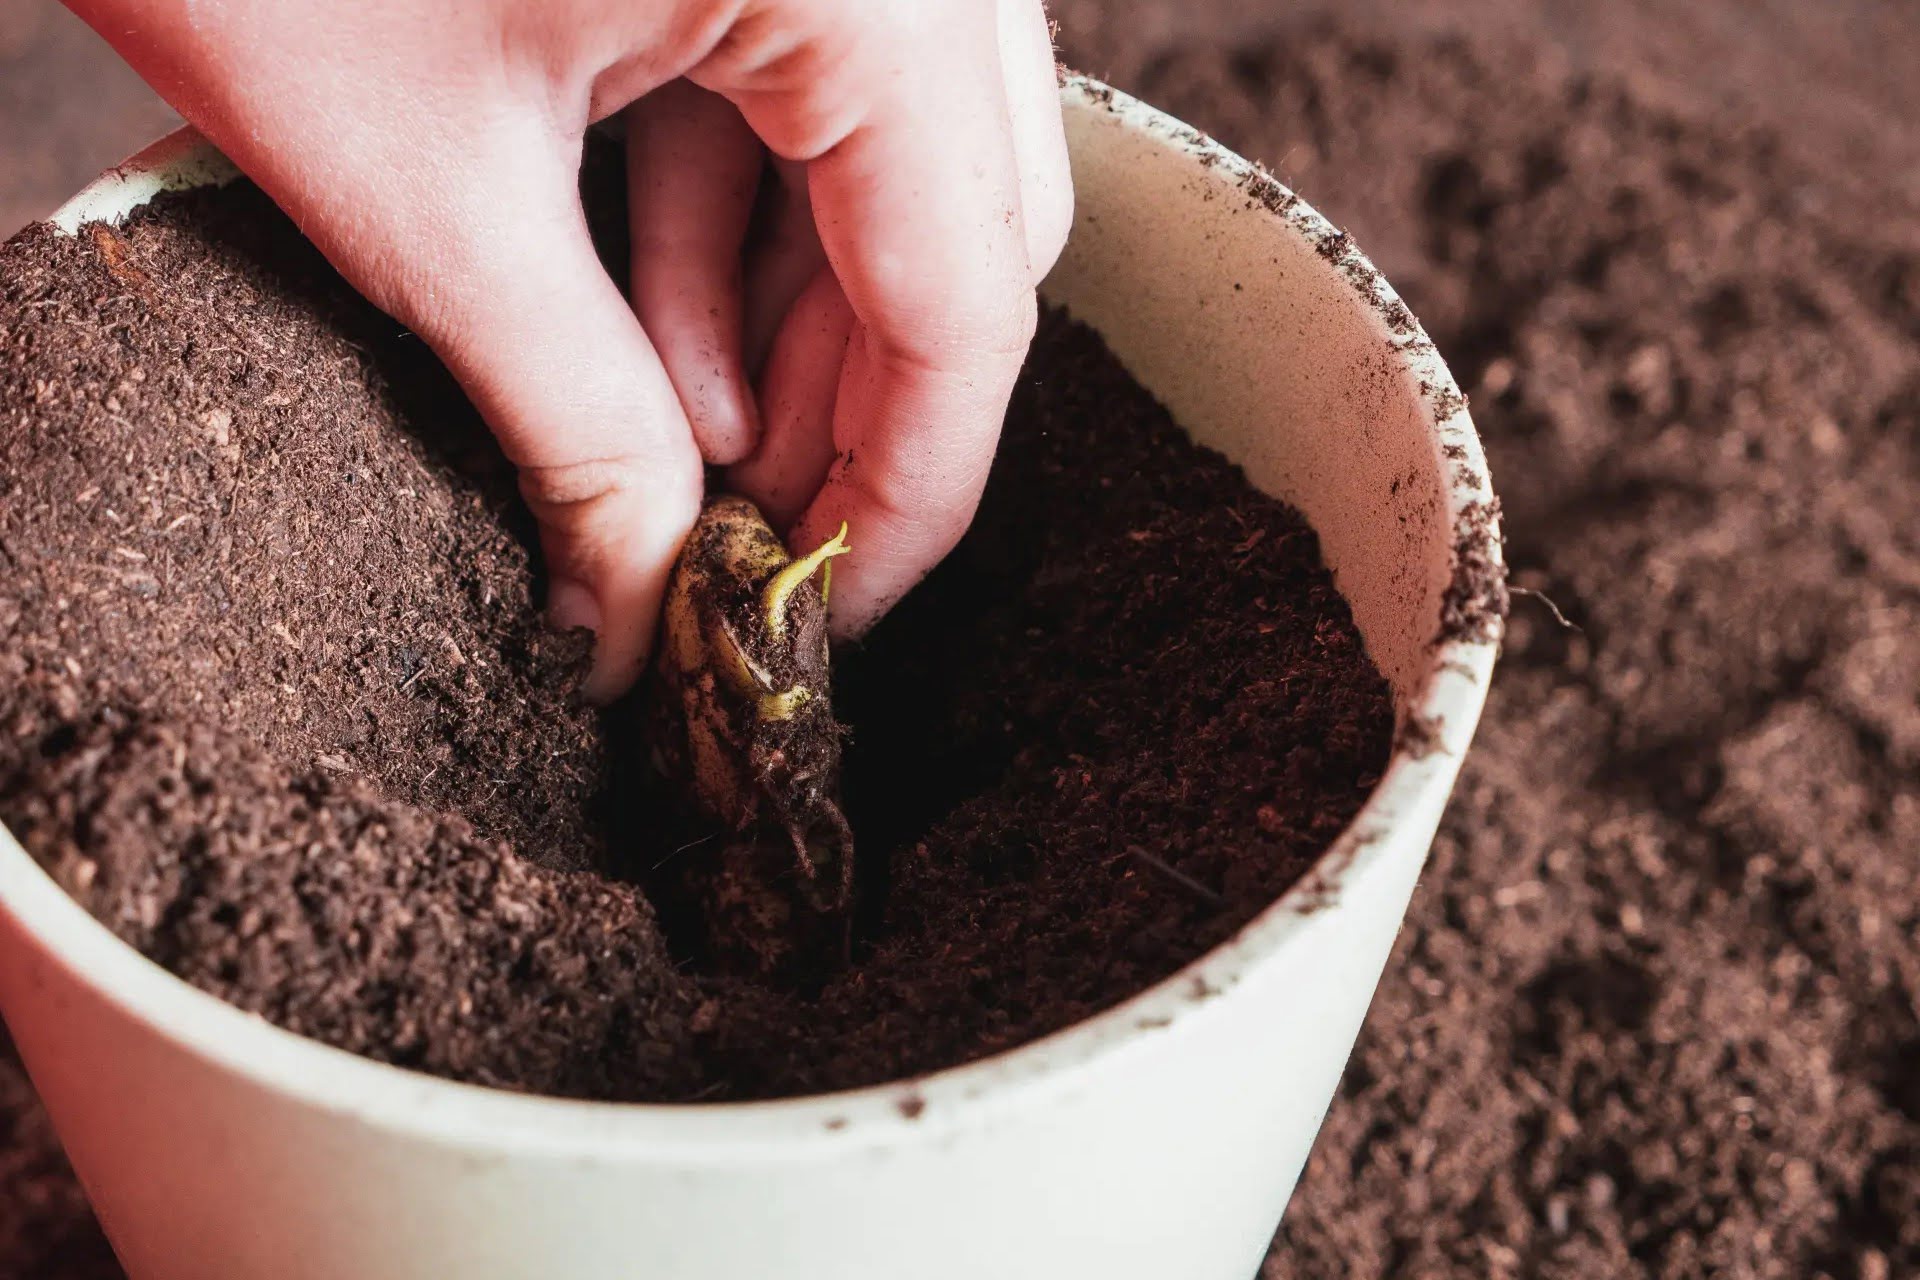
- Plant the Seeds: Make shallow holes in the soil, about a quarter of an inch deep. Place one seed in each hole and cover them with a thin layer of soil. Gently pat the soil down to ensure good seed-to-soil contact.
- Provide Moisture: Moisten the soil with a gentle mist of water or by placing the container in a tray of water and allowing the soil to absorb moisture from the bottom. Avoid overwatering, as excessive moisture can lead to rotting.
- Provide Warmth and Light: Place the container in a warm location with indirect sunlight or under grow lights. Rose seeds generally require temperatures between 65-75°F (18-24°C) for optimal germination. Use a heating mat if necessary to maintain a consistent temperature.
- Be Patient: Germination time for rose seeds can vary widely, ranging from a few weeks to a few months. Be patient and monitor the progress of your seeds regularly. Keep the soil moist, but not waterlogged, throughout the germination period.
As the rose seeds germinate, you will start to see small seedlings emerge from the soil. The first leaves that appear are not true rose leaves, but rather seed leaves known as cotyledons. As the seedlings grow, they will develop true rose leaves.
Once the rose seedlings have grown a few sets of true leaves and are strong enough to handle, they can be transplanted to individual pots or a larger container with well-draining soil. This will provide them with more space to grow and develop into healthy plants.
Remember to continue providing adequate light, water, and care to your rose seedlings as they grow. With time and nurturing, they will transform into beautiful rose bushes that will add charm and fragrance to your garden.
To start rose seeds, first scarify the seeds by gently rubbing them with sandpaper. Then, soak the seeds in warm water for 24 hours. Plant the seeds in a well-draining soil mix and keep them moist. Place the pots in a warm, sunny location and wait for the seeds to germinate.
Read more: How To Plant Desert Rose Seeds
Transplanting Rose Seedlings
Once your rose seedlings have grown a few sets of true leaves and are strong enough to handle, it’s time to transplant them into individual pots or a larger container. Follow these steps to ensure a successful transplant:
- Select the Right Container: Choose a container that is at least 6 inches in diameter and has drainage holes at the bottom. This will provide enough space for the roots to grow and allow excess water to drain.
- Prepare the Potting Mix: Use a well-draining potting mix specifically formulated for roses or a mixture of garden soil, compost, and perlite. Fill the container with the potting mix, leaving about an inch of space at the top.
- Carefully Transplant the Seedlings: Gently loosen the soil around the seedlings to avoid damaging the roots. Hold the seedling by its leaves or stem, not by the delicate roots, as they are quite sensitive. Place each seedling into the prepared container, ensuring that the soil level is at the same level as it was in the previous container.
- Water Thoroughly: After transplanting, water the seedlings thoroughly, making sure the soil is evenly moist. This will help settle the soil around the roots and reduce any air pockets. Avoid overwatering, as it can lead to root rot.
- Provide Optimal Growing Conditions: Place the transplanted seedlings in a sunny location with at least 6-8 hours of sunlight per day. If growing indoors, place them near a bright window or under grow lights. Maintain a temperature of around 60-70°F (15-21°C) for healthy growth.
- Care for the Seedlings: Keep a close eye on the moisture levels of the soil and water when the top inch of soil feels dry. Fertilize the seedlings with a balanced rose fertilizer according to the package instructions, starting when the seedlings have established their first true leaves.
As the seedlings continue to grow and develop in their new containers, they will establish stronger root systems and begin to display more vigorous growth. This is an exciting stage, as you will notice the unique characteristics of each seedling and anticipate their future blooms.
After a few weeks of healthy growth, the seedlings will be ready for their next stage: transplantation into the ground or larger containers. This step will provide them with more space to spread their roots and continue their journey toward becoming beautiful rose bushes.
Caring for Rose Seedlings
Once your rose seedlings have been transplanted into individual pots or larger containers, it’s important to provide them with proper care to ensure their healthy growth and development. Here are some key aspects to consider when caring for your rose seedlings:
- Watering: Maintain a consistent watering schedule for your seedlings. Water them deeply when the top inch of soil feels dry. Avoid overwatering, as it can lead to root rot. Ensure that the containers have proper drainage to prevent waterlogged soil.
- Light: Rose seedlings thrive in full sun, so make sure they receive at least 6-8 hours of direct sunlight each day. If growing them indoors, place them near a south-facing window or use artificial grow lights to provide adequate light.
- Fertilization: Feed your seedlings with a balanced rose fertilizer according to the package instructions. Start fertilizing when the seedlings have established their first true leaves. Be careful not to over-fertilize, as it can damage the young plants.
- Pruning: As your seedlings grow, they may develop leggy or weak stems. Pruning can help promote bushier growth and a more compact form. Pinch off the top leaves or use clean, sharp pruning shears to trim the seedlings back by about one-third. This will encourage branching and a stronger root system.
- Support: Depending on the growth habit of your rose seedlings, you may need to provide support such as stakes or trellises. This will help them grow upright and prevent them from leaning or collapsing under their own weight.
- Pest and Disease Control: Regularly inspect your rose seedlings for any signs of pests, such as aphids or spider mites, and treat them accordingly. Keep the growing area clean and free from debris to minimize the risk of diseases. If necessary, use organic or chemical controls to manage pests and diseases effectively.
By providing your rose seedlings with proper care, you will help them establish strong root systems and healthy foliage, setting them up for success as they grow into robust rose bushes. Remember to monitor their growth regularly and adjust their care accordingly as they mature.
With time and attention, your rose seedlings will thrive and reward you with stunning blooms and the pleasure of seeing your own hand-grown roses flourish in your garden.
Troubleshooting Common Issues
While growing rose seedlings can be a rewarding experience, it is not without its challenges. Here are some common issues that you may encounter and tips on how to troubleshoot them:
- Poor Germination: If your rose seeds fail to germinate, it could be due to factors such as incorrect scarification, inadequate stratification, or low seed viability. Ensure that you properly scarify and stratify the seeds according to their specific requirements, and consider sourcing seeds from reputable suppliers to increase your chances of success.
- Damping Off: Damping off is a common fungal disease that affects young seedlings, causing them to wilt and collapse. To prevent damping off, use well-draining soil, avoid overwatering, and provide good air circulation. If damping off occurs, remove affected seedlings and treat the remaining seedlings with a fungicide.
- Leggy Seedlings: If your seedlings are growing tall and thin with weak stems, they may be lacking sufficient light. Ensure that your seedlings receive enough direct sunlight or provide supplemental grow lights to promote compact and sturdy growth. Pruning can also help encourage bushier growth.
- Poor Growth or Yellowing Leaves: Inadequate nutrition, improper watering, or pest infestations can result in poor growth or yellowing leaves. Make sure you are providing regular fertilization, watering properly, and inspecting your seedlings for any signs of pests. Adjust your care routine accordingly to address these issues.
- Transplant Shock: When transplanting seedlings, they may experience temporary shock due to the change in environment. To minimize transplant shock, carefully handle the seedlings, water them thoroughly after transplanting, and provide a stable and suitable growing environment with proper light and temperature conditions.
- Pest Infestations: Rose seedlings can be susceptible to pests such as aphids, spider mites, or thrips. Regularly inspect your seedlings and take prompt action if you notice any signs of infestation. Use organic or chemical pest control methods as necessary, following the instructions carefully.
Remember that gardening is a learning process, and it’s normal to encounter challenges along the way. By staying vigilant, adjusting your care routine when needed, and seeking advice from experienced gardeners or professionals, you can overcome these common issues and ensure the successful growth of your rose seedlings.
With patience and perseverance, you will soon be rewarded with healthy, thriving rose plants that bring beauty and joy to your garden.
Conclusion
Starting rose seeds and growing them into beautiful roses can be a fulfilling and rewarding journey for any garden enthusiast. By understanding the basics of rose seeds, obtaining them from reliable sources, and properly preparing and germinating them, you can establish a strong foundation for success.
Throughout the process of caring for your rose seedlings, it is essential to provide them with adequate water, light, and nutrients. Regular maintenance, such as pruning and pest control, will help ensure healthy growth and fend off common issues.
While challenges may arise, such as poor germination rates or pest infestations, with patience, perseverance, and a bit of troubleshooting, you can overcome these obstacles and watch your rose seedlings flourish.
Remember, growing roses from seeds requires time and dedication. It may take several months or even years for your rose seedlings to reach maturity and produce their first blooms. However, the joy of seeing your own hand-grown roses in full bloom is unparalleled.
So, take the leap and start your journey of growing roses from seeds. With proper care and attention, you can create your own unique rose garden filled with stunning and fragrant blooms that will be the envy of all. Happy gardening!
Frequently Asked Questions about How To Start Rose Seeds
Was this page helpful?
At Storables.com, we guarantee accurate and reliable information. Our content, validated by Expert Board Contributors, is crafted following stringent Editorial Policies. We're committed to providing you with well-researched, expert-backed insights for all your informational needs.


0 thoughts on “How To Start Rose Seeds”