Home>Garden Essentials>How To Get Seeds From Blueberries

Garden Essentials
How To Get Seeds From Blueberries
Modified: March 16, 2024
Learn how to get seeds from blueberries in your garden with our step-by-step guide. Grow your own blueberry plants and enjoy delicious home-grown berries!
(Many of the links in this article redirect to a specific reviewed product. Your purchase of these products through affiliate links helps to generate commission for Storables.com, at no extra cost. Learn more)
Introduction
Welcome to the wonderful world of blueberries! Blueberries are not only delicious and nutritious fruits, but they also have the potential to bring you joy year after year. If you’ve ever wondered how to grow your own blueberry plants from seeds, you’ve come to the right place. In this article, we will guide you through the process of getting seeds from blueberries and show you how to successfully germinate and grow your own blueberry plants.
Blueberries belong to the Vaccinium genus and are known for their vibrant blue color and sweet-tart flavor. While it is common to purchase blueberry plants from nurseries, getting seeds from blueberries allows you to experiment with different varieties and even create your own unique hybrids.
Before diving into the process, it is important to note that blueberries are perennial plants that require specific growing conditions. They prefer acidic soil, ample sunlight, and moderate temperatures. It may take a few years for the plants to reach full maturity and produce fruit, but the rewards are well worth the wait.
Now let’s embark on the journey of seed extraction and planting, and discover the satisfaction of growing your own blueberry plants from scratch.
Key Takeaways:
- Growing blueberry plants from seeds is a fun and rewarding process that starts with selecting ripe blueberries and extracting the seeds. With patience and care, you can enjoy the satisfaction of watching your blueberry plants grow and produce delicious fruits.
- Providing the right growing conditions, such as light, temperature, and humidity, is crucial for the healthy development of blueberry seedlings. By following the steps outlined in this guide, you can successfully grow your own blueberry plants from seeds.
Read more: How To Grow Blueberries From Seeds
Step 1: Selecting Ripe Blueberries
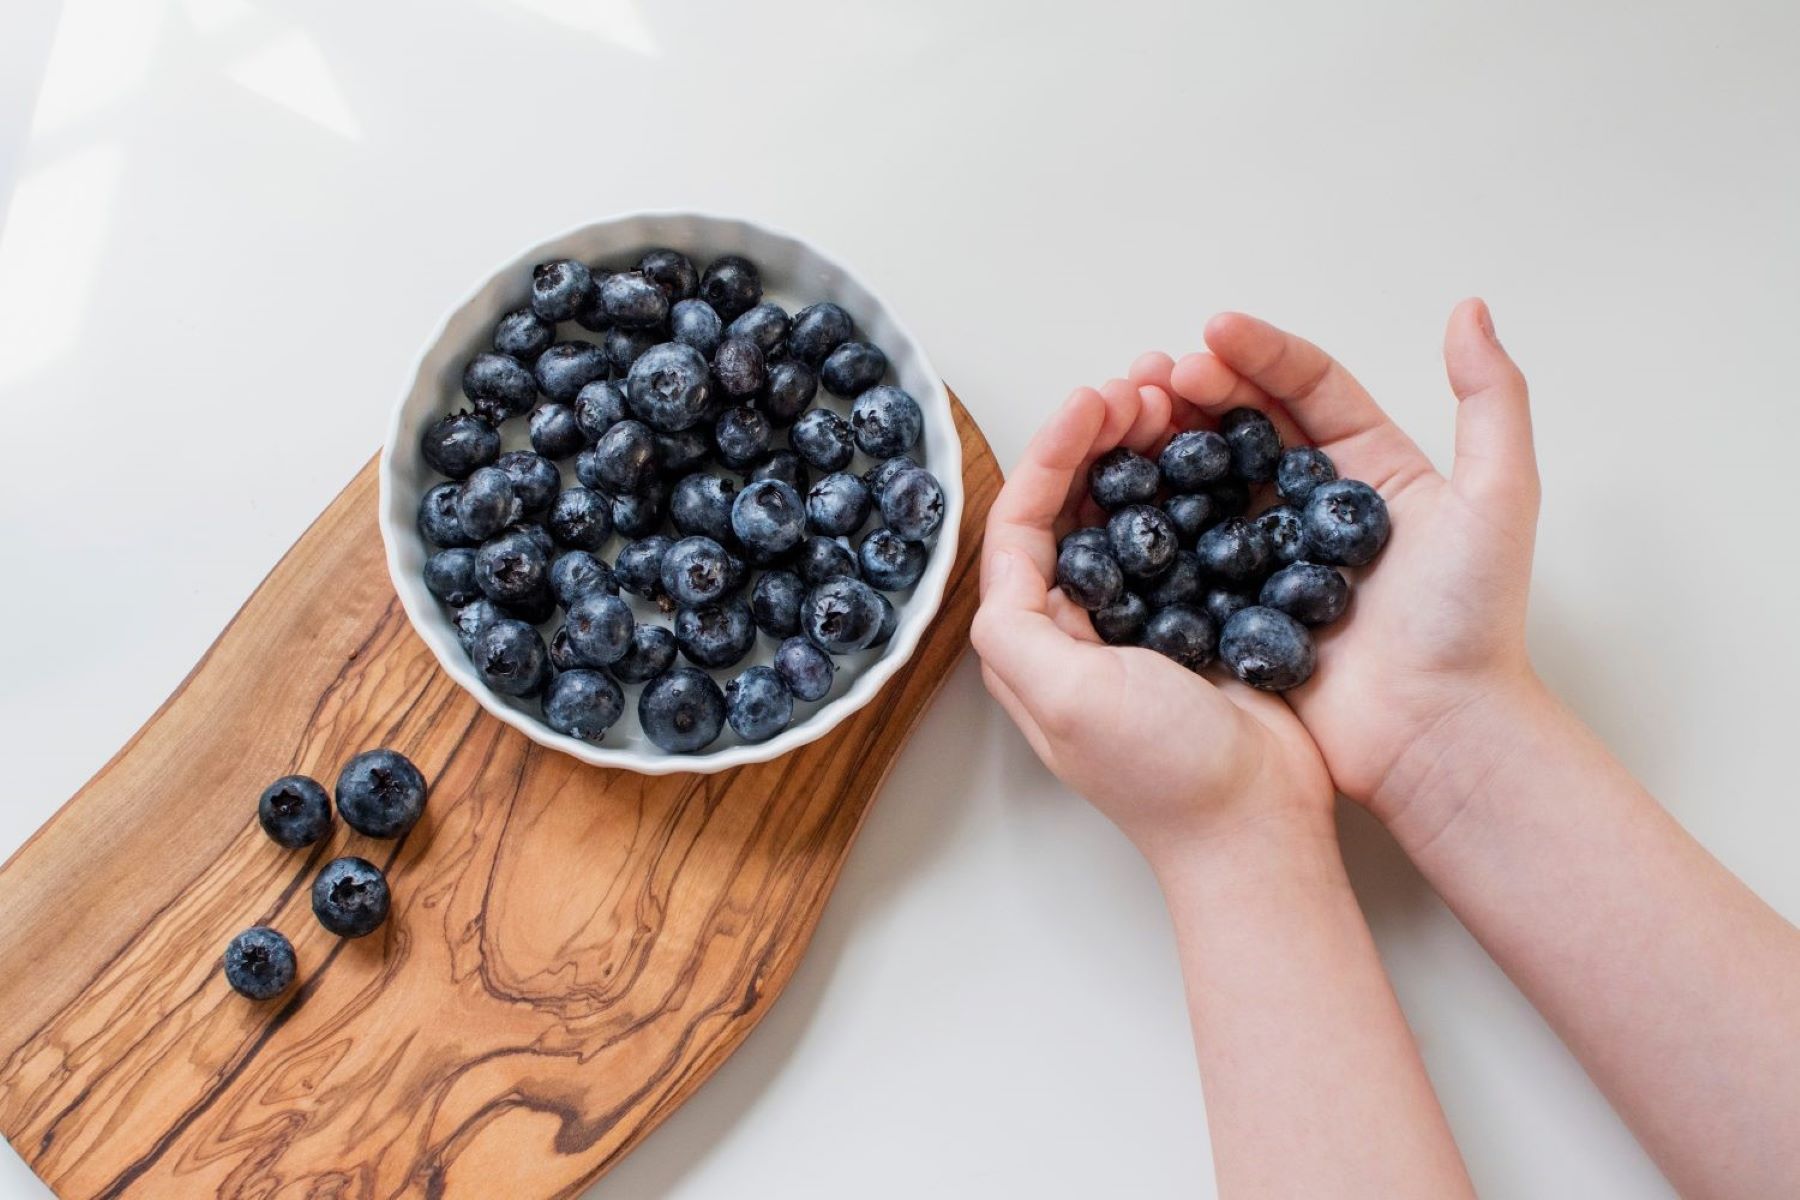
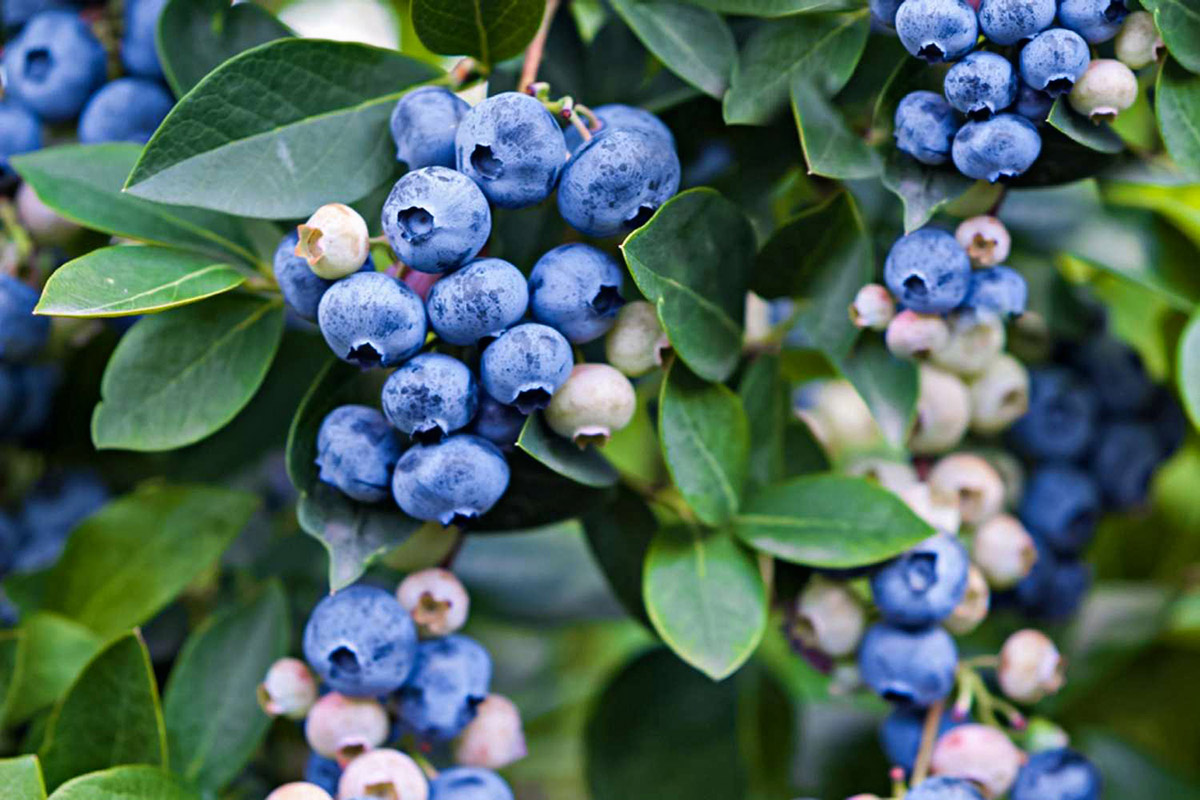
The first step in obtaining seeds from blueberries is to choose ripe and healthy fruits. It is essential to select blueberries that are fully ripe, as this ensures that the seeds inside are mature and ready for germination.
When selecting blueberries, look for fruits that have a deep, uniform color. The skin should be smooth and free from bruises or blemishes. Ripe blueberries are usually plump and firm to the touch. Avoid berries that appear shriveled or have moldy spots.
If you have access to a blueberry bush, consider picking the berries yourself. This way, you can ensure that the fruits are at the peak of ripeness. However, if you don’t have access to fresh blueberries, you can purchase them from a local farmers’ market or grocery store.
Remember, the quality of the blueberries you choose will directly impact the success of your seed extraction and germination process. By selecting ripe and healthy fruits, you increase the chances of obtaining viable seeds and ultimately growing healthy blueberry plants.
Step 2: Extracting Seeds from Blueberries
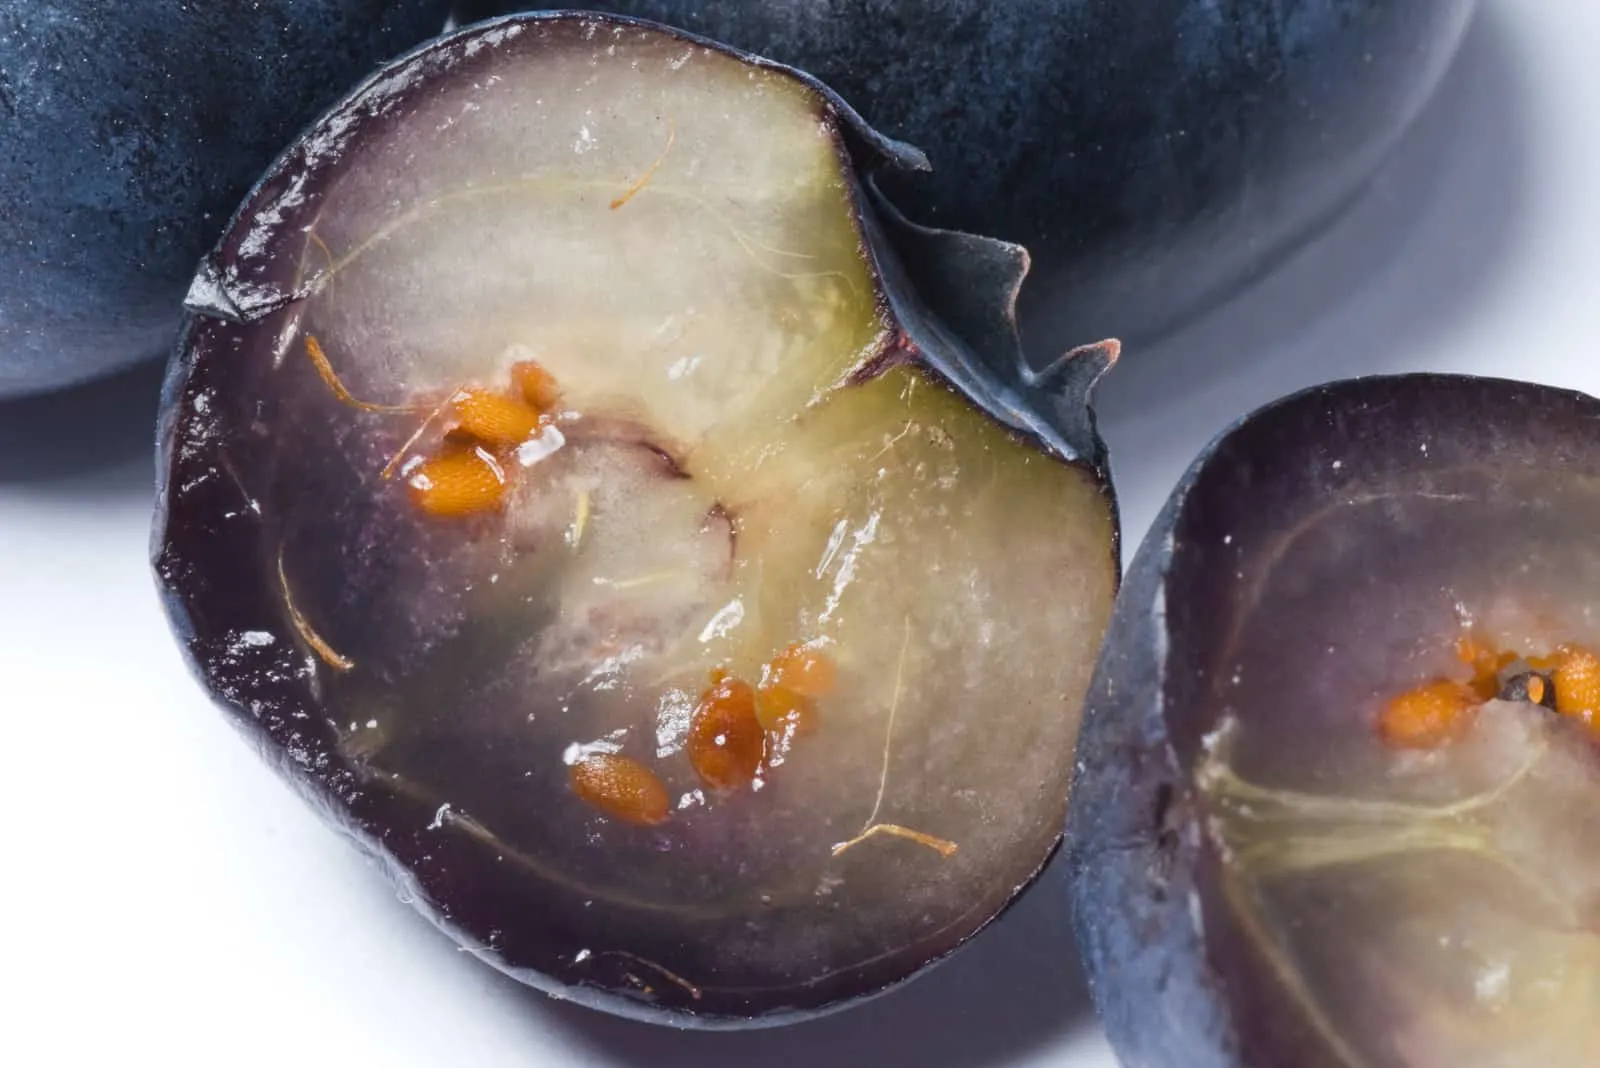
Once you have selected ripe blueberries, it’s time to extract the seeds from the fruit. The process of seed extraction can be done using a simple method that requires a few household items.
Here’s how you can extract the seeds from blueberries:
- Start by gently rolling the blueberries between your palms or using a fork to loosen the seeds from the flesh. This will help separate the seeds from the pulp.
- Next, place the berries in a bowl of water and gently squish them with your hands. This will help remove the remaining pulp and separate the seeds.
- Allow the mixture of water and seeds to sit for a few minutes. During this time, the viable seeds will sink to the bottom of the bowl, while any remaining pulp or empty seeds will float to the top.
- Carefully pour out the floating pulp and debris without disturbing the sunken seeds. You can use a fine sieve or strainer to facilitate this process.
- Once the seeds have been separated from the pulp, rinse them thoroughly under running water to remove any remaining residue.
It’s important to note that not all blueberry seeds will be viable. Some may be damaged or underdeveloped, so don’t be discouraged if not all the seeds appear healthy. By following this process, you increase the chances of obtaining viable seeds for germination.
Now that you have successfully extracted the seeds from the blueberries, you are ready to move on to the next step: cleaning the seeds.
Step 3: Cleaning the Seeds
After extracting the seeds from the blueberries, it’s important to clean them before proceeding with germination. Cleaning the seeds helps remove any remaining pulp or debris that could hinder their growth.
Here’s how you can clean the blueberry seeds:
- Transfer the extracted seeds to a small container or a piece of clean cloth.
- Add enough water to cover the seeds and let them soak for a few minutes. This will help soften any remaining pulp.
- Gently rub the seeds together with your fingers or between your palms to remove any remaining pulp.
- Transfer the seeds into a fine-mesh sieve or strainer and rinse them thoroughly under running water to ensure they are clean and free from any debris.
- Once the seeds are clean, spread them out on a clean paper towel or cloth and let them air dry for a few hours. Avoid using heat or direct sunlight to dry the seeds, as this can damage them.
By thoroughly cleaning the seeds, you create a favorable environment for germination and increase the chances of successful seedling growth.
Now that the seeds are clean and dry, it’s time to move on to the next step: preparing the germination mix.
Step 4: Preparing the Germination Mix
In order for the blueberry seeds to successfully germinate, it’s important to provide them with the right growing medium, also known as the germination mix. The germination mix helps create a favorable environment for seedling development by providing the necessary nutrients and moisture.
Here’s how you can prepare the germination mix:
- Start by selecting a well-draining potting mix or seed starting mix. Avoid using regular garden soil, as it tends to be too heavy and can hinder germination.
- If the potting mix is not already pre-moistened, you can moisten it by adding water while stirring until it reaches a consistently damp but not soggy texture.
- Transfer the moistened potting mix into small pots or seedling trays, leaving about an inch of space at the top for easy watering.
It’s worth noting that blueberries prefer acidic soil, so you can enhance the germination mix by adding a small amount of acidic organic matter such as pine bark or peat moss. This helps create an optimal pH level for blueberry seedling growth.
Once the germination mix is prepared, it’s time to move on to the exciting part: planting the blueberry seeds and kickstarting the germination process.
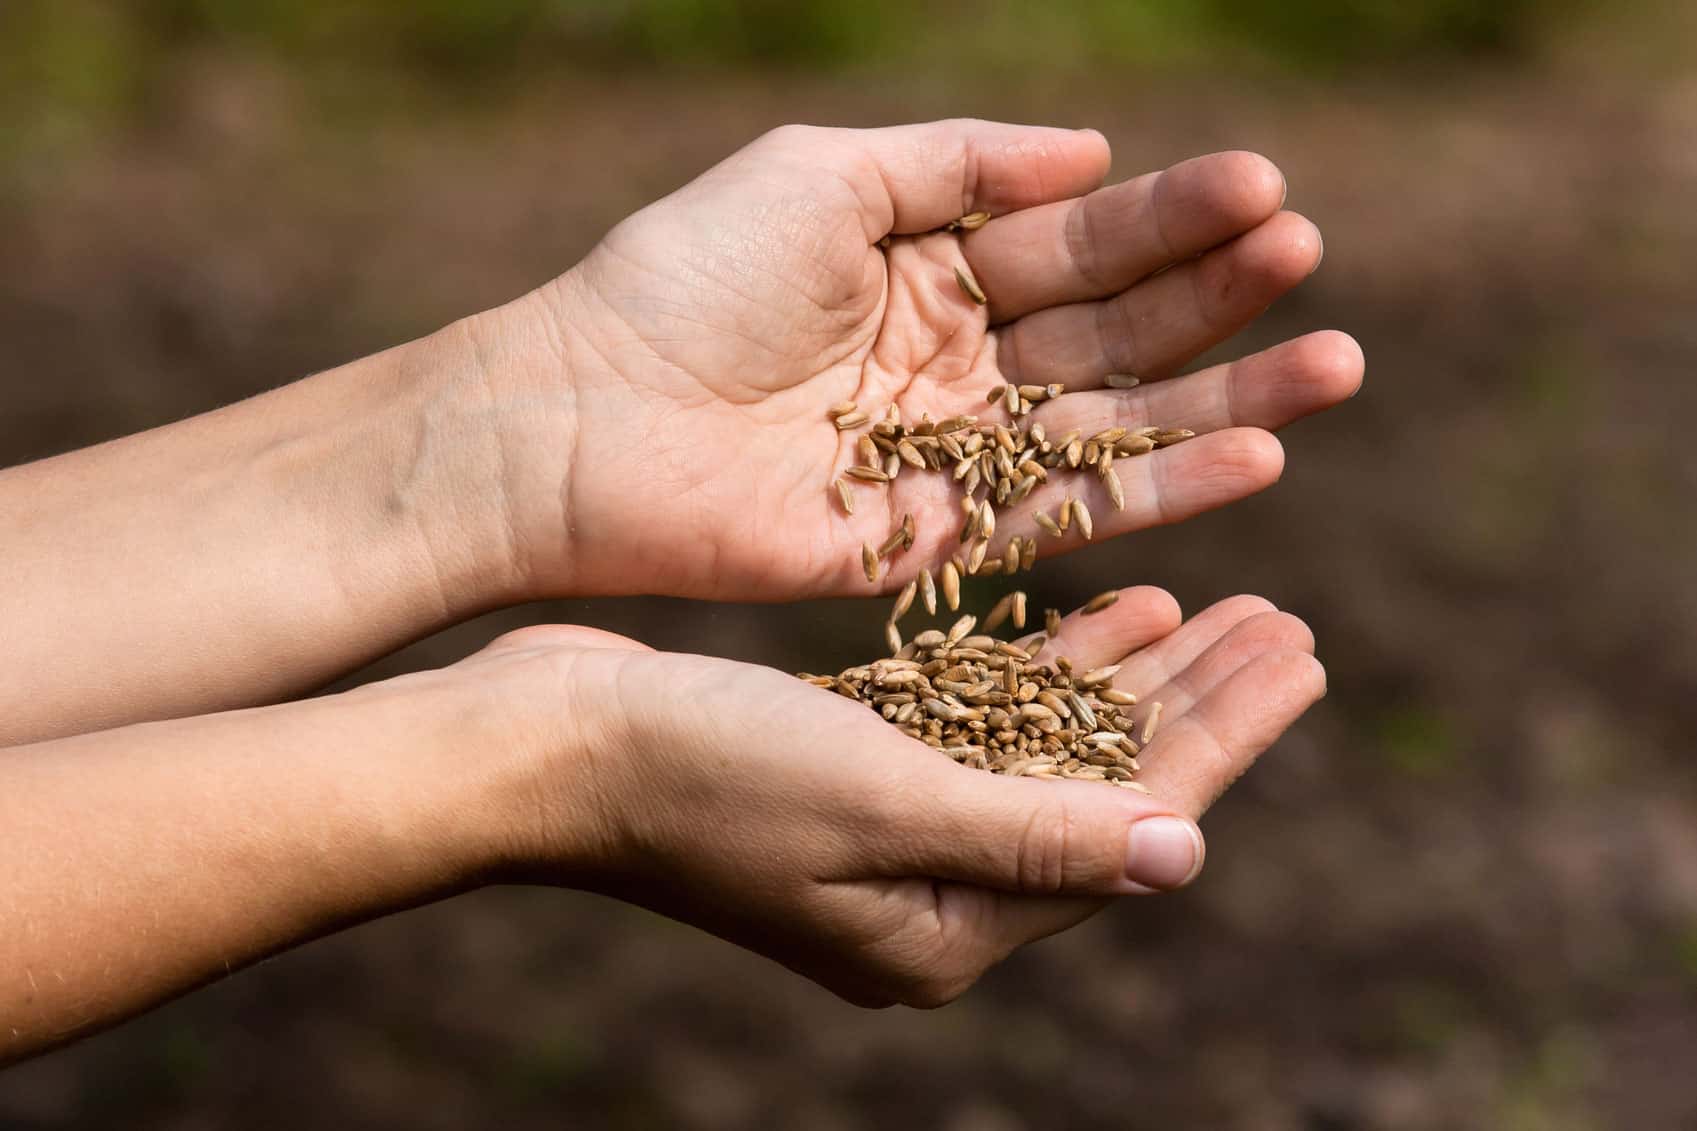
To get seeds from blueberries, simply remove the seeds from the berries and wash off any pulp. Then, dry the seeds and store them in a cool, dry place until you are ready to plant them.
Read more: How To Grow Blueberries From Seed
Step 5: Planting the Blueberry Seeds
Now that you have the germination mix ready, it’s time to plant the blueberry seeds. Planting the seeds properly ensures their successful germination and sets the stage for healthy seedling growth.
Here’s how you can plant the blueberry seeds:
- Make small holes in the germination mix, about ¼ inch deep. Space the holes a few inches apart to allow room for the seedlings to grow.
- Place one seed in each hole and cover it lightly with the germination mix. Gently press down to ensure good soil-to-seed contact.
- Water the newly planted seeds gently, making sure not to oversaturate the soil. The goal is to keep the germination mix consistently moist but not waterlogged.
- Label the pots or trays with the date of planting and the variety of blueberry seeds used. This will help you keep track of their progress as they germinate and grow.
- Place the pots or trays in a warm location with indirect sunlight. Blueberry seeds require consistent temperatures between 60-70°F (15-21°C) for optimal germination.
It’s important to note that germination times may vary depending on the variety of blueberry seeds you are using. It can take anywhere from a few weeks up to a couple of months for the seeds to germinate.
Now that the seeds are planted, it’s time to move on to the next step: providing optimal growing conditions to nurture their development.
Step 6: Providing Optimal Growing Conditions
Once the blueberry seeds have germinated and started to sprout, it’s crucial to provide them with the optimal growing conditions to ensure healthy and vigorous seedling development. The right environment, including light, temperature, and humidity, will help the seedlings thrive.
Here’s how you can provide optimal growing conditions for your blueberry seedlings:
- Light: Blueberry seedlings require abundant sunlight to grow properly. Place the pots or trays in a location that receives at least 6-8 hours of indirect sunlight per day. If natural light is limited, you can supplement it with fluorescent grow lights placed a few inches above the seedlings.
- Temperature: Blueberries prefer moderate temperatures for optimal growth. Maintain the temperature between 60-70°F (15-21°C) during the day and slightly cooler at night. Avoid exposing the seedlings to extreme temperatures, as it can stunt their growth.
- Humidity: Blueberry seedlings thrive in moderately humid environments. To increase humidity around the seedlings, you can use a humidity dome or cover the pots or trays with a plastic wrap. Just ensure there is proper ventilation to prevent mold or disease.
- Watering: Keep the germination mix consistently moist, but avoid overwatering. Water the seedlings when the top inch of the soil feels slightly dry, using a gentle watering technique to prevent dislodging the delicate roots.
- Fertilization: Once the seedlings have established a few true leaves, you can start fertilizing them with a balanced, water-soluble fertilizer specifically formulated for acid-loving plants. Follow the recommended dosage on the packaging and apply it every 2-3 weeks.
By providing these optimal growing conditions, you will give your blueberry seedlings the best opportunity to develop into strong and healthy plants ready for transplantation into the garden.
Now that your seedlings are thriving, it’s time to learn about the final step: transplanting the seedlings into their permanent outdoor home.
Step 7: Transplanting Seedlings
After the blueberry seedlings have grown to a suitable size and developed a strong root system, it’s time to transplant them into their permanent outdoor home. Transplanting the seedlings allows them to continue their growth and eventually bear delicious blueberries.
Here’s how you can transplant your blueberry seedlings:
- Choose a well-draining location in your garden that receives full sun or partial shade. Blueberries prefer acidic soil with a pH between 4.5 and 5.5. If your soil is alkaline, consider creating a raised bed or planting the blueberries in containers filled with acidic potting mix.
- Prepare the soil by removing any weeds or grass and loosening it with a garden fork or tiller. Incorporate organic matter, such as compost or well-rotted pine bark, to improve soil fertility and drainage.
- Dig a hole that is slightly wider and deeper than the root ball of the seedling. Gently remove the seedling from the pot, being careful not to disturb its delicate roots. Place the seedling in the hole, making sure it is at the same level as it was in the pot.
- Backfill the hole with soil, gently firming it around the roots to eliminate air pockets. Water the transplanted seedling thoroughly to settle the soil and ensure good root-to-soil contact.
- Mulch around the base of the plant with a layer of organic mulch, such as pine straw or wood chips. This helps conserve moisture, suppress weeds, and regulate soil temperature.
- Continue to water the transplanted seedlings regularly, especially during dry periods. Aim to keep the soil consistently moist but not waterlogged.
- Monitor the growth of your blueberry plants and provide additional care as needed, such as pruning, fertilizing, and protection from pests or diseases.
It’s important to note that blueberry plants take several years to reach maturity and bear fruit. During this time, continue to provide them with proper care and maintenance, including annual pruning, fertilization, and pest control, to ensure robust growth and bountiful harvests.
With patience and attentive care, you can enjoy the satisfaction of growing your own blueberries and savor the delicious fruits of your labor.
Congratulations on successfully transplanted blueberry seedlings!
You’ve completed the final step of the blueberry growing process. Now sit back, marvel at your beautiful blueberry plants, and eagerly anticipate the day when you can enjoy a harvest of fresh, homegrown blueberries.
Conclusion
Growing blueberries from seeds is a rewarding and fulfilling journey that allows you to experience the joys of gardening from the very beginning. By following the steps outlined in this guide, you can successfully extract seeds from ripe blueberries, clean them, and plant them to start your own blueberry seedlings.
Remember, selecting ripe blueberries and properly extracting the seeds are crucial to obtaining viable seeds. By cleaning the seeds and preparing the germination mix, you provide optimal conditions for the seeds to sprout and develop into healthy seedlings.
Providing the right growing conditions, including proper lighting, temperature, and humidity, is essential for the seedlings’ growth and development. With consistent care, your blueberry seedlings will thrive and eventually reach a size suitable for transplantation into the garden.
Once the seedlings are transplanted, continue to provide them with care, including regular watering, fertilization, pruning, and protection from pests and diseases. With time and patience, your blueberry plants will mature, and you will be rewarded with delicious, homegrown blueberries.
Remember to enjoy the journey and embrace the process of growing blueberries from seeds. Gardening is a wonderful way to connect with nature, nurture living beings, and enjoy the fruits of your labor.
So, roll up your sleeves, gather your ripe blueberries, and embark on the adventure of growing your own blueberry plants from seeds. The possibilities are endless, and the satisfaction of watching your plants grow and produce bountiful blueberries is truly unparalleled.
Happy gardening and here’s to a future filled with homegrown blueberries!
Frequently Asked Questions about How To Get Seeds From Blueberries
Was this page helpful?
At Storables.com, we guarantee accurate and reliable information. Our content, validated by Expert Board Contributors, is crafted following stringent Editorial Policies. We're committed to providing you with well-researched, expert-backed insights for all your informational needs.

0 thoughts on “How To Get Seeds From Blueberries”