Home>Garden Essentials>How To Get Seeds From Plants
Garden Essentials
How To Get Seeds From Plants
Modified: March 16, 2024
Learn the secrets of obtaining seeds from your garden plants with our step-by-step guide. Discover how to ensure a successful harvest and grow a bountiful garden.
(Many of the links in this article redirect to a specific reviewed product. Your purchase of these products through affiliate links helps to generate commission for Storables.com, at no extra cost. Learn more)
Introduction
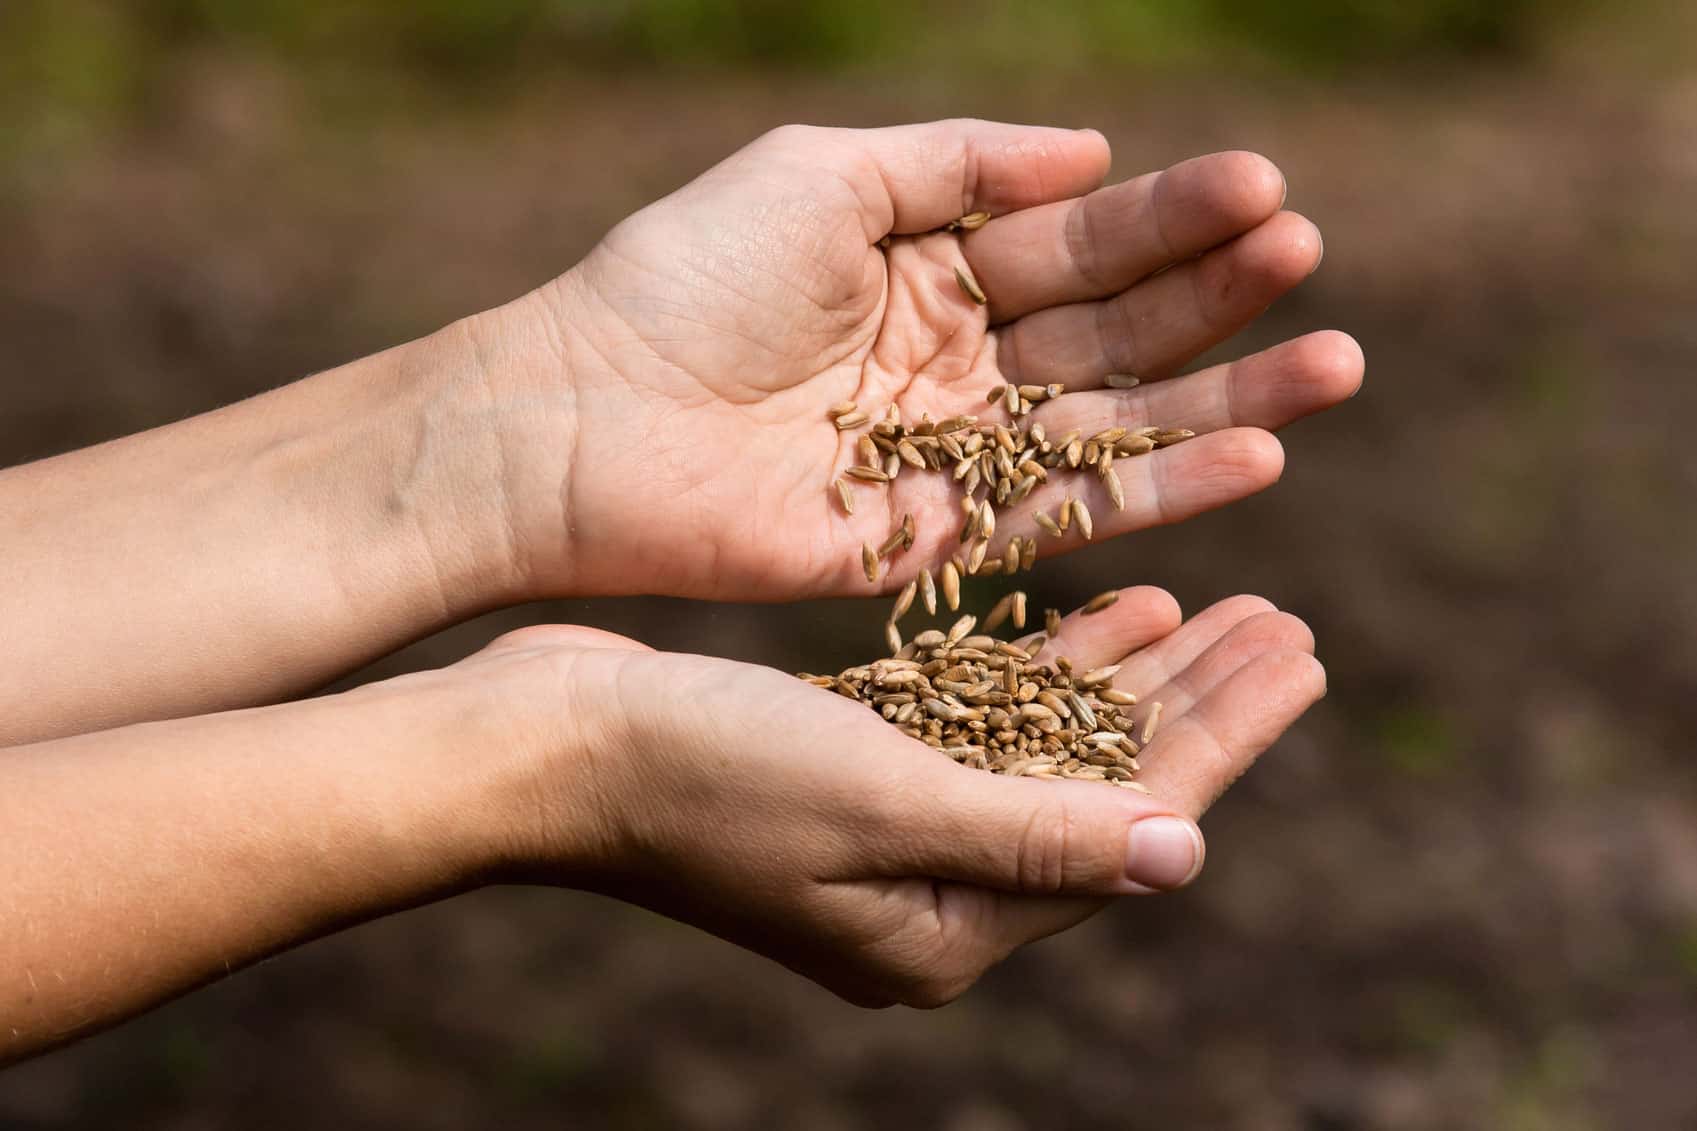
Welcome to the world of seed saving! If you’re a passionate gardener looking to take your gardening skills to the next level, then learning how to save seeds from your plants is an excellent endeavor. Not only does seed saving allow you to have a sustainable garden year after year, but it also provides you with the opportunity to preserve heirloom varieties, experiment with plant breeding, and save money on buying new seeds.
In this comprehensive guide, we will walk you through the process of seed saving, from understanding the benefits to troubleshooting common challenges. By the end of this article, you’ll have the knowledge and confidence to successfully save seeds and witness the incredible journey of a tiny seed transforming into a flourishing plant.
So let’s dive in and explore the fascinating world of seed saving!
Key Takeaways:
- Seed saving preserves plant diversity, saves money, and allows for experimentation. It’s a rewarding practice that contributes to sustainable gardening and self-sufficiency.
- Proper seed storage, plant selection, and understanding pollination are essential for successful seed saving. Overcoming challenges through patience and learning is key.
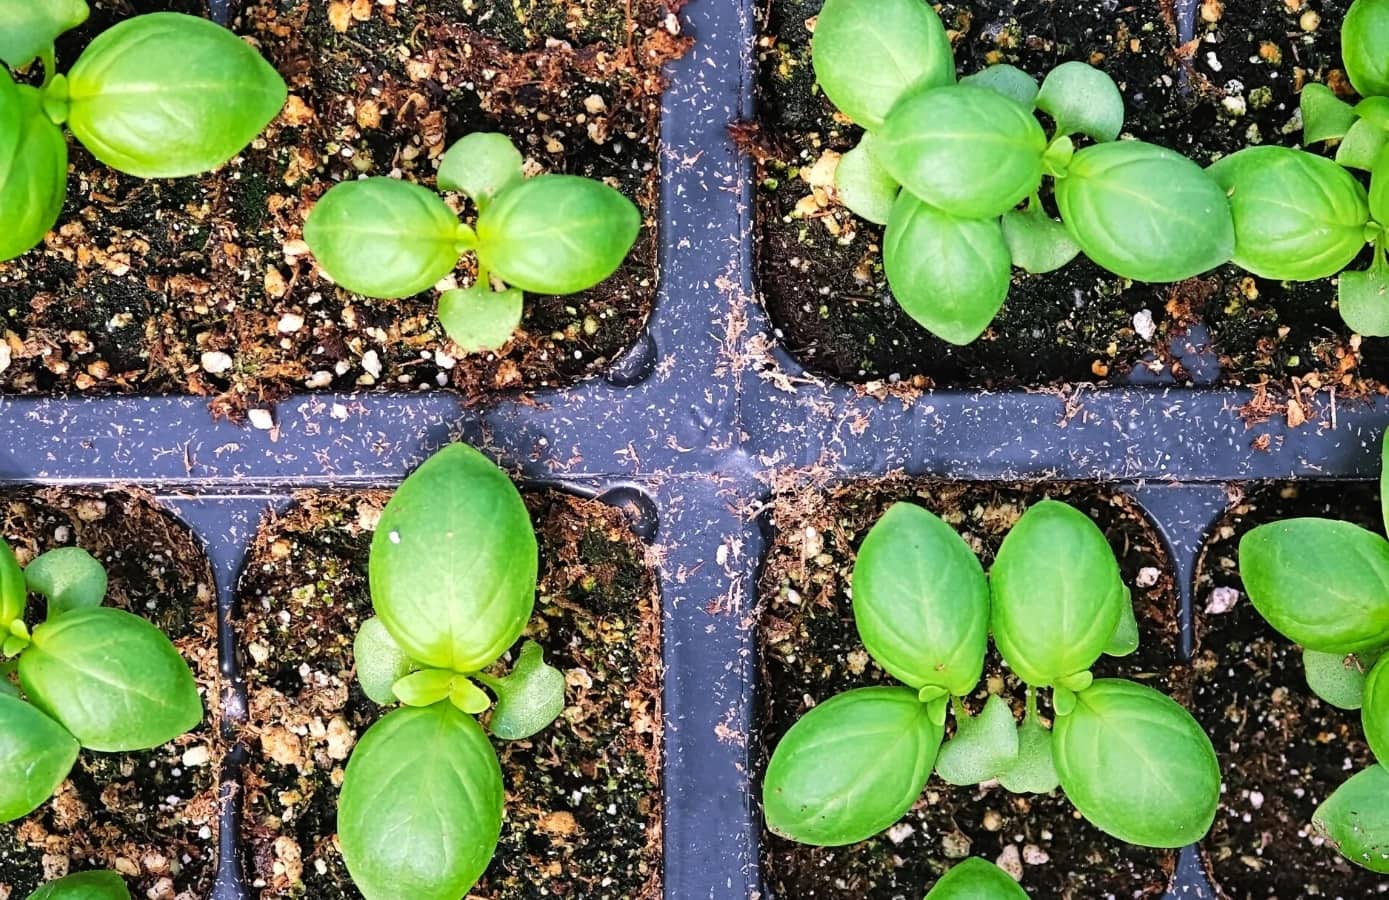
Read more: How To Get Basil Seeds From Plant
Benefits of Saving Seeds
Seed saving offers a myriad of benefits for both gardeners and the environment. Here are some compelling reasons why you should consider saving seeds from your plants:
- Preservation of Genetic Diversity: By saving seeds, you play a crucial role in preserving and protecting the genetic diversity of plants. Many commercially available seeds are limited to a narrow range of varieties, which increases the risk of crop diseases and decreases the resilience of plants. Saving seeds allows you to maintain and promote diverse and unique plant traits.
- Cost Savings: Buying new seeds every year can add up quickly, especially if you have a large garden or multiple beds. Saving seeds from your plants eliminates the need to purchase seeds, thereby saving you money in the long run.
- Adaptation to Local Conditions: When you save seeds from plants that have thrived in your specific growing conditions, you are essentially selecting for traits that are well-suited to your climate, soil, and other factors. Over time, this can lead to plants that are more resilient and adapted to your specific garden environment.
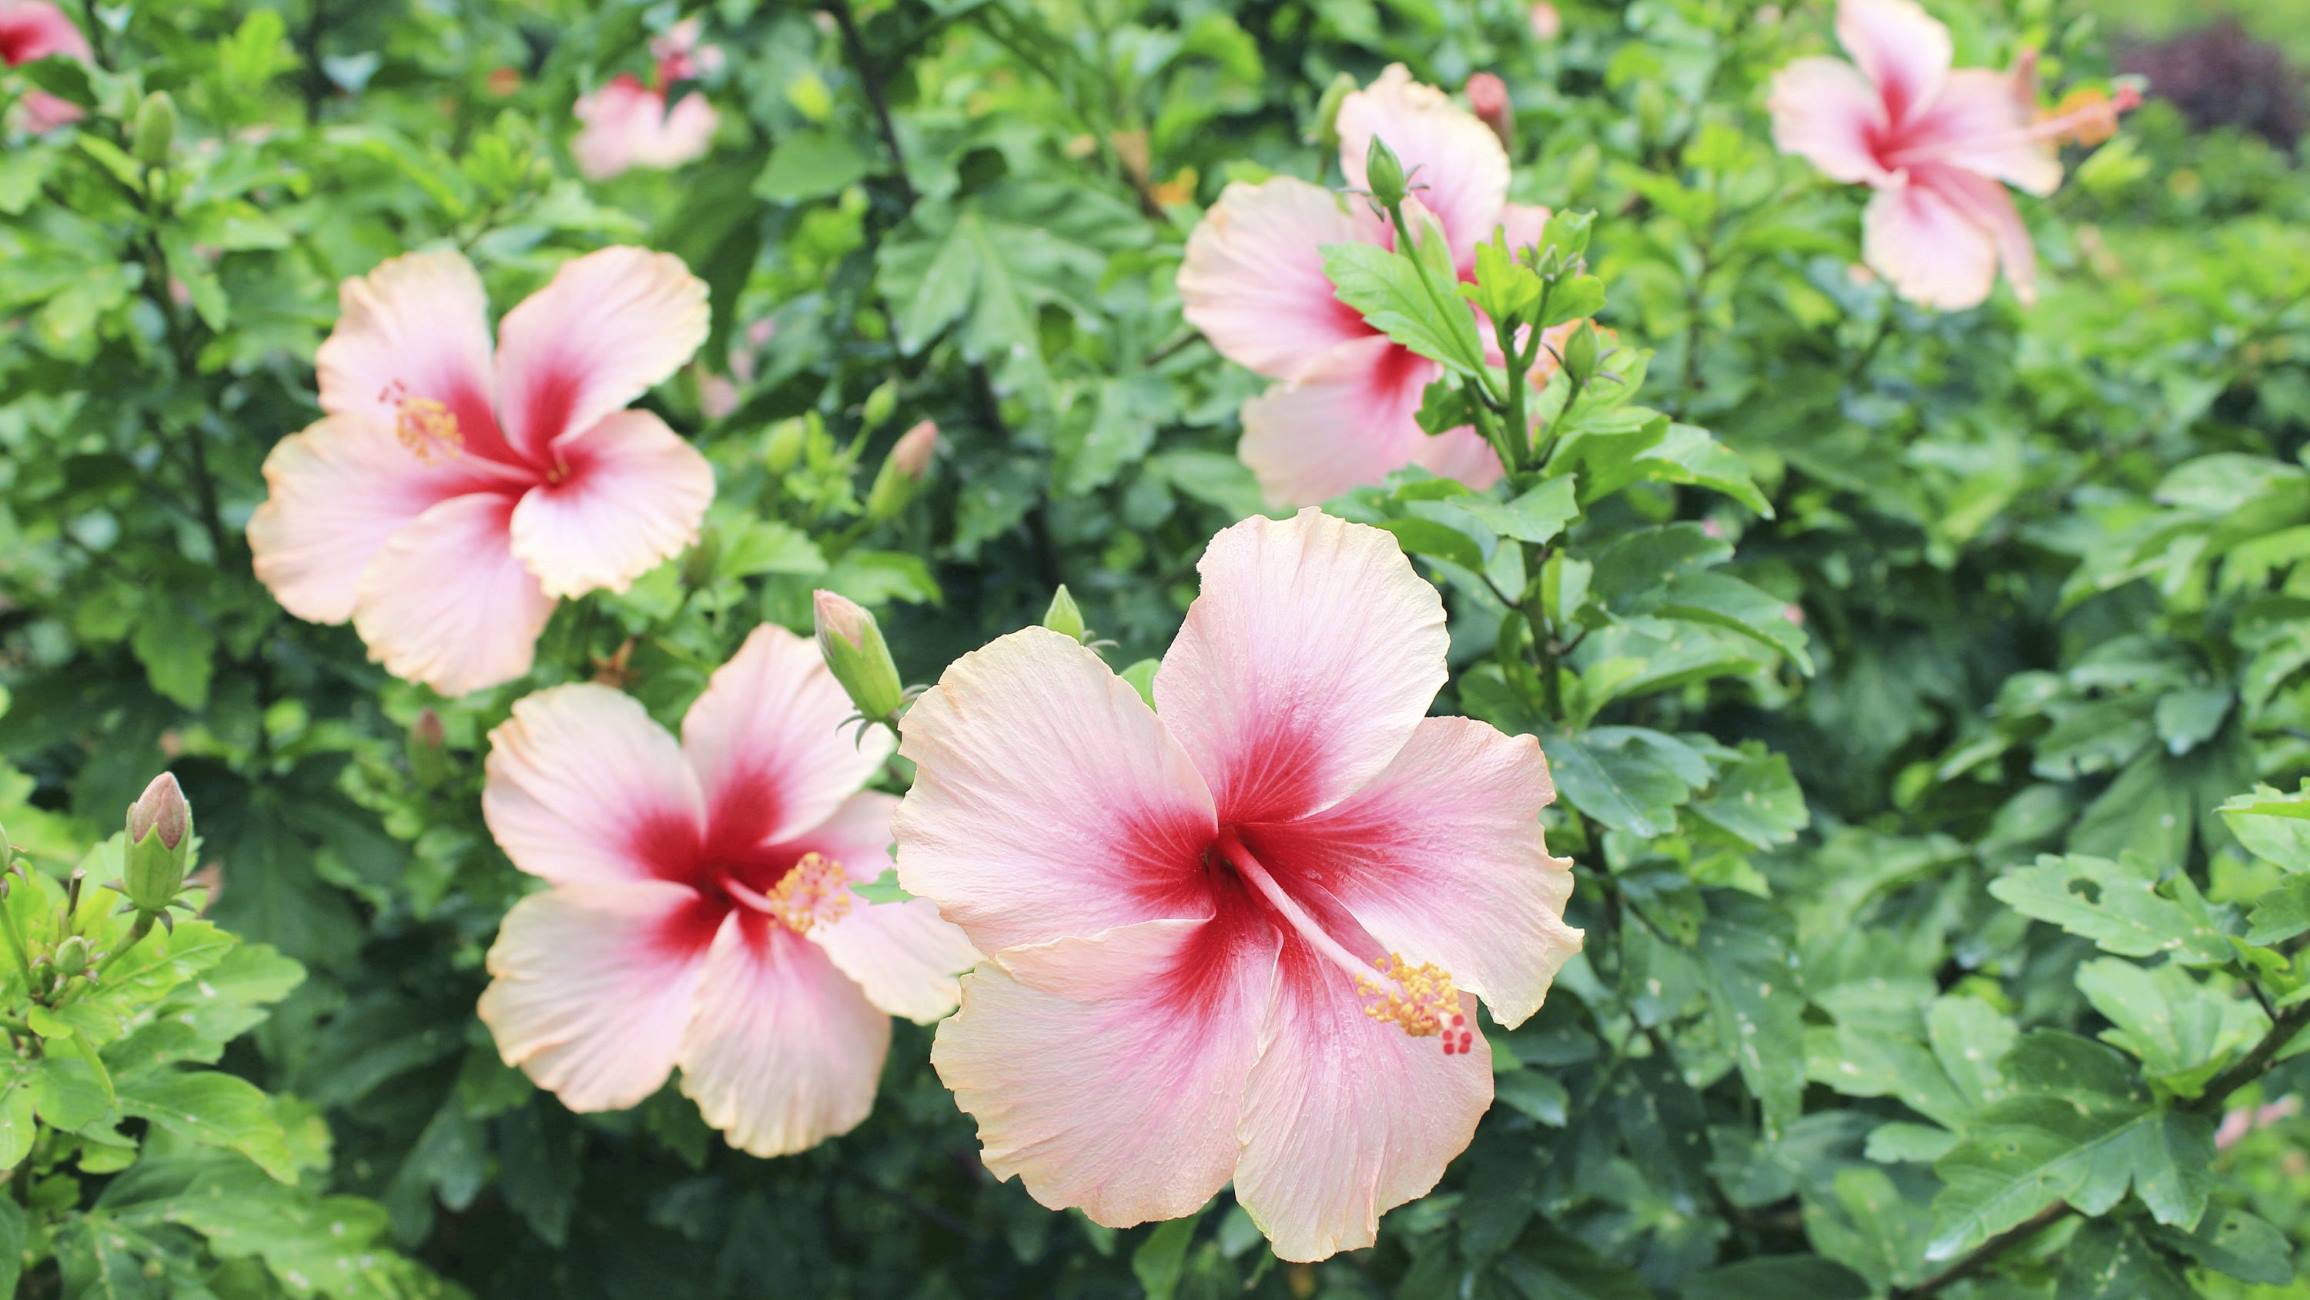
- Preserving Heirloom Varieties: Seed saving is essential for preserving heirloom varieties, which are traditional open-pollinated plants that have been passed down through generations. These heirlooms often have unique flavors, textures, and appearances that may be lost in commercial seed production. By saving seeds, you can help ensure the preservation of these cherished varieties.
- Plant Breeding and Experimentation: Seed saving provides a wonderful opportunity for gardeners to engage in plant breeding and experimentation. By intentionally cross-pollinating plants with desired traits, you can create your own unique varieties and discover exciting new combinations.
- Sustainable Gardening Practices: Saving seeds aligns with the principles of sustainable gardening. By reducing the reliance on external seed sources, you contribute to a more self-sufficient and environmentally friendly garden. Additionally, saving seeds reduces packaging waste associated with store-bought seeds.
As you can see, the benefits of saving seeds extend beyond just your garden. By participating in seed saving, you become an active participant in the preservation of plant diversity and the promotion of sustainable practices.
Choosing Plants for Seed Saving
When it comes to seed saving, not all plants are created equal. Some plants are more suitable for seed saving than others. Here are a few factors to consider when choosing plants for seed saving:
- Open-pollinated vs. Hybrid Plants: It’s important to understand the difference between open-pollinated and hybrid plants before selecting varieties for seed saving. Open-pollinated plants are pollinated naturally by insects, wind, or other means, resulting in offspring that closely resemble the parent plant. These plants are ideal for seed saving, as their seeds will produce true-to-type plants. Hybrid plants, on the other hand, are created by cross-pollinating two different varieties to obtain specific traits. Saving seeds from hybrid plants will not produce plants with the same characteristics, as the offspring will exhibit unpredictable traits.
- Healthy and Vigorous Plants: Choose plants that are healthy, vigorous, and free from diseases and pests. Saving seeds from weak or diseased plants can result in poor-quality seeds, as these plants may carry genetic traits that are undesirable or susceptible to diseases.
- Isolation and Cross-Pollination: Some plants are prone to cross-pollination, where pollen from a different variety can fertilize the flowers. To maintain the purity of the seeds, it’s crucial to isolate plants of the same species or take measures to prevent cross-pollination, such as using physical barriers or time-based planting schedules.
- Seed-to-Plant Ratio: Consider the seed-to-plant ratio when selecting plants for seed saving. Some plants produce large quantities of seeds per plant, while others produce only a few. If you have limited space, choose plants that produce a higher number of seeds per plant to maximize your seed-saving efforts.
- Adaptability to Local Growing Conditions: Look for plant varieties that are well-adapted to your local climate, soil type, and other environmental factors. These plants are more likely to thrive and produce viable seeds in your garden.
When choosing plants for seed saving, it’s also important to consider your personal preferences and gardening goals. You may choose plants based on their taste, appearance, or historical significance. Whether you select heirloom varieties or experiment with unique hybrids, the key is to choose plants that align with your interests and objectives.
Once you’ve identified the plants you want to save seeds from, the next step is to understand the process of plant pollination to ensure successful seed production. Let’s explore that in the next section.
Understanding Plant Pollination
Plant pollination is a fascinating process that plays a vital role in seed production. Understanding how plants are pollinated is crucial for successful seed saving. Here are the two main types of plant pollination:
- Self-Pollination: Self-pollination occurs when a plant’s flowers are fertilized by their own pollen. This can happen within a single flower or between flowers on the same plant. Self-pollinating plants have both male and female reproductive organs and do not require external agents, such as wind or insects, for pollination. Examples of self-pollinating plants include tomatoes, beans, and peas. When saving seeds from self-pollinating plants, there is a higher chance of obtaining seeds that will produce offspring similar to the parent plant.
- Cross-Pollination: Cross-pollination occurs when the pollen from one plant is transferred to the flowers of another plant of the same species. This can be done through wind, insects, birds, or other means. Cross-pollinating plants have separate male and female reproductive organs and rely on external agents for pollination. Examples of cross-pollinating plants include cucumbers, squash, and corn. When saving seeds from cross-pollinating plants, special precautions must be taken to ensure that the plants are isolated to maintain the purity of the seeds.
It’s important to note that some plants have mechanisms to prevent self-pollination, even though they have both male and female reproductive organs. This is known as “self-incompatibility.” In such cases, cross-pollination is necessary for seed production.
To avoid unwanted cross-pollination, it is essential to understand the specific pollination requirements of the plants you are saving seeds from. Here are a few strategies to consider:
- Isolation: Isolate cross-pollinating plants from other varieties of the same species to prevent unwanted pollination. This can be done by creating physical barriers, such as using mesh or netting, or by spacing plants apart and planting them at different times.
- Hand Pollination: In cases where cross-pollination is desired, you can manually transfer pollen from one flower to another. This can be done using a small brush or by gently shaking the flowers to release the pollen onto the female reproductive organs.
- Timing: Plan the planting and flowering times of different varieties to minimize the chances of cross-pollination. By staggering the flowering periods, you can ensure that plants of different varieties do not produce flowers simultaneously and reduce the risk of accidental cross-pollination.
- Selection: If you are unsure whether a plant is self-pollinating or cross-pollinating, observe its characteristics, such as flower structure and pollination behavior. Make note of plants that consistently produce offspring similar to the parent, as this is a good indication of self-pollination.
By understanding the pollination requirements of your plants and implementing appropriate measures, you can ensure successful seed production without compromising the genetic integrity of your plants.
Now that we have a good understanding of plant pollination, let’s move on to the next step in the seed-saving process: collecting seeds at the right time.
Collecting Seeds at the Right Time
Knowing when to collect seeds is crucial for their successful germination and long-term viability. Different plant species have different seed maturity times, so it’s important to be patient and observe the signs that indicate the seeds are ready for collection. Here are some general guidelines to help you determine the right time to collect seeds:
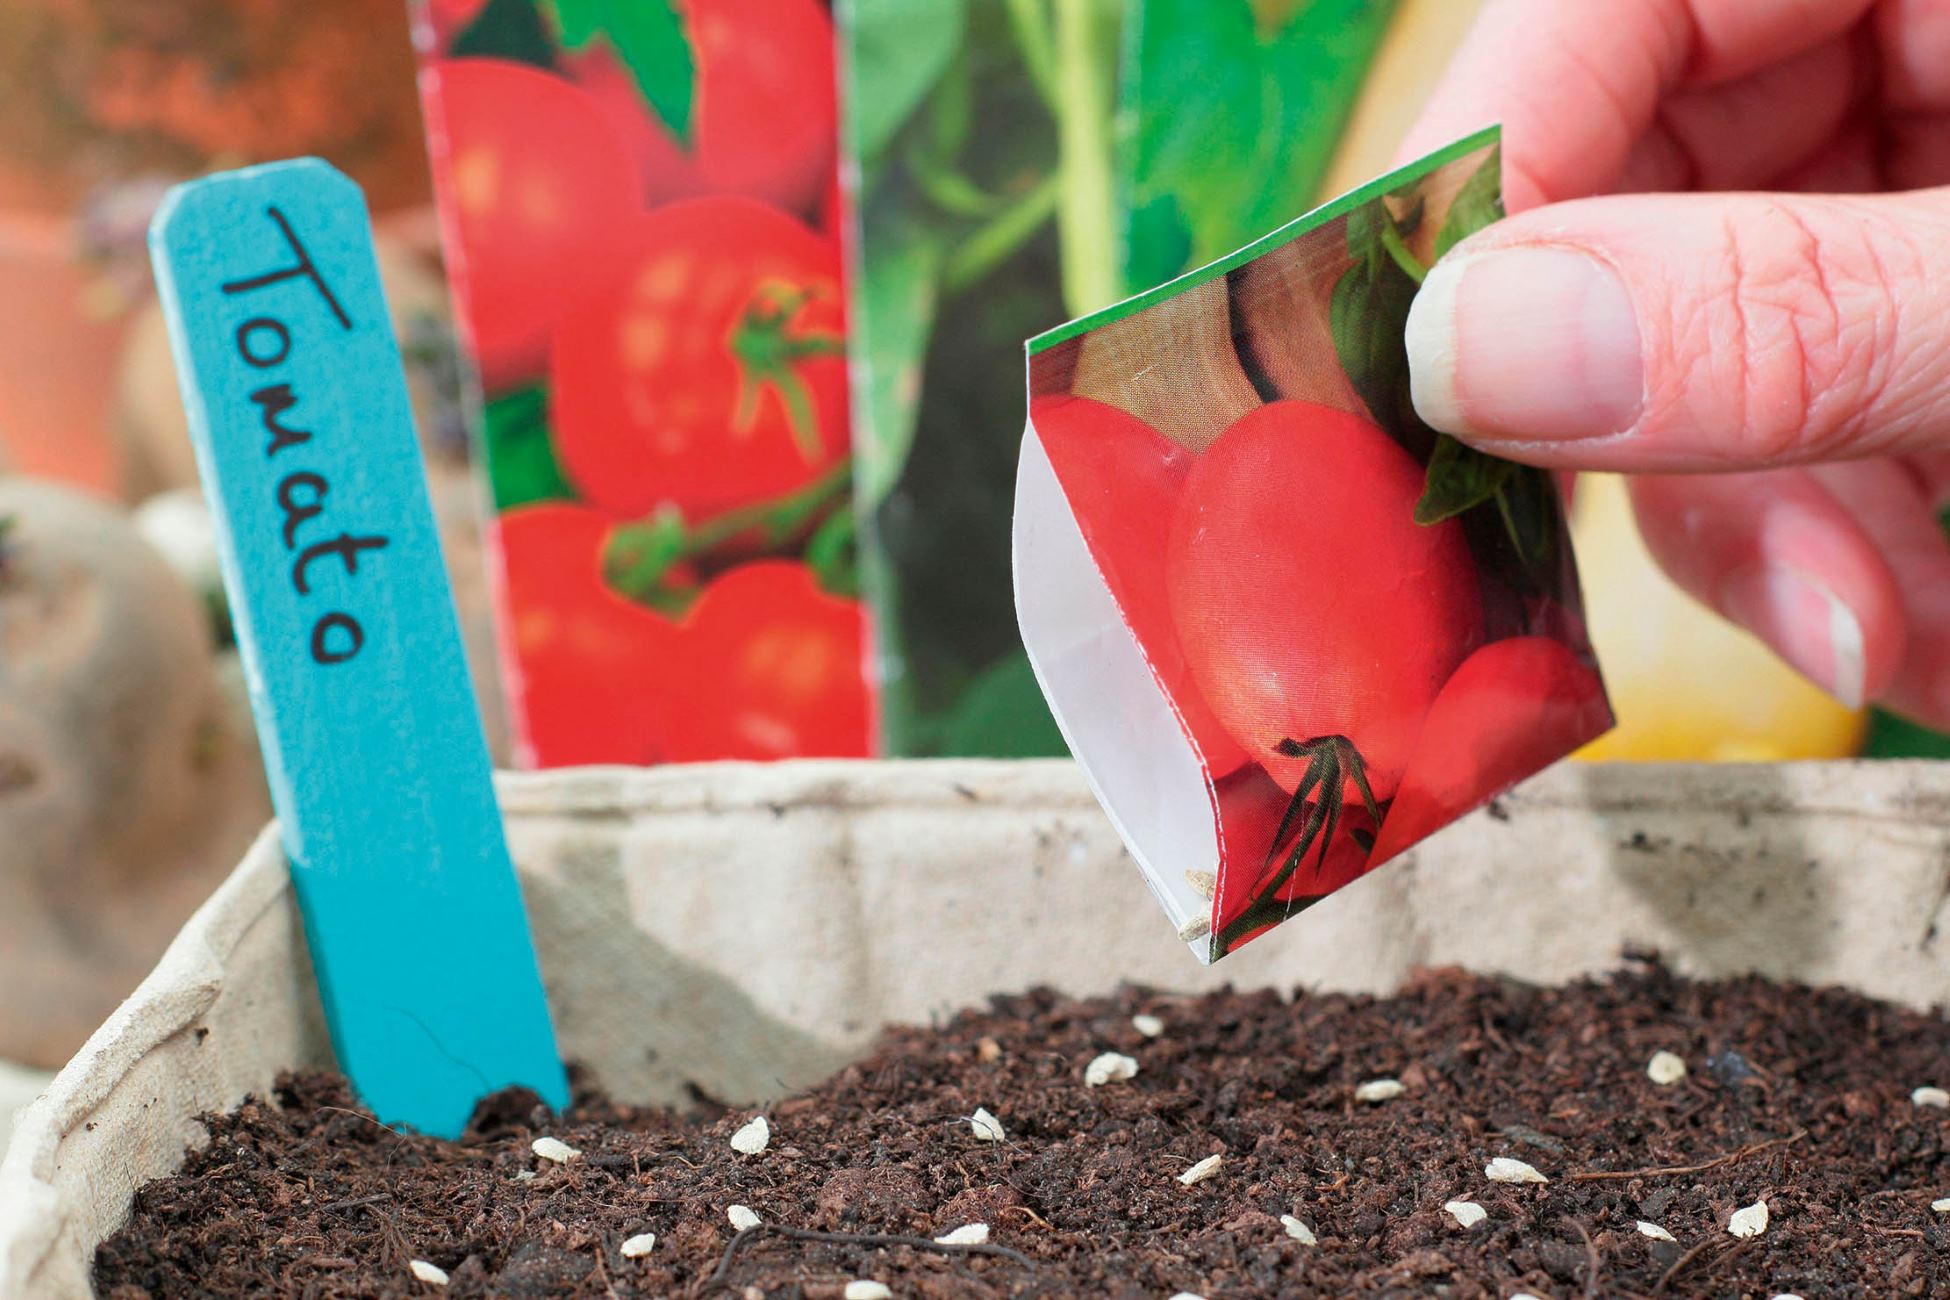
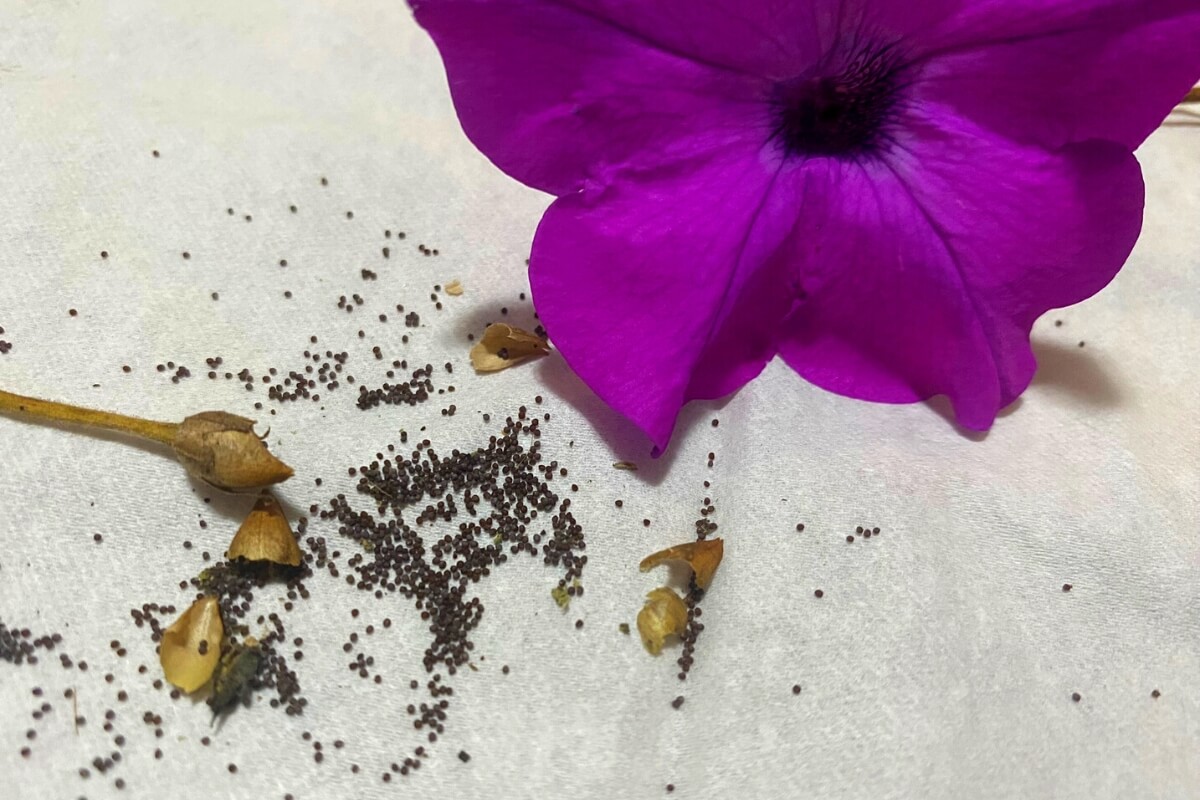
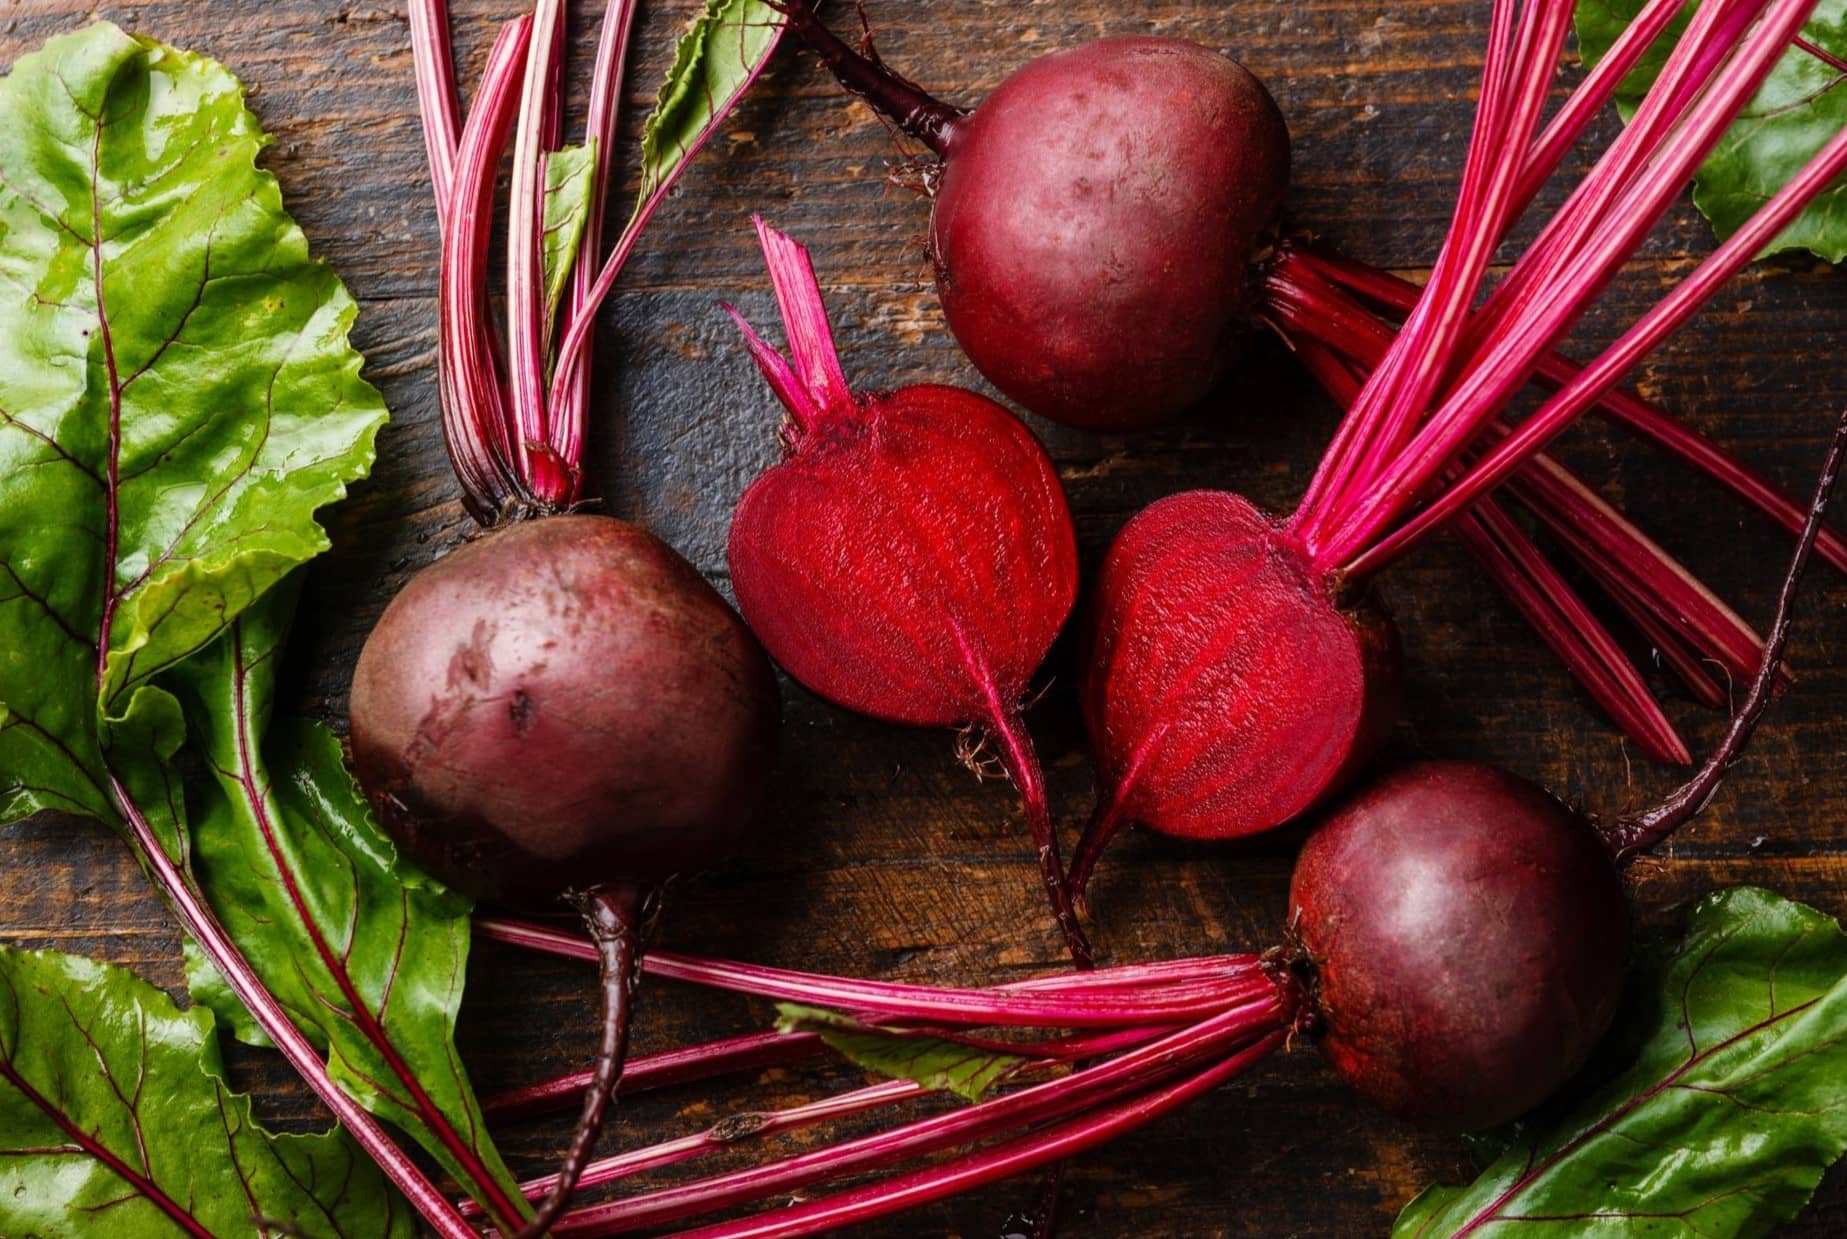
- Observe Seed Ripening: Pay close attention to how the seeds develop and ripen. Seeds generally go through various stages of development, from being small and green to becoming larger and changing color. Once seeds have reached their full size, they will often change color and harden. Look for these visual cues as indications that the seeds are maturing.
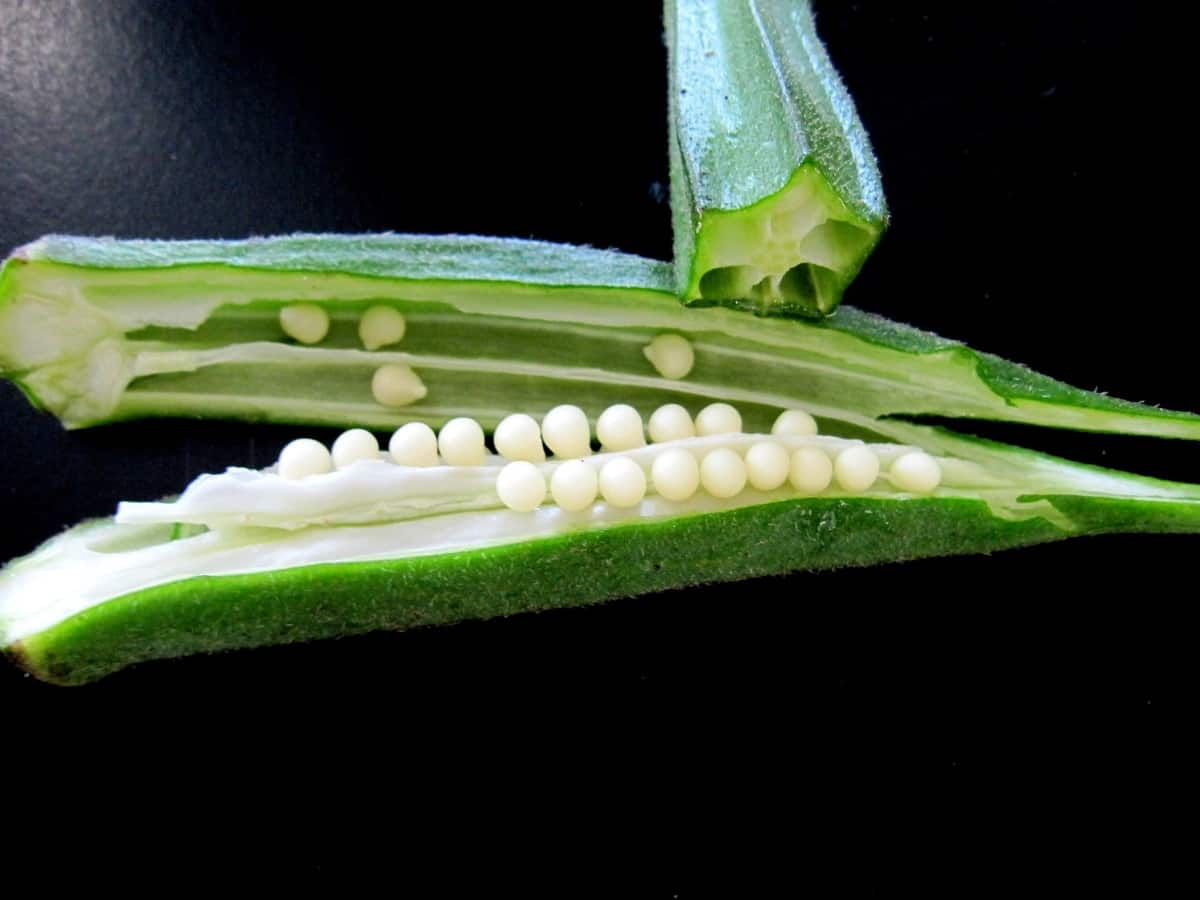
- Monitor Fruit or Seed Pods: If you are collecting seeds from plants with fruits or seed pods, observe when they begin to dry out or change color. In some cases, the fruits or pods will split open, exposing the seeds inside. This is a good indicator that the seeds are ready for harvesting.
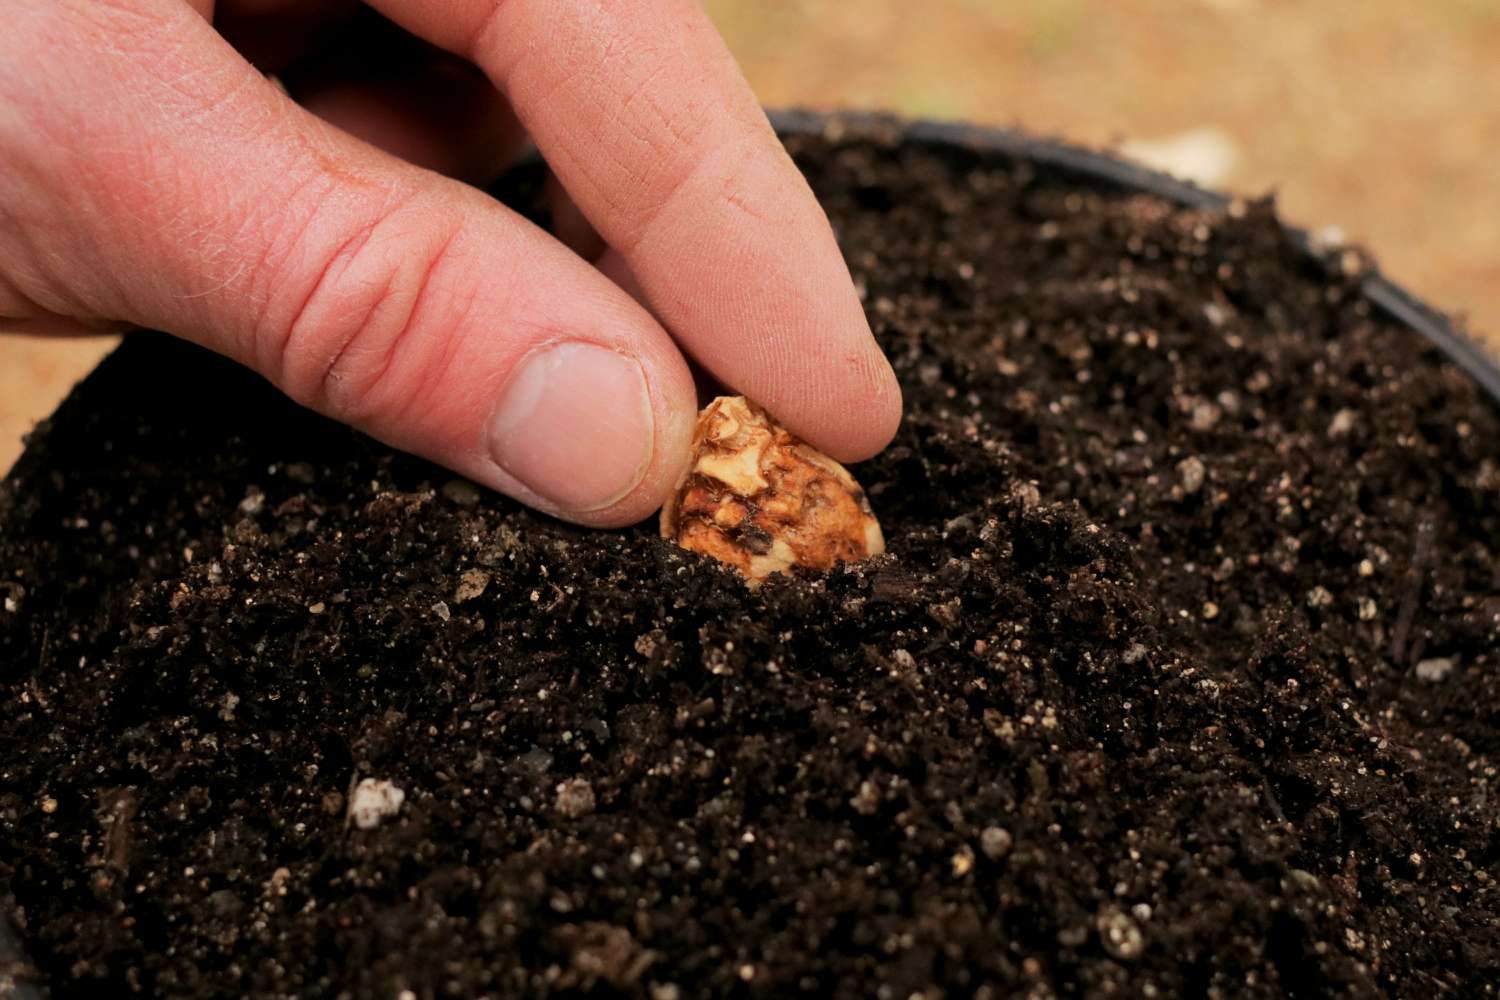
- Test for Seed Maturity: To confirm seed maturity, you can perform a “squeeze test” or a “float test.” For the squeeze test, gently squeeze the seed between your fingers. If it feels firm and doesn’t easily collapse, it is likely mature. For the float test, place the seeds in water. Mature seeds will generally sink, while immature or non-viable seeds will float.
- Consider Harvest Timing: Depending on the plant species, it may be best to collect seeds in the morning when the moisture content is lower. This helps prevent mold or fungal growth during seed storage. However, some plants produce seeds that are best collected when they are still slightly moist, so be sure to research the specific recommendations for each plant you are saving seeds from.
- Harvest Seeds on Dry Days: It’s ideal to harvest seeds on dry days when the weather is not humid. Moisture can affect the quality and viability of seeds, so aim to collect them when the conditions are dry and there is minimal risk of them becoming damp.
When harvesting seeds, it is important to use clean and dry collecting containers to prevent moisture contamination and mold development. Label each container with the plant variety, date of collection, and any other relevant information. This will help you keep track of the seeds and ensure proper organization.
Remember, not all seeds on a plant will ripen at the same time, so it may be necessary to make multiple visits to collect seeds as they mature. Patience and attention to detail are key factors in harvesting seeds at their optimal maturity.
Now that we’ve successfully collected mature seeds, let’s move on to the next step: preparing the seeds for storage.
To get seeds from plants, allow the plant to mature and produce seeds. Once the seeds have formed, collect them and store them in a cool, dry place for future planting.
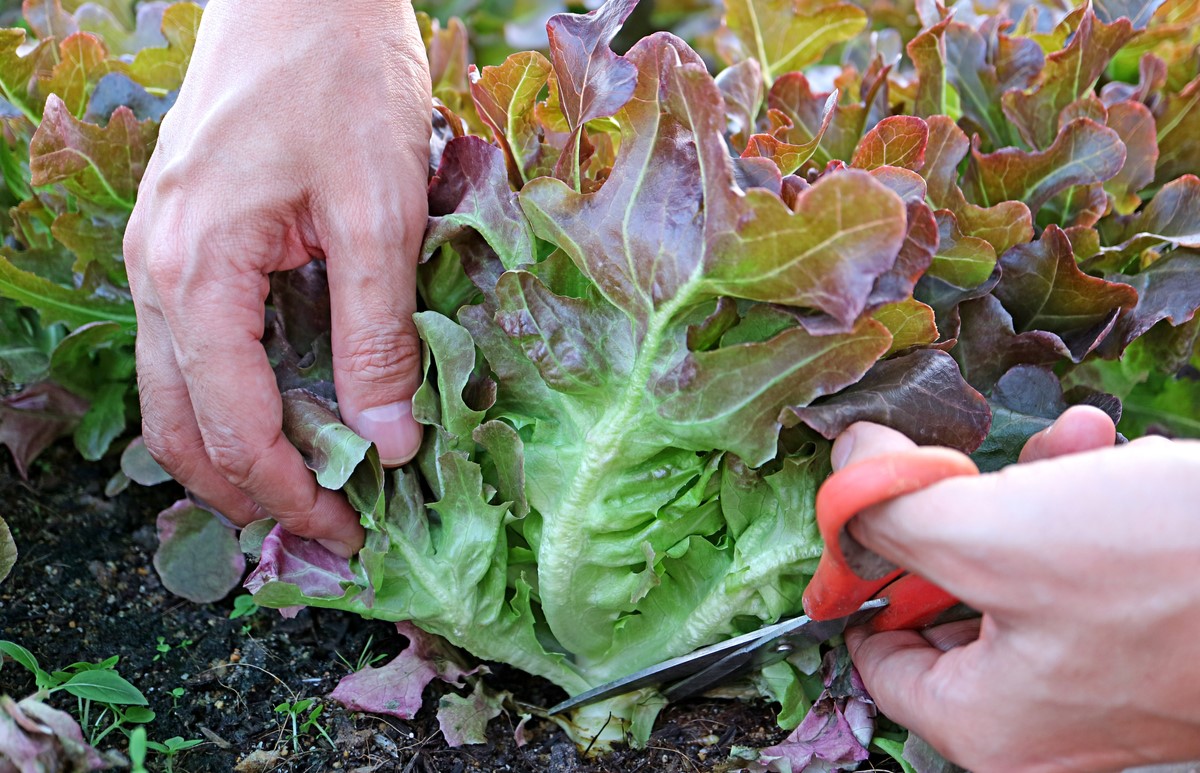
Read more: How To Get Lettuce Seeds From Plant
Preparing Seeds for Storage
Properly preparing seeds for storage is essential to ensure their long-term viability and to protect them from damage or deterioration. Here are some important steps to follow when preparing seeds for storage:
- Clean the Seeds: It’s important to remove any debris, chaff, or plant material from the seeds. This can be done by gently rubbing or blowing on the seeds to separate them from unwanted material. For small seeds, a fine-mesh sieve or strainer can be used to help with the cleaning process. Ensure that the seeds are completely dry before moving on to the next step.
- Dry the Seeds: Moisture is one of the biggest enemies of seed viability and storage. Before storing the seeds, make sure they are thoroughly dry to prevent mold or fungal growth. Lay the cleaned seeds on a dry paper towel or screen in a well-ventilated area. Avoid direct sunlight and high humidity. Allow the seeds to air-dry for a few days to ensure they are completely dry. You can also use a food dehydrator on the lowest heat setting to speed up the drying process.
- Remove Excess Moisture: Even after air-drying, some seeds may still retain small amounts of moisture. To remove any excess moisture, place silica gel packets or moisture-absorbing desiccant packets in the storage container with the seeds. These packets will help absorb any remaining moisture and prevent mold or fungal growth.
- Label and Identify: Properly label each storage container with the plant variety, date of collection, and any other relevant information. This will help you keep track of the seeds and ensure proper identification in the future. You can use small envelopes, jars, or resealable plastic bags as storage containers. Make sure the containers are clean, dry, and airtight to maintain the quality of the seeds.
- Store in a Cool and Dry Place: Seeds should be stored in a cool, dark, and dry place to maintain their viability. Excessive heat or fluctuations in temperature can damage the seeds. Ideally, the storage temperature should be around 40°F (4°C) with low humidity. A refrigerator or a cool basement can be suitable storage locations. Avoid storing seeds in the freezer, as the moisture levels in the freezer can fluctuate and damage the seeds.
By following these steps, you can ensure that your seeds are well-prepared for long-term storage. Properly storing seeds is the next crucial step in the seed-saving process, so let’s explore that in the next section.
Properly Storing Seeds
Proper seed storage is crucial for preserving the viability and longevity of seeds. Seeds that are stored in optimal conditions can remain viable for many years, allowing you to use them for future planting. Here are some essential guidelines to follow when storing seeds:
- Choose Appropriate Containers: Select containers that are clean, dry, and airtight to prevent moisture and air from entering. Good options include glass jars, plastic containers with airtight lids, or resealable plastic bags. Avoid using containers that can leach chemicals or allow light to pass through, as these factors can negatively affect seed viability.
- Ensure Cool and Stable Storage Temperature: Seeds should be stored in a cool location with a stable temperature. Aim for a storage temperature of around 40°F (4°C), as this helps slow down the aging process and maintains seed viability. Avoid storing seeds in areas that experience extreme temperature fluctuations or heat, as this can shorten their shelf life.
- Keep Seeds in a Dark Environment: Exposure to light can trigger germination or affect seed dormancy. Store seeds in a dark environment to protect them from light. This can be achieved by using opaque containers or storing the containers in a dark cupboard or drawer.
- Monitor and Control Humidity: Humidity can lead to moisture build-up and mold growth, which can damage seeds. Use moisture-absorbing desiccant packets or silica gel packets in the storage containers to minimize humidity levels. Check the packets periodically and replace them when they become saturated.
- Label and Organize: Properly label each storage container with the plant variety, date of collection, and any other relevant information. This will help you keep track of the seeds and ensure easy identification when you need them in the future. Organize the containers in a systematic manner, making it easy to locate specific varieties.
- Regularly Check Seed Viability: Over time, seed viability may decrease. To ensure you are working with viable seeds, perform periodic germination tests. Plant a sample of the stored seeds in a controlled environment and observe germination rates. If germination rates are low, it may be a sign that the stored seeds have reduced viability and should be replaced with fresh ones.
By following these storage guidelines, you can maintain the viability of your seeds and ensure they remain in excellent condition for future use. Proper seed storage is key to preserving genetic diversity and allowing you to continue saving seeds from your garden for years to come.
Now that we have covered the fundamentals of properly storing seeds, let’s move on to some tips and tricks for successful seed saving.
Tips for Successful Seed Saving
Seed saving is a rewarding and empowering practice that allows you to become a self-sufficient gardener. To increase your chances of success and maximize the quality of your saved seeds, consider these helpful tips:
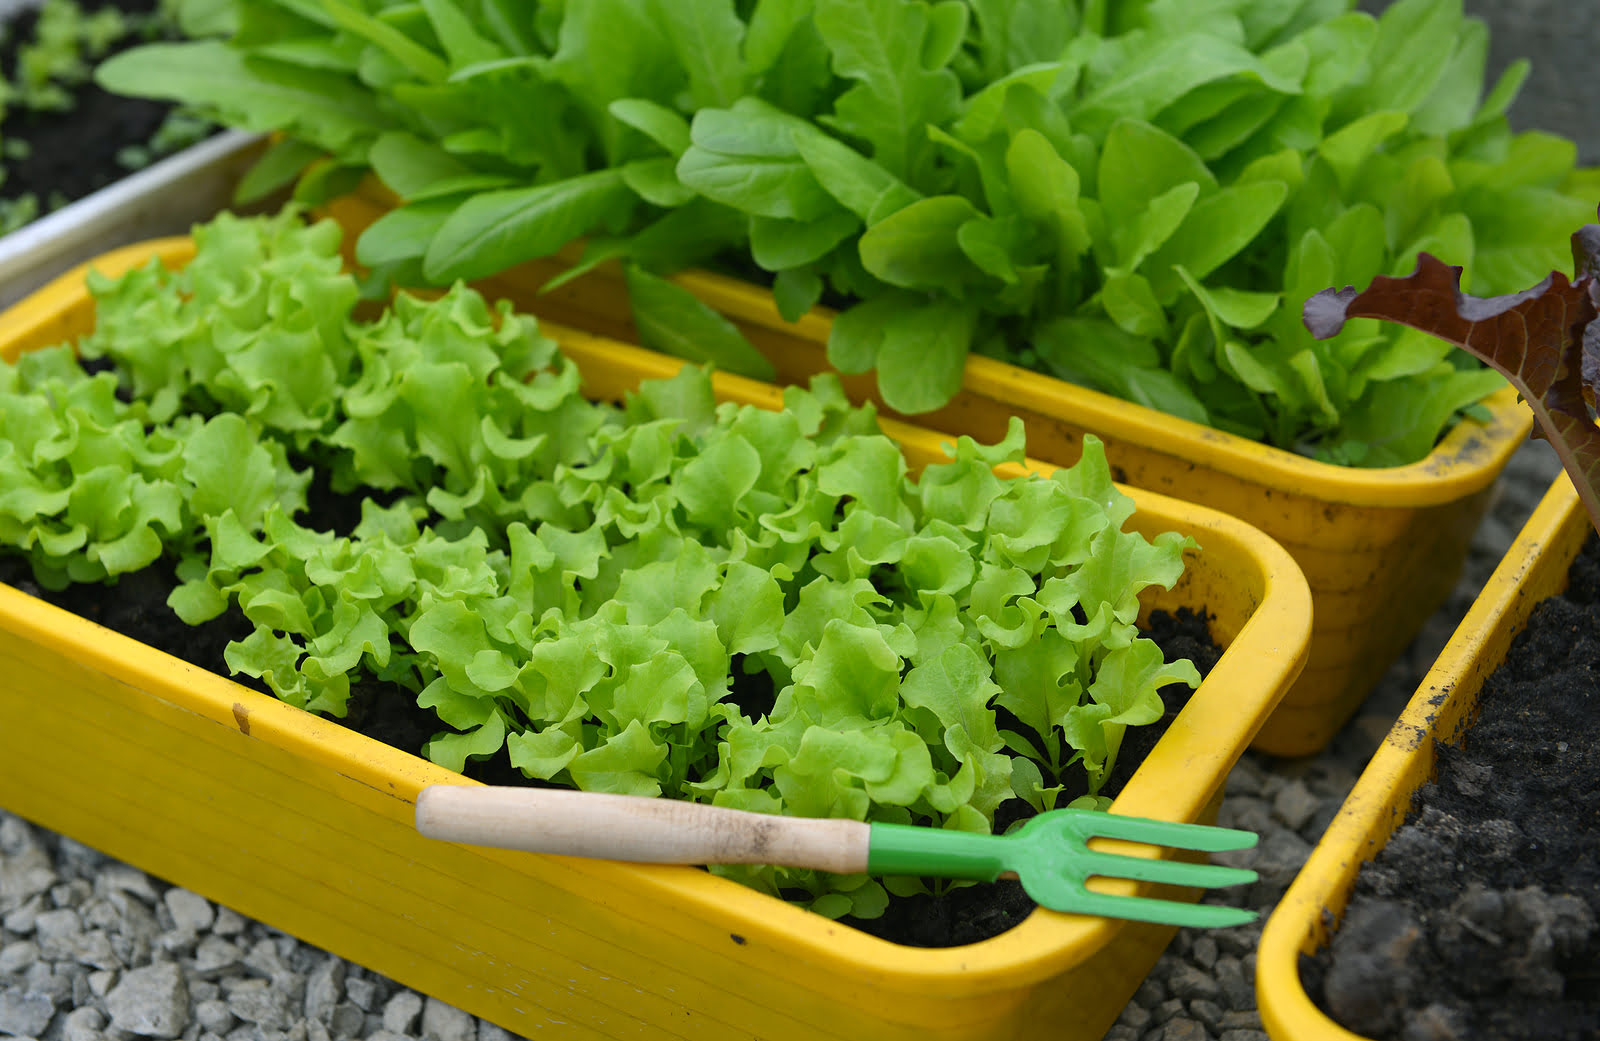
- Start with Easy-to-Save Seeds: If you are new to seed saving, begin with plants that are easier to save seeds from, such as self-pollinating vegetables like beans, lettuce, or tomatoes. As you gain experience and confidence, you can gradually expand to more challenging plants.
- Practice Proper Isolation: To prevent cross-pollination, separate different varieties of the same plant species. Distance or physical barriers can be used to ensure isolation. For plants that require insect pollination, you can cover them with fine netting to exclude visiting pollinators, or stagger planting schedules to reduce the risk of cross-pollination.
- Monitor and Record Observations: Throughout the growing season, keep a gardening journal to jot down observations about each plant variety. Note traits, flowering times, and any issues or successes you encounter. This information will be valuable for future seed saving endeavors and plant selection.
- Save Seeds from Multiple Plants: To maintain genetic diversity, save seeds from multiple plants of the same variety. This helps preserve different traits and ensures the long-term resilience of the plant population. Avoid relying on seeds from just one or two plants.
- Practice Seed Cleaning Techniques: Learn the specific cleaning techniques for different seeds. Some seeds require additional steps, such as fermentation or rubbing to remove coatings or pulp. Take the time to research and follow the appropriate cleaning methods for each plant species.
- Store Seeds in Small Batches: Instead of storing all seeds from a single variety in one container, consider dividing them into smaller batches. This adds an extra layer of security against potential loss or damage. It also allows you to use seeds gradually rather than opening the entire batch at once.
- Participate in Seed Exchanges or Local Seed Libraries: Joining seed exchanges or local seed libraries is a great way to diversify your seed collection and discover new varieties. It enables you to connect with fellow gardeners, share your saved seeds, and access a wider range of plant varieties to grow in your garden.
- Regularly Refresh Your Seed Stock: Over time, seed viability can decrease, especially for certain plant species. To ensure you always have viable seeds, it’s a good practice to refresh your seed stock every few years. This involves saving new seeds from healthy, vigorous plants and gradually phasing out older seeds.
By incorporating these tips into your seed saving practices, you will improve your chances of success and enjoy the benefits of a self-sustaining garden for years to come.
Now, let’s explore some common challenges that you might encounter during the seed saving process and how to troubleshoot them.
Troubleshooting Seed Saving Challenges
While seed saving can be a rewarding and relatively straightforward process, it’s not without its challenges. Here are some common issues that you may encounter during seed saving and some tips to troubleshoot them:
- Poor Germination: If you notice low germination rates when planting saved seeds, there may be several reasons behind it. It could be due to poor seed quality, incorrect storage conditions, or harvesting the seeds too early or too late. To address this, ensure that you save seeds from healthy and mature plants, use proper seed storage techniques, and check the viability of stored seeds periodically through germination tests.
- Cross-Pollination: Accidental cross-pollination can occur when different varieties of the same species are grown too close to each other, or when plants are pollinated by insects or wind. To prevent cross-pollination, practice proper isolation techniques such as physical barriers or staggered planting schedules. If cross-pollination does occur, the resulting seeds may not produce true-to-type plants, and you may need to further isolate or select for desired traits in subsequent generations.
- Disease and Pest Issues: Diseases and pests can affect the quality and viability of saved seeds. It’s important to save seeds from plants that are healthy and free from diseases and pests. Avoid using seeds from plants that show signs of damage or infection. Implementing proper plant care and preventive measures, such as monitoring for diseases and pests and using organic pest control methods, can help minimize these issues.
- Improper Seed Cleaning: Improperly cleaned seeds can lead to poor germination or seed damage during storage. Different seeds require specific cleaning techniques. Research and follow the recommended cleaning methods for each plant species. Remove all debris, chaff, or plant materials from the seeds, ensuring they are clean and dry before storing them.
- Storage Pest Infestation: Insects and small pests can sometimes find their way into stored seeds and cause damage. To prevent this, make sure seeds are completely dry before storing them, use airtight containers, and consider adding pest-repellent substances such as dried bay leaves or diatomaceous earth to the storage containers. Regularly inspect stored seeds for any signs of pests and discard any affected seeds.
- Seed Mix-Up or Labeling Errors: It’s crucial to properly label and organize your stored seeds to avoid confusion or mix-ups. Always label each container with the plant variety, date of collection, and any other relevant information. Additionally, consider keeping a separate record or spreadsheet as a reference to cross-check and verify the accuracy of your seed labels.
When faced with these challenges, patience and perseverance are key. Learn from any mistakes or setbacks and adjust your methods for future seed saving endeavors. Remember that seed saving is a continuous learning process, and every season presents an opportunity to refine your techniques and improve your results.
Now that we have addressed some common troubleshooting challenges, let’s wrap up this comprehensive guide to seed saving.
Read more: How To Plant From Seeds
Conclusion
Congratulations, you’ve reached the end of this comprehensive guide to seed saving! By now, you should have a solid foundation of knowledge and practical tips to embark on your seed-saving journey. Seed saving is a rewarding practice that allows you to preserve genetic diversity, save money, and become a more self-sufficient gardener.
We started by exploring the many benefits of saving seeds, including the preservation of genetic diversity, cost savings, and the opportunity for plant breeding and experimentation. We then delved into the importance of selecting the right plants for seed saving, understanding plant pollination, and collecting seeds at the right time to ensure their full maturity.
We discussed the crucial steps of cleaning and preparing seeds for storage, highlighting the significance of proper drying, removal of excess moisture, and labeling and organizing seeds for easy identification. We also emphasized the significance of storing seeds in cool, dry, and dark conditions to maintain their viability and longevity.
In addition, we provided tips for successful seed saving, which included starting with easy-to-save seeds, practicing proper isolation techniques, and regularly monitoring seed viability. We addressed common challenges such as poor germination, cross-pollination, disease and pest issues, and improper seed cleaning, and provided troubleshooting recommendations to overcome these obstacles.
Seed saving is a journey that requires patience, observation, and continuous learning. With each season, you’ll deepen your understanding of the plants in your garden, refine your seed-saving techniques, and become more attuned to the unique characteristics of different plant varieties. Your efforts will contribute to the preservation of heirloom varieties, the adaptation of plants to local conditions, and the promotion of sustainable gardening practices.
So, go forth with confidence, and let the magic of seed saving unfold in your garden. Enjoy the satisfaction of seeing your saved seeds grow into flourishing plants, and share the abundance with fellow gardeners through seed exchanges and local seed libraries.
Remember, your journey as a seed saver is a valuable contribution to the rich tapestry of garden heritage and the ongoing cycle of life in nature. Happy seed saving!
Frequently Asked Questions about How To Get Seeds From Plants
Was this page helpful?
At Storables.com, we guarantee accurate and reliable information. Our content, validated by Expert Board Contributors, is crafted following stringent Editorial Policies. We're committed to providing you with well-researched, expert-backed insights for all your informational needs.

0 thoughts on “How To Get Seeds From Plants”