Home>Garden Essentials>How To Get Seeds From Geraniums
Garden Essentials
How To Get Seeds From Geraniums
Modified: March 15, 2024
Learn how to get seeds from geraniums in your garden with our step-by-step guide. Grow your own beautiful blooms and save money at the same time!
(Many of the links in this article redirect to a specific reviewed product. Your purchase of these products through affiliate links helps to generate commission for Storables.com, at no extra cost. Learn more)
Introduction
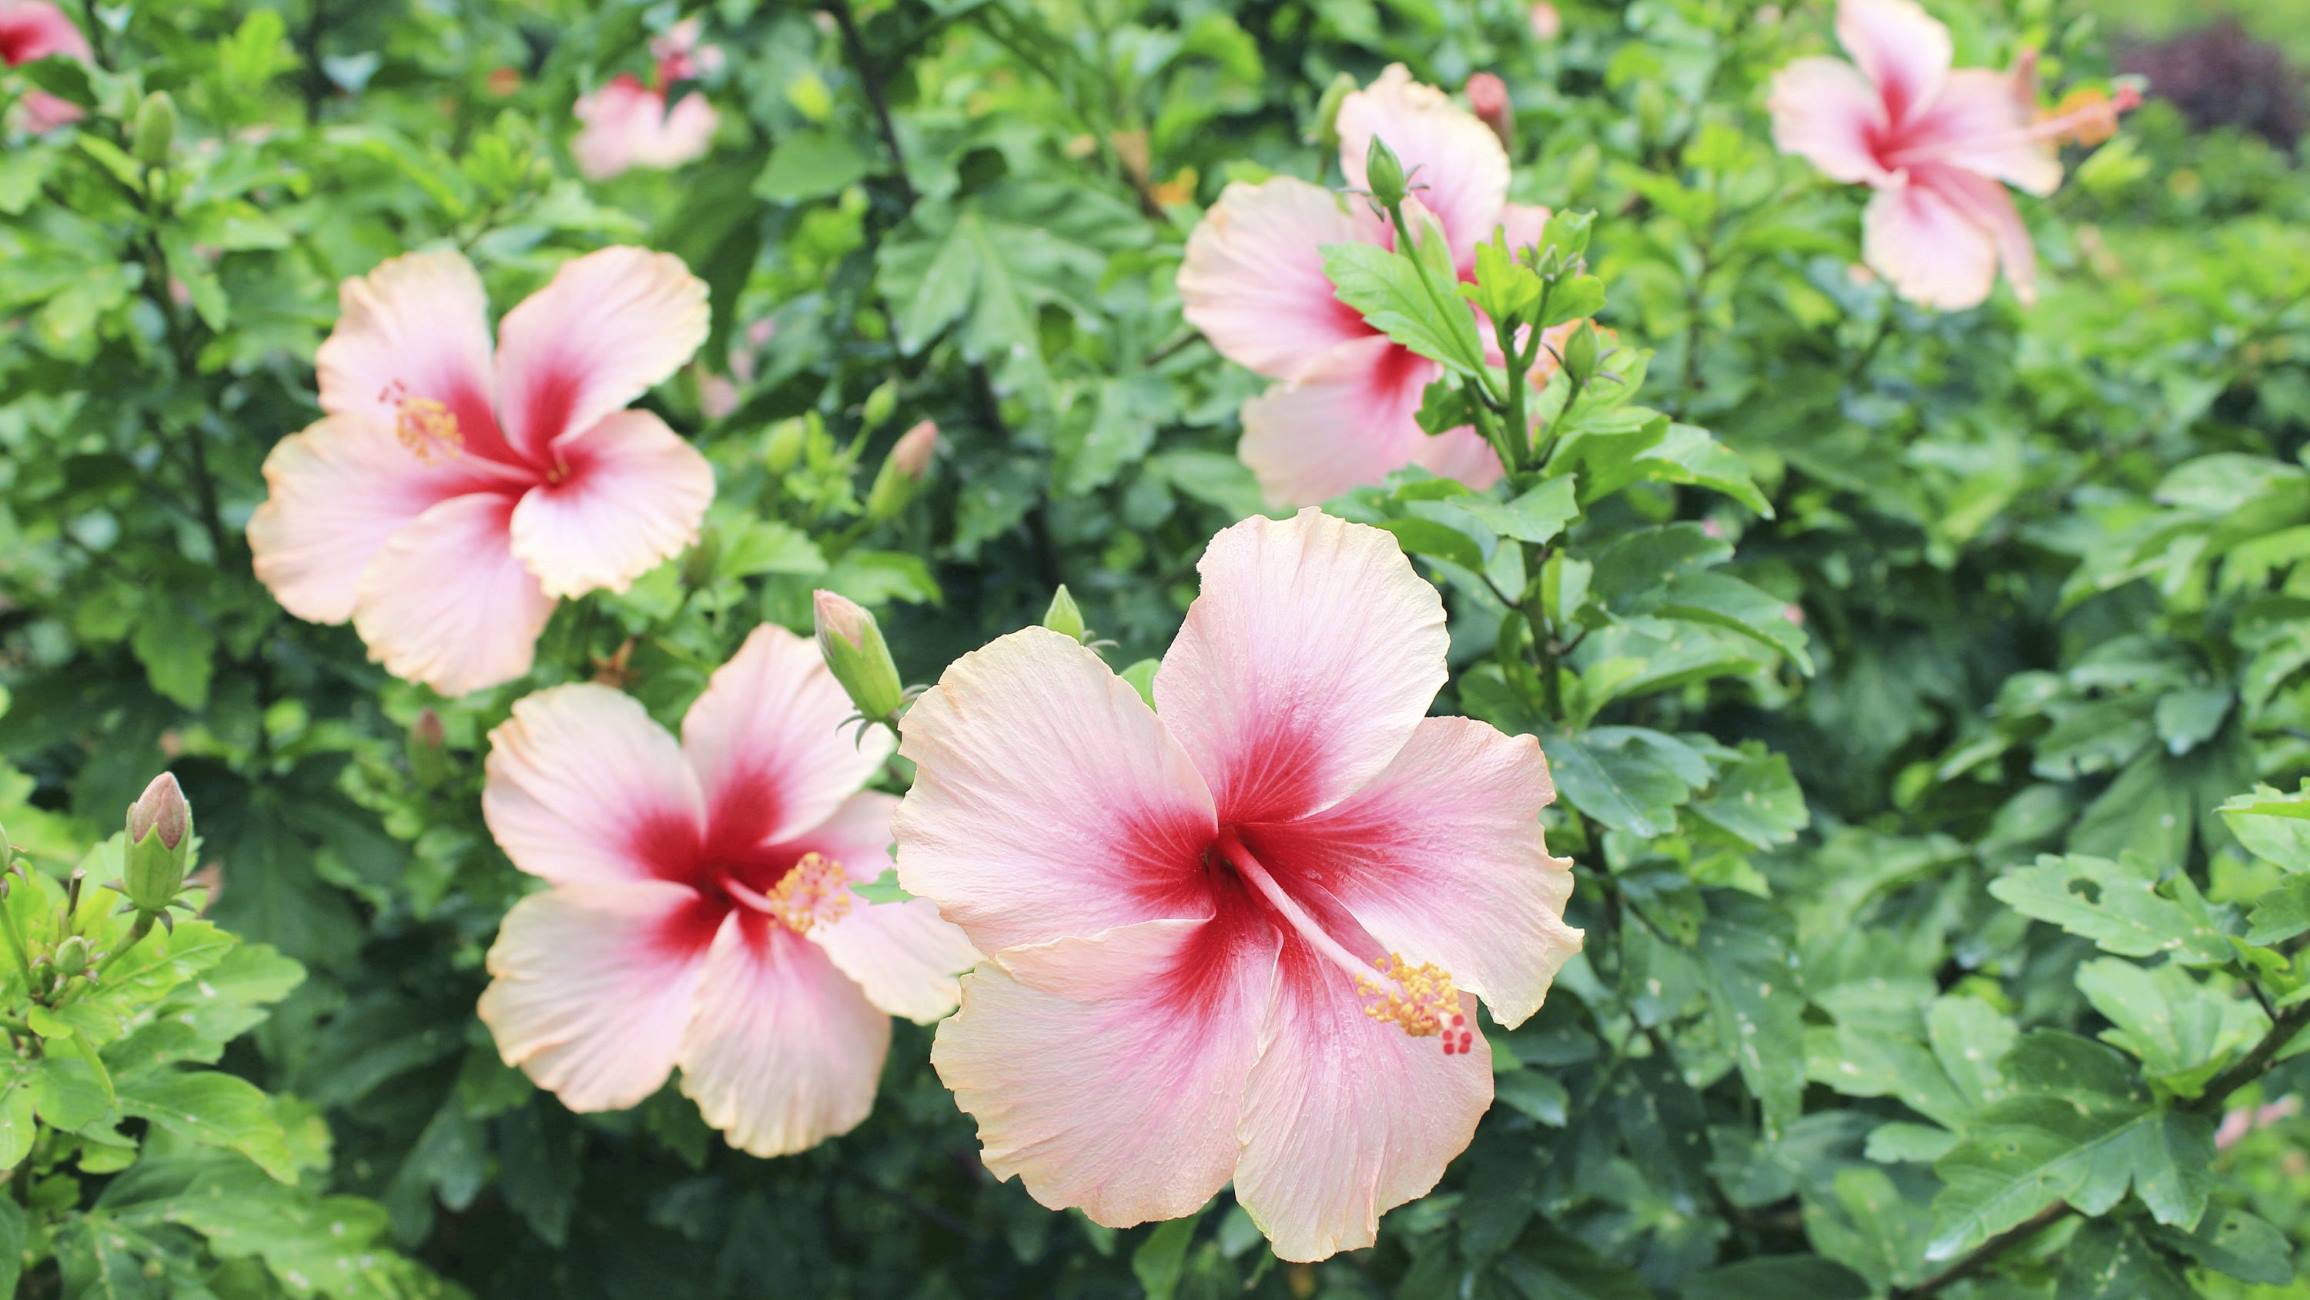
Geraniums are popular flowering plants known for their vibrant blooms and ability to thrive in various conditions. While many gardeners purchase geraniums as potted plants, some prefer the rewarding experience of growing them from seeds. Harvesting geranium seeds not only allows you to propagate new plants but also gives you the opportunity to explore different varieties and colors.
In this article, we will guide you through the process of collecting geranium seeds and provide you with valuable tips for successful germination. By understanding the different stages of seed development and following the proper techniques, you can ensure a bountiful supply of geraniums for your garden.
Before we dive into the specifics of harvesting geranium seeds, let’s first gain a better understanding of what geranium seeds are and the factors to consider when selecting the right time for seed collection.
Key Takeaways:
- Harvest geranium seeds by observing flower fading, seed pod formation, drying, and opening. Store in airtight containers with desiccants for future use.
- Test geranium seed viability by performing a germination test on a damp paper towel. Follow proper storage and germination techniques for successful growth.
Read more: How To Get Geranium Seeds
Understanding Geranium Seeds
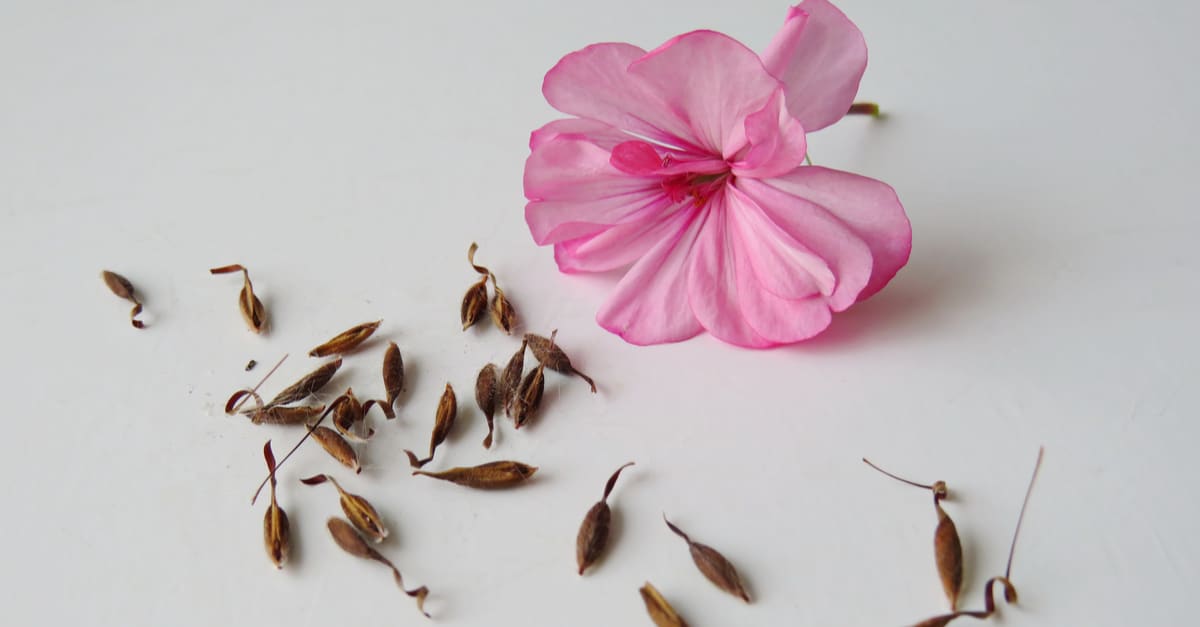
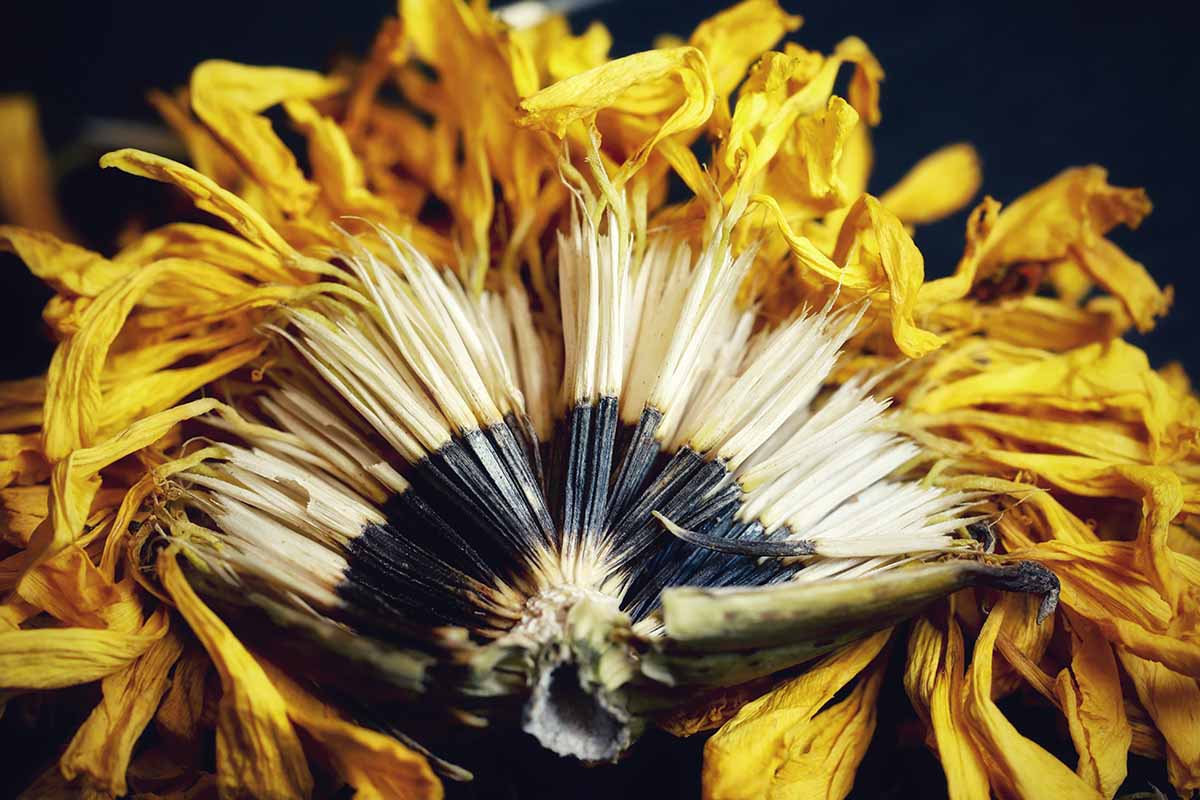
Geranium seeds are the reproductive units of the geranium plant. They contain the genetic information needed for the development of a new plant. Geranium seeds are typically small, oval-shaped, and have a range of colors, including black, brown, and beige. Each seed is enclosed in a seed pod, which forms after the geranium plant has finished flowering.
It’s important to note that not all geranium varieties produce seeds. Some hybrid varieties are sterile and do not produce viable seeds. Therefore, it is essential to choose open-pollinated or heirloom geranium varieties if you intend to collect seeds.
The viability of geranium seeds can vary depending on various factors, including the age of the plant and the conditions in which it was grown. Generally, geranium seeds have a lifespan of around 1 to 3 years if stored properly. However, it’s best to use fresh seeds for optimal germination rates.
Geranium seeds are also sensitive to moisture and temperature conditions. It’s crucial to handle them with care and provide the right conditions for germination. The viability of geranium seeds can be tested by a simple germination test, where a small sample of seeds is placed on a damp paper towel in a warm location. After a few days, you can observe the percentage of seeds that have germinated.
Now that you have a better understanding of geranium seeds, let’s move on to the next step: selecting the right time for seed harvesting.
Selecting the Right Time for Seed Harvesting
Timing is crucial when it comes to harvesting geranium seeds. To ensure the best chances of seed viability and successful germination, it’s important to select the right time for seed harvesting. Here are some indicators to help you determine when the seeds are ready for harvest:
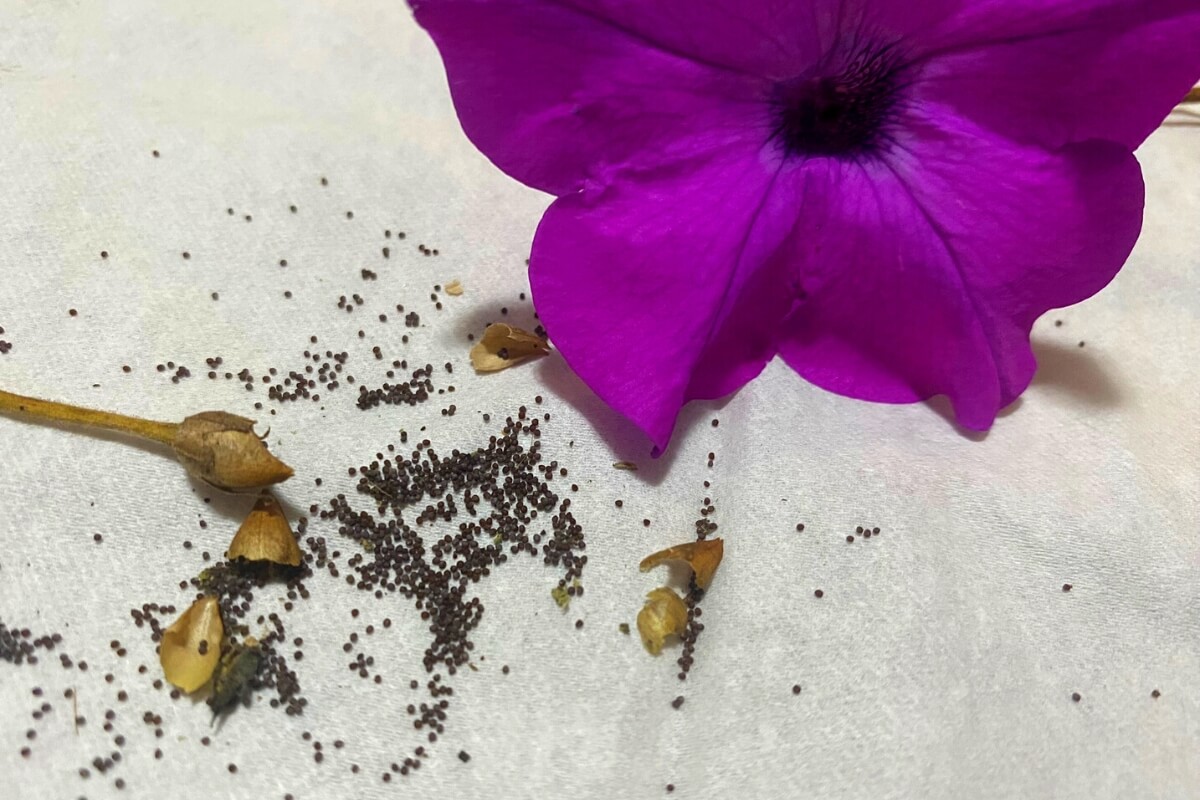
- Flower Fading: As the geranium flowers begin to fade and wilt, it’s a good sign that seed development is underway. The petals will start to shrivel and fall off, revealing the seed pods underneath.
- Seed Pod Formation: Once the flowers have faded, you’ll notice small seed pods forming at the base of the flower stems. These pods are typically green and filled with immature seeds.
- Seed Pod Drying: As the seed pods mature, they will change color and texture. They will turn brown or tan and become dry and brittle to the touch. This indicates that the seeds are approaching maturity.
- Seed Pod Opening: When the seed pods have fully dried, they will begin to split open, exposing the ripe seeds inside. This is the stage at which you should harvest the seeds to prevent them from dispersing naturally.
It’s important to note that geranium seeds should be harvested before they are fully ripe. If left on the plant for too long, the seeds may become too dry and lose their viability. On the other hand, harvesting the seeds too early may result in immature and non-viable seeds.
Observation and regular monitoring of your geranium plants will be crucial in determining the right time for seed harvesting. By keeping an eye on the color, texture, and opening of the seed pods, you can ensure that you collect mature and viable seeds.
Now that you know when to harvest geranium seeds, let’s move on to the tools and materials you’ll need for the seed collection process.
Tools and Materials Required
Harvesting geranium seeds requires a few essential tools and materials. Having these on hand will make the process more efficient and ensure that you can properly collect and store the seeds for future use. Here are the tools and materials you’ll need:
- Pruning Shears: A pair of sharp pruning shears will come in handy for cutting the seed pods from the plant. Make sure they are clean and sterilized to avoid introducing any pathogens to the seeds.
- Container or Bag: You’ll need a container or bag to collect the harvested seed pods. Choose a clean and dry container that allows for easy storage and transportation.
- Gloves: Wearing gloves will protect your hands while handling the seed pods. It will also prevent any potential irritation if you come into contact with the plant’s sap or other irritants.
- Paper or Tray: To prepare the harvested seed pods for drying, you’ll need a flat surface like paper or a tray. This will help prevent the seeds from rolling out and getting lost while they dry.
- Marker or Labels: It’s important to label your harvested seeds to keep track of the geranium variety and the date of collection. Use a permanent marker or pre-printed labels to avoid confusion later on.
- Airtight Containers: Once the seeds are fully dried, you’ll need airtight containers or small moisture-proof bags to store them. These containers will protect the seeds from moisture and keep them viable for longer periods.
- Desiccant: To further safeguard the seeds against moisture, consider adding a desiccant such as silica gel packets to the storage containers. This will help absorb any excess moisture and maintain the seed’s viability.
Having these tools and materials ready will ensure that you can efficiently collect, process, and store the geranium seeds without any issues. With everything prepared, you are now ready to proceed with the seed collection process.
Next, we will dive into the step-by-step process for collecting geranium seeds.
Steps for Collecting Geranium Seeds
Collecting geranium seeds involves a straightforward process that can be easily accomplished with a few simple steps. By following these steps, you can ensure the successful harvest of viable geranium seeds. Here’s a step-by-step guide:
- Inspect the Plant: Begin by closely inspecting the geranium plant to identify seed pods that are ready for harvesting. Look for seed pods that have turned brown or tan and are dry to the touch.
- Cut the Seed Pods: Using clean and sterilized pruning shears, carefully cut the seed pods from the plant. Ideally, you want to leave a small section of the stem attached to the seed pod for easier handling.
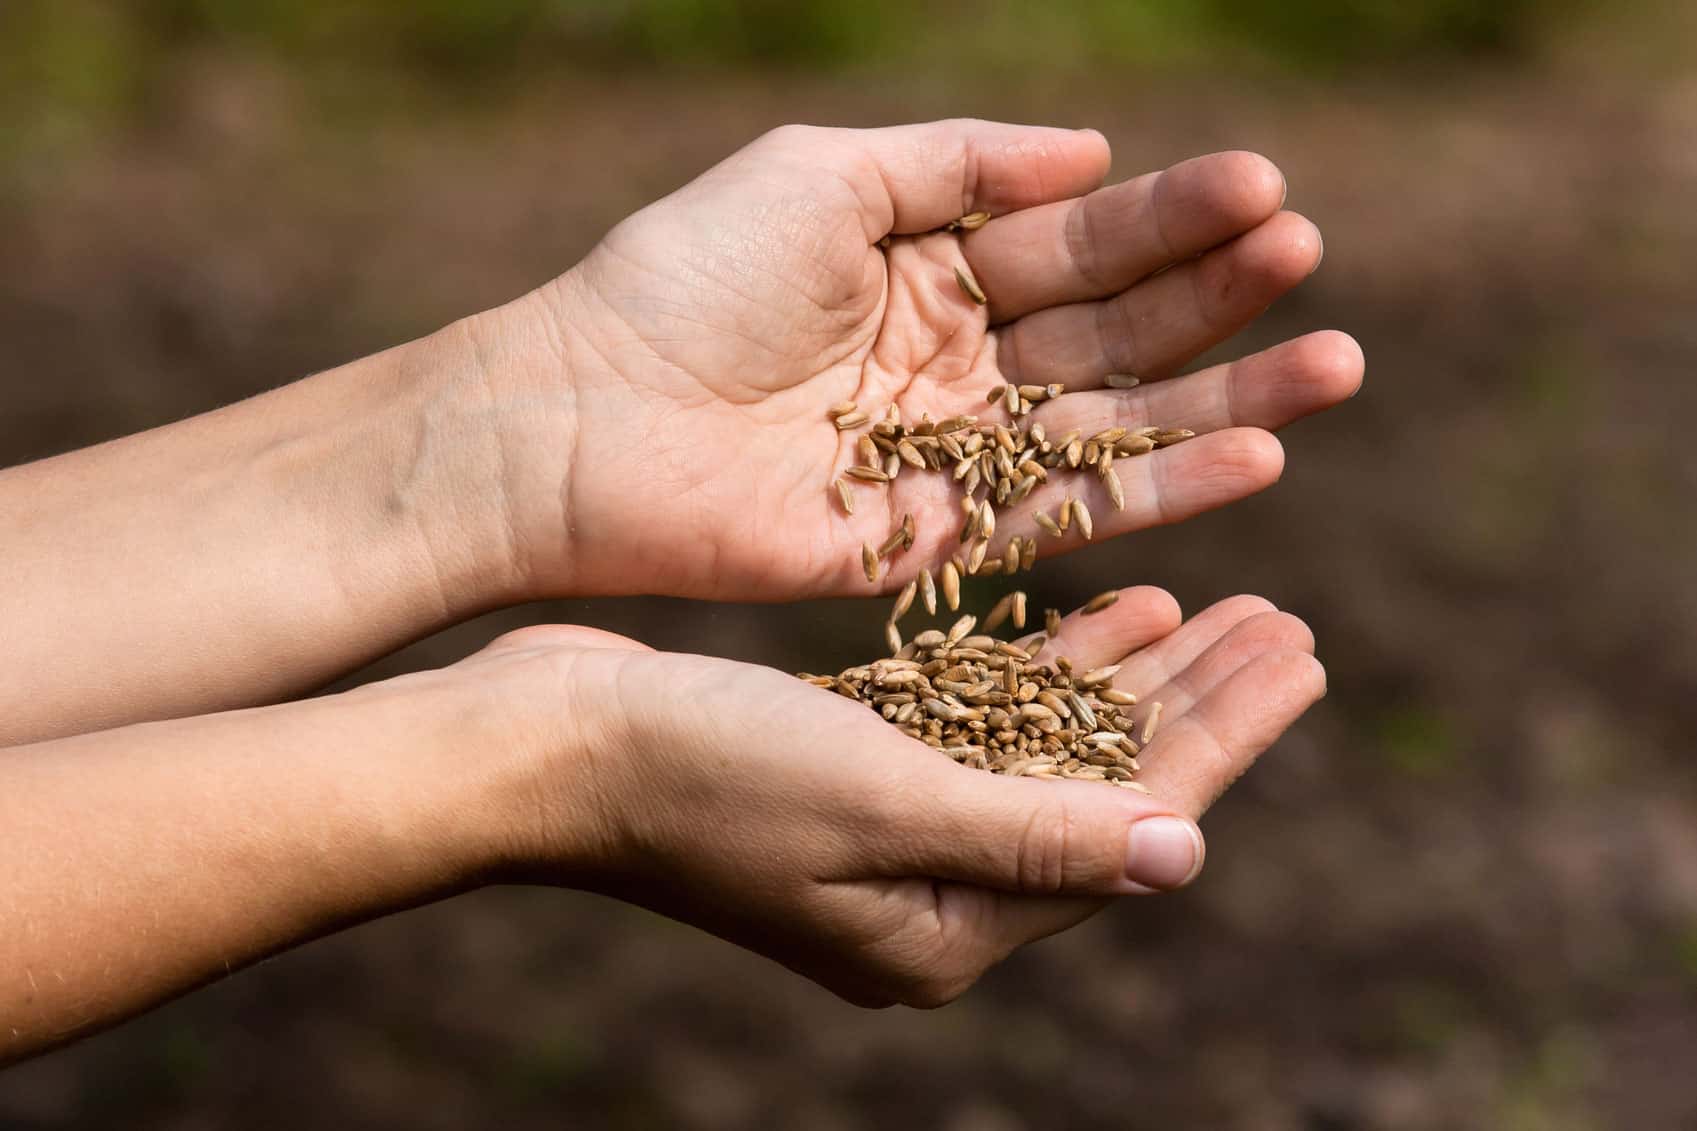
- Collect the Seed Pods: Place the cut seed pods directly into a clean container or bag. This will prevent any seeds from being lost during the collection process.
- Label the Containers: As you collect the seed pods, label the containers or bags immediately with the geranium variety and the date of collection. This will help you keep track of the seeds and ensure proper organization.
- Dry the Seed Pods: Once you have collected all the seed pods, spread them out on a flat surface such as paper or a tray. Allow them to dry in a warm and well-ventilated area for approximately one to two weeks. Make sure the area is free from any direct sunlight or excessive moisture.
- Extract the Seeds: After the seed pods have fully dried, gently open them to extract the seeds. Be careful not to damage the seeds or let them scatter. You may gently tap the pods or use your fingers to release the seeds.
- Remove Debris: Inspect the extracted seeds and remove any debris or chaff that may be present. This will ensure that only clean and viable seeds are stored.
- Store the Seeds: Place the cleaned seeds in airtight containers or small moisture-proof bags. Add a desiccant, such as silica gel packets, to absorb any excess moisture. Store the containers in a cool, dry, and dark location. Remember to include the labeled information for easy reference in the future.
Following these steps will allow you to successfully collect and store geranium seeds for future use. Next, we will discuss the proper storage of geranium seeds to maintain their viability.
To get seeds from geraniums, wait for the seed pods to dry on the plant. Once dry, collect the pods and remove the seeds. Store the seeds in a cool, dry place until ready to plant.
Read more: How To Grow Geraniums From Seed
Storing Geranium Seeds
Proper storage is crucial to maintain the viability of geranium seeds for future use. By following the correct storage techniques, you can ensure that your collected seeds remain viable and ready for germination when the planting season arrives. Here are some guidelines for storing geranium seeds:
- Clean and Dry Seeds: Before storing the seeds, make sure they are clean and free from any debris or chaff. This will prevent any potential fungal or bacterial growth.
- Airtight Containers: Transfer the cleaned seeds to airtight containers or small moisture-proof bags. The containers should be sealable and provide a barrier against moisture and air exchange.
- Desiccant: To further protect the seeds from moisture, add a desiccant such as silica gel packets to the storage containers. The desiccant will help absorb any excess moisture and keep the seeds dry and viable.
- Cool and Dry Environment: Store the seed containers in a cool, dry, and dark location. Avoid areas that are prone to high humidity or temperature fluctuations, such as the basement or attic.
- Consistent Temperature: Maintain a consistent temperature of around 40-50°F (4-10°C) for optimal seed storage. Fluctuations in temperature can negatively impact seed viability.
- Regular Checkups: Periodically check the stored seeds for signs of mold, mildew, or pest infestation. Discard any seeds that show signs of damage or deterioration.
- Labeling: Properly label the storage containers with the geranium variety and the date of collection. This will help you keep track of the seed’s age and maintain proper organization.
By following these storage guidelines, you can extend the shelf life of geranium seeds and ensure their viability for years to come. Properly stored geranium seeds can remain viable for 1 to 3 years, although it’s recommended to use fresh seeds for the best germination rates.
Now that you know how to store geranium seeds, let’s explore the process of analyzing geranium seeds for germination potential.
Analysis of Geranium Seeds
Before sowing geranium seeds, it’s beneficial to perform a quick analysis to assess their germination potential. This analysis will help you determine the viability of the seeds and give you an idea of the germination rates you can expect. Here’s a step-by-step process for analyzing geranium seeds:
- Seed Sampling: Take a small sample of the stored geranium seeds. It’s ideal to take a representative sample to ensure accurate results.
- Germination Test: Place the seed sample on a damp paper towel or on a seed germination tray. Ensure that the medium is moist but not saturated.
- Moisture Retention: Cover the seed tray or paper towel with a clear plastic wrap or place it inside a plastic bag to create a humid environment that promotes germination.
- Temperature and Light Conditions: Keep the seed tray or bag in a warm location with consistent temperatures between 70-75°F (21-24°C). Avoid exposing the seeds to direct sunlight during germination.
- Observation Period: Monitor the seeds over a period of 7-14 days. Keep the seed tray or bag in a location where you can easily observe any signs of germination.
- Record Germination Rate: Count the number of seeds that have successfully germinated and calculate the germination rate as a percentage of the total seeds tested.
- Assess Viability: Based on the germination rate, assess the viability of the geranium seeds. High germination rates indicate good seed viability, while low rates suggest older or less viable seeds.
Performing a germination test will give you a better understanding of the seed’s quality and help you determine the number of seeds you may need to sow to achieve the desired plant yield. It’s important to note that geranium seeds generally have a germination rate of around 70-90%, but this can vary depending on seed age and storage conditions.
With the analysis complete, you can now move on to the exciting process of germinating your geranium seeds and nurturing them into healthy seedlings.
Next, we will discuss the germination process of geranium seeds and share valuable tips for success.
Germination Process of Geranium Seeds
The germination process is an exciting stage in growing geraniums from seeds. It’s the point where the seeds awaken and start developing into seedlings. Following the right germination process will ensure the best chances of success. Here’s a step-by-step guide to germinating geranium seeds:
- Preparation: Fill a seed tray or small pots with a well-draining seed-starting mix. Moisten the mix slightly, ensuring it’s evenly damp but not overly wet.
- Sowing Seeds: Place the geranium seeds on top of the seed-starting mix. Gently press them onto the surface, ensuring good seed-to-soil contact. Space the seeds at least an inch apart to allow room for growth.
- Moisture: Cover the seeds lightly with a thin layer of the seed-starting mix or vermiculite to maintain moisture levels. Mist the surface with water to keep it consistently moist but not waterlogged.
- Temperature: Geranium seeds prefer warm temperatures for germination. Keep the seed tray or pots in a warm location with a consistent temperature between 70-75°F (21-24°C).
- Light Conditions: Geranium seeds do not require light to germinate. You can keep the tray covered with a plastic wrap or place it in a dark location until germination occurs.
- Germination Time: Geranium seeds typically germinate within 7-21 days, depending on various factors such as seed freshness, temperature, and moisture levels. Be patient and continue to provide optimal conditions for germination.
- Transplanting: Once the geranium seedlings have developed their first true leaves, which appear after the initial cotyledon leaves, they are ready for transplanting into individual pots or a garden bed.
- Maintenance: Provide the geranium seedlings with adequate sunlight or artificial light, water them regularly but avoid overwatering, and ensure good air circulation around the plants for healthy growth.
During the germination process, it’s important to keep the seed-starting mix moist but not saturated. Avoid watering the seeds from above to prevent dislodging or damaging them.
As the seedlings grow, they will require more light to develop into sturdy plants. Gradually acclimate them to more sunlight or increase the duration and intensity of artificial light to ensure strong growth and prevent legginess.
By following these germination guidelines, you can successfully start geraniums from seeds and enjoy the rewarding experience of watching them transform from tiny seeds into vibrant plants.
Now, let’s explore some troubleshooting tips and additional tips for growing geraniums from seeds.
Troubleshooting and Tips
While growing geraniums from seeds can be a rewarding experience, you may encounter some common challenges along the way. Here are some troubleshooting tips and additional tips to help you overcome any issues and ensure successful germination and growth:
1. Slow or Uneven Germination: If germination is slow or uneven, check the temperature and moisture levels. Ensure the seeds are kept consistently warm (70-75°F/21-24°C) and the seed-starting mix is moist but not waterlogged. Consider using a heat mat to provide consistent warmth.
2. Damping Off: Damping off is a fungal disease that can affect germinating seedlings, causing them to wilt and perish. To prevent damping off, ensure good ventilation around the seedlings, avoid overcrowding, and use sterile seed-starting mix and clean containers.
3. Leggy Seedlings: Leggy seedlings indicate insufficient light. If your seedlings are stretching towards the light and becoming weak, provide them with more light. Place them under grow lights or move them to a bright location with indirect sunlight.
4. Proper Watering: Water geranium seedlings from the bottom by filling a tray or saucer with water and allowing the seedlings to absorb moisture through the drainage holes. This prevents water from sitting on the leaves, which can lead to fungal diseases.
5. Harden Off Seedlings: Before transplanting your geranium seedlings outdoors, gradually expose them to outdoor conditions. Start by placing them outside for a few hours each day, gradually increasing the time over a week or so. This will help them acclimate to the new environment.
6. Fertilization: Once the seedlings have developed a few sets of true leaves, you can begin fertilizing them with a balanced, water-soluble fertilizer. Follow the package instructions for dilution and frequency of application.
7. Pruning and Pinching: To encourage bushier growth and more blooms, pinch or prune the tips of your geranium plants once they have established a good amount of foliage. This will promote branching and result in a fuller plant.
8. Deadheading: Remove spent flowers regularly to encourage continuous blooming and prevent the plant from expending energy on seed production.
9. Pest Control: Monitor your geranium plants for common pests such as aphids, whiteflies, and spider mites. Use organic pest control methods or insecticidal soap to manage infestations.
10. Enjoy the Process: Growing geraniums from seeds is a wonderful journey. Embrace the process, observe your plants’ growth, and find joy in cultivating these beautiful flowering plants.
Following these troubleshooting tips and additional suggestions will help you navigate any challenges you may encounter and ensure healthy and thriving geranium plants.
Now that you are equipped with valuable information, you can confidently embark on your journey of growing geraniums from seeds. Enjoy the process, and may your garden be filled with an abundance of colorful geranium blooms!
Feel free to refer back to this article whenever you need guidance or a refresher on the steps involved in harvesting geranium seeds and nurturing them into beautiful plants.
Happy gardening!
Read more: How To Get Seeds From Lettuce
Conclusion
Growing geraniums from seeds is a rewarding and fulfilling experience that allows you to explore different varieties, colors, and characteristics of these beautiful flowering plants. By understanding the process of harvesting geranium seeds, storing them properly, and providing optimal conditions for germination and growth, you can enjoy a successful journey from seed to vibrant plant.
Throughout this article, we have covered various aspects of geranium seed collection, including understanding geranium seeds, determining the right time for seed harvesting, and the tools and materials required for the process. We have also discussed the steps involved in collecting geranium seeds, storing them correctly, and analyzing their germination potential.
Furthermore, we have provided troubleshooting tips and additional suggestions to help you overcome challenges and ensure success in growing geraniums from seeds. Keeping in mind factors such as proper watering, lighting, temperature, and pest control will contribute to healthy geranium plants.
Remember to enjoy the process, embrace the beauty of geraniums, and savor the satisfaction of watching tiny seeds transform into flourishing plants. Gardening offers a sense of connection with nature and allows us to witness the miracles of life firsthand.
As you embark on this journey, don’t be afraid to experiment, learn from your experiences, and adapt to the unique needs of your geranium plants. Gardening is a continuous learning process, and each year presents new opportunities for growth and discovery.
Whether you’re an experienced gardener or just starting your green thumb journey, growing geraniums from seeds is a wonderful way to connect with nature, enhance your garden, and find joy in the beauty of nature’s creations. So, go ahead, harvest those geranium seeds, nurture them with care, and be rewarded with a garden adorned with vibrant colors and stunning blooms.
Now, let’s get started on your geranium seed collecting and growing adventure. Happy gardening!
Frequently Asked Questions about How To Get Seeds From Geraniums
Was this page helpful?
At Storables.com, we guarantee accurate and reliable information. Our content, validated by Expert Board Contributors, is crafted following stringent Editorial Policies. We're committed to providing you with well-researched, expert-backed insights for all your informational needs.


0 thoughts on “How To Get Seeds From Geraniums”