Home>Garden Essentials>How To Grow A Plum From Seed
Garden Essentials
How To Grow A Plum From Seed
Modified: March 16, 2024
Learn how to grow a plum from seed in your garden and enjoy the fruits of your labor. Discover the step-by-step process and tips for success.
(Many of the links in this article redirect to a specific reviewed product. Your purchase of these products through affiliate links helps to generate commission for Storables.com, at no extra cost. Learn more)
Introduction
Welcome to the world of gardening, where magic happens right in your own backyard. Growing your own fruit trees can be a rewarding and fulfilling experience. One fruit tree that is worth considering is the humble plum tree. Plums are not only delicious to eat, but they also provide a beautiful addition to any garden with their vibrant foliage and fragrant blossoms.
If you’ve ever wondered how to grow a plum tree from seed, you’re in luck. While it may seem daunting at first, with a little patience and care, you can successfully grow a plum tree from a seed and watch it flourish into a majestic tree that bears juicy, sweet plums.
In this article, we will guide you through the step-by-step process of growing a plum tree from seed. From harvesting the plum seed to caring for the seedling and transferring it to a larger pot or garden, we’ll cover everything you need to know to get started on your journey to becoming a plum tree gardener.
So, grab your gardening gloves and let’s dive in!
Key Takeaways:
- Growing a plum tree from seed is a magical journey that requires patience and care. From harvesting the seed to maintaining the tree, you can experience the wonders of nature in your own backyard.
- With proper preparation and ongoing care, you can watch a humble plum seed grow into a majestic tree that bears delicious, sweet plums. Embrace the joy of gardening and witness the miracle of life in your own garden.
Read more: How To Grow Plum From Seed
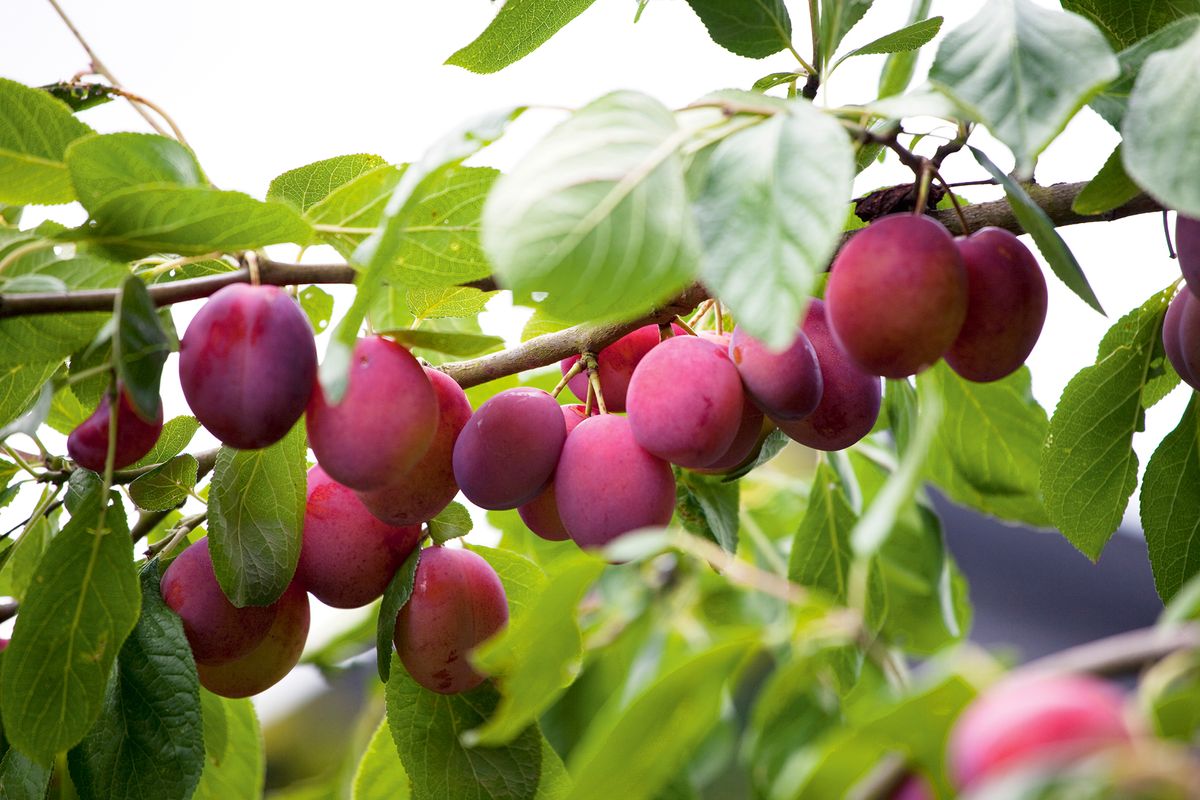
Step 1: Harvesting the Plum Seed
The first step in growing a plum tree from seed is to harvest the plum seed. You can do this by selecting a ripe and juicy plum from a local farmer’s market or from your own plum tree if you already have one.
Once you have selected a plum, gently wash it under cool running water to remove any dirt or debris. Pat it dry with a clean towel and then cut it open vertically with a sharp knife. Inside the plum, you will find a hard pit or seed.
To remove the seed from the plum, carefully pry it out using your fingers or a spoon. Be gentle to avoid damaging the seed. Once the seed is out, rinse it again to remove any remaining fruit residue.
After rinsing the plum seed, it is important to let it dry completely. Place the seed on a paper towel and let it air dry for about a week. This drying process helps prevent mold and rot when planting the seed.
Once the plum seed is dry, it is ready to be prepared for planting. But don’t rush just yet! Let’s move on to the next step to learn how to properly prepare the seed for planting.
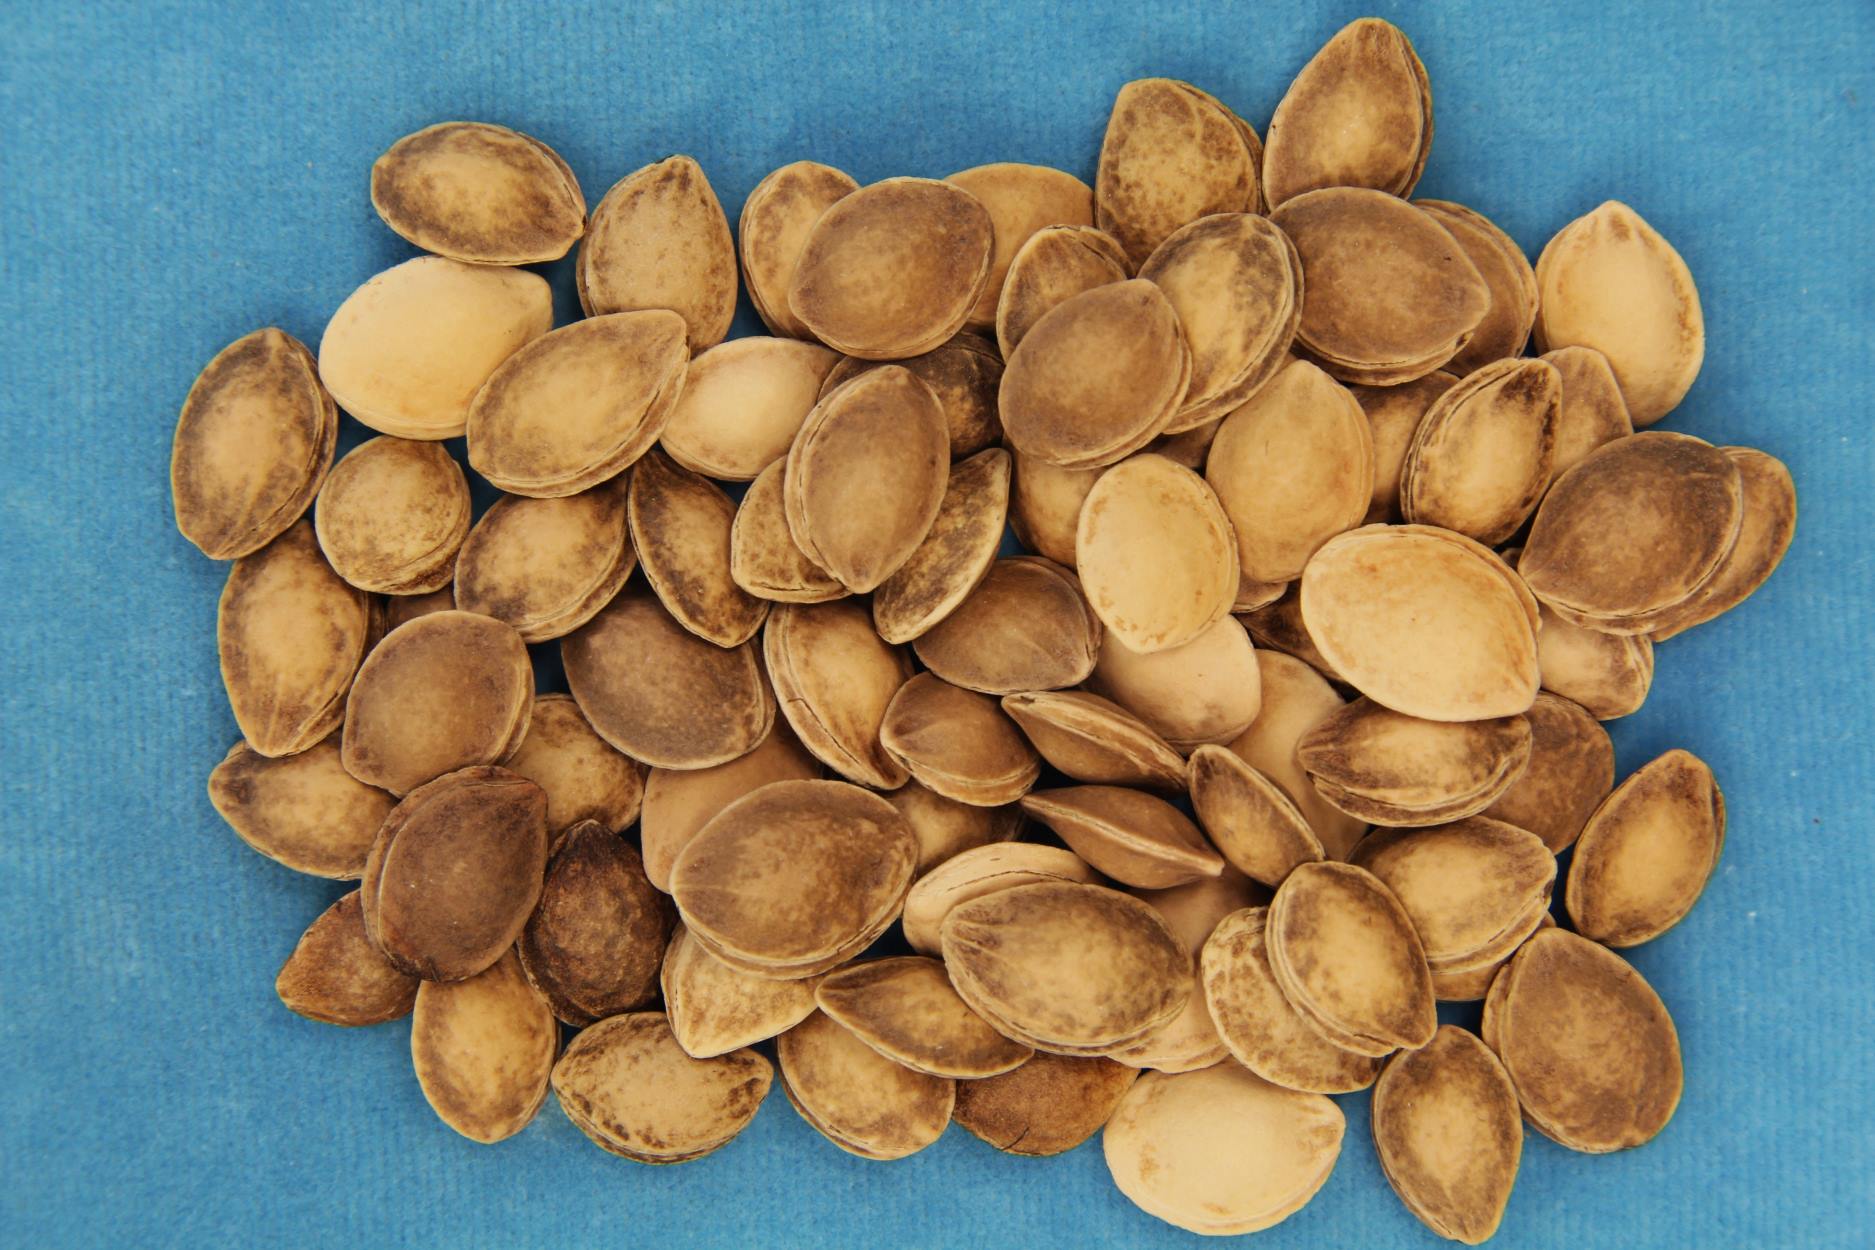
Step 2: Preparing the Seed for Planting
Now that you have harvested the plum seed, it’s time to prepare it for planting. Preparing the seed ensures that it has the best chance of germinating and growing into a healthy seedling.
The first step in preparing the plum seed is to gently crack its hard outer shell. This can be done by using a small hammer or a pair of pliers. Be careful not to apply too much force, as you don’t want to damage the seed inside.
After cracking the outer shell, soak the plum seed in warm water overnight. This will help soften the seed coat and improve germination rates.
Once the seed has soaked, it’s time to scarify the seed coat. Scarification involves creating small nicks or abrasions on the seed coat to facilitate water absorption. You can do this by gently rubbing the seed with sandpaper or using a small knife to lightly scratch the surface.
After scarifying the seed, it’s time to give it a final rinse under running water to remove any remaining debris. Place the plum seed on a damp paper towel and fold it over to create a moist environment for the seed.
Now that the plum seed is properly prepared, it’s ready to be planted. Let’s move on to the next step to learn how to plant the plum seed and start growing your own plum tree.
Step 3: Planting the Plum Seed
With the plum seed prepared and ready, it’s time to plant it and watch it grow into a beautiful plum tree. Follow these steps to ensure successful planting:
1. Choose the Right Pot: Select a pot that is at least 8-10 inches deep with good drainage holes. A pot with a diameter of 12-16 inches is ideal for providing enough space for the seedling to grow.
2. Use Quality Potting Soil: Fill the pot with well-draining potting soil. You can also mix in some organic compost to enrich the soil and provide essential nutrients for the seedling.
3. Plant the Seed: Create a small hole in the soil, about 1-2 inches deep. Place the plum seed in the hole with the scarified side facing down. Cover the seed with soil and gently press it down to ensure good soil-to-seed contact.
4. Water Thoroughly: Give the newly planted seed a thorough watering until the soil is evenly moist. Be careful not to overwater, as excessive moisture can lead to rotting.
5. Provide Warmth and Light: Place the pot in a warm and sunny location, such as a sunny windowsill or a greenhouse. Plum seeds require consistent warmth and sunlight to germinate and grow.
6. Patience is Key: Growing a plum tree from seed requires patience, as it can take several weeks or even months for the seed to germinate. Keep the soil moist and monitor the pot regularly.
7. Transplanting Seedling: Once the seedling has grown a few leaves and is sturdy enough to handle, it can be transplanted into a larger pot or directly into the garden. Follow proper transplanting techniques to minimize stress on the young plant.
Remember to provide regular care and attention to your plum seedling as it grows into a mature tree. Let’s move on to the next step to learn about caring for the plum seedling.
To grow a plum from seed, first remove the seed from a ripe plum. Then, plant the seed in a pot with well-draining soil and keep it moist. Place the pot in a sunny spot and wait for the seed to sprout. Once it has grown into a small tree, you can transplant it into your garden.
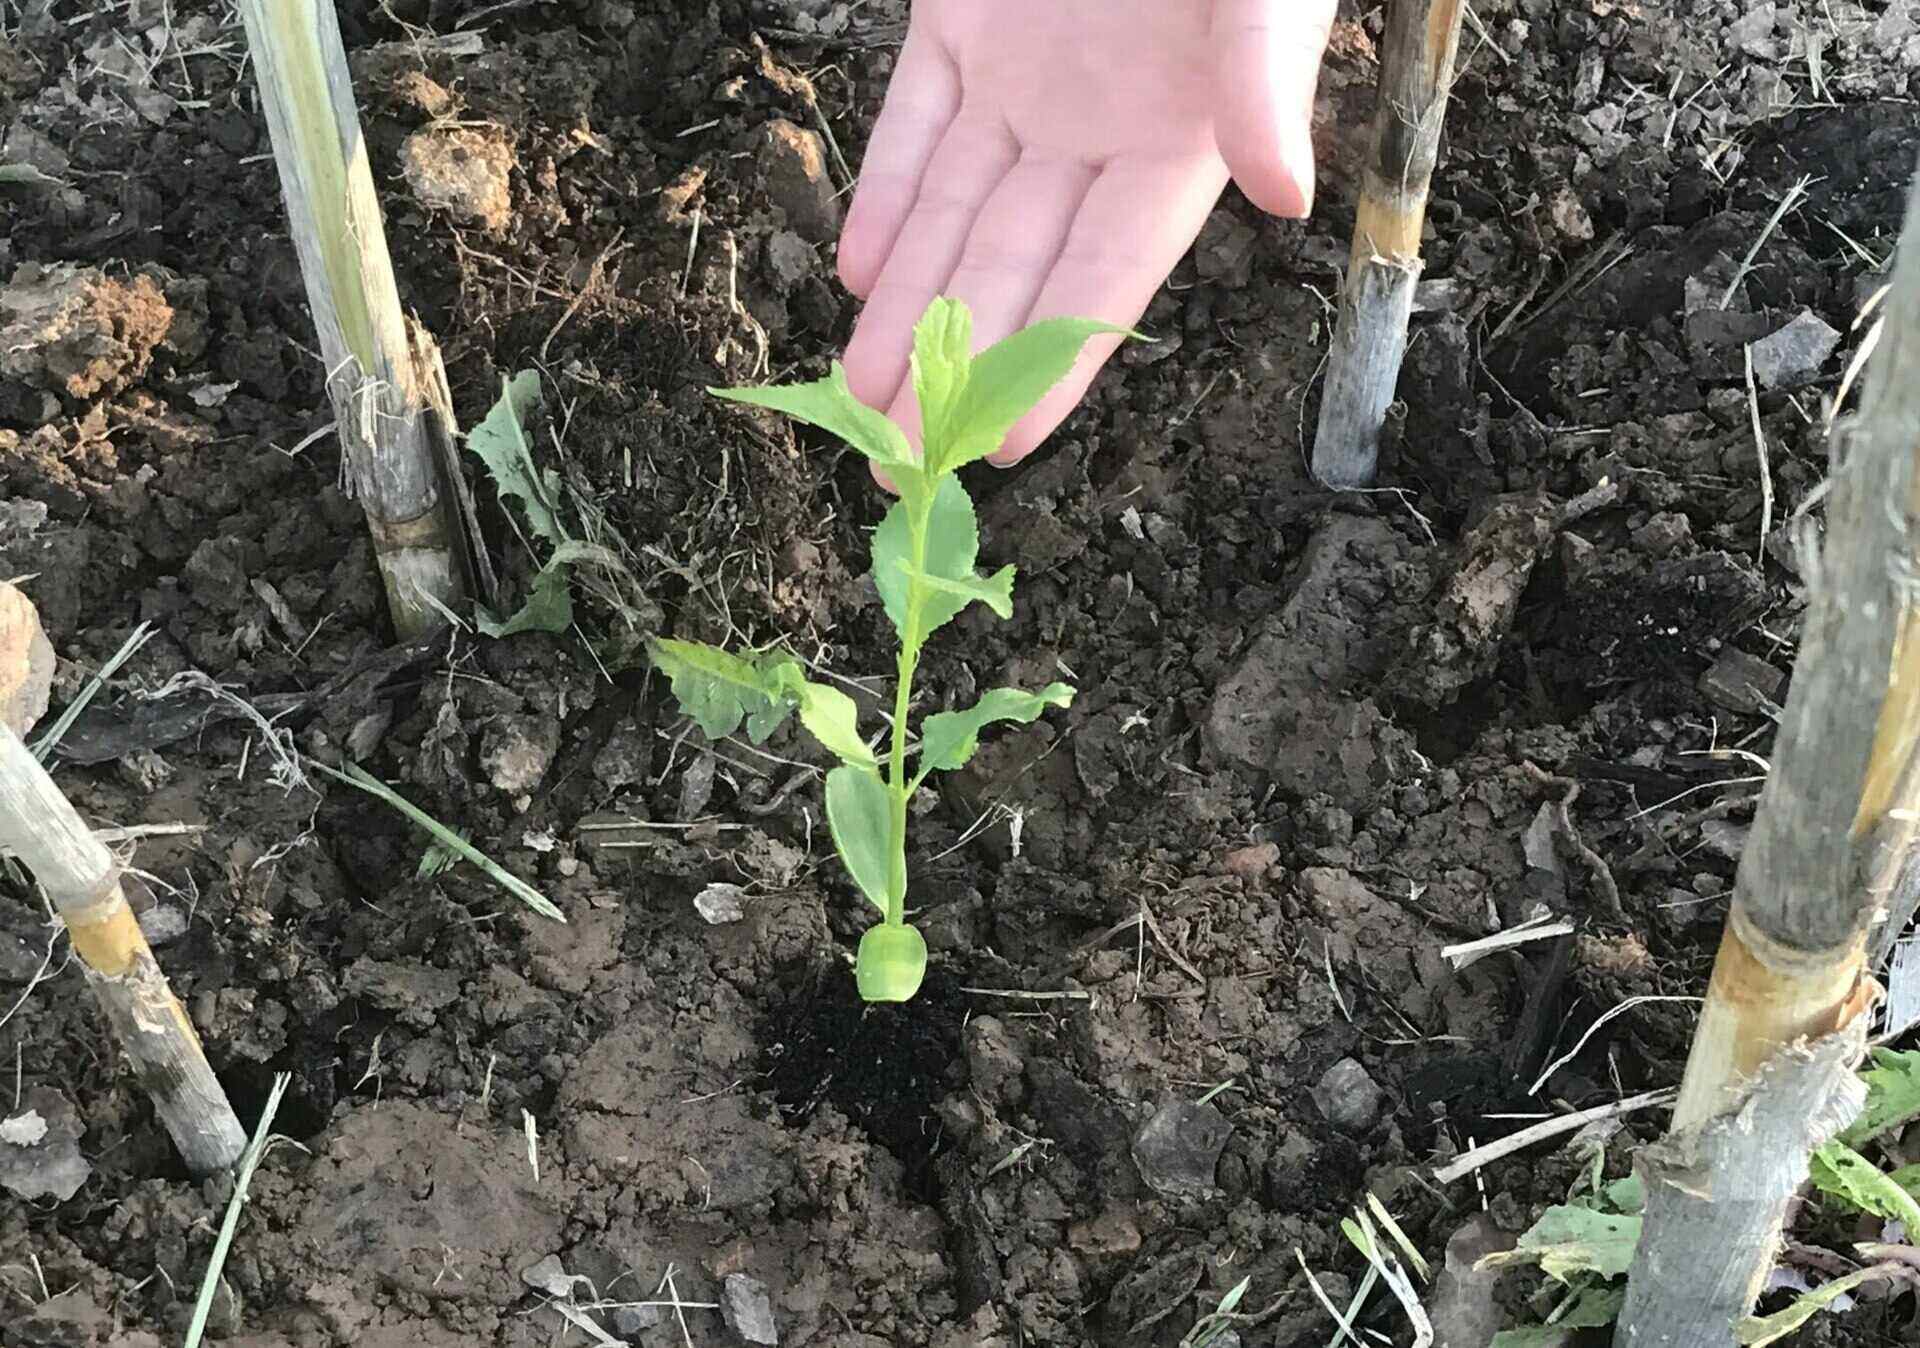
Step 4: Caring for the Plum Seedling
Now that your plum seedling has sprouted and emerged from the soil, it’s time to provide it with the proper care it needs to thrive. Follow these steps to ensure the health and growth of your plum seedling:
1. Watering: Keep the soil consistently moist, but not waterlogged. Water the seedling regularly, ensuring that the soil doesn’t dry out completely between waterings. Use your finger to check the moisture level of the soil before watering.
2. Sunlight: Place the plum seedling in a location with full sun exposure. Plum trees thrive in sunlight and require a minimum of 6-8 hours of direct sunlight daily. If growing the seedling indoors, use grow lights to supplement natural light.
3. Temperature: Plum trees prefer moderate temperatures, between 60-70°F (15-21°C). Protect the seedling from extreme heat or cold by providing proper ventilation or moving it indoors as needed.
4. Fertilizing: After the seedling has produced a few sets of leaves, you can start fertilizing it. Use a balanced organic fertilizer and follow the manufacturer’s instructions for application. Apply the fertilizer every 3-4 weeks during the growing season.
5. Pruning: As the plum seedling grows, it may develop multiple branches. Prune away any weak or crossing branches to ensure a strong and well-shaped tree. Pruning also promotes air circulation and reduces the risk of disease.
6. Pest and Disease Control: Monitor your plum seedling for any signs of pests or diseases, such as aphids, caterpillars, or fungal infections. Use organic pest control methods or consult a local gardening expert for safe and effective solutions.
7. Mulching: Apply a layer of organic mulch around the base of the seedling, leaving a small gap around the trunk to prevent moisture buildup. Mulching helps retain moisture, suppresses weed growth, and provides insulation to the roots.
By following these care guidelines, your plum seedling will continue to grow and develop into a healthy and productive plum tree. Let’s move on to the next step to learn about transferring the seedling to a larger pot or garden.
Read more: How To Grow Hog Plum From Seed
Step 5: Transferring the Seedling to a Larger Pot or Garden
As your plum seedling continues to grow, it will eventually outgrow its initial pot and require more space for its root system to expand. Transferring the seedling to a larger pot or planting it directly in the garden is crucial for its long-term health and development. Follow these steps to successfully transfer your plum seedling:
1. Assess the Seedling’s Size: Wait until the plum seedling has grown to a size that is suitable for transplantation. Ideally, it should have developed a strong root system and several sets of leaves.
2. Select a Suitable Location: If you plan to plant the plum tree in the ground, choose a location that receives full sun and has well-draining soil. If transplanting to a larger pot, ensure the pot has adequate drainage holes and will provide enough space for the growing tree.
3. Prepare The Transplant Site: If planting in the ground, dig a hole in the designated area that is wider and deeper than the root ball of the seedling. Amend the soil with organic compost to improve drainage and fertility. If using a larger pot, fill it with well-draining potting soil.
4. Gently Remove the Seedling: Carefully loosen the soil around the plum seedling with your fingers or a soil knife. Lift the seedling from the pot, ensuring you keep its root system intact. Handle the seedling by the leaves or the root ball, avoiding any damage to the delicate stem.
5. Planting in the Ground: Place the seedling in the prepared hole, making sure the base of the stem is level with the soil surface. Backfill the hole with soil, gently firming it around the roots. Water generously to settle the soil and eliminate any air pockets. If transplanting to a larger pot, simply place the seedling in the center of the pot and fill it with soil around the root ball.
6. Water and Mulch: After planting, water the transplanted plum seedling thoroughly. Apply a layer of organic mulch around the base of the tree, leaving a small gap around the trunk to prevent moisture-related issues.
7. Provide Ongoing Care: Continue to water the transplanted seedling regularly, especially during dry periods. Monitor its growth and provide any necessary support, such as staking, to ensure it grows strong and straight.
Transferring your plum seedling to a larger pot or planting it in the ground will give it the space it needs to thrive and bear fruit. With proper care and maintenance, your plum tree will continue to grow and bring you joy for years to come. Let’s move on to the final step to learn about maintaining the plum tree.
Step 6: Maintaining the Plum Tree
Maintaining your plum tree is essential to ensure its long-term health, productivity, and overall beauty in your garden. Follow these steps to properly care for and maintain your plum tree:
1. Watering: Provide your plum tree with regular watering, especially during dry spells. Deeply water the tree at the base, making sure the soil is evenly moist but not waterlogged. Avoid overhead watering to prevent diseases.
2. Fertilizing: Apply a balanced fertilizer formulated for fruit trees in early spring, just as new growth begins. Follow the manufacturer’s instructions for application rates and frequency. This will provide essential nutrients to support healthy growth and fruit production.
3. Pruning: Prune your plum tree during the dormant season, typically in late winter or early spring. Remove any dead, diseased, or crossing branches, as well as any branches that are overcrowding the tree. Keep the center of the tree open to promote good air circulation and sunlight penetration.
4. Thinning Fruit: To ensure larger, healthier fruit, thin out excess fruits when they are still small and green. Remove any fruits that are touching or too close to each other. This will allow the remaining fruits to have more space, nutrients, and sunlight to develop fully.
5. Pest and Disease Control: Regularly inspect your plum tree for any signs of pests or diseases, such as aphids, plum curculio, or fungal infections. Apply organic or biocontrol methods to manage pest populations, and use appropriate fungicides or disease-resistant varieties to prevent and treat diseases.
6. Mulching: Maintain a layer of organic mulch around the base of your plum tree to conserve moisture, suppress weed growth, and provide insulation. Keep the mulch a few inches away from the trunk to prevent rot and pests.
7. Harvesting: When your plums are ripe and ready for harvest, gently twist or lightly tug the fruit to detach it from the tree. Handle them with care to prevent bruising. Enjoy the delicious rewards of your hard work!
By following these maintenance steps, your plum tree will continue to thrive and provide you with a bountiful harvest for years to come. With a little love and attention, your plum tree will become a source of pride in your garden.
Conclusion
Congratulations! You have now learned how to grow a beautiful and fruitful plum tree from seed. Starting with the harvesting of the plum seed and moving through the steps of preparing, planting, caring, transferring, and maintaining the seedling, you have gained the knowledge and skills to bring a new life into your garden.
Growing a plum tree from seed is a rewarding journey that requires patience, care, and attention. From the moment the seed was planted, you witnessed the miracle of life as it sprouted, grew, and developed into a young tree. And now, with proper care and maintenance, that tree will continue to thrive and bear delicious plums for you and your loved ones to enjoy.
Remember, gardening is not just about the end result, but also about the joy and satisfaction it brings along the way. As you watch your plum tree grow, you will witness the beauty of nature and the wonders of the natural world.
So, go ahead and put your newfound knowledge into practice. Start your journey of growing a plum tree from seed and experience the sense of accomplishment that comes with nurturing a plant from its earliest stages.
Happy gardening and may your plum tree flourish and bring you an abundance of sweet and juicy plums!
Frequently Asked Questions about How To Grow A Plum From Seed
Was this page helpful?
At Storables.com, we guarantee accurate and reliable information. Our content, validated by Expert Board Contributors, is crafted following stringent Editorial Policies. We're committed to providing you with well-researched, expert-backed insights for all your informational needs.


0 thoughts on “How To Grow A Plum From Seed”