Home>Garden Essentials>How To Grow Rosemary From Seeds


Garden Essentials
How To Grow Rosemary From Seeds
Modified: May 6, 2024
Learn how to grow rosemary from seeds in your garden and enjoy fresh herbs all year round. Follow our step-by-step guide for successful cultivation.
(Many of the links in this article redirect to a specific reviewed product. Your purchase of these products through affiliate links helps to generate commission for Storables.com, at no extra cost. Learn more)
Introduction
Welcome to the world of gardening, where you can transform your backyard into a green paradise. One of the most beloved and versatile herbs to grow in your garden is rosemary. With its aromatic fragrance and flavorful leaves, rosemary is a must-have for any herb enthusiast.
If you’re looking to start growing rosemary from scratch, you’re in the right place. In this article, we will guide you through the process of growing rosemary from seeds, providing you with the knowledge and tips to help you succeed.
Before we dive into the details, let’s take a moment to appreciate the wonders of rosemary. This woody perennial herb not only adds a wonderful aroma to your garden, but its leaves can be used in a variety of culinary dishes, from roasted meats to marinades and infused oils. Rosemary is also known for its medicinal properties, including its ability to aid digestion and improve memory.
By growing rosemary from seeds, you have the opportunity to be intimately involved in the life cycle of this incredible herb. From planting the seeds to caring for the plants, you will witness the transformation of tiny specks into healthy and thriving rosemary plants.
So, let’s roll up our sleeves, grab our gardening tools, and get ready to embark on a journey of growing rosemary from seeds.
Key Takeaways:
- Choose fresh, organic rosemary seeds from reputable sources to ensure successful plant growth. Consider the variety, read reviews, and check seed viability for the best results.
- Provide the right soil, sunlight, and care for your rosemary seedlings to thrive. Remember to transplant them carefully and harvest selectively to enjoy a continuous supply of flavorful leaves.
Read more: How Long To Grow Rosemary From Seed
Choosing the Right Seeds
When it comes to choosing rosemary seeds, there are a few factors to consider to ensure the best chances of success. Here are some tips for selecting the right seeds:
1. Opt for Fresh Seeds: Fresh seeds have a higher germination rate, so it’s best to choose seeds that are less than a year old. Look for seeds that are plump, firm, and have a healthy color.
2. Choose Organic Seeds: Opt for organic rosemary seeds to ensure that you’re growing plants free from synthetic pesticides and chemicals. This not only benefits your health but also promotes a healthier ecosystem.
3. Consider the Rosemary Variety: Rosemary comes in different varieties, each with its own unique characteristics. Consider your needs and preferences when selecting a variety. Common varieties include Tuscan Blue, Blue Spires, and Spice Island.
4. Read Reviews: Before purchasing seeds, read customer reviews or seek recommendations from fellow gardeners. This will give you insights into the quality and reliability of the seeds.
5. Buy from Reputable Sources: Purchase your rosemary seeds from reputable seed companies or nurseries known for their quality products. This ensures that you’re getting viable seeds that have been stored and handled properly.
6. Check the Seed Viability: Some suppliers provide information about the germination rate of their seeds. Aim for seeds with a high germination rate (above 80%) to increase the chances of successful plant growth.
By carefully selecting the right seeds, you’re setting a solid foundation for growing healthy and robust rosemary plants. Remember, the quality of your seeds plays a crucial role in determining the outcome of your gardening adventure. So, choose wisely and set yourself up for success!
Preparing the Soil
The key to successful rosemary growth lies in preparing the right soil conditions for the seeds to germinate and thrive. Here are some essential steps to prepare the soil:
1. Choose Well-Draining Soil: Rosemary dislikes wet feet, so it’s vital to choose a well-draining soil mixture. A sandy or loamy soil that drains water efficiently is ideal for rosemary. You can improve drainage by adding organic matter, such as compost or well-rotted manure, to the soil.
2. Adjust Soil pH: Rosemary prefers a slightly acidic to neutral soil pH range of 6.0 to 7.0. Test the soil pH using a soil testing kit and adjust it if necessary. If the soil is too acidic, add lime to raise the pH. If it’s too alkaline, add sulfur or organic matter to lower the pH.
3. Clear the Area: Remove any weeds or debris from the planting area. Rosemary prefers a clean environment without competition from other plants.
4. Loosen the Soil: Use a garden fork or a tiller to loosen the top 6 to 8 inches of soil in the planting area. This helps improve aeration and allows the roots to penetrate the soil easily.
5. Amend the Soil: If your soil is heavy clay or lacks nutrients, incorporate organic matter into the soil. Mix in compost, well-rotted manure, or a balanced organic fertilizer to enrich the soil with nutrients and improve its texture.
6. Level and Rake: Level the soil surface and use a rake to create a smooth and even planting bed. This provides a consistent and stable surface for the seeds to be sown.
Remember, providing the right soil conditions sets the stage for healthy root development and strong plant growth. Take the time to prepare the soil properly, and you’ll reap the rewards in the form of thriving rosemary plants.
Sowing the Seeds
Now that you’ve selected your rosemary seeds and prepared the soil, it’s time to sow the seeds and kickstart the germination process. Follow these steps to sow your rosemary seeds:
1. Select the Planting Location: Choose a sunny spot in your garden for planting. Rosemary thrives in full sun and requires at least 6-8 hours of direct sunlight per day.
2. Mark Rows or Beds: Using a garden marker or small stakes, mark rows or beds in the soil where you’ll plant the rosemary seeds. Leave enough space between rows for easy access and airflow around the plants. Aim for a spacing of about 18-24 inches between each plant.
3. Sow the Seeds: Start by moistening the soil lightly. Scatter the rosemary seeds over the marked rows or beds, aiming for a spacing of about ¼ to ½ inch between each seed. You can also place the seeds in evenly spaced rows.
4. Cover the Seeds: After sowing the seeds, gently cover them with a thin layer of soil or vermiculite. The layer should be around ¼ inch thick. Avoid burying the seeds too deep, as rosemary seeds require some light to germinate.
5. Water the Seeds: Using a fine mist or a gentle spray, water the soil thoroughly to ensure the seeds are adequately moistened. Be careful not to displace the seeds or create puddles. Maintain the soil moisture throughout the germination period to promote seedling growth.
6. Provide Protection: Consider covering the seeded area with a light layer of mulch or a germination cover to retain moisture and provide some protection against extreme weather conditions. Remove the cover once the seeds start germinating.
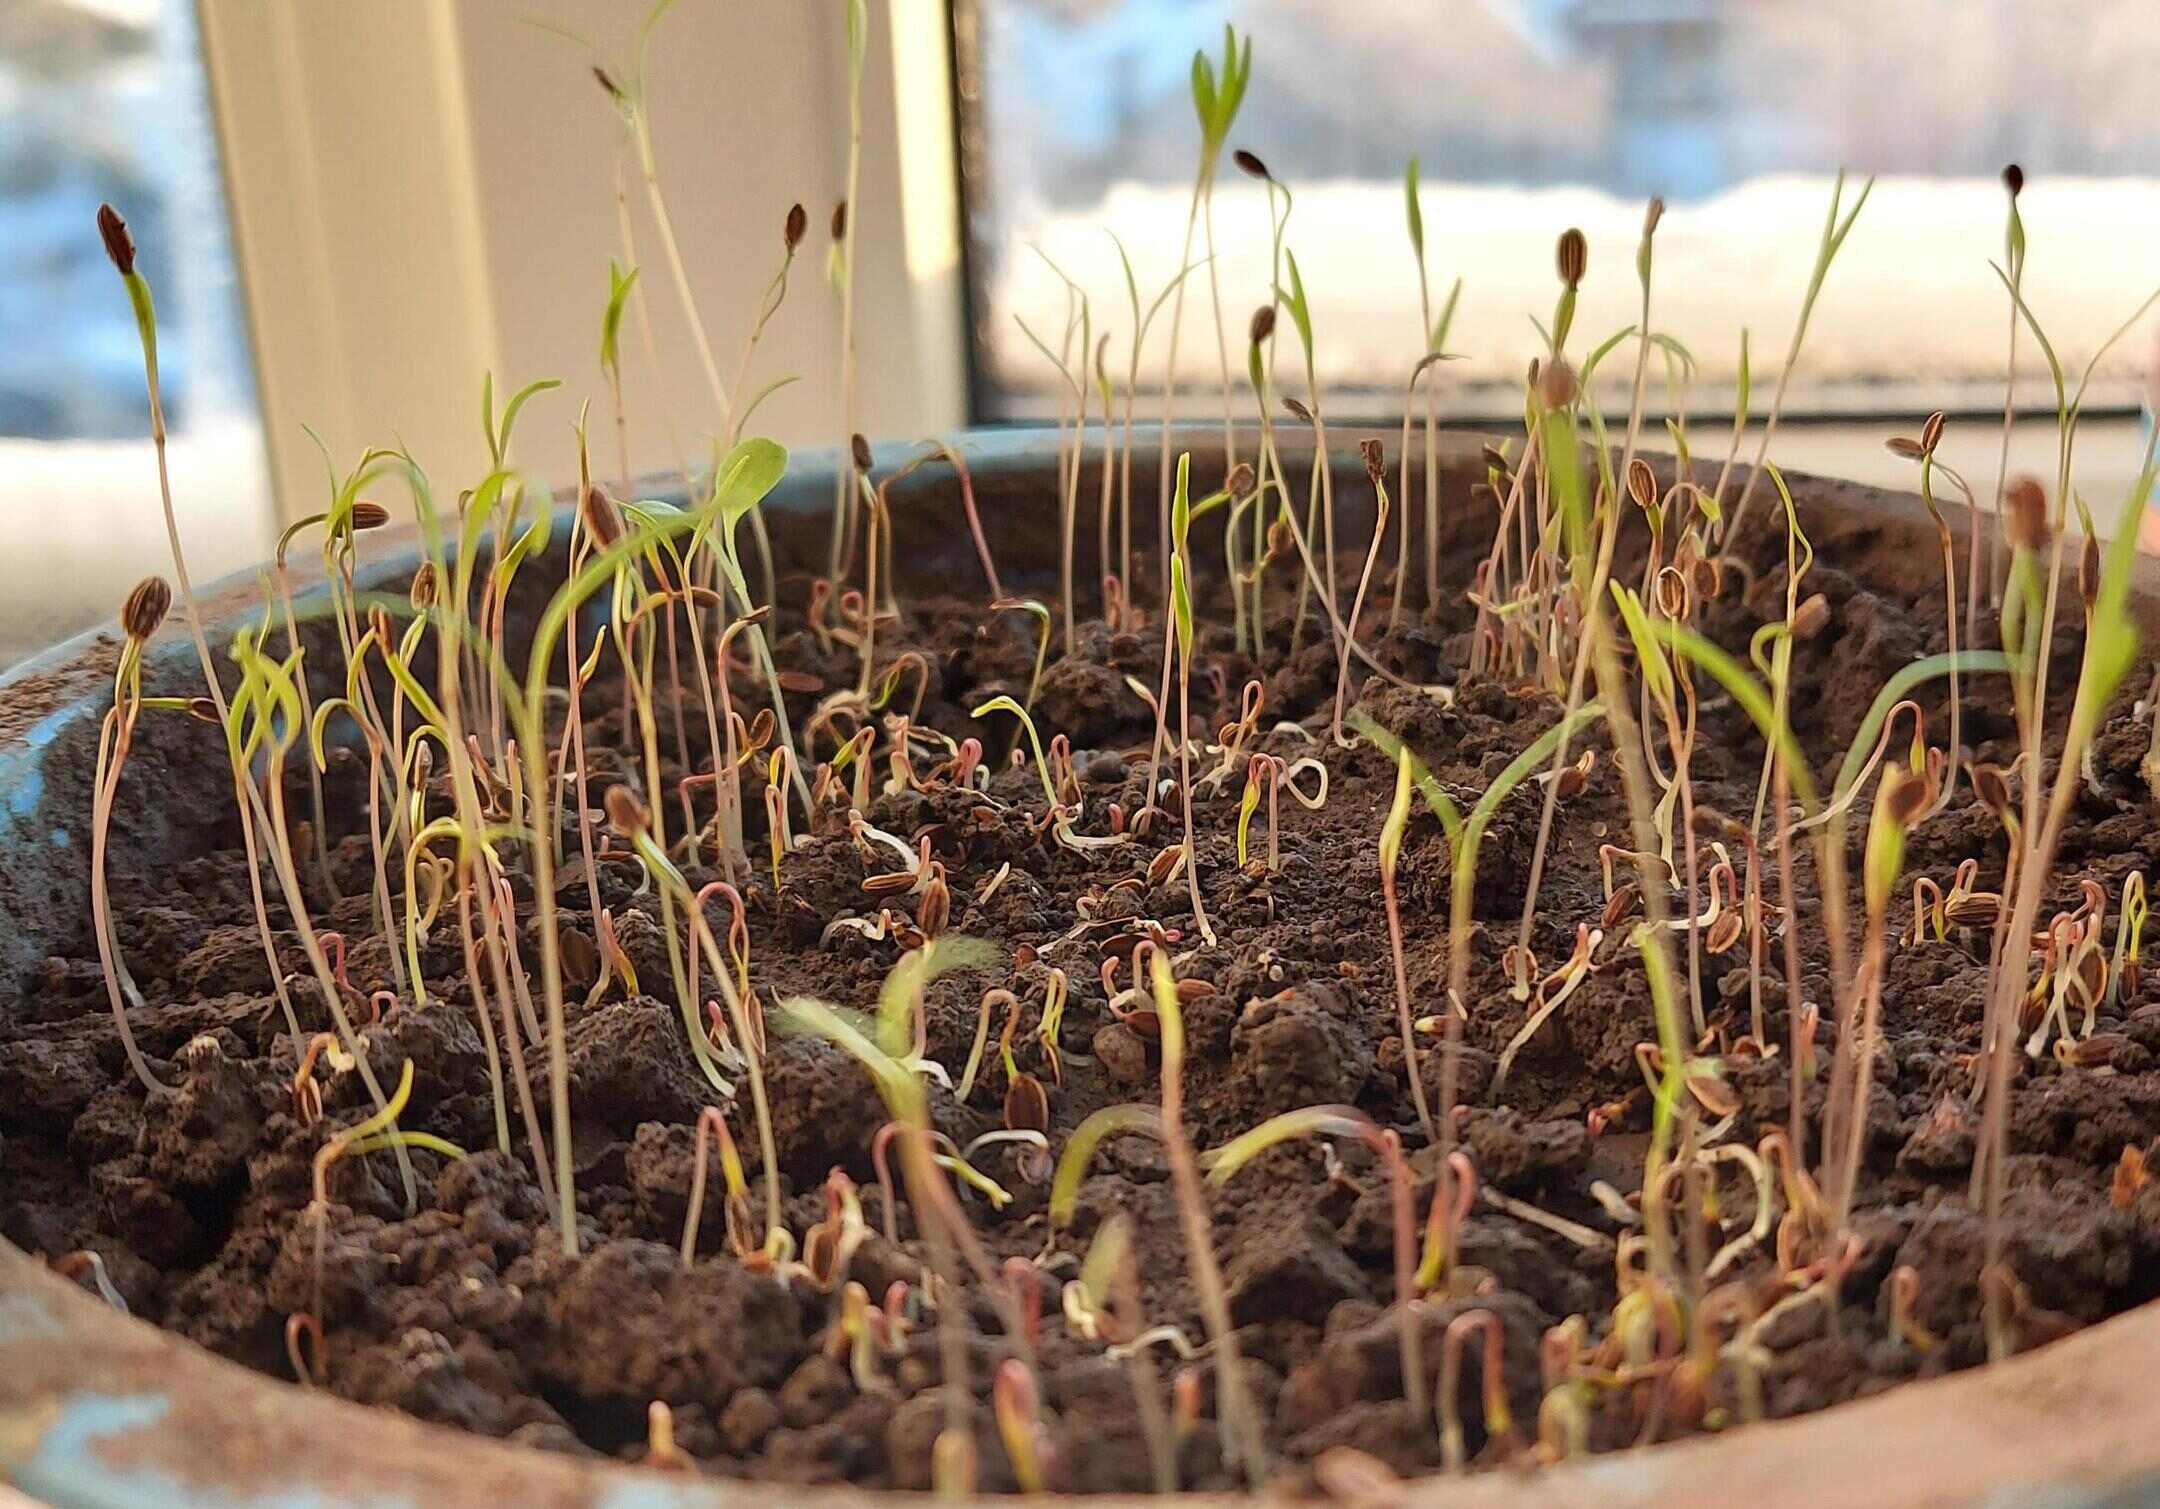
7. Monitor and Care: Keep a close eye on the seeded area. Within a few weeks, you should start to see tiny seedlings emerging from the soil. Once the seedlings are a few inches tall, thin them out if they’re too crowded, leaving the strongest plants spaced evenly.
By following these steps, you’ll establish a healthy foundation for your rosemary seeds to germinate and grow into strong seedlings. Remember to maintain consistent moisture and provide proper care as the seedlings develop. With a little patience and care, you’ll soon have a beautiful bed of rosemary plants ready to flourish in your garden.
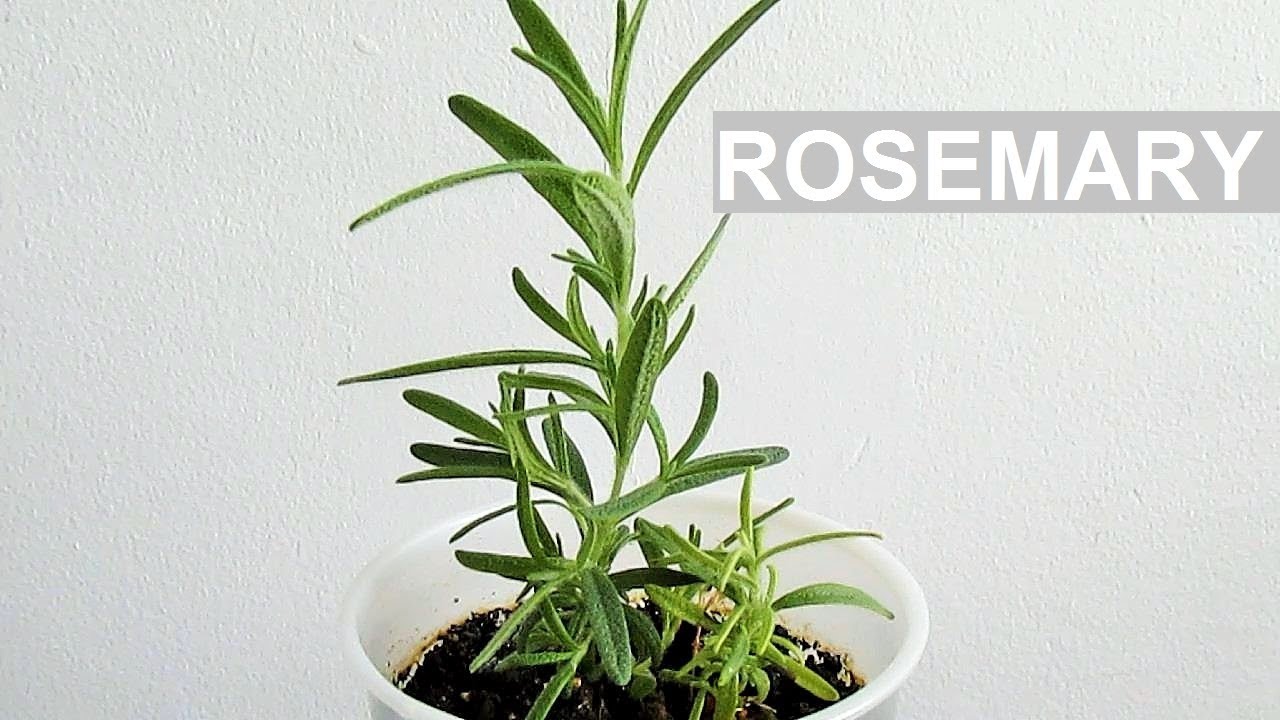
To grow rosemary from seeds, start them indoors in a well-draining soil mix. Keep the soil consistently moist and provide plenty of sunlight. Once the seedlings have developed a few sets of true leaves, they can be transplanted into larger pots or the garden.
Providing the Right Conditions
As your rosemary seedlings begin to emerge, it’s crucial to provide them with the right conditions for optimal growth. Here are some key factors to consider:
1. Sunlight: Rosemary is a sun-loving herb, so ensure your seedlings receive at least 6-8 hours of direct sunlight each day. If you’re growing them indoors, place them near a south-facing window or under grow lights for 12-14 hours per day.
2. Temperature: Rosemary thrives in moderate temperatures between 60-75°F (15-24°C). Protect the seedlings from extreme heat or cold, especially during the early growth stages. Aim for a consistent temperature range to promote healthy growth.
3. Watering: Keep the soil evenly moist but not waterlogged. Rosemary prefers slightly dry conditions, so avoid overwatering. Water deeply when the top inch of soil feels dry, ensuring the water reaches the root zone. Allow the soil to dry out slightly between waterings to prevent root rot.
4. Air Circulation: Good air circulation helps prevent disease and promotes stronger stems. Space your rosemary seedlings adequately to ensure proper airflow between the plants. If growing indoors, use a gentle fan to simulate a breeze and improve air circulation.
5. Fertilization: Rosemary doesn’t require much fertilization, but you can provide a balanced organic fertilizer once a month during the growing season to support their growth. Avoid over-fertilization, as it can lead to excessive foliage growth at the expense of flavor.
6. Pruning: Regular pruning helps maintain a compact and bushy shape for your rosemary plants. Start pruning once the seedlings have grown a few inches tall. Pinch off the top two sets of leaves to encourage branching and bushier growth.
7. Pest and Disease Control: Monitor your rosemary plants for any signs of pest or disease infestation. Common pests include aphids and spider mites. Use organic pest control methods, such as spraying neem oil or employing beneficial insects like ladybugs, to keep pests at bay.
By providing the right conditions for your rosemary seedlings, you’ll give them the best chance to thrive and develop into healthy, robust plants. Remember to regularly assess their needs and make adjustments as necessary. With proper care and attention, your rosemary plants will reward you with their fragrant foliage and culinary versatility.
Read more: How To Grow Begonia From Seed
Transplanting the Seedlings
As your rosemary seedlings continue to grow, it’s important to transplant them into larger containers or into the garden to provide them with ample space to develop strong root systems. Here’s a step-by-step guide on transplanting your rosemary seedlings:
1. Timing: Transplant your rosemary seedlings once they have developed a few sets of true leaves and are about 2-3 inches tall. This usually occurs around 6-8 weeks after sowing the seeds.
2. Choose the Right Container or Location: If you prefer container gardening, select a pot or container with a drainage hole that is at least 12 inches in diameter and has good drainage. If planting in the garden, choose a well-draining spot with ample sunlight.
3. Prepare the Container or Garden Bed: If using a container, fill it with a well-draining potting mix, leaving about an inch of space below the rim for watering. If planting in the garden, ensure that the soil is well-prepared and amended with organic matter.
4. Remove the Seedlings: Gently loosen the soil around the seedlings and carefully lift them out, taking care not to damage their delicate roots. Use a small trowel or your fingers to ease them out.
5. Make a Hole: Dig a hole in the prepared container or garden bed that is slightly larger than the root ball of the seedling. Ensure the hole is deep enough for the seedling to be planted at the same depth it was growing in its previous container.
6. Plant the Seedling: Place the seedling into the hole, ensuring that the root ball is level with or slightly above the soil surface. Gently firm the soil around the seedling, making sure it is stable and upright.
7. Water Thoroughly: After transplanting, water the seedling thoroughly to settle the soil and ensure good root-to-soil contact. Avoid overwatering, but make sure the soil is evenly moist. Monitor the soil moisture and water as needed in the following weeks.
8. Provide Care: Place the transplanted seedlings in a location with full sunlight and protect them from extreme weather conditions such as strong winds or heavy rainfall. Continue to monitor their growth and provide regular watering as necessary.
Remember to transplant your rosemary seedlings with care, as they are still delicate at this stage. Providing them with the right growing environment and proper care after transplanting will ensure their successful establishment and growth. Whether you choose to grow them in containers or in the garden, these young rosemary plants will soon adapt and thrive in their new home.
Caring for the Rosemary Plants
Once your rosemary plants have been transplanted and established, it’s important to provide them with the proper care to ensure their continued growth and productivity. Here are some essential tips for caring for your rosemary plants:
1. Watering: Rosemary is a drought-tolerant herb that prefers slightly drier conditions. Water your plants deeply but infrequently, allowing the soil to dry out slightly between waterings. This encourages deep root growth and helps prevent rot or fungal diseases.
2. Mulching: Apply a layer of organic mulch around the base of the rosemary plants to help conserve soil moisture and suppress weed growth. Organic mulches such as straw, bark chips, or dried leaves also provide additional nutrients as they break down.
3. Pruning: Regular pruning helps keep your rosemary plants compact, encourages bushier growth, and enhances their overall appearance. Trim back any dead, damaged, or overgrown branches, and pinch off the tips of the stems to promote branching.
4. Fertilization: Rosemary generally doesn’t require excessive fertilization. However, if you notice slow growth or poor foliage color, you can apply a balanced organic fertilizer in early spring. Avoid over-fertilizing, as this can lead to excessive growth and reduced essential oil concentration.
5. Pest Control: Keep an eye out for common pests such as aphids, spider mites, and whiteflies. Regularly inspect your plants and treat any infestations promptly using organic pest control methods. Introducing beneficial insects like ladybugs can help keep pest populations in check.
6. Winter Protection: In colder climates, rosemary can be susceptible to frost damage. Consider providing protection during winter by covering the plants with a frost cloth or bringing potted plants indoors. Ensure they receive adequate light and airflow while indoors.
7. Harvesting: You can start harvesting rosemary leaves once the plants have become established, typically around 3-4 months after transplanting. Harvest by snipping off stems just above a leaf node or by plucking individual leaves. Regular harvesting promotes new growth.
8. Rotate or Replace Plants: To prevent the build-up of diseases and pests in the soil, consider rotating the location of your rosemary plants every few years. Alternatively, you can propagate new plants from cuttings or sow fresh seeds to start a new batch.
By providing the right care and attention, your rosemary plants will thrive and provide you with a bountiful supply of aromatic leaves for culinary use and enjoyment. Remember to adapt your care routine based on your specific growing conditions and monitor your plants for any signs of stress or issues. With a little nurturing, your rosemary plants will reward you for years to come.
Harvesting Rosemary
Harvesting rosemary is a rewarding experience that allows you to enjoy the aromatic and flavorful leaves of this versatile herb. Here’s a guide on how to harvest rosemary for maximum flavor and continued plant growth:
1. Timing: Rosemary can be harvested once the plants have become established, usually around 3-4 months after transplanting. Avoid harvesting from very young seedlings to allow them time to establish a strong root system.
2. Choose the Right Time of Day: Harvest rosemary in the morning after the dew has dried but before the sun gets too hot. This is when the essential oil concentration is at its highest, resulting in the best flavor.
3. Use Clean, Sharp Pruning Shears: Select a clean and sharp pair of pruning shears or scissors for the job. Sterilizing them with rubbing alcohol beforehand helps prevent the spread of diseases.
4. Harvest Selectively: Take care not to harvest more than one-third of the plant’s growth at a time. Focus on the outermost stems and leaves, leaving the inner portions intact for continued growth.
5. Snip or Pluck: There are two main methods for harvesting rosemary. You can either snip off whole stems just above a leaf node or individual leaves from the stems. Both methods are effective, so choose the one that suits your needs.
6. Preserve the Aroma: To preserve the herb’s aromatic qualities and essential oils, avoid handling the harvested sprigs or leaves more than necessary. The scent and flavor are most potent when the leaves are fresh.
7. Store Properly: To store harvested rosemary, gently pat dry the sprigs or leaves with a paper towel to remove excess moisture, then bundle them loosely and secure with a rubber band. Hang them upside down in a well-ventilated area away from direct sunlight to dry. Once fully dry, store the dried leaves in an airtight container in a cool, dark place.
8. Continuous Harvesting: Regularly harvesting rosemary promotes new growth and ensures a continuous supply of fresh leaves. As the plant grows, you can increase the amount you harvest, always keeping in mind not to overharvest and stress the plant.
When harvesting rosemary, keep in mind that fresh leaves have a stronger flavor compared to dried ones. Therefore, it’s best to use fresh rosemary in dishes like marinades, sauces, and roasted meats, while dried rosemary works wonders in long-cooking dishes like stews and soups.
Enjoy the process of harvesting rosemary and savor the flavors it adds to your culinary creations. With proper harvesting techniques, your rosemary plants will continue to flourish and provide you with a steady supply of this delightful herb for years to come.
Now that you've mastered growing rosemary from seeds, why not dive deeper into understanding how seeds sprout? Our next guide covers everything you need to know about seed germination, ensuring your gardening skills continue to grow. Don't miss out on learning the ins and outs of nurturing seeds into healthy, thriving plants. Head over to our detailed article and keep that green thumb working!
Frequently Asked Questions about How To Grow Rosemary From Seeds
Was this page helpful?
At Storables.com, we guarantee accurate and reliable information. Our content, validated by Expert Board Contributors, is crafted following stringent Editorial Policies. We're committed to providing you with well-researched, expert-backed insights for all your informational needs.


0 thoughts on “How To Grow Rosemary From Seeds”