Home>Garden Essentials>How To Grow Cannas From Seed
Garden Essentials
How To Grow Cannas From Seed
Modified: March 16, 2024
Learn how to grow stunning cannas in your garden from seed with our step-by-step guide. Discover the secrets to successful cultivation and enjoy vibrant blooms all season long.
(Many of the links in this article redirect to a specific reviewed product. Your purchase of these products through affiliate links helps to generate commission for Storables.com, at no extra cost. Learn more)
Introduction
Welcome to the world of gardening! If you have a passion for plants and want to try your hand at growing them from seed, then cannas are an excellent choice. Cannas, also known as canna lilies, are tropical plants that are loved for their vibrant flowers and dramatic foliage. In this article, we will guide you through the process of growing cannas from seed, from preparing the seeds to caring for the plants and harvesting the seeds for future cultivation.
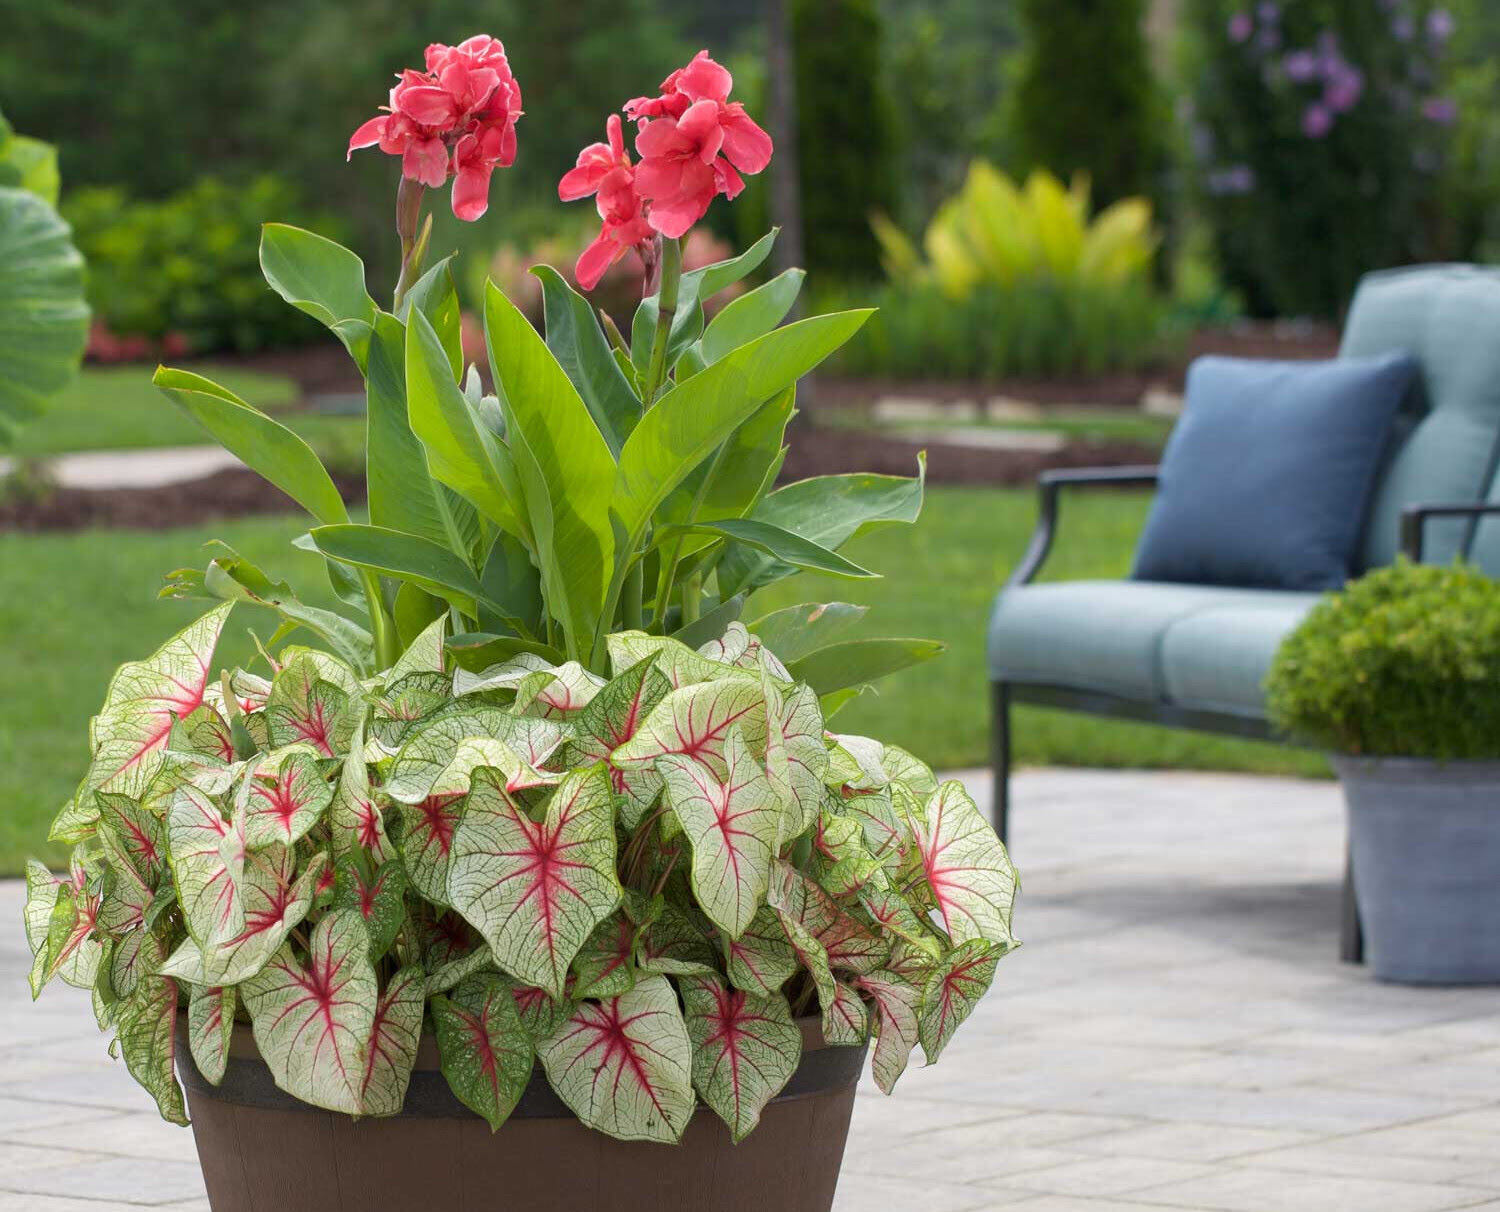
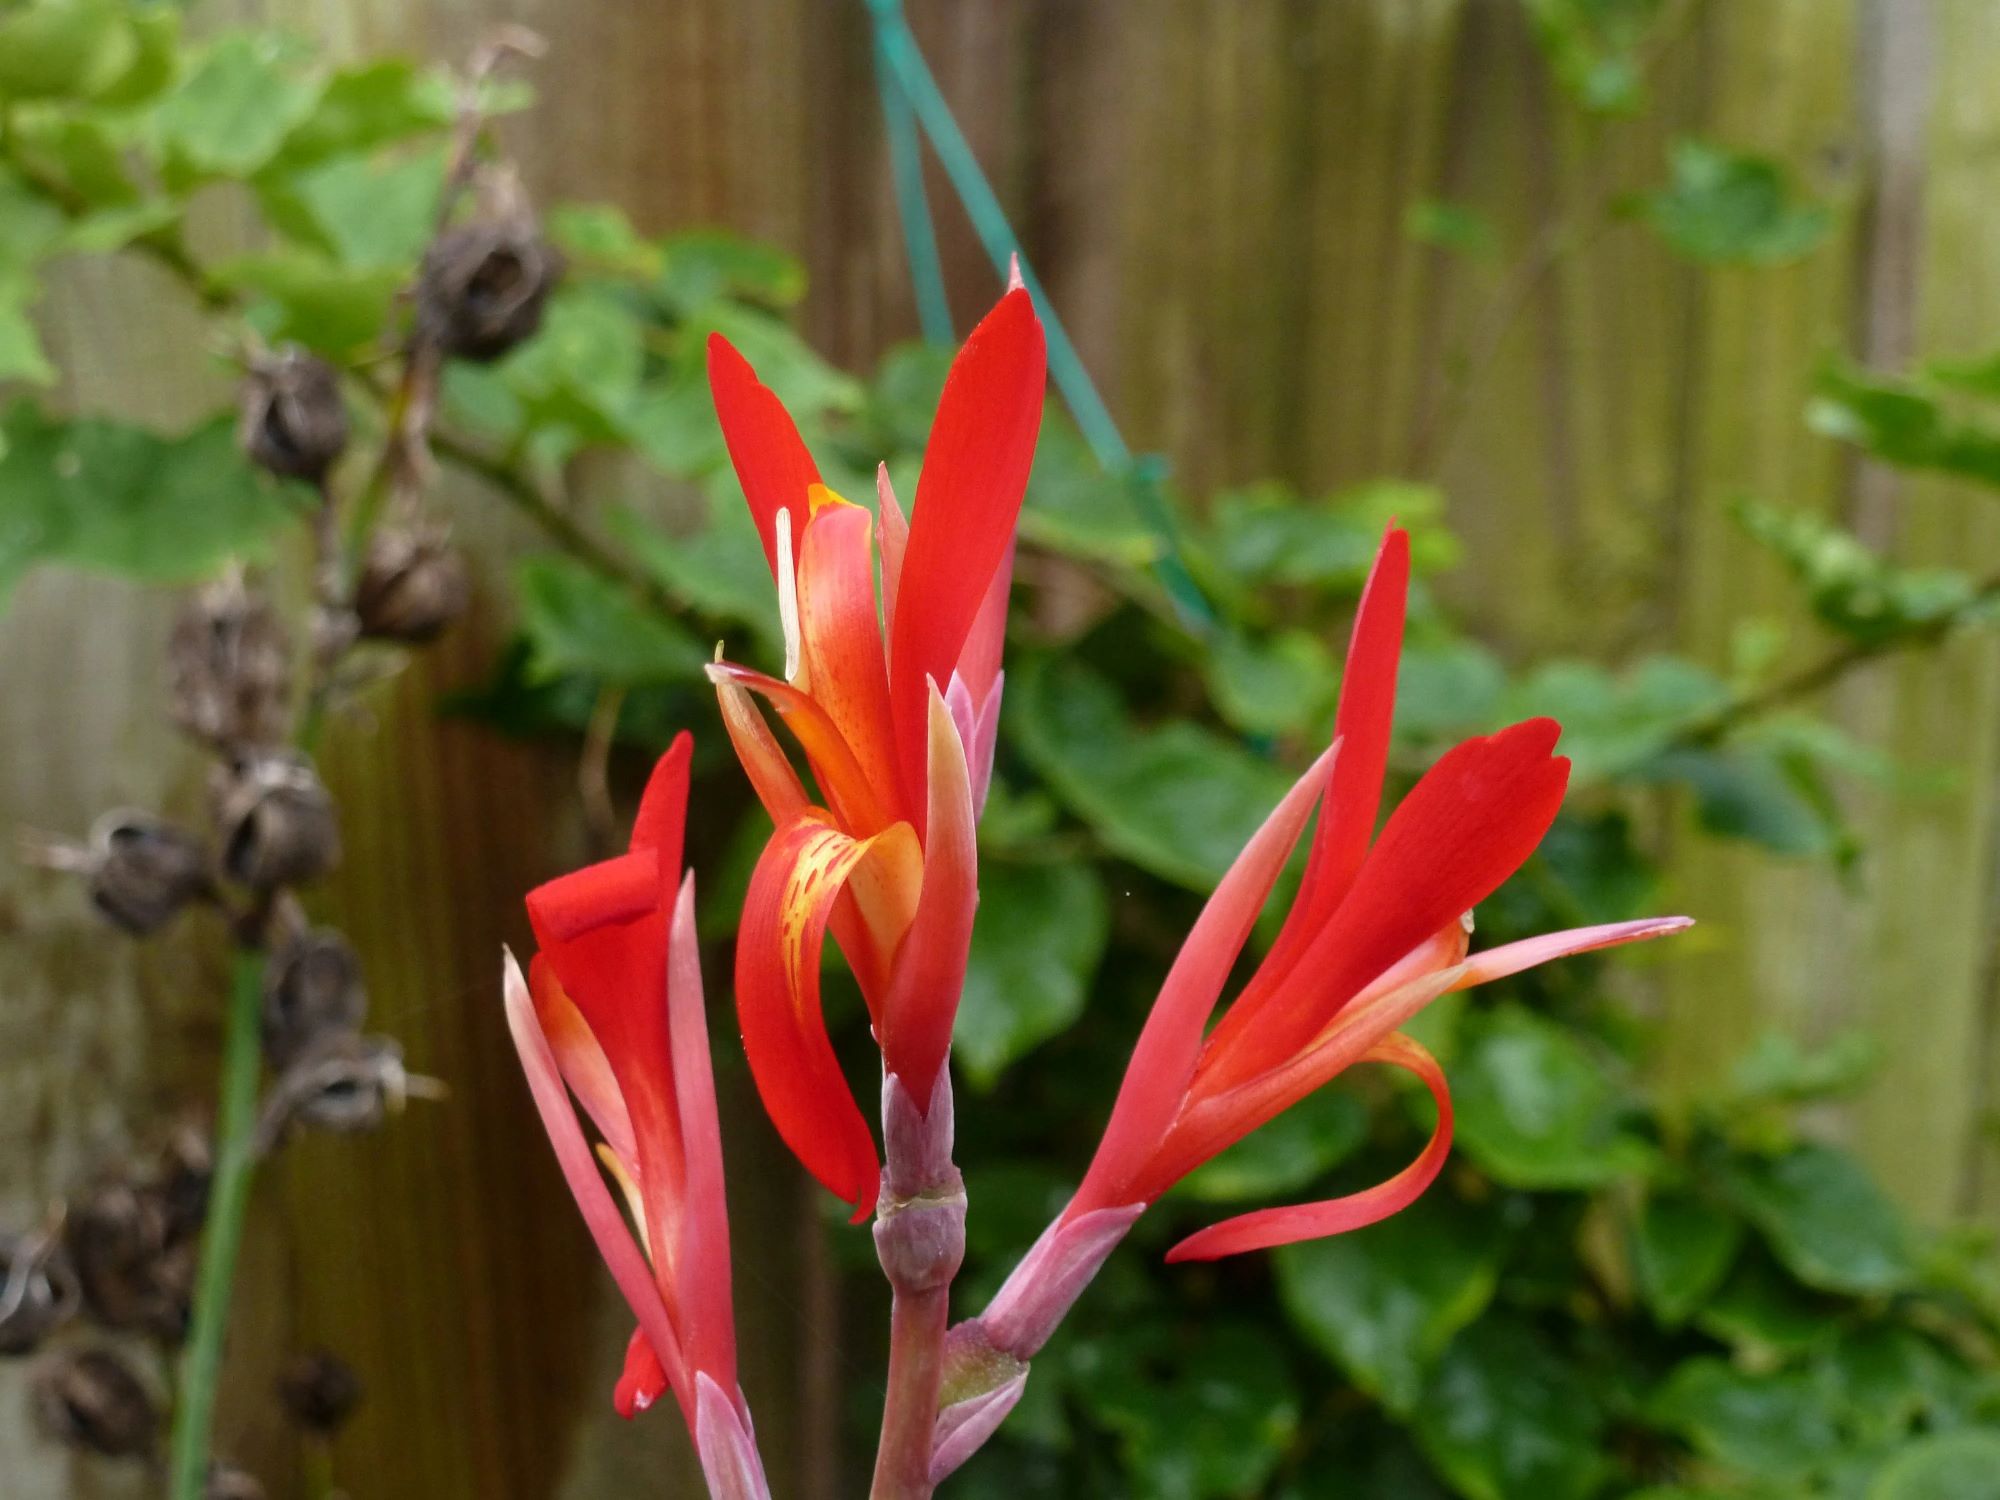
Before we dive into the details, let’s take a moment to understand what cannas are and why they are a popular choice among gardeners. Cannas belong to the Cannaceae family and are native to tropical and subtropical regions. They are renowned for their vibrant flowers which come in a wide range of colors including red, yellow, orange, and pink. The flowers are often trumpet-shaped and attract pollinators like butterflies and hummingbirds. In addition to their beautiful blooms, cannas also have large, paddle-shaped leaves that add a tropical touch to any garden.
Now that you have a little background on cannas, let’s move on to the first step in growing cannas from seed – seed preparation. Properly preparing the seeds will increase your chances of successful germination and healthy plant growth.
Key Takeaways:
- Growing cannas from seed is a fun and rewarding way to experience the entire lifecycle of these vibrant tropical plants. From seed preparation to caring for the growing plants, each step plays a crucial role in their success.
- By understanding the characteristics and requirements of cannas, preparing the seeds, and providing proper care, you can successfully cultivate these beautiful flowers in your garden. Enjoy the journey of watching tiny seeds grow into stunning plants!
Read more: How To Grow Okra From Seed
Understanding Cannas
To successfully grow cannas from seed, it’s important to have a good understanding of the plant’s characteristics and requirements. Here are a few key points to keep in mind:
- Canna Varieties: There are various canna varieties available, each with its own unique characteristics. Some popular ones include Canna indica, Canna x generalis, and Canna ‘Erebus’. When selecting canna seeds, consider factors such as flower color, plant height, and leaf shape to choose the variety that best suits your preferences.
- Growing Conditions: Cannas thrive in full sun, so choose a location in your garden that receives at least 6-8 hours of direct sunlight each day. These plants also prefer well-draining soil that is rich in organic matter.
- Temperature and Climate: Cannas are tropical plants and require warm temperatures to grow. They prefer temperatures between 70-85°F (21-29°C) during the day and above 50°F (10°C) at night. If you live in a colder climate, consider growing cannas in containers that can be brought indoors during the winter months.
- Growth Habit: Cannas are perennial plants and can grow up to 5-8 feet tall, depending on the variety. They are known for their vigorous growth and require ample space in the garden. Keep this in mind when planning the layout of your garden.
Having a good understanding of these factors will help you provide the ideal growing conditions for your cannas, ensuring their health and vitality.
Next, let’s move on to the crucial step of seed preparation.
Seed Preparation
Properly preparing cannas seeds before planting is essential for maximizing germination rates and ensuring successful plant growth. Here are the steps to follow when preparing your cannas seeds:
- Seed Collection: If you have existing cannas plants in your garden, you can collect seeds from mature seed pods. Allow the pods to fully ripen on the plant until they turn brown and start to crack open. Harvest the seeds by gently removing them from the pods.
- Seed Selection: Look for plump, healthy seeds for the best results. Discard any discolored or damaged seeds, as they may not have a high likelihood of germination.
- Seed Treatment: Some gardeners recommend soaking canna seeds in warm water overnight before planting. This can help soften the seed coat and promote faster germination.
- Scarification: Canna seeds have a hard outer shell, which can prevent water absorption and inhibit germination. To improve germination rates, you can gently nick the seed coat using a sharp knife or rub the seeds between sandpaper to create small scratches.
- Stratification: Another technique to enhance germination is by subjecting the seeds to a period of cold stratification. Place the seeds in a plastic bag or container and refrigerate them for a period of 4-6 weeks. This cold treatment simulates winter conditions and can break seed dormancy.
By following these steps, you are preparing your cannas seeds for optimal germination and giving them the best chance of growing into healthy plants.
Now that you have prepared your cannas seeds, let’s move on to the next step – preparing the growing environment.
Preparing the Growing Environment
Creating the right growing environment for your cannas seeds is crucial for their proper development and growth. Here are the steps to prepare the growing environment:
- Indoor vs. Outdoor: You have the option to start your cannas seeds indoors or directly sow them in the garden. If you live in a colder climate, it’s recommended to start the seeds indoors and transplant them outside once the danger of frost has passed. Starting indoors also gives you better control over the growing conditions.
- Container Selection: If you’re starting cannas seeds indoors, select containers that are at least 3-4 inches deep and have drainage holes at the bottom. Use a high-quality seed starting mix or a combination of peat moss, perlite, and vermiculite to ensure good drainage.
- Soil Preparation: If you’re directly sowing the seeds in the garden, prepare the soil by loosening it with a garden fork or tiller. Remove any weeds or debris and amend the soil with compost or well-rotted manure to improve its fertility.
- Moisture and Temperature: Cannas seeds require consistently moist soil for germination. Keep the soil evenly moist but not waterlogged. Additionally, maintain a temperature of around 70-75°F (21-24°C) to promote seed germination.
- Lighting: Cannas seeds need ample light to germinate, so place the containers or sow the seeds in a location that receives bright, indirect light. If starting indoors, you can use grow lights to provide supplemental lighting, ensuring the seeds receive 12-14 hours of light per day.
By creating the optimal growing environment, you are setting the stage for successful germination and healthy cannas seedlings. Once your environment is prepared, it’s time to move on to the next step – planting your cannas seeds.
When growing cannas from seed, it’s important to soak the seeds in warm water for 24 hours before planting to help soften the seed coat and encourage germination. This can help improve the success rate of growing cannas from seed.
Planting Cannas Seeds
Now that you have prepared the growing environment, it’s time to plant your cannas seeds. Whether you are starting the seeds indoors or directly sowing them in the garden, follow these steps for successful planting:
- Indoor Planting: If starting indoors, fill your chosen containers with a well-draining seed starting mix. Make small holes in the soil, about 1/4 inch deep, and space the seeds 2-3 inches apart. Place one seed per hole and cover them lightly with soil.
- Outdoor Planting: If sowing directly in the garden, make small holes in the prepared soil, again about 1/4 inch deep. Space the holes 2-3 inches apart and place one seed per hole. Cover the seeds lightly with soil.
- Watering: After planting, water the soil gently using a misting spray or a watering can with a fine nozzle. Avoid overwatering, as it can lead to rotting or damping off disease. Keep the soil consistently moist throughout the germination period.
- Germination: Cannas seeds typically germinate within 1-2 weeks, but it may take up to a month for some varieties. During this time, maintain the moisture level and provide adequate light. Once the seedlings emerge, continue to water them gently and provide ample sunlight.
- Thinning: If you have multiple seedlings growing in one container or in the garden, thin them out once they have developed their first couple of leaves. Remove the weakest seedlings, allowing the stronger ones more room to grow.
By following these planting steps, you are giving your cannas seeds the best chance to germinate and establish into healthy seedlings. After planting, it’s important to provide proper care to ensure the continued growth and development of your cannas.
Next, we will explore the essential steps in caring for your growing cannas.
Read more: How To Grow A Tree From A Seed
Caring for Growing Cannas
Once your cannas seeds have germinated and have started to grow into seedlings, it’s important to provide them with proper care to ensure healthy and robust plants. Here are the key steps to follow when caring for your growing cannas:
- Watering: Cannas plants require regular watering, especially during hot and dry periods. Keep the soil consistently moist, but avoid overwatering, as it can lead to root rot. Water at the base of the plant to prevent moisture on the foliage, which can encourage fungal diseases.
- Fertilization: Feed your cannas plants with a balanced, slow-release fertilizer or a liquid fertilizer diluted to half strength every 2-3 weeks during the growing season. This will provide the necessary nutrients for healthy growth and vibrant blooms.
- Mulching: Apply a layer of organic mulch around the base of your cannas plants to help retain moisture, suppress weed growth, and regulate soil temperature. Choose mulch options like straw, wood chips, or shredded leaves.
- Support: Some canna varieties can grow tall and may require support as they mature. Use stakes or trellises to provide support and prevent the plants from toppling over in strong winds or heavy rain.
- Pest and Disease Control: Keep an eye out for common pests and diseases that can affect cannas, such as aphids, slugs, and fungal diseases like leaf spot. Monitor your plants regularly, and if any issues arise, treat them promptly with organic or chemical solutions as needed.
- Deadheading: To encourage continuous blooming, remove faded flowers by cutting them back to the base of the stem. This will redirect the plant’s energy towards producing new blooms, extending the flowering period.
By following these care guidelines, you can ensure the ongoing health and vitality of your growing cannas. As your plants continue to grow and mature, they will reward you with their stunning flowers and lush foliage.
Next, let’s discuss the process of harvesting and storing canna seeds for future cultivation.
Harvesting and Storing Canna Seeds
Harvesting canna seeds is an exciting and rewarding process that allows you to collect seeds for future cultivation or sharing with fellow gardeners. Here’s how to harvest and store canna seeds:
- Seed Maturation: Allow the flowers on your canna plants to fade and dry out naturally on the plant. The petals will fall off, and the seed pods will begin to form.
- Seed Pod Harvesting: Once the seed pods have turned brown and feel dry to the touch, gently remove them from the plant. Cut the stem below the seed pod, leaving a small portion attached.
- Seed Extraction: To extract the seeds, carefully split open the seed pods using your fingers or a pair of scissors. You will find small, dark-colored seeds inside. Collect the seeds and discard any empty or damaged ones.
- Drying: Place the collected canna seeds on a paper towel or a mesh screen to air dry for about a week. Make sure to spread them out evenly to prevent moisture buildup and mold formation.
- Storage: Once the seeds are completely dry, transfer them to an airtight container such as a small glass jar or a sealable plastic bag. Be sure to label the container with the variety and date of collection.
- Cool and Dark Storage: Store the canna seeds in a cool, dark, and dry place to maintain their viability. A cool pantry or a refrigerator are ideal storage locations. Avoid exposing the seeds to extreme temperatures or moisture, as it can affect their germination rates.
With proper harvesting and storage, canna seeds can remain viable for several years, allowing you to save and share them for future gardening endeavors.
Congratulations! You have now learned how to grow cannas from seed, from seed preparation and planting to caring for the growing plants and harvesting the seeds. By following these steps and providing the necessary care, you can enjoy the beauty and vibrancy of canna plants in your garden year after year.
Happy gardening!
Conclusion
Growing cannas from seed is a rewarding experience that allows you to witness the entire lifecycle of these beautiful tropical plants. By understanding the characteristics and requirements of cannas, preparing the seeds, creating the ideal growing environment, and providing proper care, you can successfully cultivate these vibrant flowers in your garden.
From the initial seed preparation to the final step of harvesting and storing the seeds, each phase of the process plays a crucial role in the success of your cannas. By collecting ripe seeds, scarifying, and subjecting them to cold stratification, you are giving them the best chance for successful germination. Preparing the growing environment with well-drained soil, proper moisture, and adequate lighting sets the foundation for healthy growth.
Caring for your growing cannas involves regular watering, fertilization, mulching, and pest control to ensure their vigor and vitality. Deadheading spent flowers promotes continuous blooming and the accumulation of seeds for future use. Finally, the process of harvesting and storing canna seeds allows for the propagation and sharing of these beautiful plants.
Remember to enjoy the journey of growing cannas from seed. Watching the tiny seedlings grow into mature plants with vibrant blooms and lush foliage can be a source of immense joy and pride for any gardener. Experiment with different canna varieties and explore the range of colors and forms they offer, adding a touch of tropical elegance to your garden.
So, get your hands dirty, nurture your cannas with care, and witness the transformation of tiny seeds into stunning plants. Happy gardening!
Frequently Asked Questions about How To Grow Cannas From Seed
Was this page helpful?
At Storables.com, we guarantee accurate and reliable information. Our content, validated by Expert Board Contributors, is crafted following stringent Editorial Policies. We're committed to providing you with well-researched, expert-backed insights for all your informational needs.


0 thoughts on “How To Grow Cannas From Seed”